If you're like me, your home always seems to be overflowing with loose change. It's not enough to exchange for bills, but it's doing nothing more than gathering dust in old coffee cans. I have no idea what to do with it all.
That's why I was so excited when I saw this project. Not only is it very simple — it's also incredibly cheap, and the results are absolutely stunning.
Earlier this week, we showed you a cool way to transform quarters. Today, we'll be taking those pesky pennies and giving your kitchen a shiny makeover — just like this crafty mom did.
Tired of staring at her bland backsplash, she decided it was time for a change. (Get it? Change?)
With just a bowl of pennies, some glue, and a bit of patience, her kitchen is now a shimmering conversation piece. I have to try this!
As you start gathering coins for your own penny project, keep a look out for rare ones. Some can be worth a fortune. For tips on how to spot valuable coins, be sure to watch the video below!
Please SHARE if you think this penny project is cent-sational!
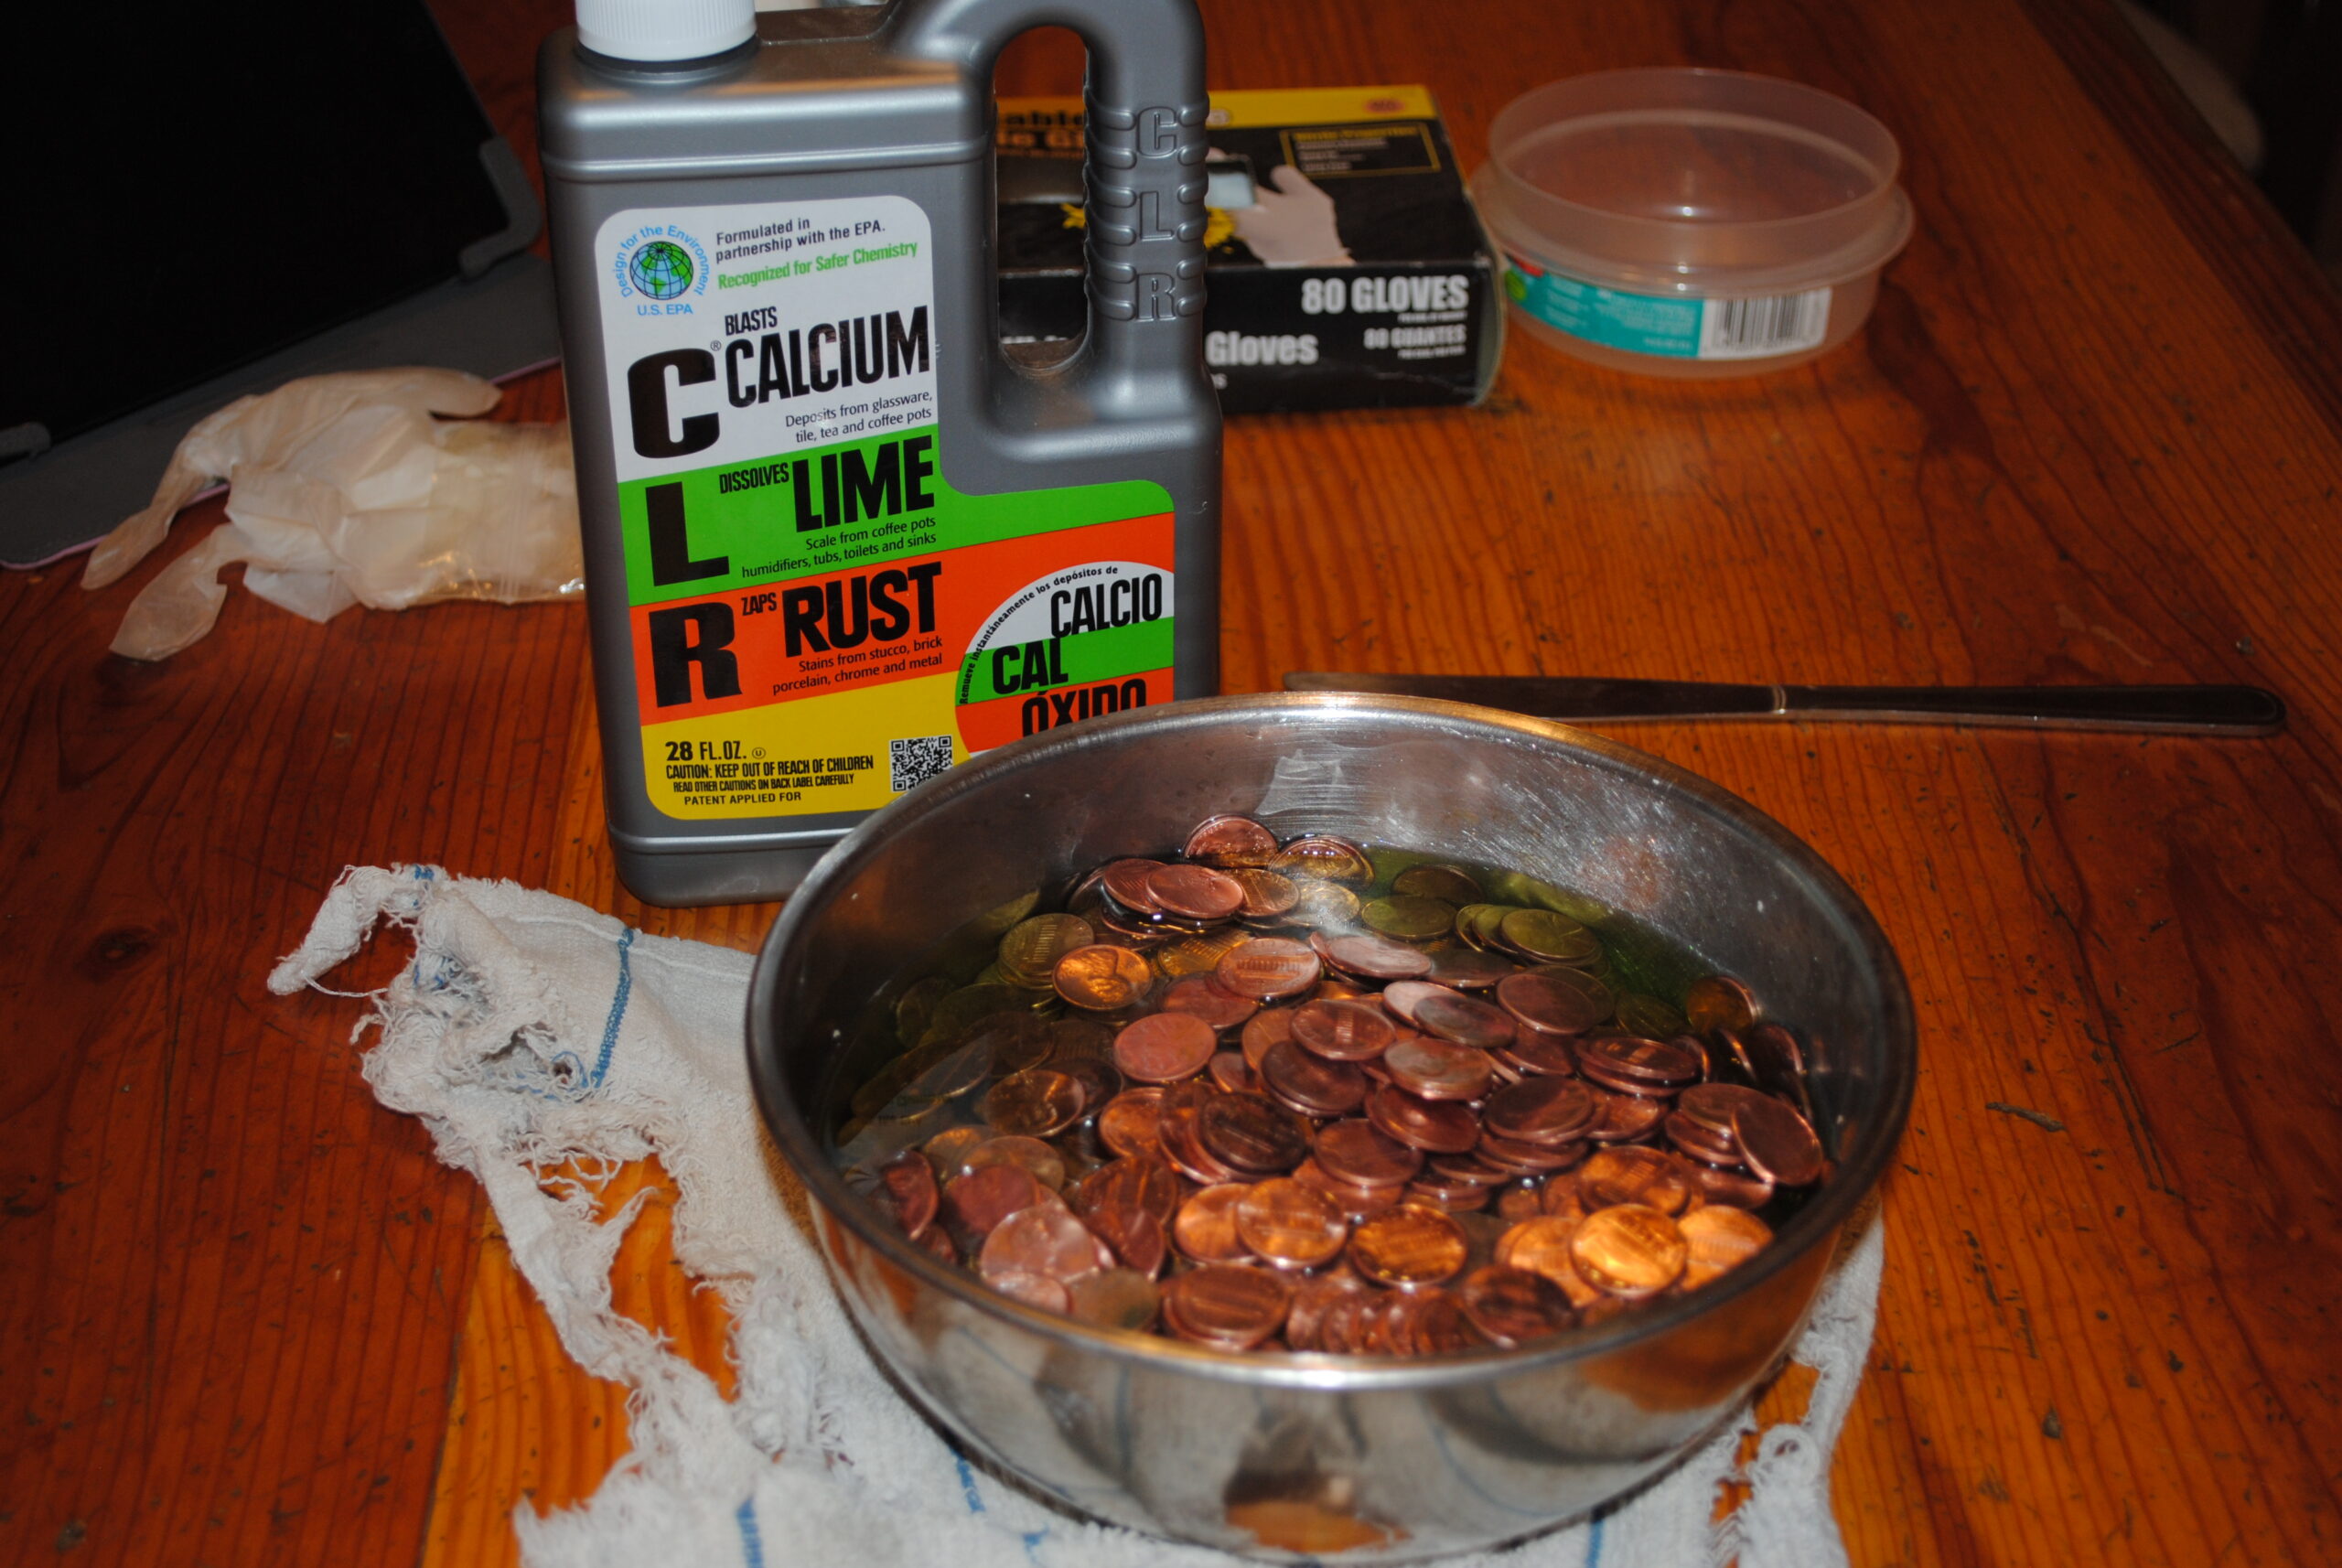
The first thing she did was clean the coins. She did this by soaking them in CLR for 20 minutes.
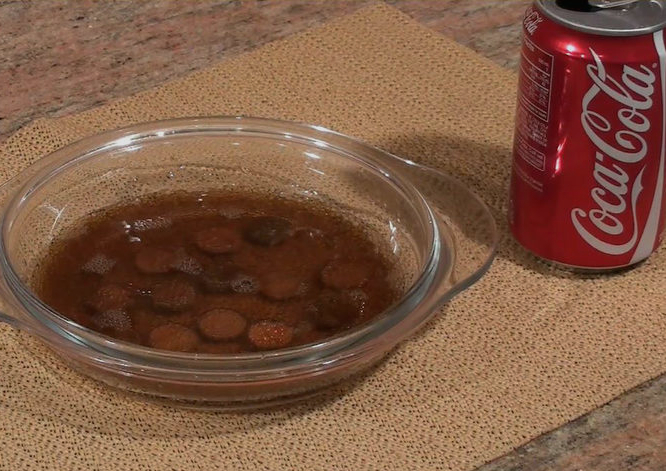
After that, she let the dirtiest ones soak further in a bowl of Coke.
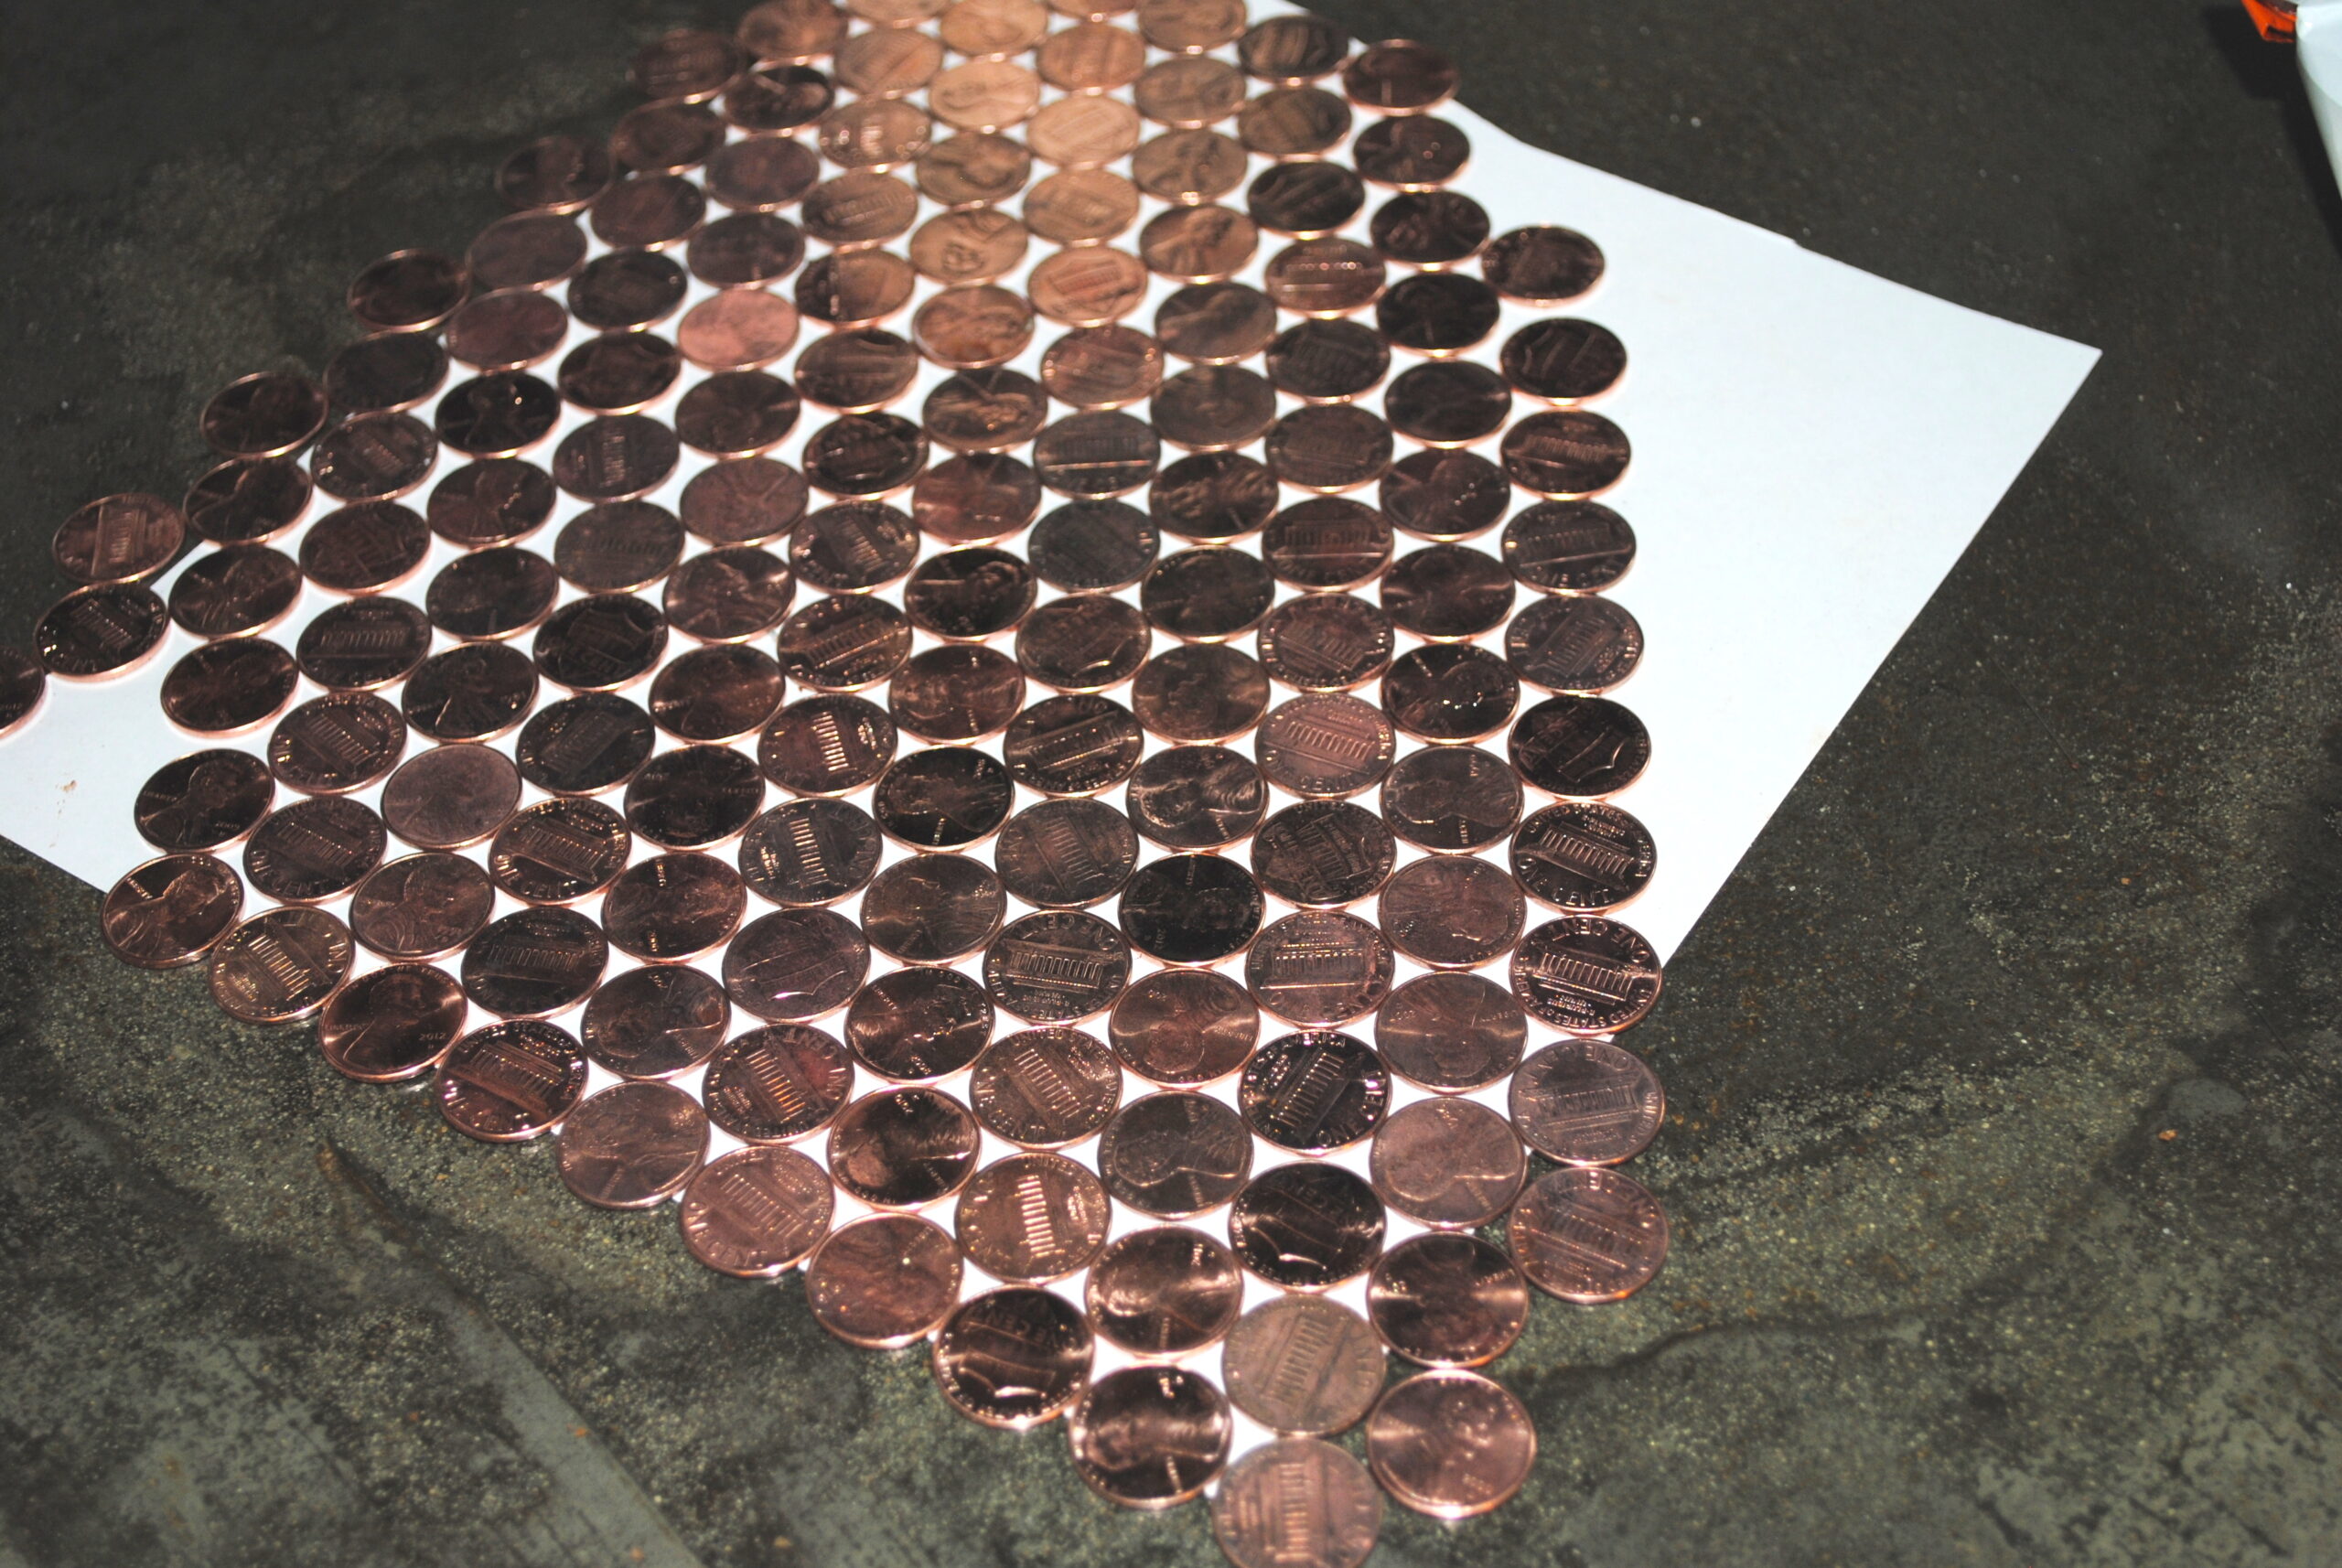
After rinsing them all off, she began to plan her project out on a piece of paper.
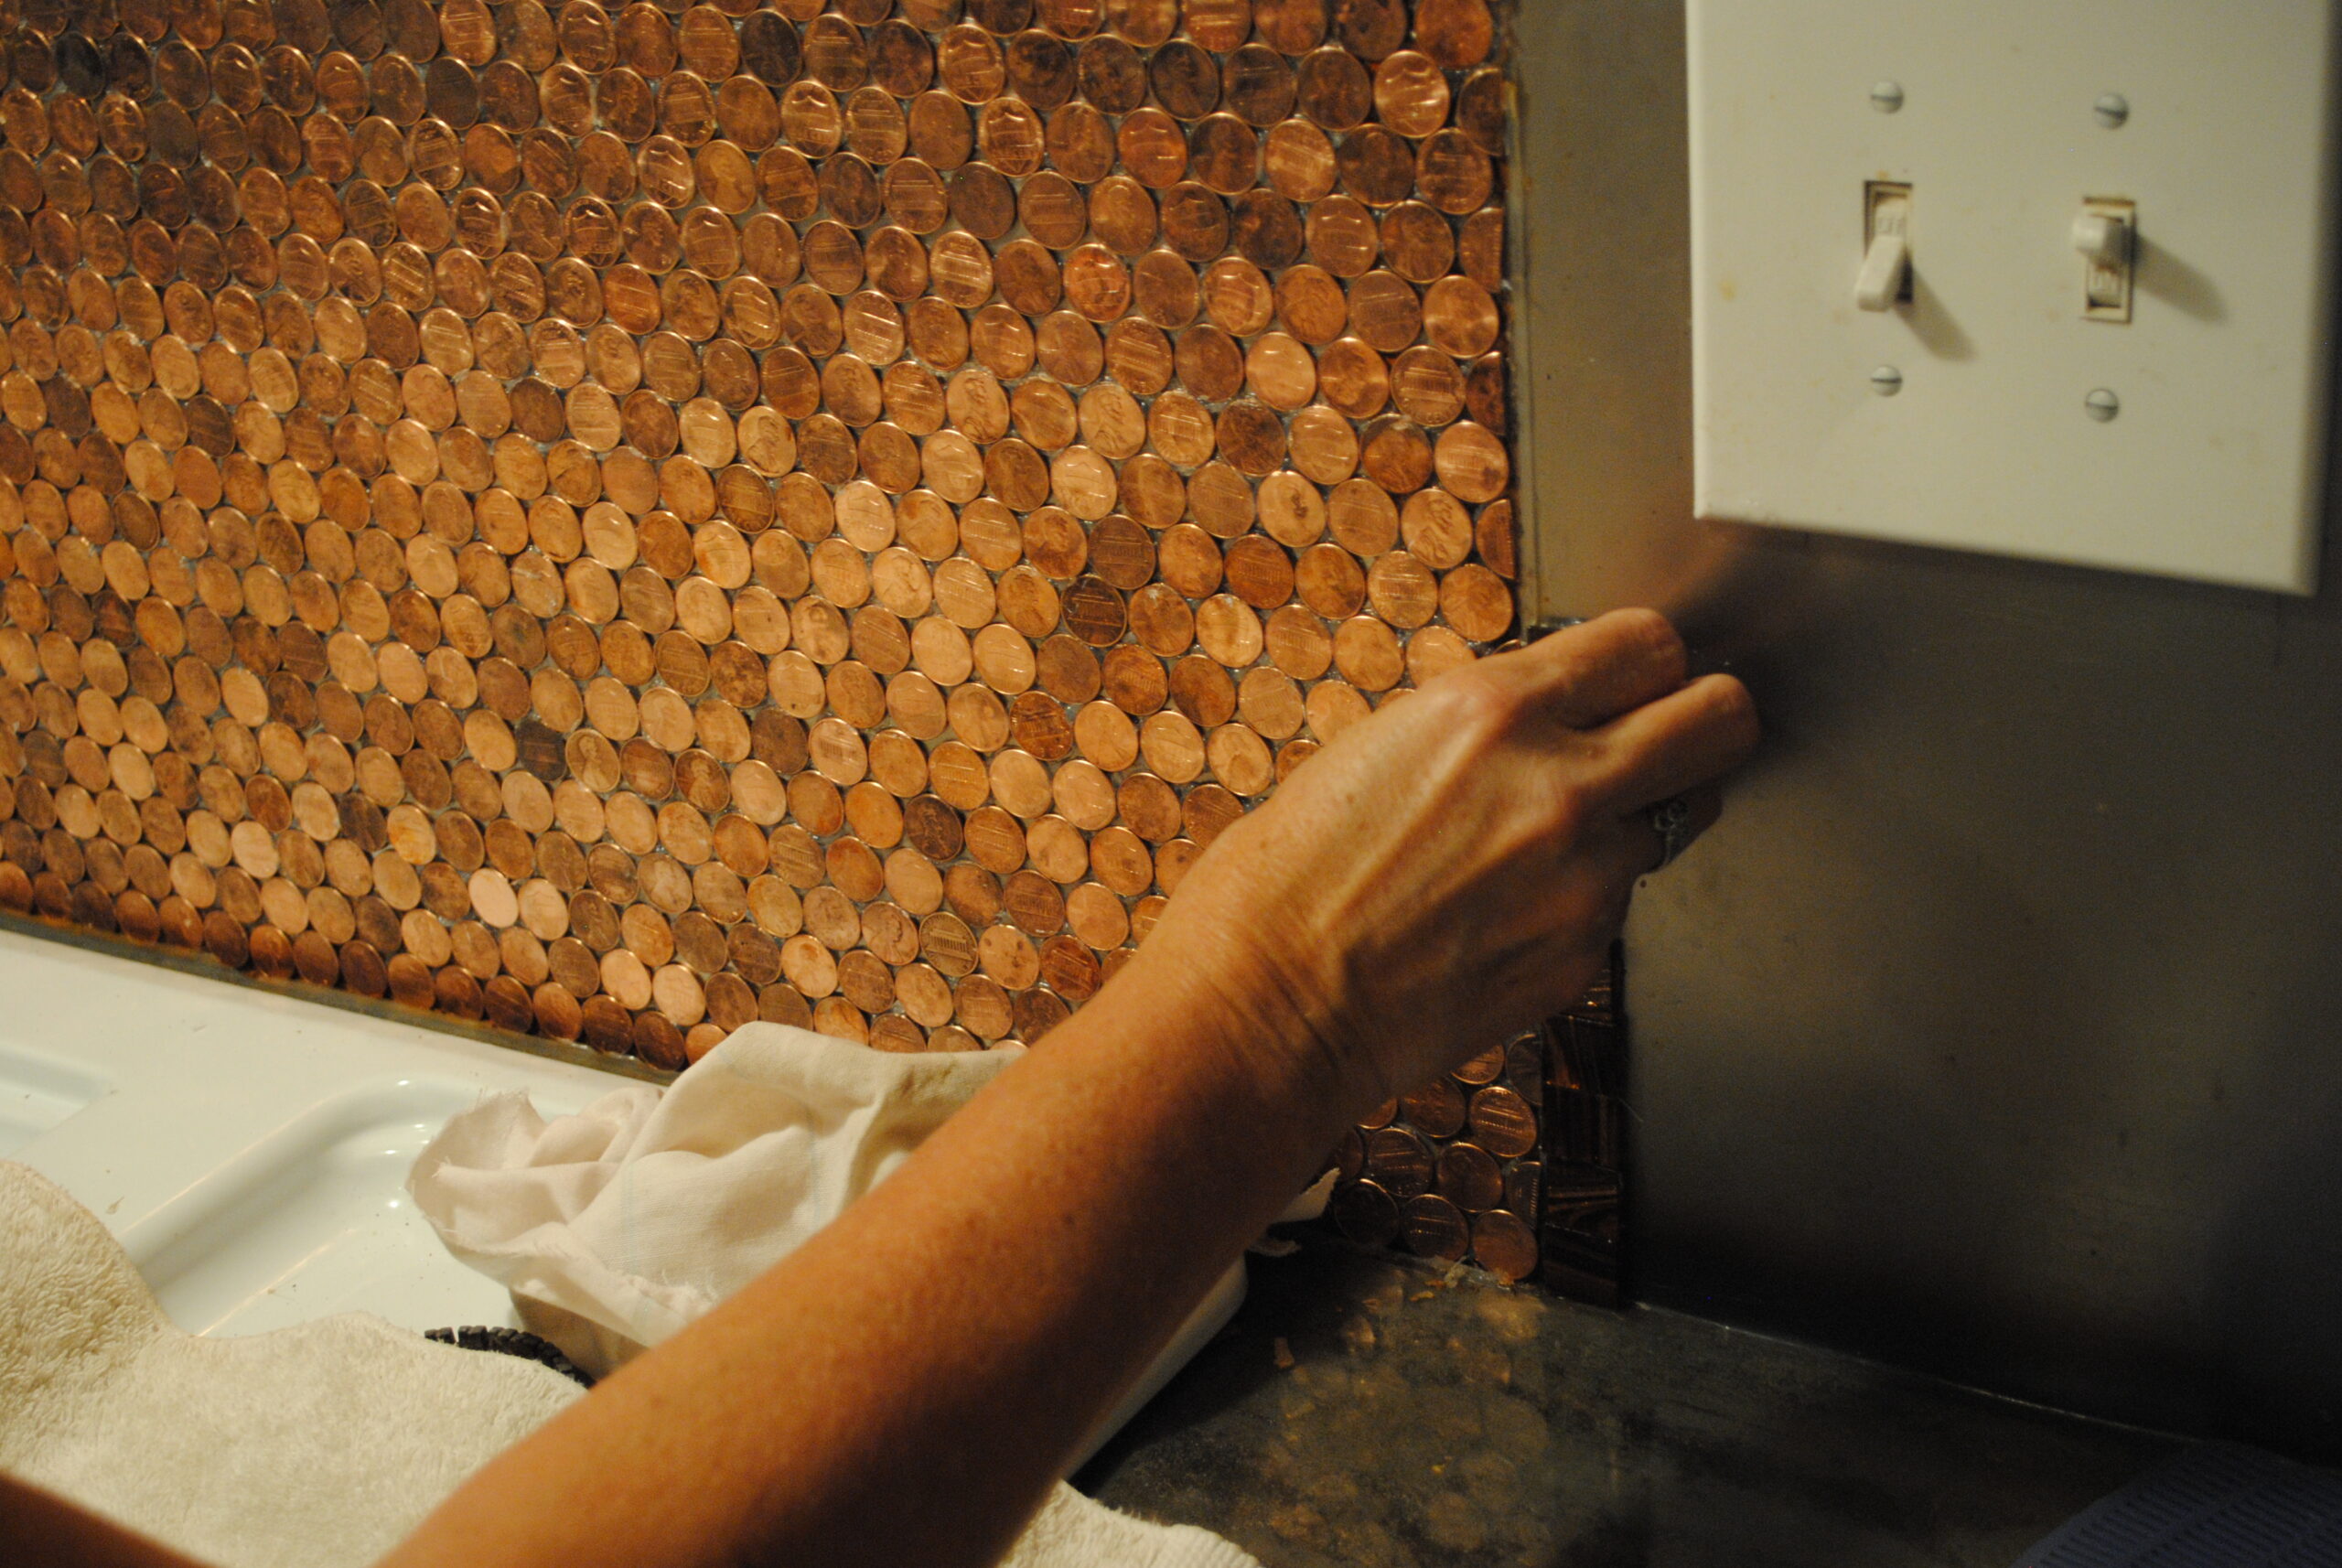
Once she'd figured out a pattern, she began to glue the pennies. To do this, she used a waterproof, heatproof silicon adhesive.
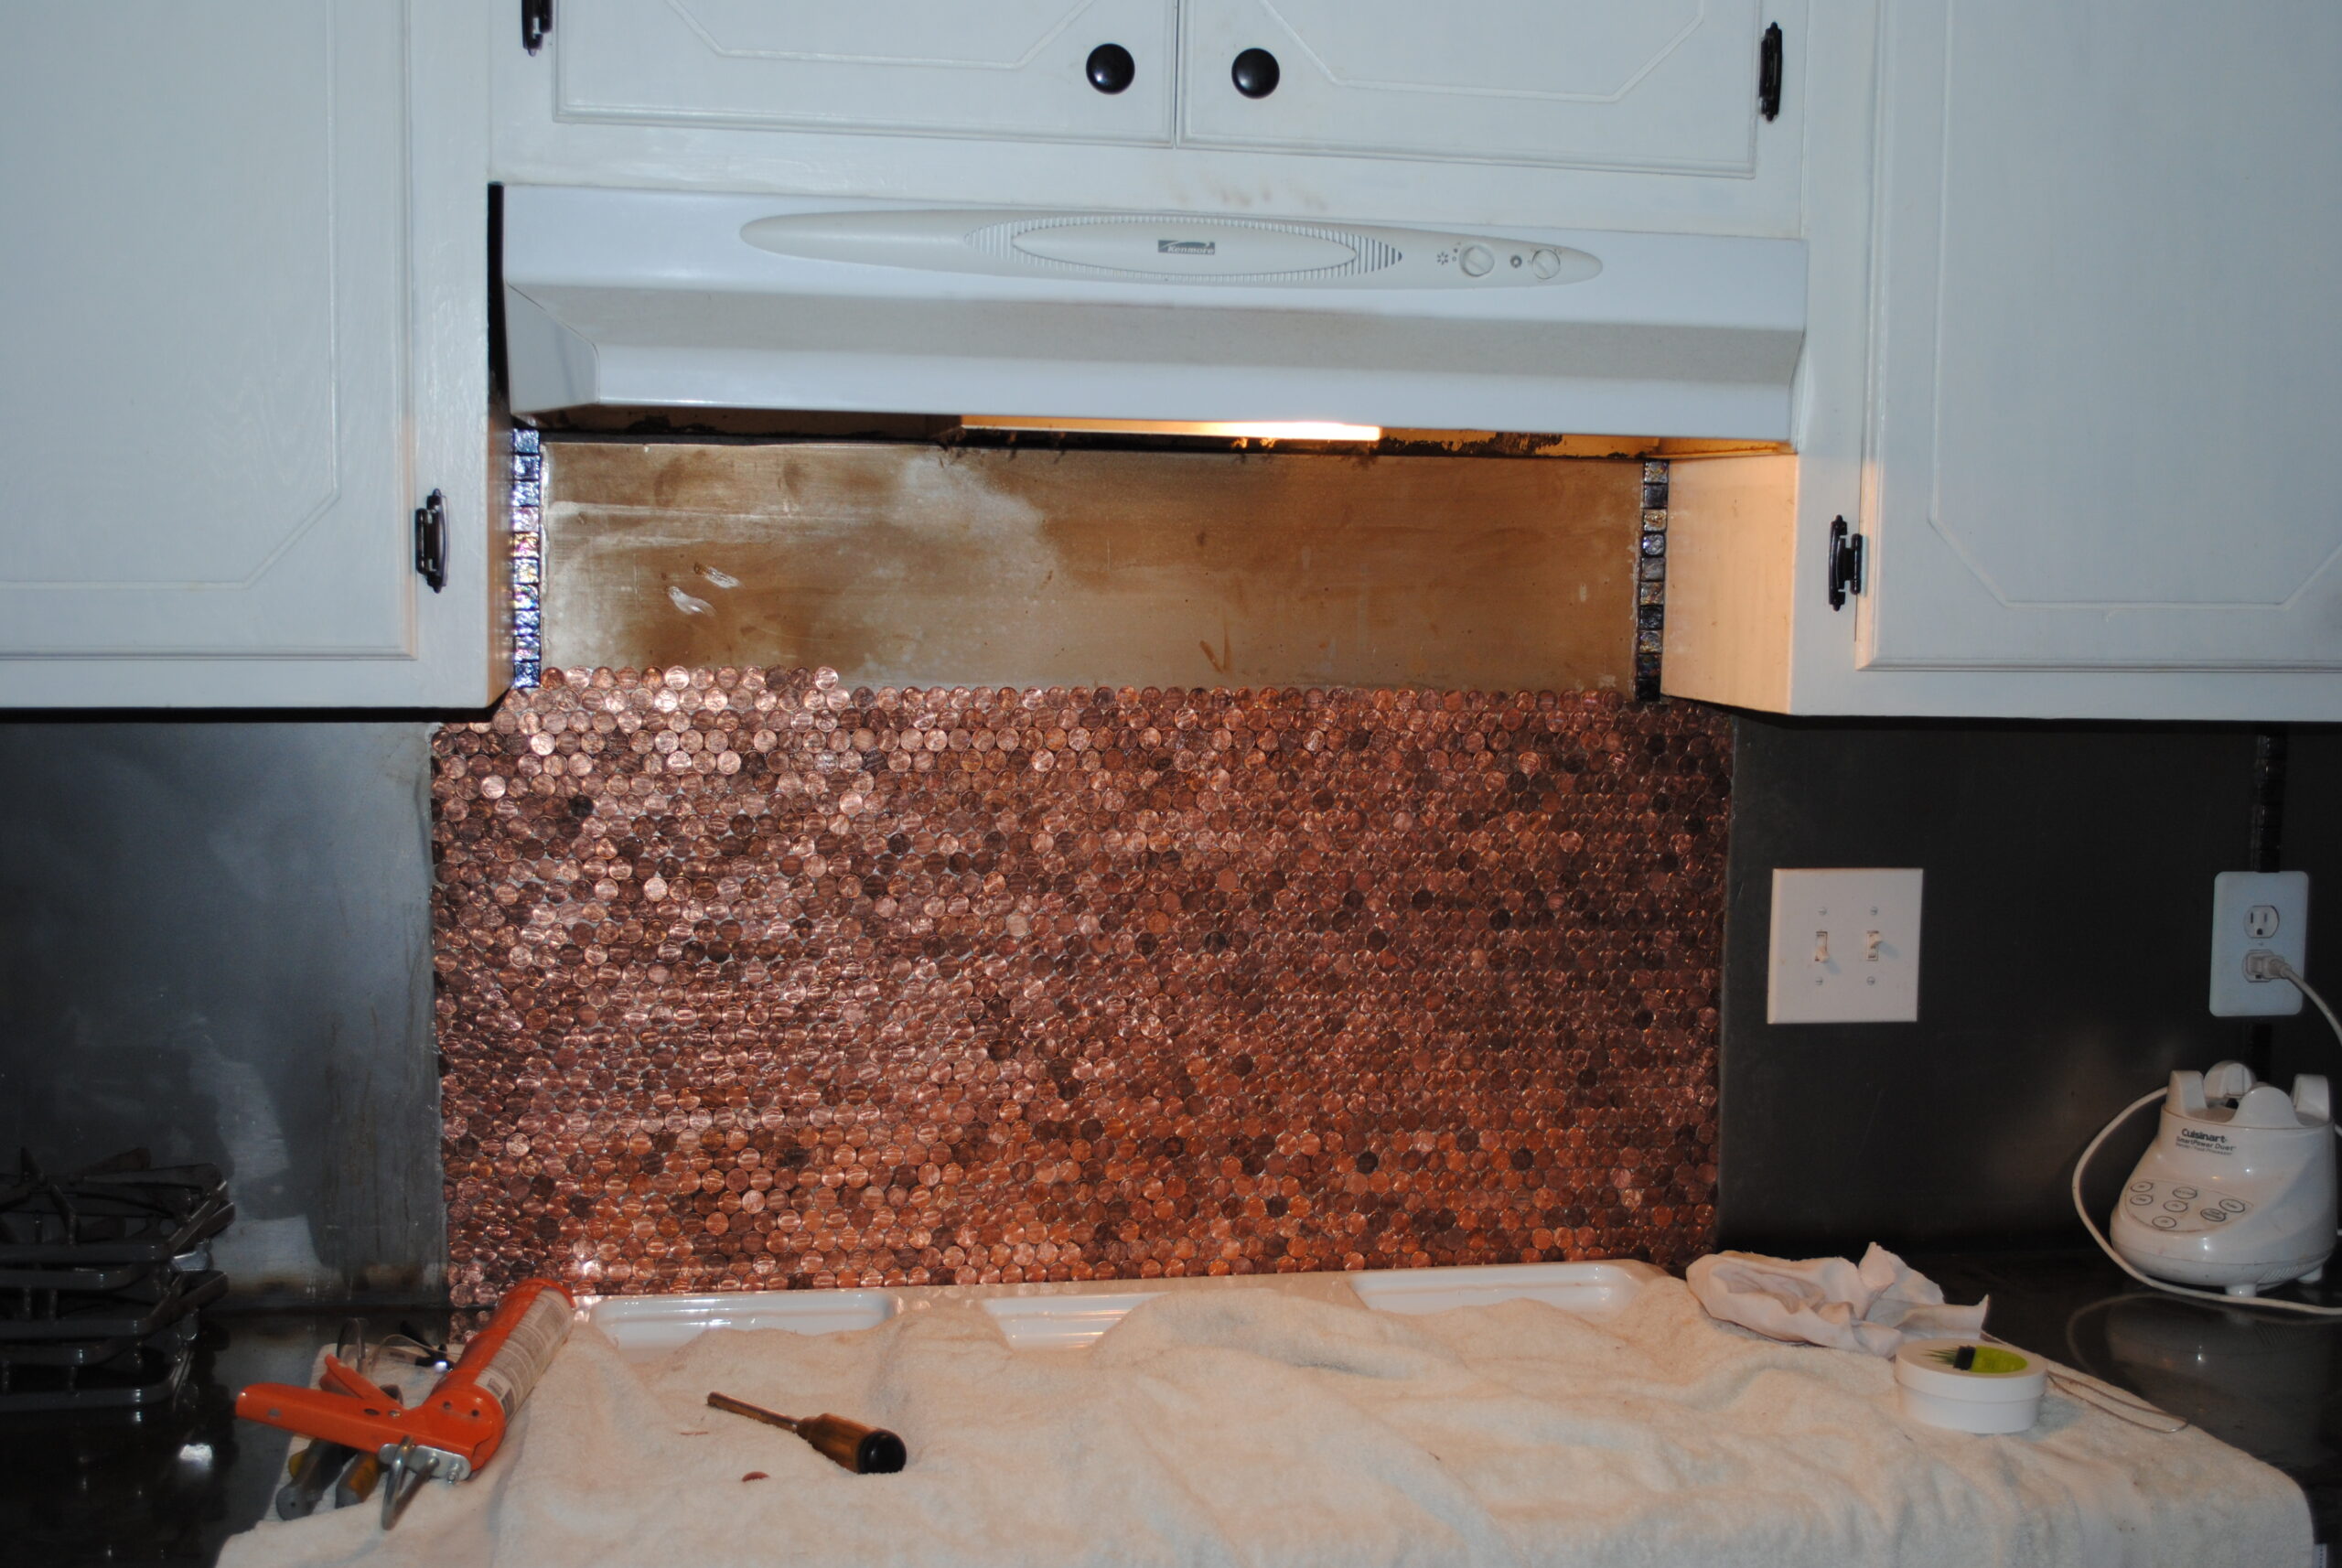
The adhesive gripped the coins easily and took only 24 hours to cure.
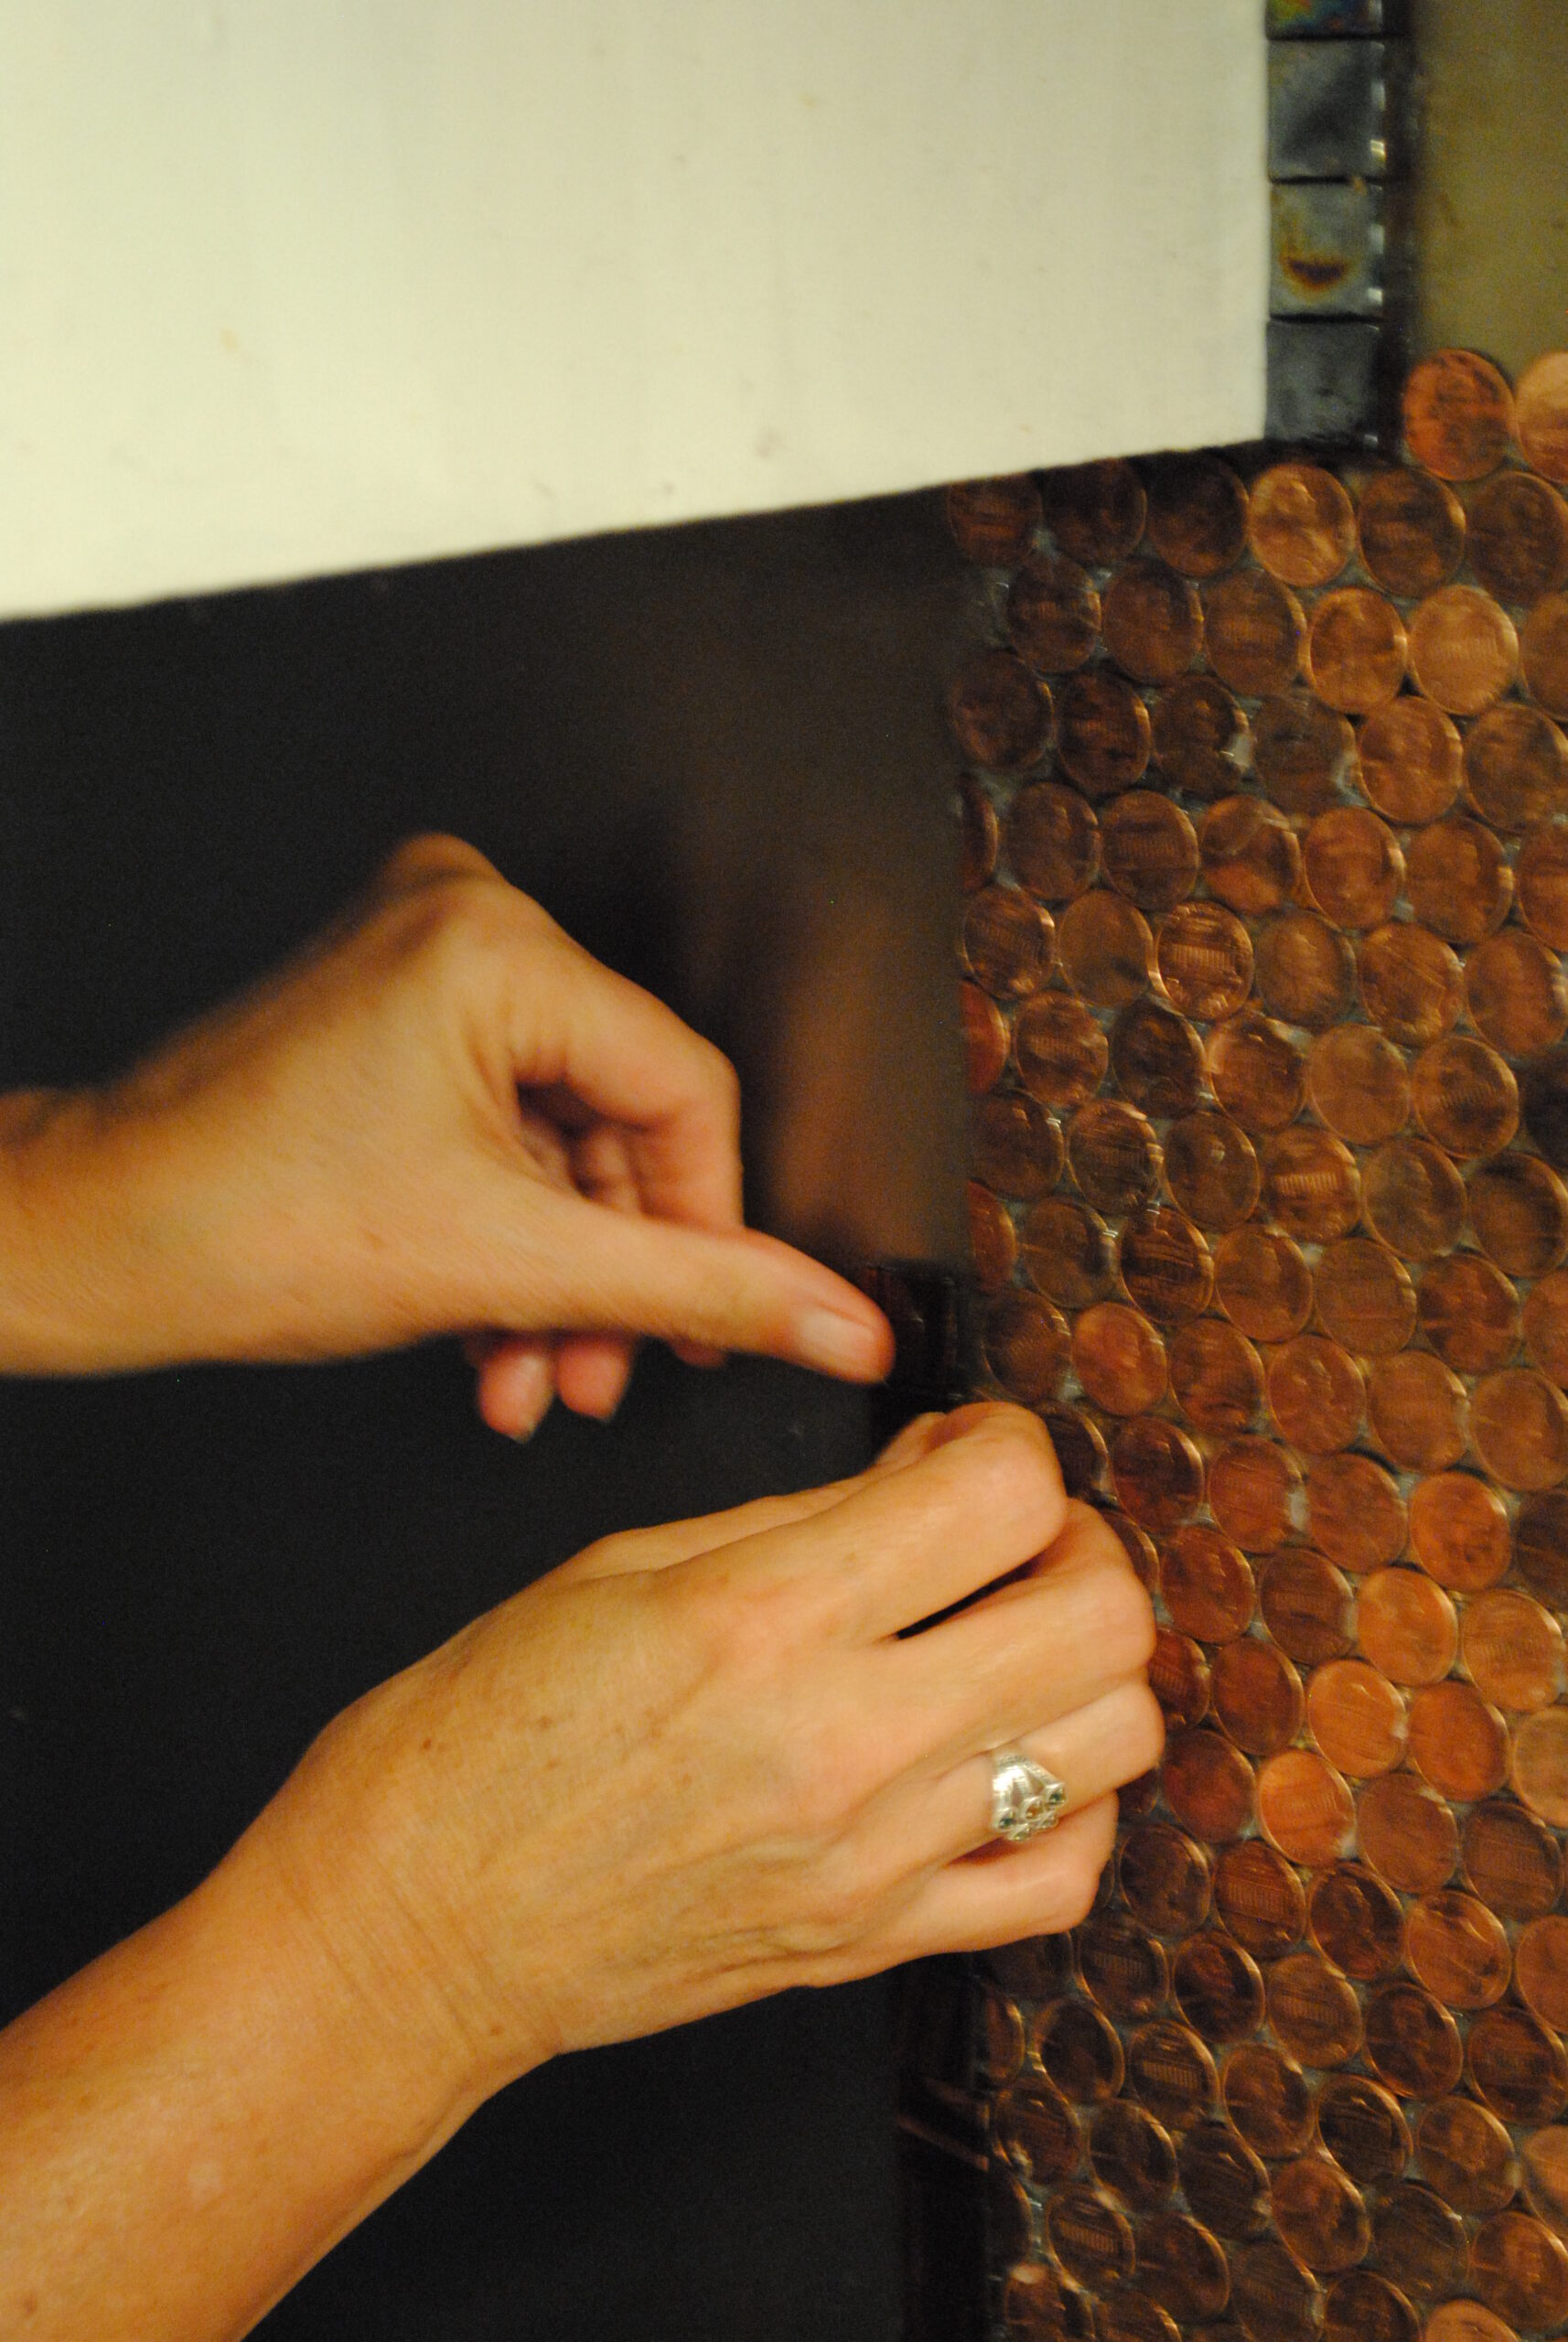
She also lined the backsplash with glass copper tiles. She used the same adhesive to apply them.
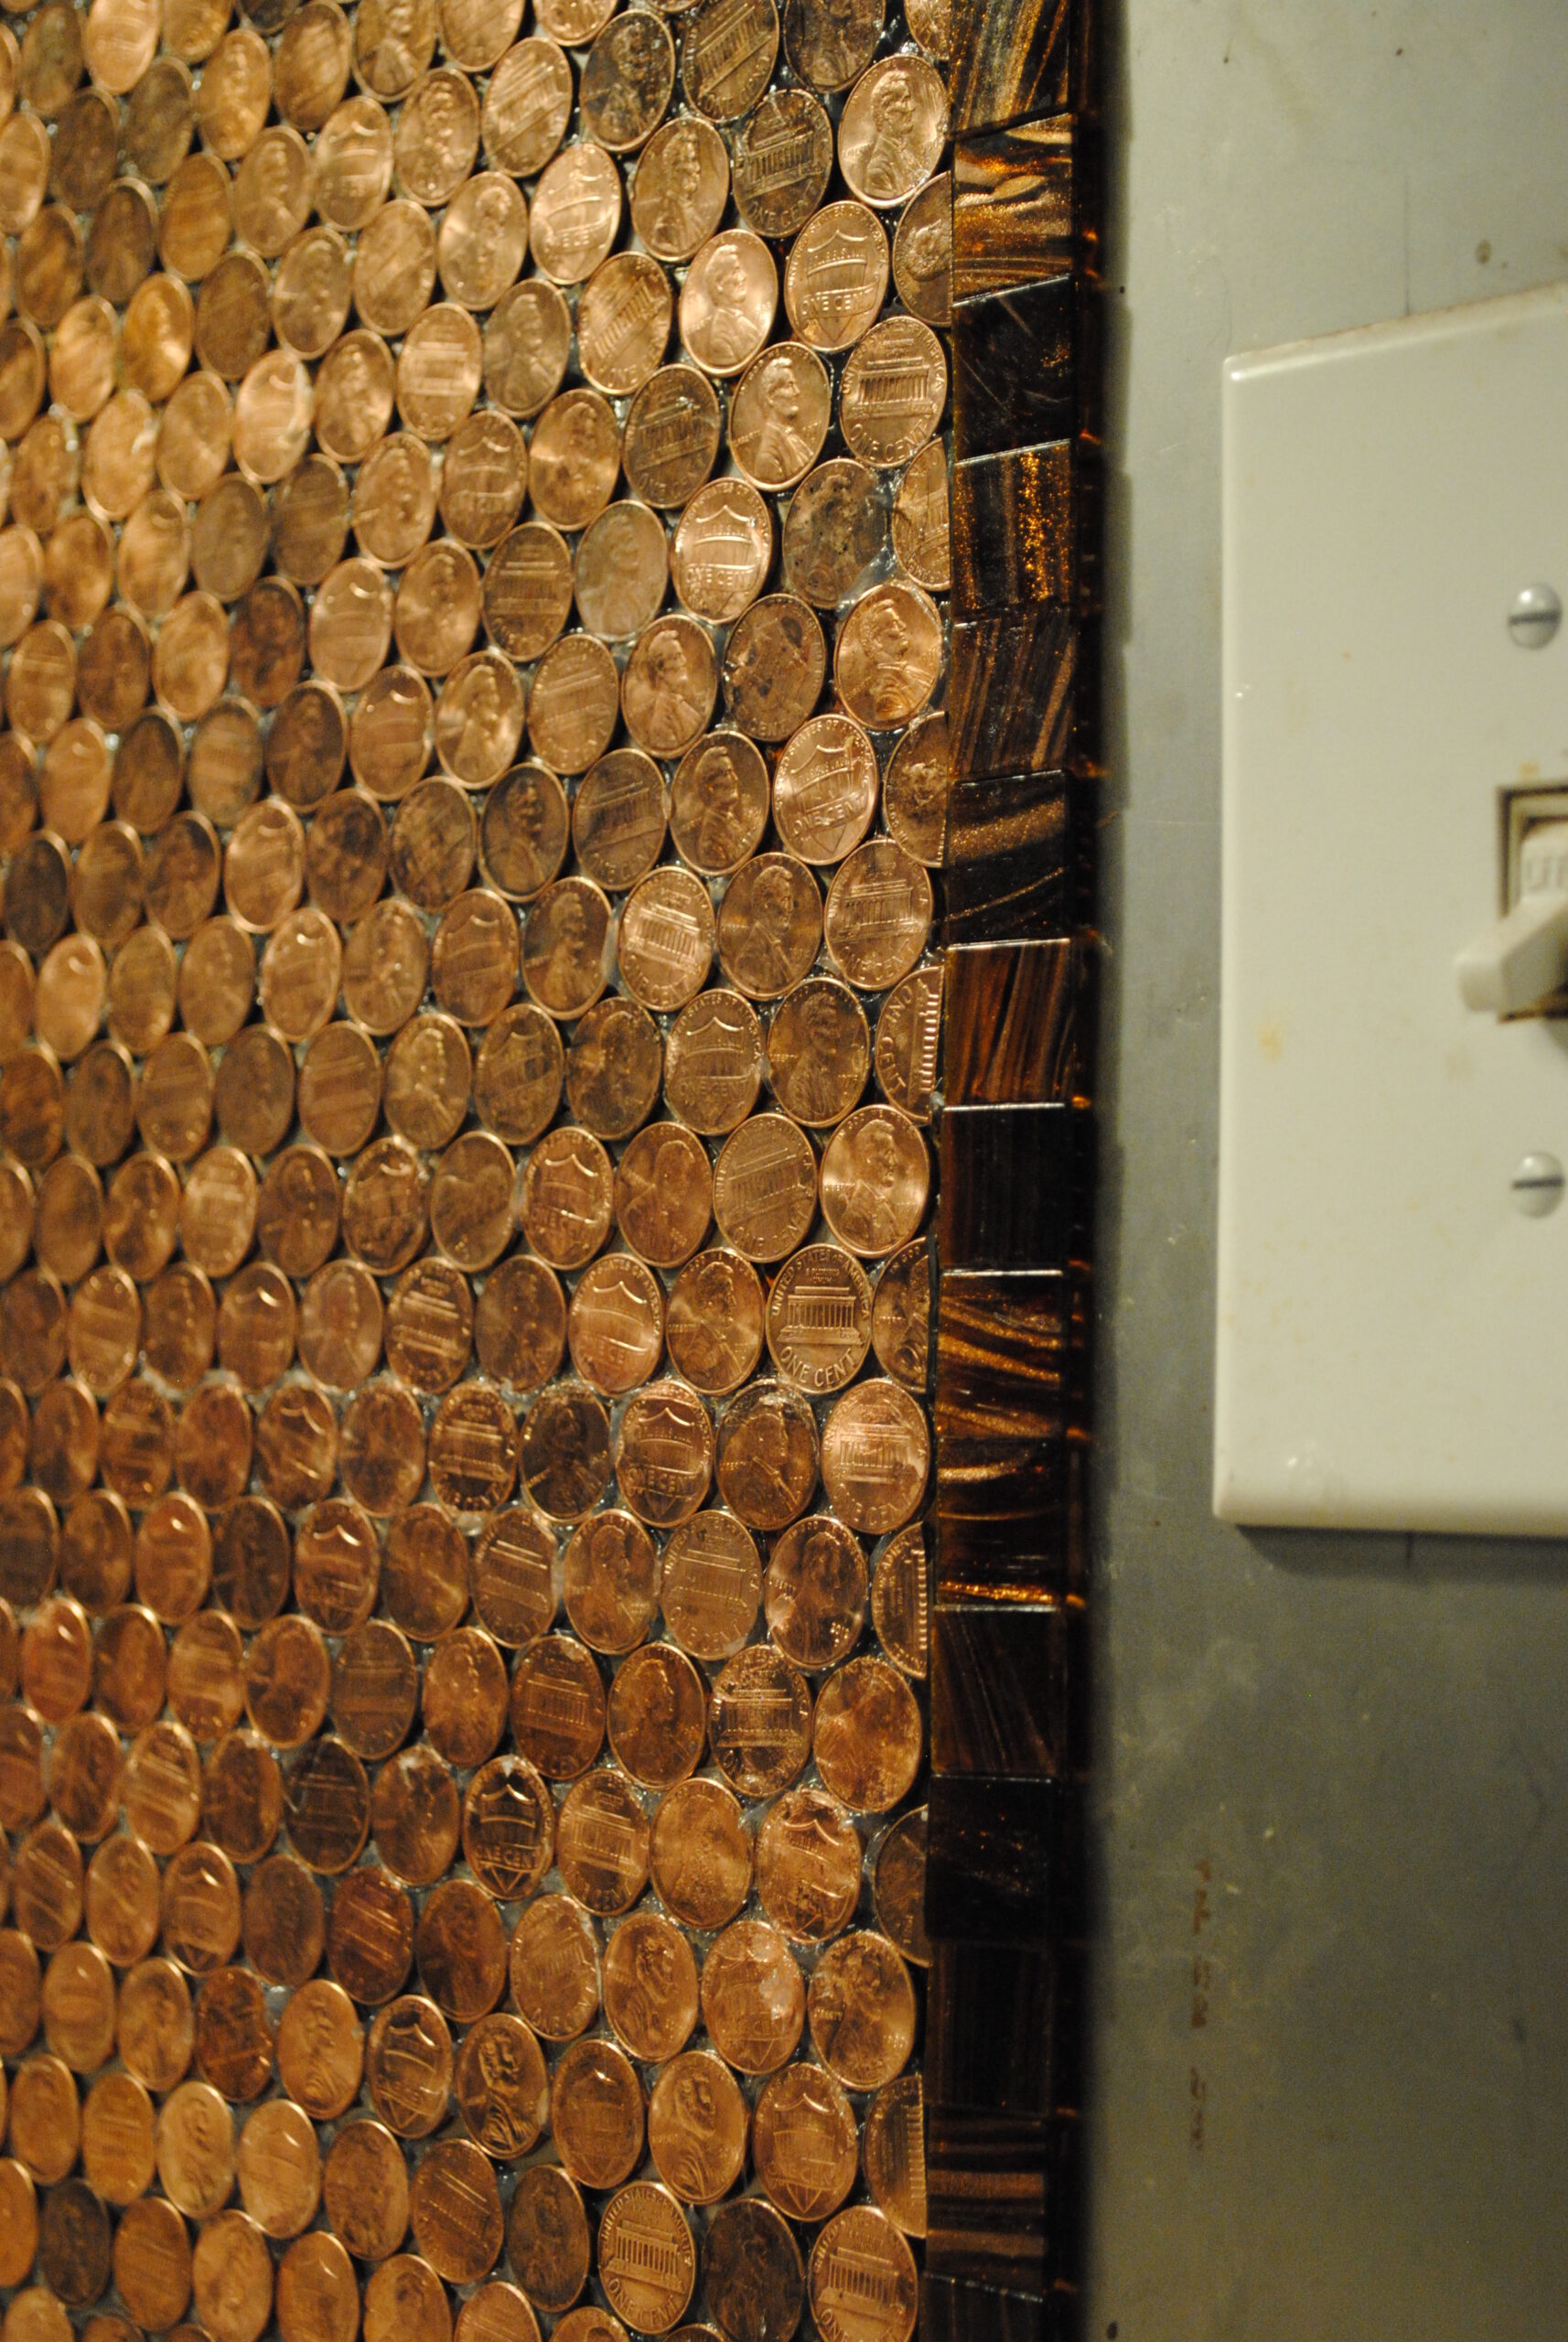
These tiles helped give a nice, clean edge and guided the placement of the penny rows.
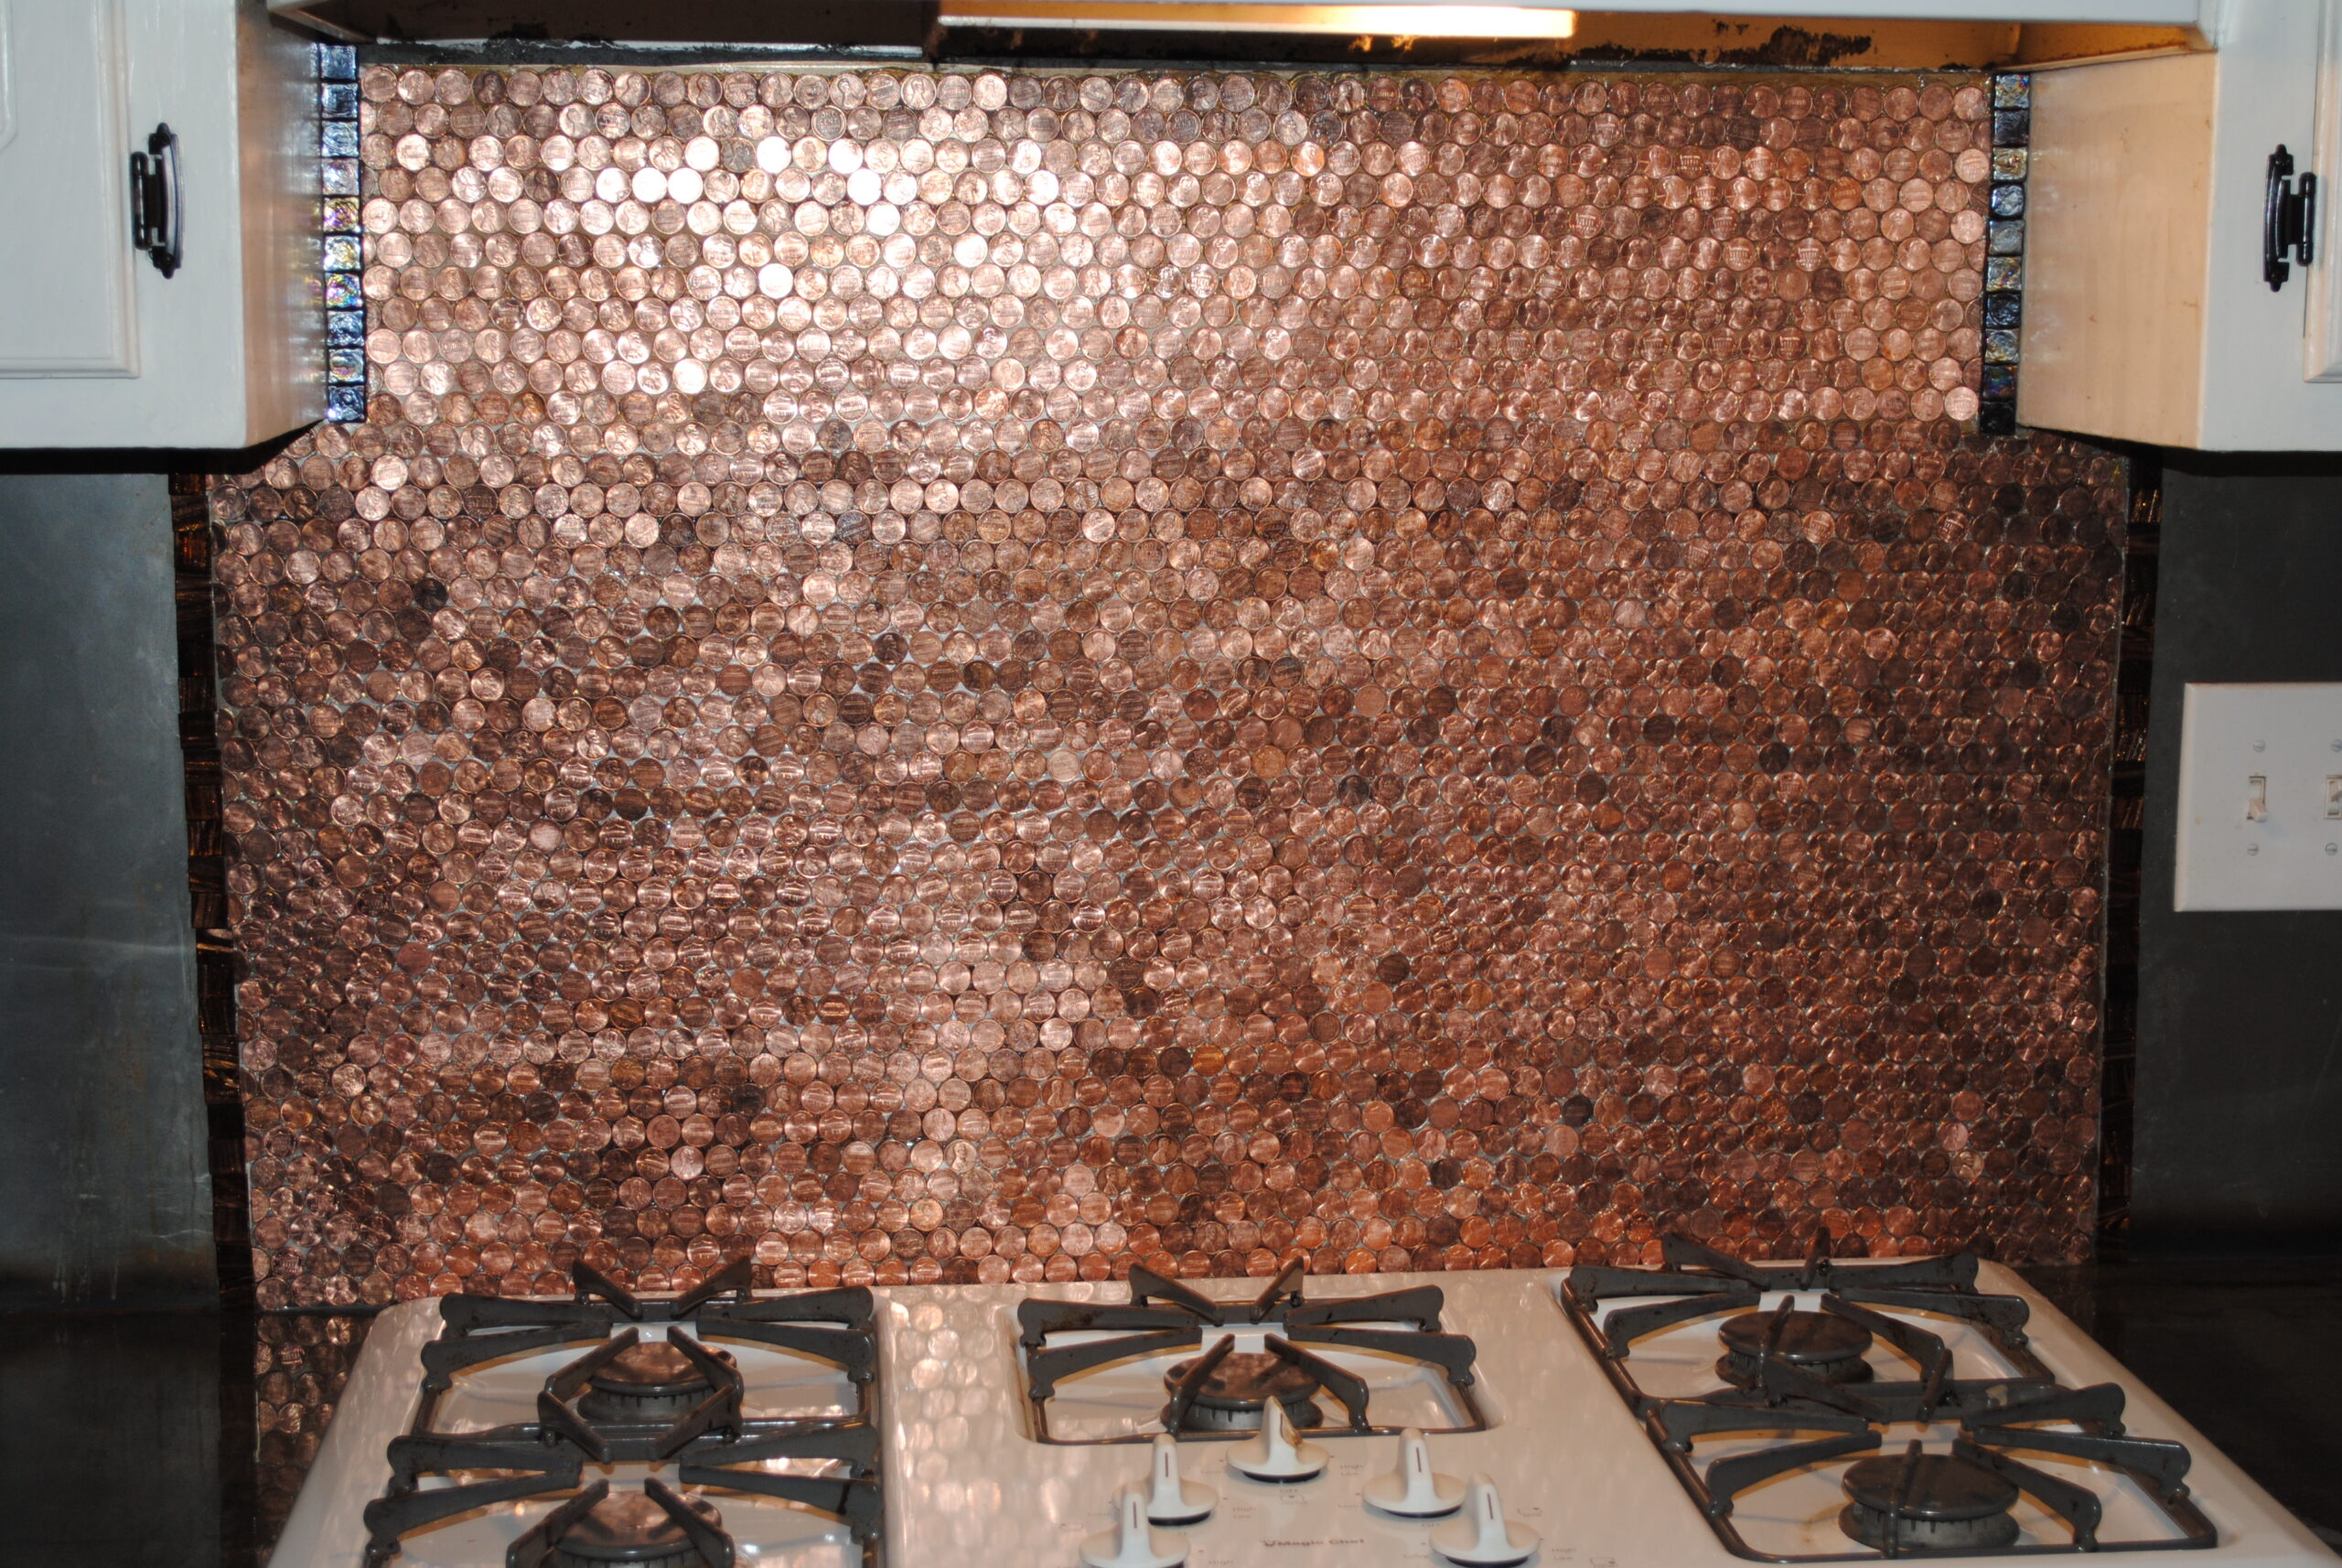
It took about 5 hours to adhere all the coins and tiles, and to halve the pennies when necessary, to create a straight edge for the ends of the rows.
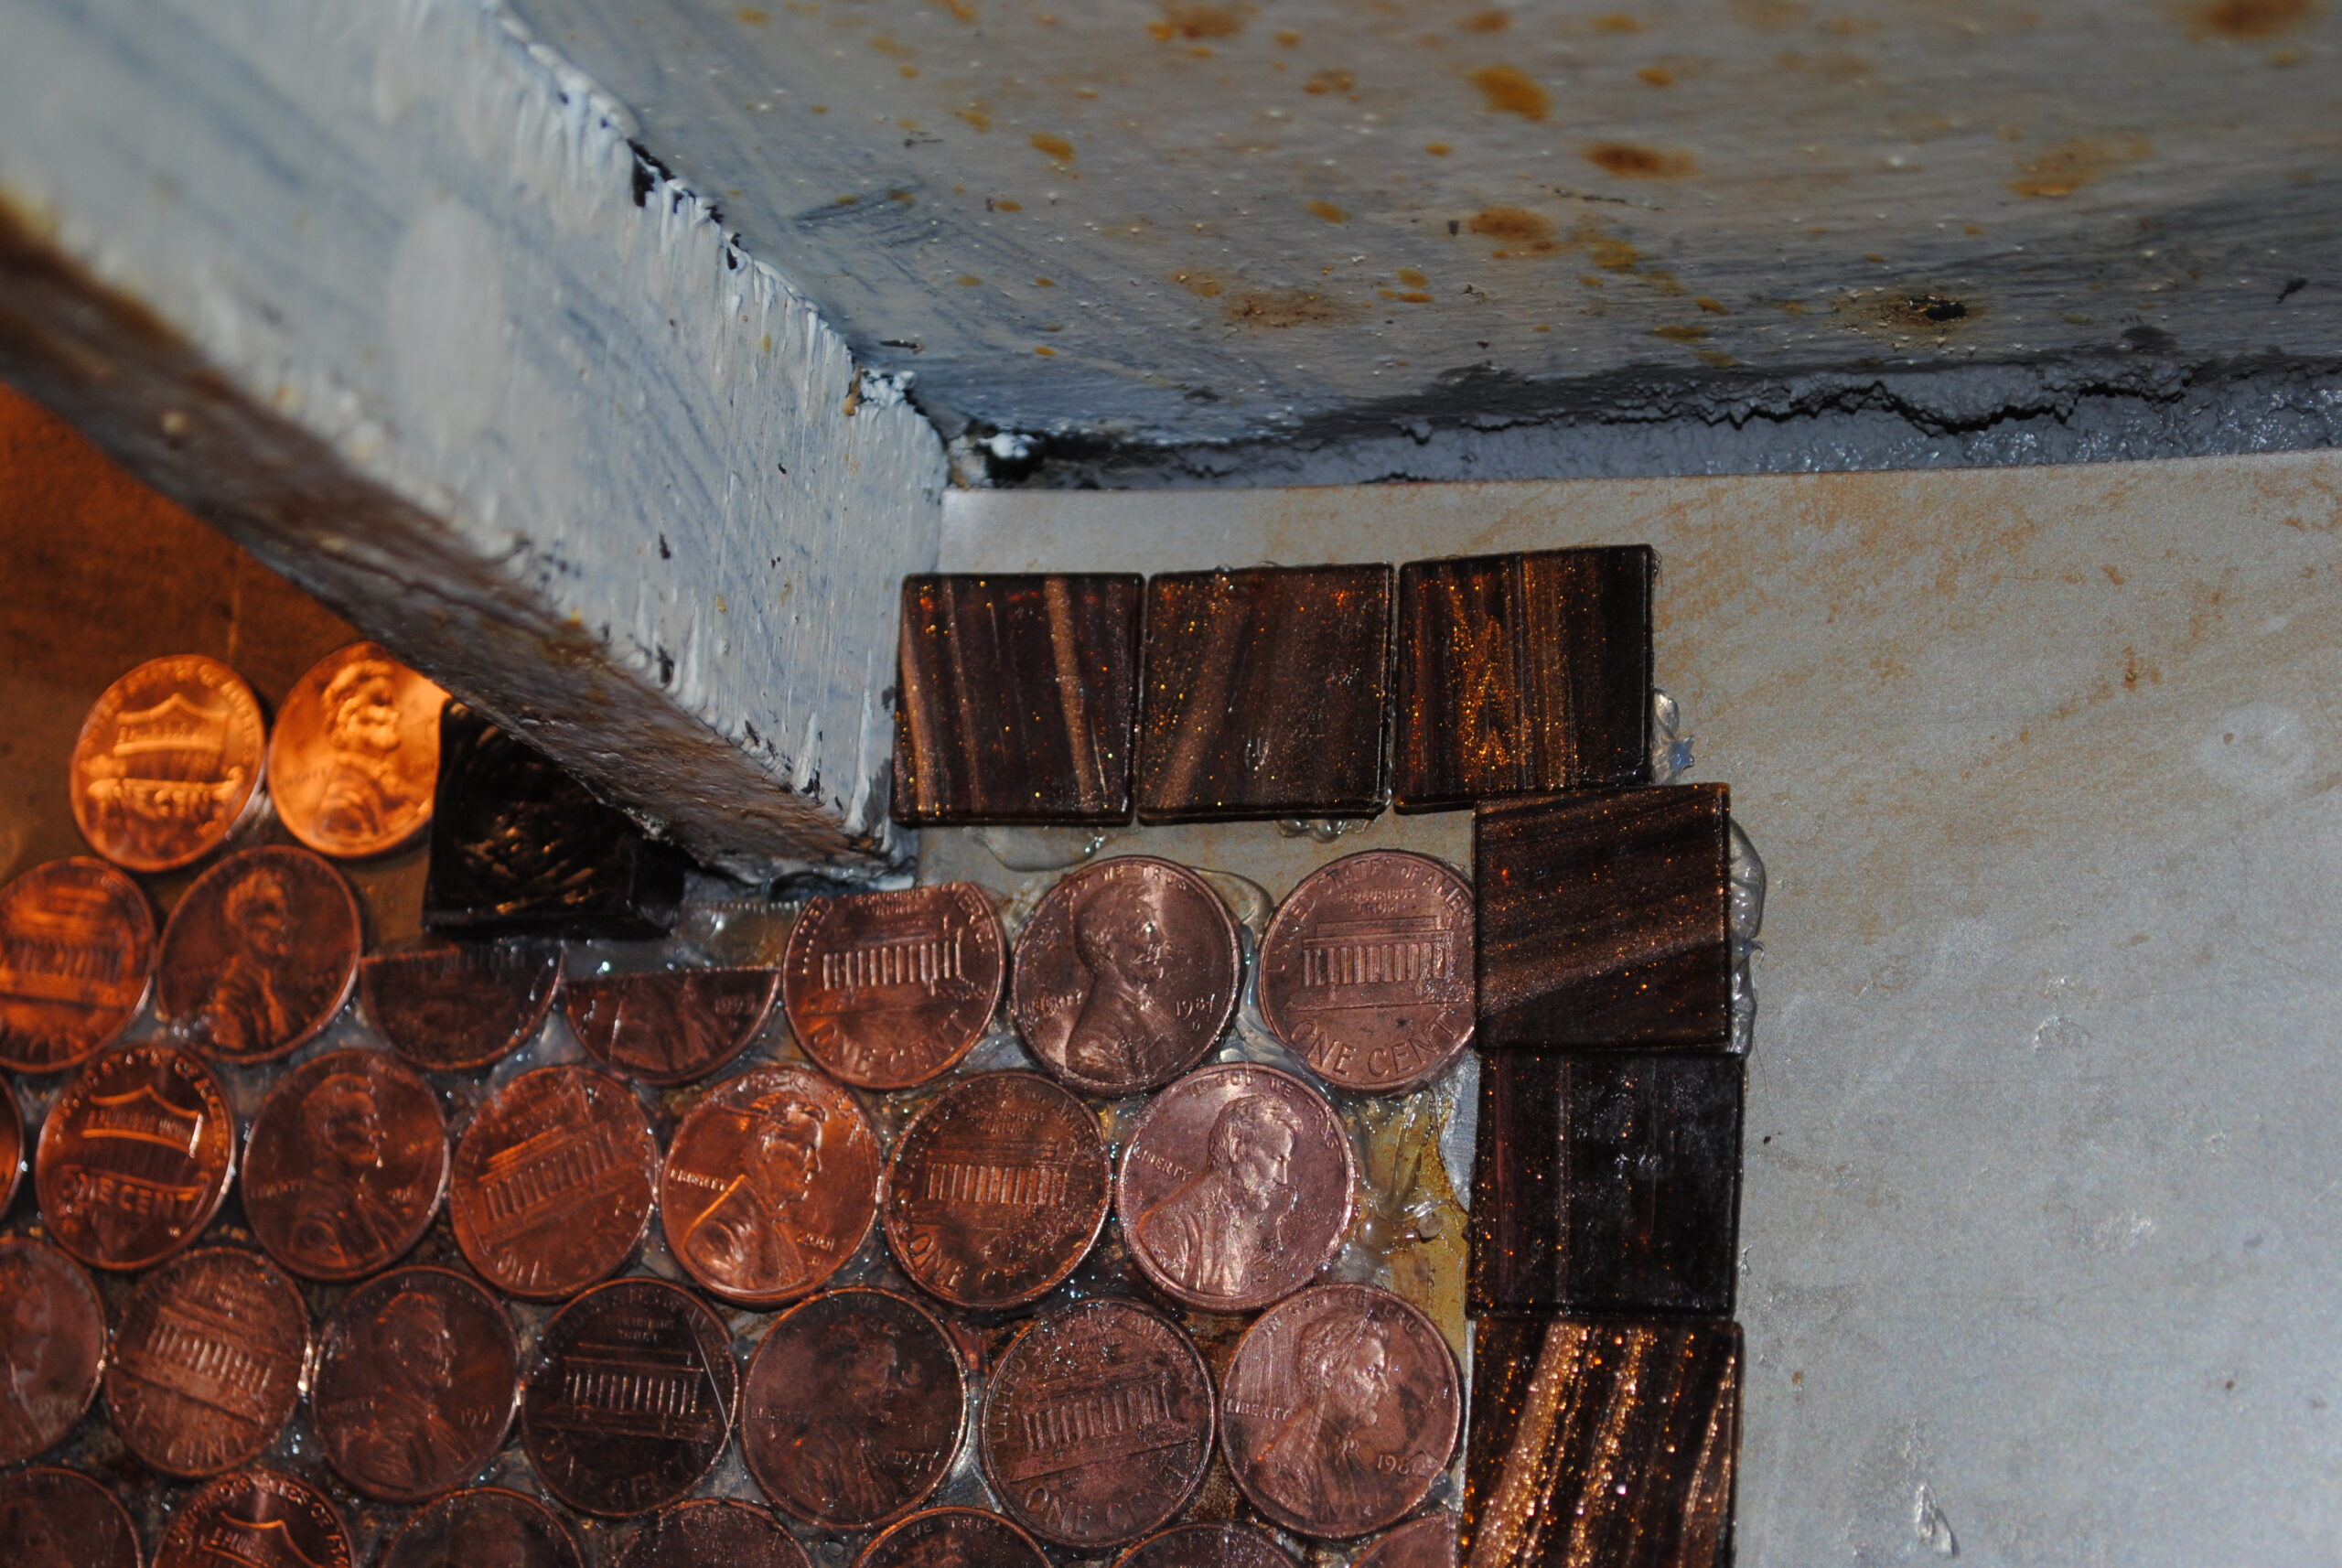
After 24 hours, the adhesive was fully cured. Next it was time to remove any excess adhesive in preparation for the grout.
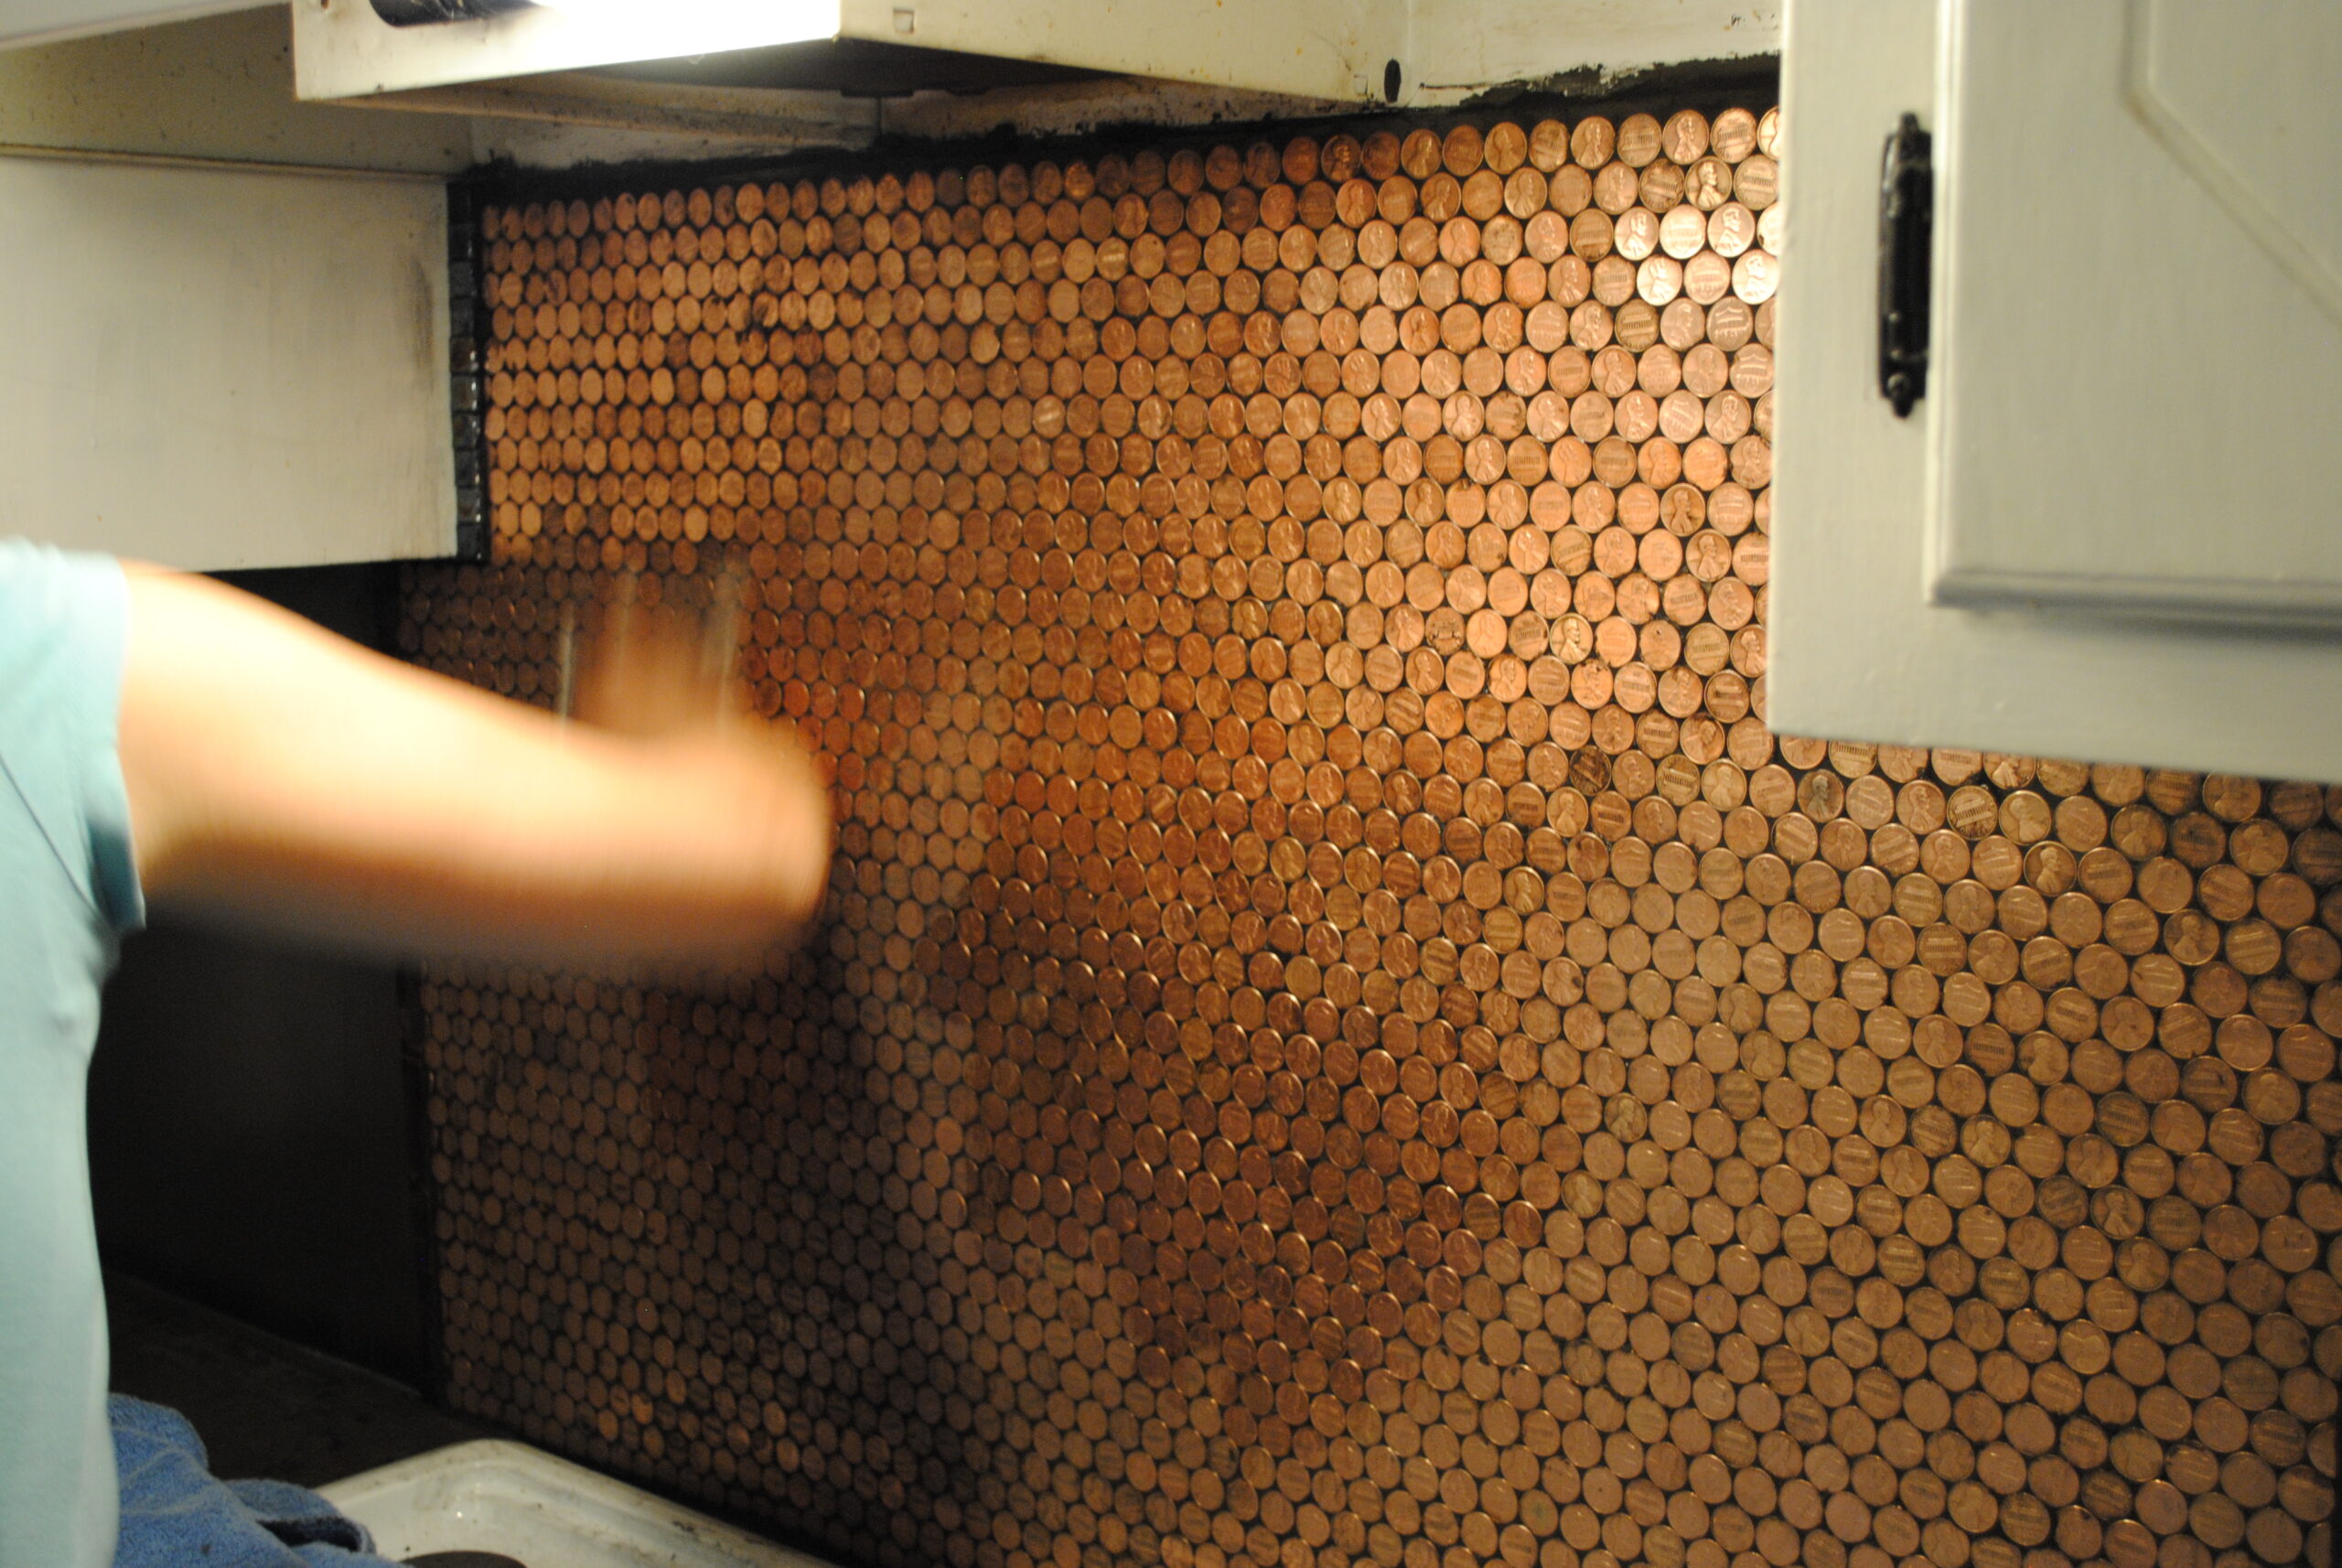
She used WD-40 to remove any remaining adhesive, let it sit for 10 minutes, then scrubbed with steel wool and a Magic Eraser. (This will also remove any leftover dirt or grime.)
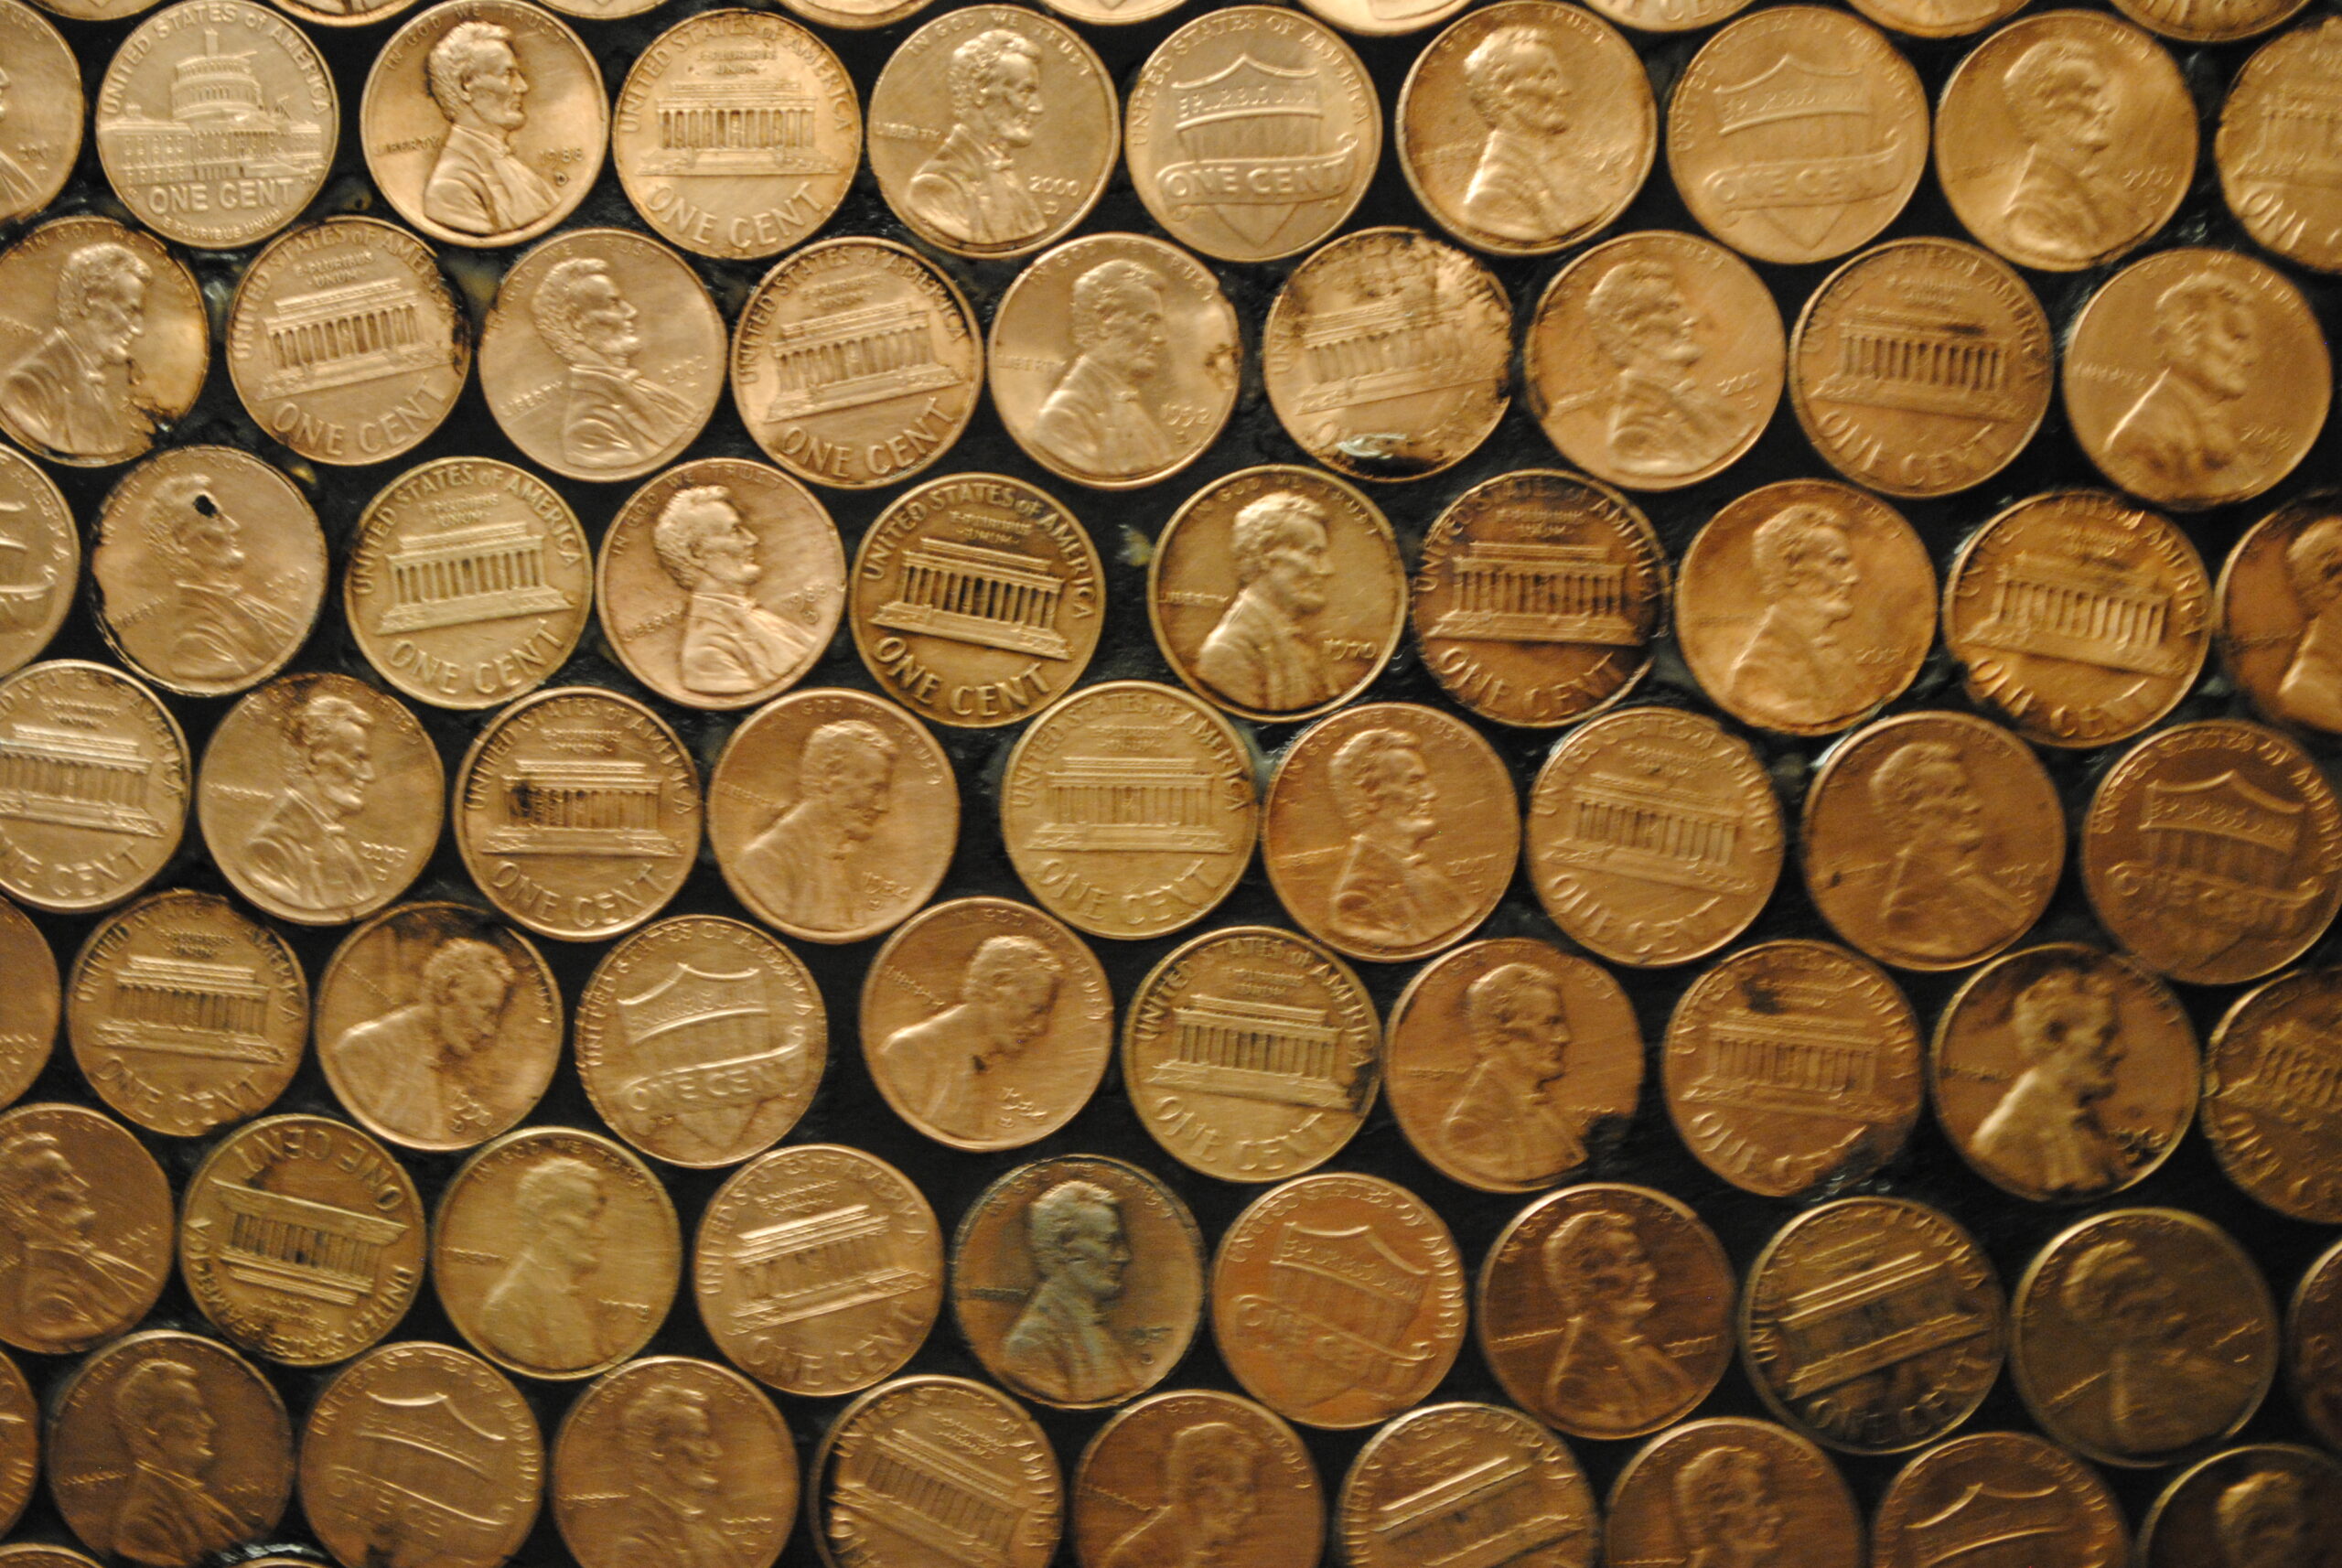
Next, she mixed and applied charcoal non-sanded grout.
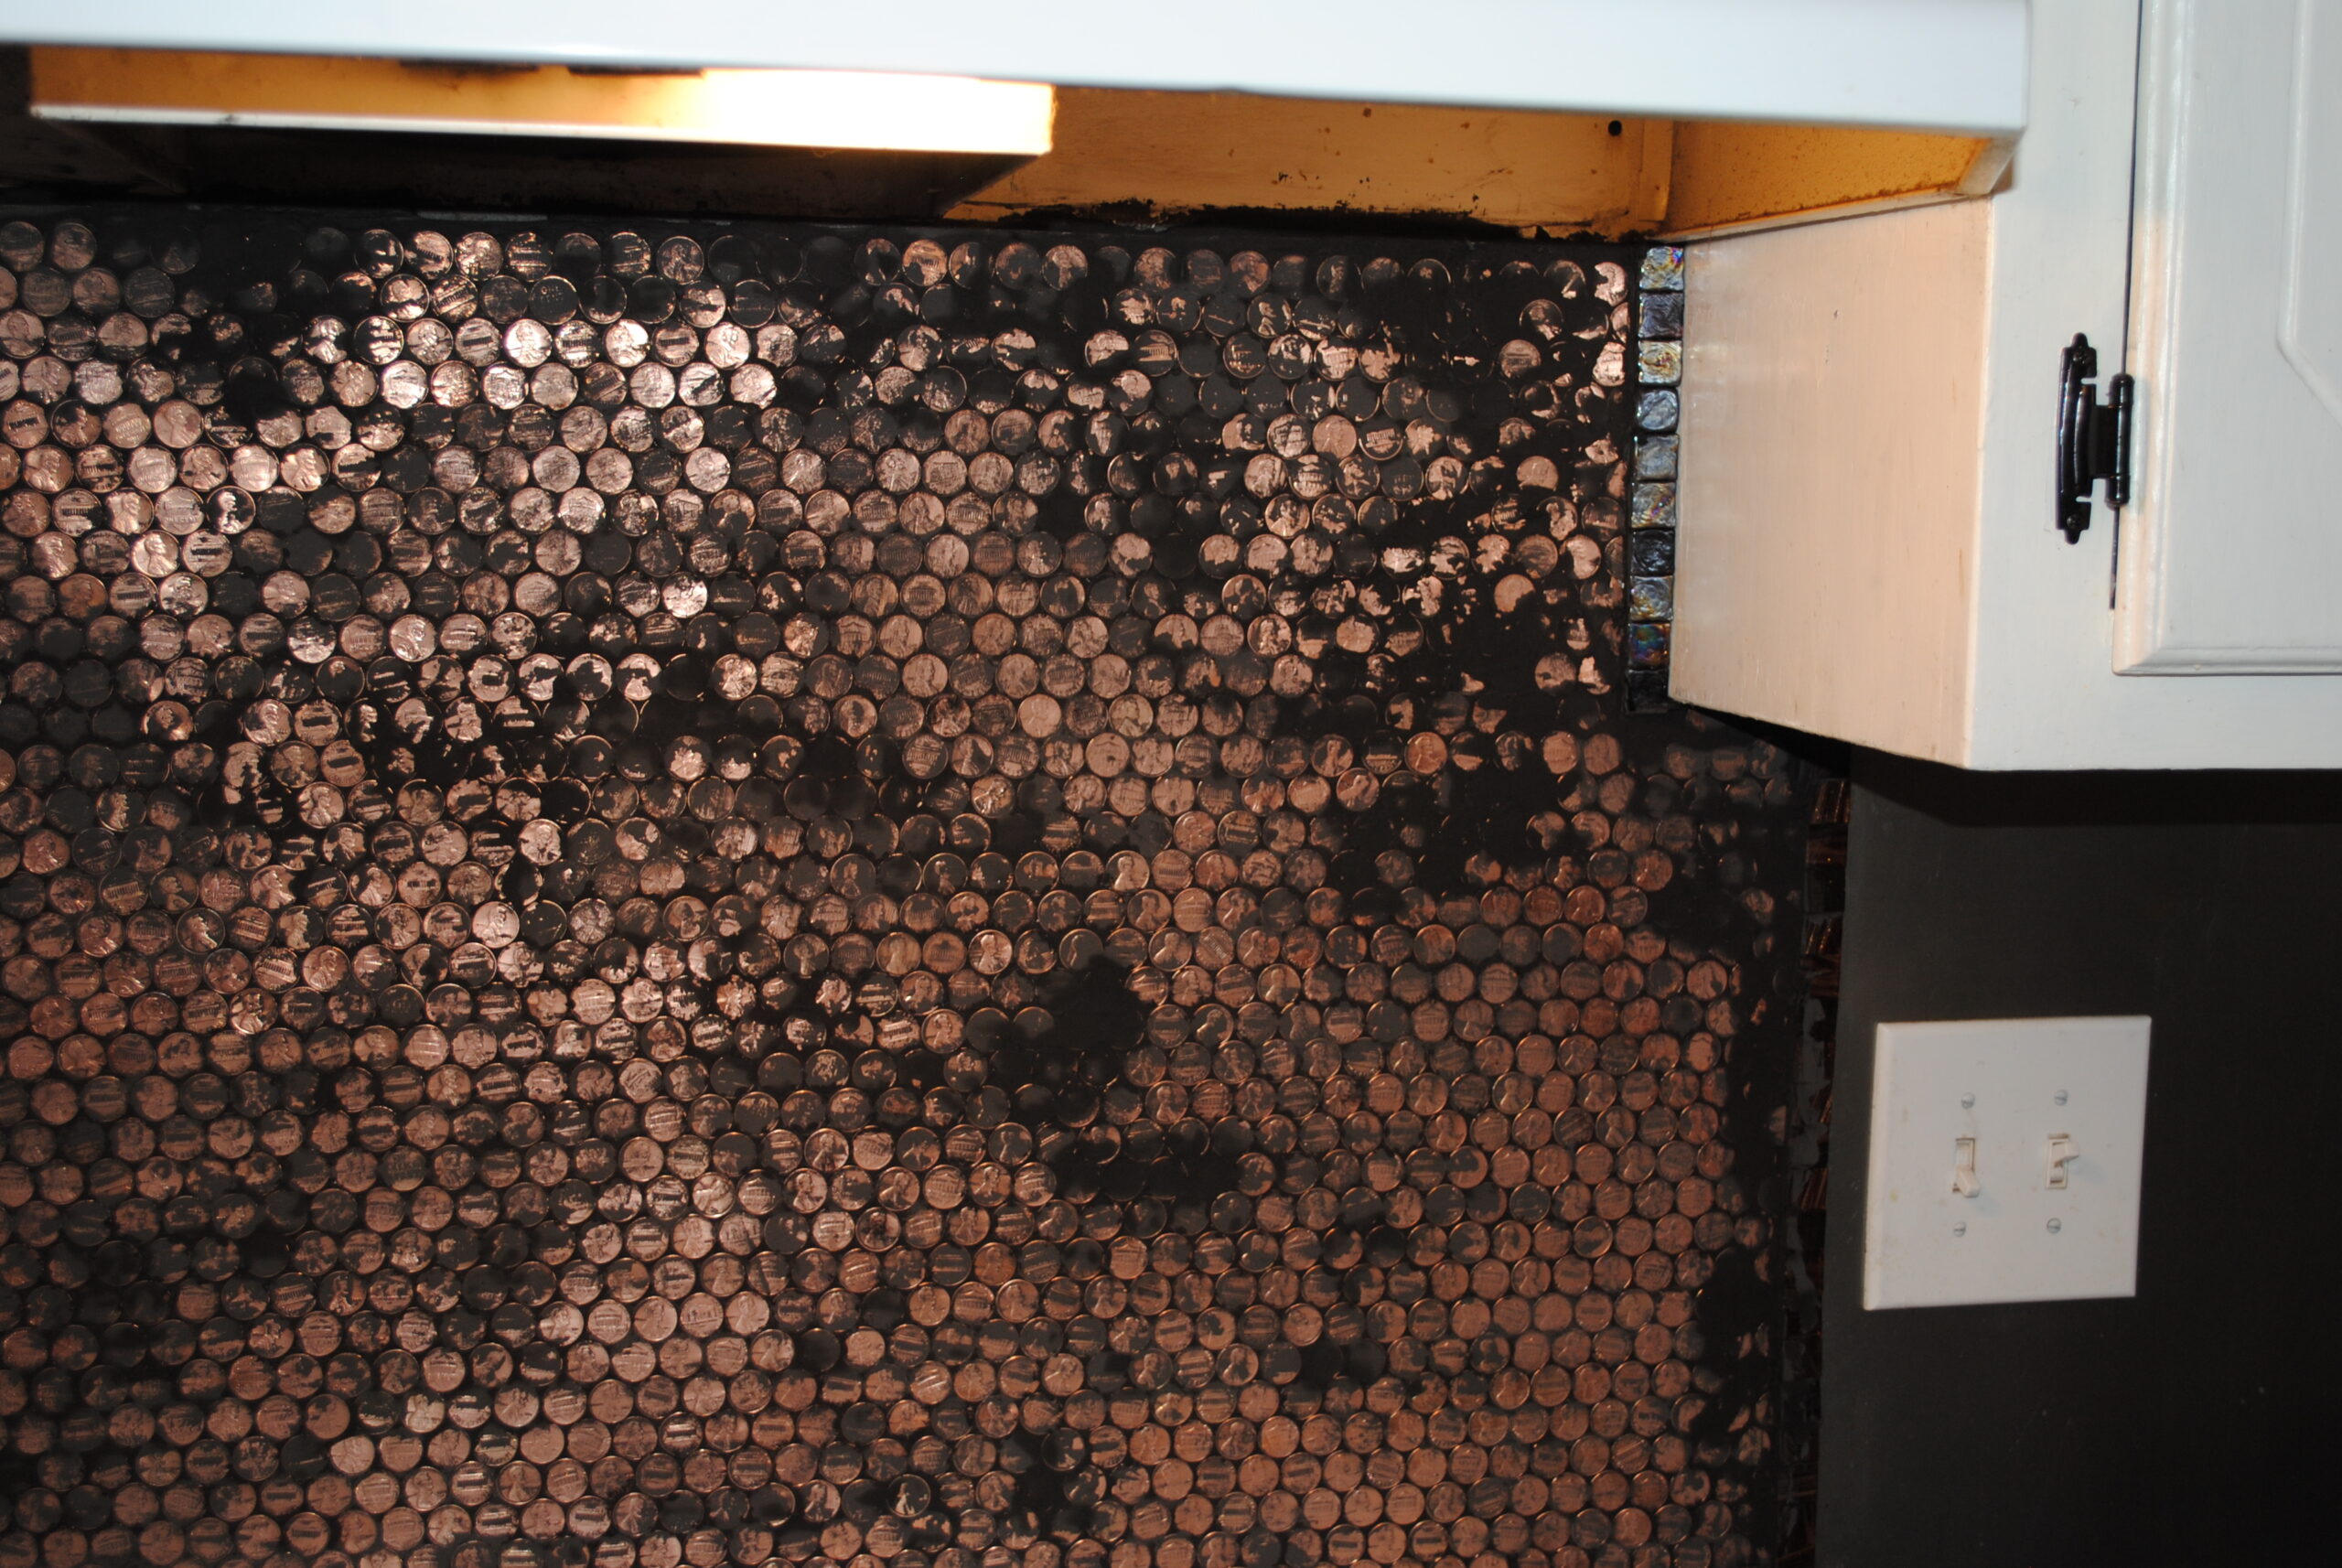
It took her about 10 minutes to completely grout the backsplash.
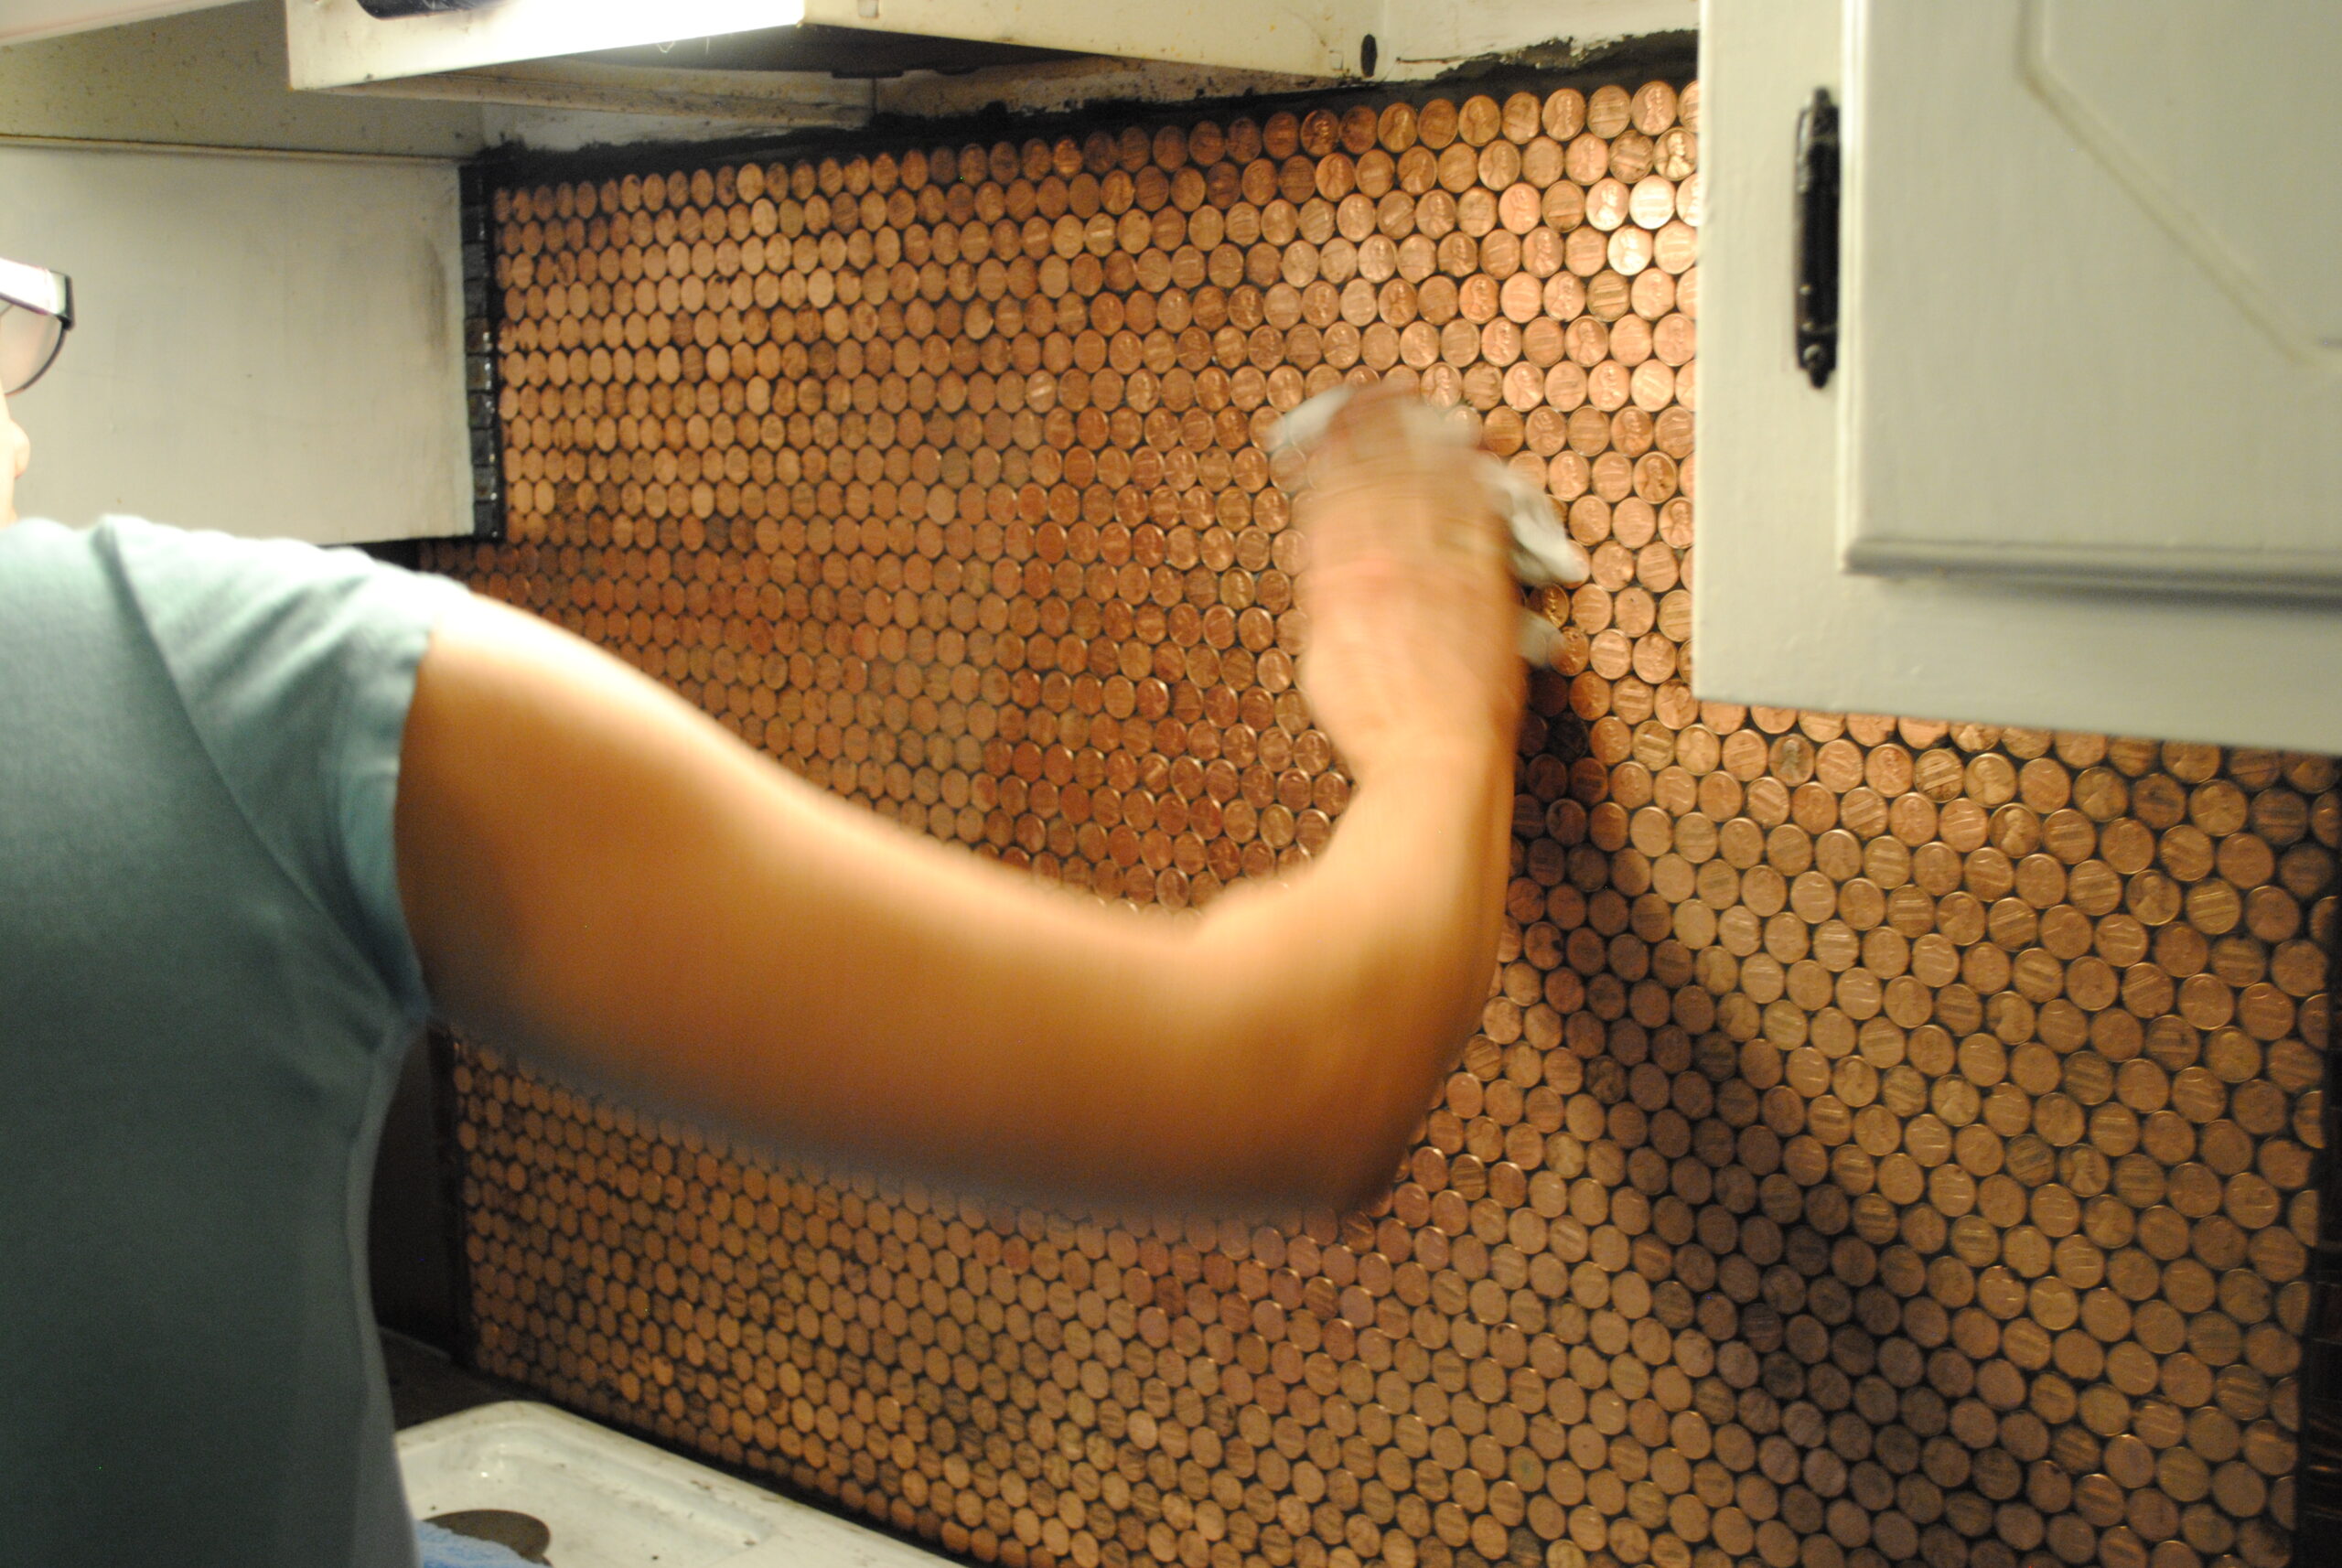
After letting the grout set for 20 minutes, she took to wiping it with a wet cheesecloth so as to not pull uncured grout out of the seams.
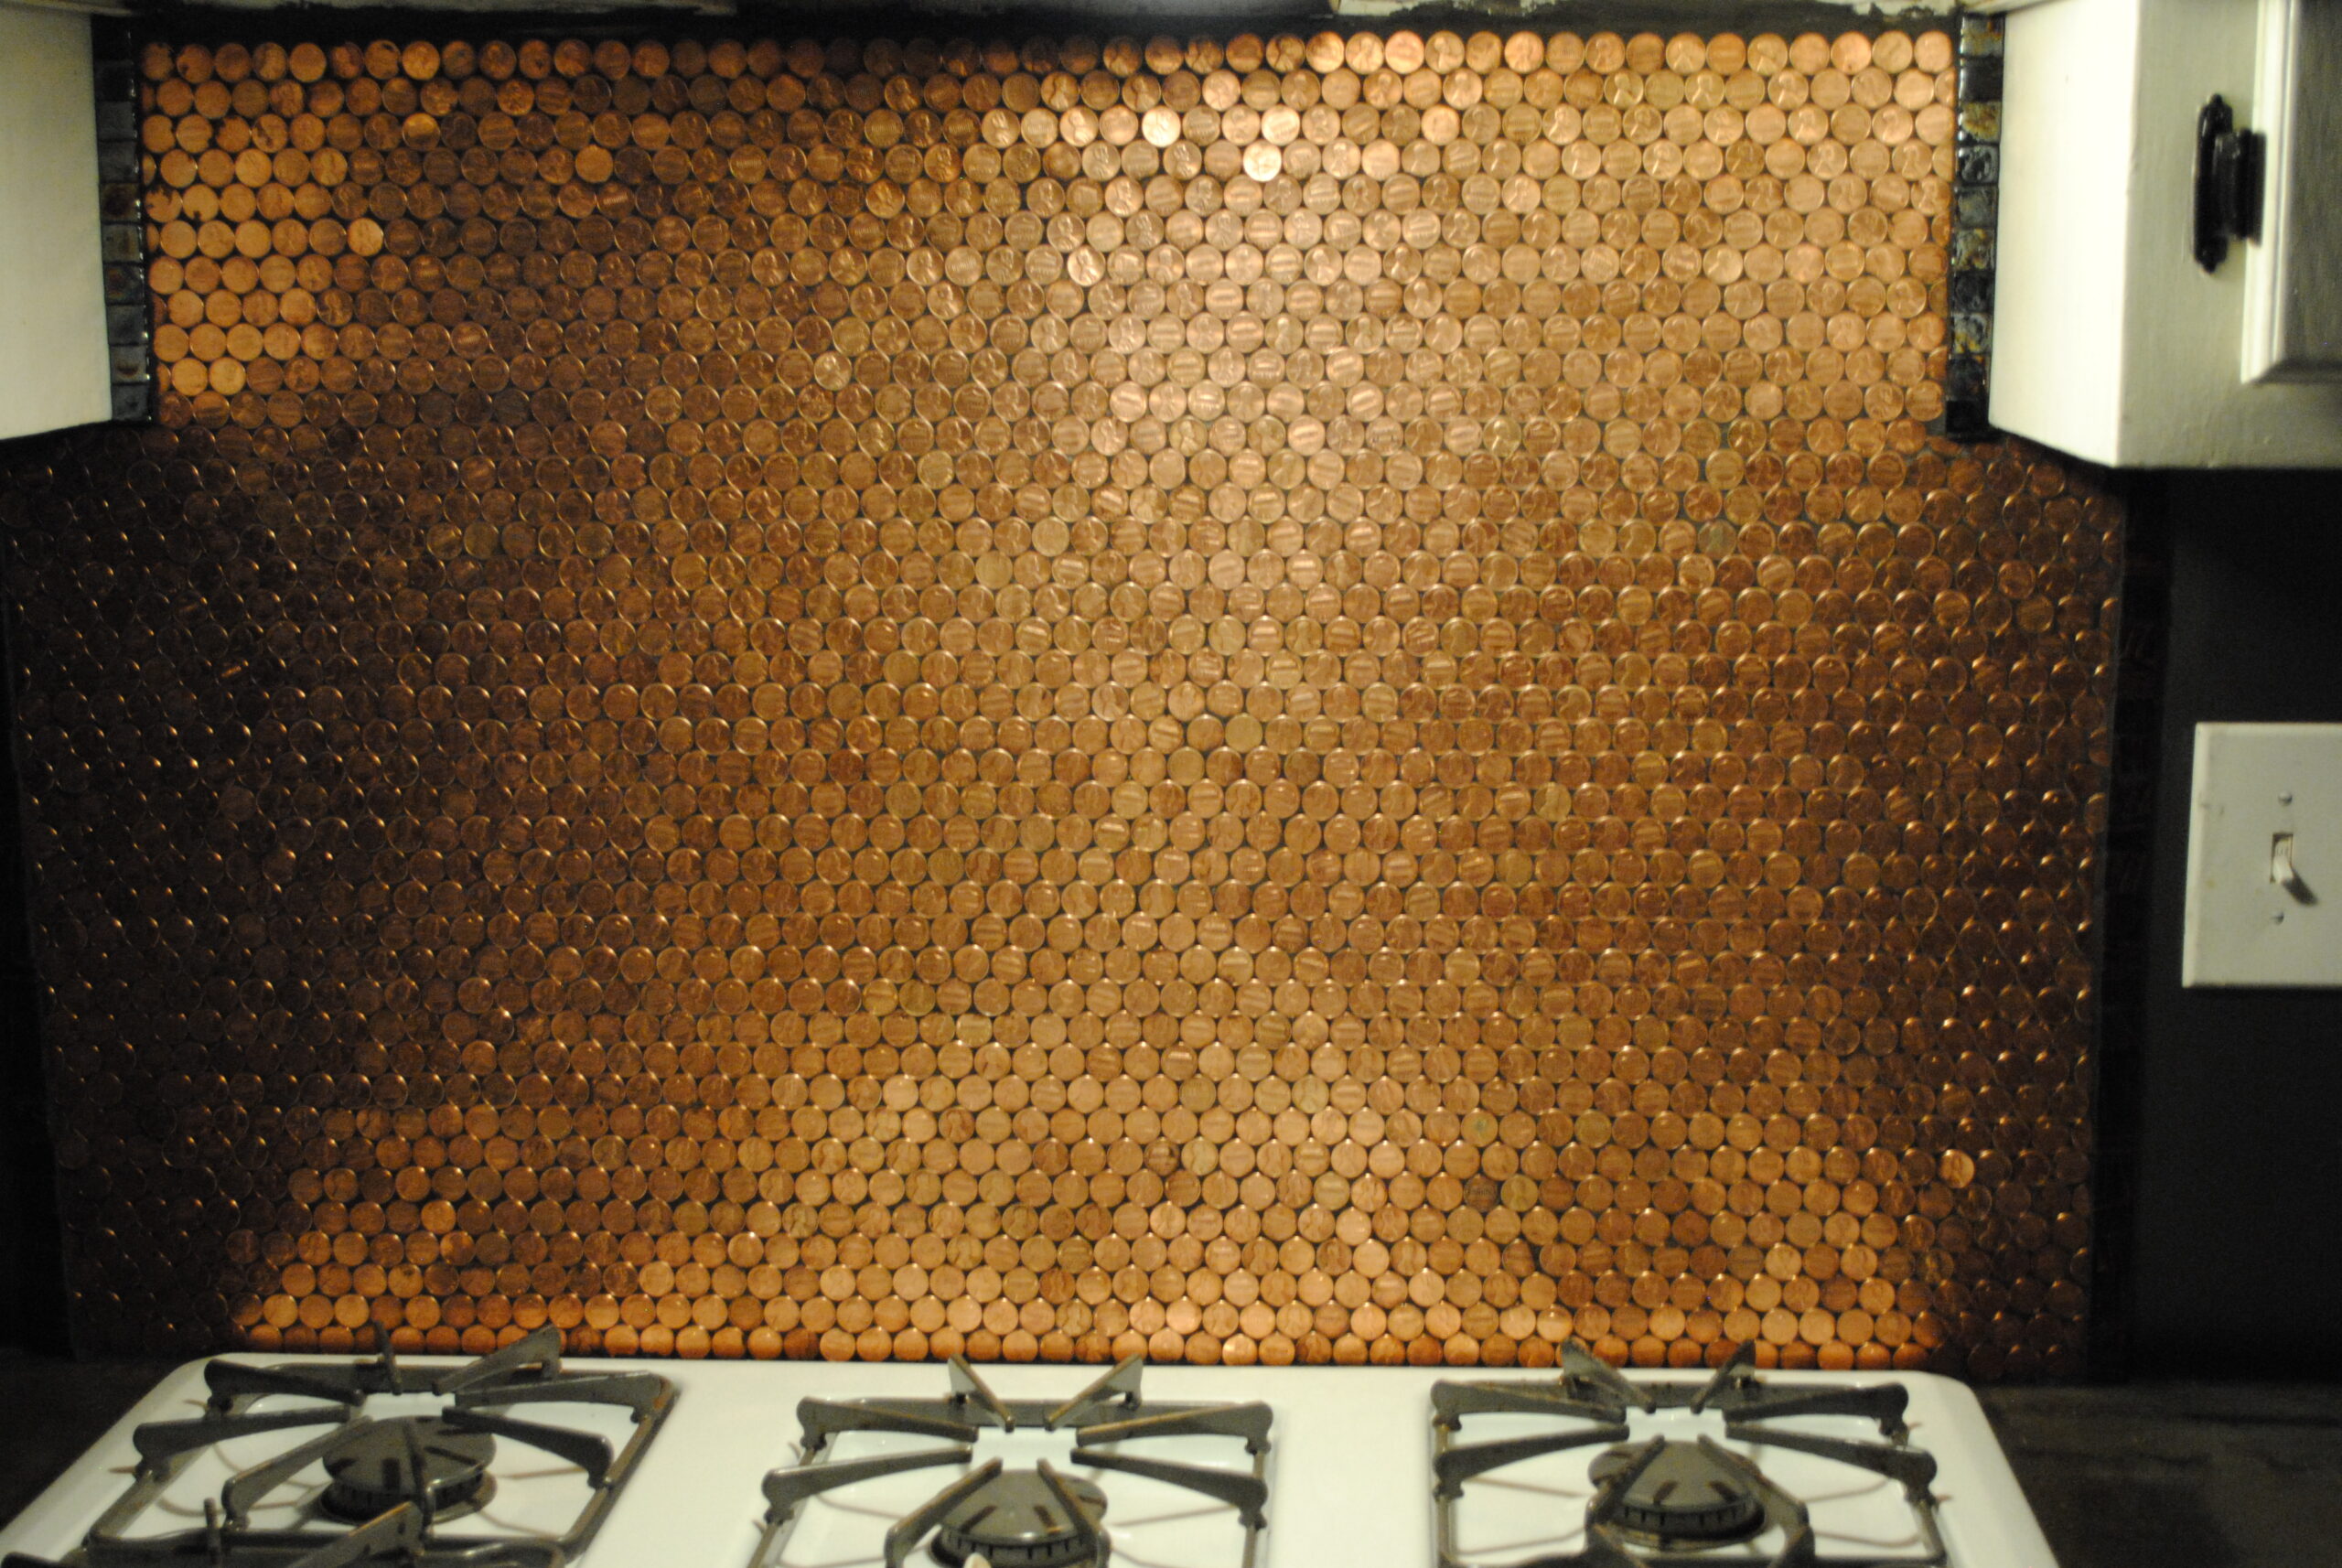
She then wiped it all down with clean, damp cloths, then did another round with her Magic Eraser. To be safe, she didn't cook on her back burners for 24 hours.
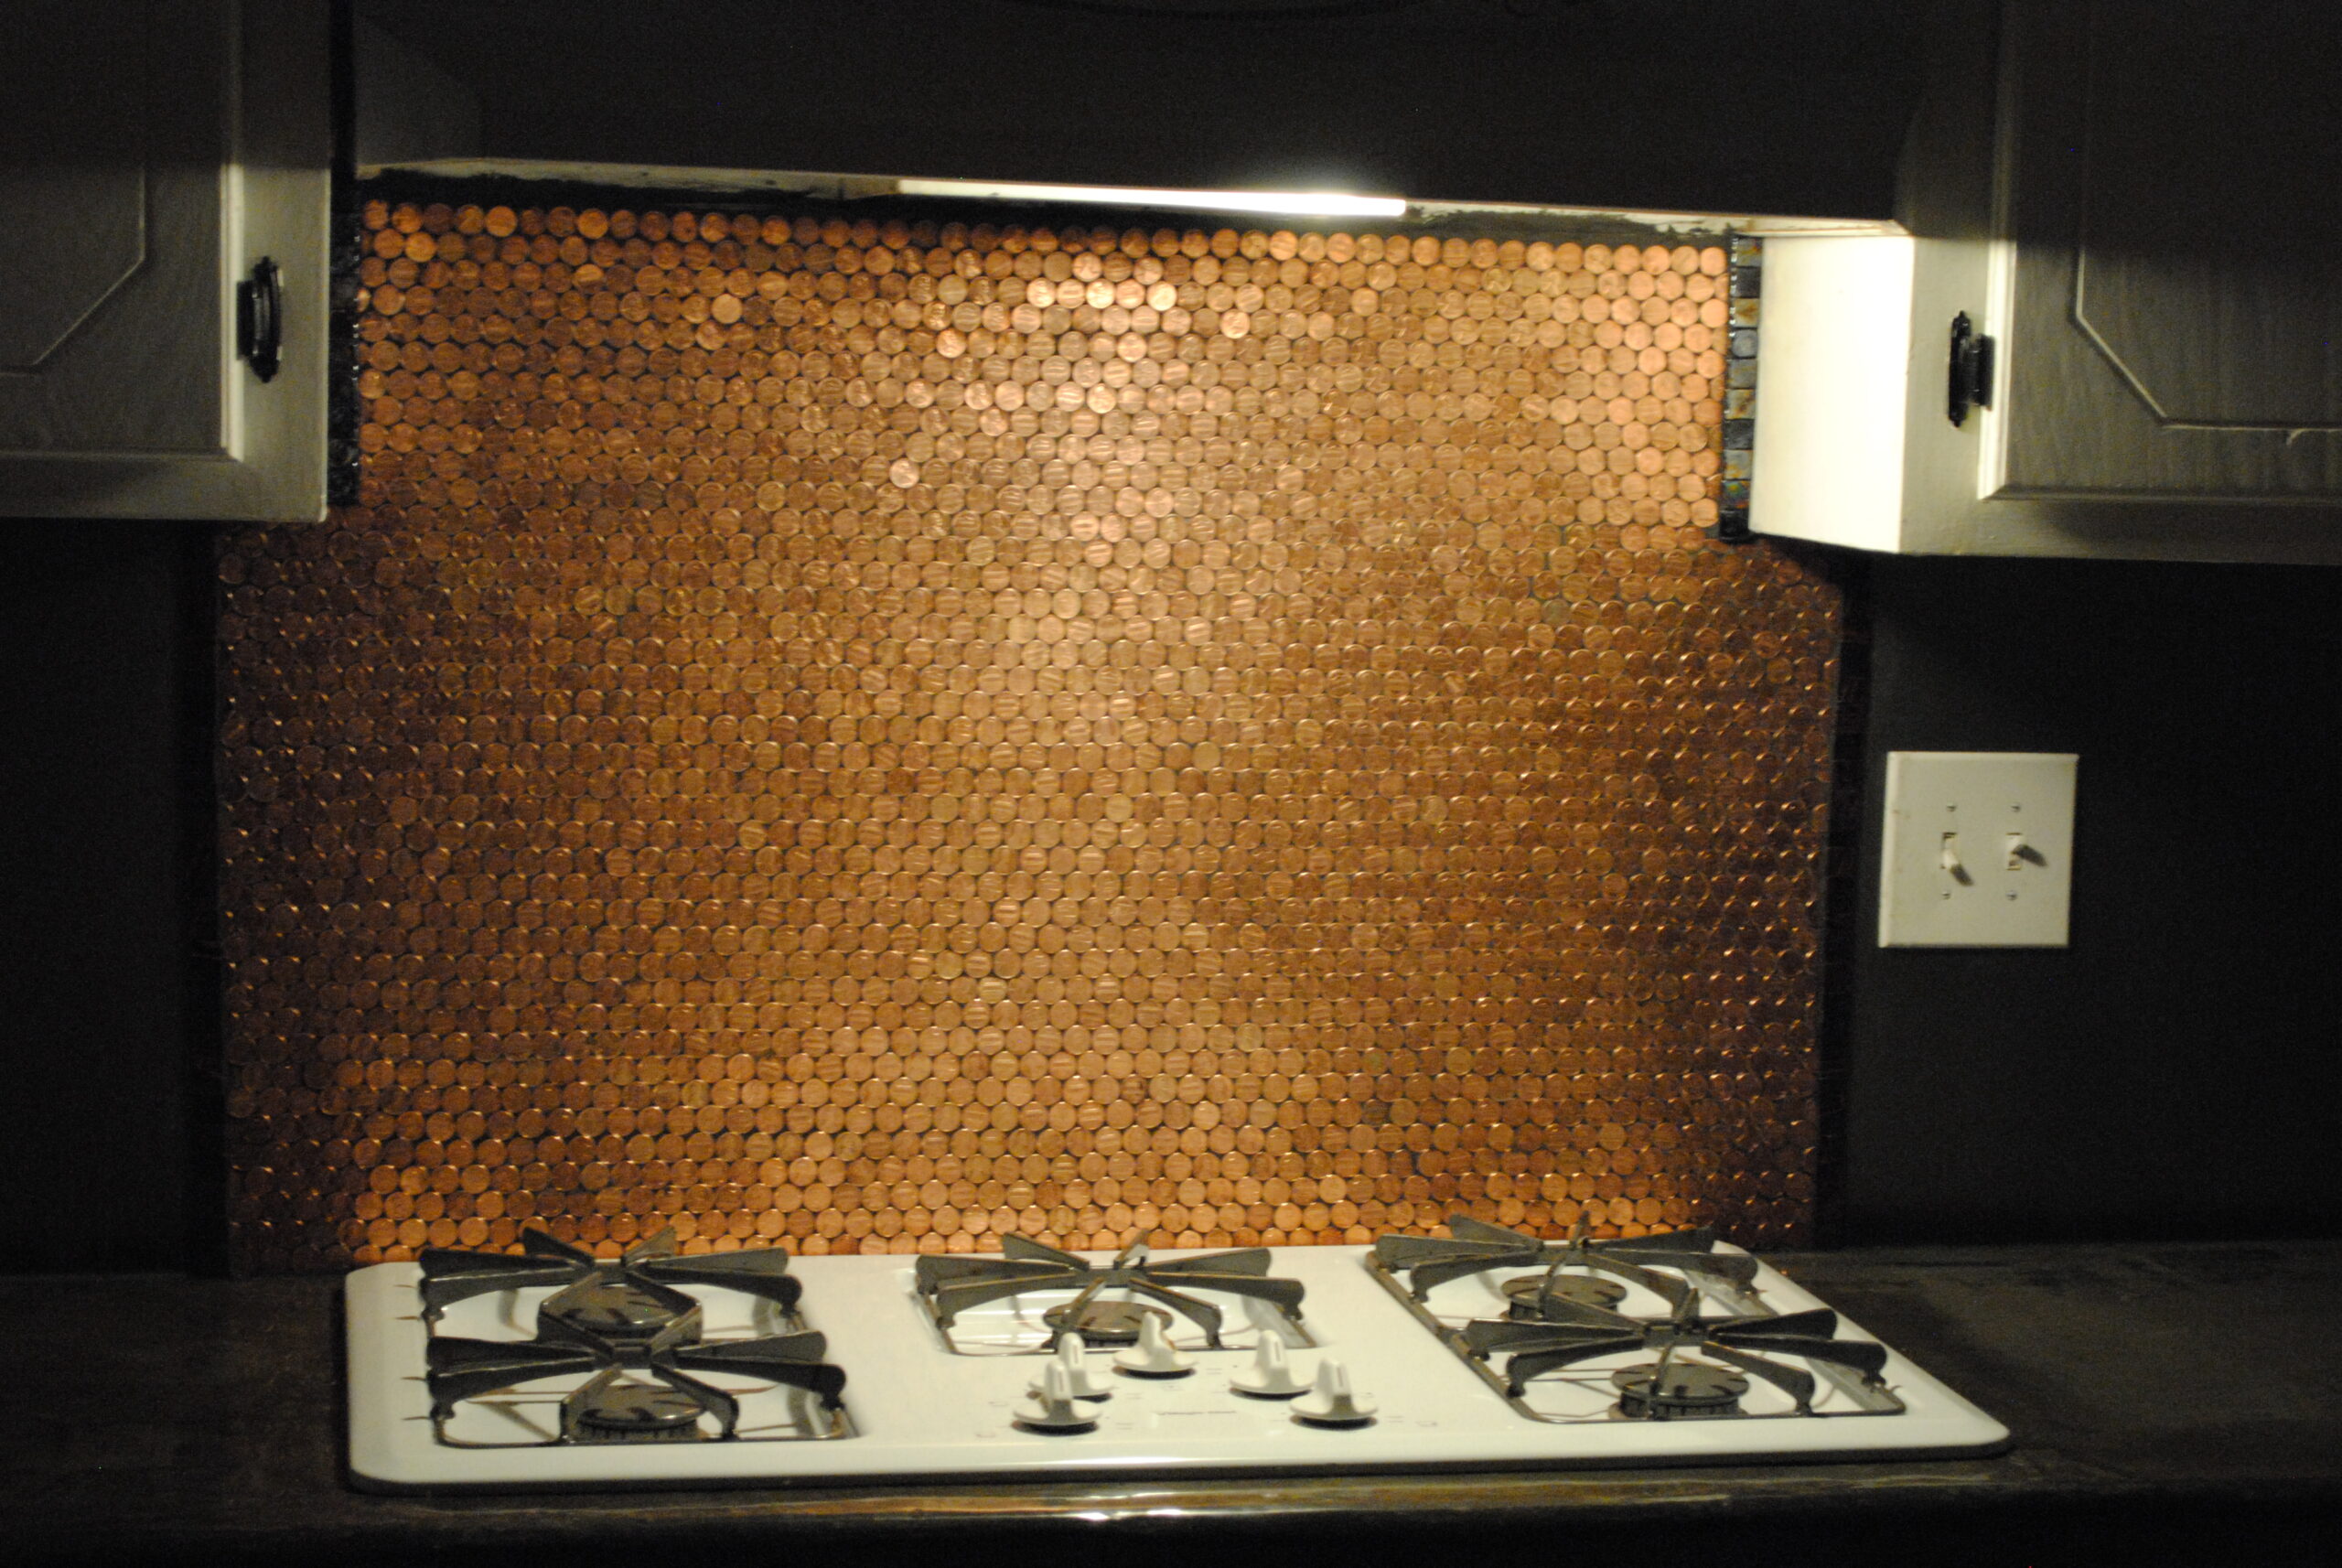
Now her kitchen has a beautiful copper glow! Guests love to spot unique pennies, and she loves to admire her shiny backsplash every day.
If you love this creative penny backsplash, please SHARE on Facebook!


