You know how much we at LittleThings love it when some crafty, intrepid homeowner turns a humble school bus into a one-of-a-kind tiny house. After all, the results are always just so adorable.
But what's even better than a school bus fancied up to look like a sweet fairy-tale cottage? One that also includes another time-honored DIY favorite: the handmade countertop.
Reddit user TheBusExperience combined these two favorites when he bought a 1996 Ford school bus for $3,200.
He spent the next six months living and working out of the bus while he renovated the inside into a modern, stylish work space, complete with a bed, shower stall, toilet, desk, and kitchen. He details the process over on his website.
For the kitchen counter, he wanted something unique that would add a bit of flair to the otherwise traditional and clean wood-paneled interior.
To create a custom counter, the first thing TheBusExperience did was head to the bank, and not just to get cash for supplies — he was getting cash as the supplies.
Using plywood, black paint, two-part epoxy, and $40 worth of pennies, he was able to create a countertop and kitchen workspace that would be both visually appealing and durable.
See how he did it below!
[H/T: Reddit]
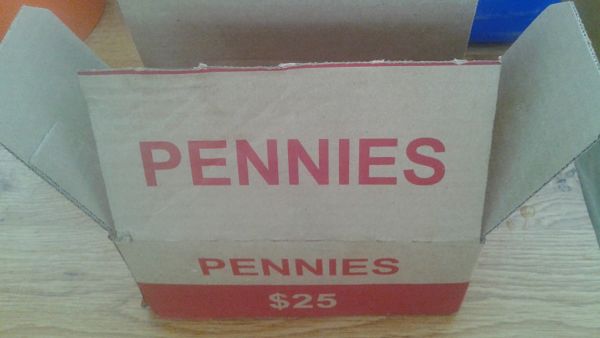
First things first: when you're going to decorate with pennies, you need pennies!
TheBusExperience picked up $40 worth of pennies from the bank, and estimates that he used about $2 per square foot for his countertop.
Considering that even cheap conventional countertop surfaces usually start at $10 per square foot, it's a pretty good deal making your counter out of literal money.
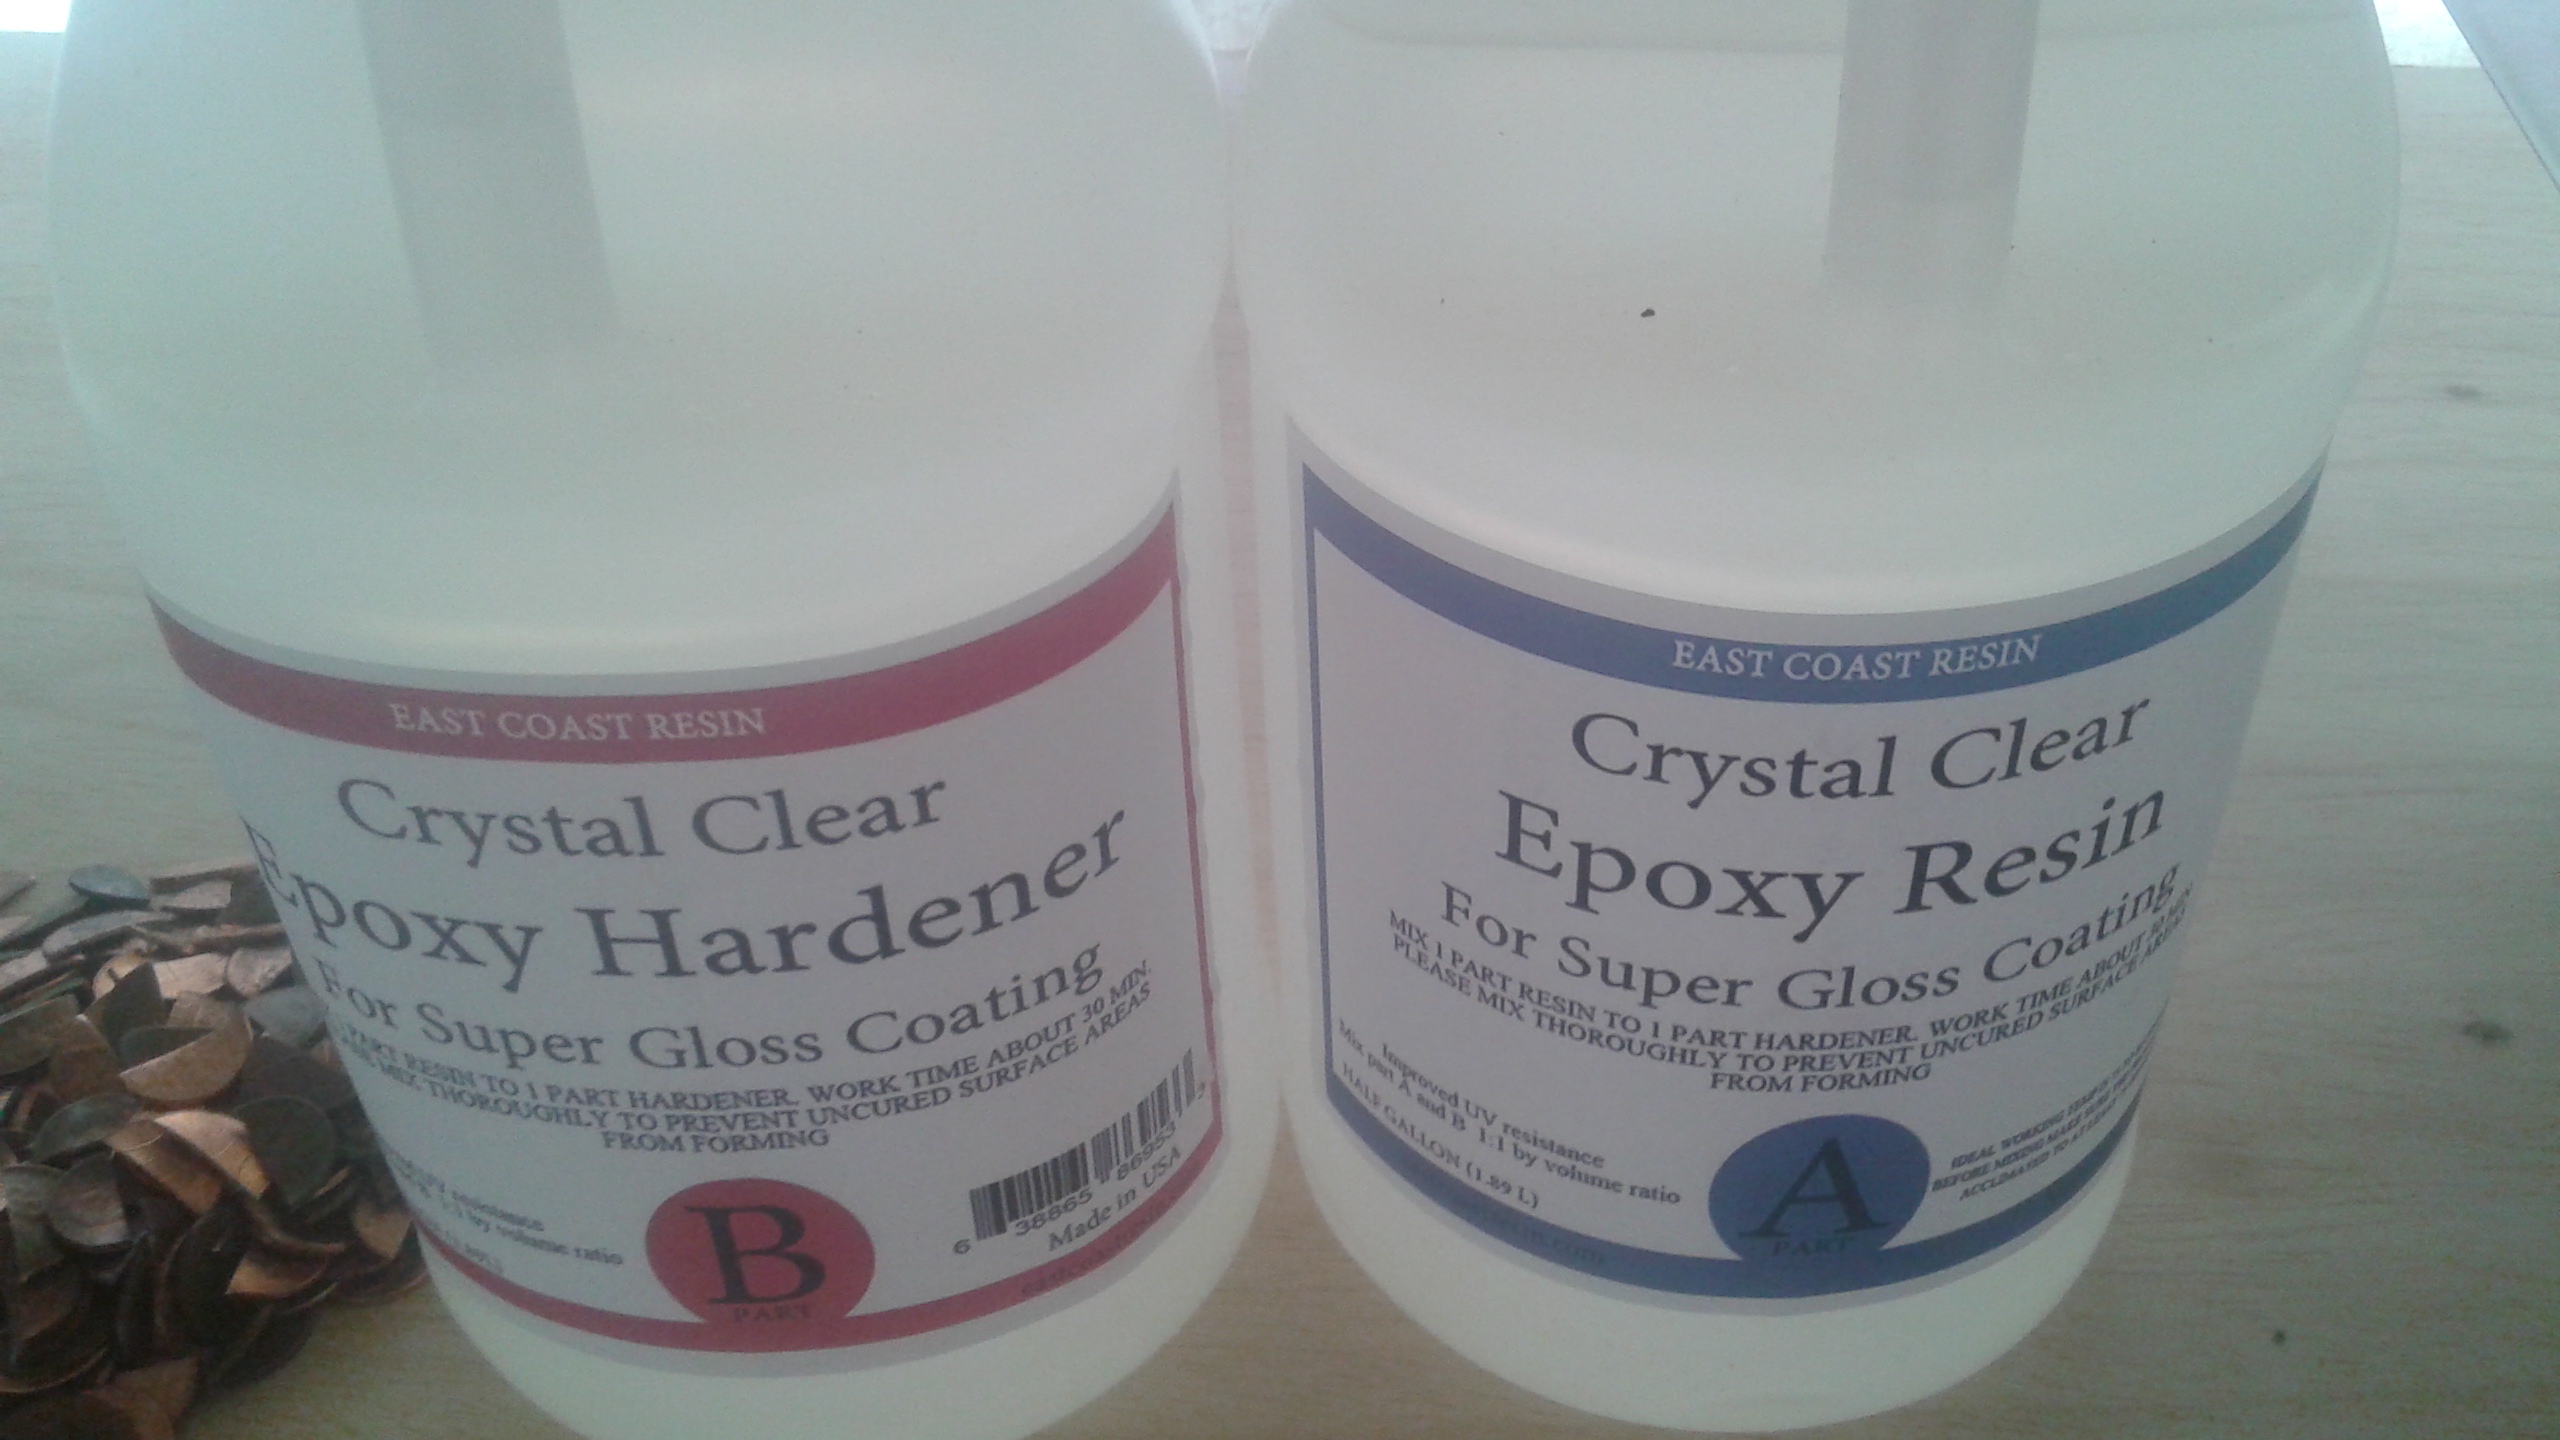
To secure the pennies, he also picked up two-part epoxy, which would create a clear, resin-like seal over all the pennies and keep them in place but totally visible.
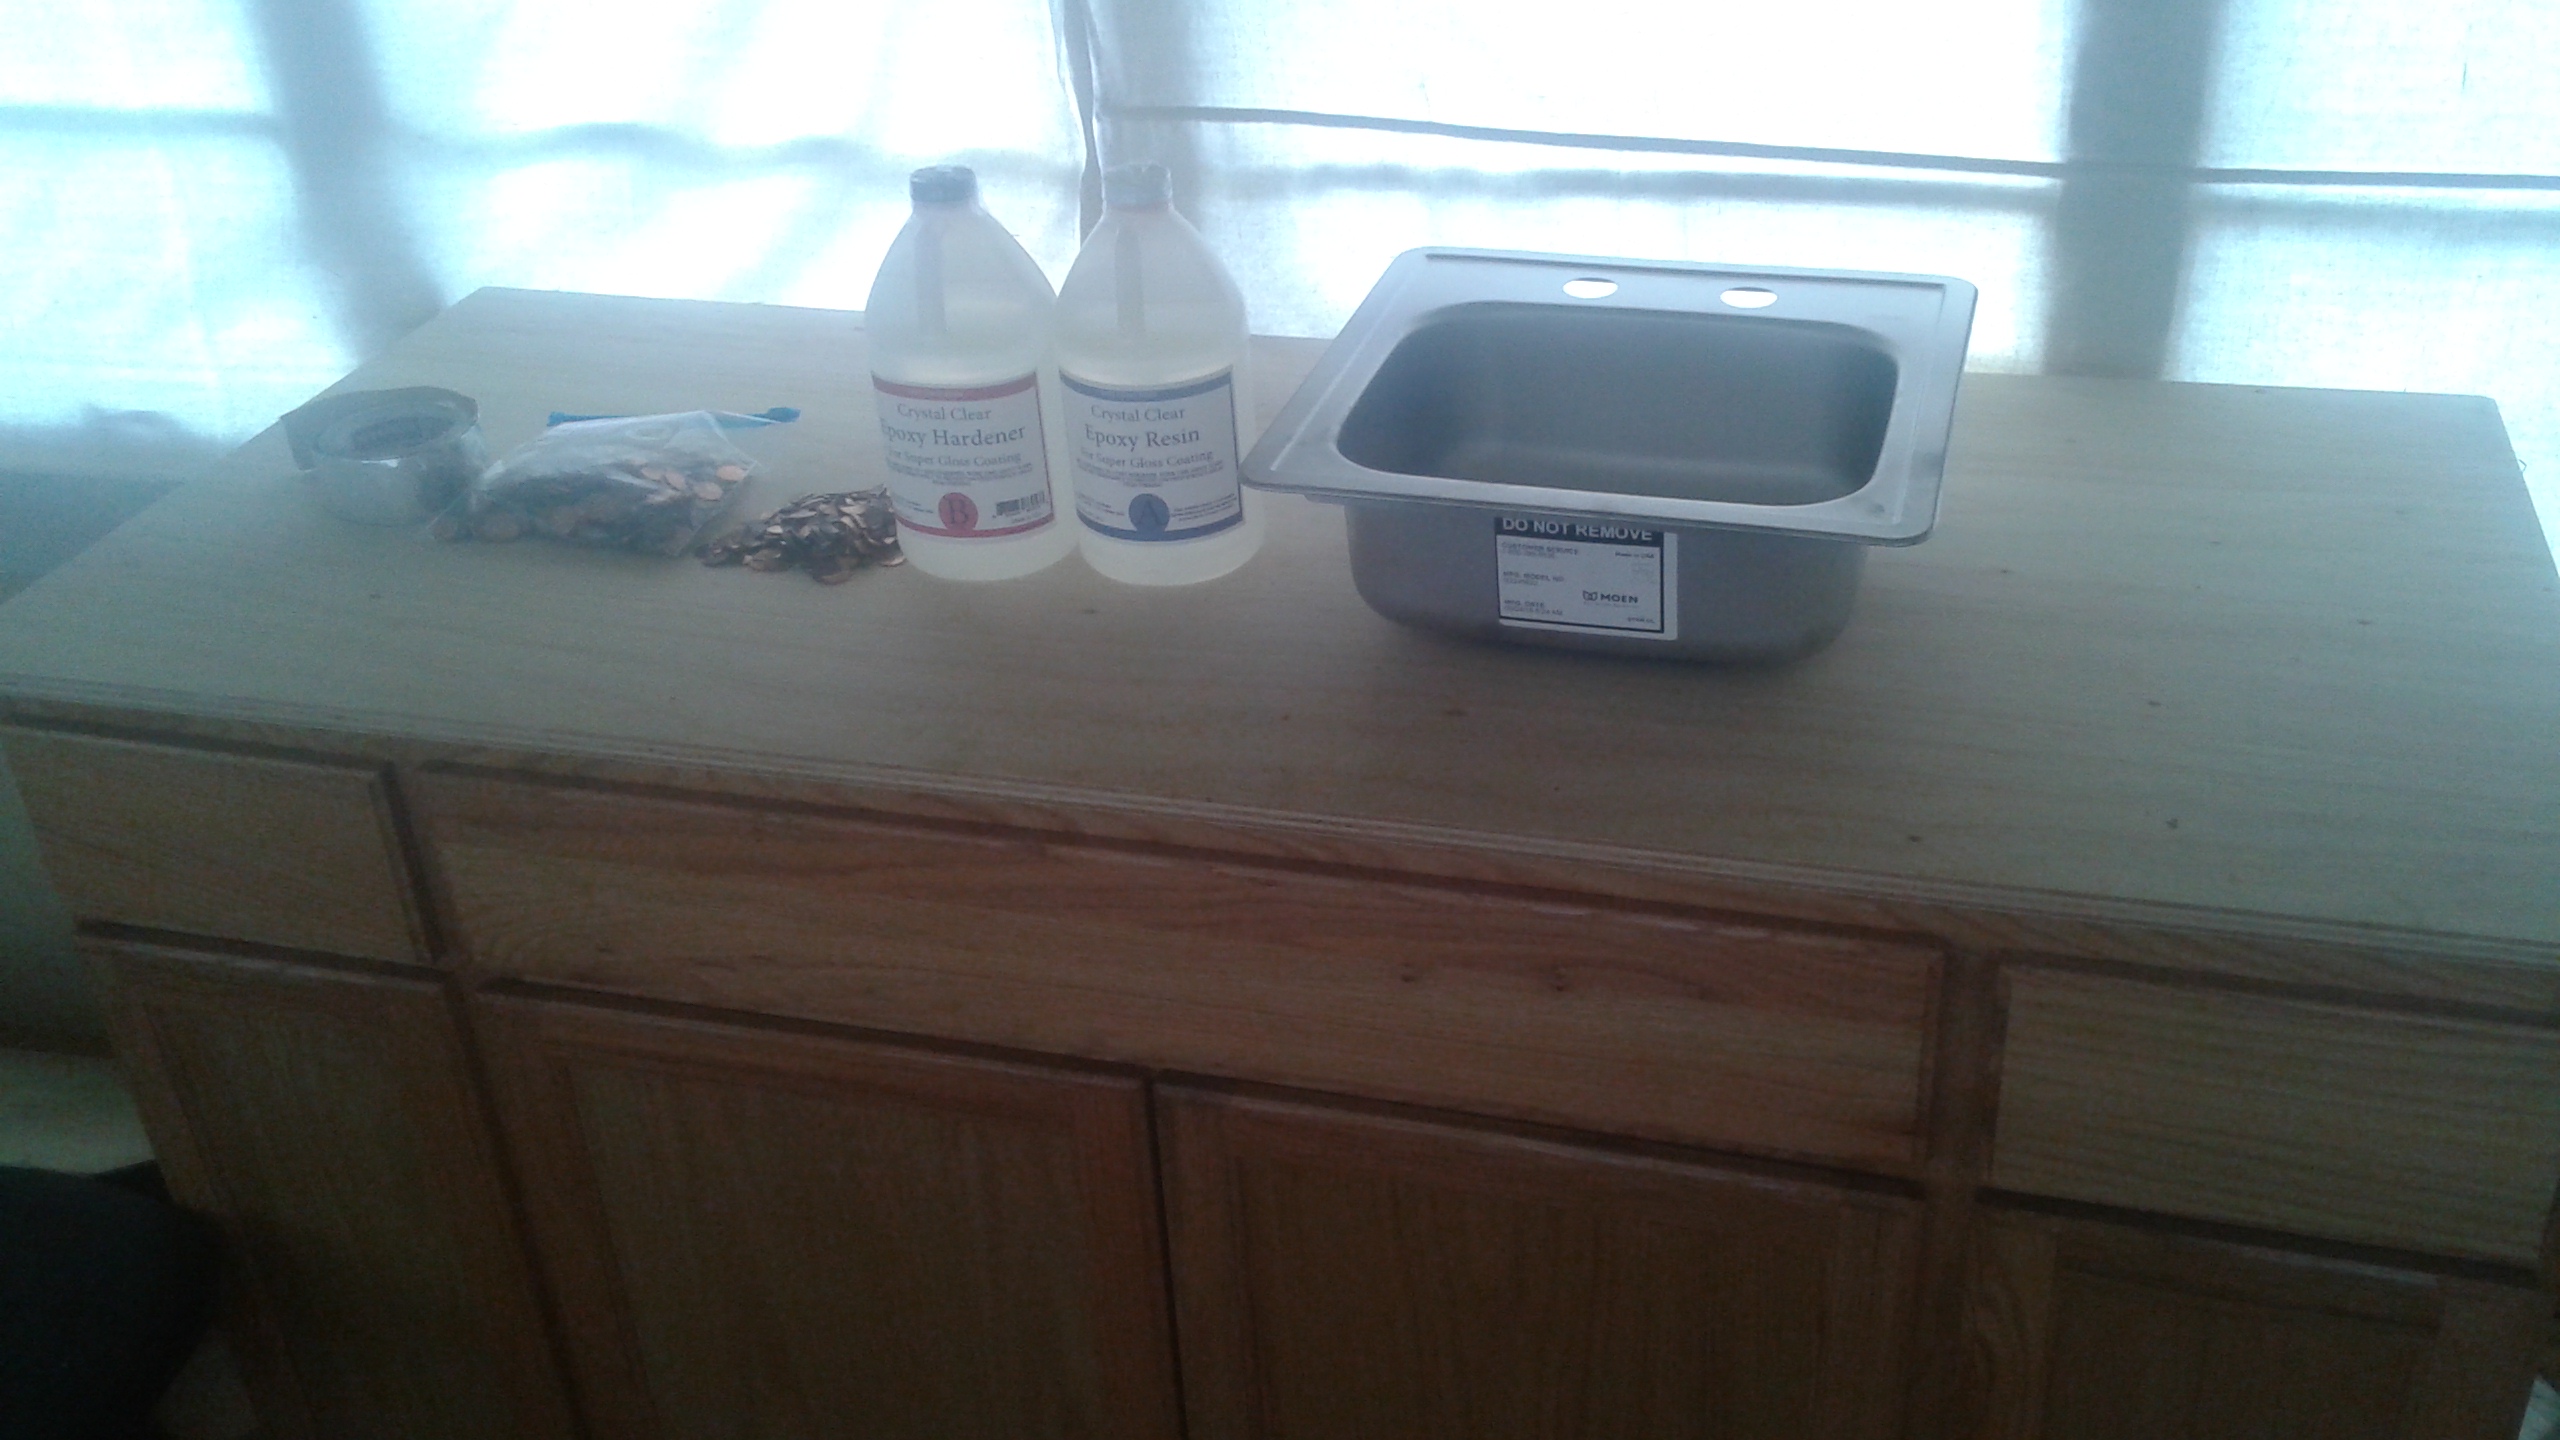
The counter was going to be for the kitchen area of his converted school-bus tiny home, so he needed to cut out a space for the sink, too.
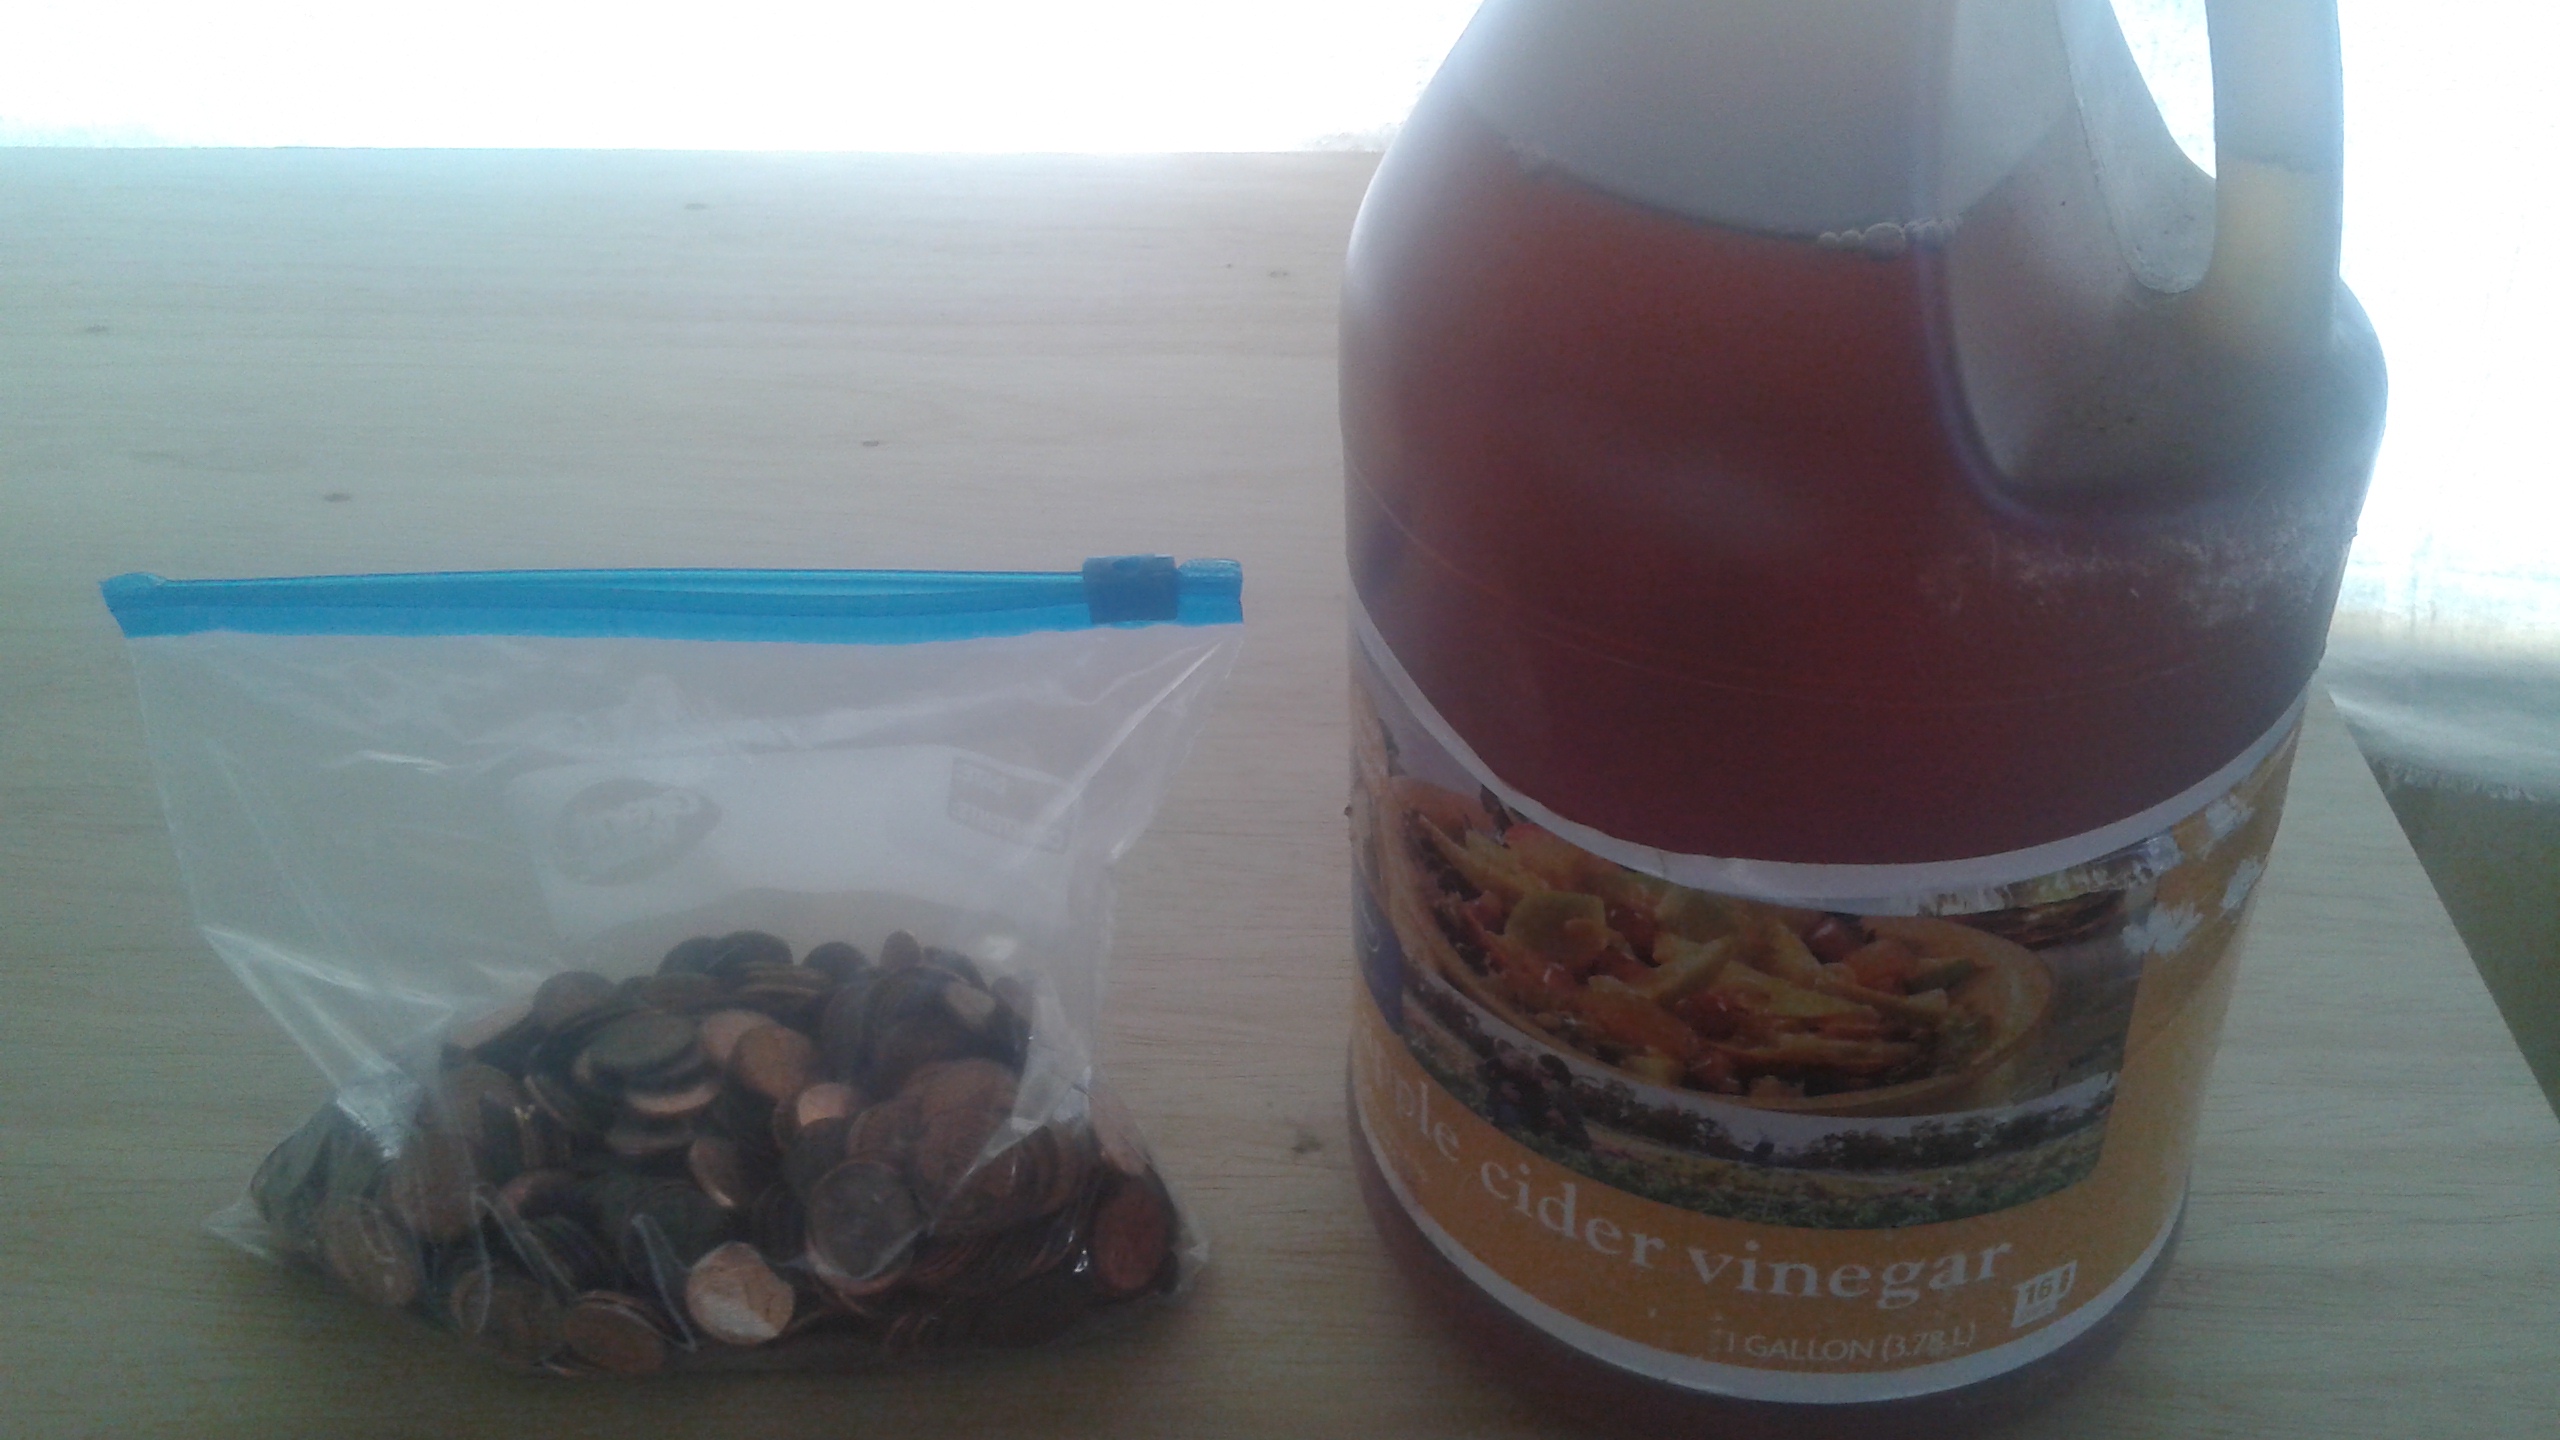
To make the pennies as shiny as possible, he soaked them in baggies of vinegar, since the liquid dissolves metal tarnish.
Some of the pennies ended up shinier and cleaner than others, and TheBusExperience says that in hindsight, they should have been soaked overnight.
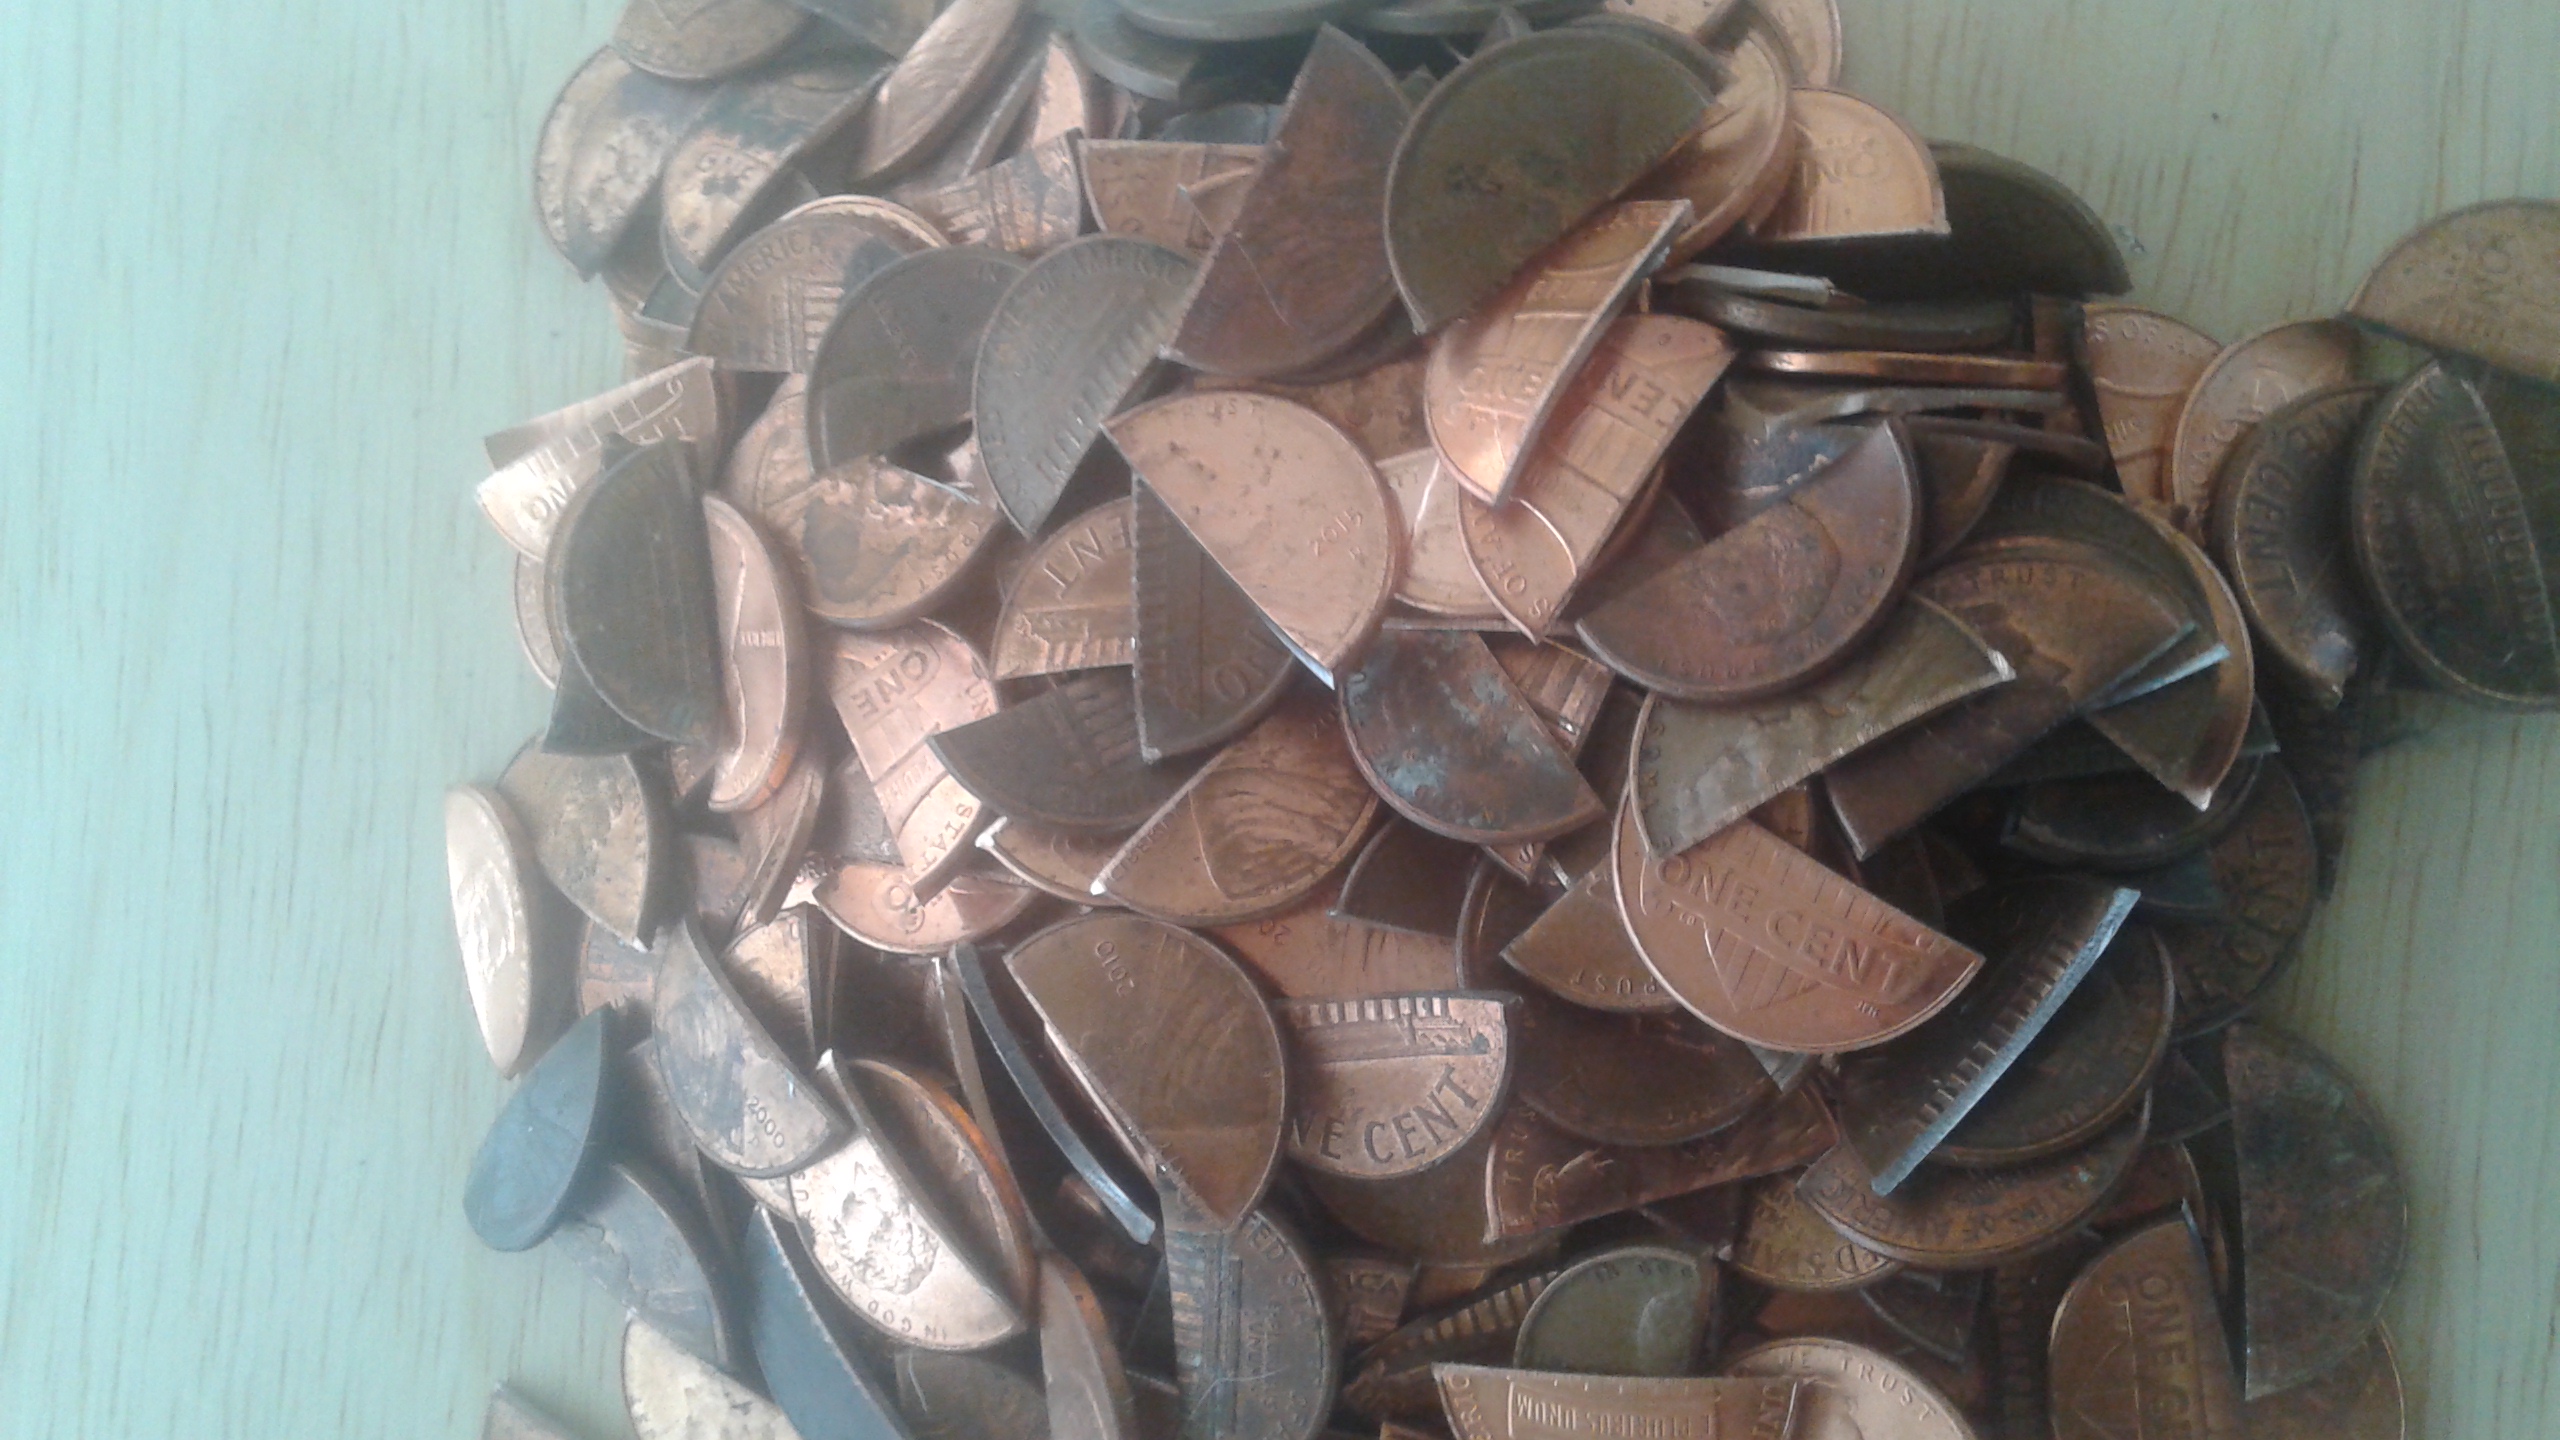
Some of the pennies also needed to be snipped in half for the edges of the counter and for around the sink.
In case you're wondering, TheBusExperience isn't breaking any laws by doing this.
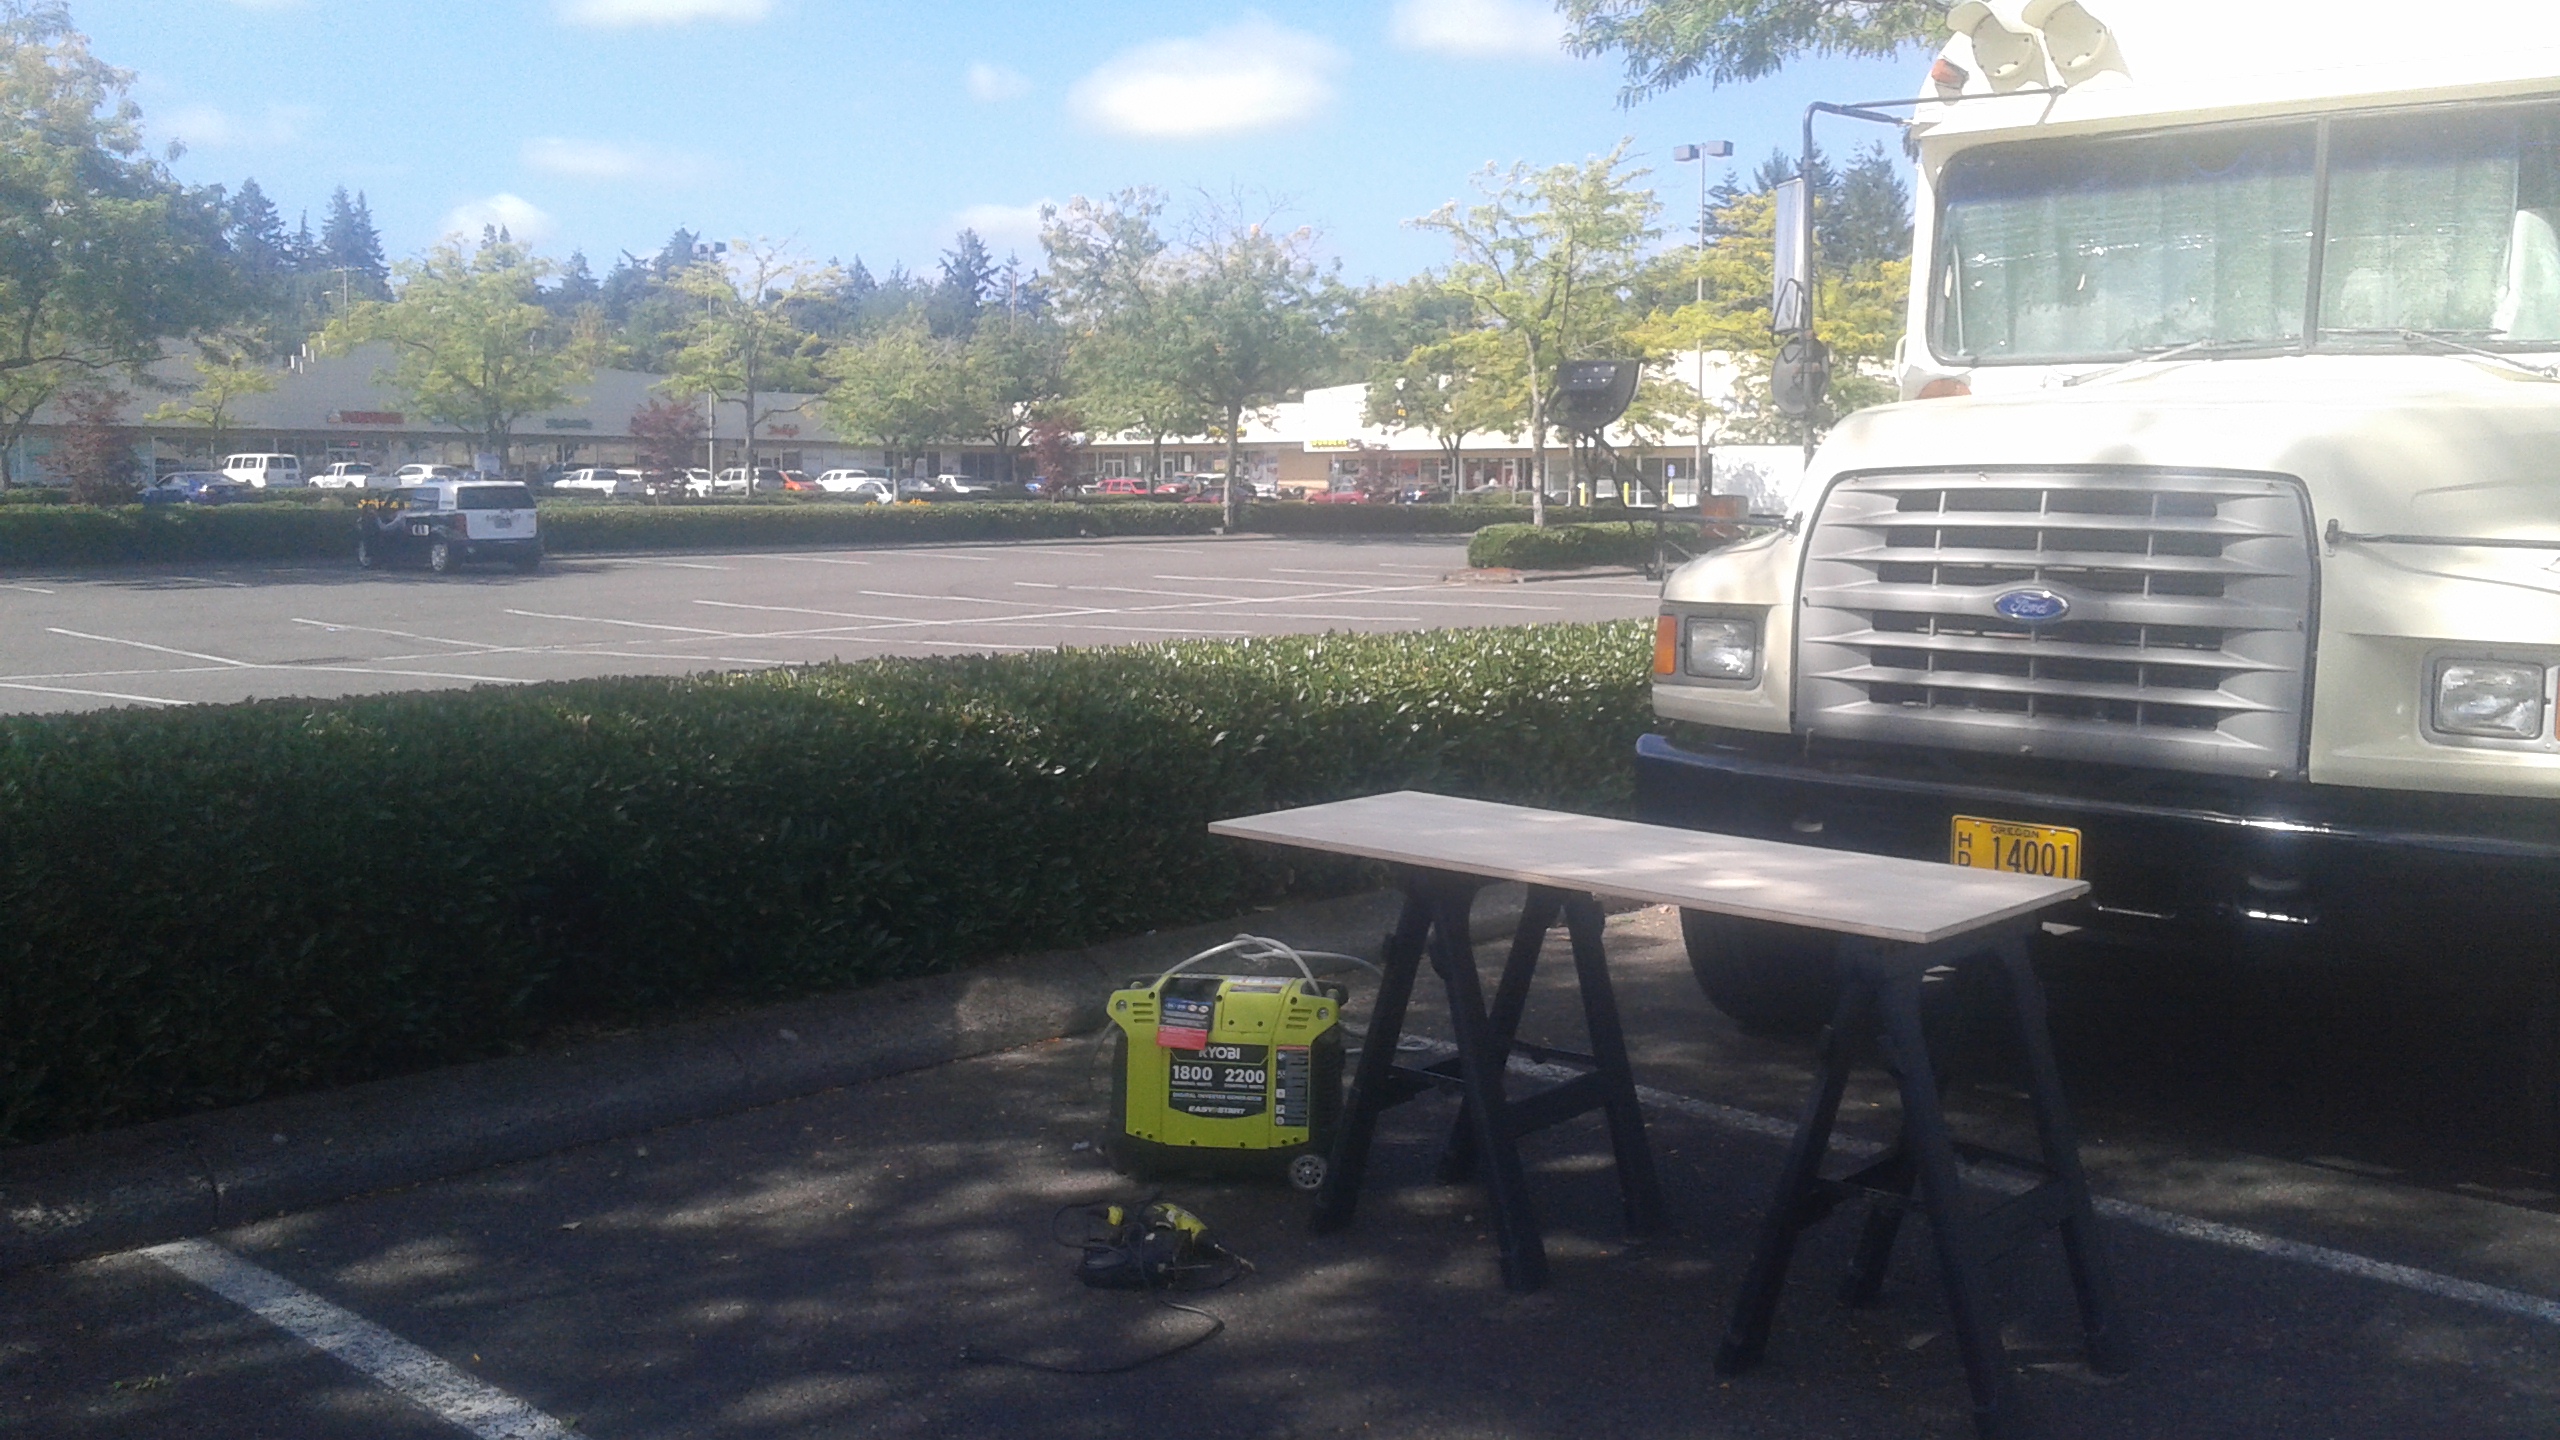
To create the counter itself, he needed some space. That can be tricky, though, when you're camping out in public areas, as TheBusExperience did for six months while renovating the bus.
Luckily, a quiet parking lot made for a great workshop one sunny day. In this photo, you can also see the front end of the bus, which was given a white paint job.
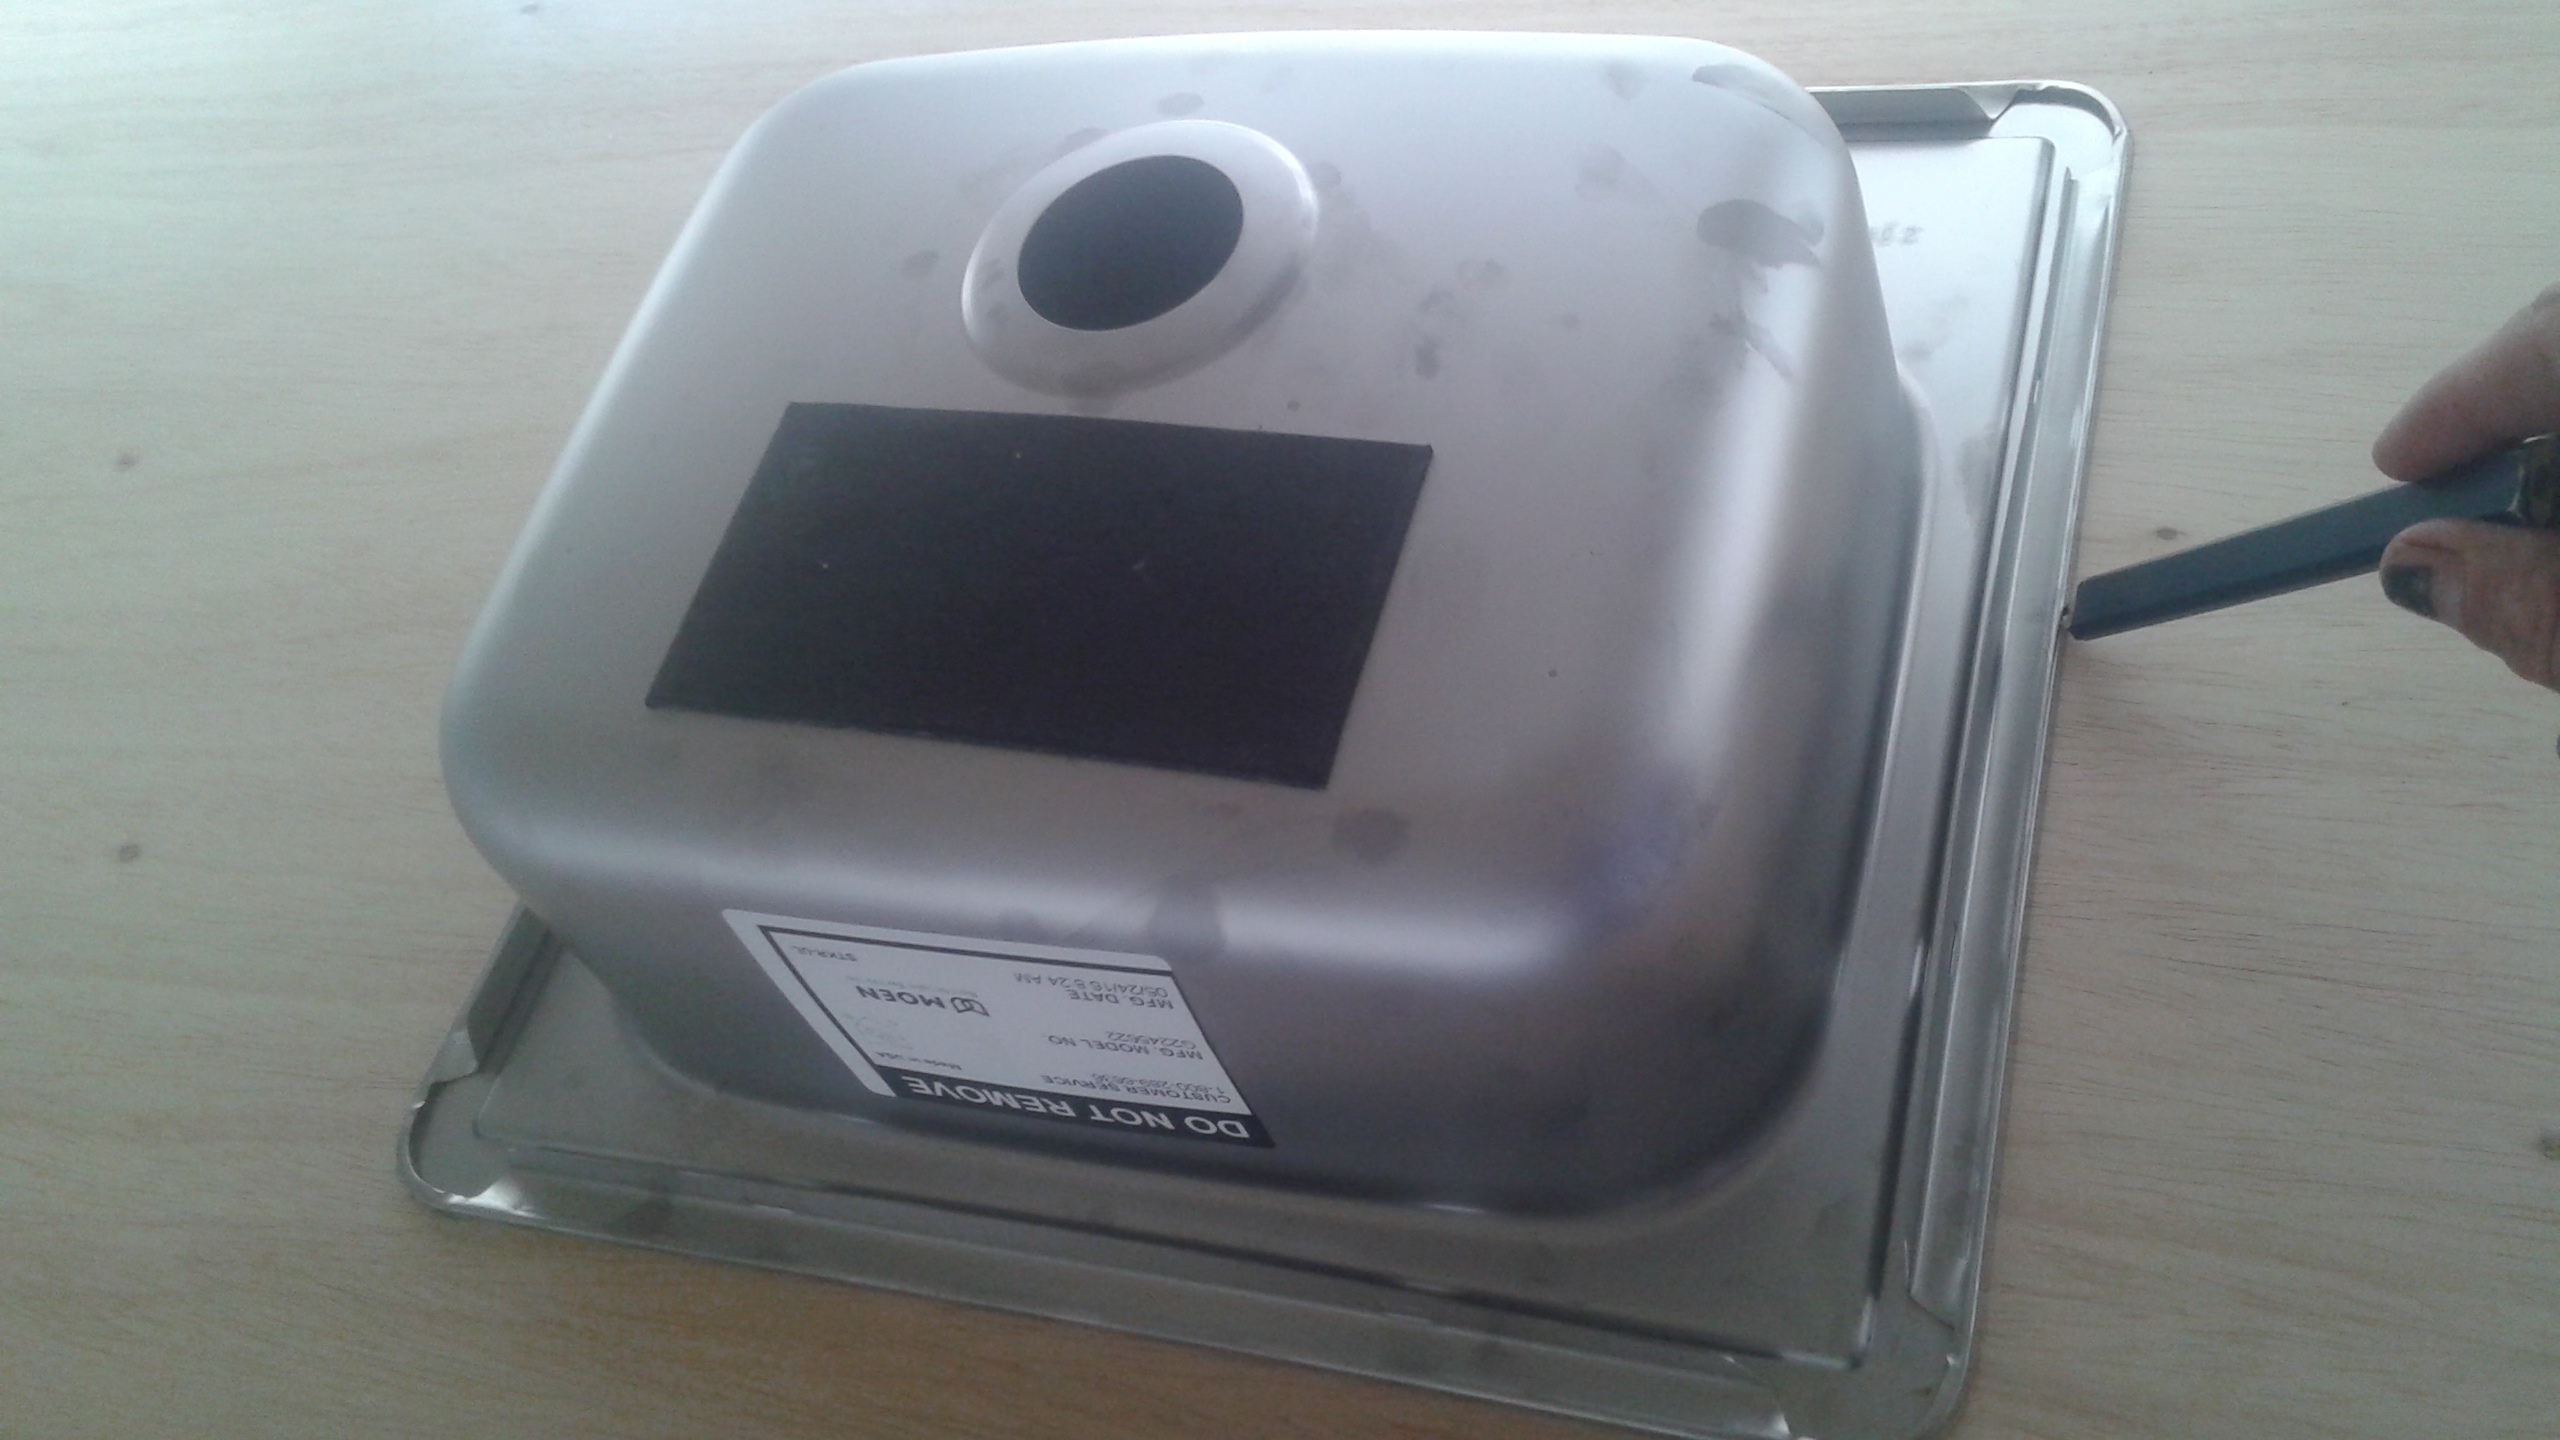
The perimeter of the sink was traced onto the plywood.
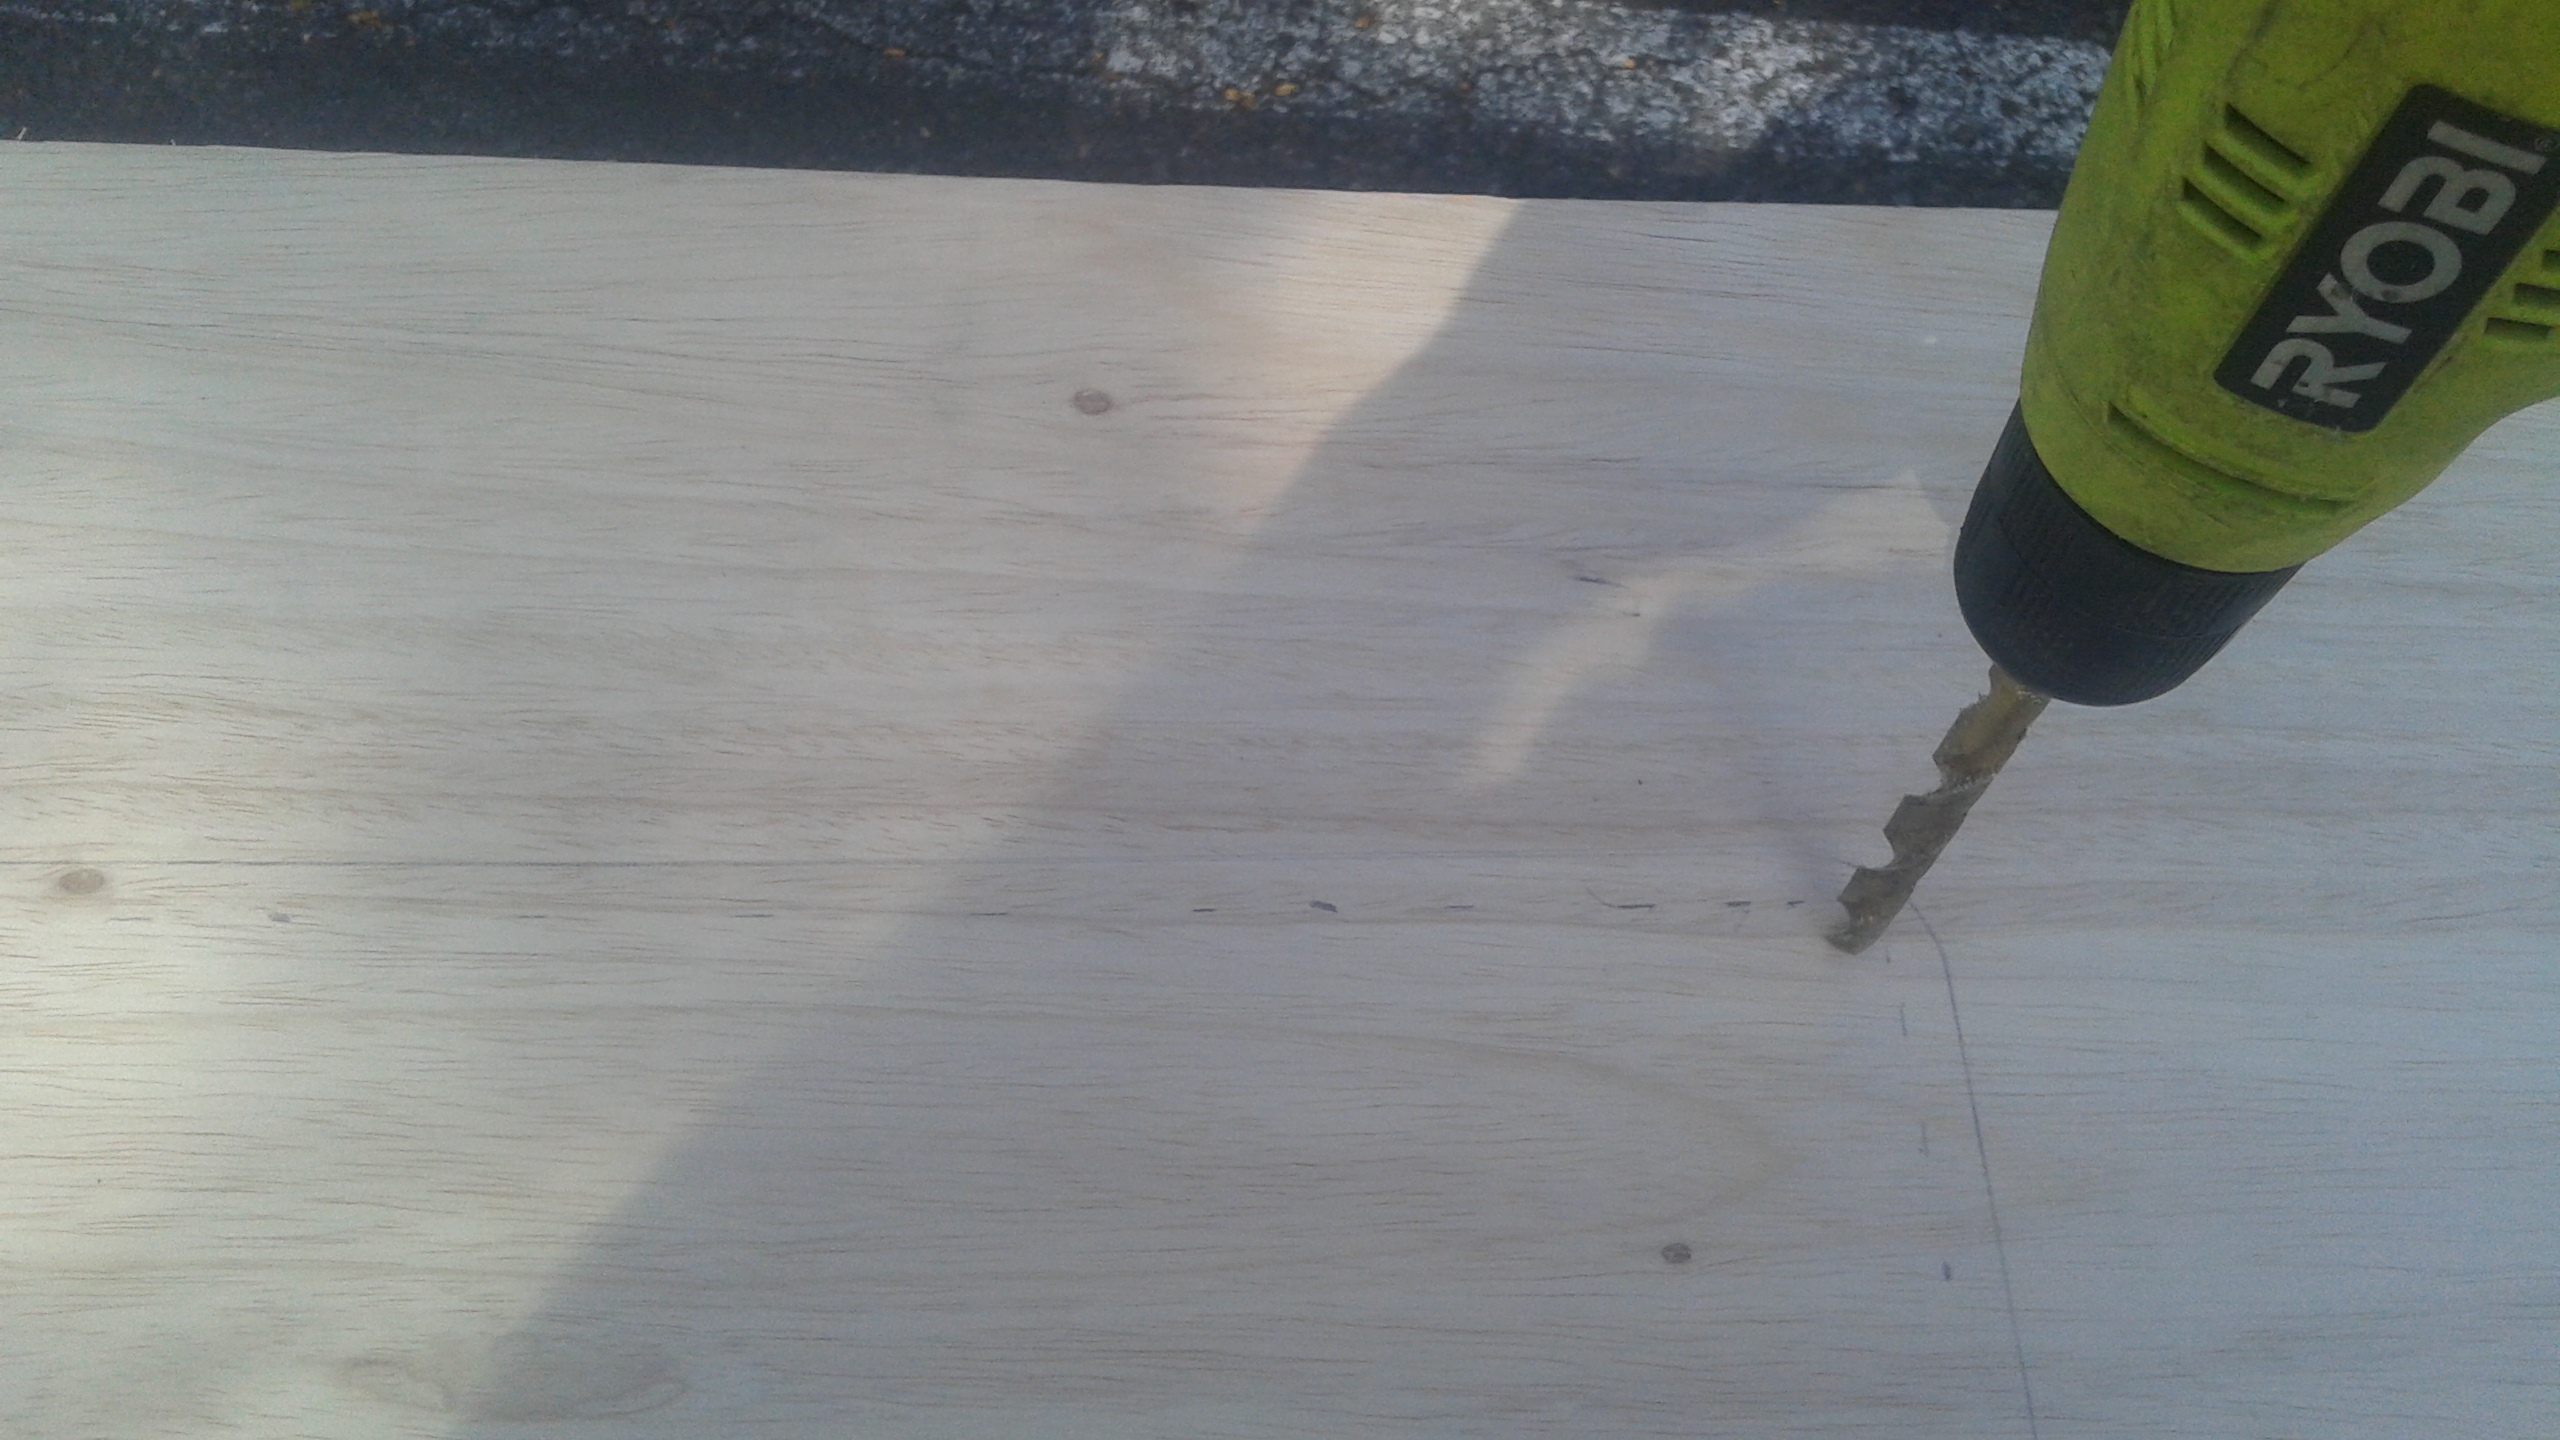
Holes were then drilled into the corners. These would allow the saw to cut out a hole without marring the rest of the wood.
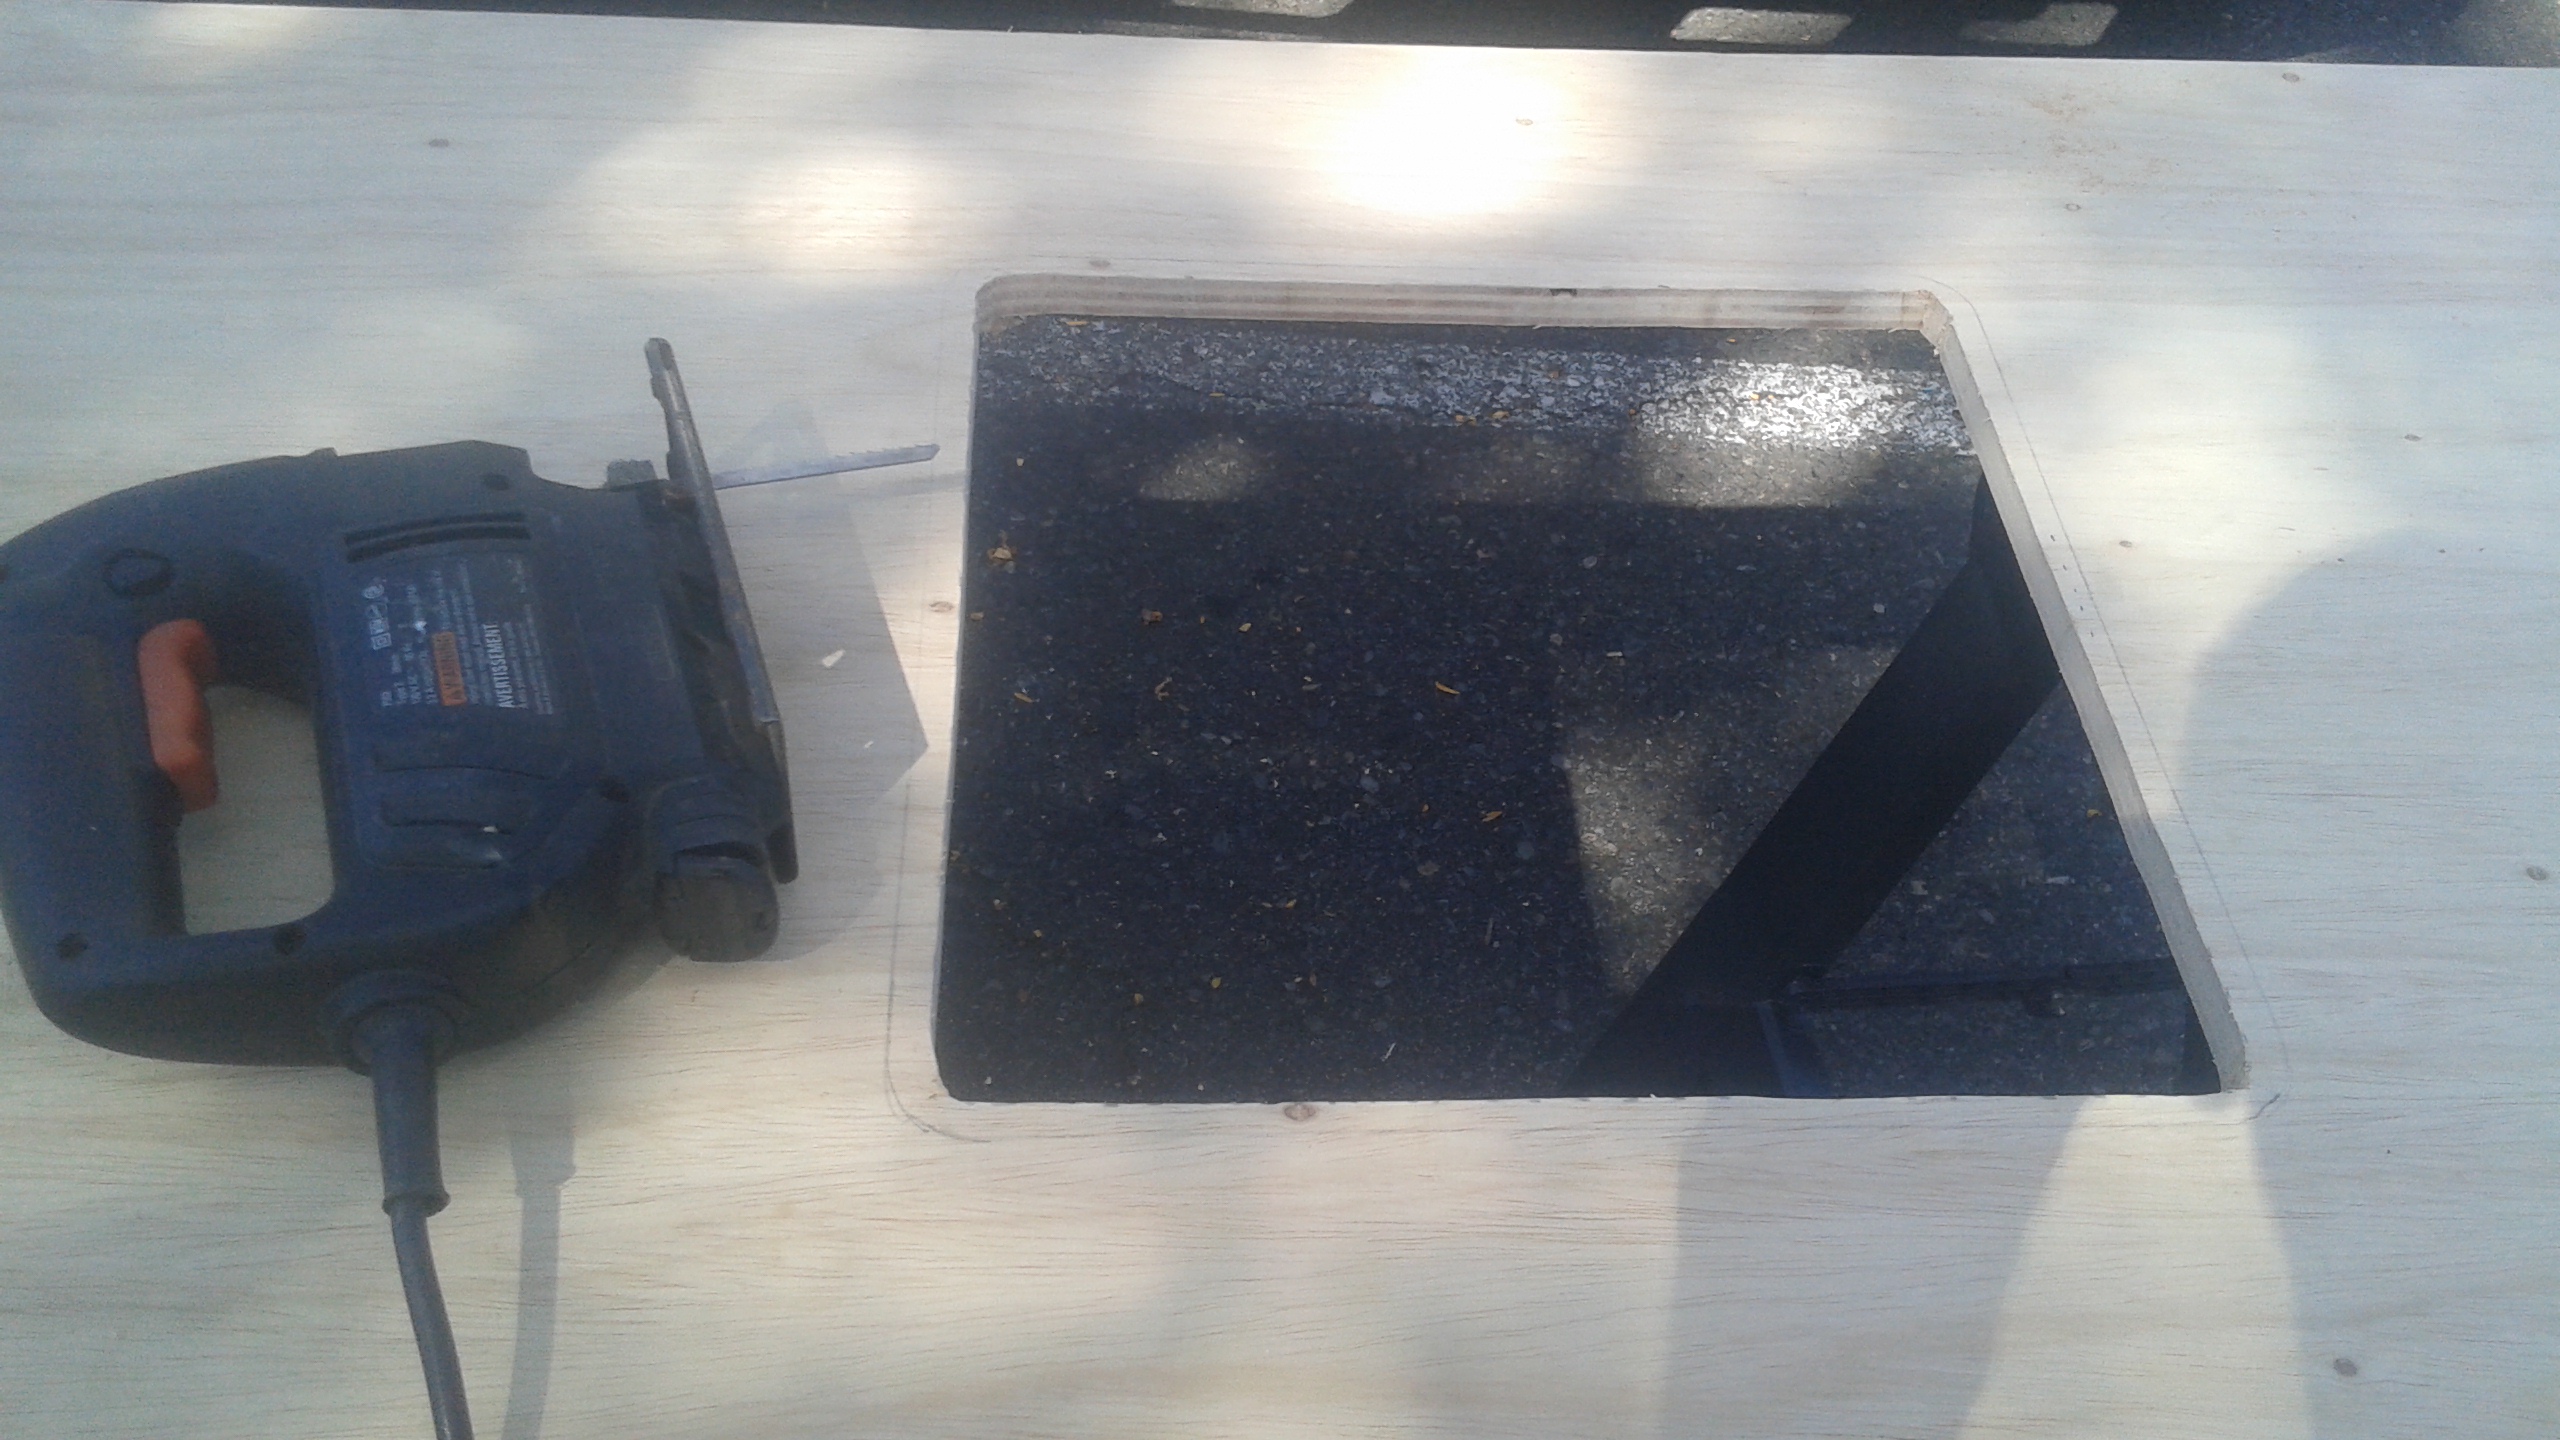
Soon enough, there was a hole for the sink.
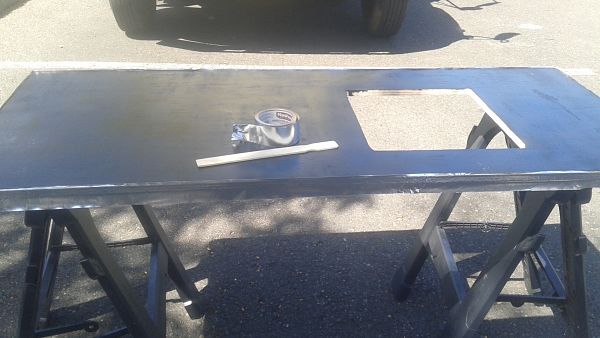
Next, the wood was given a few coats of black paint.
Since the surface would be visible between the round pennies, he wanted it to be as unobtrusive as possible, thus helping the pennies stand out.
Black paint seemed like the obvious choice.
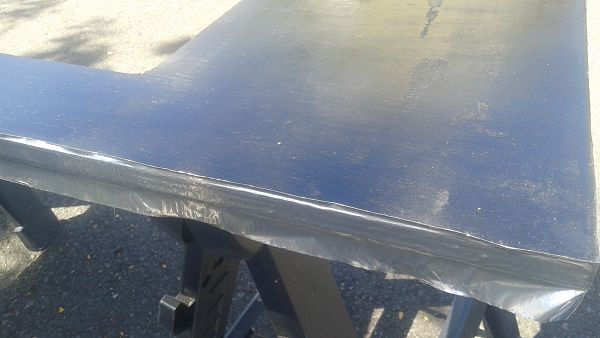
To prevent the epoxy from spilling over the sides, some foil tape was applied to the edges.
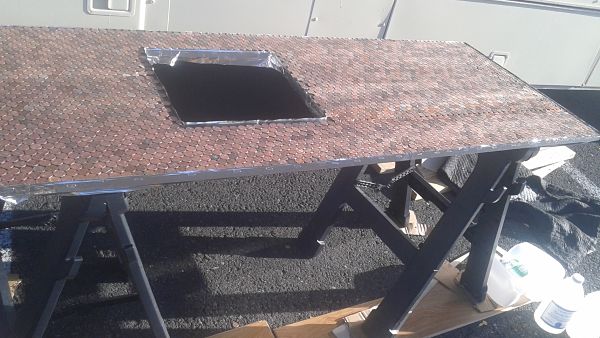
And then it was finally time for the pennies! TheBusExperience didn't bother creating a pattern with the differently toned pennies, but instead lined them up at random.
It still looked good, though!
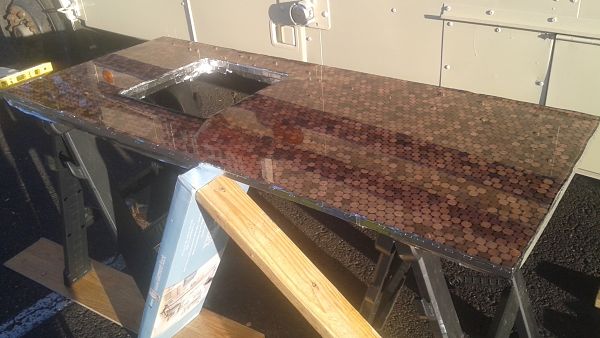
Next, the epoxy was poured and left to set. He used a heat gun to draw out any air bubbles for a smooth, clear finish.
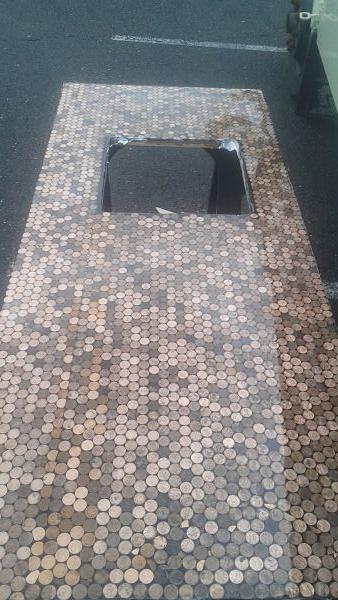
Of course, working in the great outdoors has its own challenges.
Epoxy's hardening time slows down significantly when temperatures drop below 70 °F, and that's exactly what happened.
This meant that the hardening time took hours, forcing TheBusExperience to stay in the parking lot overnight. The adventures of living on the open road!
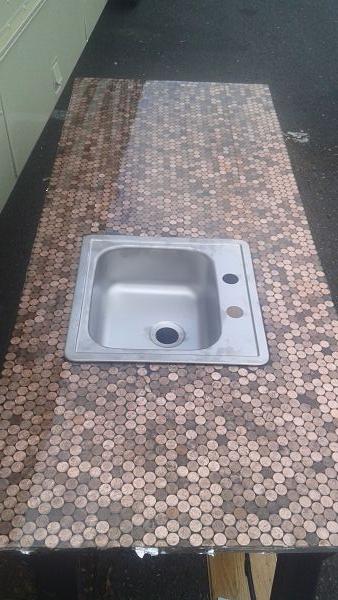
When the epoxy finally hardened, the sink was installed.
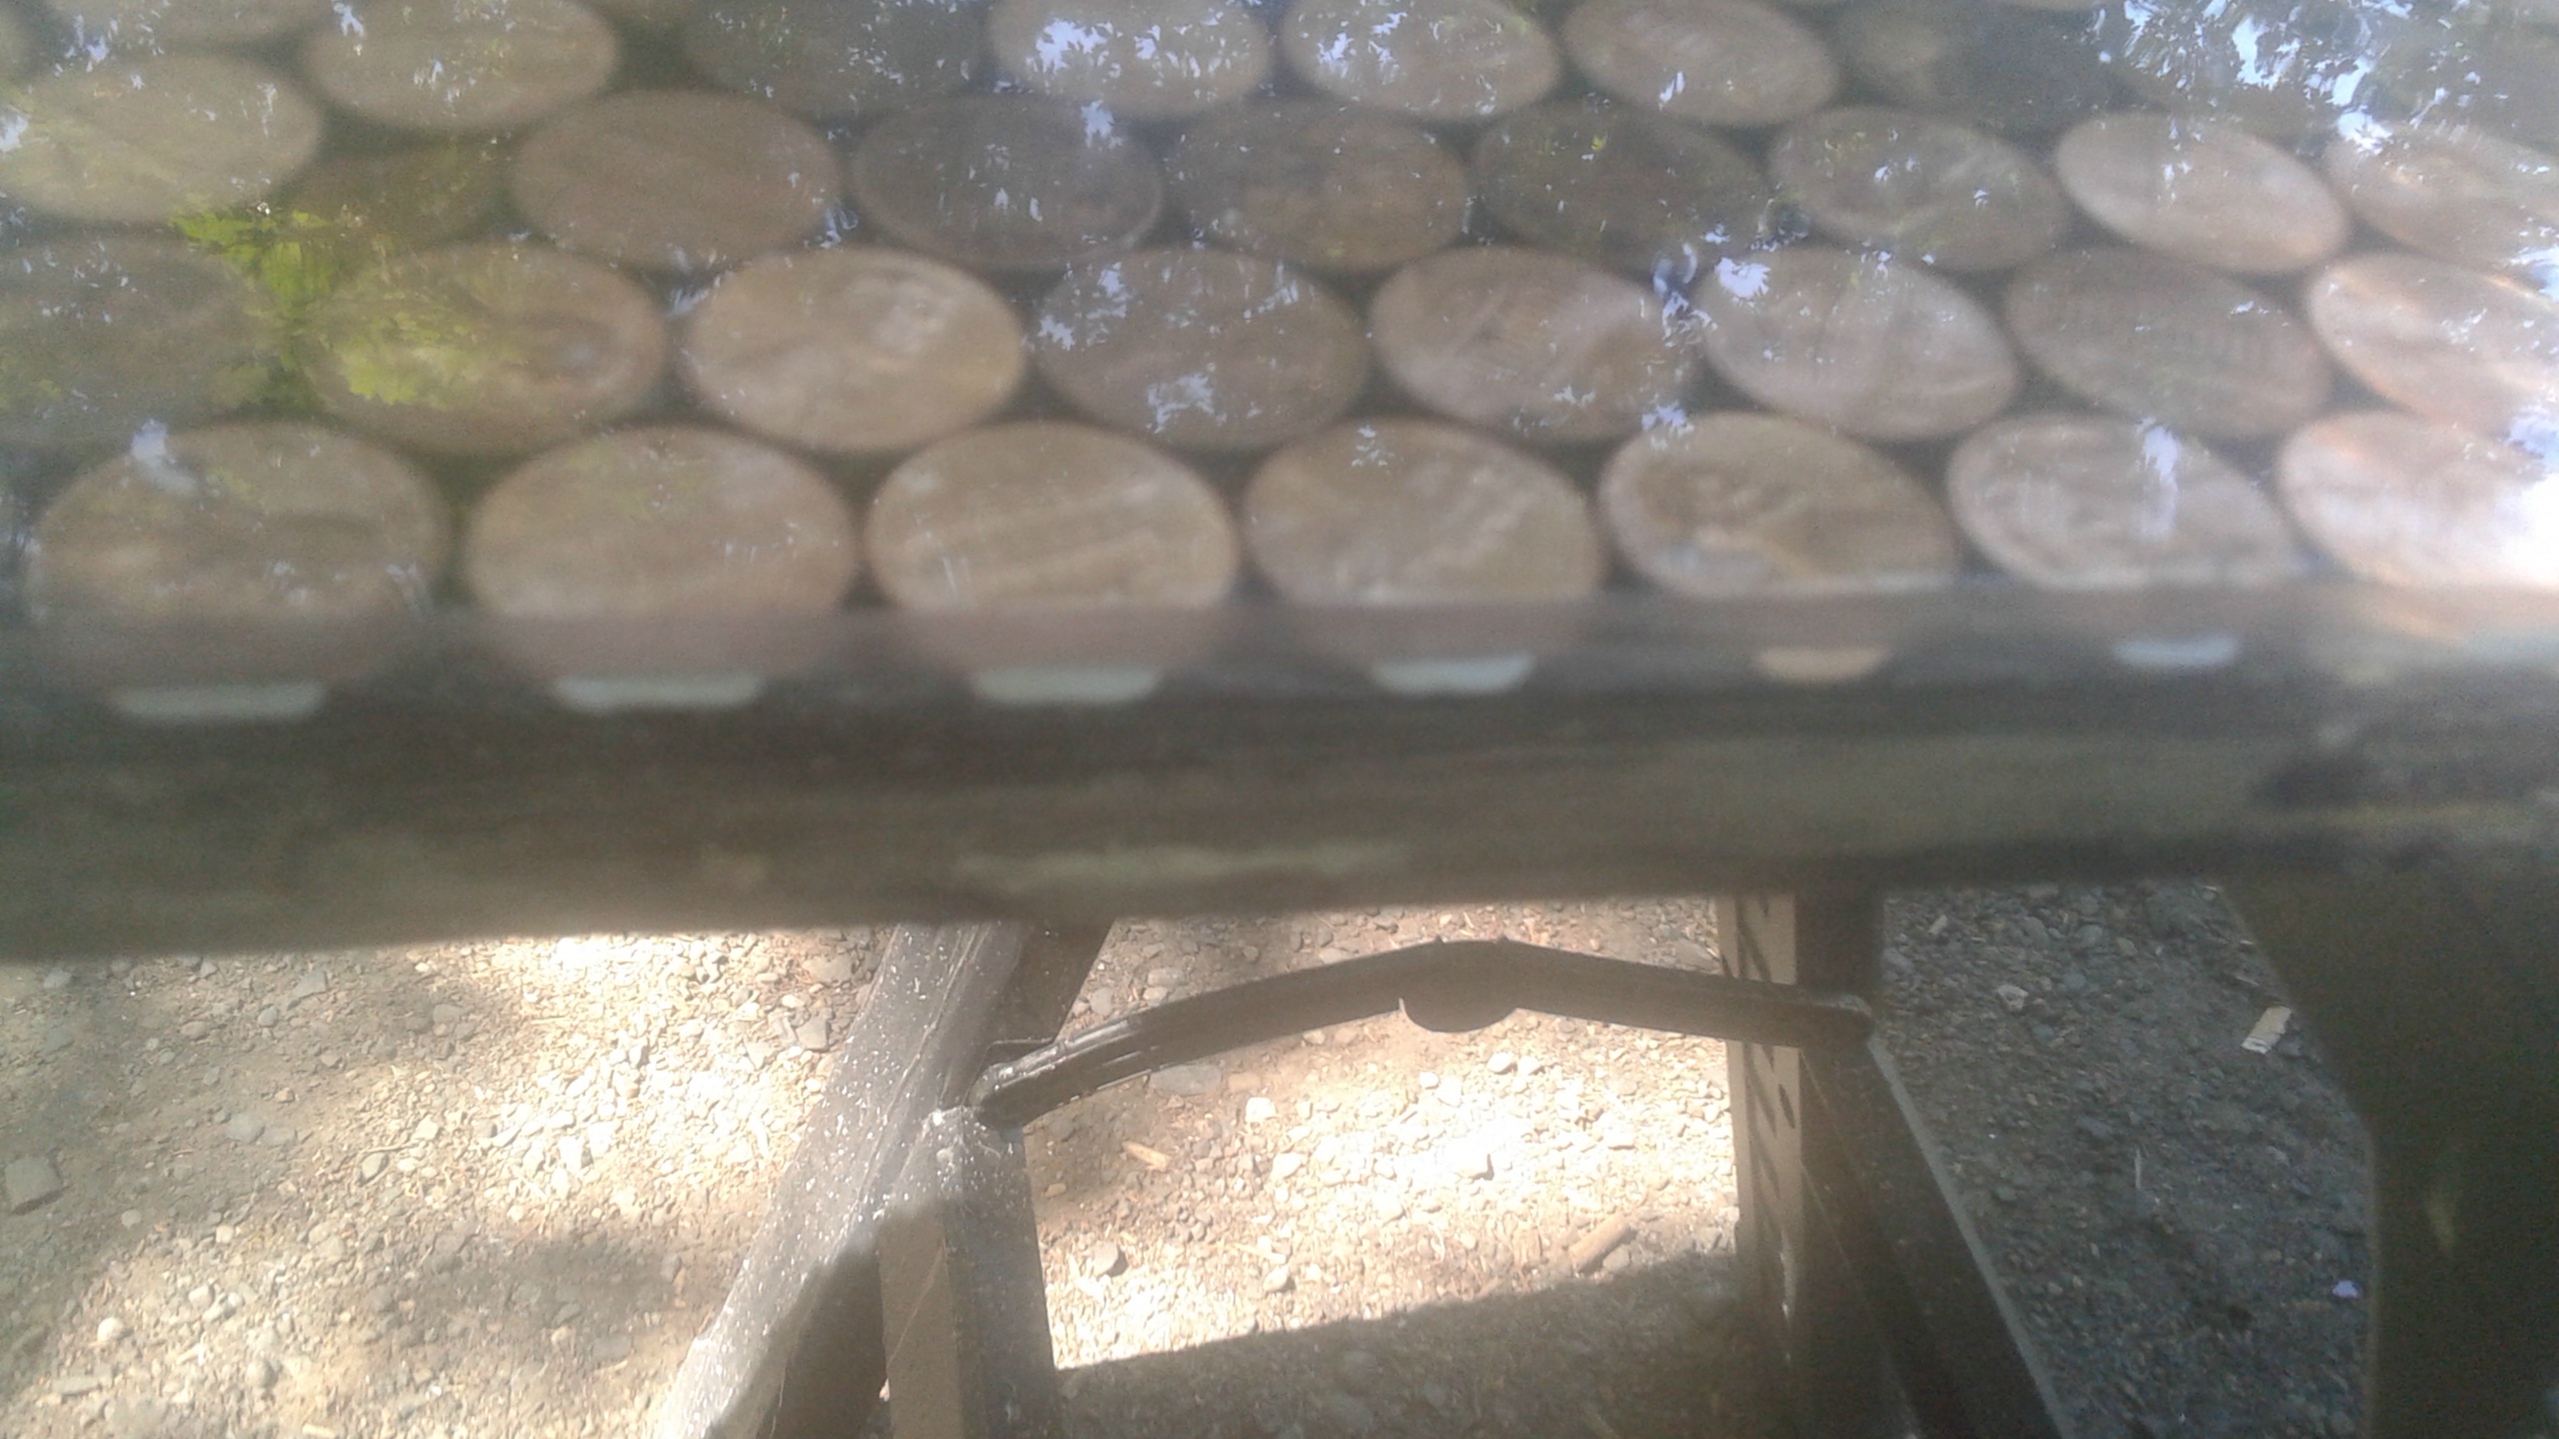
The foil tape was removed from the edges, which were then sanded smooth.
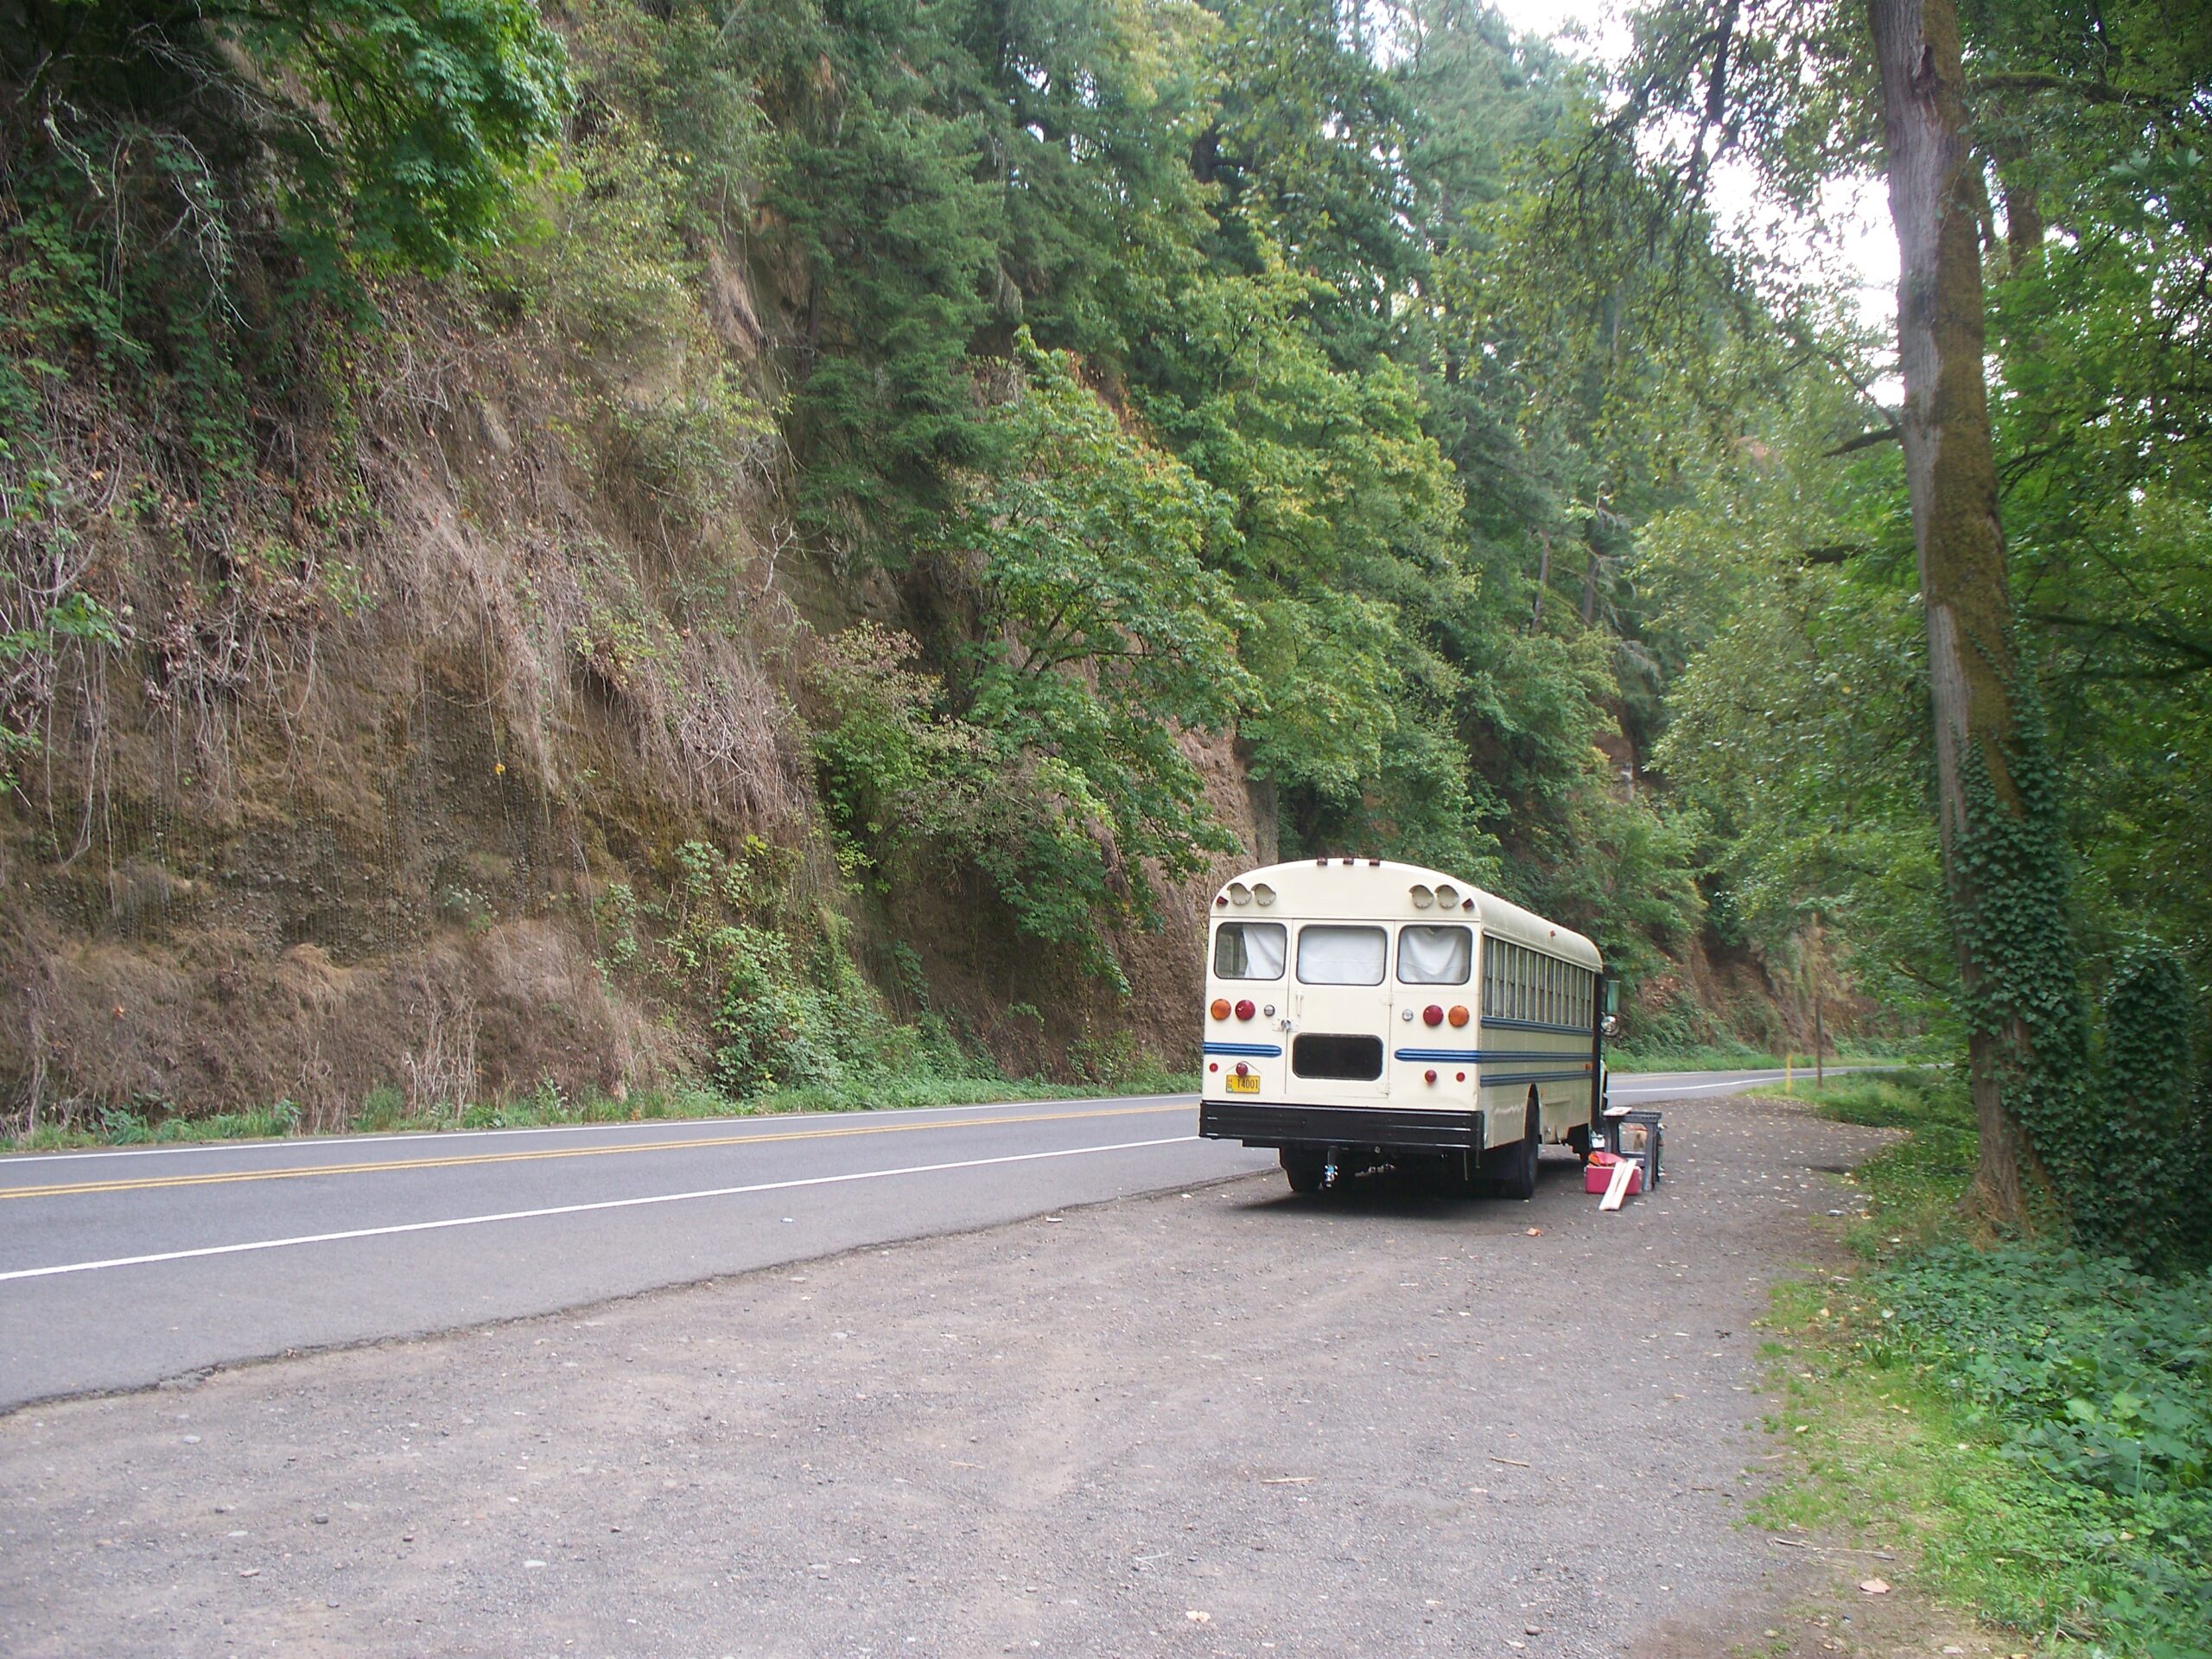
And did we mention that this is where he was working now?
Having left the parking lot, the sink installation and countertop sanding took place on the side of the road near the Sandy River in Troutdale, OR.
Because when you have a bus house, you need to know how to improvise!
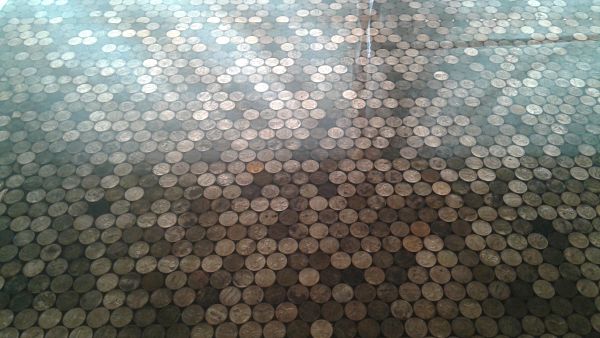
The pennies weren't laid out in a pattern, but the random collection of colors and tones has a nice, natural look to it, almost like wood grain.
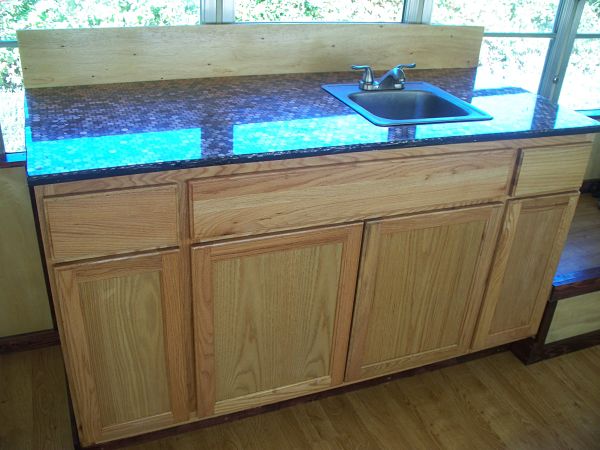
And when it was finally installed inside, it added a shiny pop of style to the home. The underside was also coated in polyurethane to protect it from moisture.
You can also take a look at the rest of the bus on this website, as well as on Facebook.
Would you live in a bus? Would you have a penny countertop? Would you live in a bus with a penny countertop?
Let us know in the comments, and SHARE this craft with anyone who appreciates a countertop made on the side of the road!


