With summer drawing sweetly and sadly to its inevitable close, we can’t help but cling to those last few sunny weekends before fall is back again.
Don’t get us wrong, there are lots of amazing things about the fall to look forward to, like falling leaves, hot apple cider, and the kids finally getting their keisters back to school.
Still, with summer in full wistful-fade mode, we’re all about taking advantage of the next couple of weeks to ensure that the season goes out with a bang — and, of course, a big celebration!
We’re talking patio parties with great music, great food, and even better company!
With all that going on, it seems like the natural time to perfect a DIY tailor-made for a season that’s all about celebrating with friends and family: a handmade wine rack inspired by Mother Nature herself!
Originally posted online by Imgur user mpsphotography, we’re already obsessed with the elegant functionality of this subtle piece.
Check out the gorgeous how-to in the gallery below!
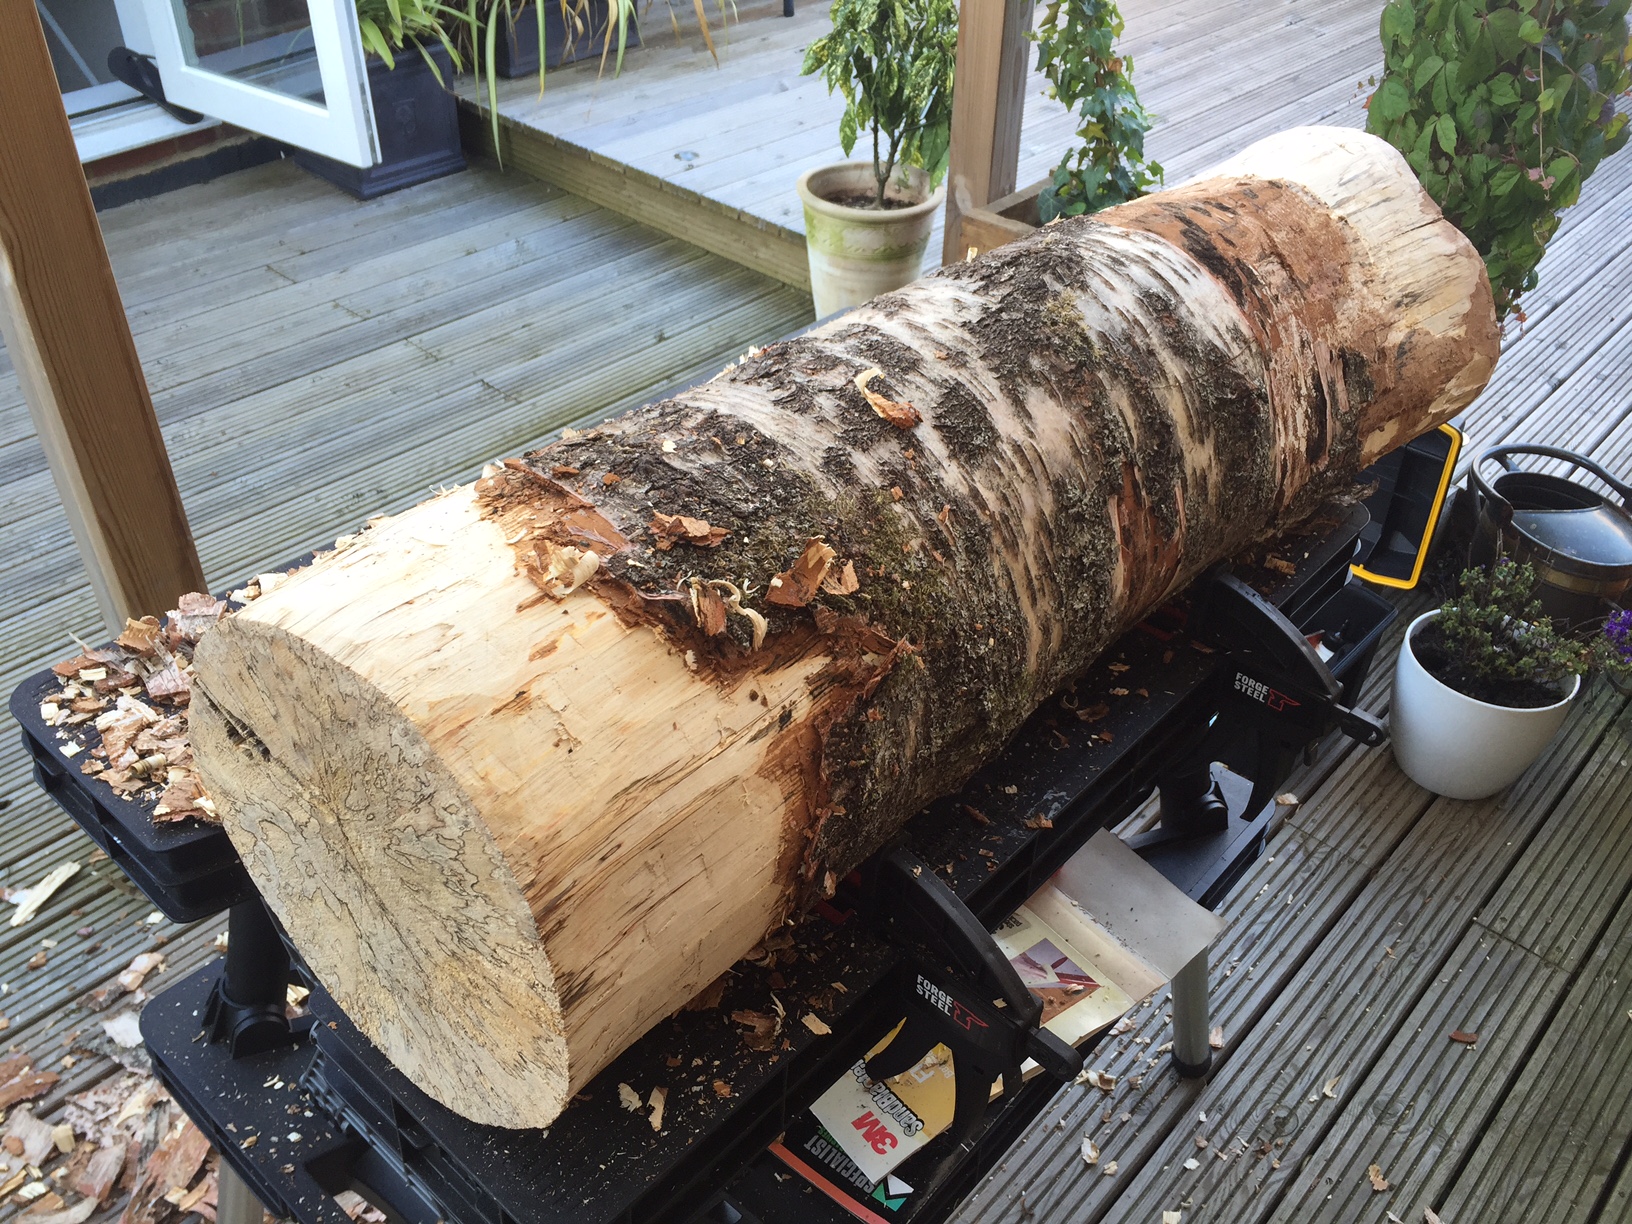
The project started with a dirty old piece of wood that had been chopped down and ended up in the firewood pile.
From the light wood and the striped bark, it's probably birch, which is a serviceable type of wood for a small DIY project like this one.
The bark, while helpful in identifying the wood, doesn't matter too much, because it gets stripped off straight away, laying the clean wood bare.
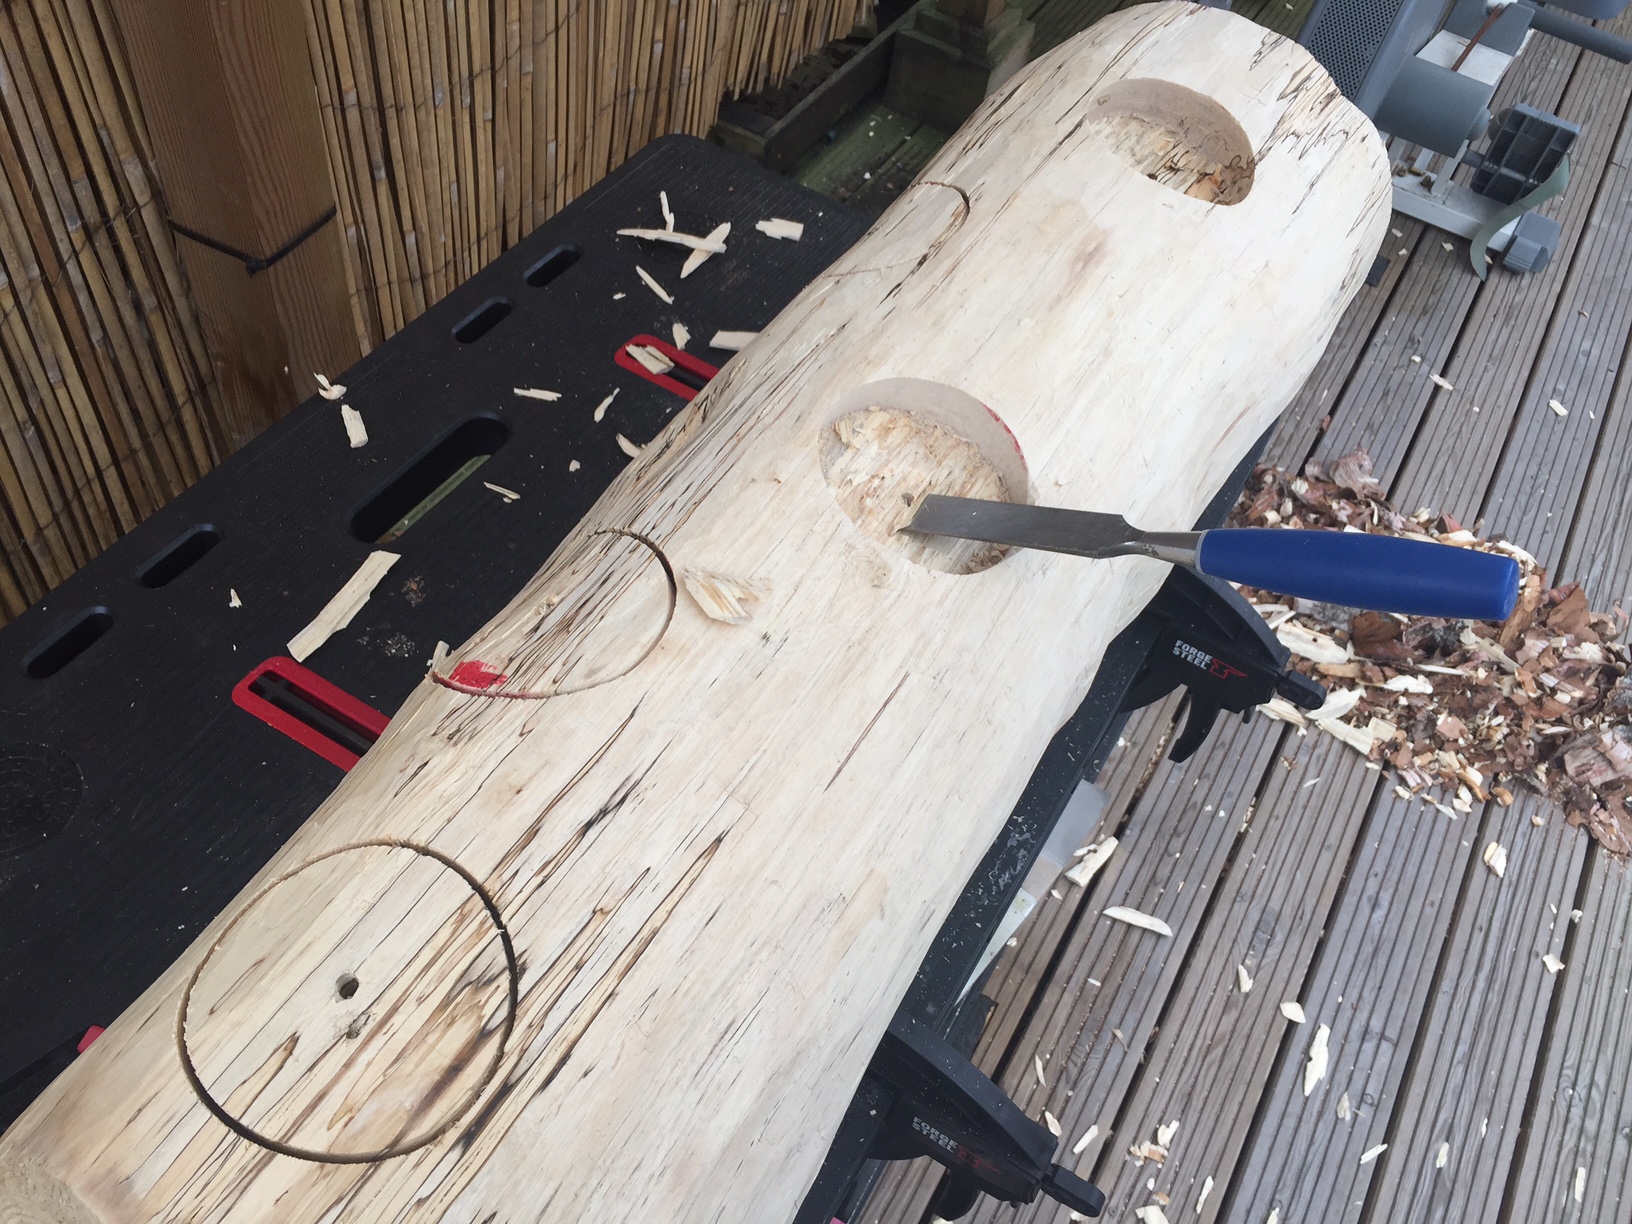
From there, the next step is to trace out circles that match the diameters of most wine bottles.
The most accurate way to do this is probably with a compass, but depending on the piece of wood used for the base, it may be possible to simply trace wine bottles out on the wood.
Once the outlines are in place, you can start carving out the shapes of the wine bottles using a chisel.
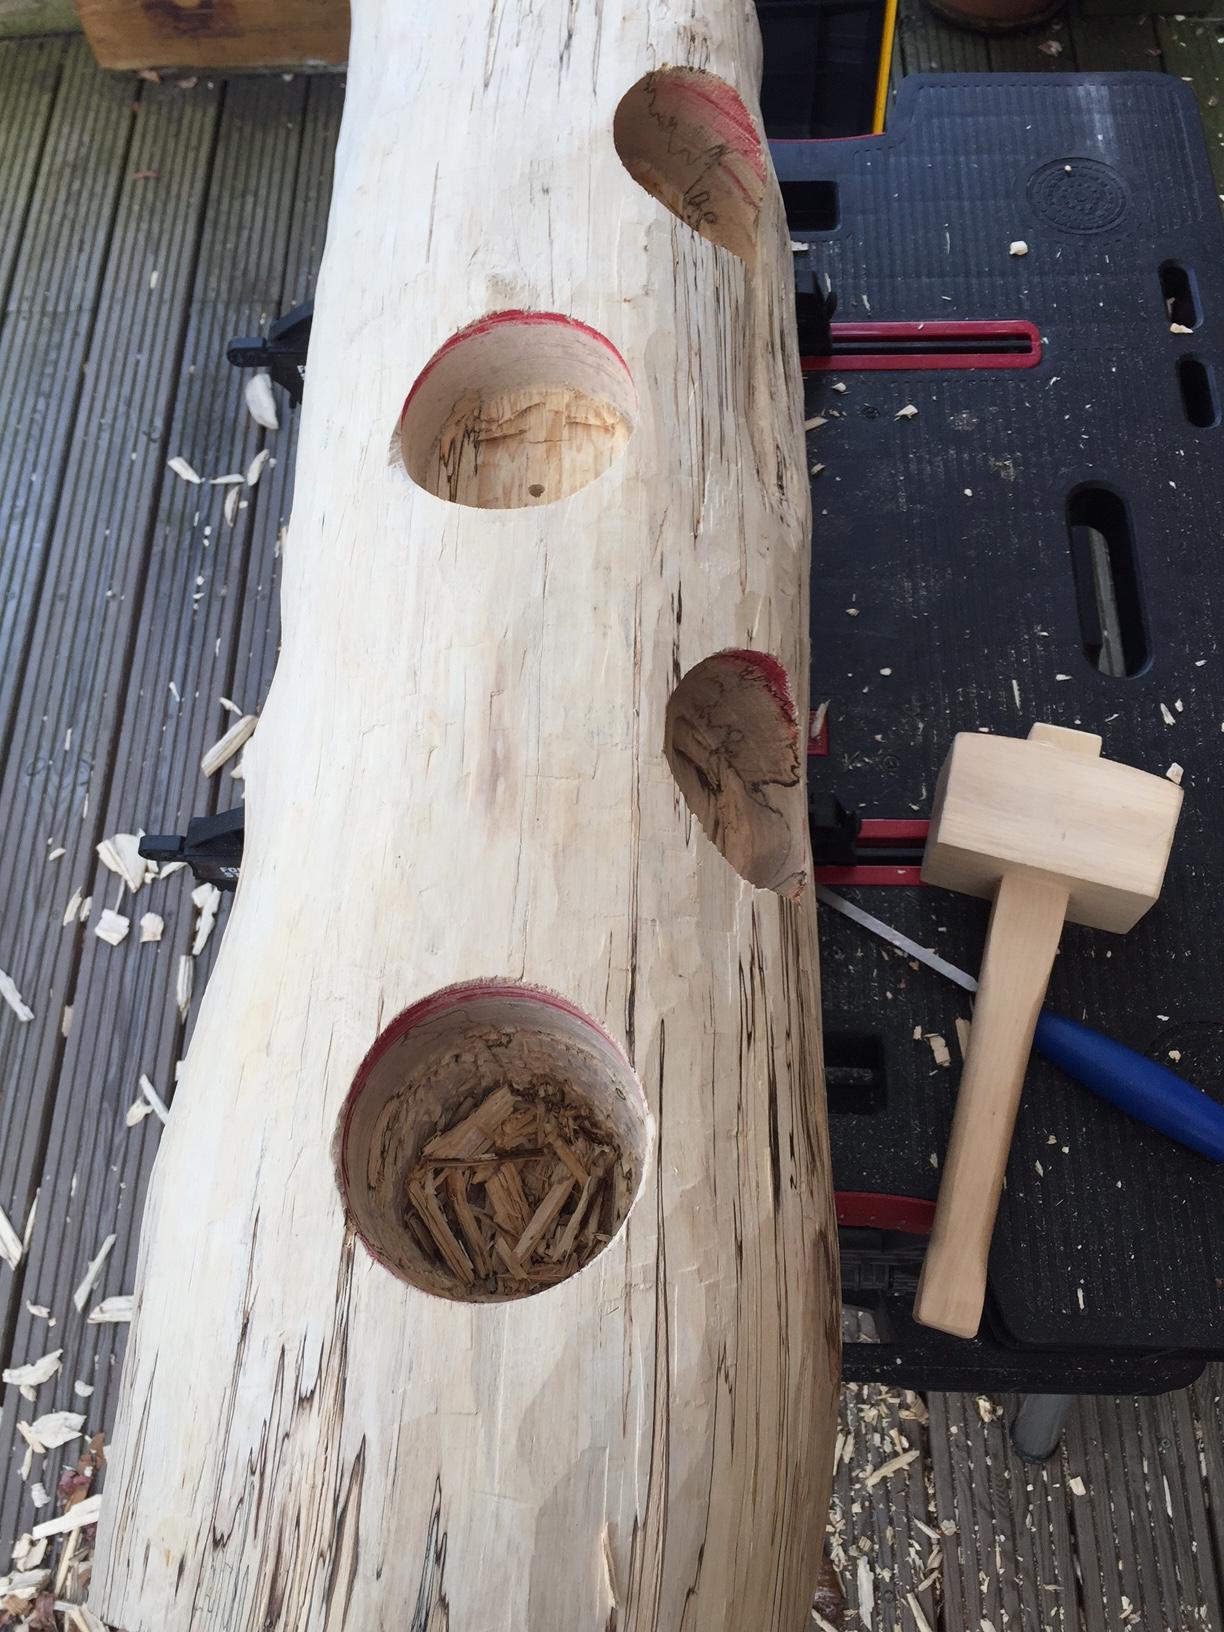
Make sure to space your holes pretty evenly, so that they don't begin to run into each other as you chisel farther into the wood.
You'll also want to test them periodically with a full wine bottle, to make sure that each hole is deep enough and at the right angle to balance the bottle in place.
Once they're all in place and mostly carved out, you can begin smoothing them out to create a more finished look.
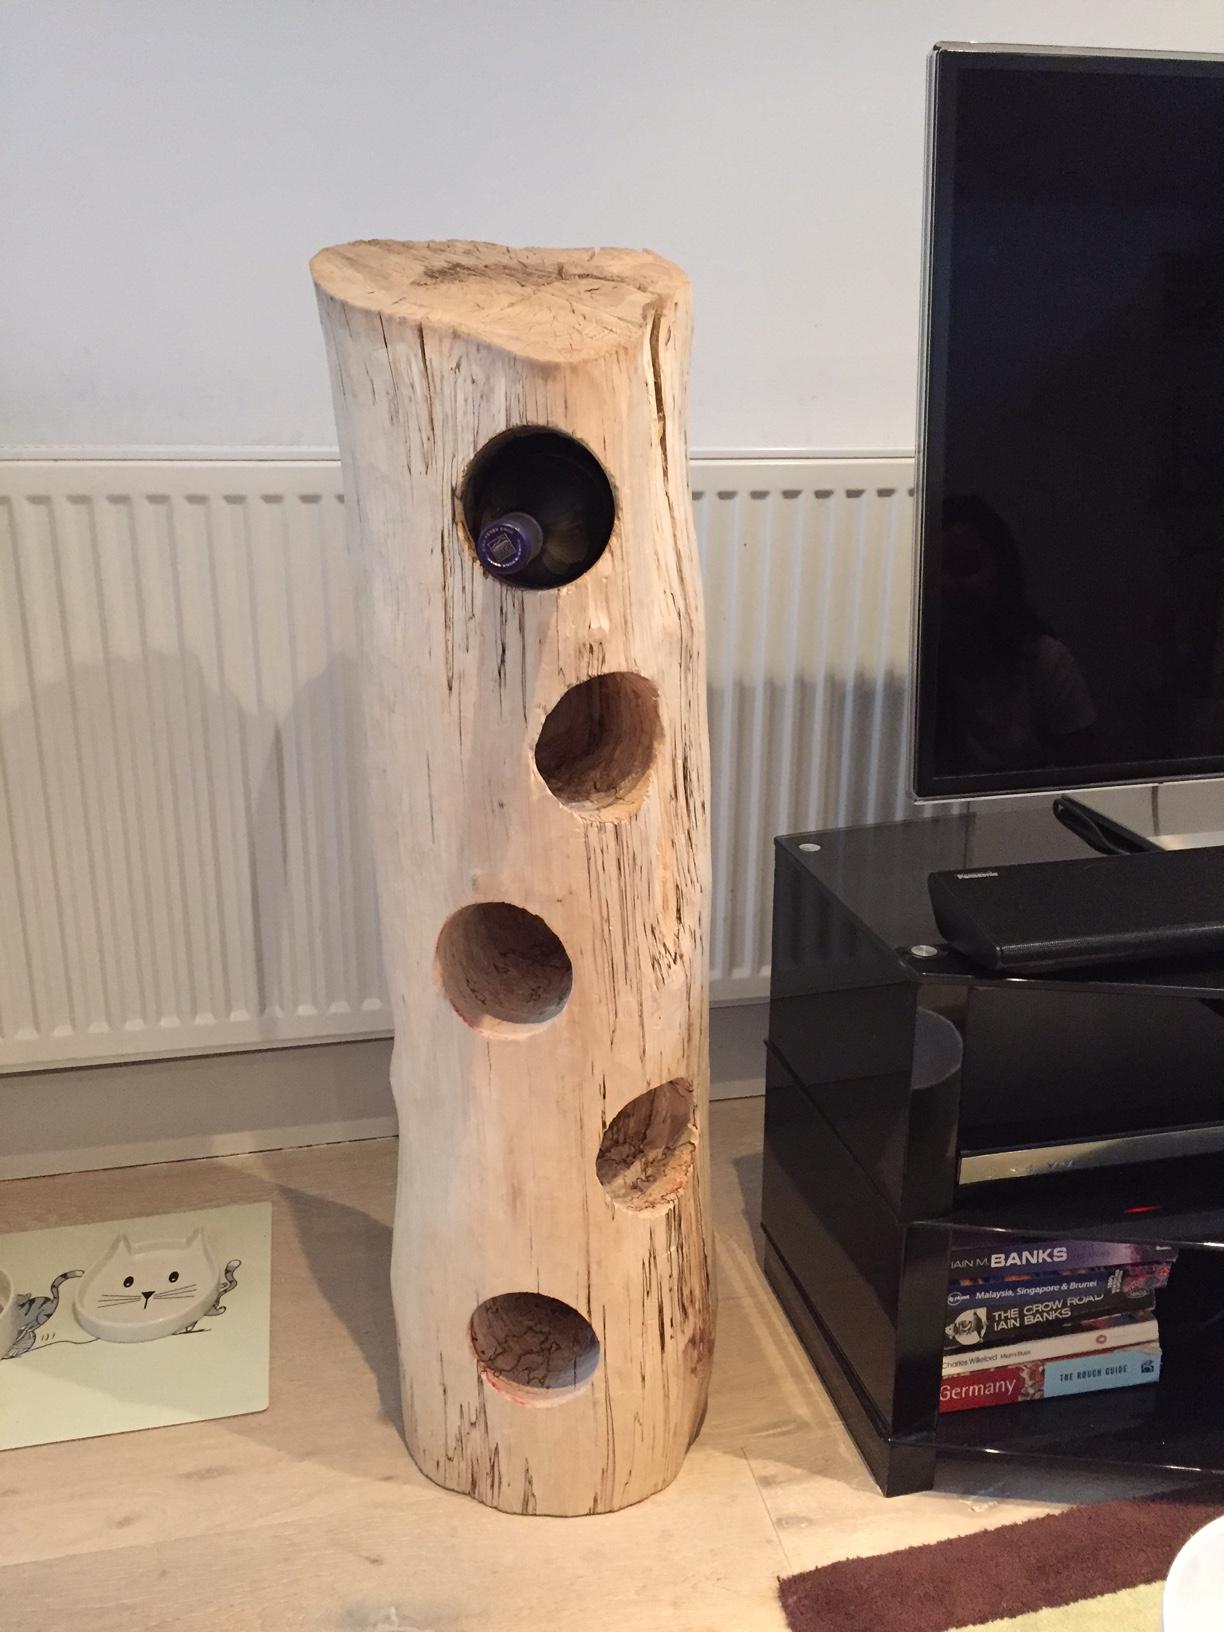
Now, you should be at a point where your wine rack is theoretically ready for use!
Sure, you may want to add a few more details and finish it up a bit more, but as our handy guide demonstrates above, it is totally ready to be put to work!
You can also pause at this juncture to sand and/or plane the top and bottom of the rack to make sure it stands upright and doesn't overbalance.
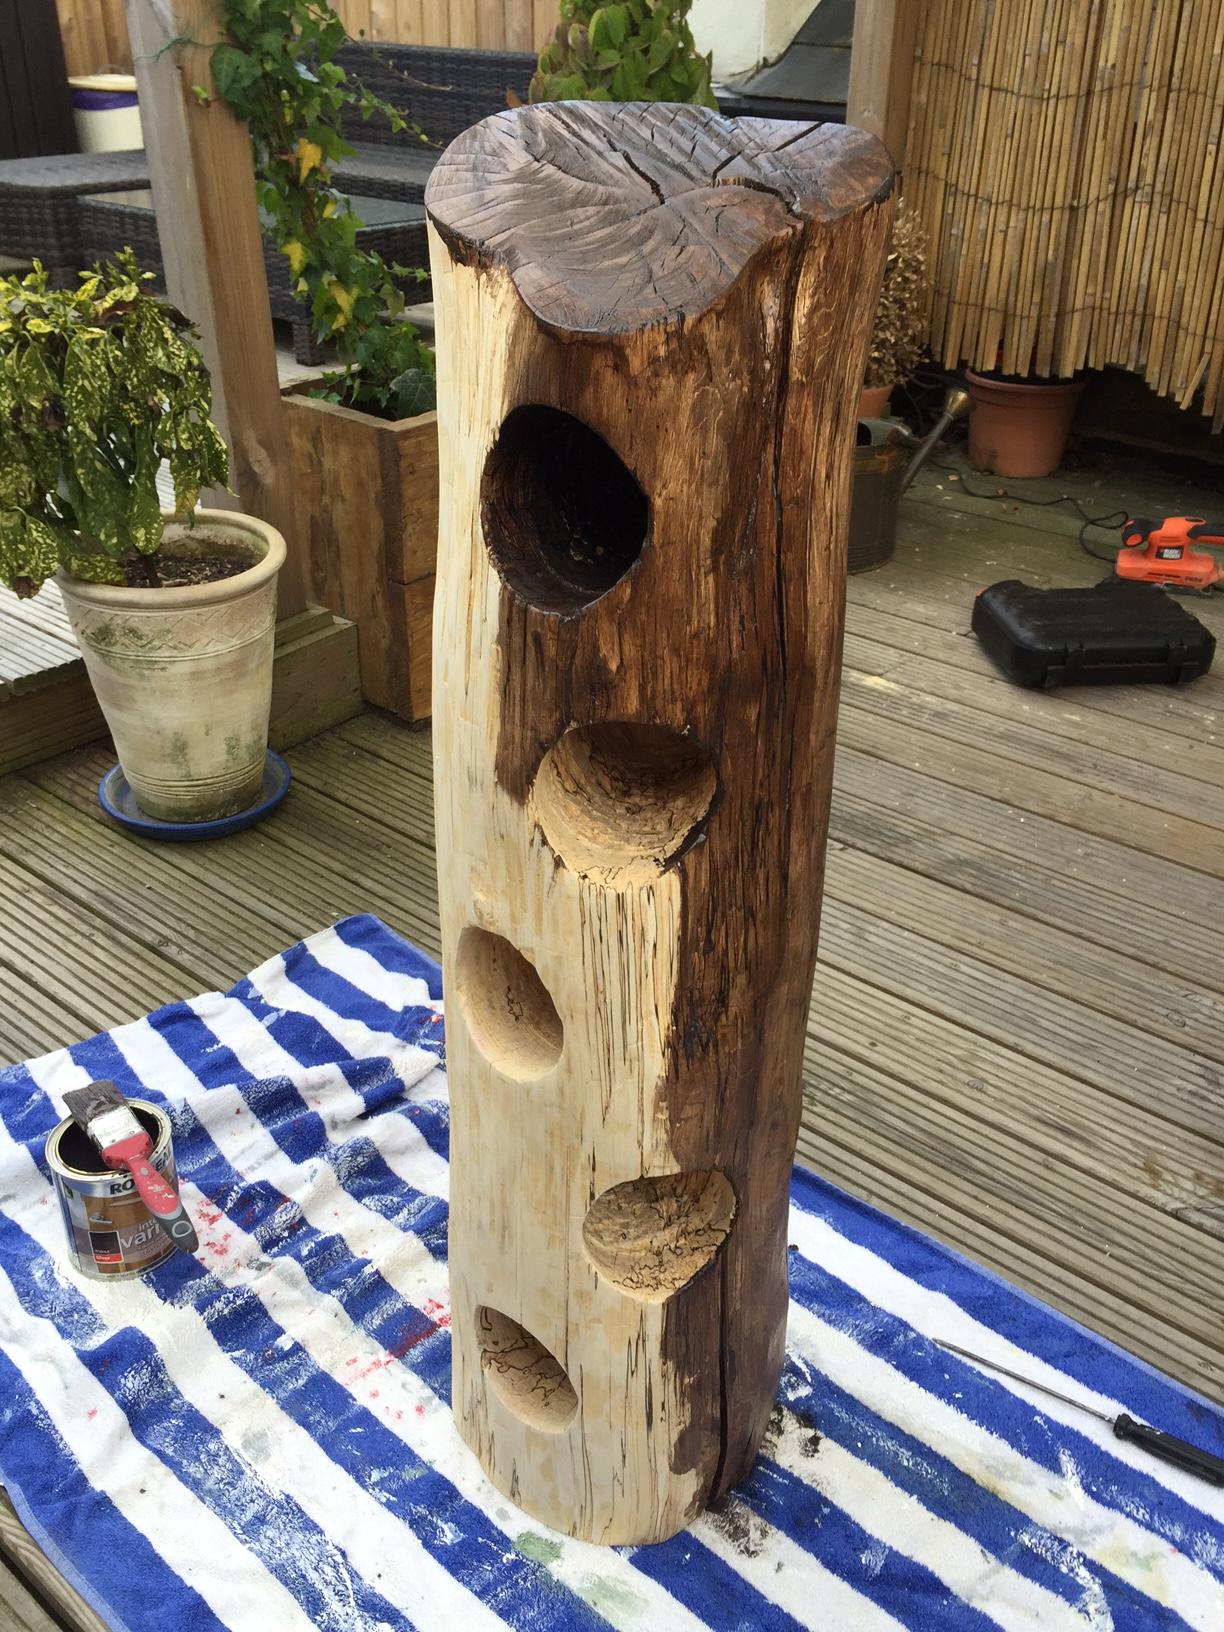
Next, you'll want to start the process of sanding and finishing the exterior of the piece.
While the craftsman doesn't totally explain the process taken here, it looks as though the log was given a coat of stain then sanded before a few more cycles of each process.
The stain is also used inside of the bottle holders, though this is an aesthetic choice.
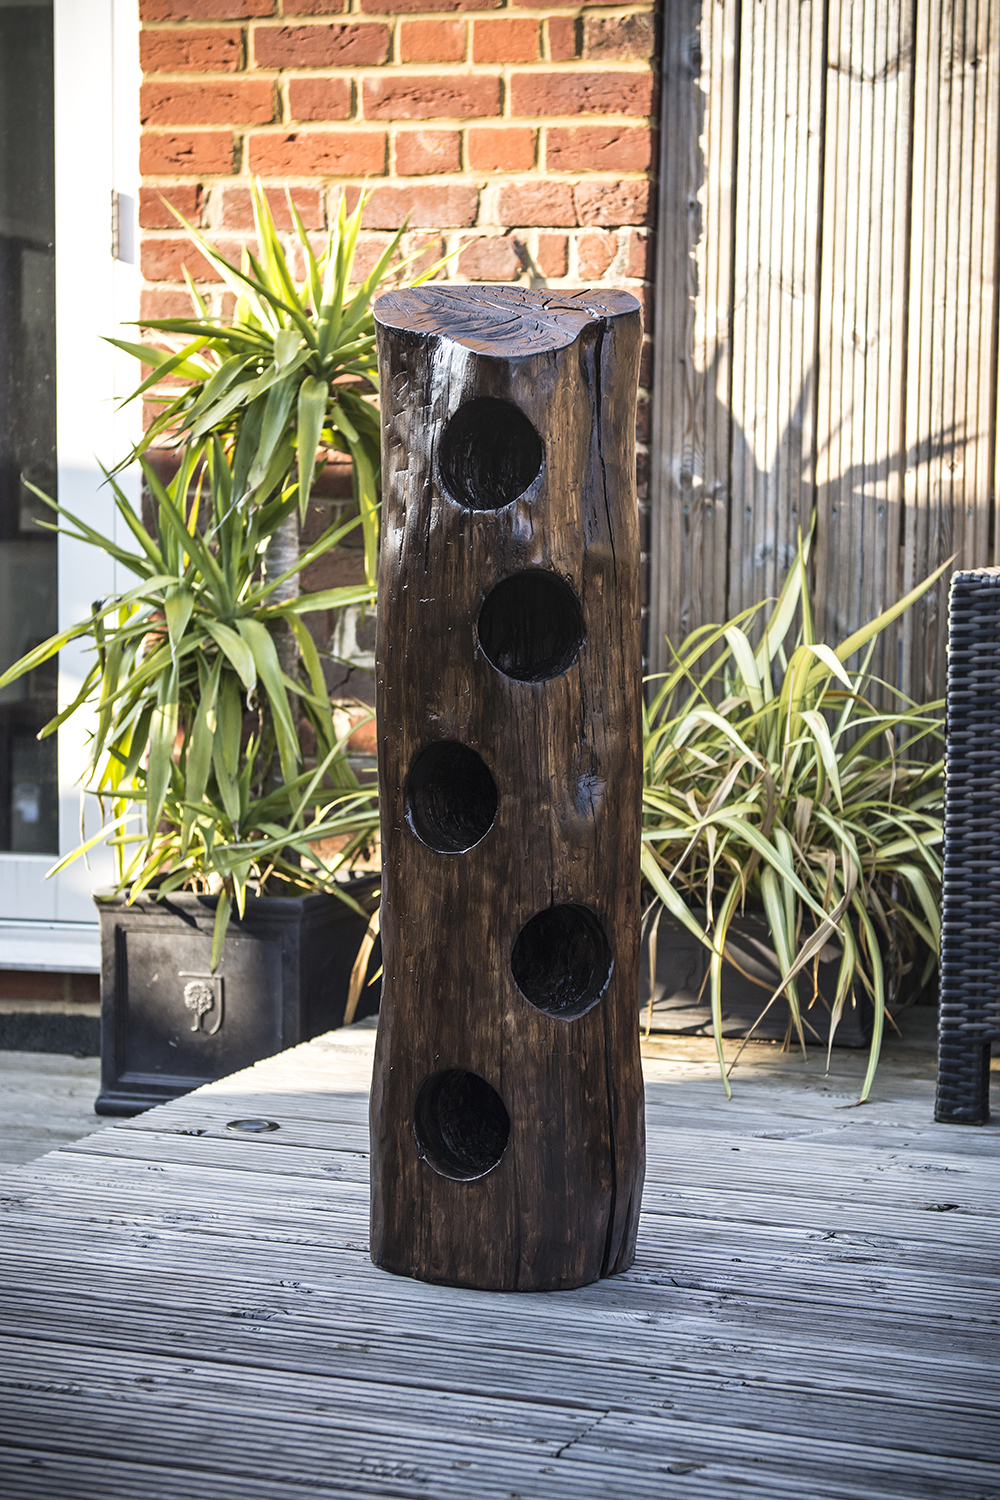
With the final coat of finish in place, you get a clear sense of the final look of the piece!
It's stained a beautiful rich brown, and has the slightly smooth look of well-weathered wood.
It does a really lovely job of bringing a natural, semi-wild aesthetic to the backyard patio, the kitchen, or the wine cellar.
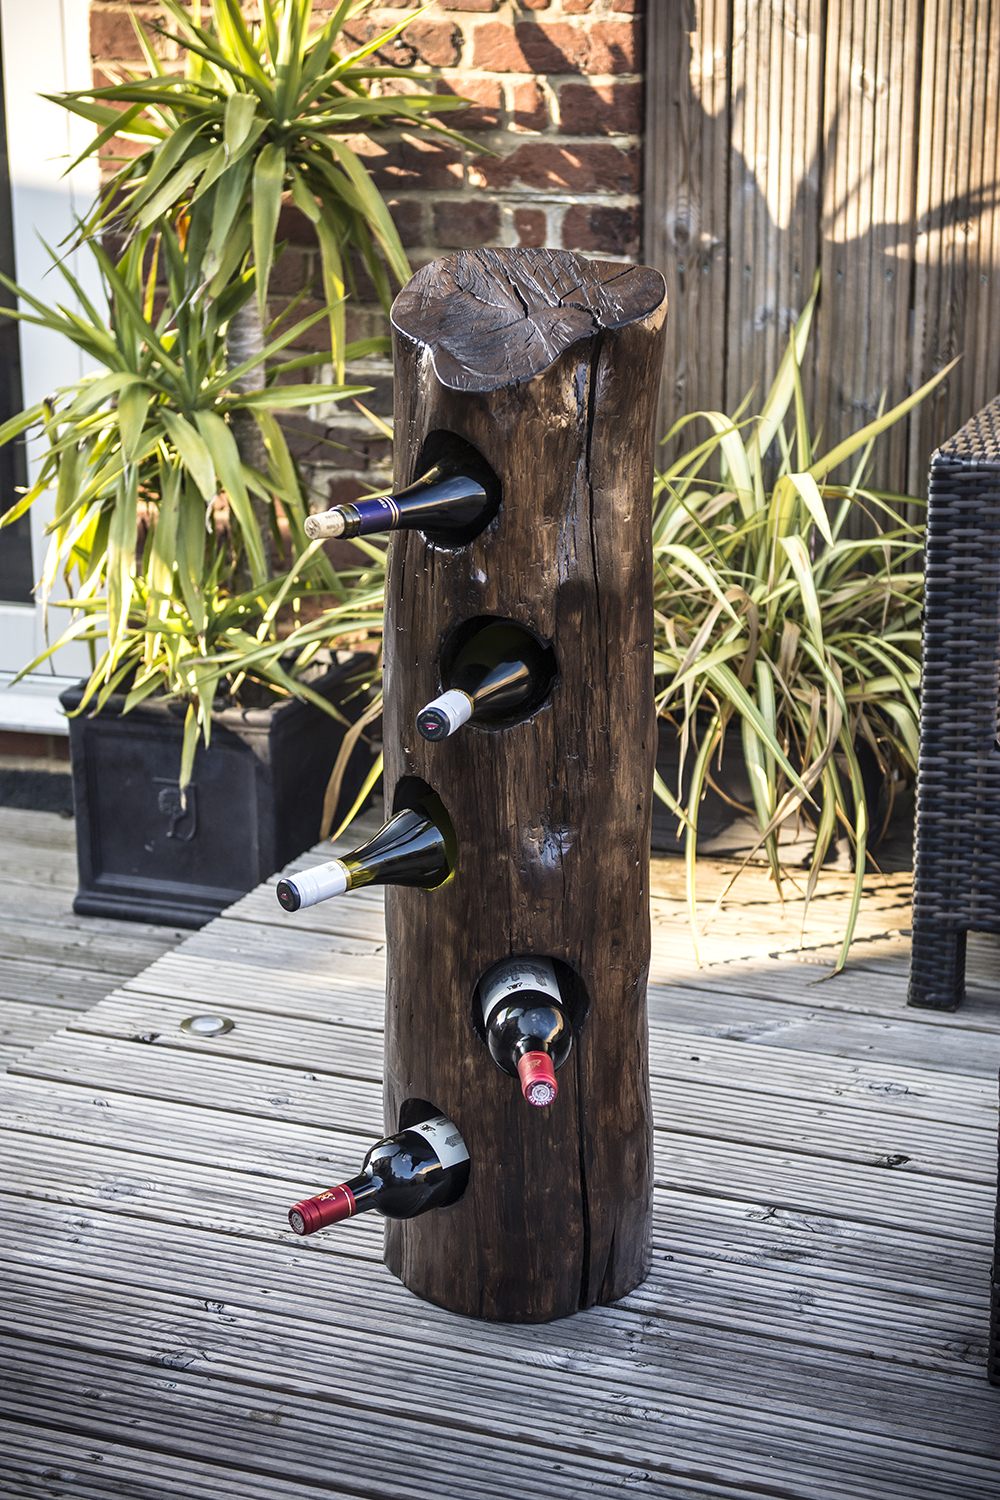
And, we may be biased, but we think this piece looks even better with bottles of wine in it!
Can't you just imagine throwing a breezy summer dinner party, and reaching over to your handy-dandy wine rack to grab a bottle to crack open for the table?
If you love the gorgeous, all-natural look of this DIY furnishing, make sure to SHARE on Facebook with anyone who loves woodwork, entertaining, or both!


