I've been cutting my own hair since the age of 18. It's been a few years since I made that first cut, and I've learned to perfect my technique after trial and error — many, many errors.
That was when I first gave myself bangs. Depending on my mood and the season, I keep them longer or make them shorter. It was also the first time I ended up trimming the hair I couldn't see behind my head. A few years later, I dared to chop off a few inches of my locks with nothing but a pair of fabric scissors. Luckily, the experiment turned out great.
I've never experienced a terrible mishap that forced me to go to the hairdresser for a quick fix. In fact, I haven't been to the hairdresser since before college! Obviously, I saved a ton of money, but sometimes I wonder if I could give myself a better cut.
That's when I discovered the CreaClip. This product allows you to cut your hair all by yourself with minimal effort and mistakes.
So, after growing out my hair for several weeks and desperately needing a cut, I used to the CreaClip to trim my locks.
What Is The CreaClip?
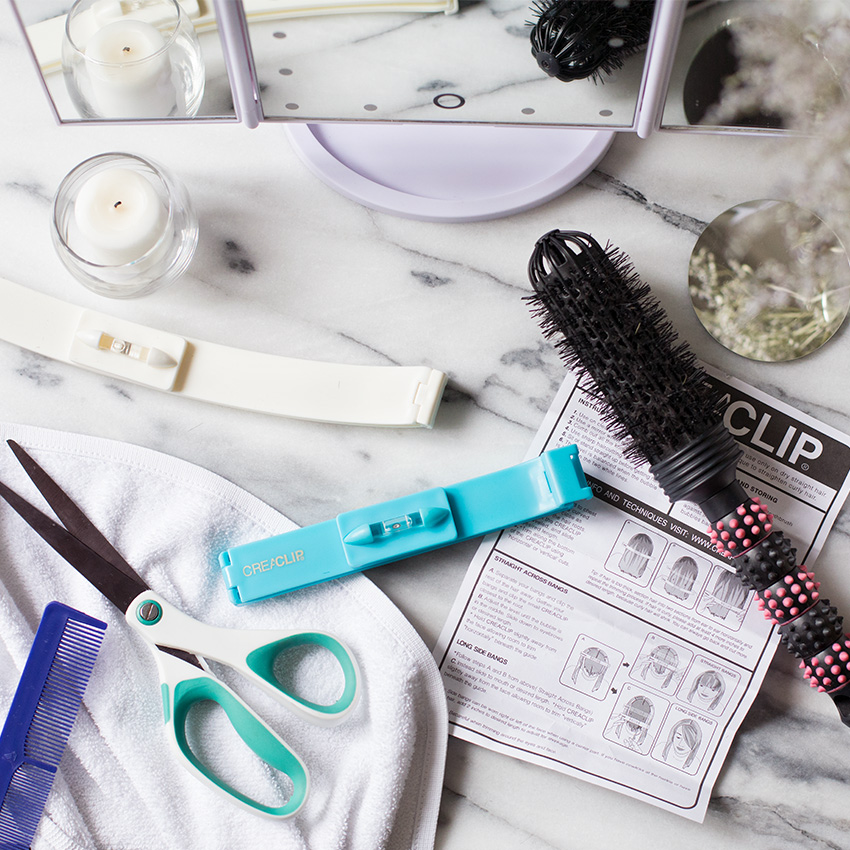
The CreaClip costs about $20 and comes in a package of two clips, one smaller than the other. The small blue one is meant for bangs, while the larger curved white one is supposed to be sturdy and strong enough to hold the hair behind your head.
You can get creative with your hairstyle, and the instructions give you directions on how to give yourself layers, side bangs, and even more advanced textures.
Besides the CreaClips and a pair of scissors, here are a few other tools you'll need: two mirrors, a brush or a comb, and an extra pair of hands (more on this later). I added a barrel comb to my arsenal of tools to give my newly trimmed bangs some volume.
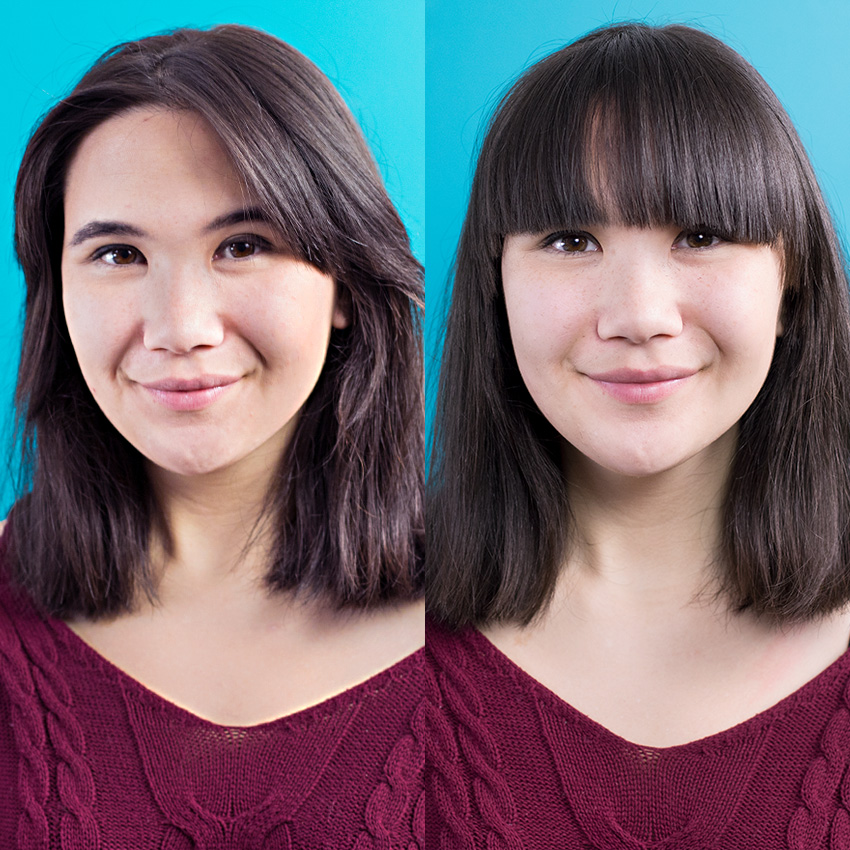
My "Before" Look
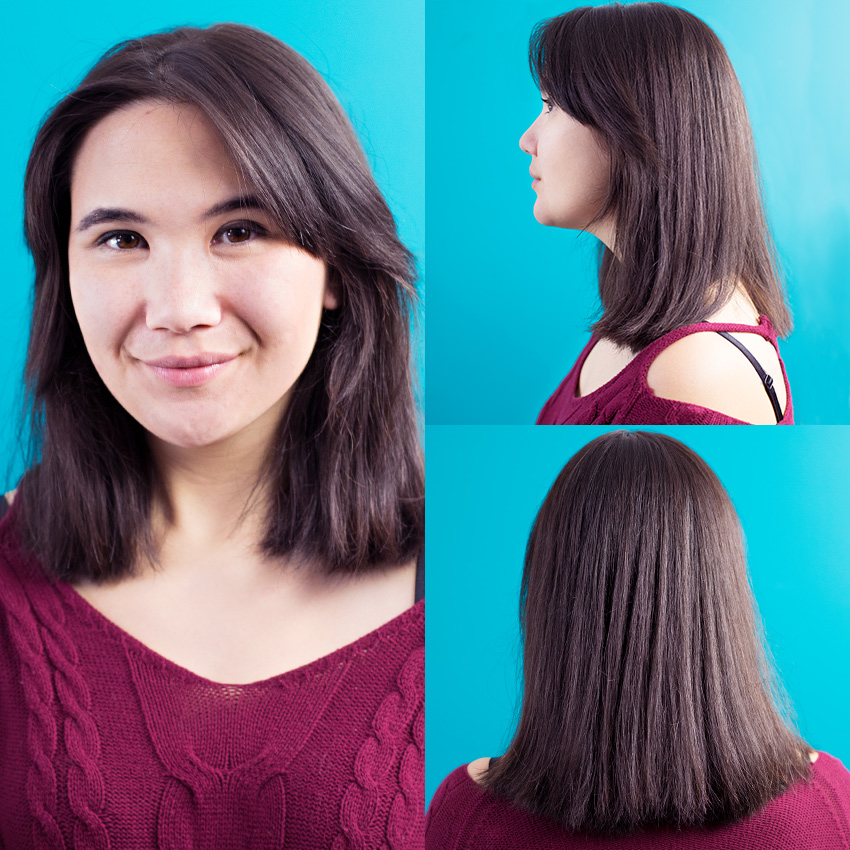
I let my hair grow for a few weeks, which was just enough to make my bangs long and for me to have enough length to trim off for a noticeable difference. At this stage, I desperately wanted to cut my hair — it was getting in the way of everything!
Using The CreaClip
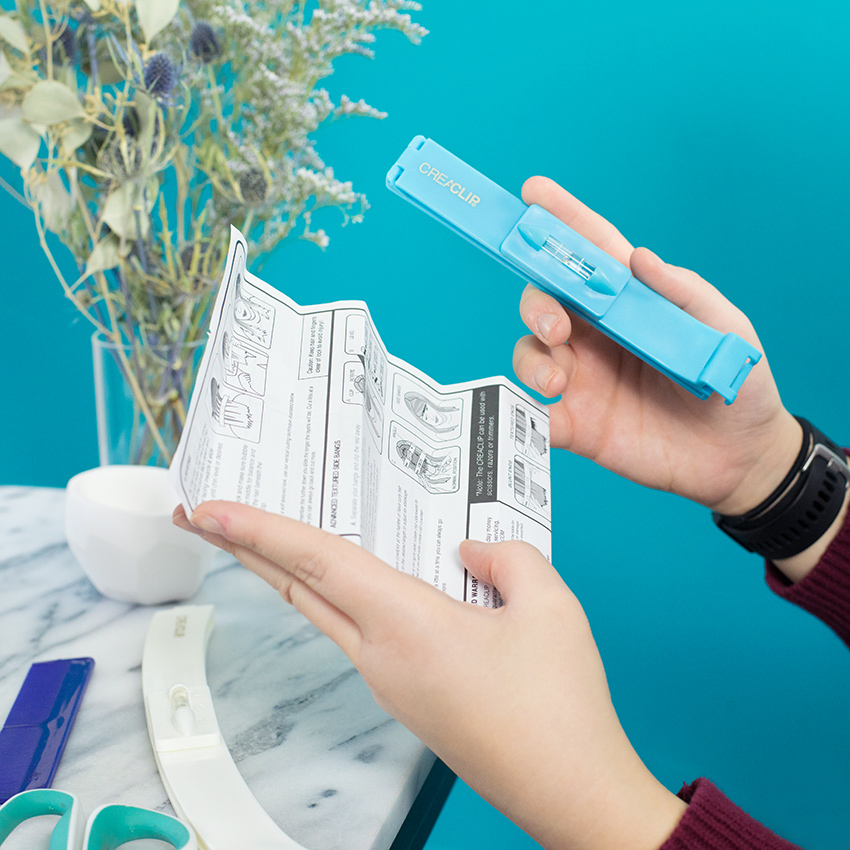
The instructions were easy to follow, but the key to using the CreaClip (especially if you're by yourself) is having a good eye. There is a bubble in the middle of the clip that is supposed to be centered, and throughout the cut, you must make sure that it continues to be centered.

Before starting, I had already washed and blow-dried my hair to make sure all the strands were straight. If you have curly hair, the CreaClip instructions recommend that you add four inches to your desired length.
Cutting My Bangs
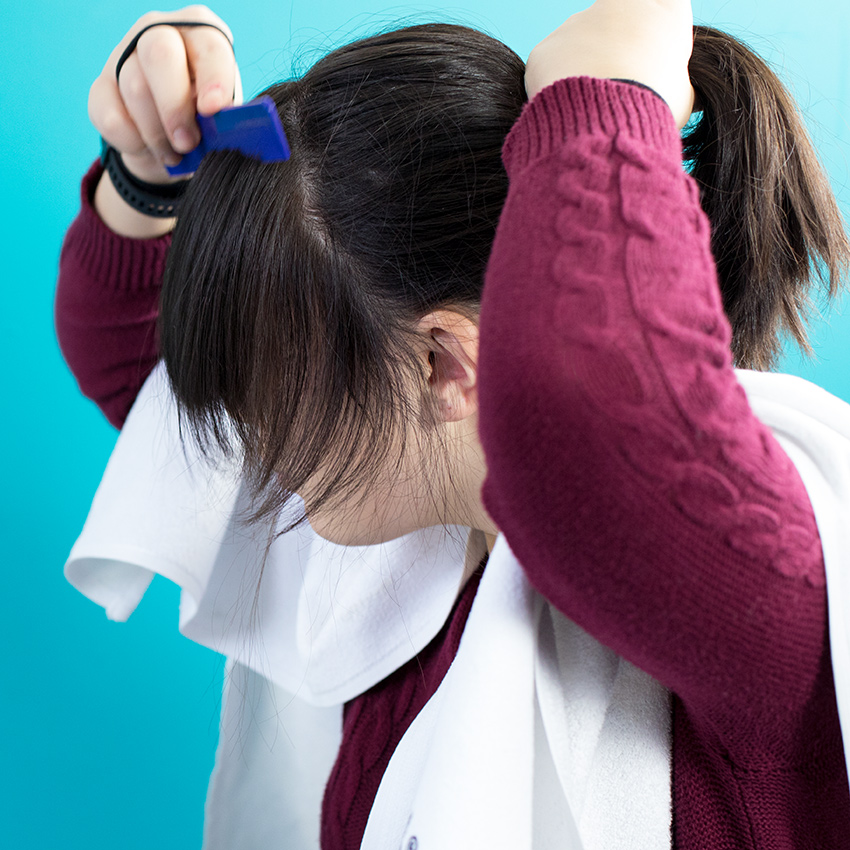
I started with my bangs. Following the hairline I had already created when I first cut them, I combed all my hair forward. The biggest issue was not being able to see past my hair.

This was easily rectified when I snapped the CreaClip into place. Making sure the clip was leveled and straight, I clipped it near the roots of my hair and slid it down until I reached my desired length.
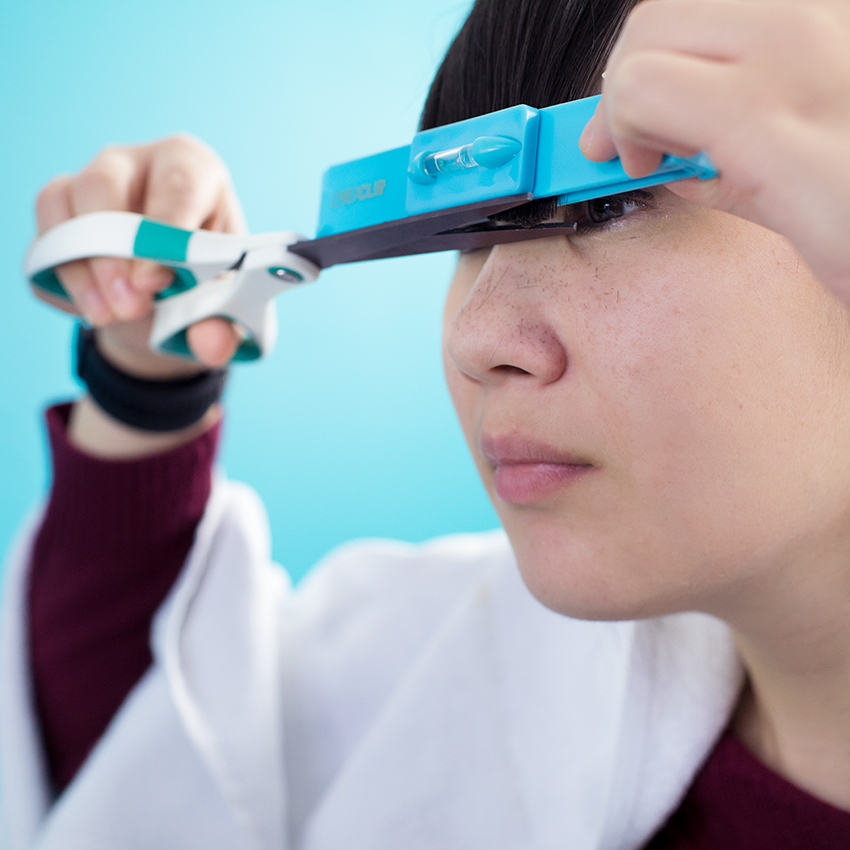
Then, all I had to do was cut away!
This wasn't as easy as I'd thought. While the clip stayed in place, it was a little hard to hold the clip in one hand and the scissors in the other while staying steady. The clip is also thick, so I missed a few sections with the first cut.
Trimming My Hair
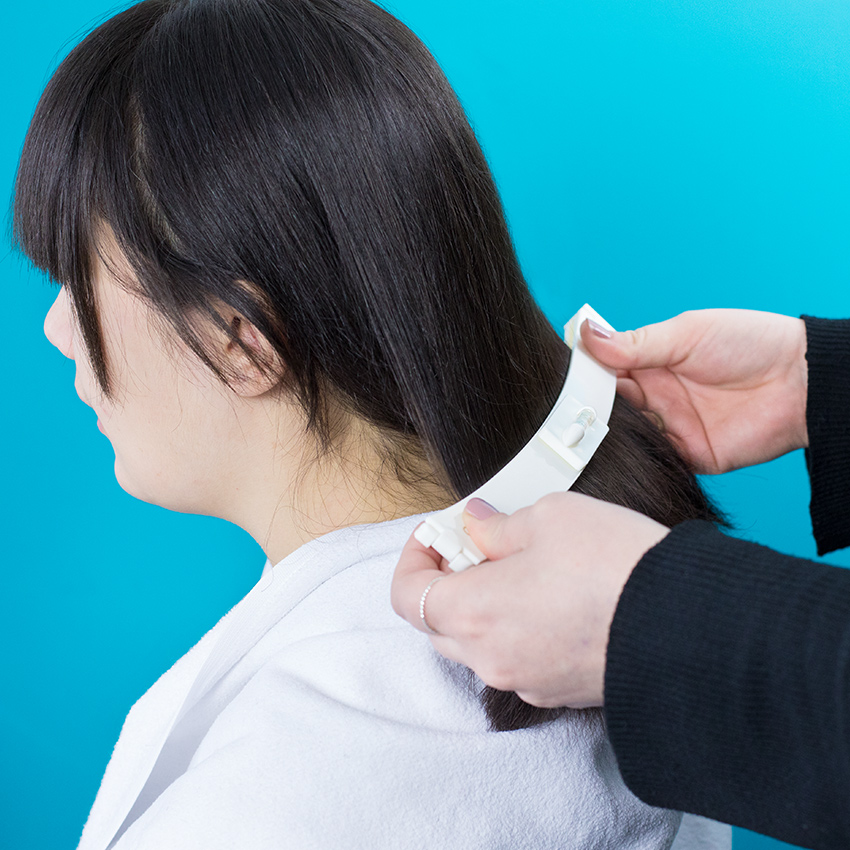
Next up, I had to trim the hair behind my head. I attempted to snap on the larger clip several times, but this proved to be very difficult, especially when it came down to checking the bubble. My hair is also quite thin, and the CreaClip was not holding all the strands in place.
This was when I resorted to getting a friend to attach the clip to my hair as well as trimming it.
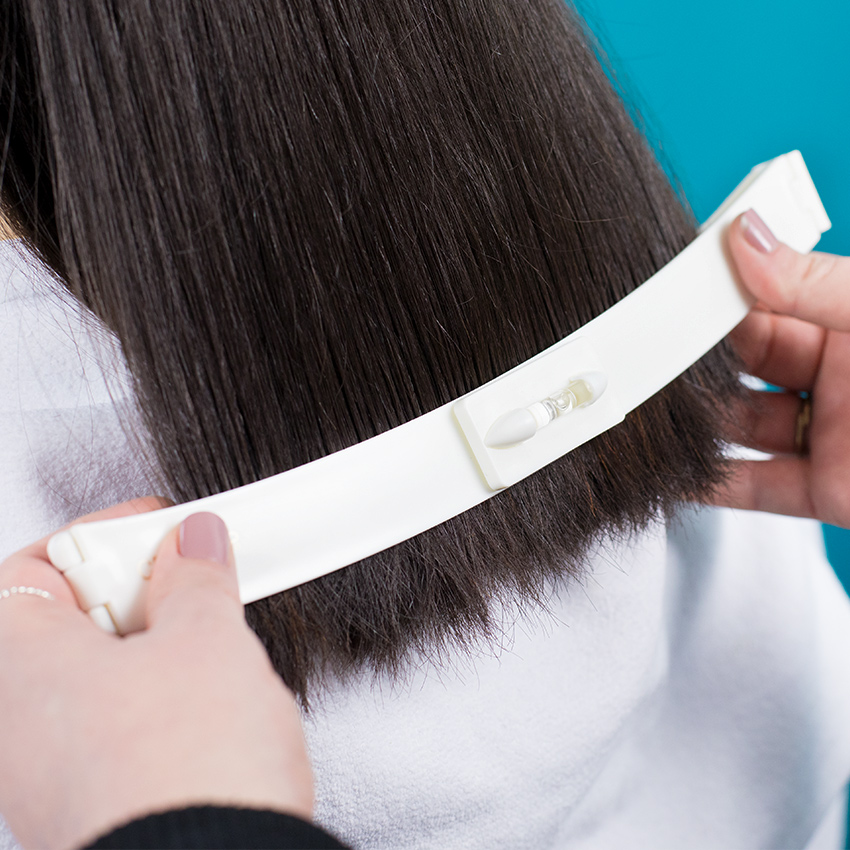
I only wanted a trim, so my friend snapped the CreaClip into place at the roots and slowly slid it down until there was only less than an inch for her to cut.
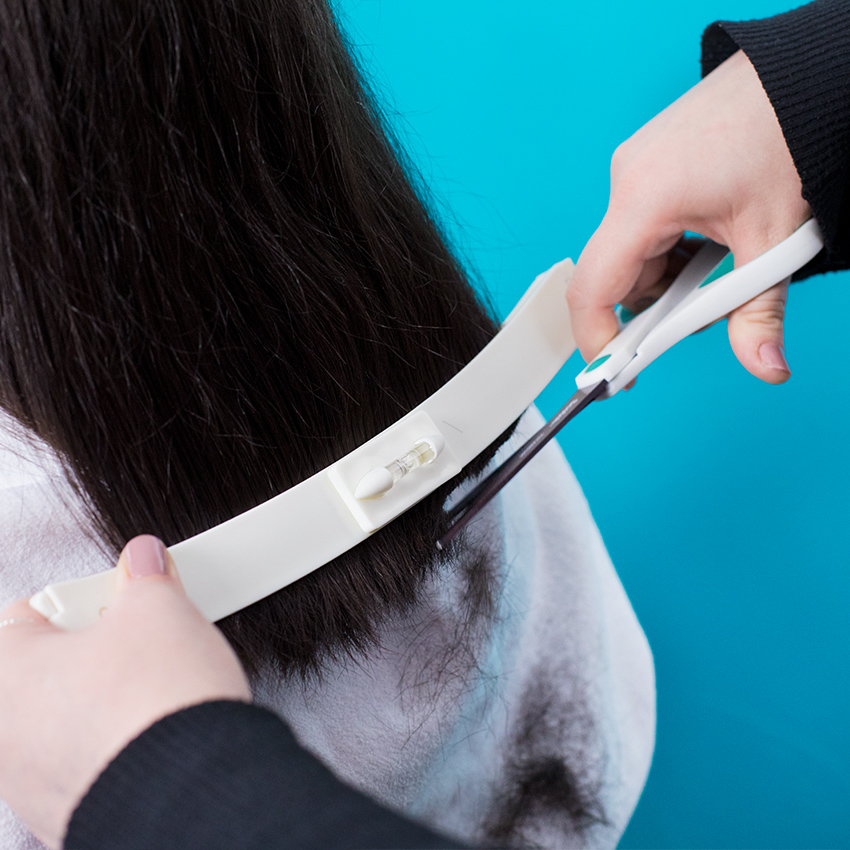
The cut itself also proved to be difficult, as the clip kept on sliding out of place when she moved the scissors. It took several clean cuts to make a straight line.
Cleaning Up
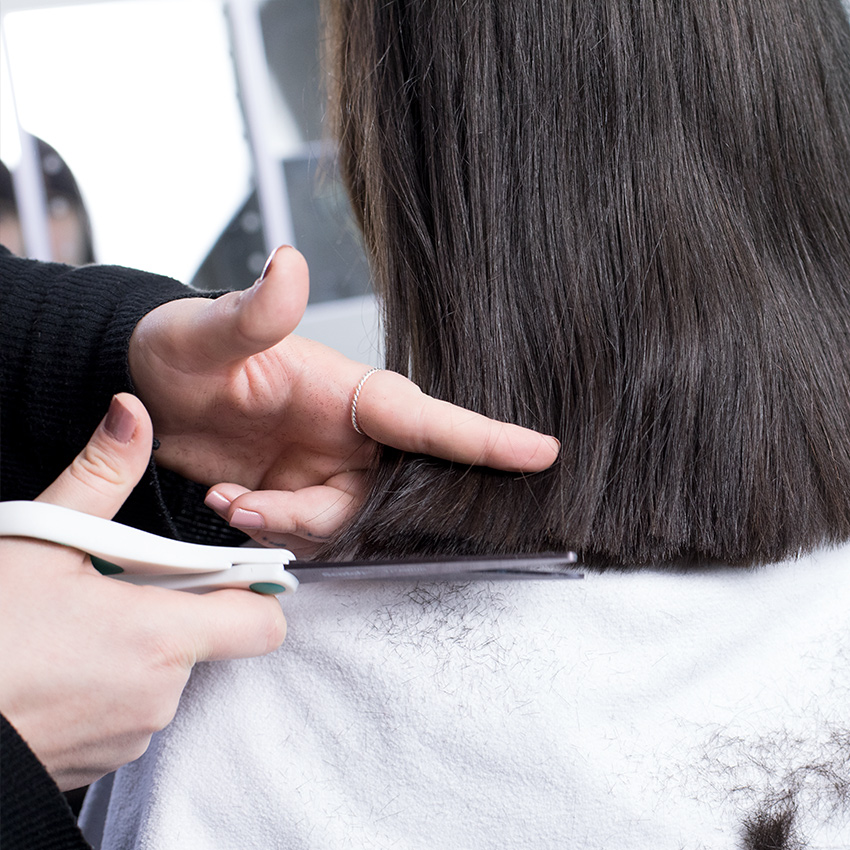
Finally, there was some clean-up involved. The initial cut with the CreaClip was not as clean as I had hoped, so my friend was happy to help with the extra trims necessary to make my hair look decent.
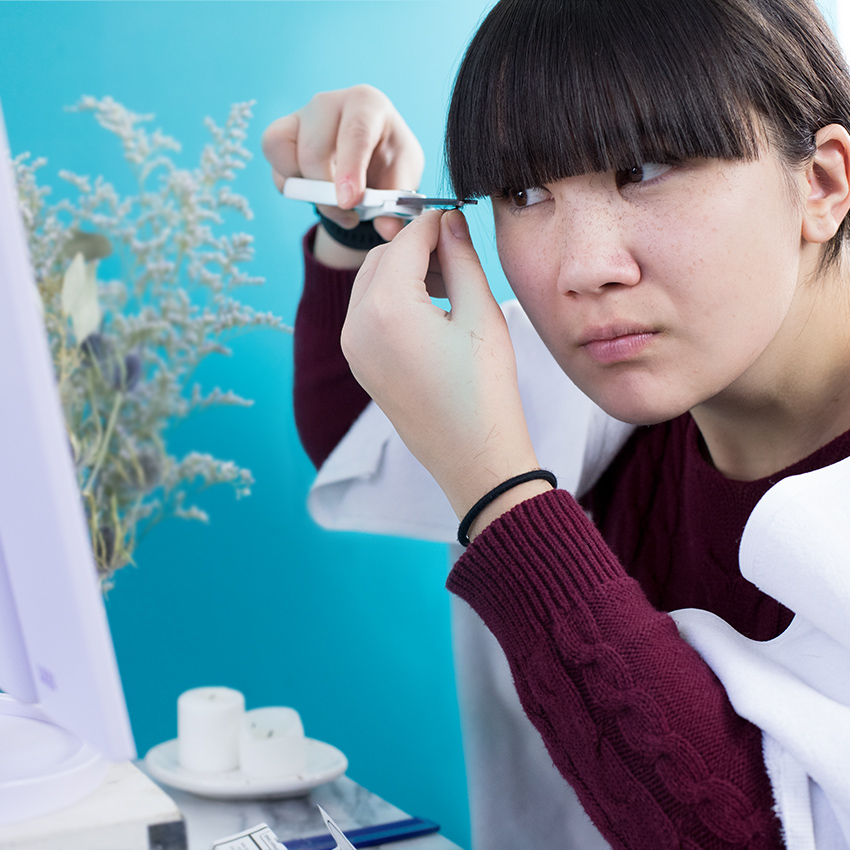
After she was done, I did the same for my bangs. I had cut in a straight line already, but I wanted to add some texture to the fringe by cutting vertically.
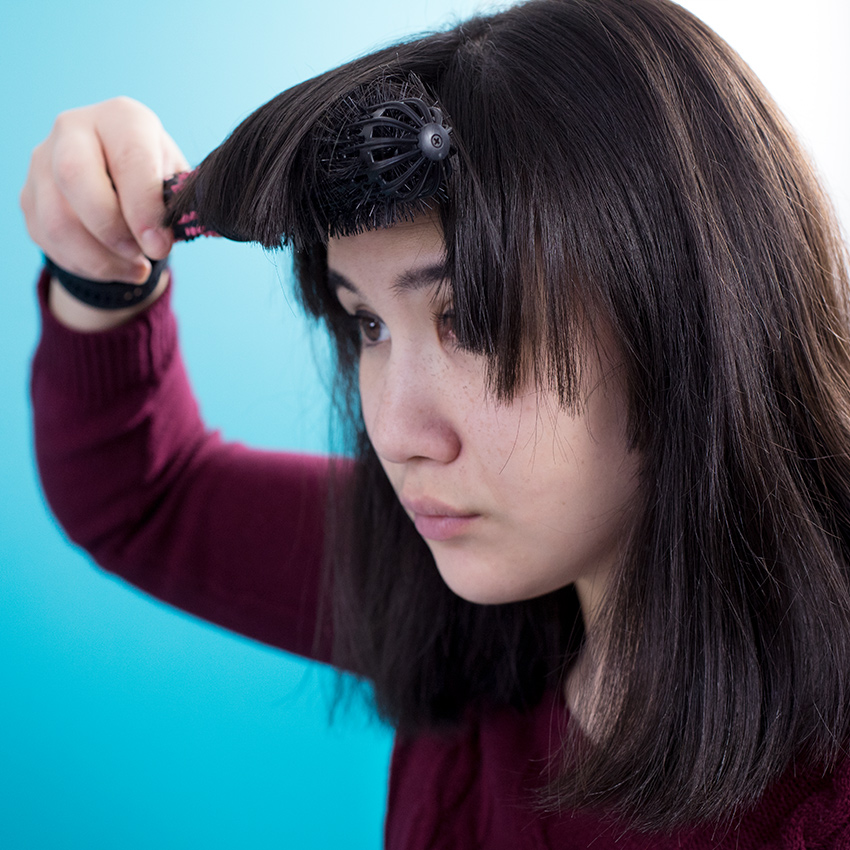
Next, the final touches: using the barrel comb underneath the bangs, I added volume to them so they didn't fall flat on my face.
The Result
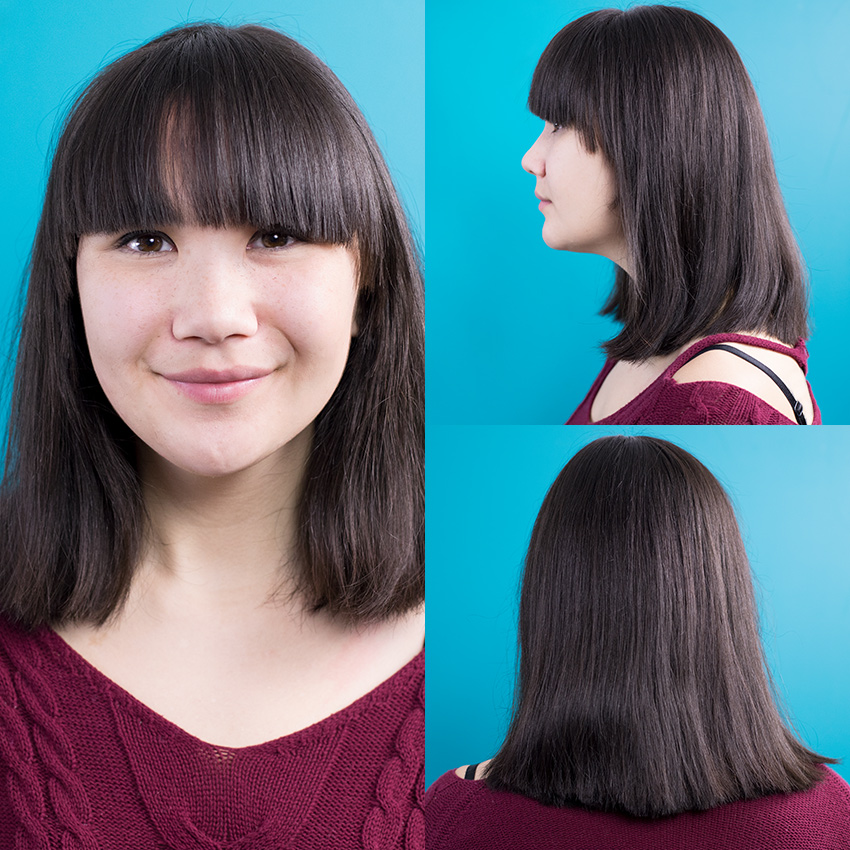
I ended up really liking the trim both of my bangs and the rest of my hair. The ends were straight and even — I couldn't have done a better job!
Final Thoughts
If you're in a pinch and don't want to spend money on a trim, the CreaClip is a great option if you have a friend there to help you. Though the tool is lightweight, it's a little thick — perhaps a little too thick for hair like mine. I would definitely use this tool again, and who knows, maybe I'll be adventurous and try out some new styles!
Please SHARE if you would recommend the CreaClip to a friend!


