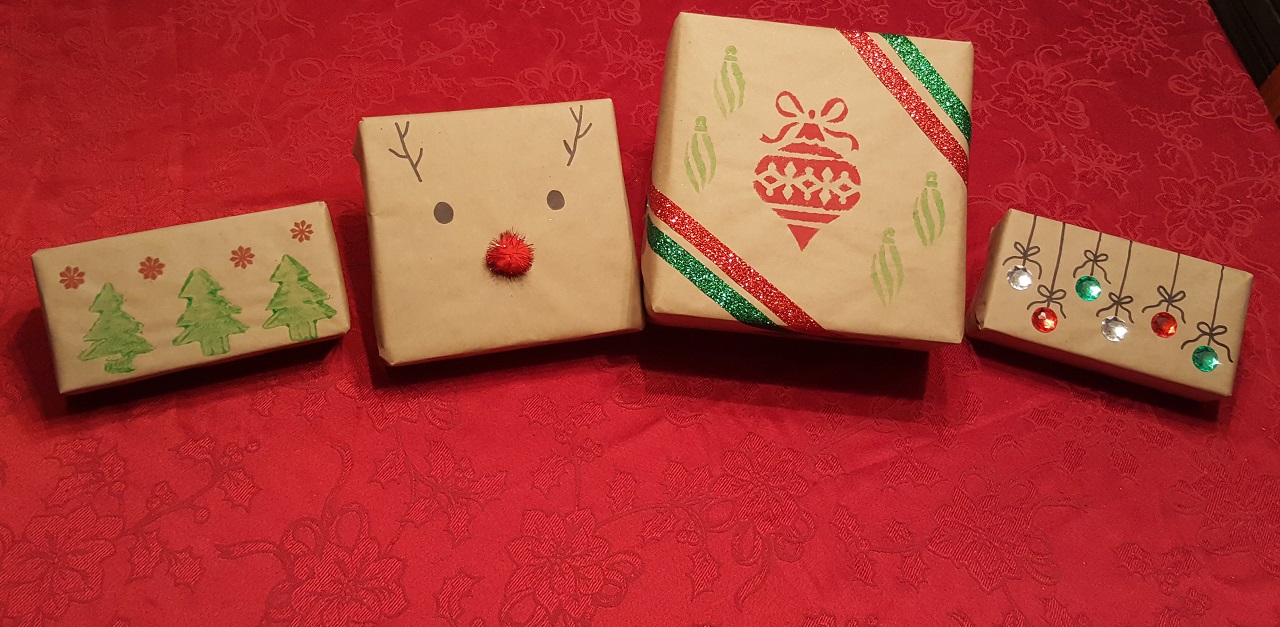
Homemade wrapping paper isn’t just adorable and affordable — it’s also a great way to add a special touch to each one of the presents you give to friends and family. With that in mind, I opted to make my own handmade gift wrap this year.
To get things rolling, I decided to see what the internet had to offer when it comes to inspiration. And while I could have settled for one kind of wrapping paper, there were so many attractive options available to an overly keen holiday lover like me that I ended up settling on four methods that each seemed simple and snazzy.
More from LittleThings: These Unique Easter Egg Decoration Ideas Will Get Your Whole Family Excited For Spring
First, I wanted to try Fun Hug’s faux jewel ornament idea. But instead of making the Christmas cards shown, I would attempt to use this method to make wrapping paper. I loved the look of the bright and shiny 3-D decorations, and it seemed like it would be incredibly easy to do. That is, if I could track down the fake jewels.
After that, I thought I’d try some wrapping paper decorated using various holiday-themed stencils. Since I didn’t have any stencils on hand, I was hoping I’d be able to buy some attractive ones but figured I could always consider printable options that I could cut out myself if necessary.
For my third kind of wrapping paper, I decided to go old school and follow a method my mom used with my sister and I when we were little: stamps. Did you ever use potato stamps when you were a kid? They’re so easy and so much fun! They also allow you to get as creative as you want when it comes to stamping options.
Finally, I couldn’t resist attempting some Rudolph the Red-Nosed Reindeer wrapping paper that I spotted on Pinterest. Again, it looked incredibly easy to do, but also super sweet!
With my choices made, I ran out for a quick shopping trip to pick up the materials for each type of wrapping paper. I found everything I needed at my local dollar store, which happens to have an amazing arts and crafts section as well as a fully stocked seasonal aisle.
With everything I needed in hand, I was ready to make my own DIY wrapping paper.
Faux Jewel Ornaments: Materials
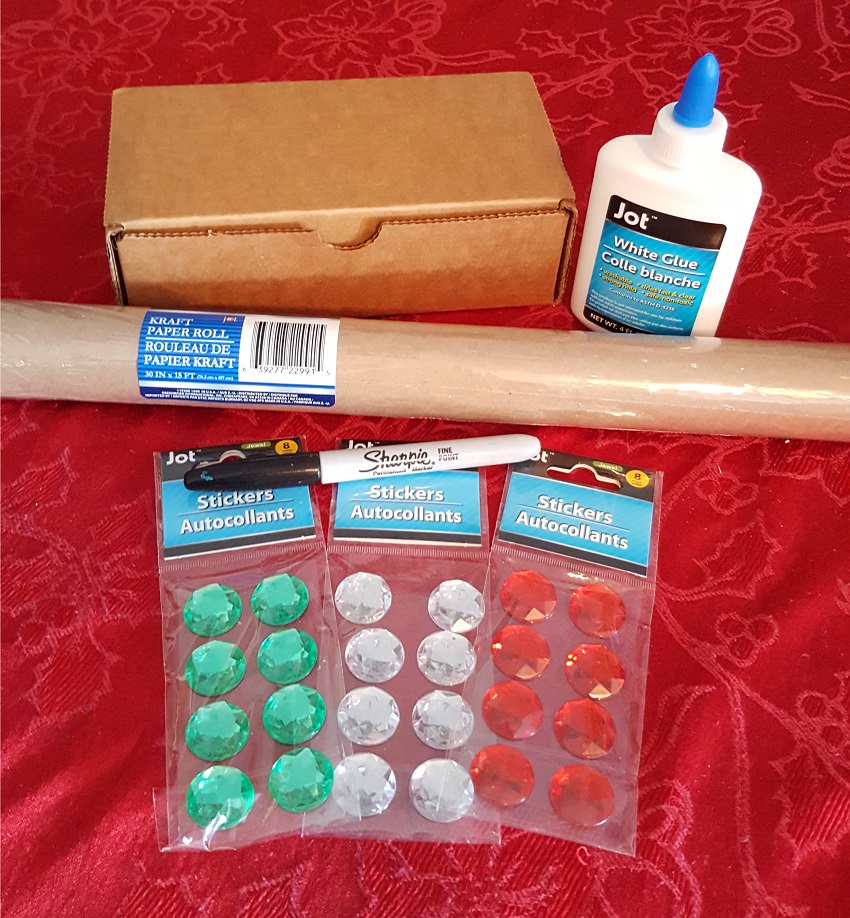
- Empty box
- Blank wrapping (kraft) paper
- White craft glue
- A marker
- Fake craft jewels
Faux Jewel Ornaments: Process

For the faux jewel ornament wrapping paper, I started by simply wrapping the box in the plain kraft paper. I then decided on a placement for each of the fake jewels, and although mine happened to be sticky on the back, I added a little dab of glue to each one to make sure that they were nice and secure. I then used a black marker to draw dangling ornament strings and a bow on each jewel.
Faux Jewel Ornaments: Result
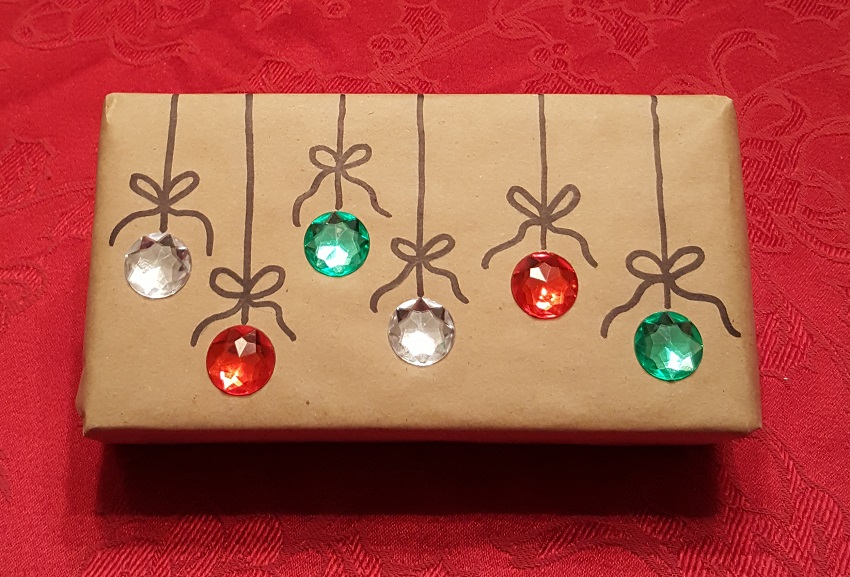
While this was an easy and quick way to create my own DIY wrapping paper, the result was adorable. The 3-D aspect of the design added a little extra pizzazz.
If you want to make it even snazzier, you could use a strip of real string instead of drawing it on and perhaps tiny bows of real ribbon.
Stencils: Materials
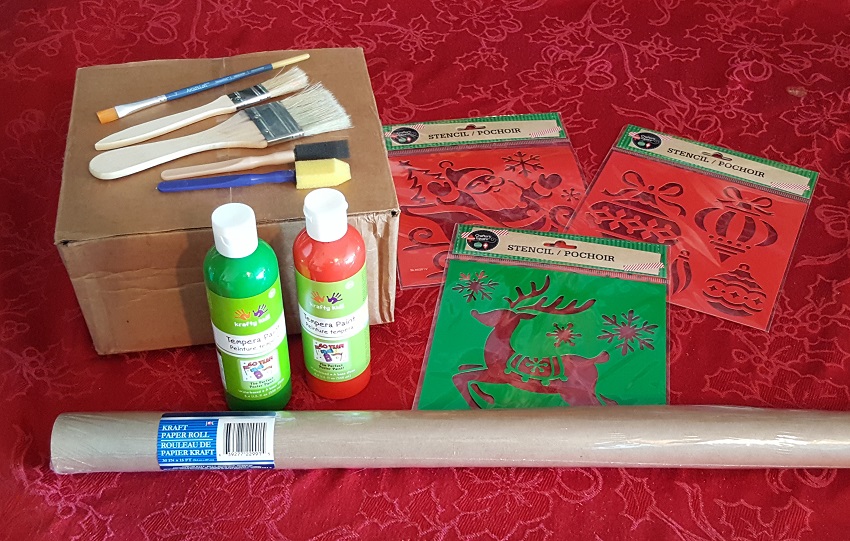
- Empty box
- Blank wrapping (kraft) paper
- Stencils
- Paint
- Paintbrushes and/or sponges
Stencils: Process

Again, I started by wrapping the present in the paper first. However, if you want an all-over design with images that are randomly placed, you could definitely start by stenciling your designs on the paper first and then wrapping the gift afterward.
From there, I tested out applying the paint with various paintbrushes and sponges and found that a normal sponge worked best. I used ornament stencils and simply dabbed on some red paint for the larger ornament and green paint for the smaller ones.
I didn’t want to overdo it with the stencils but still felt like the wrapping needed a little something extra. So I added some sparkly red and green ribbons to two of the corners to jazz it up.
Stencils: Result
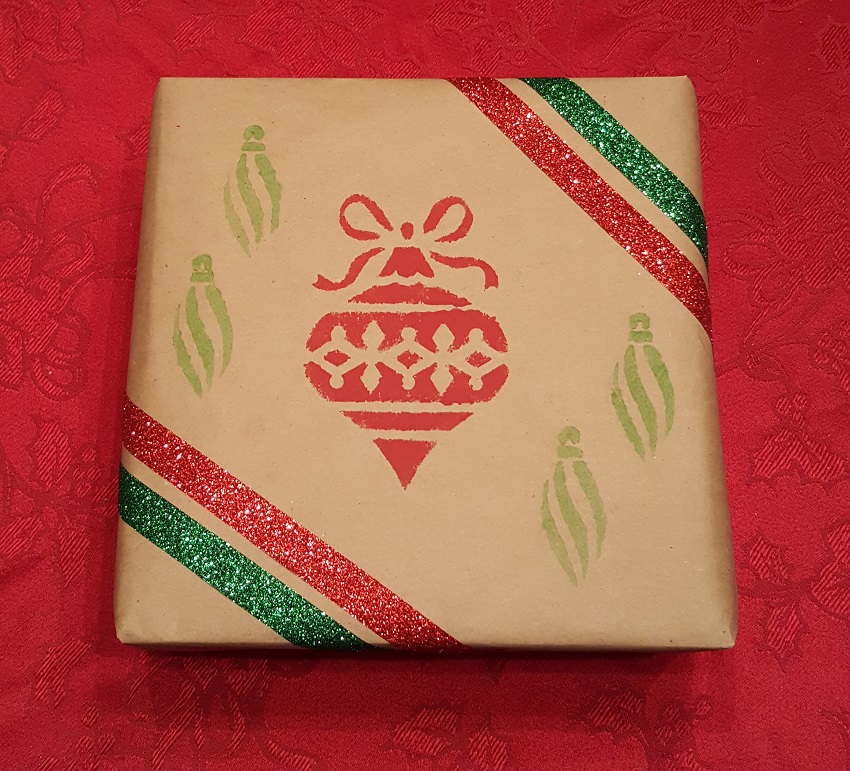
I loved the way the stenciled images turned out and liked the added ribbon. And thanks to the fact that I have plenty of other stencils left over (including a reindeer, Santa in his sleigh, other ornaments, and a few snowflakes), I might attempt a few other designs this holiday season!
Stamps: Materials
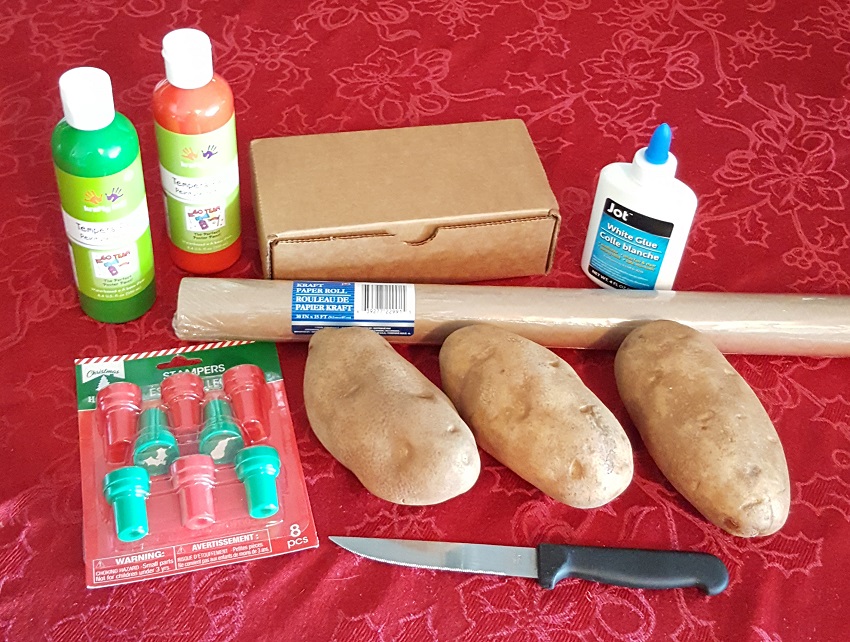
- Empty box
- Blank wrapping (kraft) paper
- Potatoes
- A knife
- Paint
Optional:
- Pre-inked stamps
Not needed (how did that get in the pic?!):
- White glue
Stamps: Process

Just like the first two designs, I started this DIY paper by wrapping the box first. But as with the stenciled version, you can definitely stamp on your designs first and then wrap the box afterward if you’re looking for an allover, randomly placed design.
I cut one of the potatoes in half and (carefully) carved out a Christmas tree design. You could also carve a star, a snowflake, a snowman, or mittens, or if you’re really skilled, you could create a stamp in whatever shape your holiday-loving heart desires. And you can either wing it, draw on your design first, use a cookie cutter to help you out, or use printed shapes to guide you.
I then dried off my potato a little bit so the potato juice (?) didn’t make the paint too watery. From there, I dipped the potato into the green paint and stamped on three trees, keeping them in a row at the bottom of the box. I also added four red snowflakes using one of the pre-inked stamps.
Stamps: Result
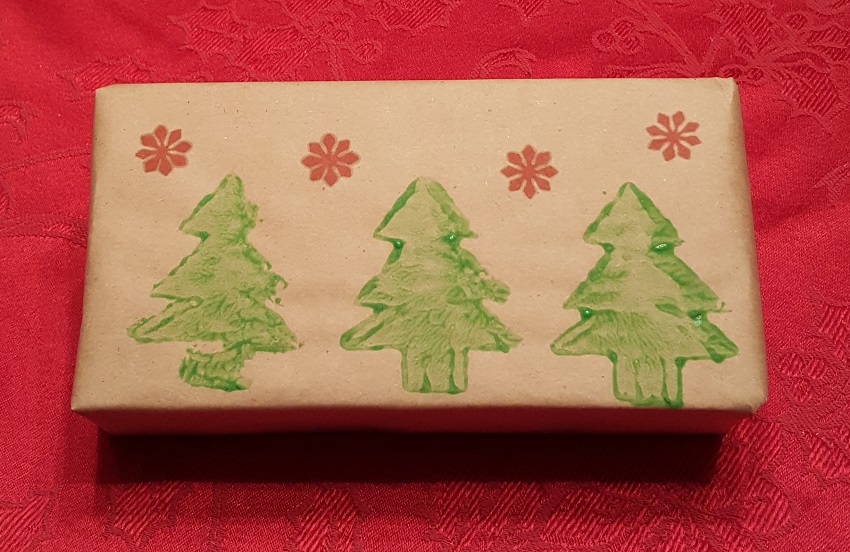
Despite drying off my potato, it turned out that the paint itself was on the watery side and didn’t give me the crisp Christmas tree shapes that I was hoping for.
Thankfully, since this is DIY wrapping paper made by hand (and with love), I don’t need to worry about it being absolutely perfect.
Rudolph the Red-Nosed Reindeer: Materials
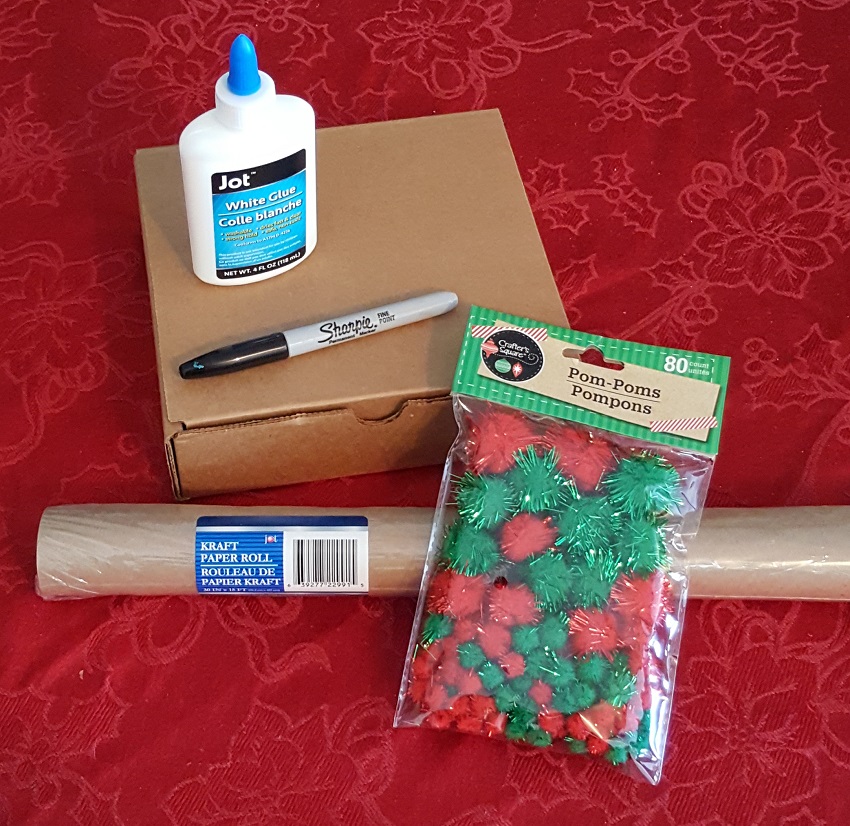
- Empty box
- Blank wrapping (kraft) paper
- Red pom-poms
- A black marker
- Glue
Rudolph the Red-Nosed Reindeer: Process

After wrapping up the box in the plain kraft paper, I glued a sparkly red pom-pom onto a spot that was slightly lower than the center of the box. Then, because I don’t trust my drawing skills even when it comes to simple sketches, I used a pencil to draw on two circles for eyes and two antlers. When I had them right where I wanted them, I used the black marker to permanently draw them in.
Rudolph the Red-Nosed Reindeer: Result
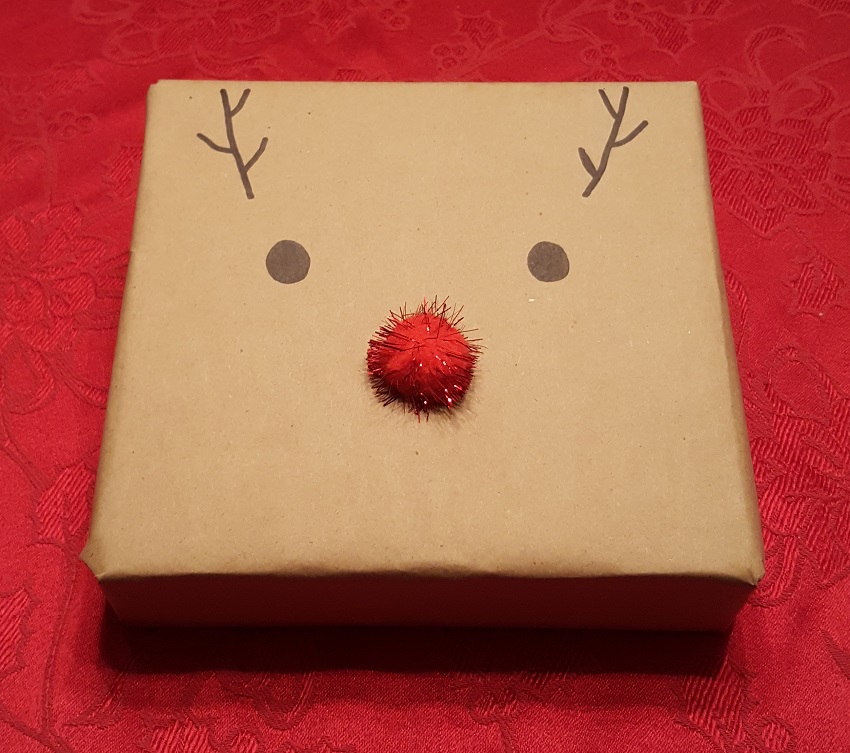
This was another simple way to create your own DIY wrapping paper that ended up being beyond cute.
I was thrilled that I had found glittery pom-poms that made it look like Rudolph’s nose was actually glowing. I was also glad that I had sketched out the eyes and antlers with a pencil before I used the marker so that I was sure I had everything right where I wanted it.
What I Would Do the Same and Differently
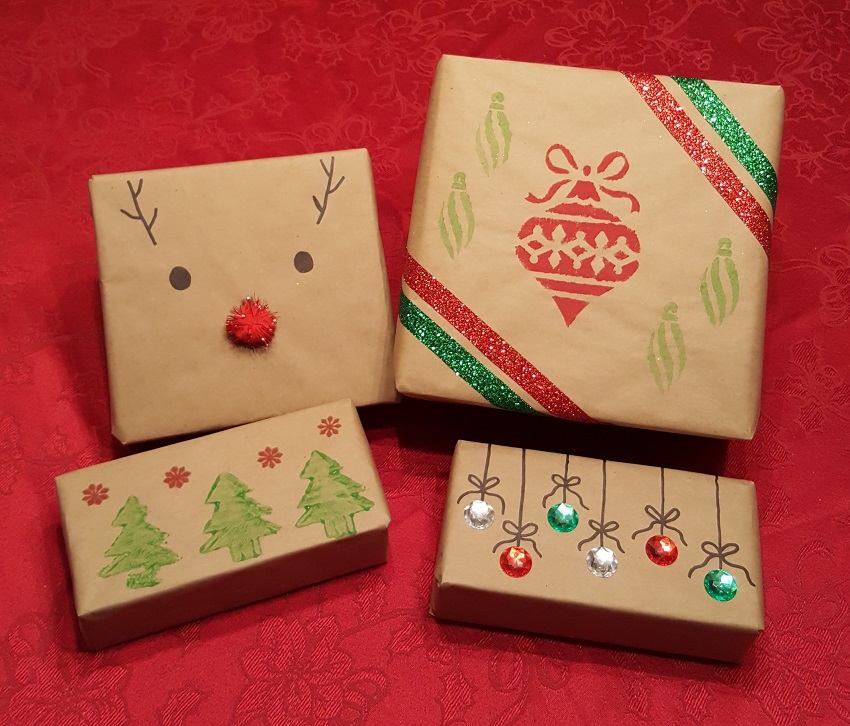
For my next go-around, I would definitely use paint that is both darker and thicker. The one I picked up wasn’t the rich green that it appeared to be on the bottle. It was far too watery and resulted in slightly blurry images when it came to both the stamped and stenciled designs.
And although I loved the way the Rudolph wrapping paper turned out and will certainly make it again, I might try using googly eyes if the gift is going to someone who appreciates a silly touch. Otherwise, I think I’ll stick with the sparkly pom-pom nose and drawn-on antlers, although I suppose you could replace the latter will little antler-like sticks if you’d prefer.
I’ll also use the fake jewels again, although I might try using real string and a few cute ribbon bows.
Overall, I will absolutely do all four versions of this DIY wrapping paper again!
Final Thoughts and Reactions
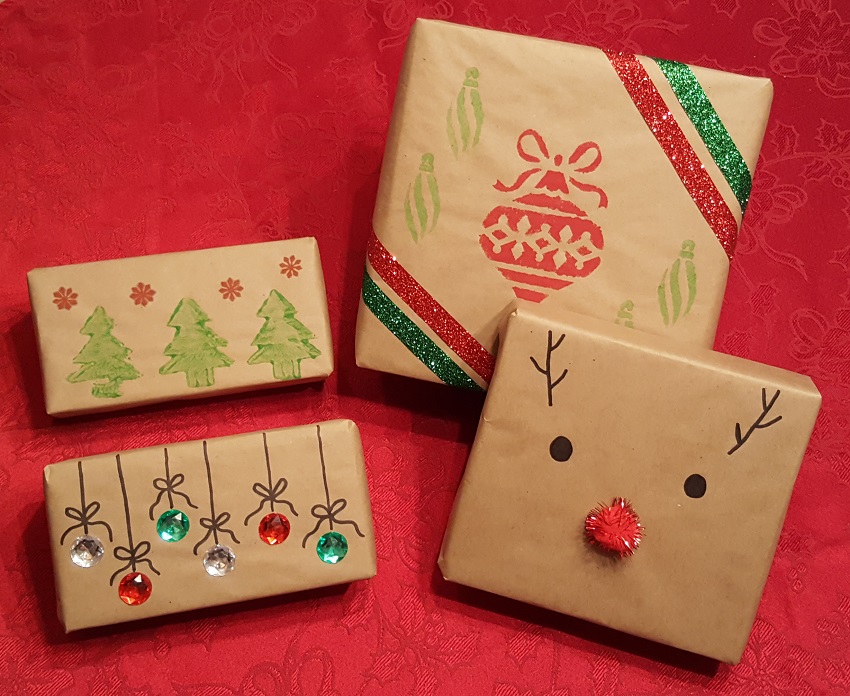
I was happy to place my gifts wrapped in homemade paper under my Christmas tree, and my family was pleasantly surprised when they saw what I had been up to.
My husband thought the faux jewel ornament paper was delightful, and my kids loved the Rudolph version. My little ones were also interested in how I had made the paper using stencils as well as the potato stamps, so we’ll definitely be making more to wrap the rest of our presents before it’s time to rip them all open on Christmas Day — although I have to admit, it will be hard to rip open the reindeer wrapping.
Sorry, Rudolph!


