So you want to throw yourself a party… You've got the place, you've got the friends, but you're still missing one of the most important parts — you'll be needing a bar!
Some people would go out and buy a pre-made bar from Target, and while there's nothing wrong with that, there's an easy way to add a little flair to your get together. Watch the video below, and you'll have yourself a piece of furniture that's totally unique!
In just a few easy steps, you'll be able to complete this project and have all of your friends asking, "But where did you get that cute little bar?!" In fact, this project is simple enough that you could complete it in just a single weekend.
It seems wooden pallets have a plethora of fun uses, like the man who made an amazing world map out of one certainly knows. And in this step-by-step guide we'll give you yet another cool suggestion of what to do with these totally reusable pieces of wood!
Please SHARE this cute little project with your friends and family!
Step One: To start off, you'll need two pallets.
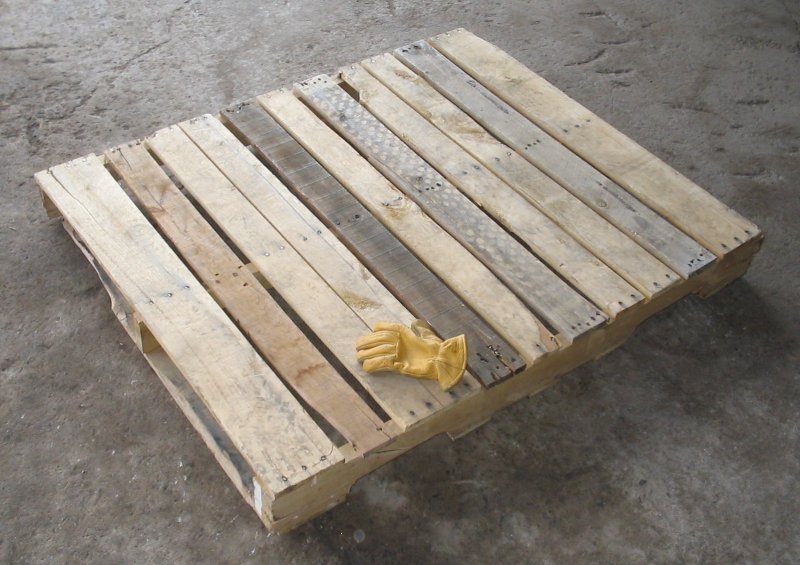
Step Two: Set up and clean up.
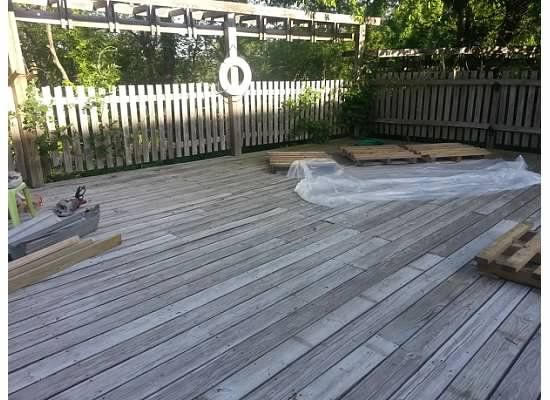
It's best to make sure you have all of your materials available on hand. If you want to keep your work area clean, put a plastic tarp down, since we're going to be doing some painting!
Step Three: Attach the two pallets together.
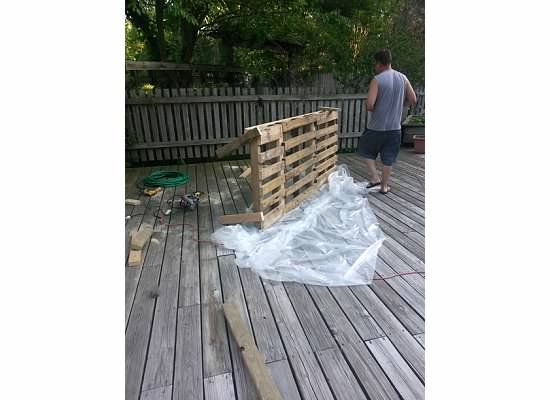
To make it a bit easier, try to make sure your pallets are the same height. Attach the two of them together using a thick piece of wood. You'll need to make sure everything stays in the same place, so you should consider using some hefty deck screws.
Step Four: Using some random pieces of wood, you can even add shelves.
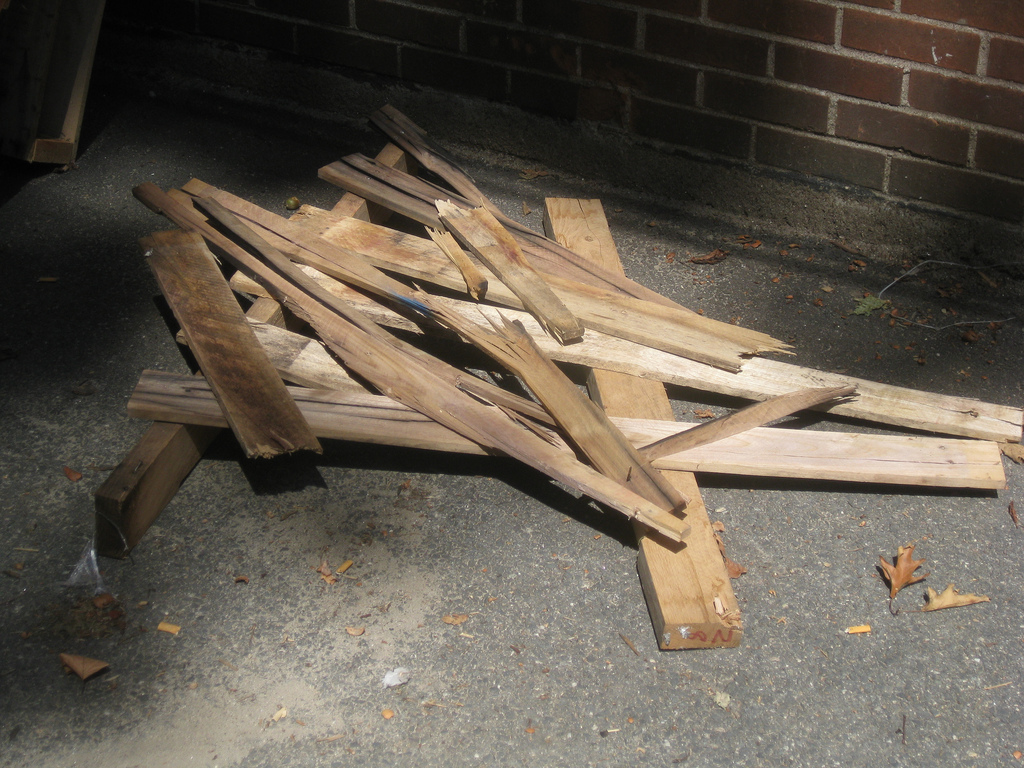
If it's to your liking, you can make a long shelf going across the whole length of the bar's interior.
Step Five: Attach your classy bar top!
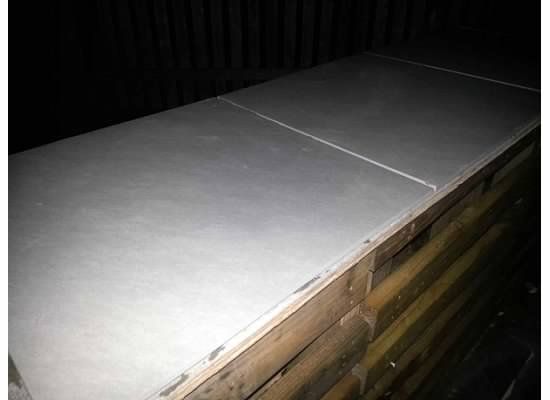
Instead of using plain old wood for the bar top, consider getting some tile if you want your bar to look a bit classier!
Step Six: Gather your tools.
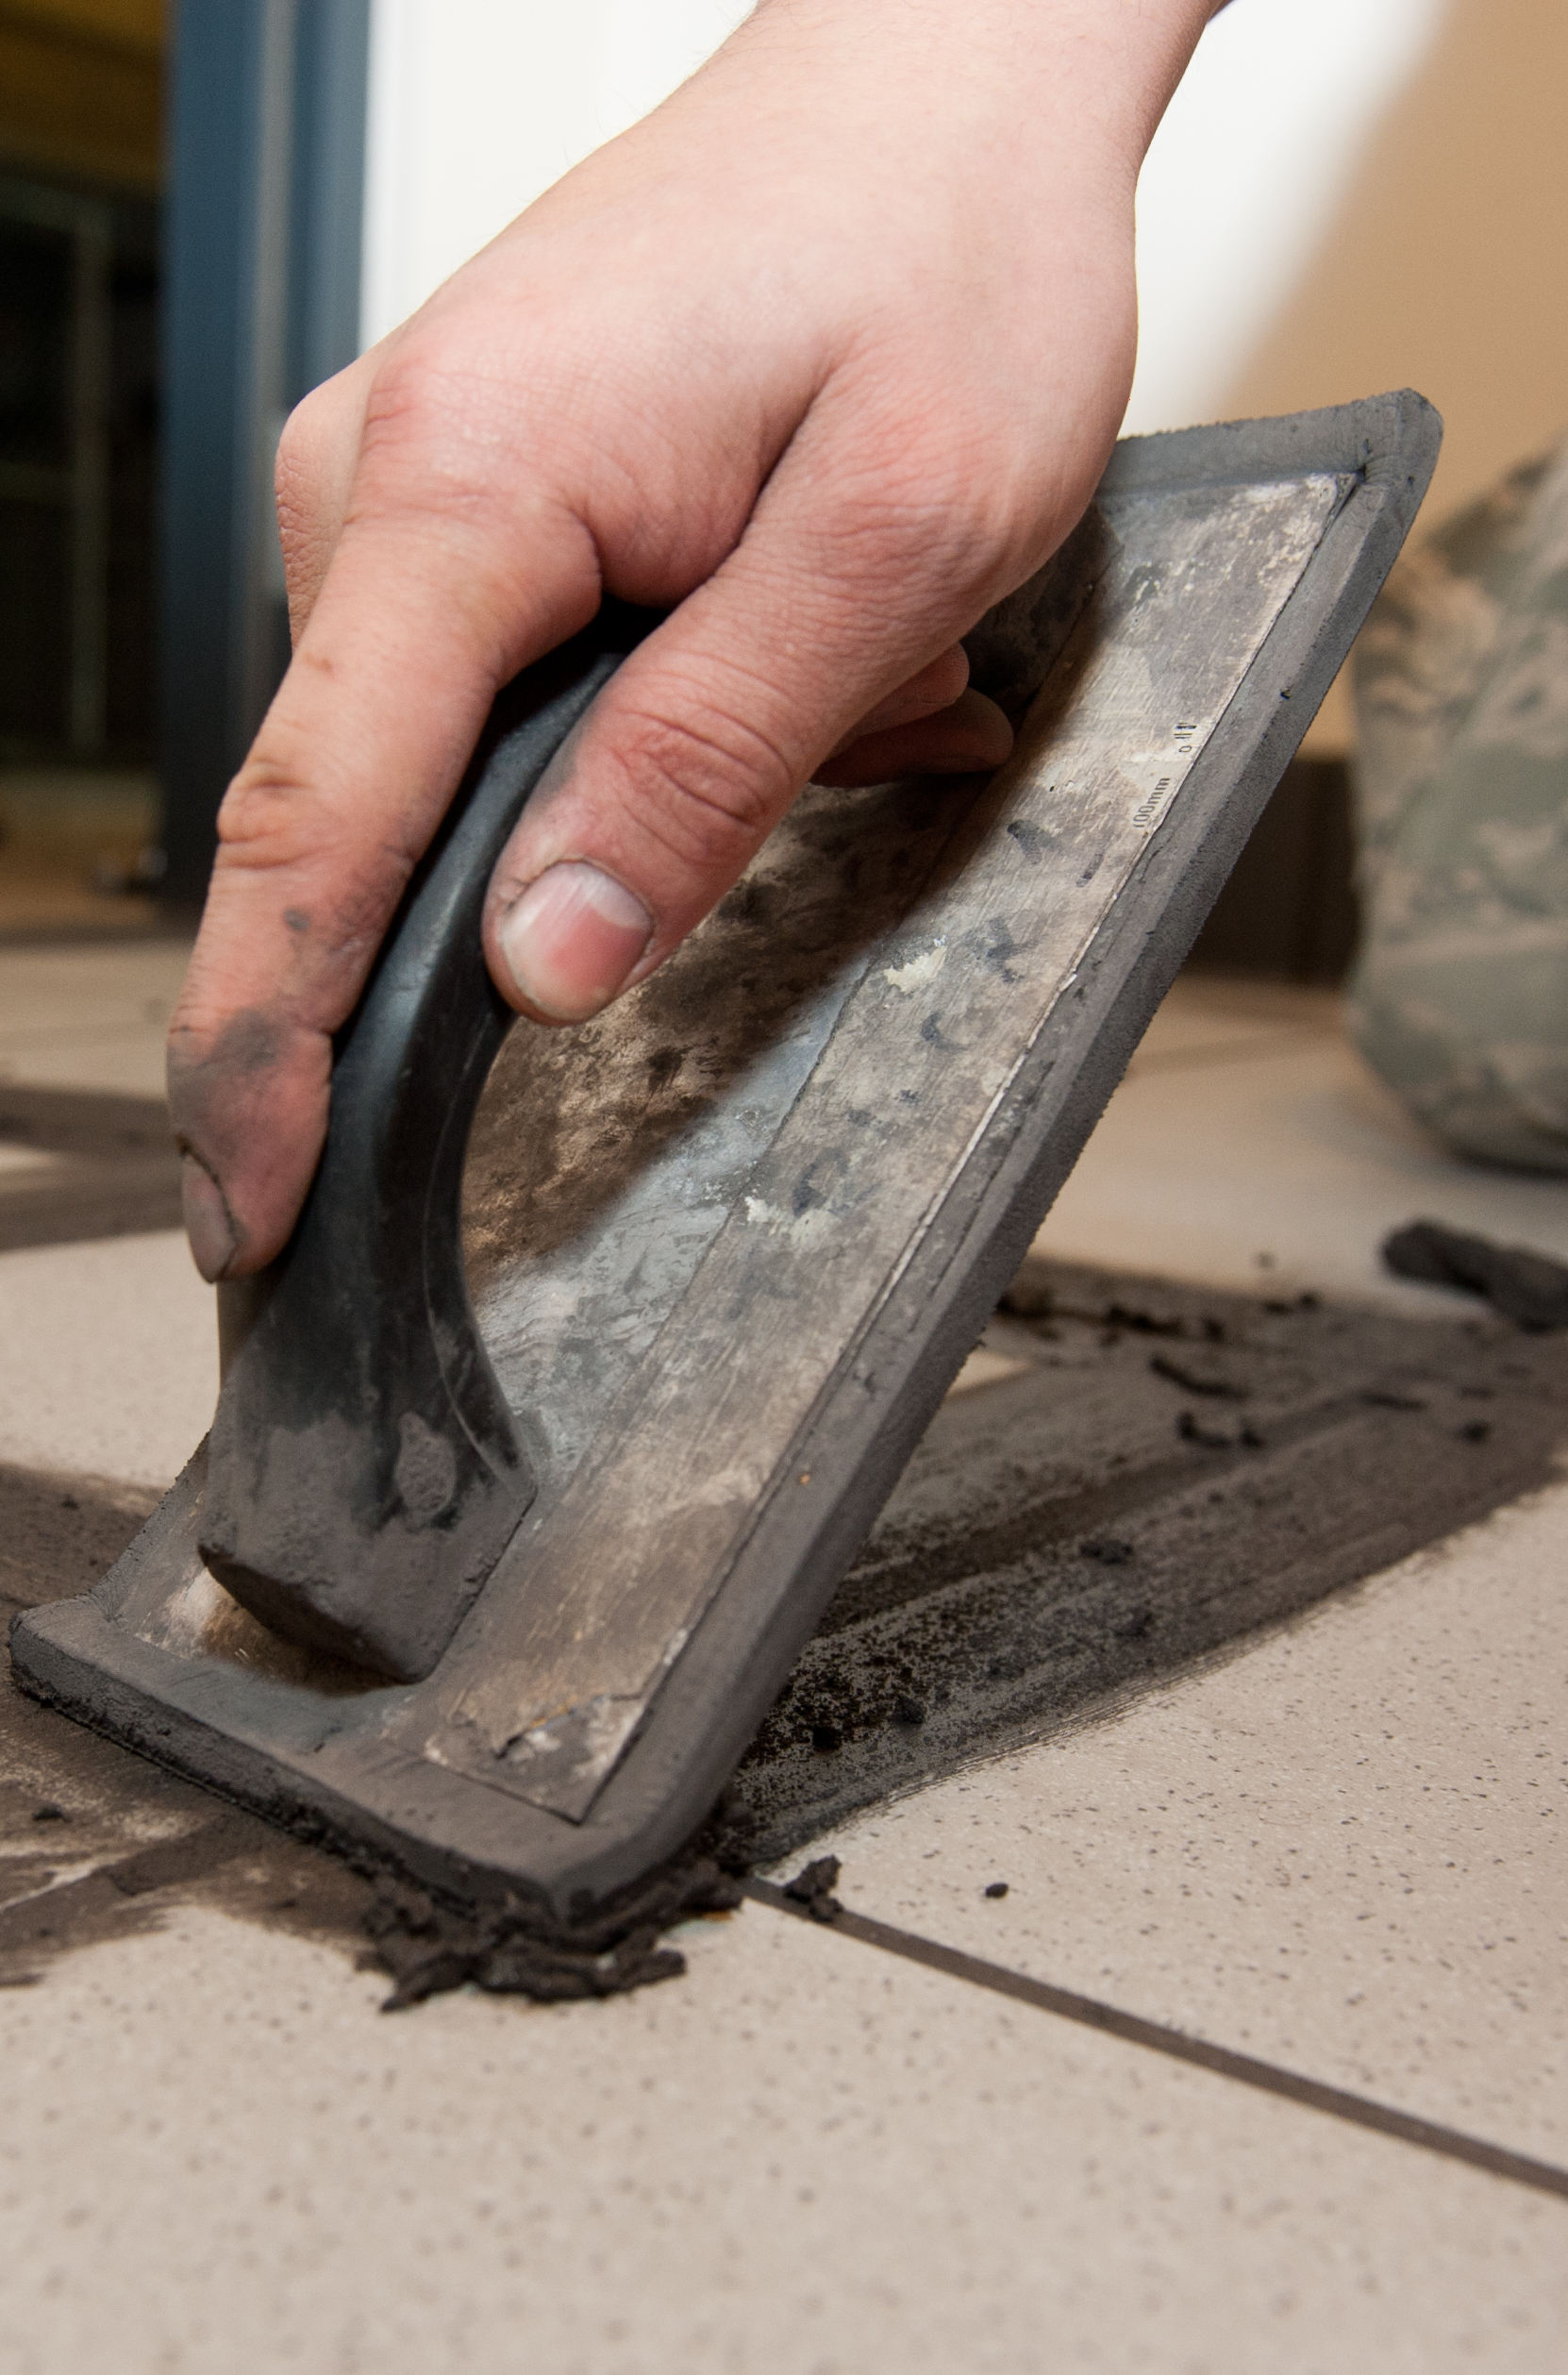
Get some Durock, trowel, thinset, and grout to attach the top at a Home Depot or your local hardware store. Use deck stain, since it was made for outdoor use and won't look weathered or have to be sealed like regular paint.
Step Seven: Add a base for your countertop.
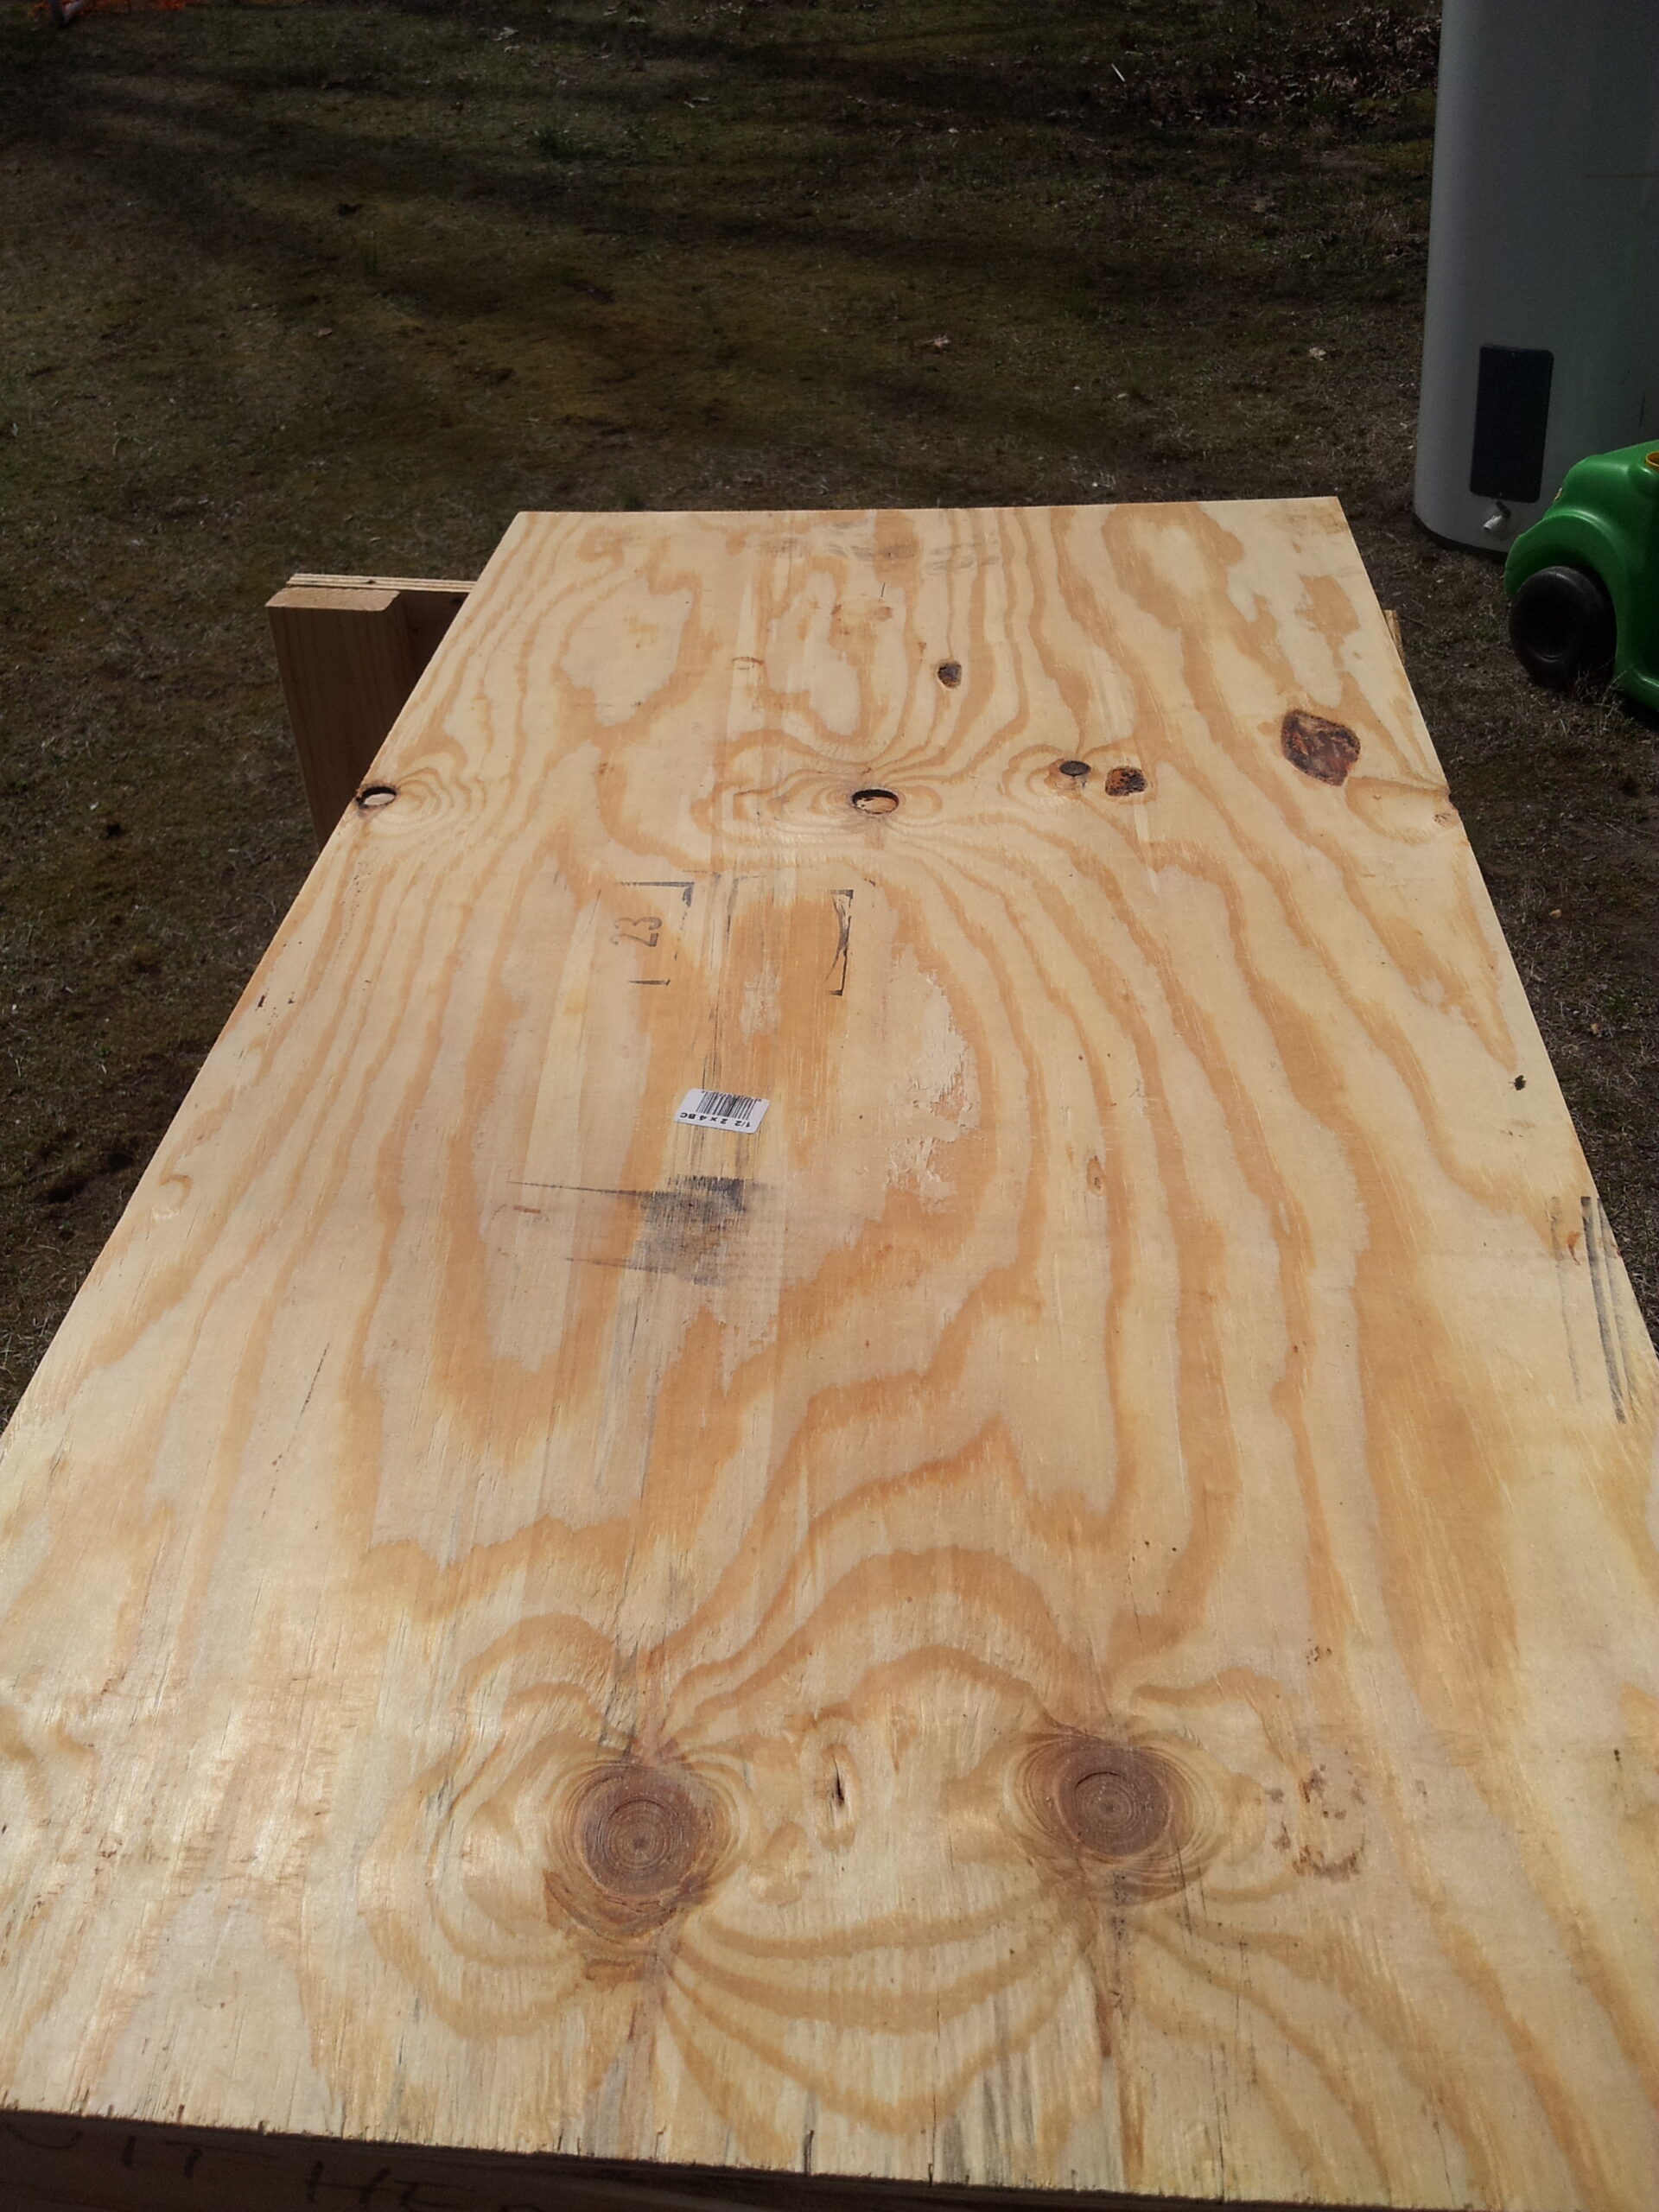
The thinset can get a bit messy, so do your best to make small batches. Using two layers of plywood nailed together, Durock and screw the plywood to the top. Add your thinset and push your tiles on top of the plywood.
Step Eight: Allow the tiles to sit overnight to set.
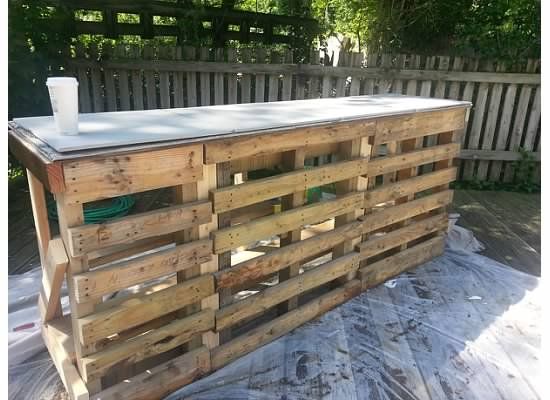
Click NEXT for the finishing touches!
Step Nine: Finishing touches.
Make sure you've got your paint or deck stain!
Step Ten: Cut your molding.
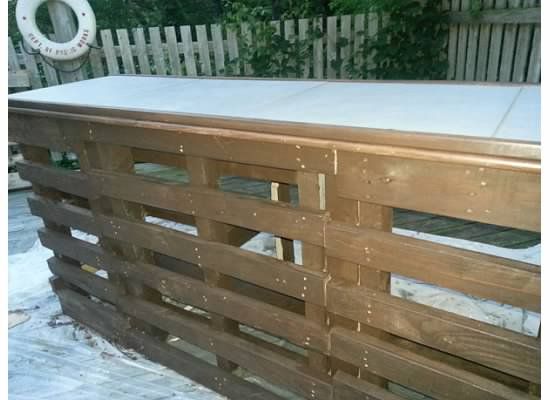
After you've let everything sit overnight, cut and paint all your molding.
Step Eleven: Paint!
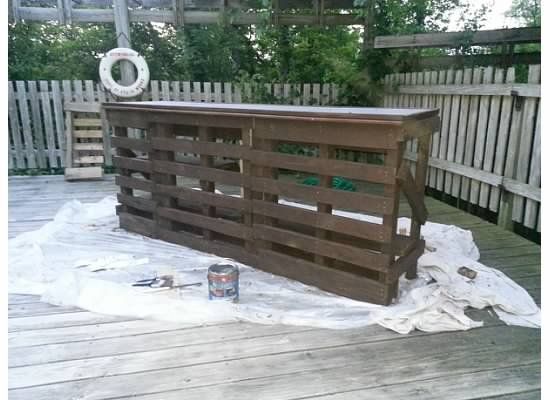
Paint to your heart's content! Make sure there are no loose boards or tiles. If you find any, you can always use the grout to stick it together a bit stronger. You also might have to add finishing touches over the next week or so.
Beautiful! You're ready to stock your bar!
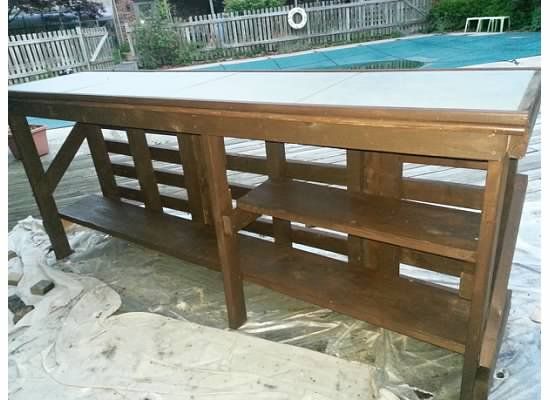
Please SHARE this unique bar with all your friends!


