In all of cable television, there are few shows as classic and beloved as "The Price is Right." With its bright colors, fun games, and exuberant contestants, this show is a timeless slice of Americana.
In fact, this iconic game show has such a spirited following that some people aren't content to simply watch; they want to play along at home.
But when I saw what this "The Price is Right" fan built in her own very own garage, I was floored. With just an old pegboard, some paint, and a few chips, this DIY expert successfully built one of the most beloved games in all of "The Price is Right."
I didn't think it would work at first, but when I saw the results, I was stunned. It looks and works just like it does on TV! She did a really incredible job.
After looking through her amazing project, be sure to watch the video at the end. It's such a classic Bob Barker moment!
Please SHARE if you love "The Price is Right!"
We all know the game "Plinko" on "The Price is Right." It's a classic! But did you know it's possible to build your very own version at home?

That's exactly what this crafty lady did right in her very own garage! After studying photos and watching countless episodes, she felt she had a grasp of the materials and measurements required.
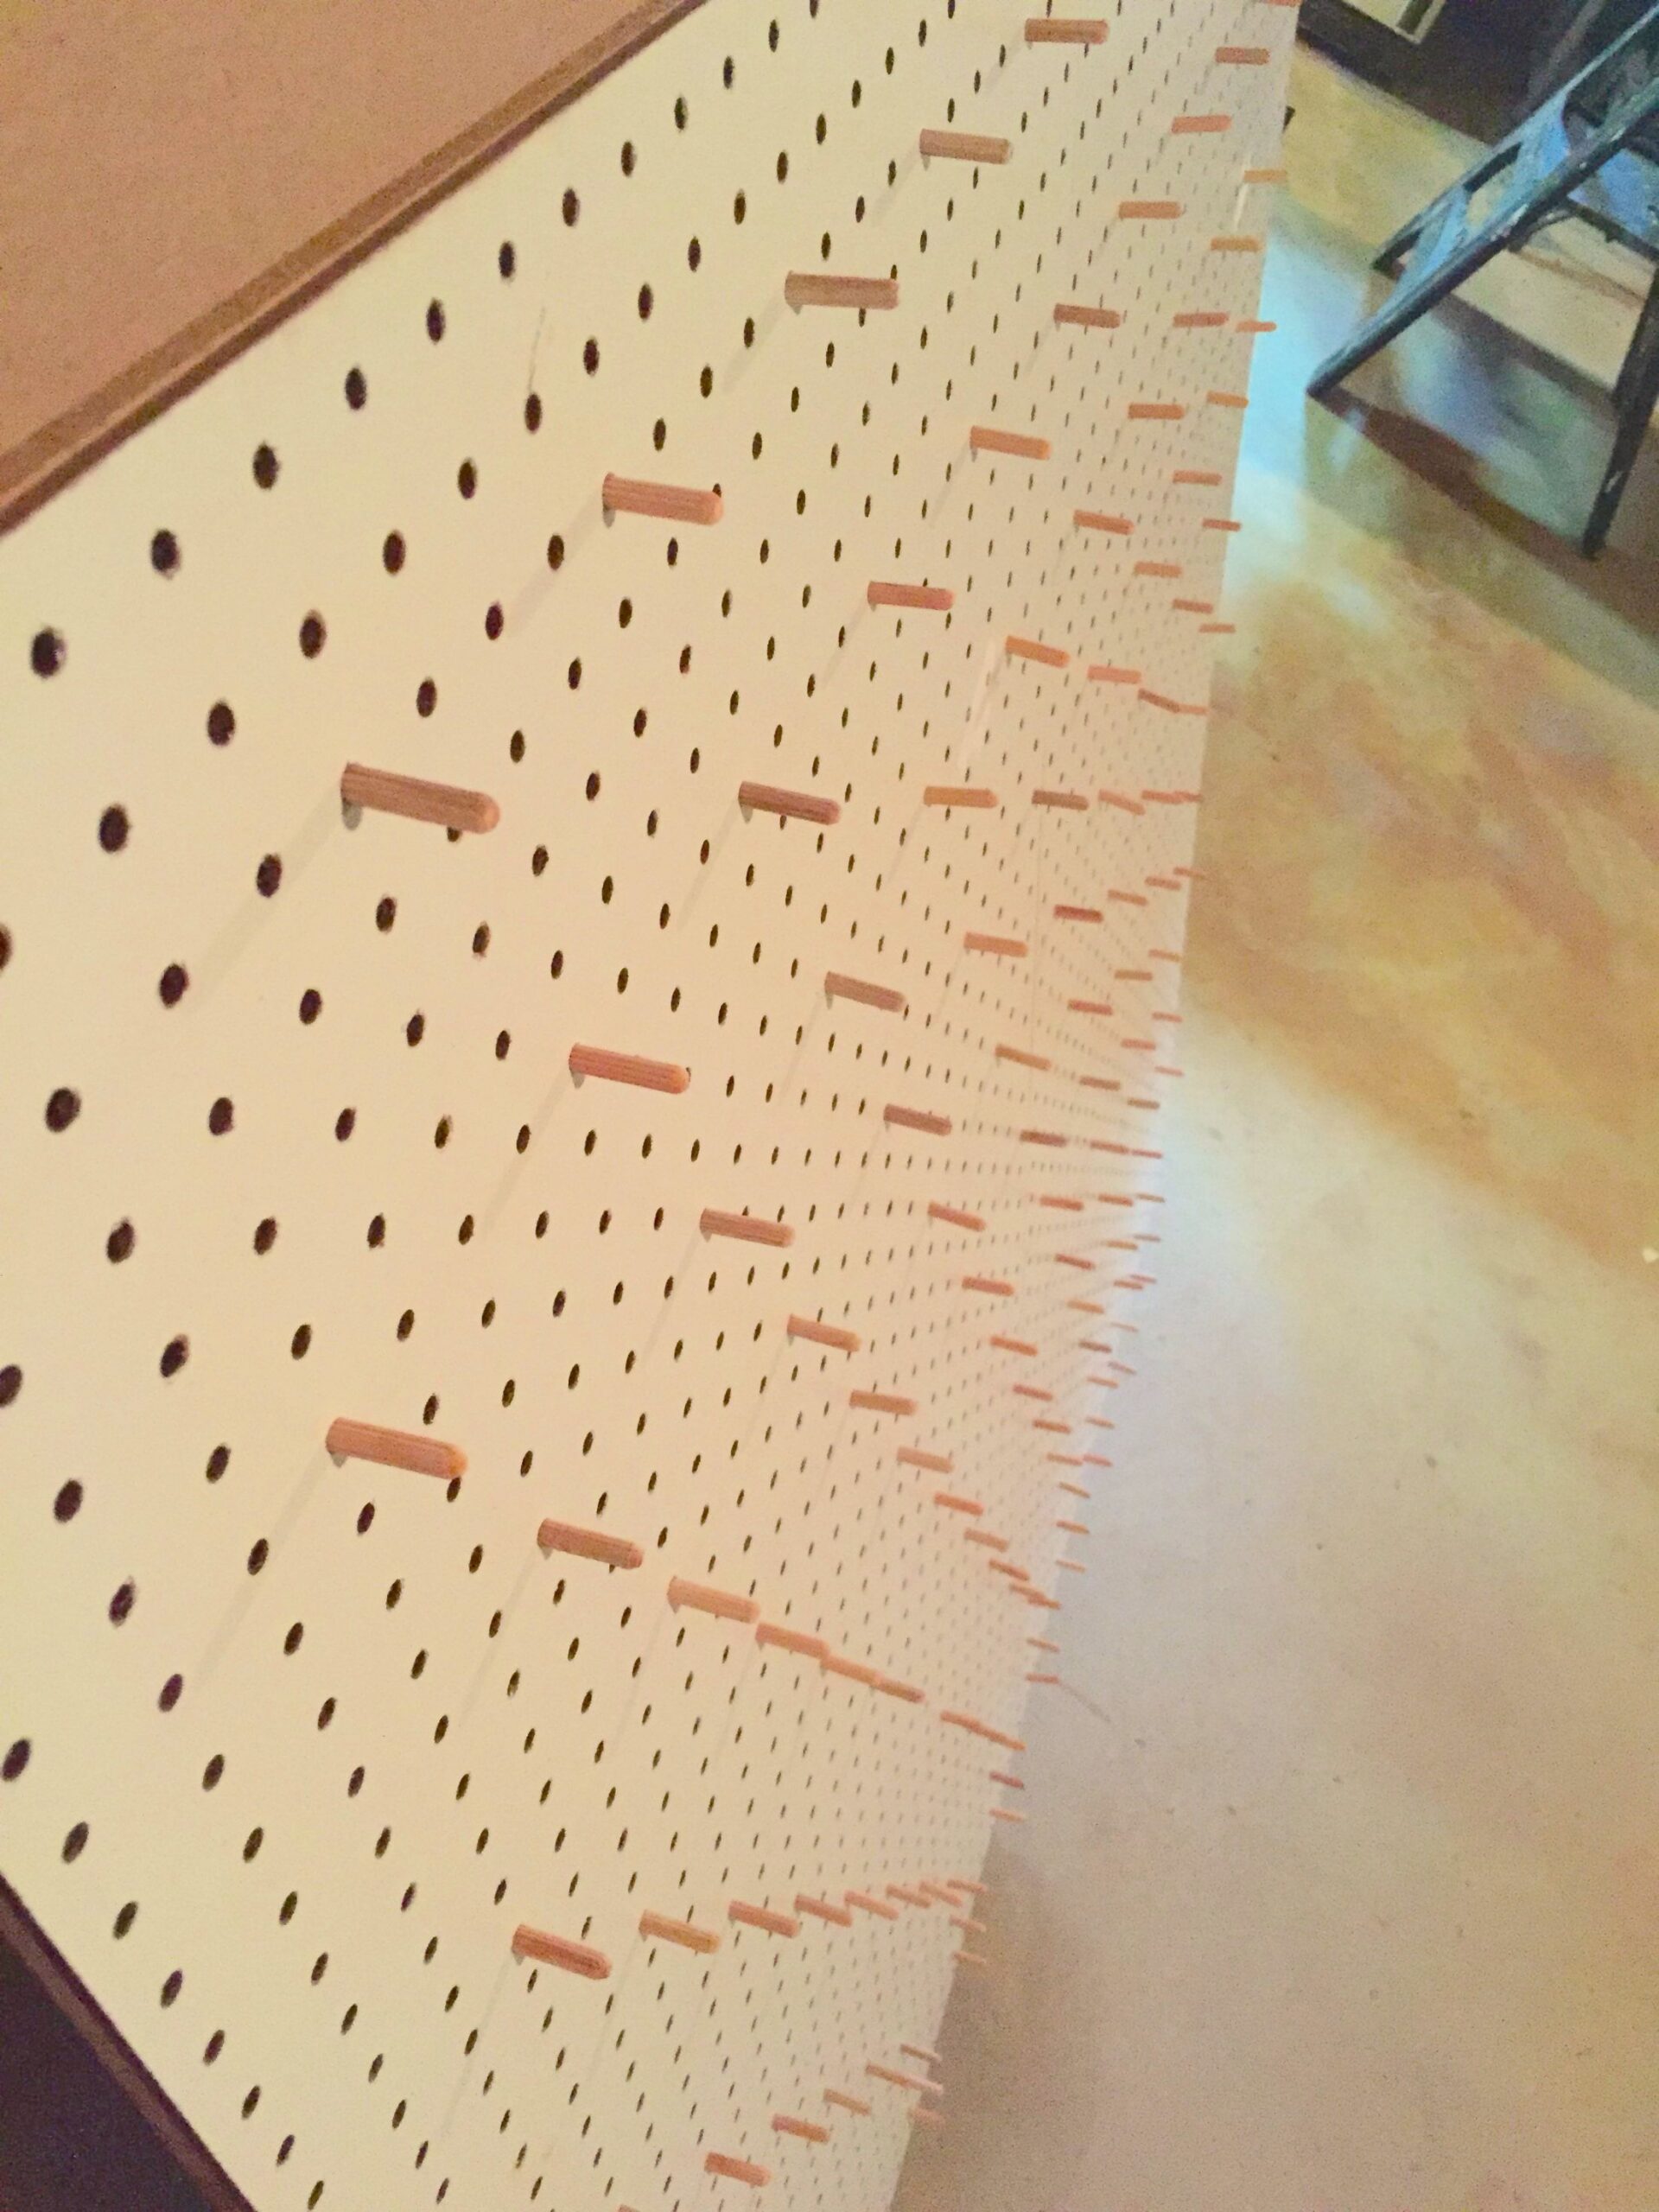
Using an old pegboard and some simple pegs, she got to work. She began by filling the unused holes.
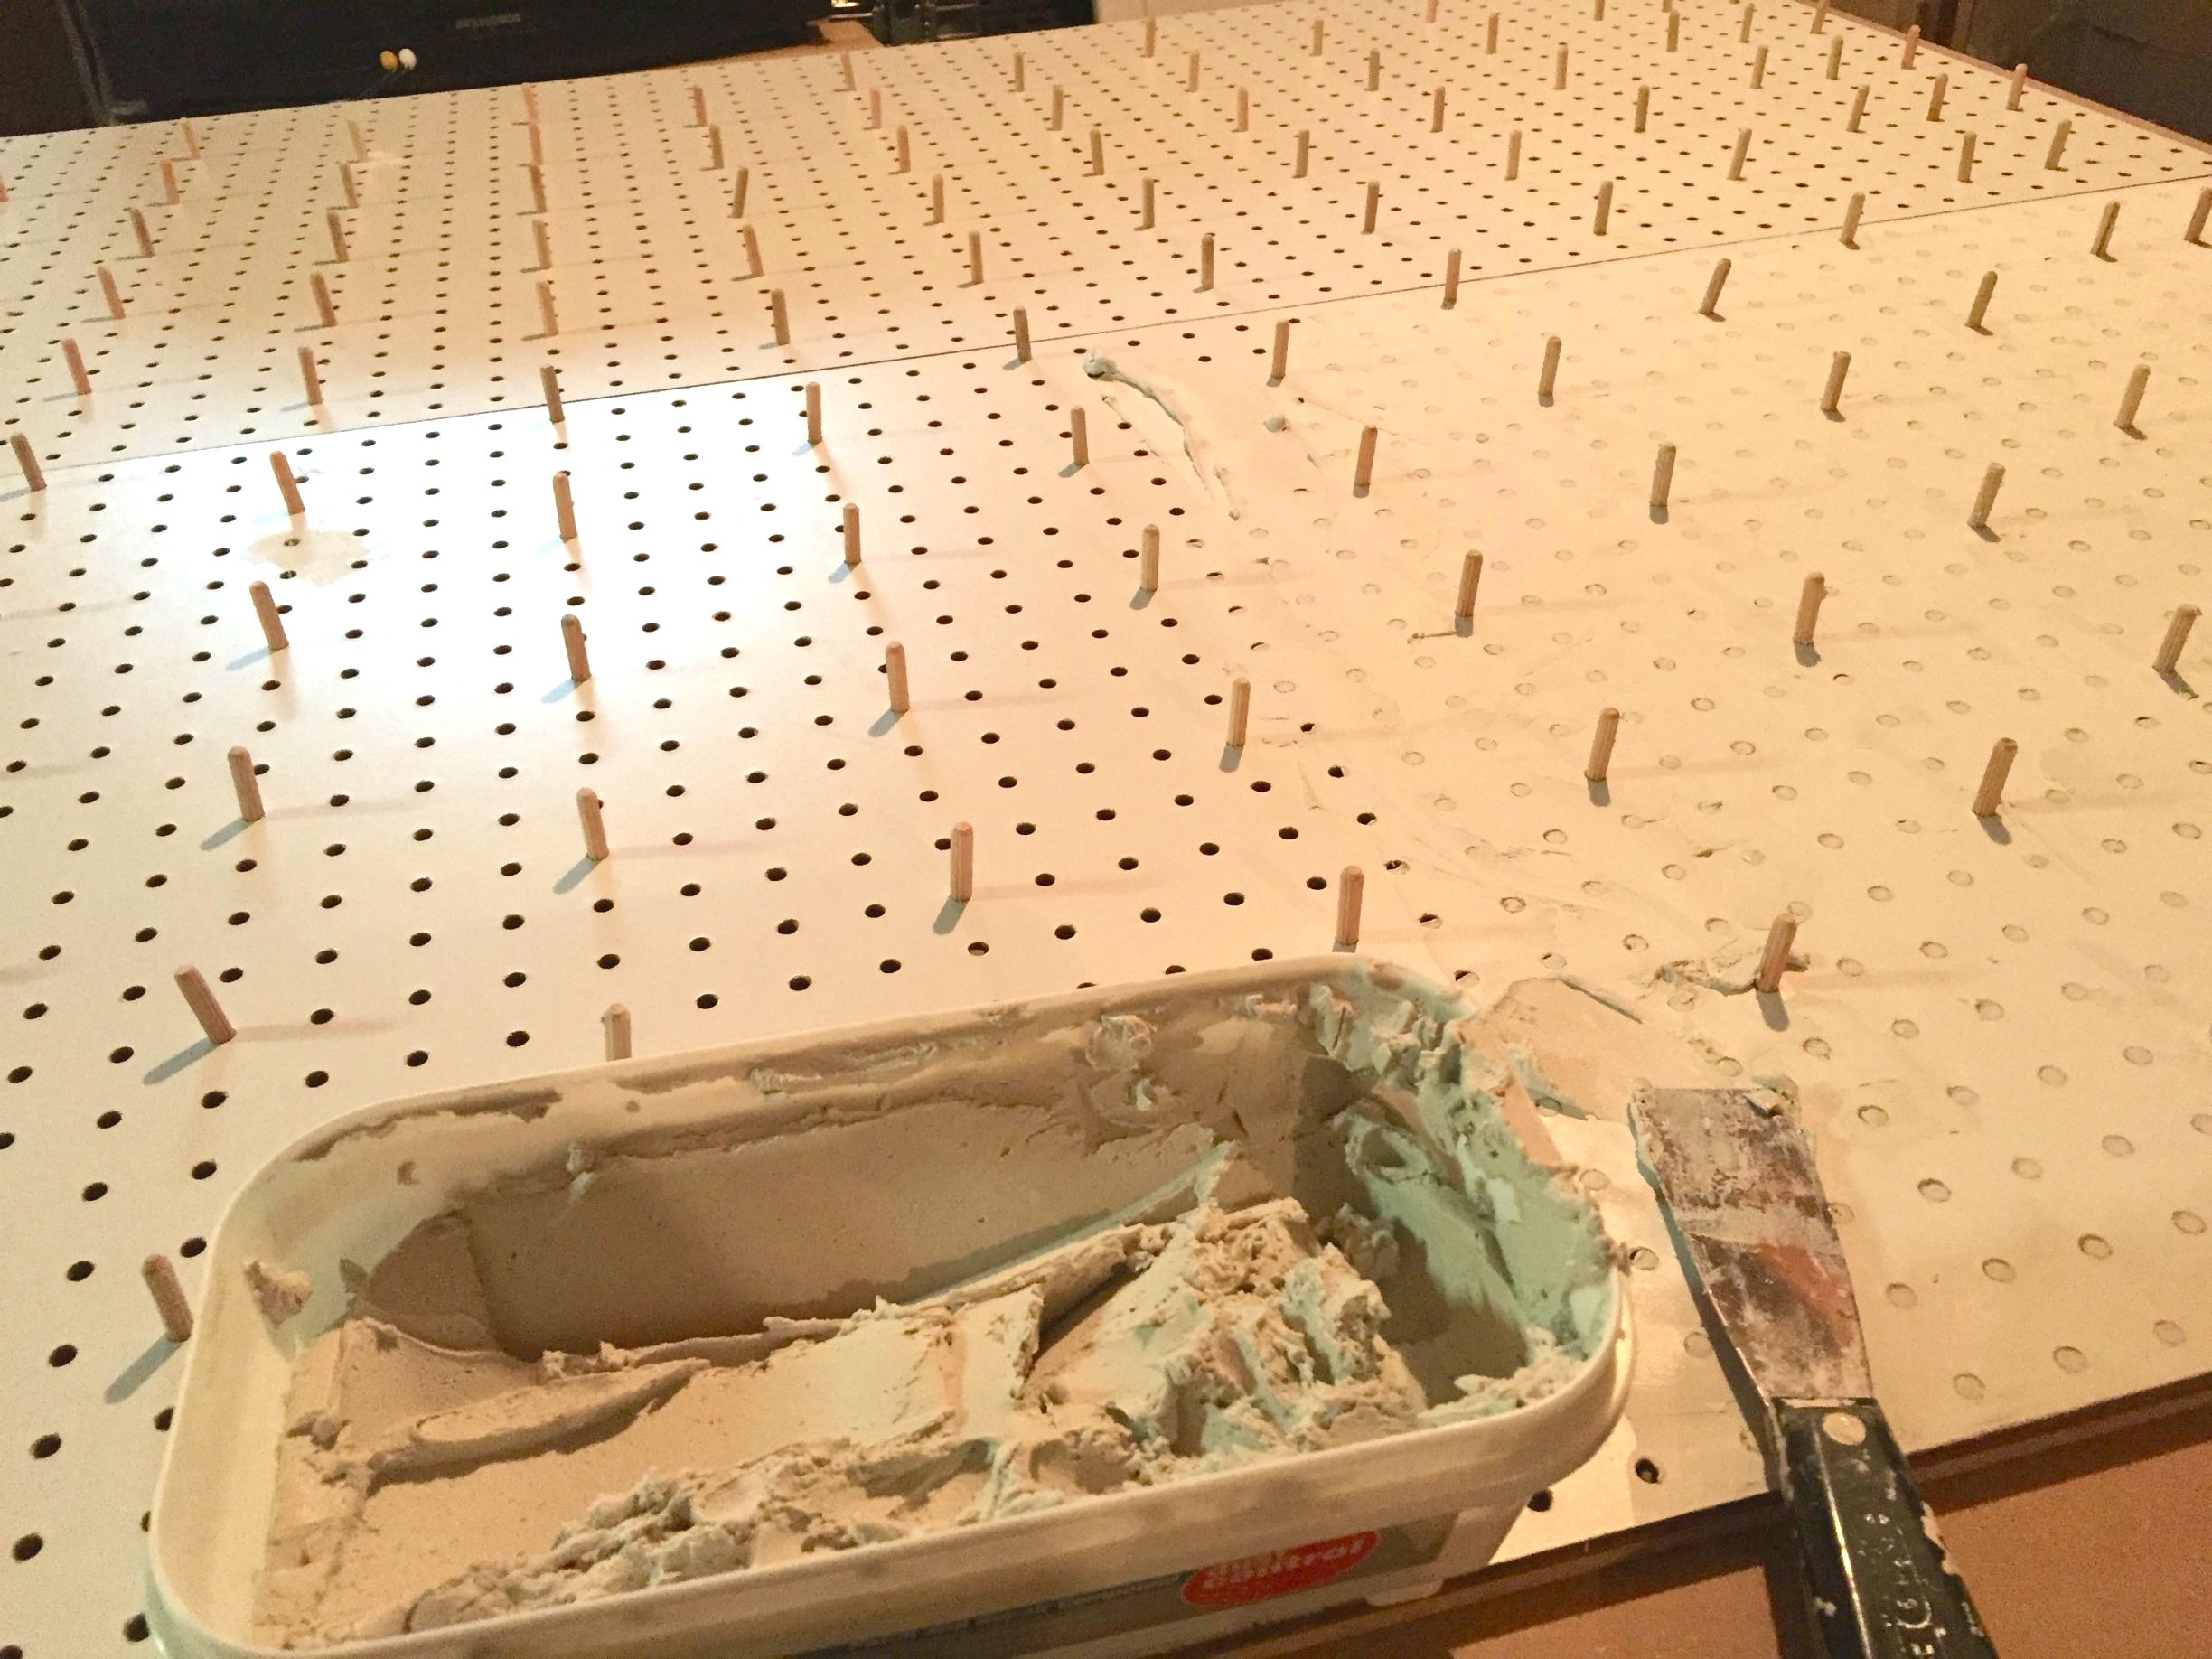
Once that was done, she sanded everything down — then of course vacuumed up all the mess.
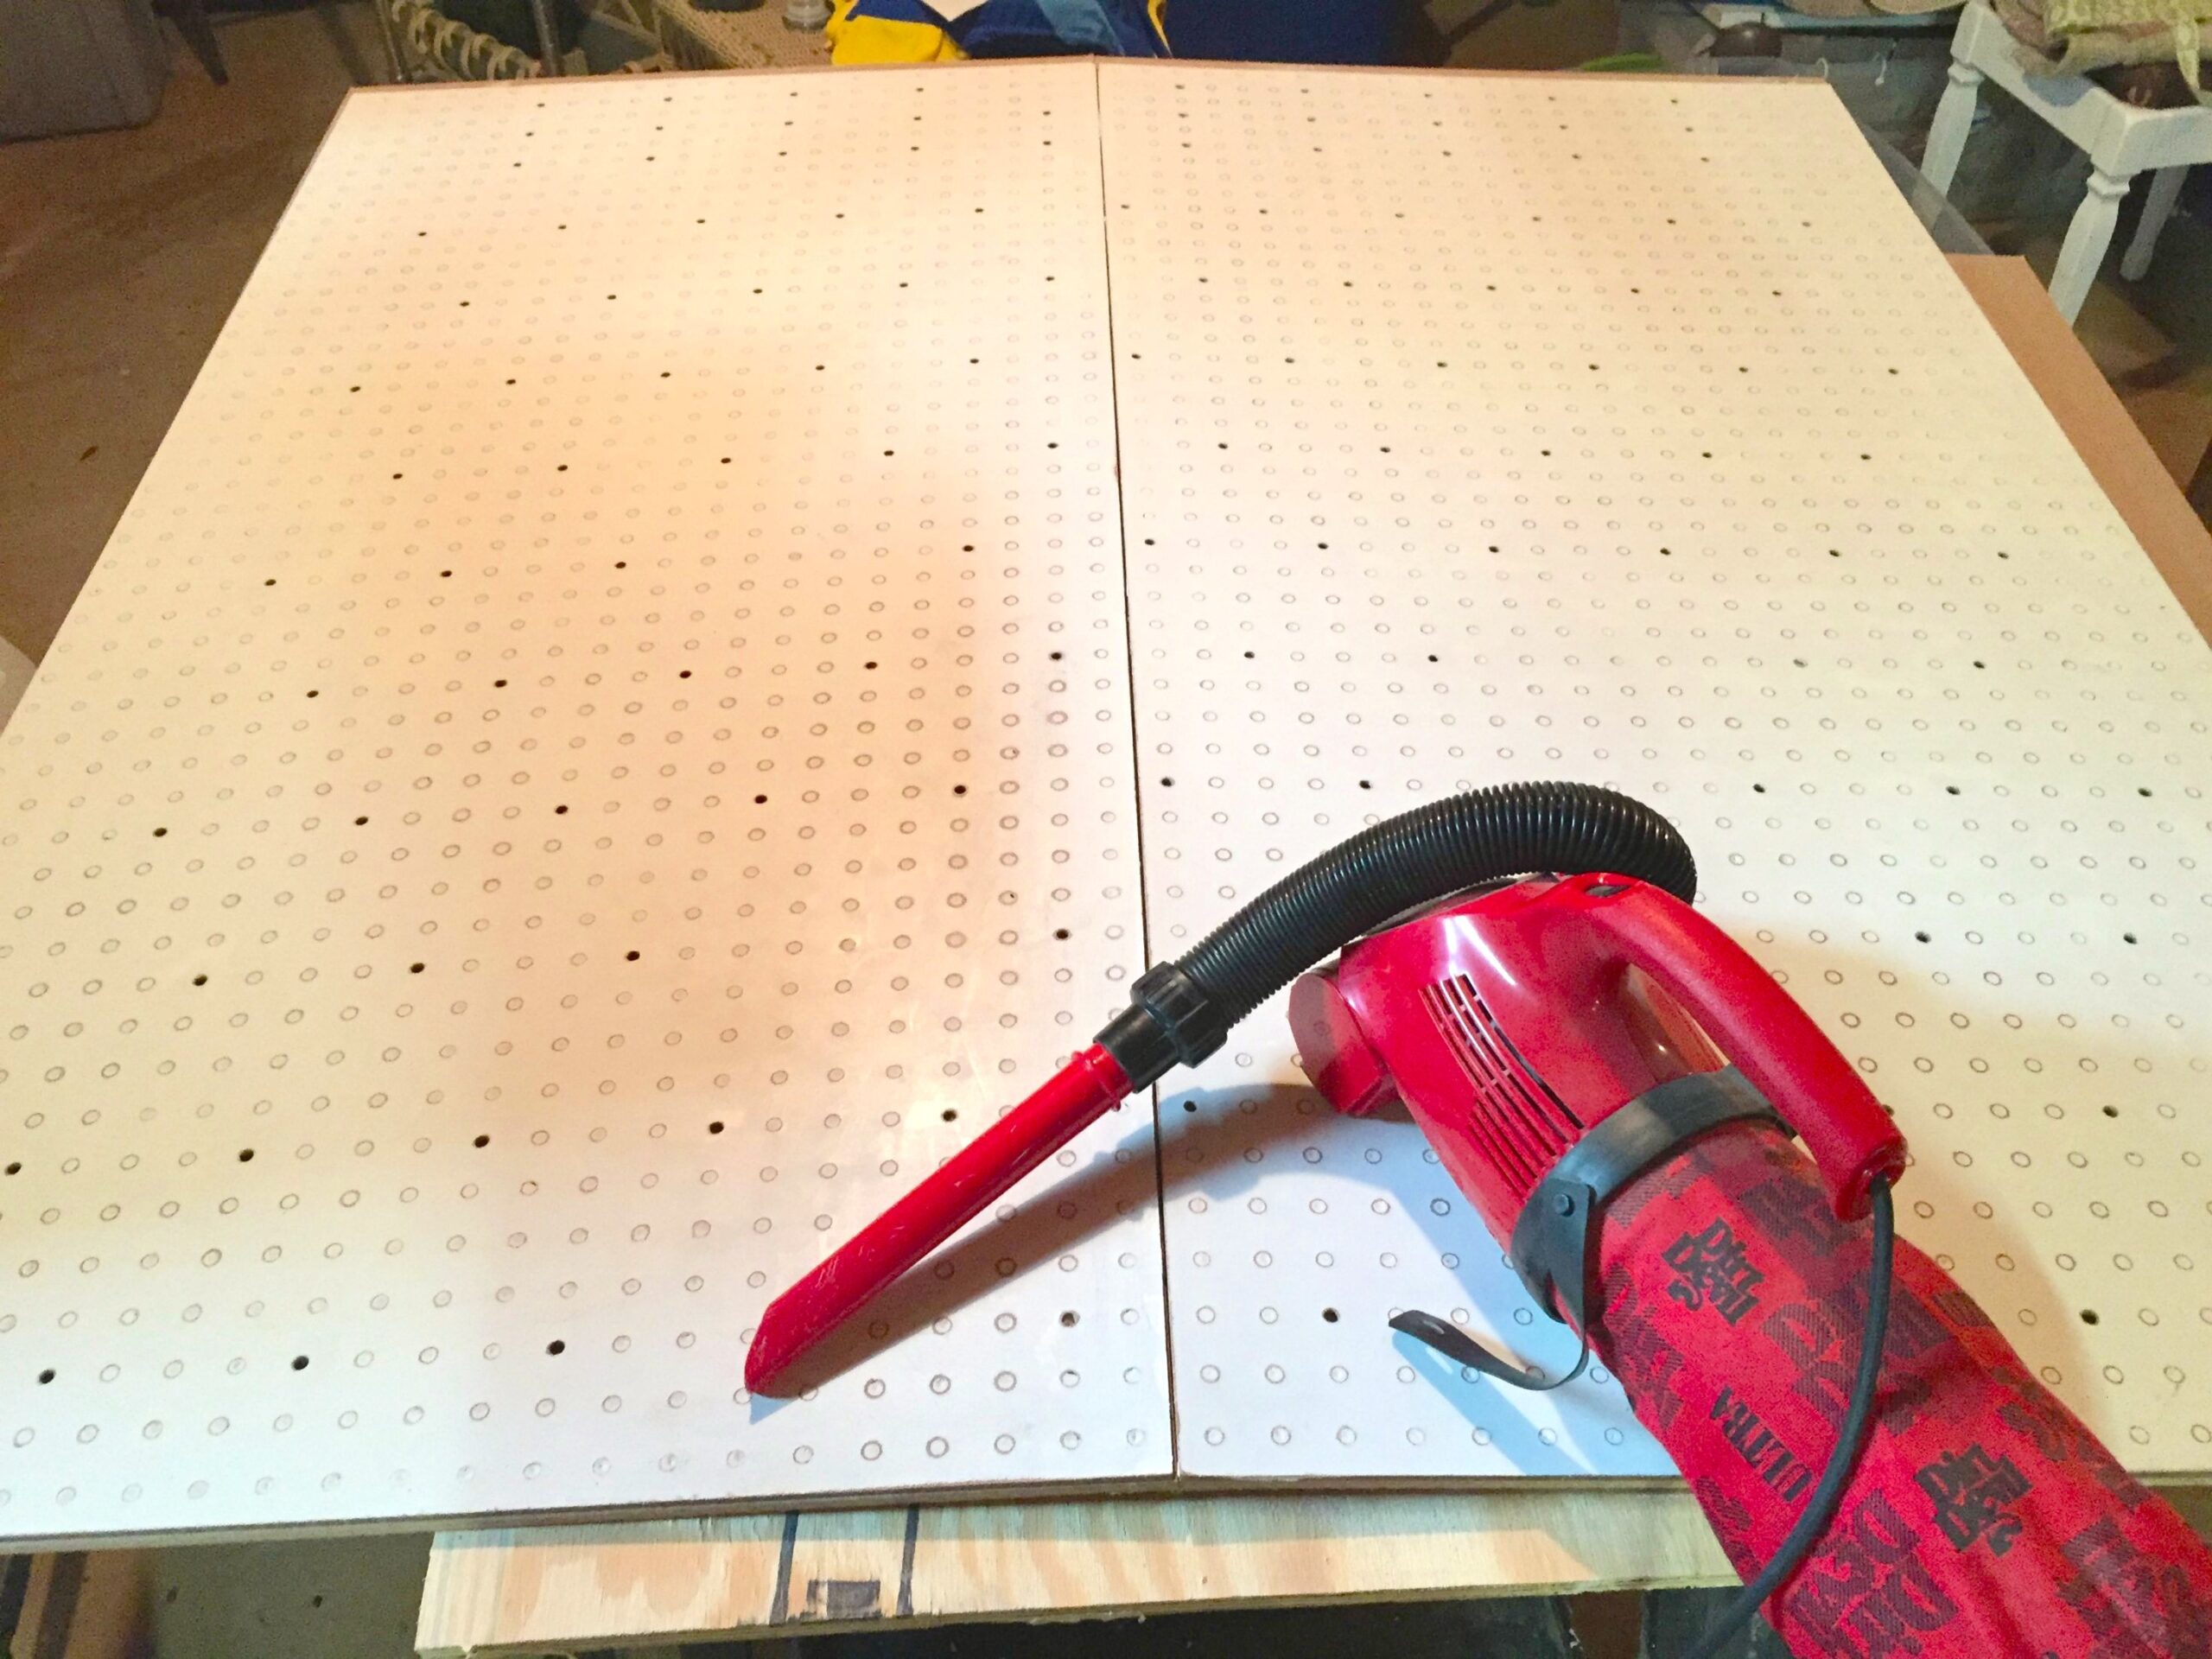
Next, she began to sketch out the board's frame.
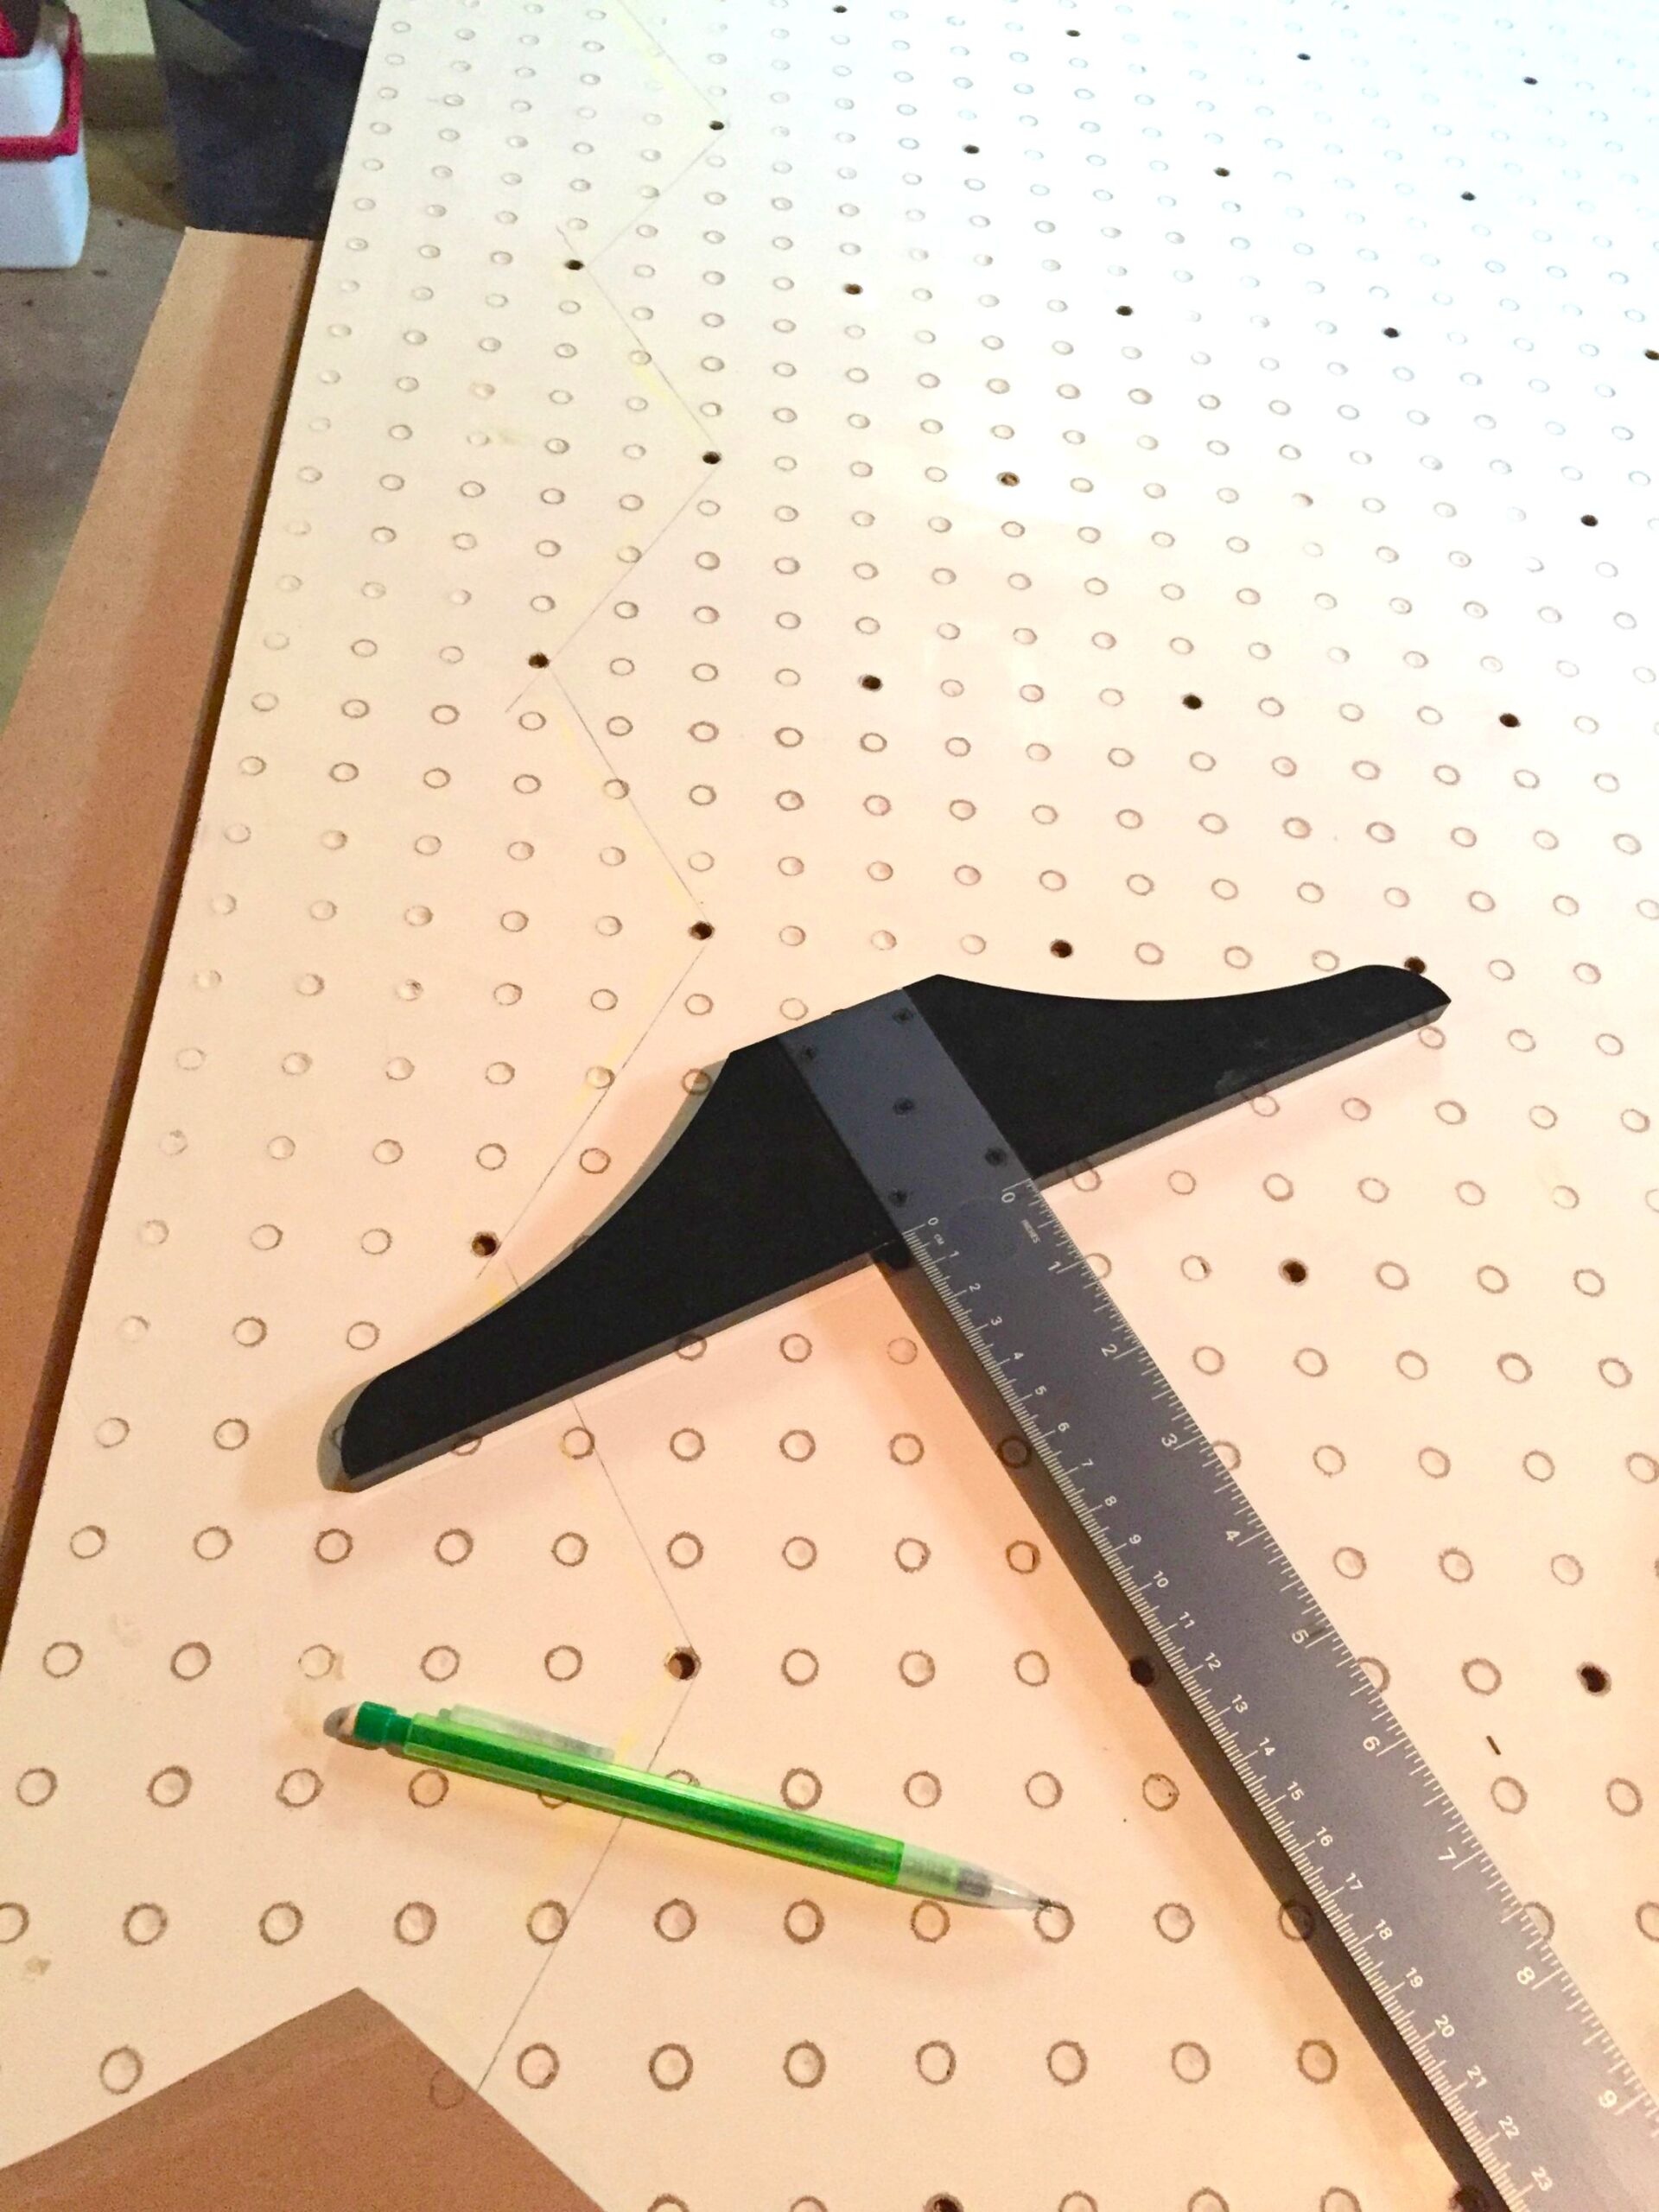
Using some MDF board — or "dry process fibre board" — she cut out the iconic shape.
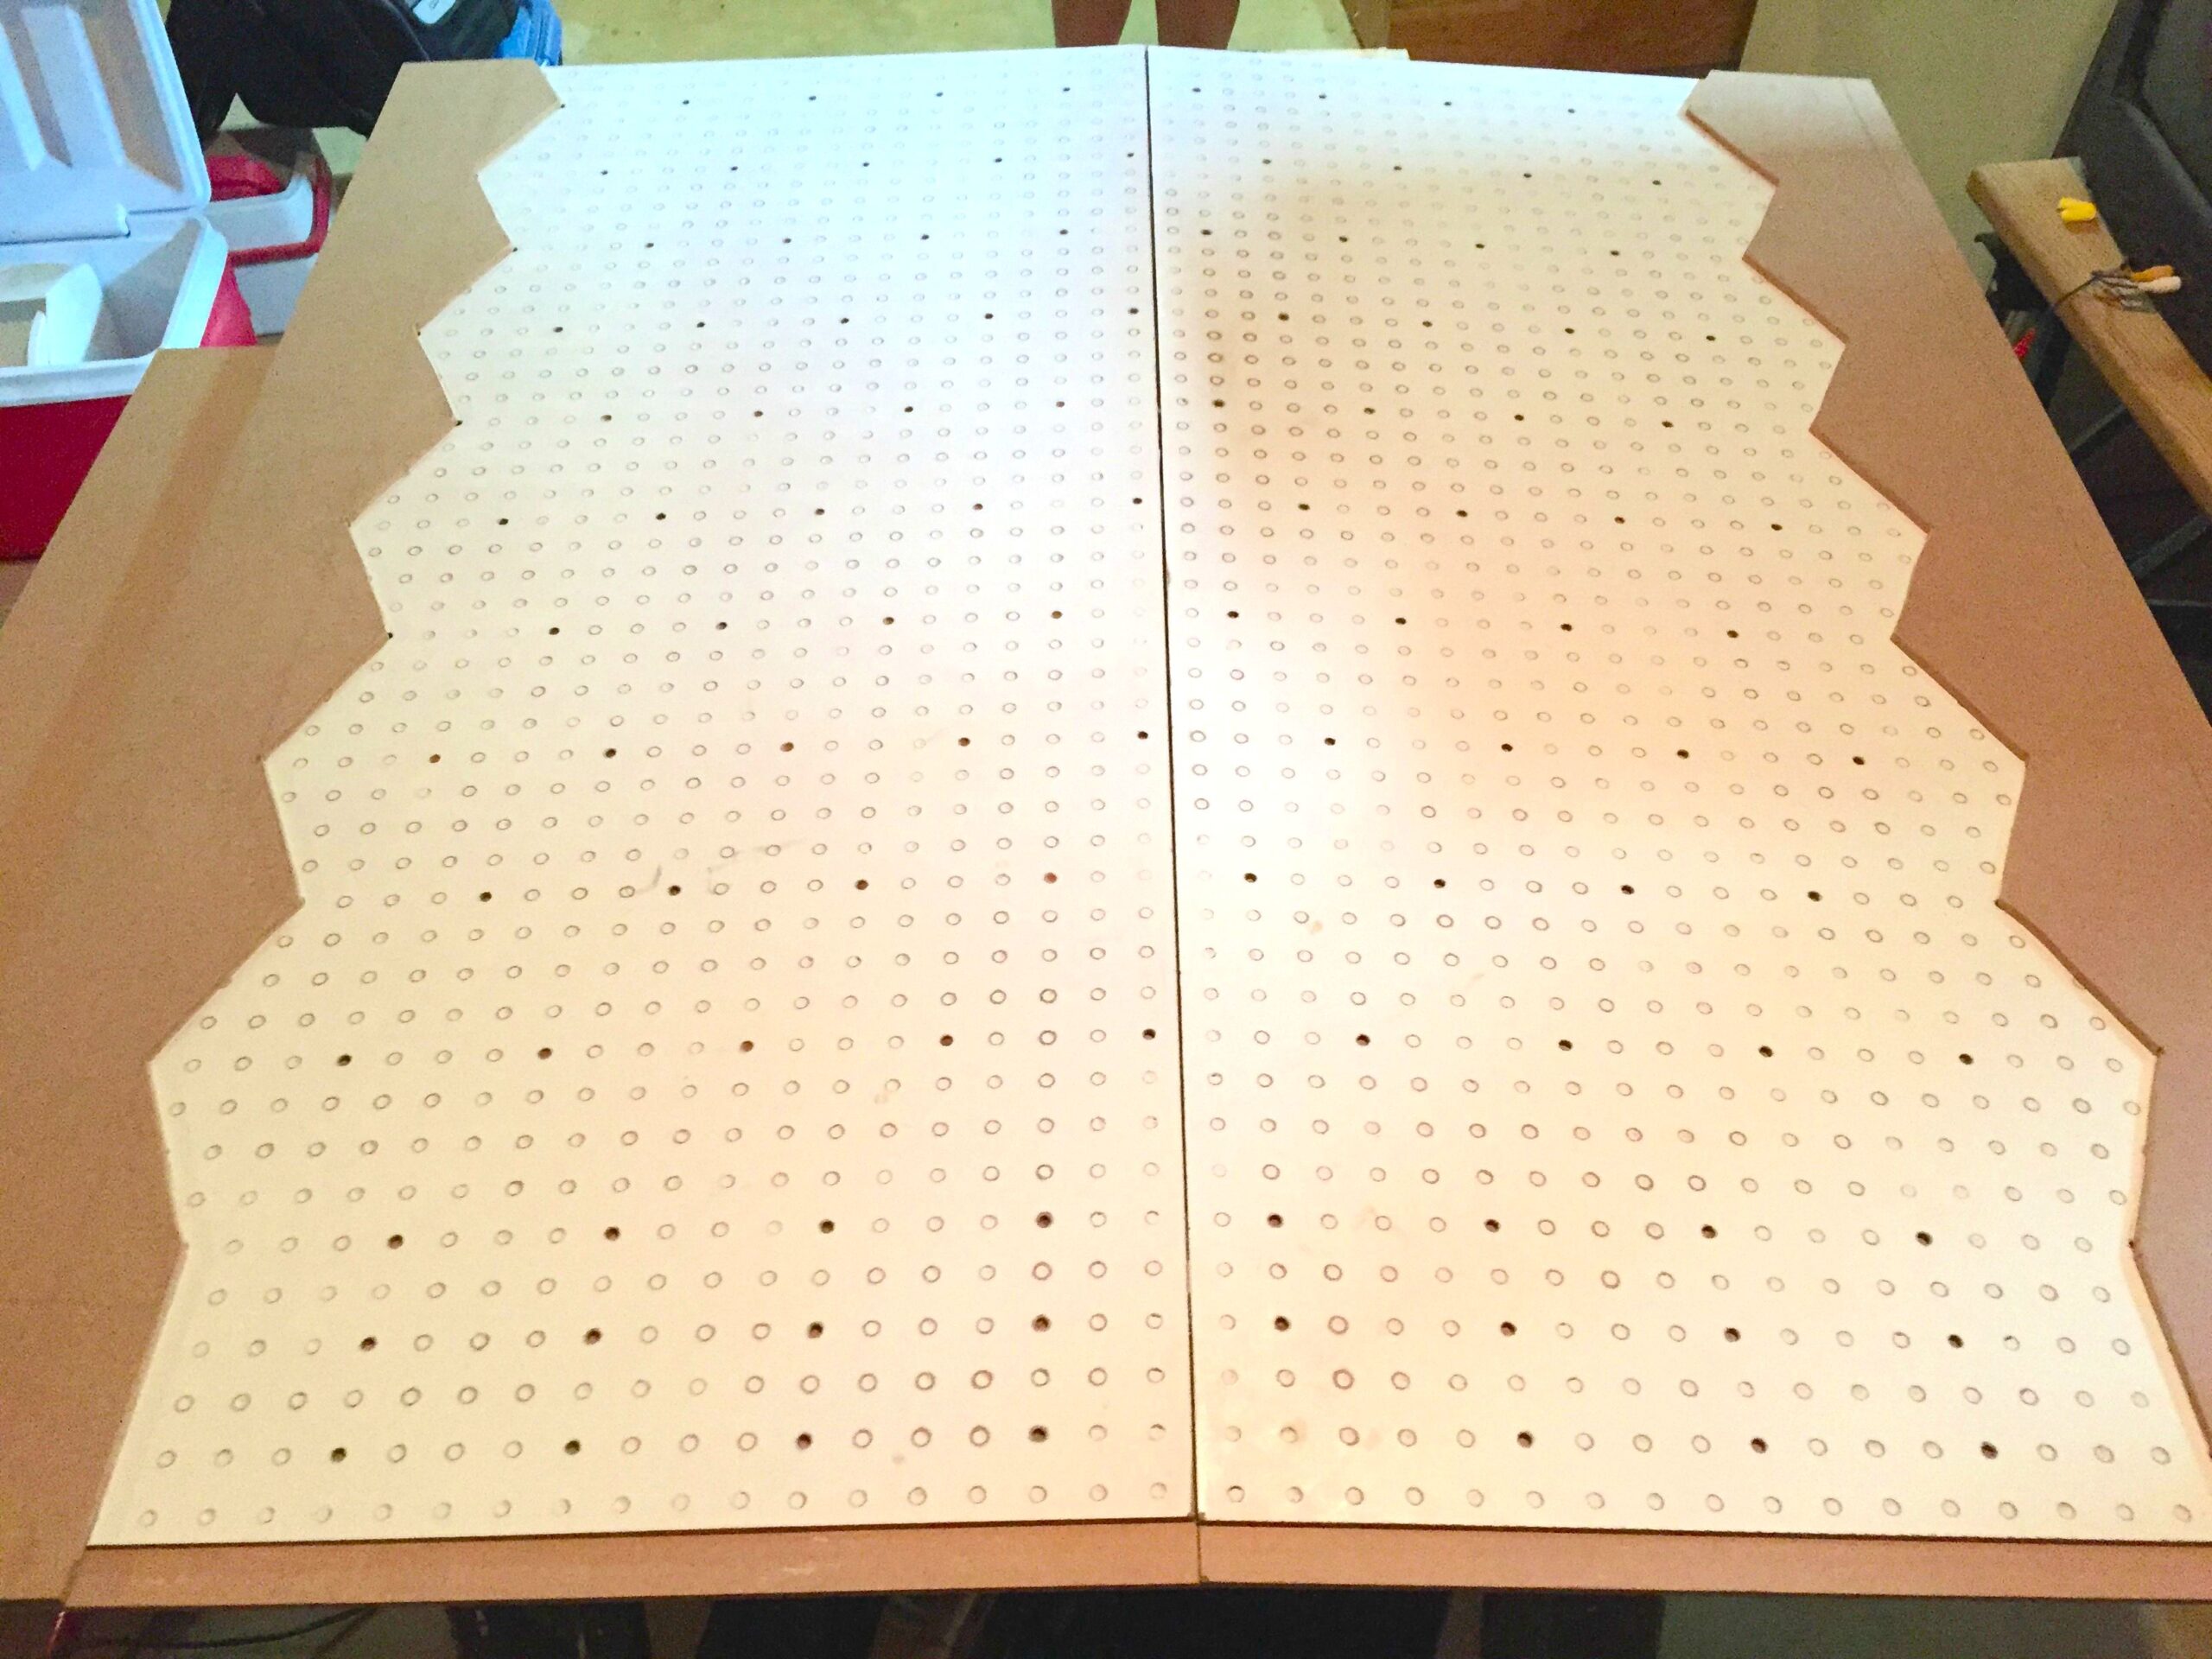
Once that was done, it was time to work on the headboard.
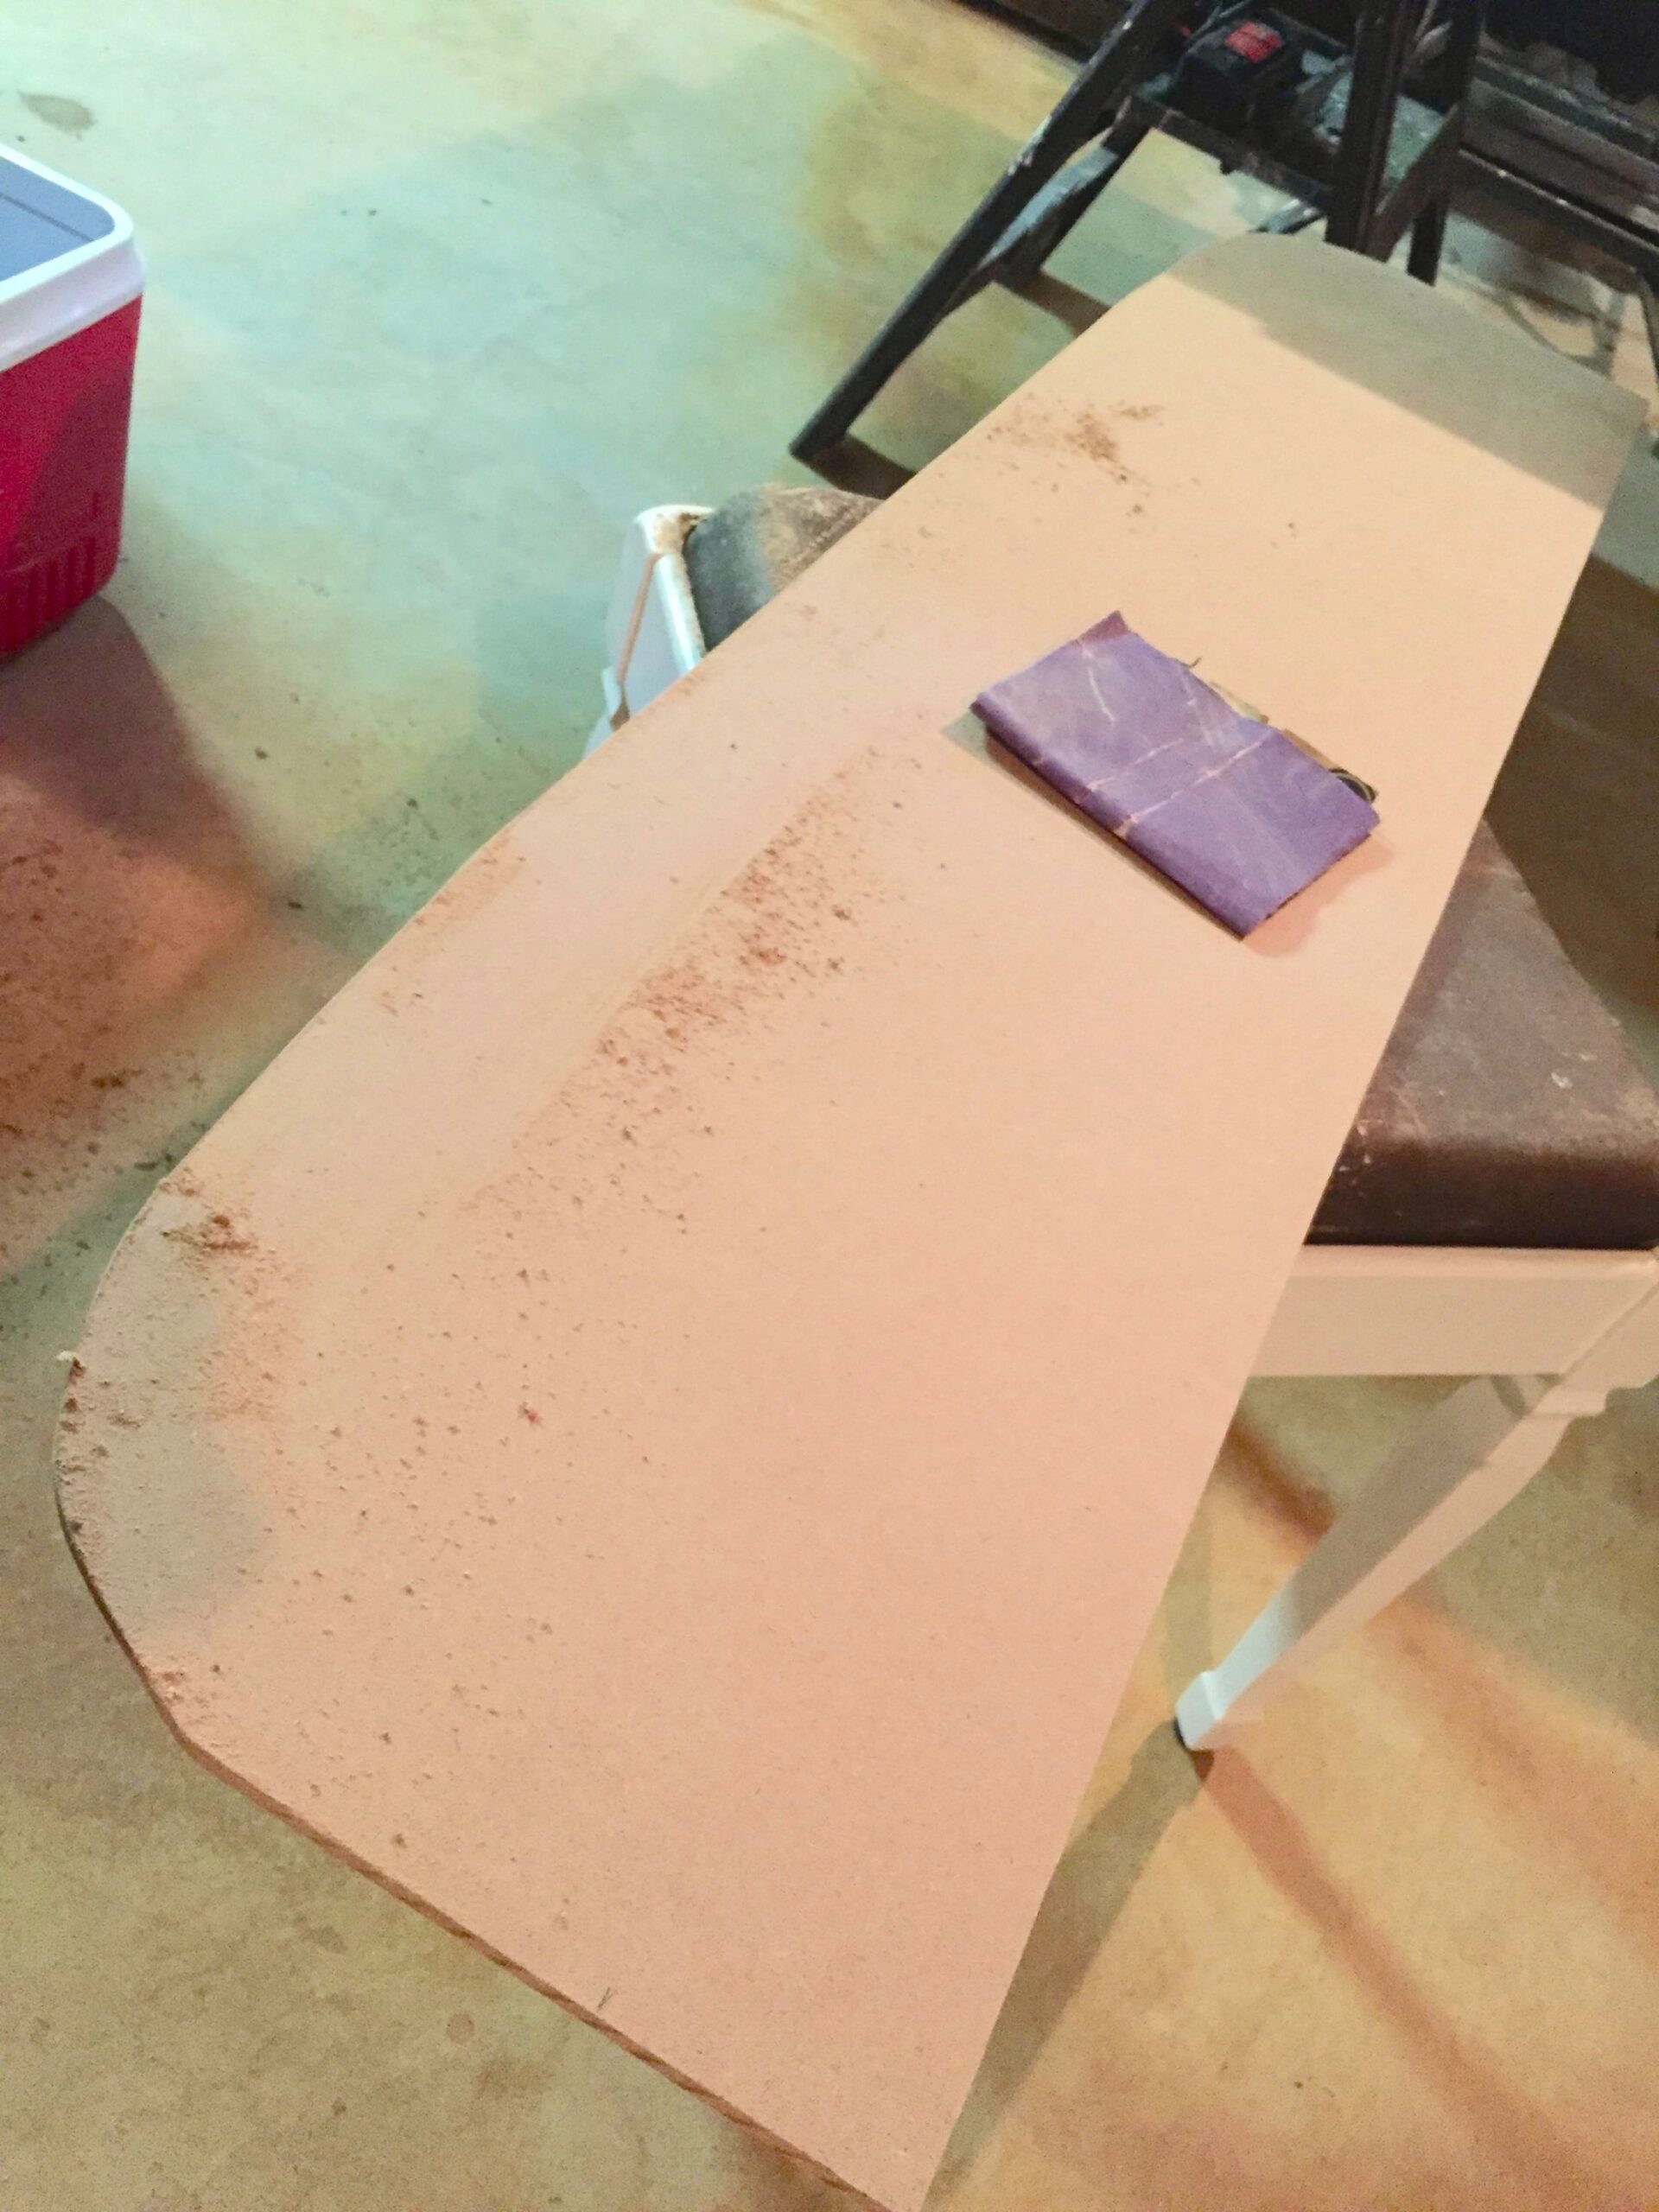
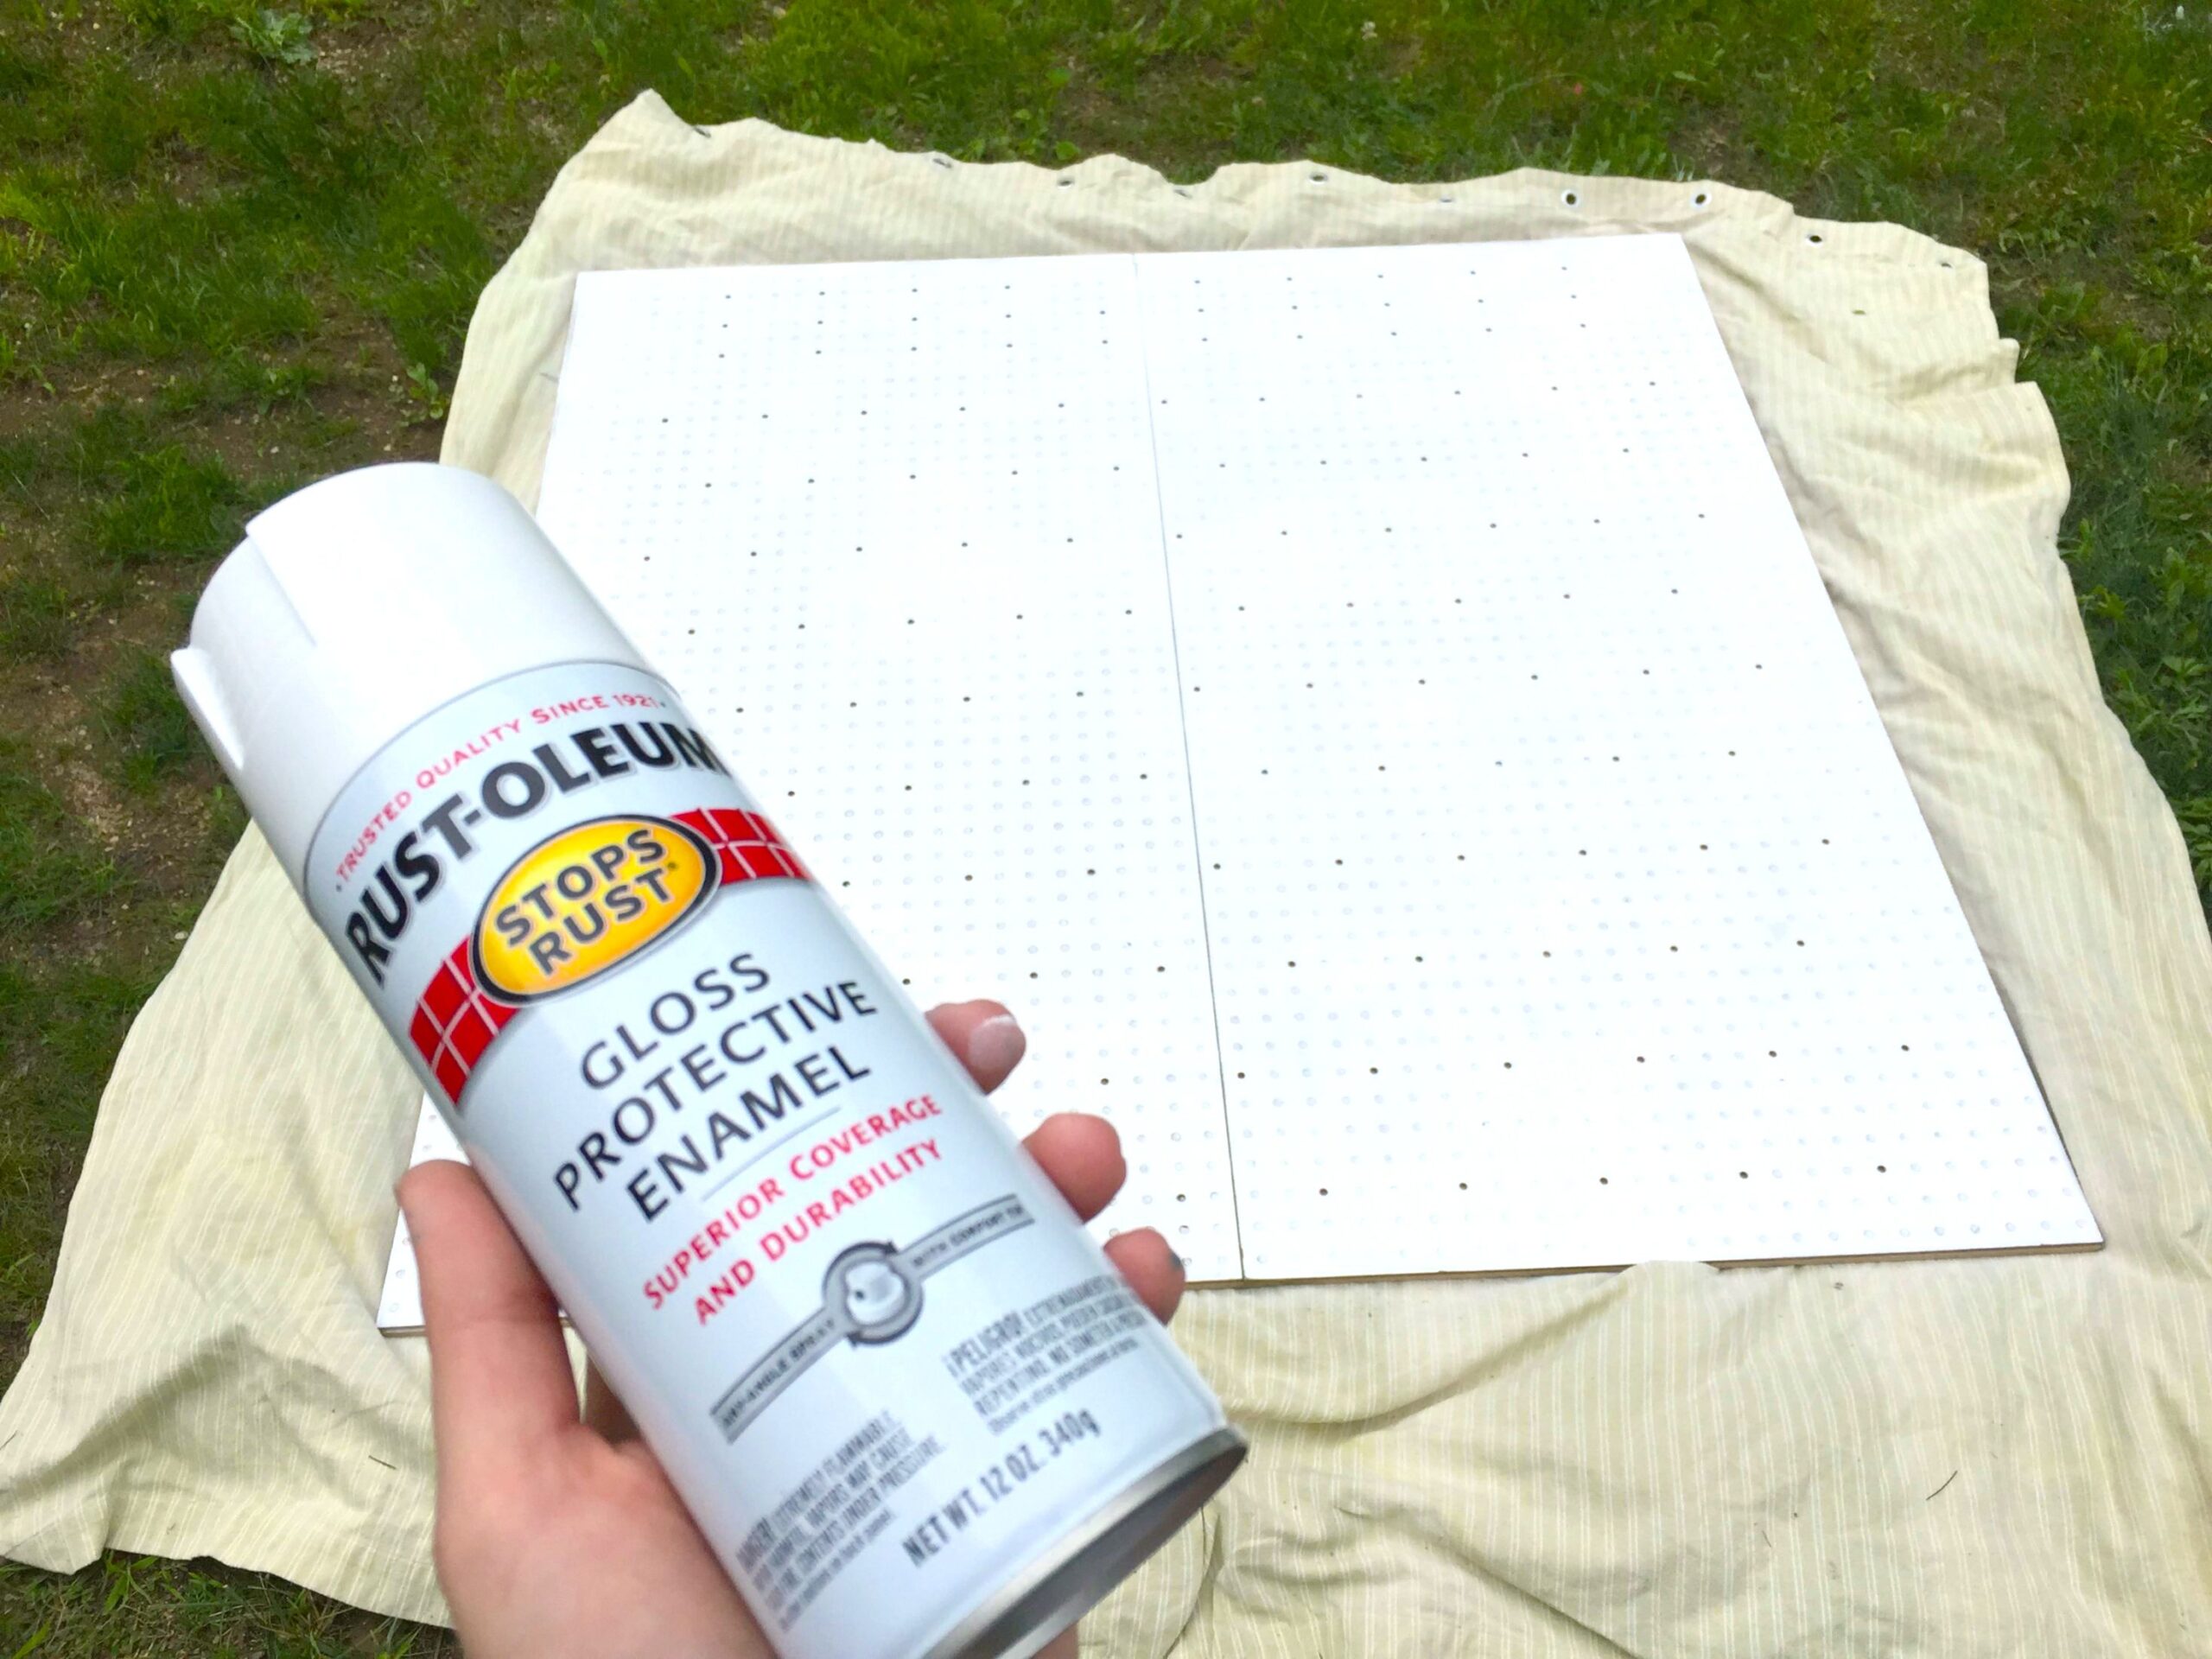
Then, the next step was applying some glossy enamel to the board and pegs.
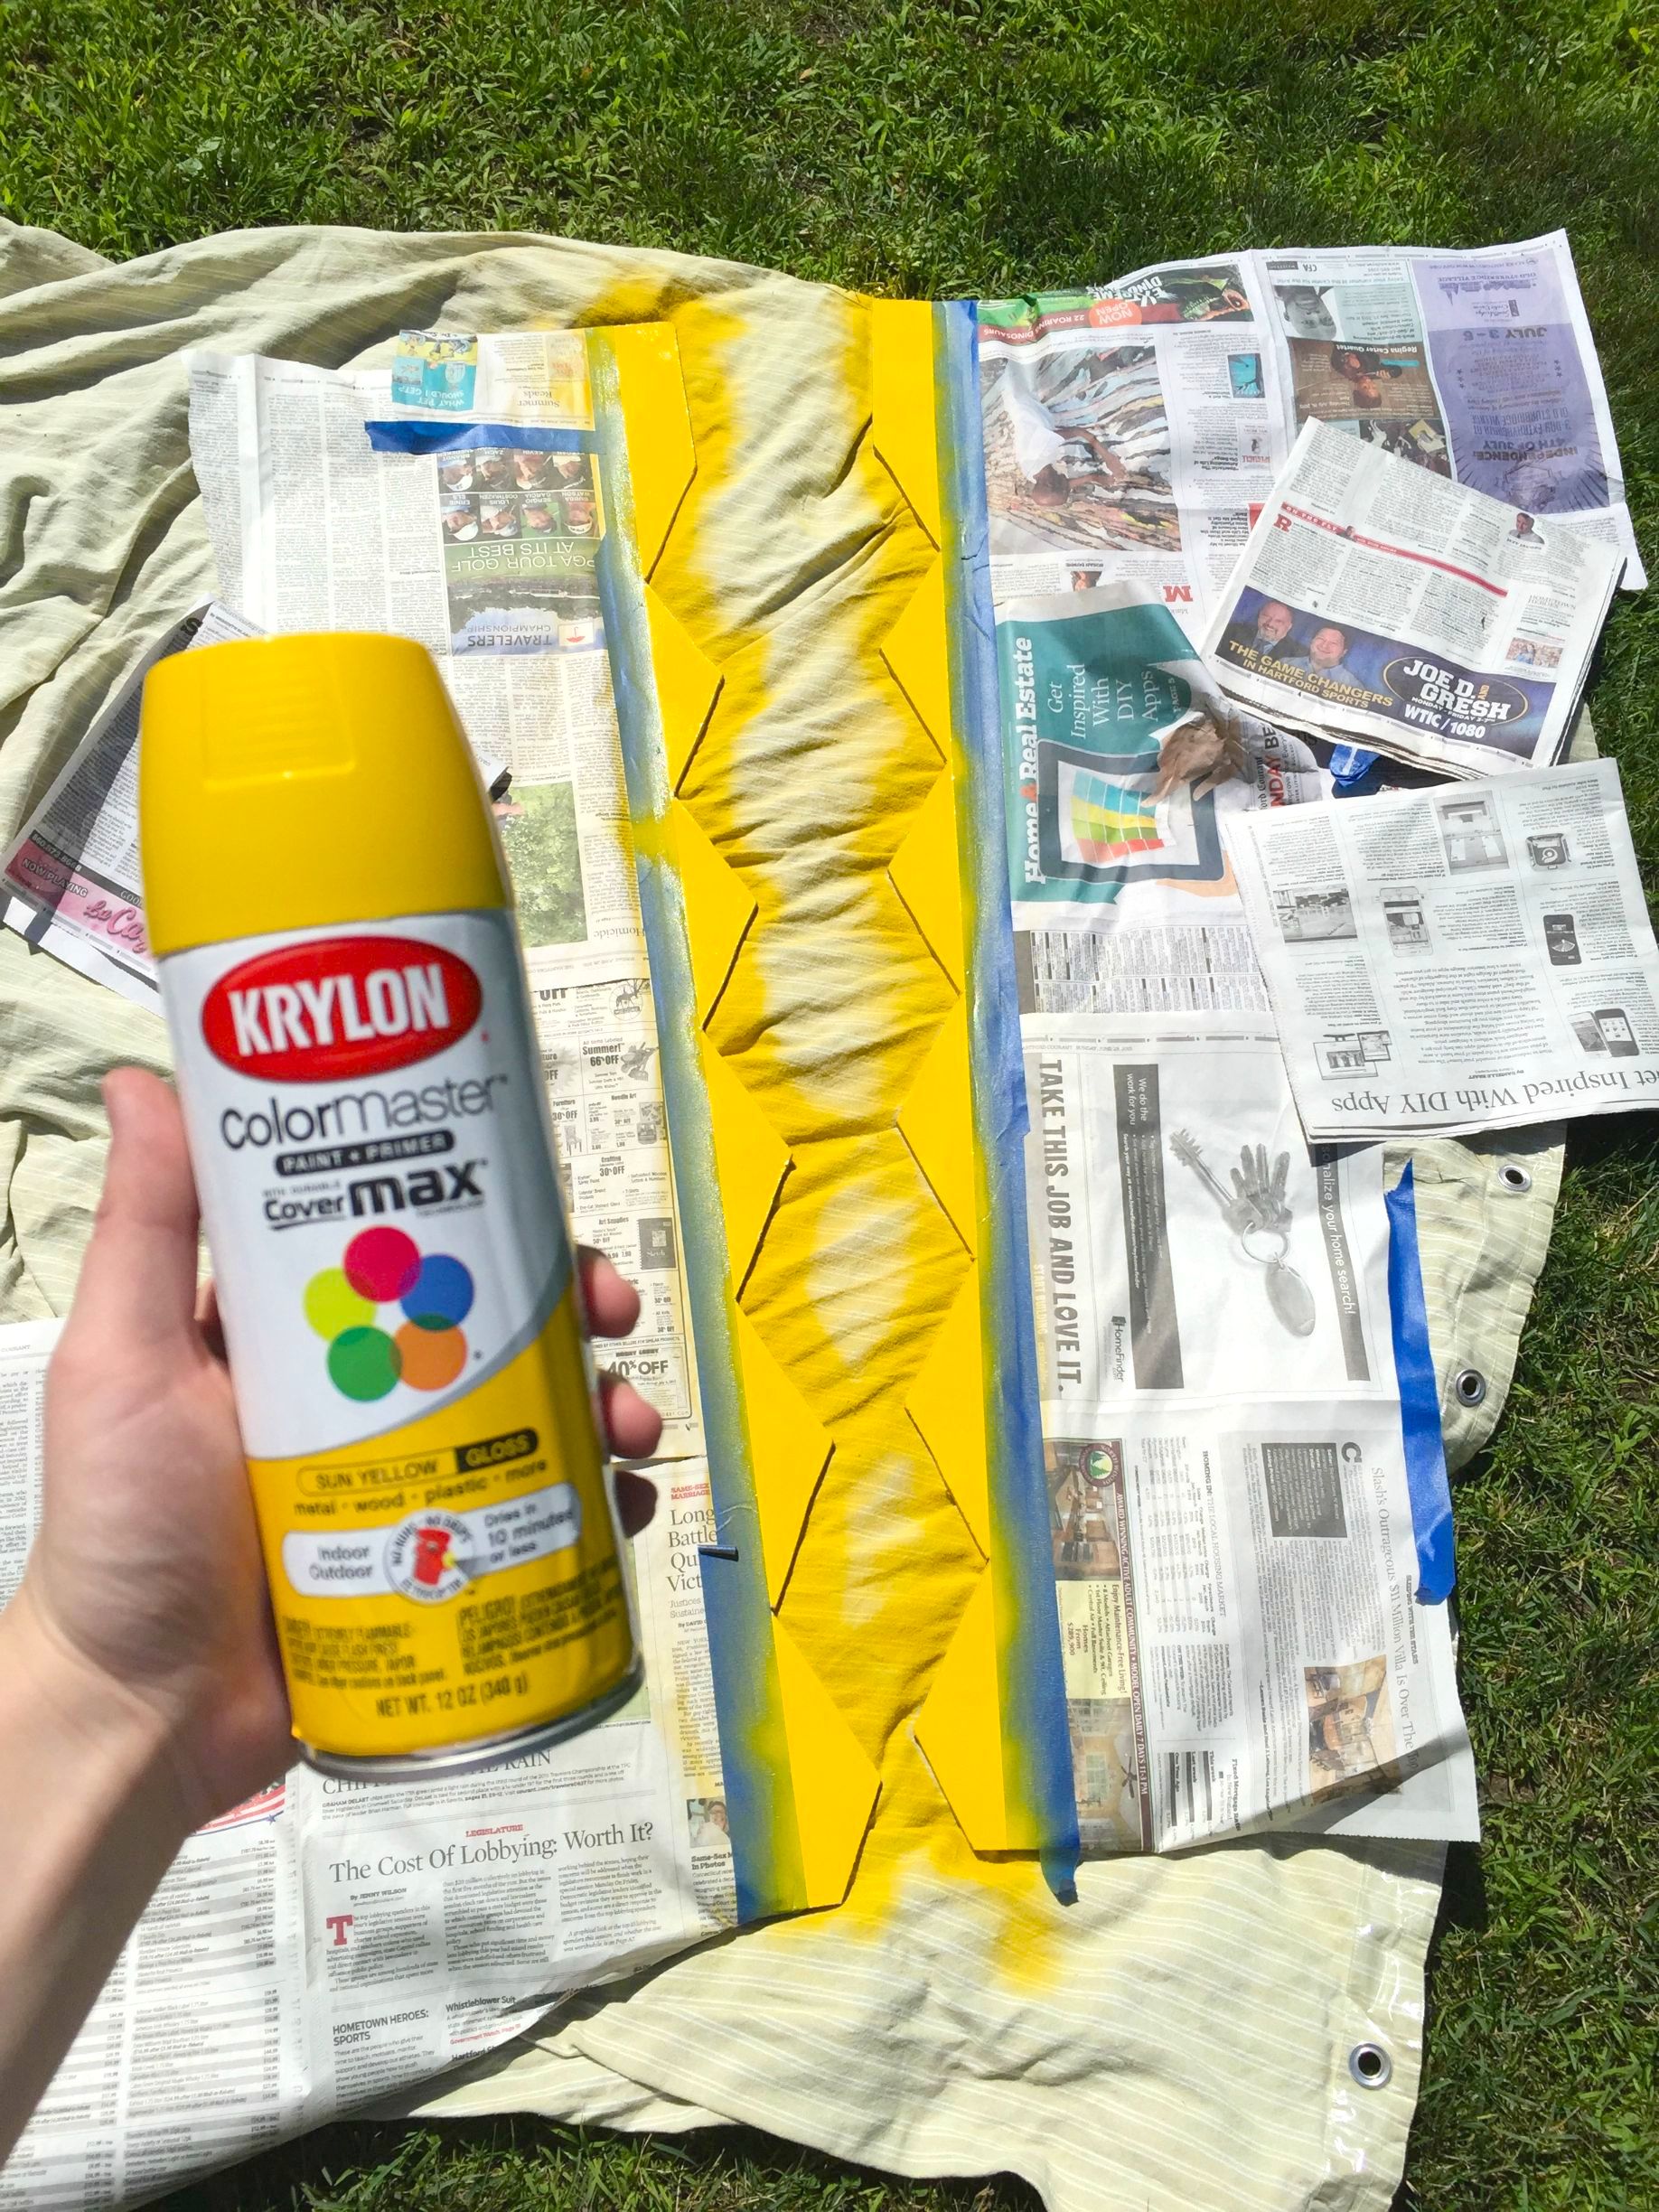
Of course, only a "sun yellow" paint would do for the frame.
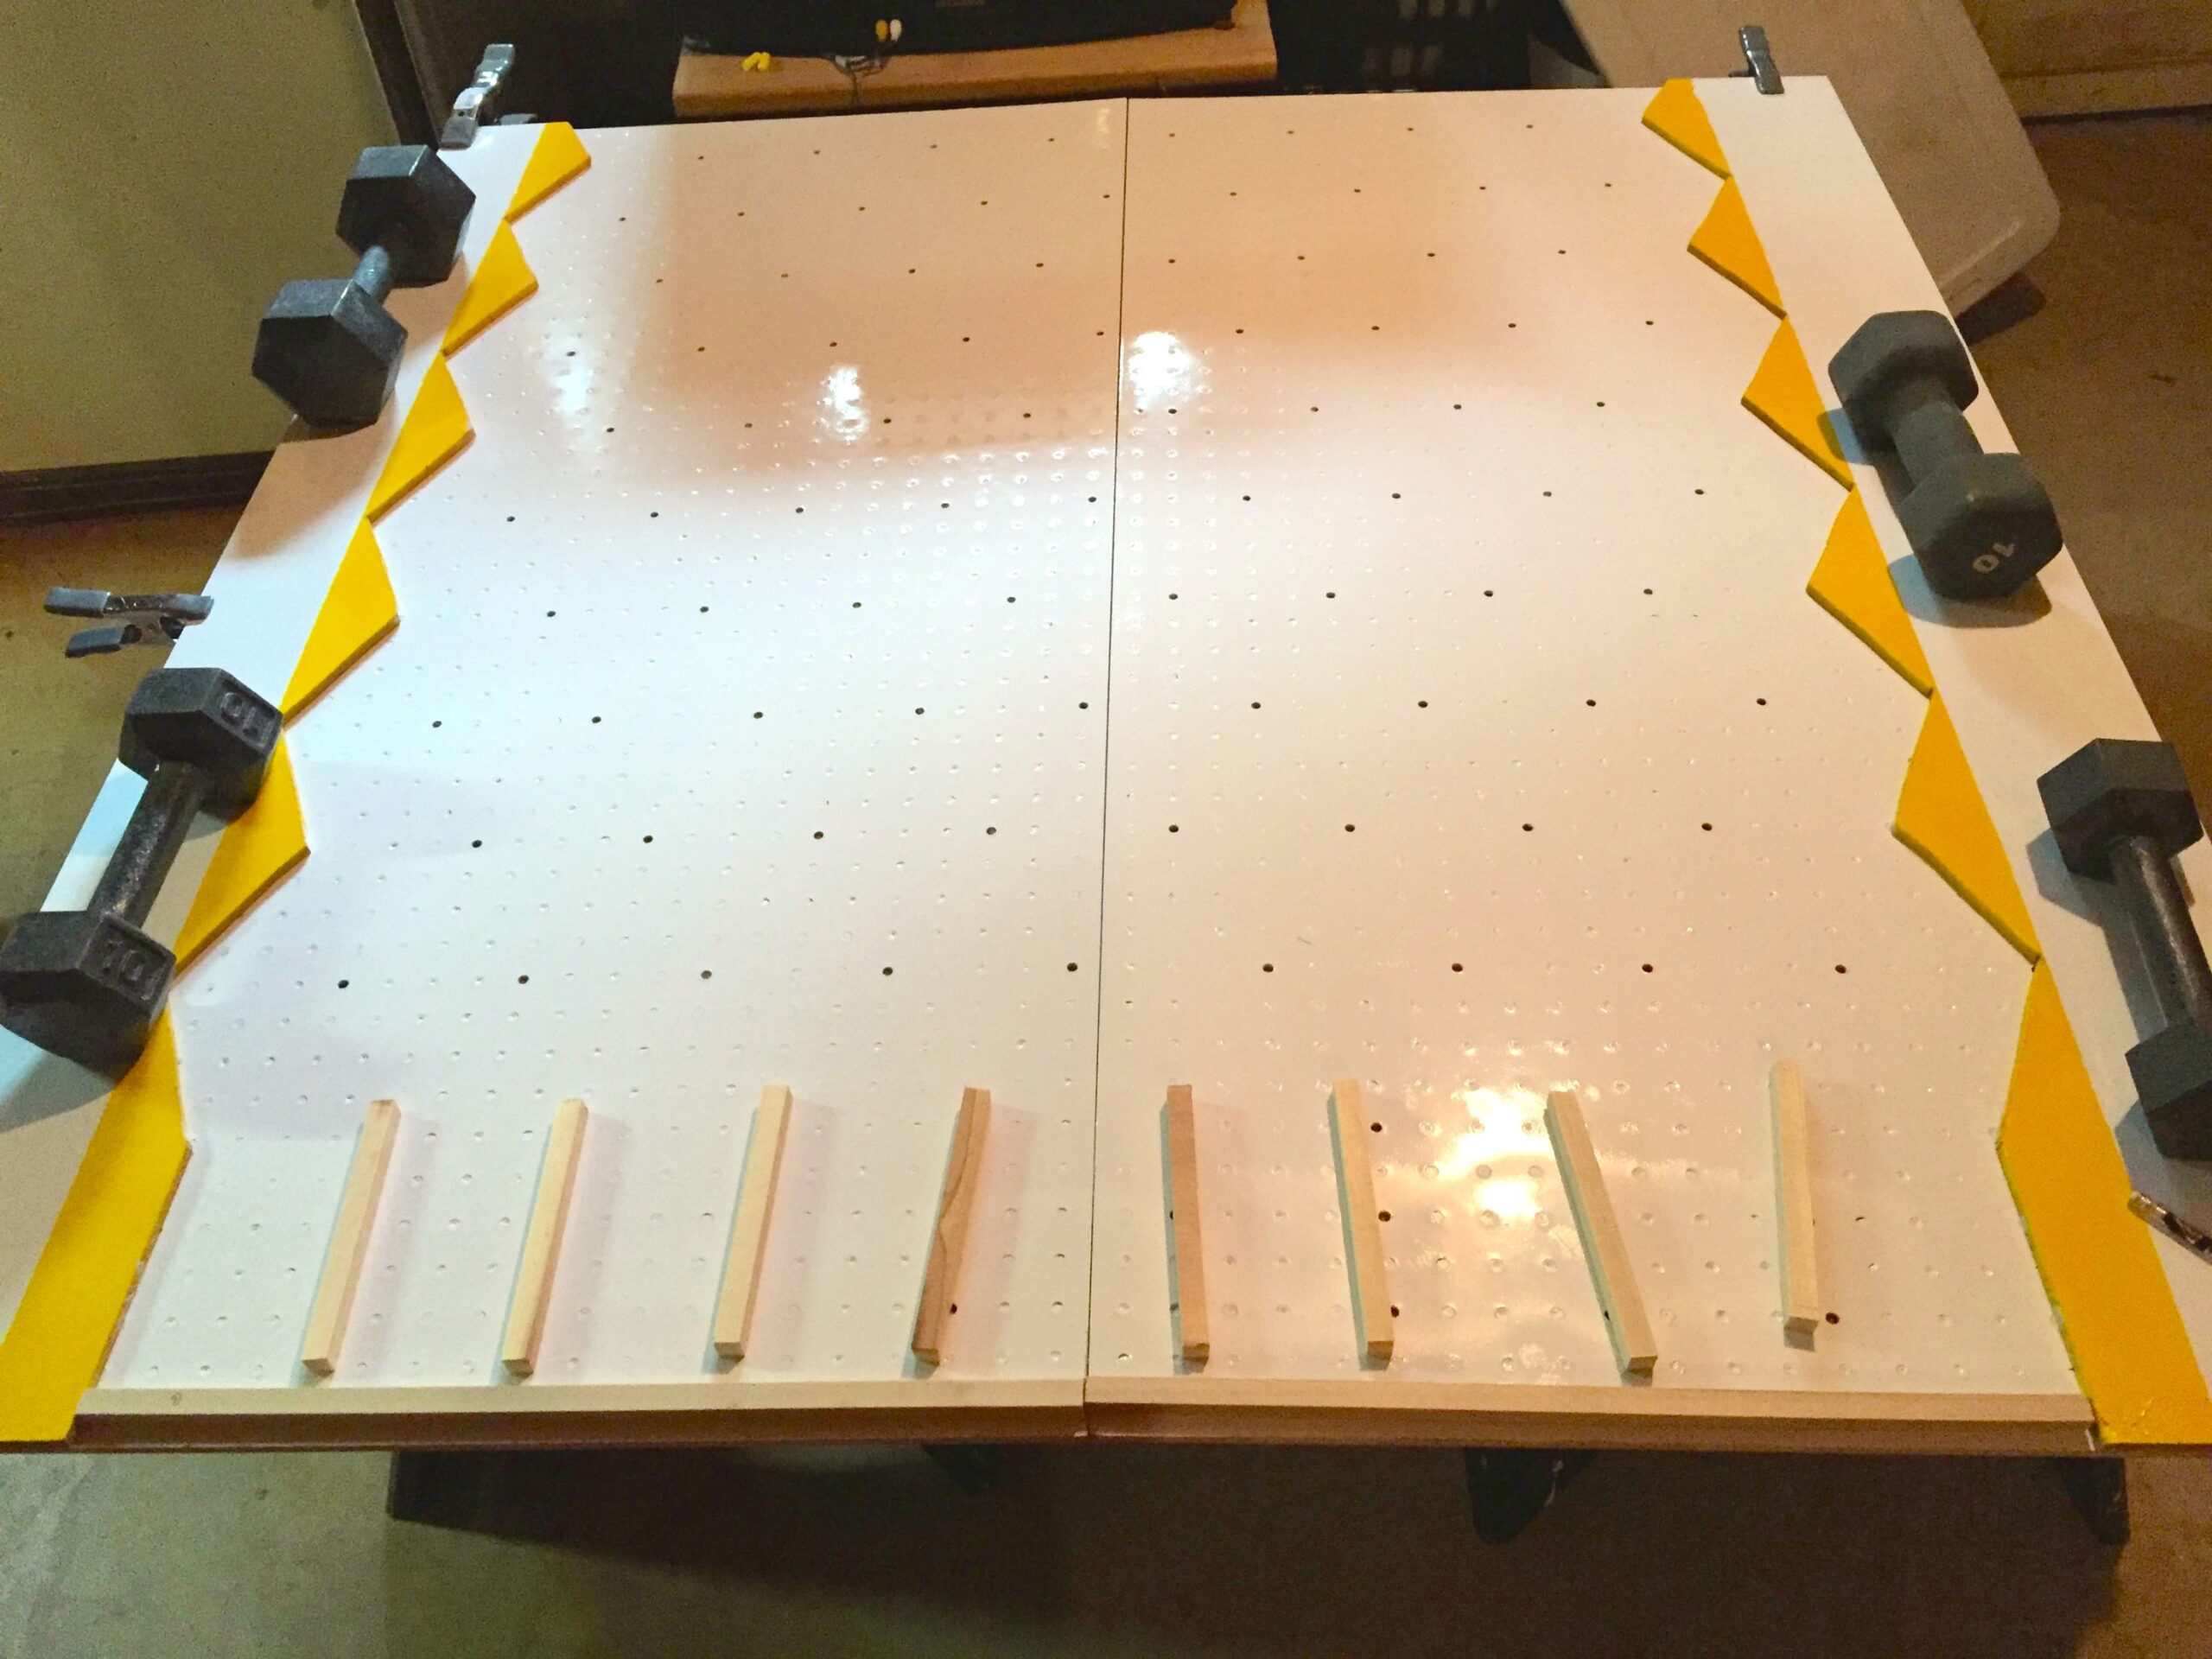
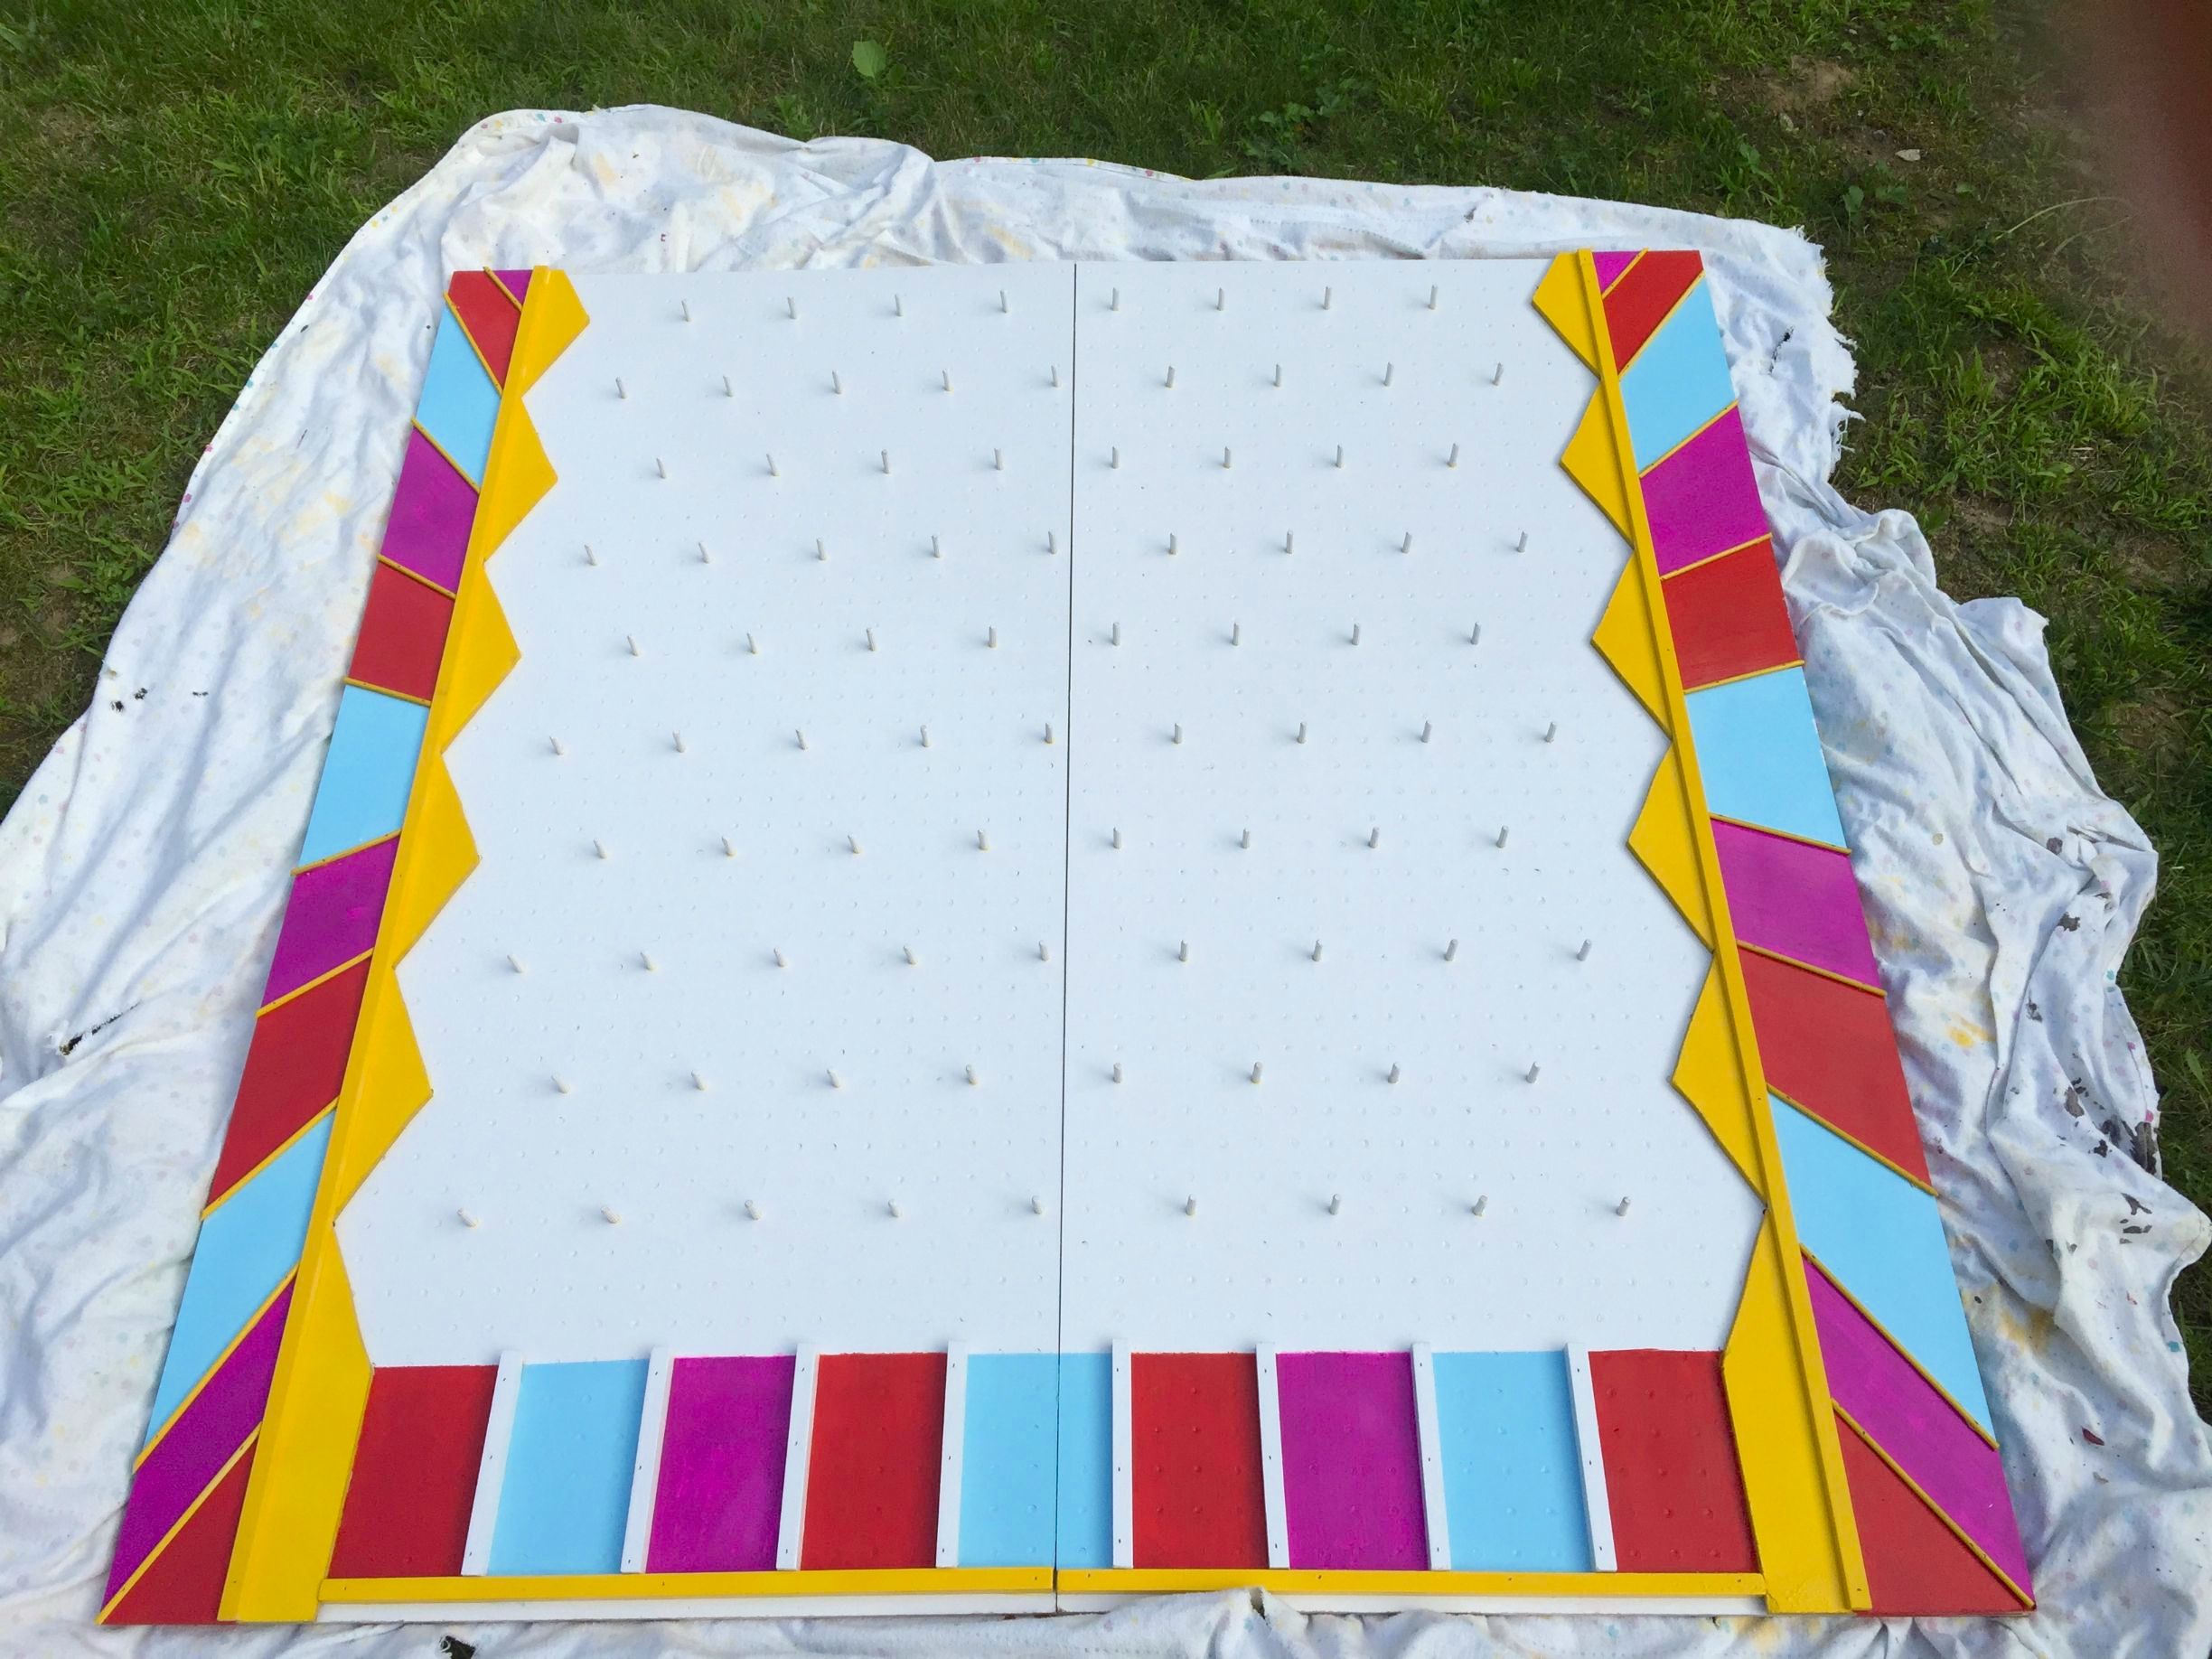
Finally, it was time to start assembling everything. She glued down the yellow frame, cut out some dowels, and measured it all out.
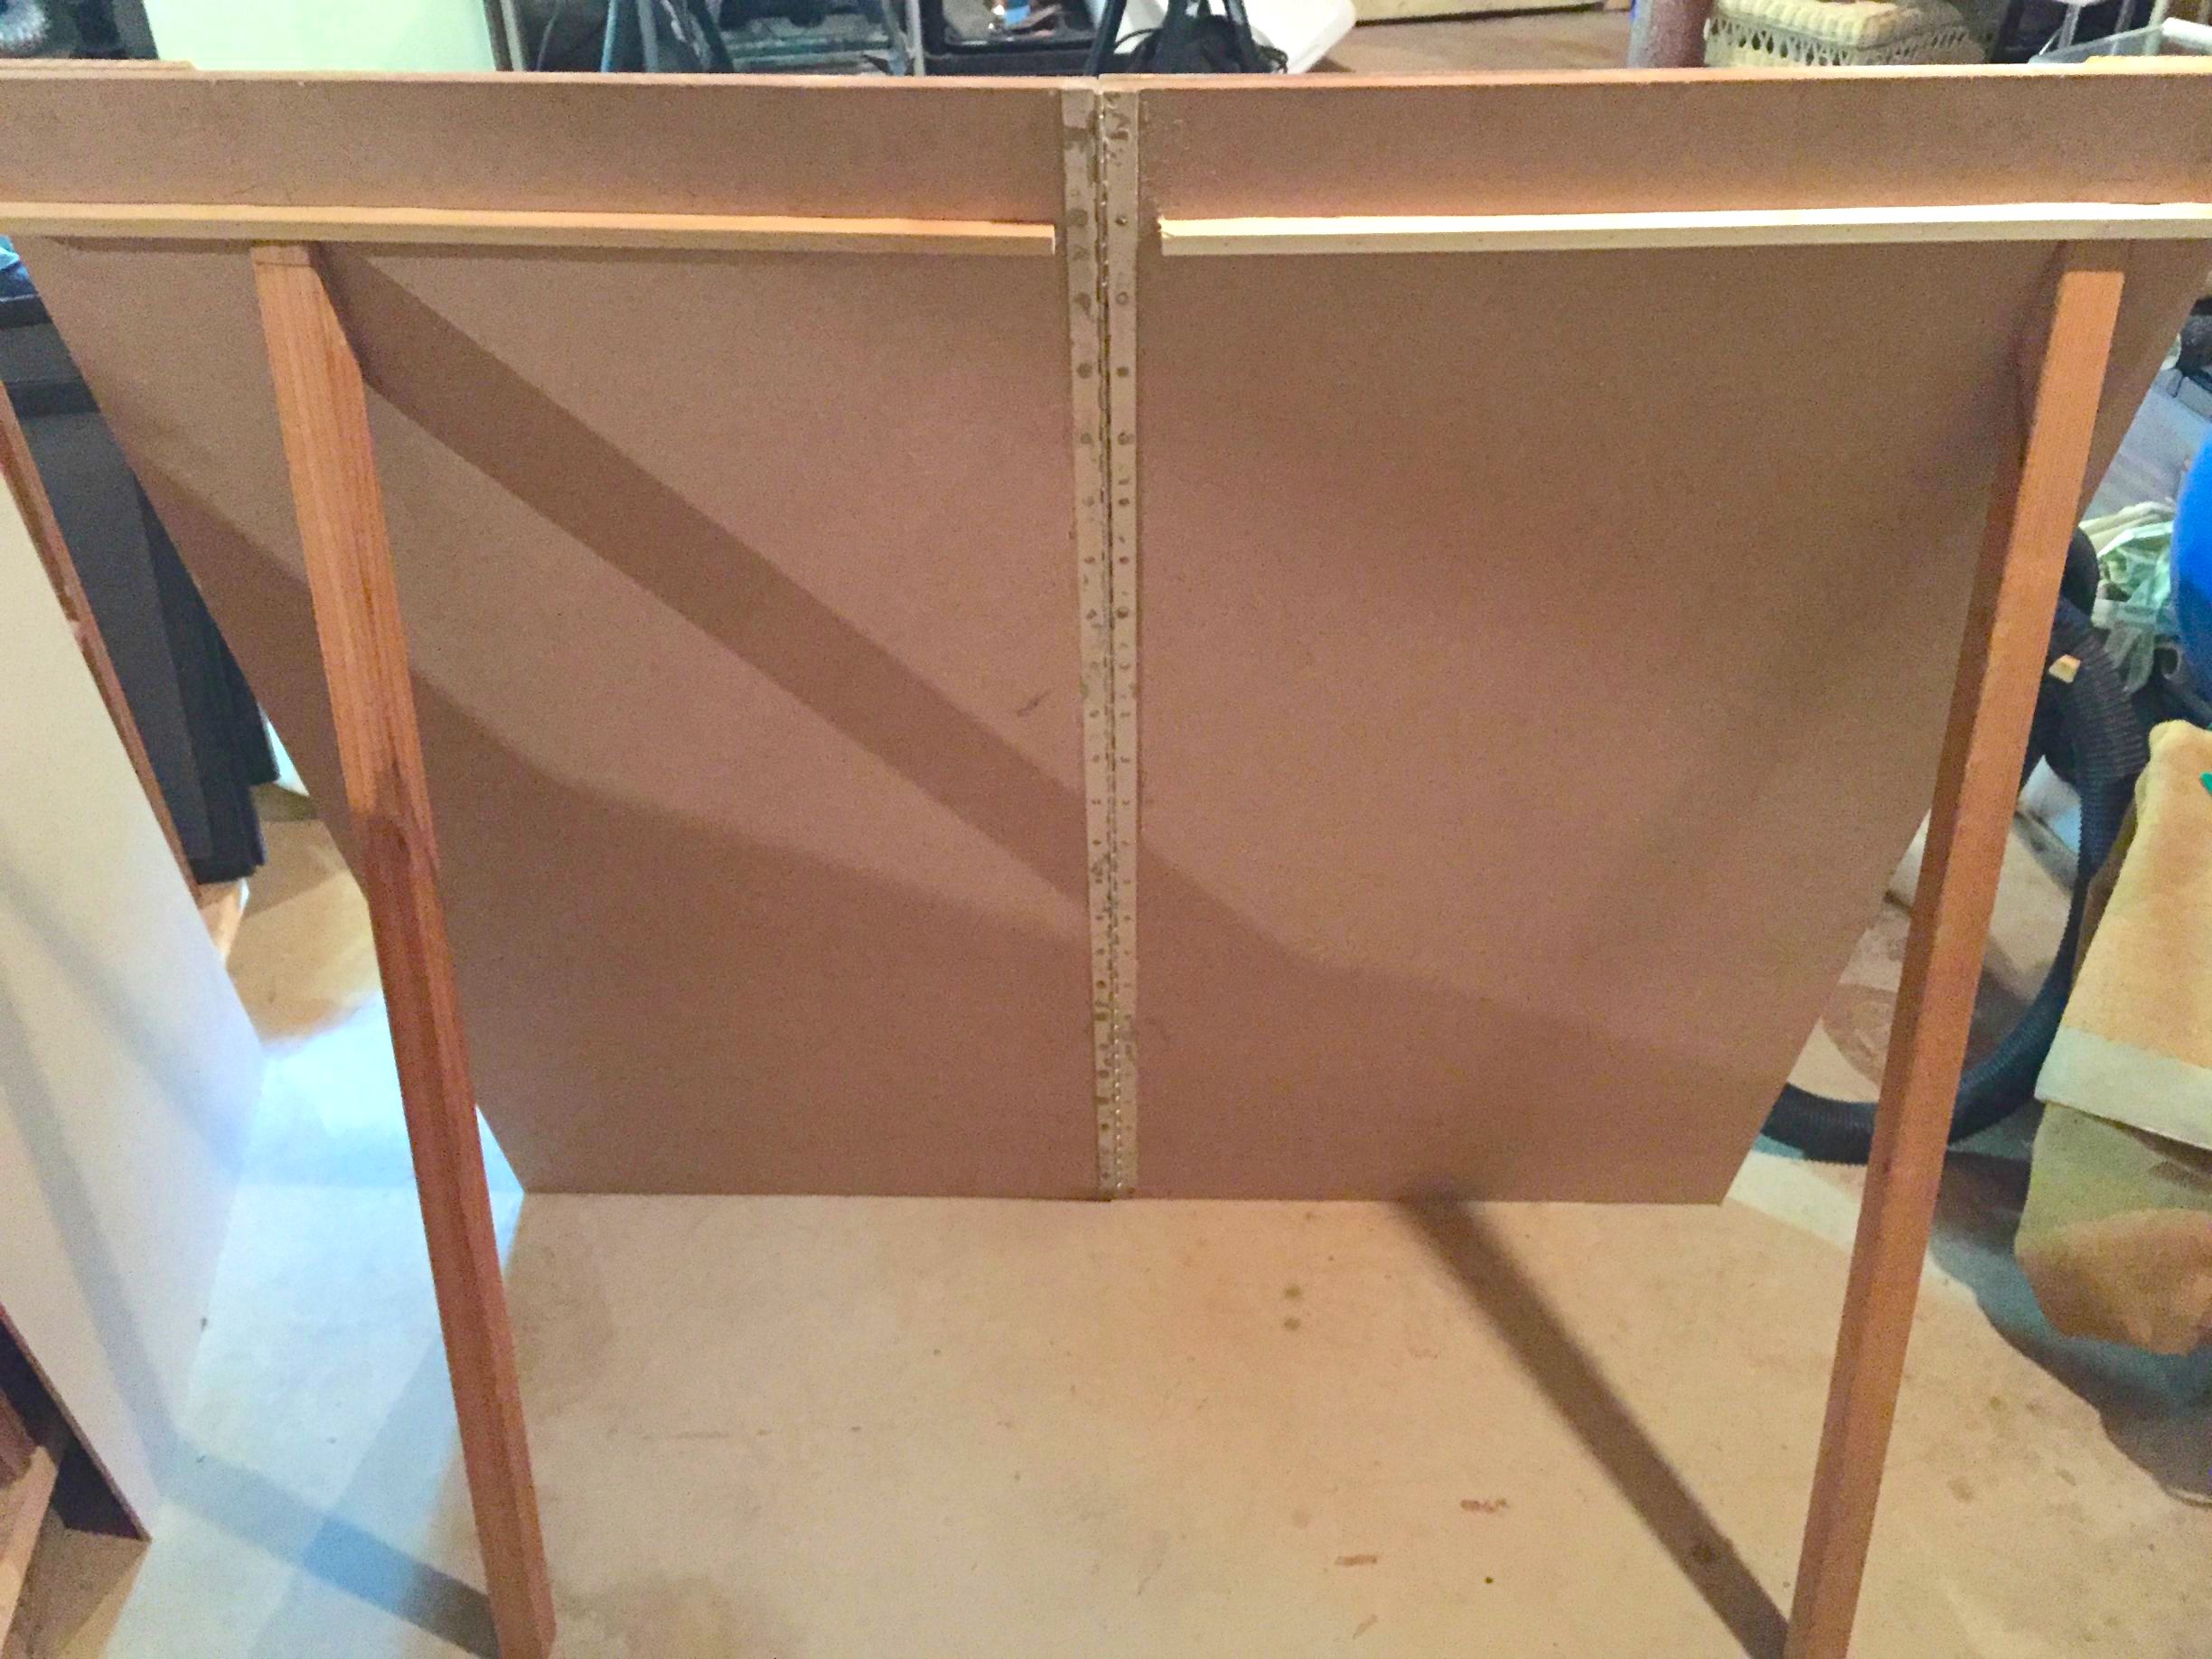
The board would of course need to stand on its own, so she fashioned two nice legs.
After some more "Plinko" research, she found the perfect paint shades for the rest of the frame.
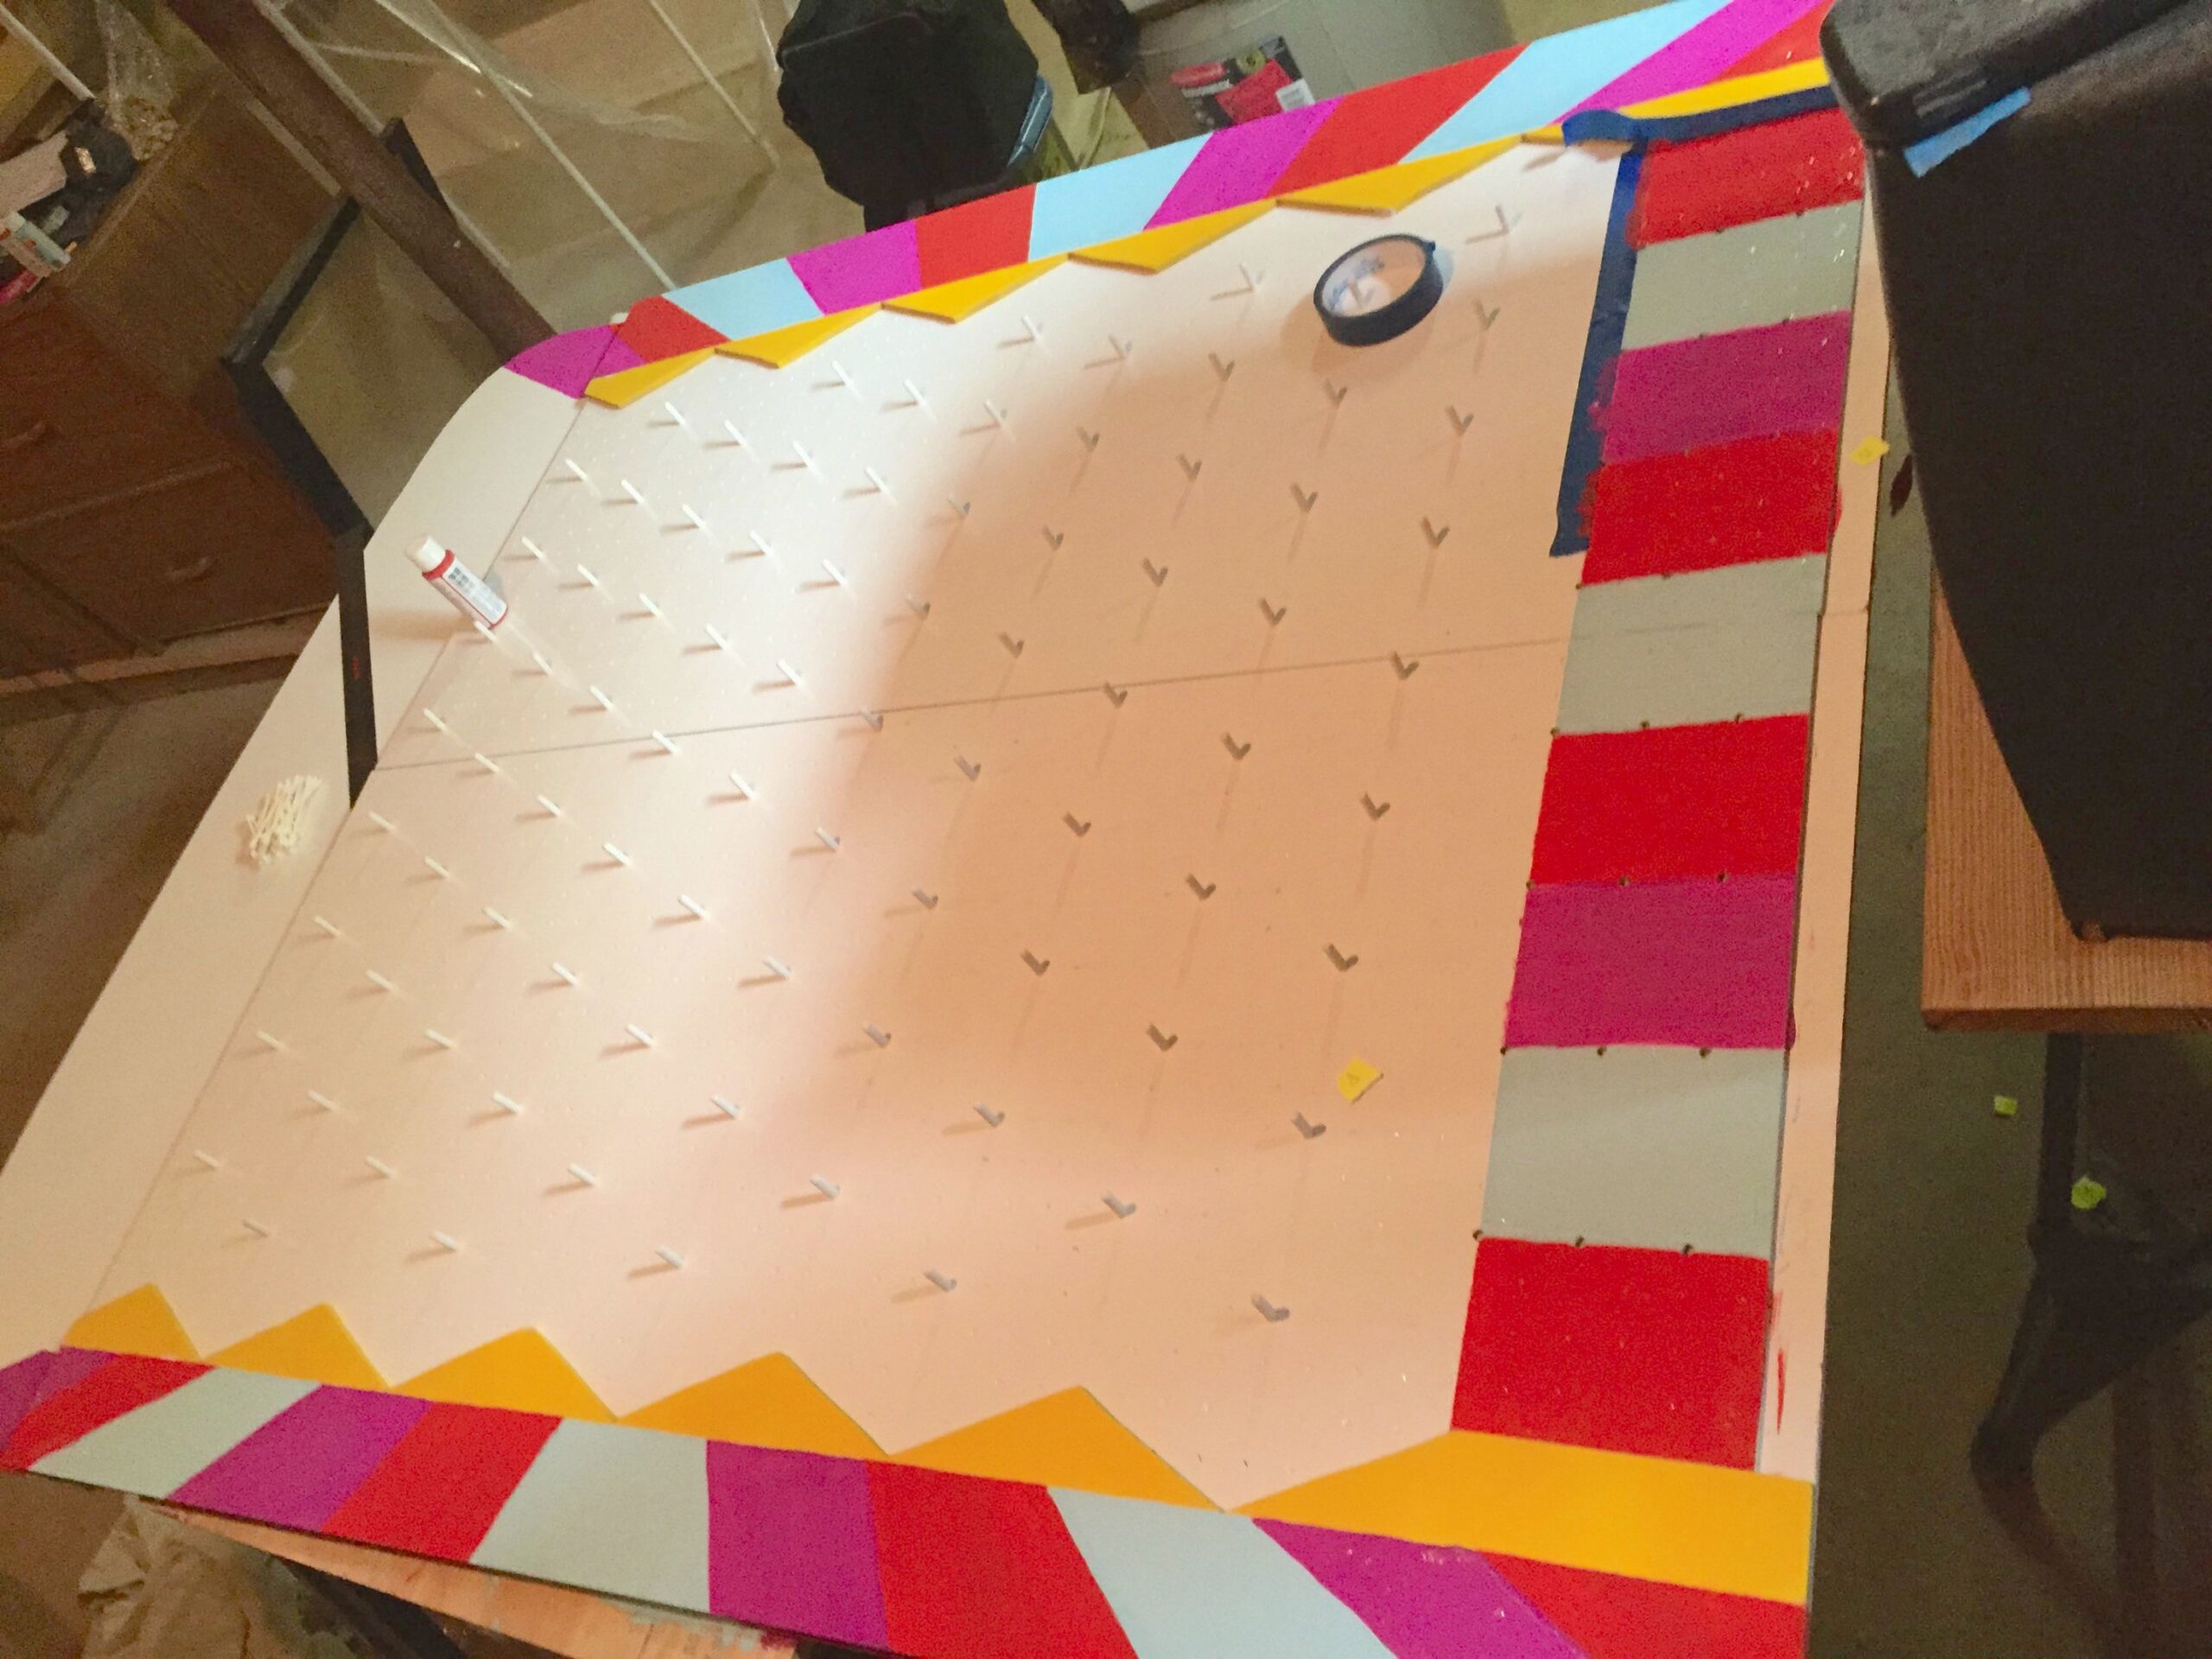
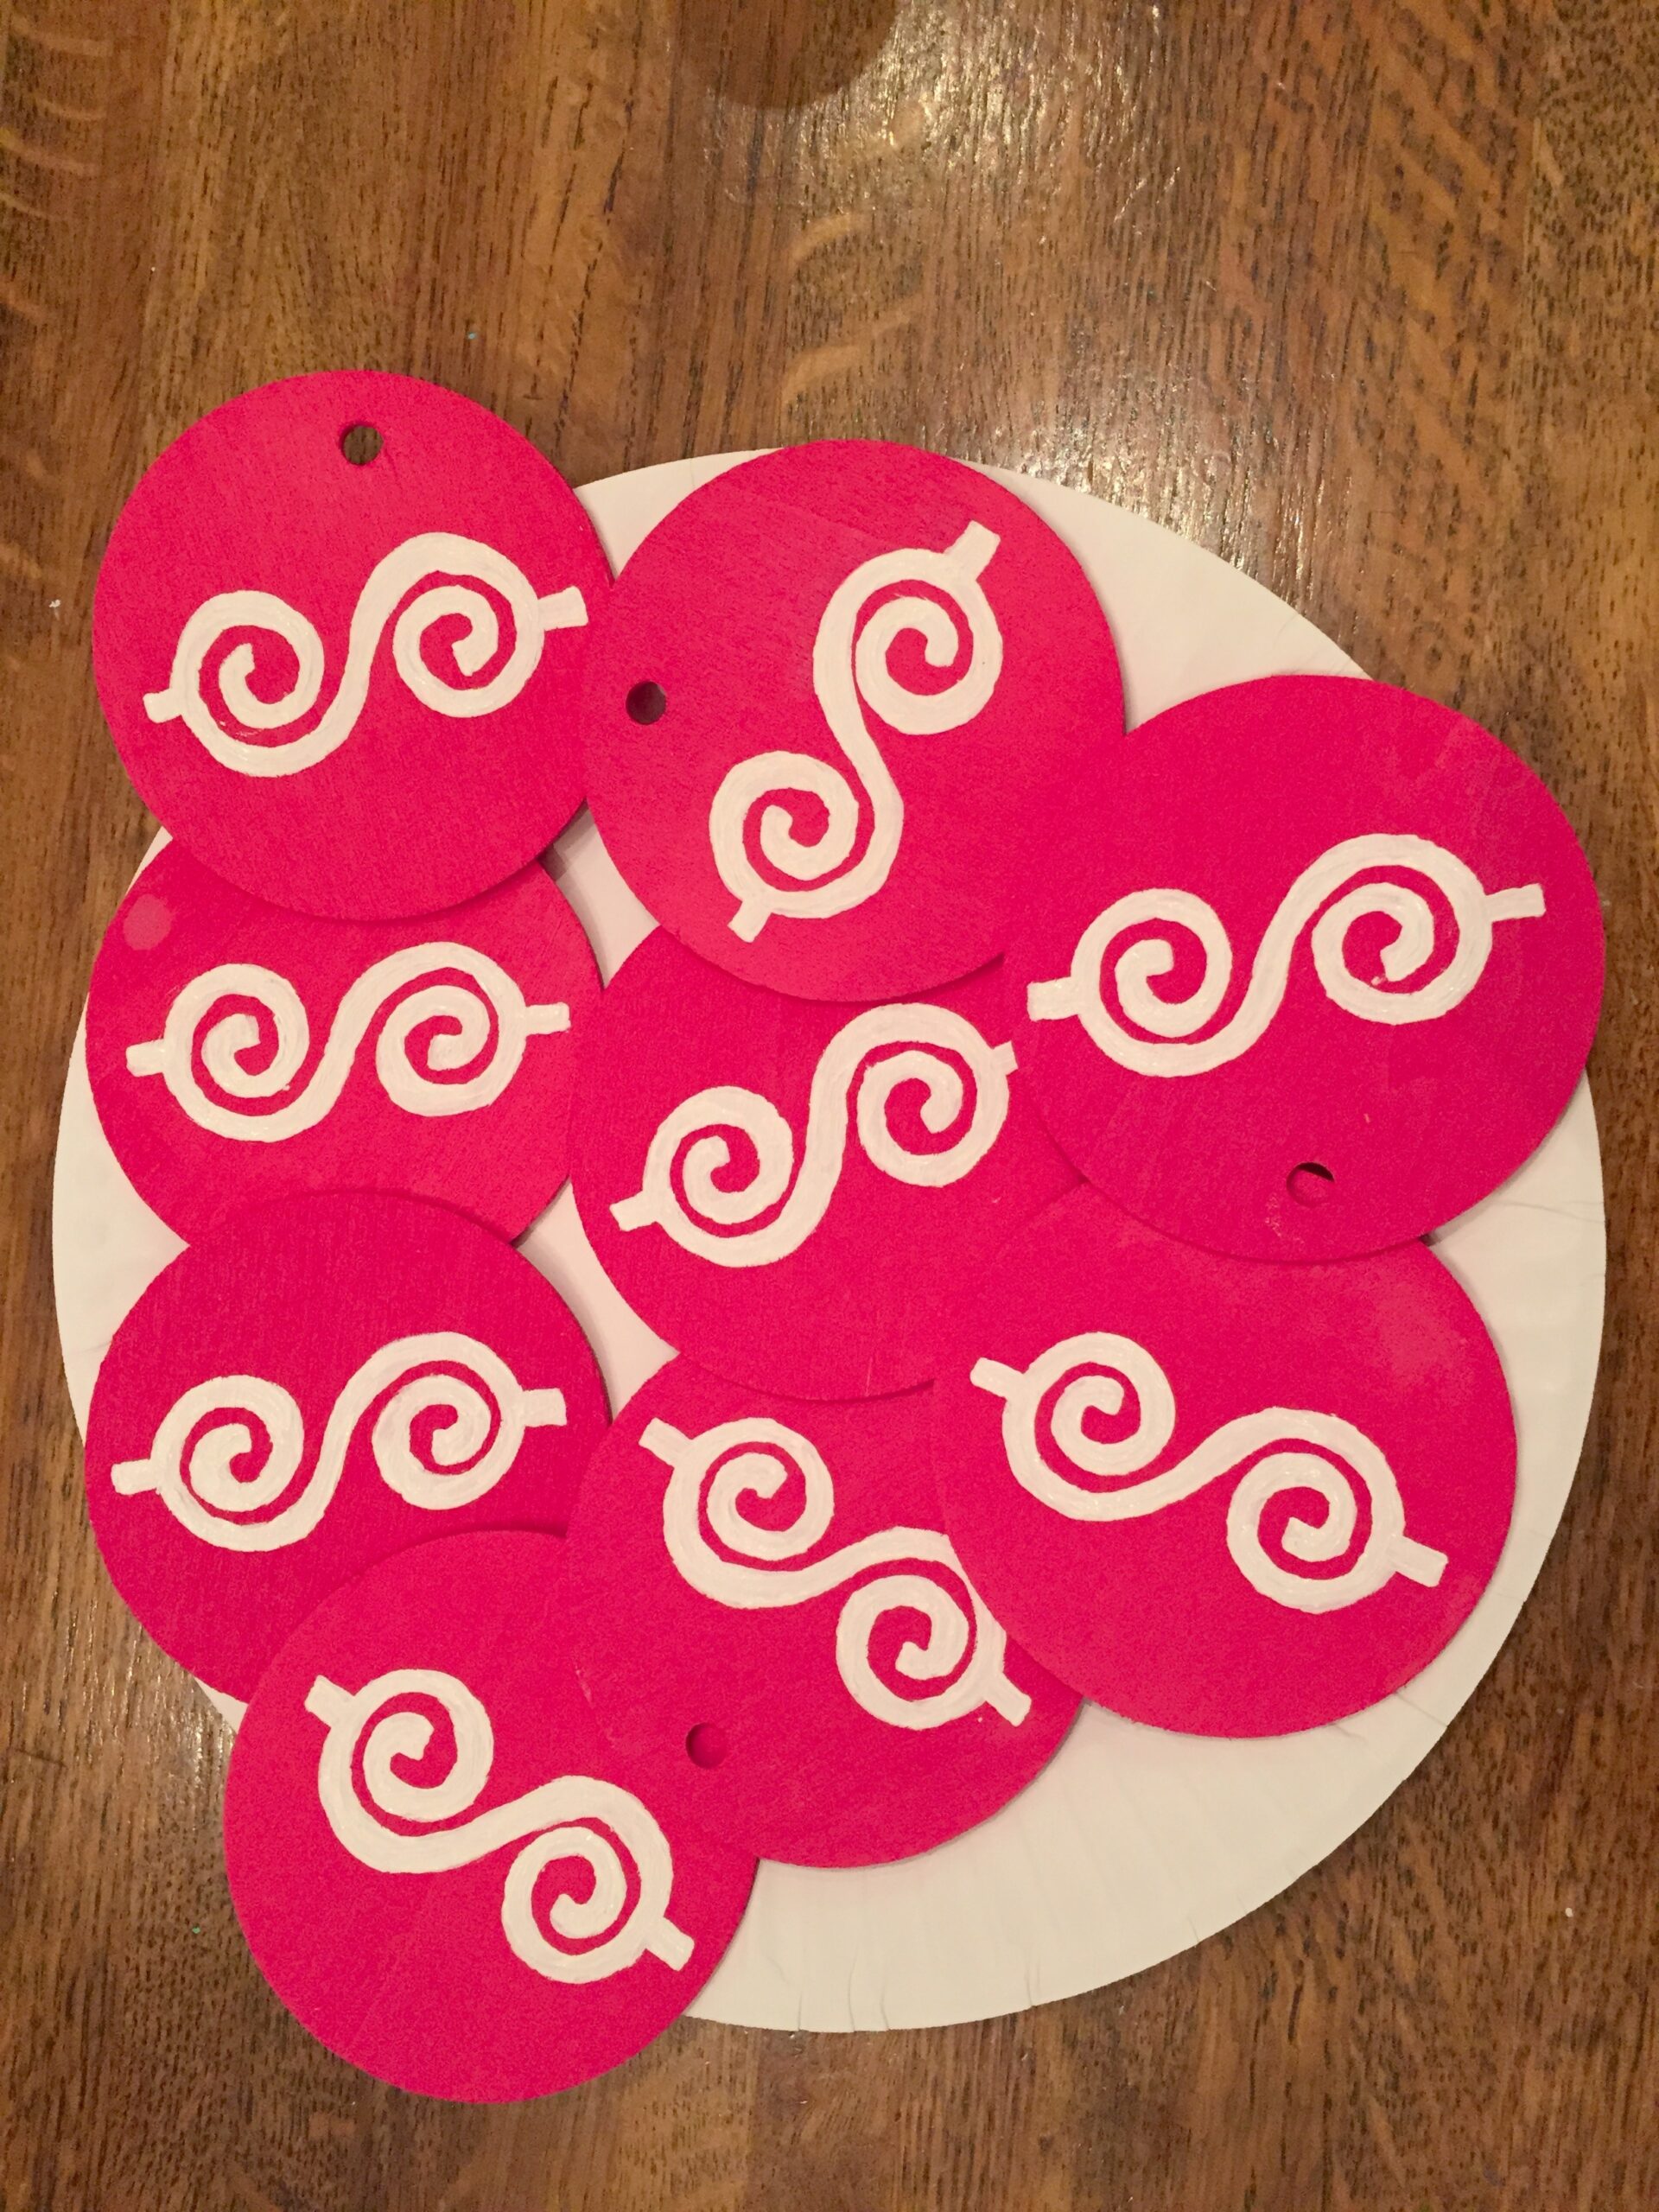
And of course, what would "Plinko" be without the chips? She made these from cheap ornaments she found at Michael's.
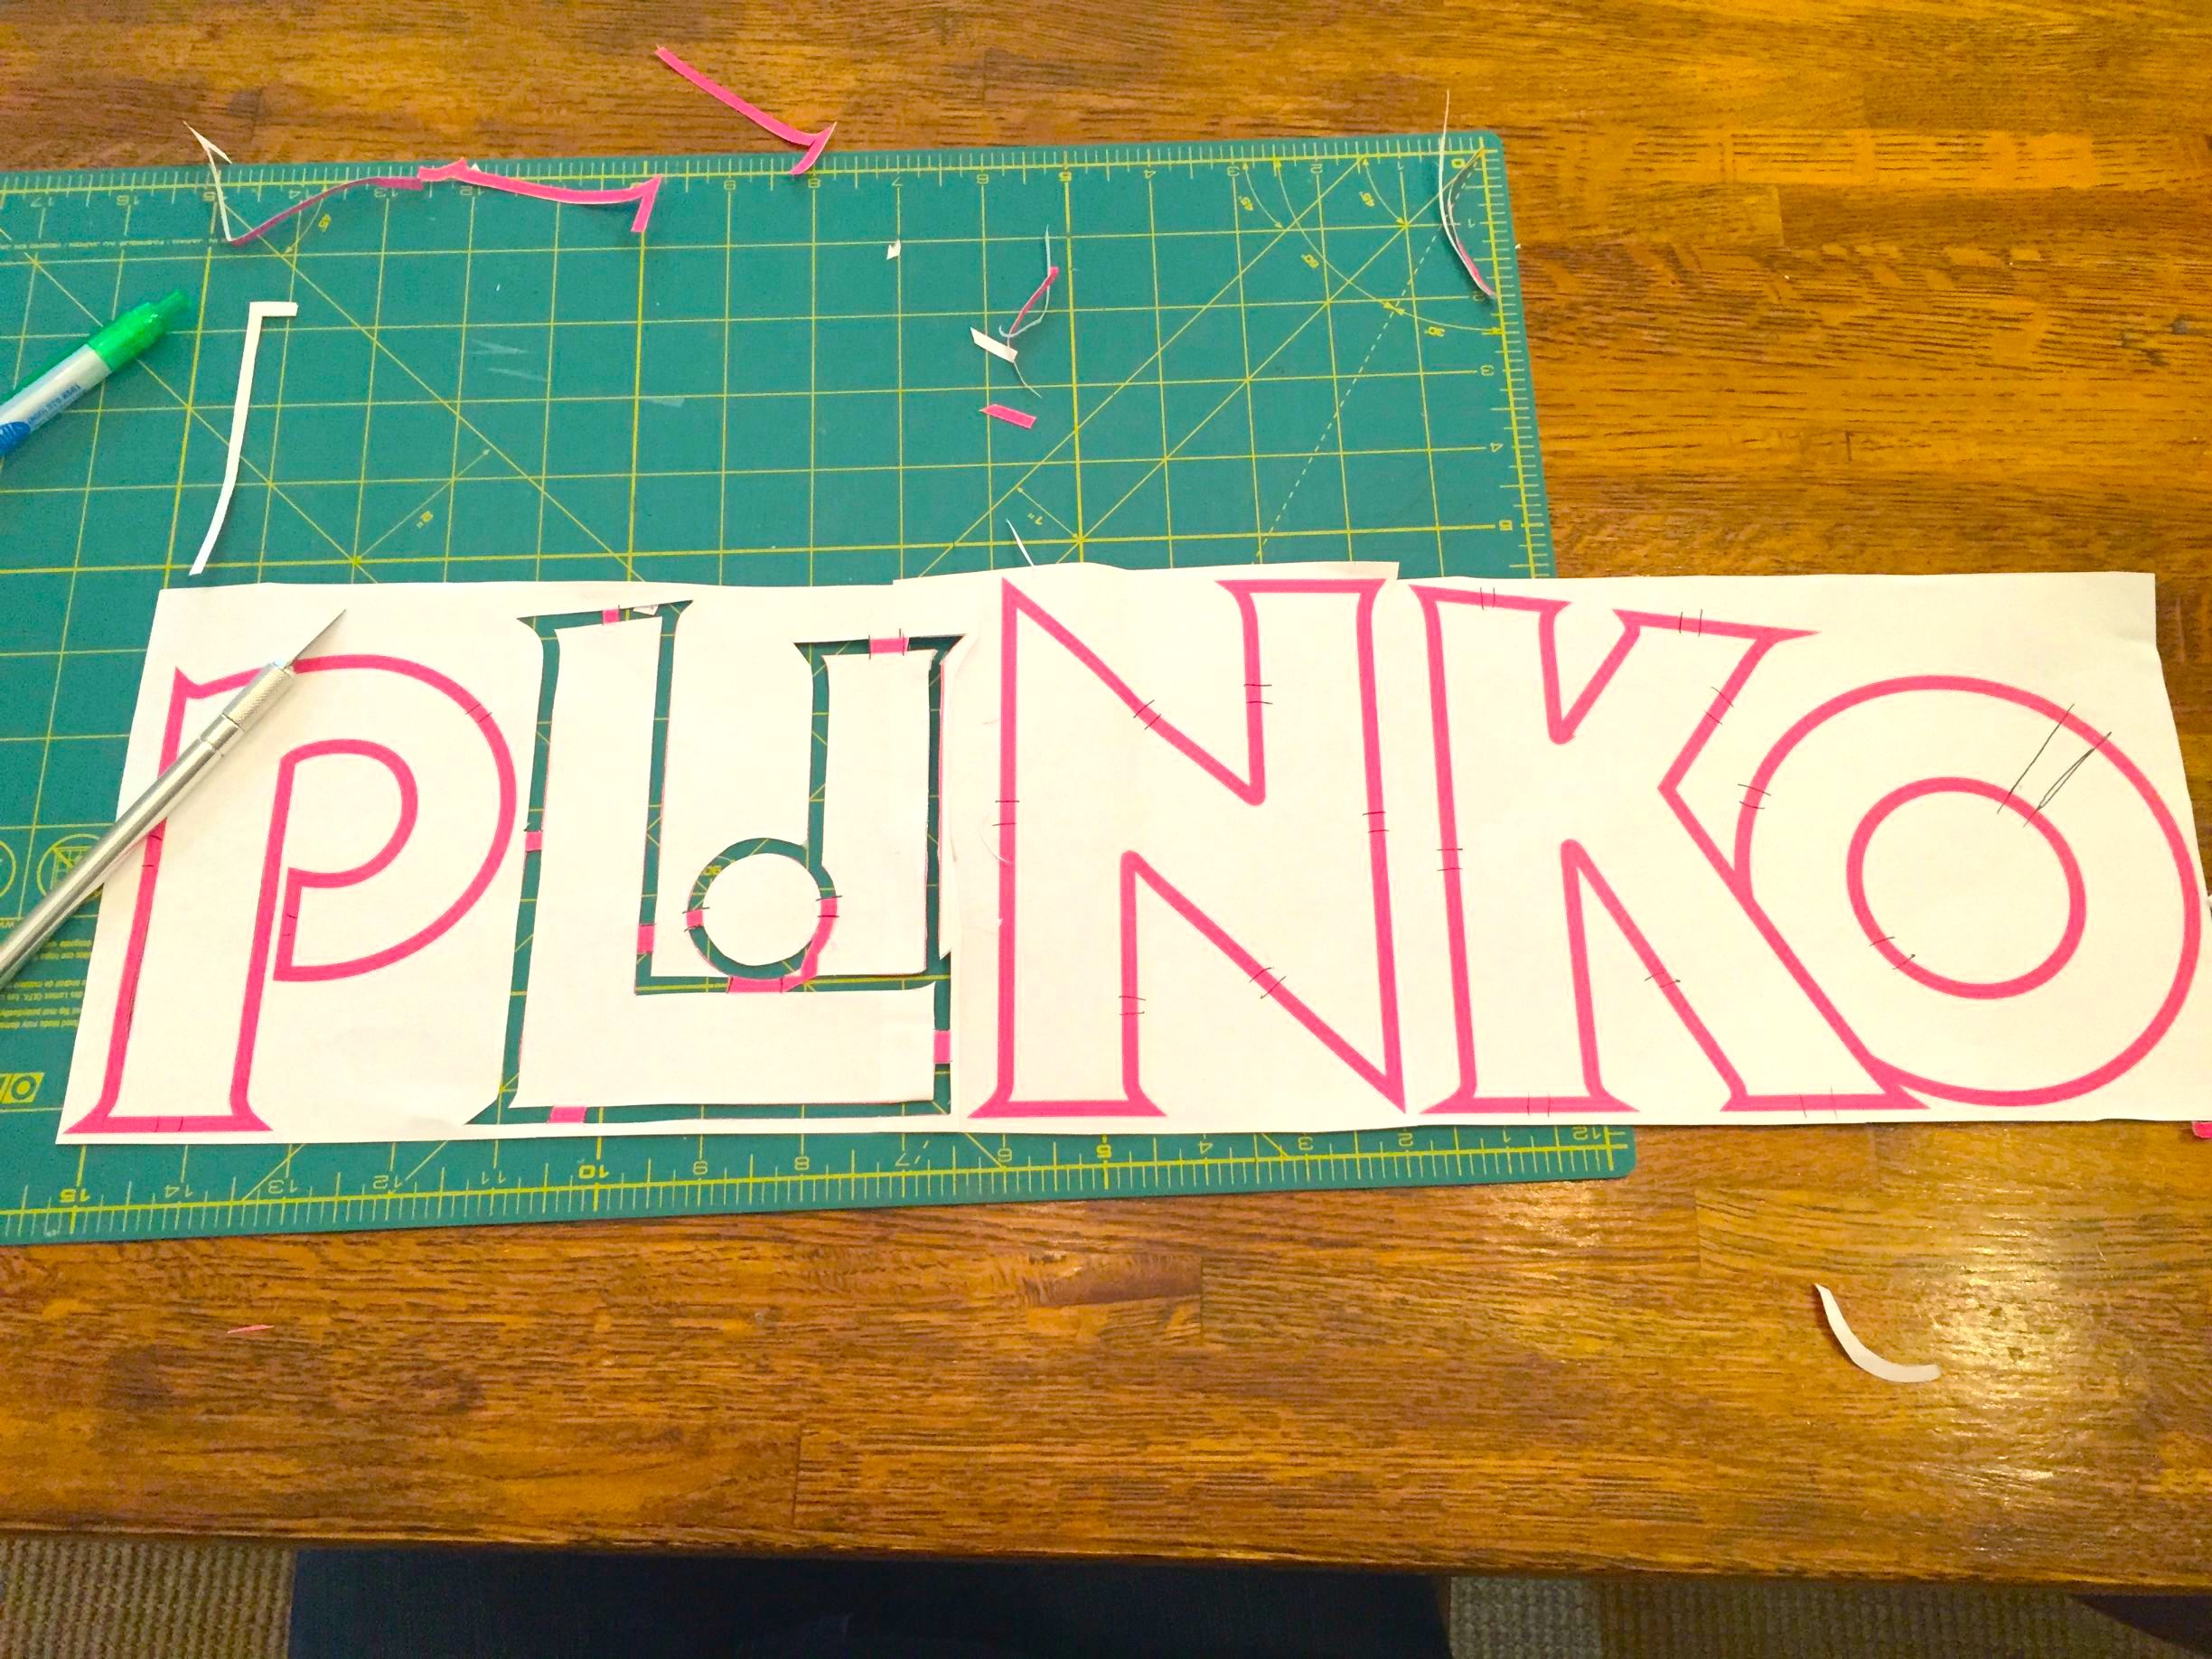
As she neared the end of her project, it was finally time to sketch out the iconic name.
As her board dried, she stayed busy painting in the letters.
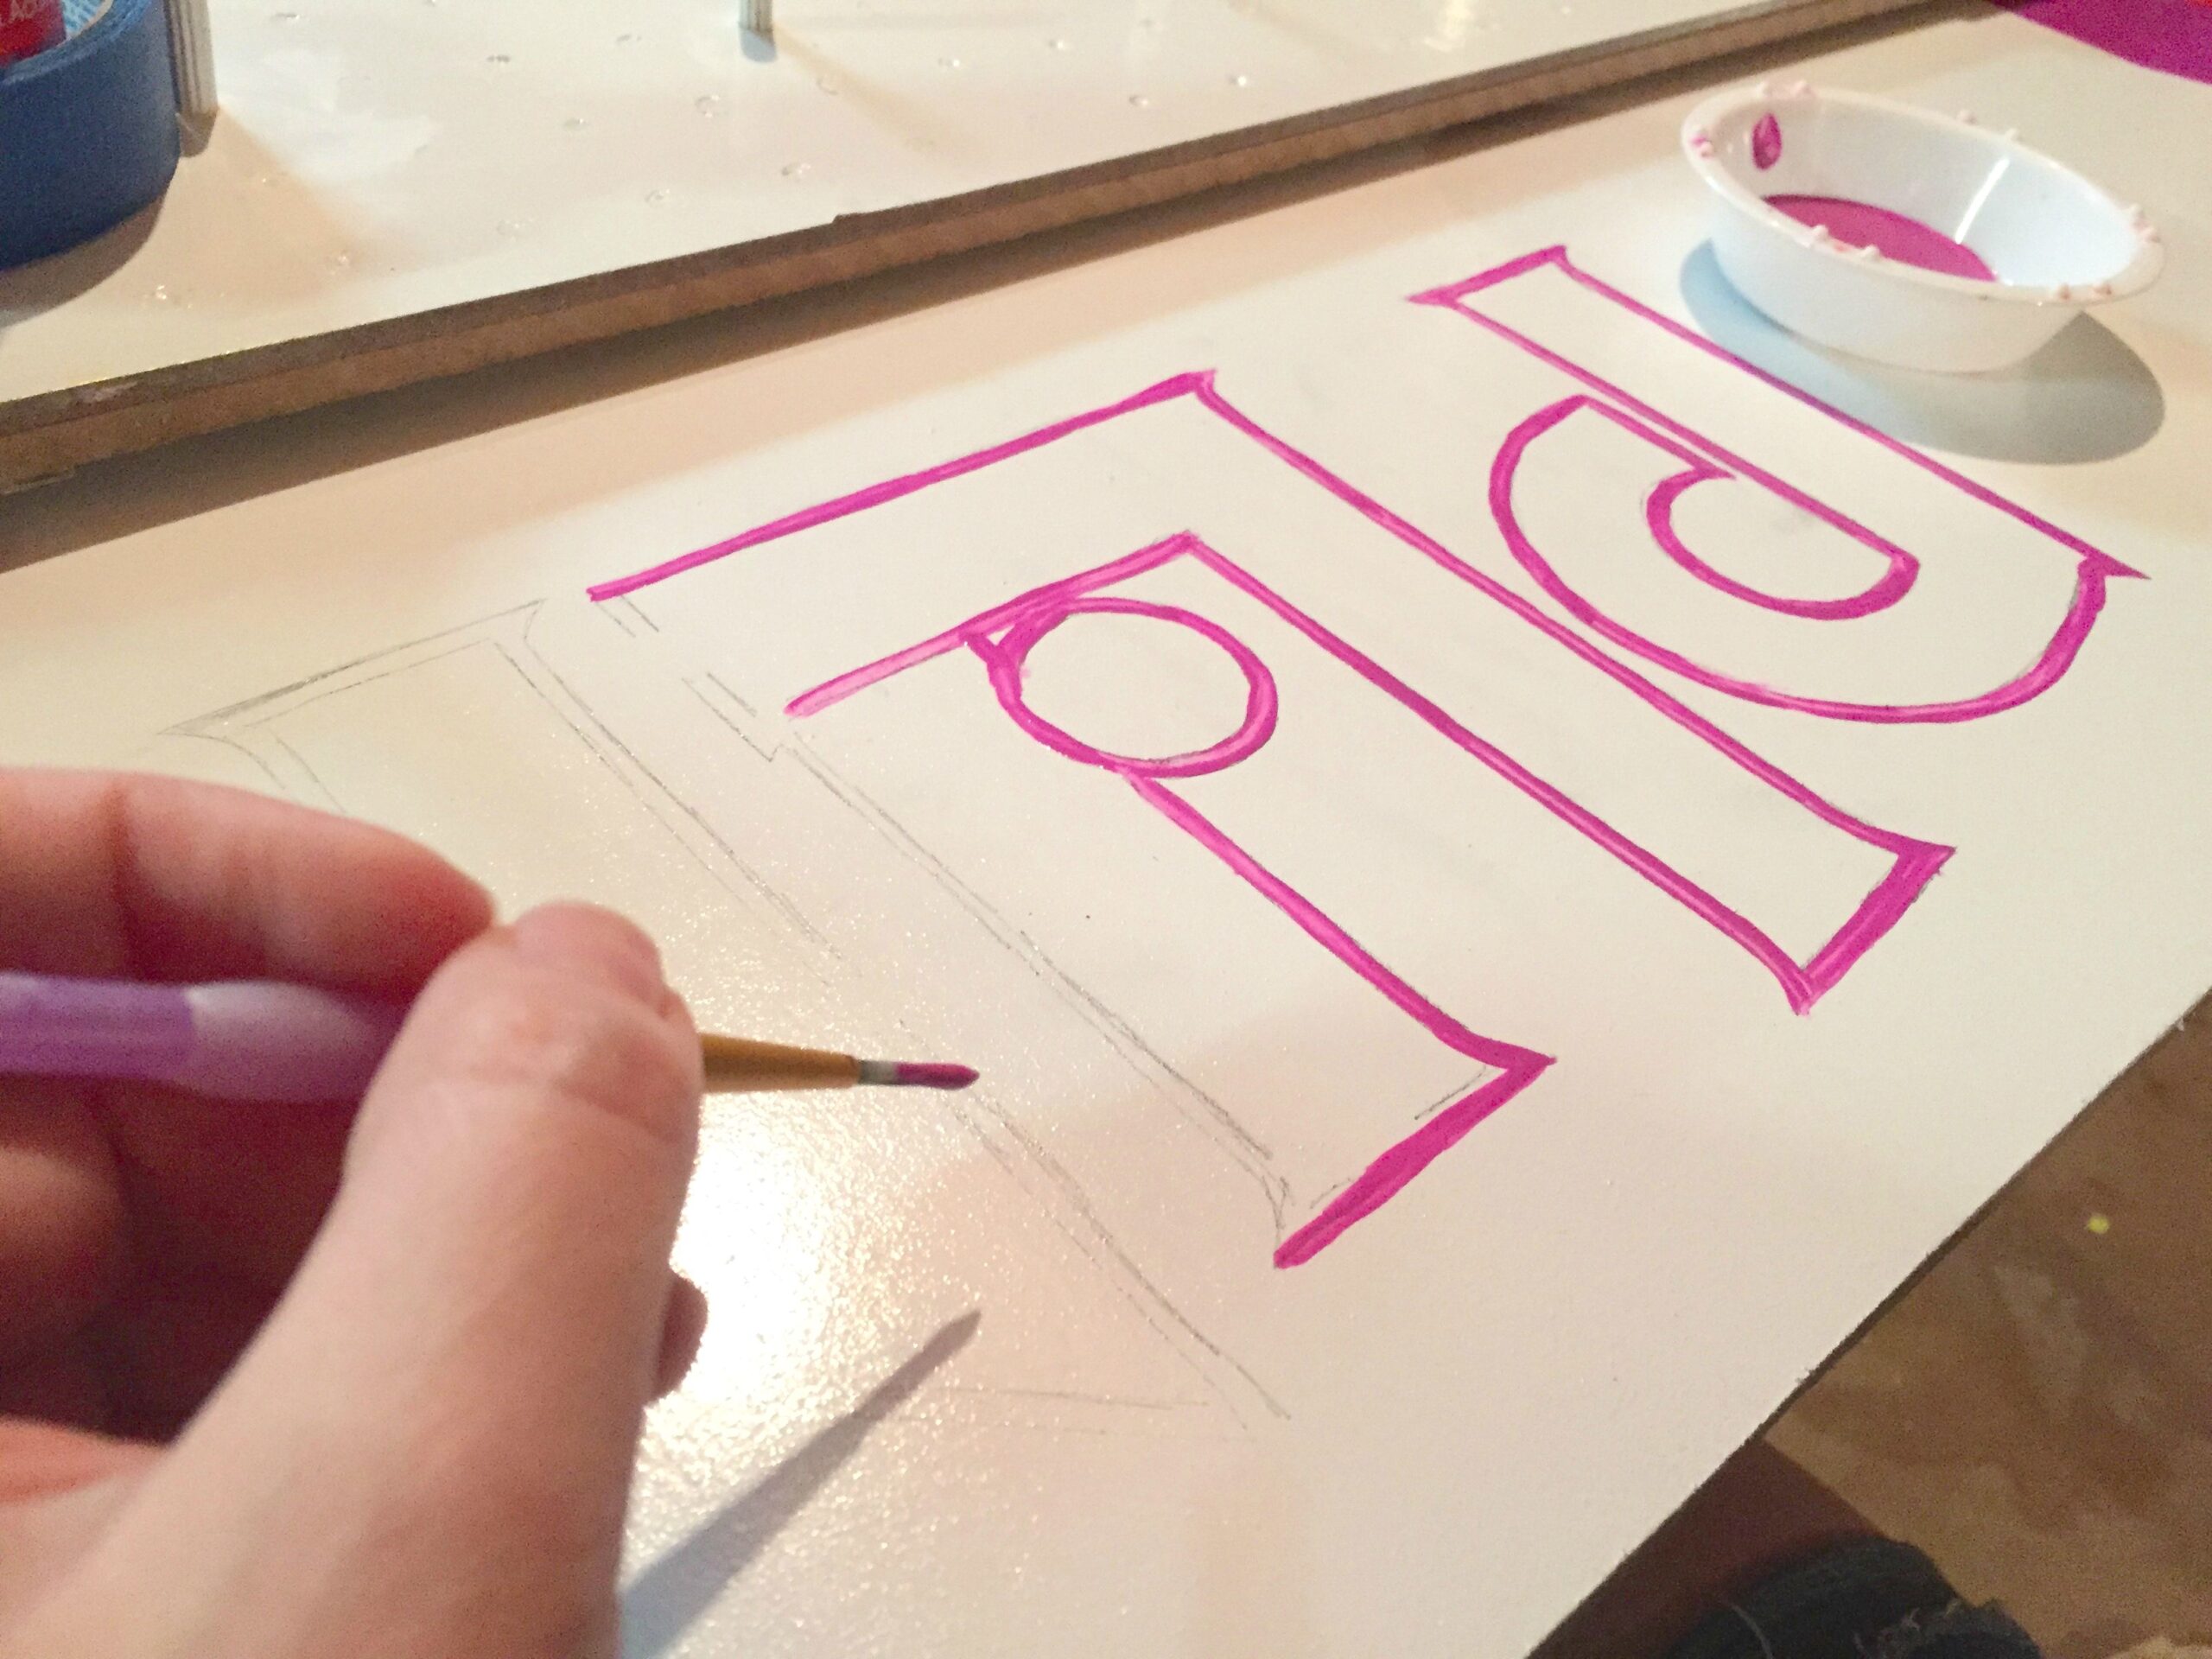
Her DIY "Plinko" was almost there!
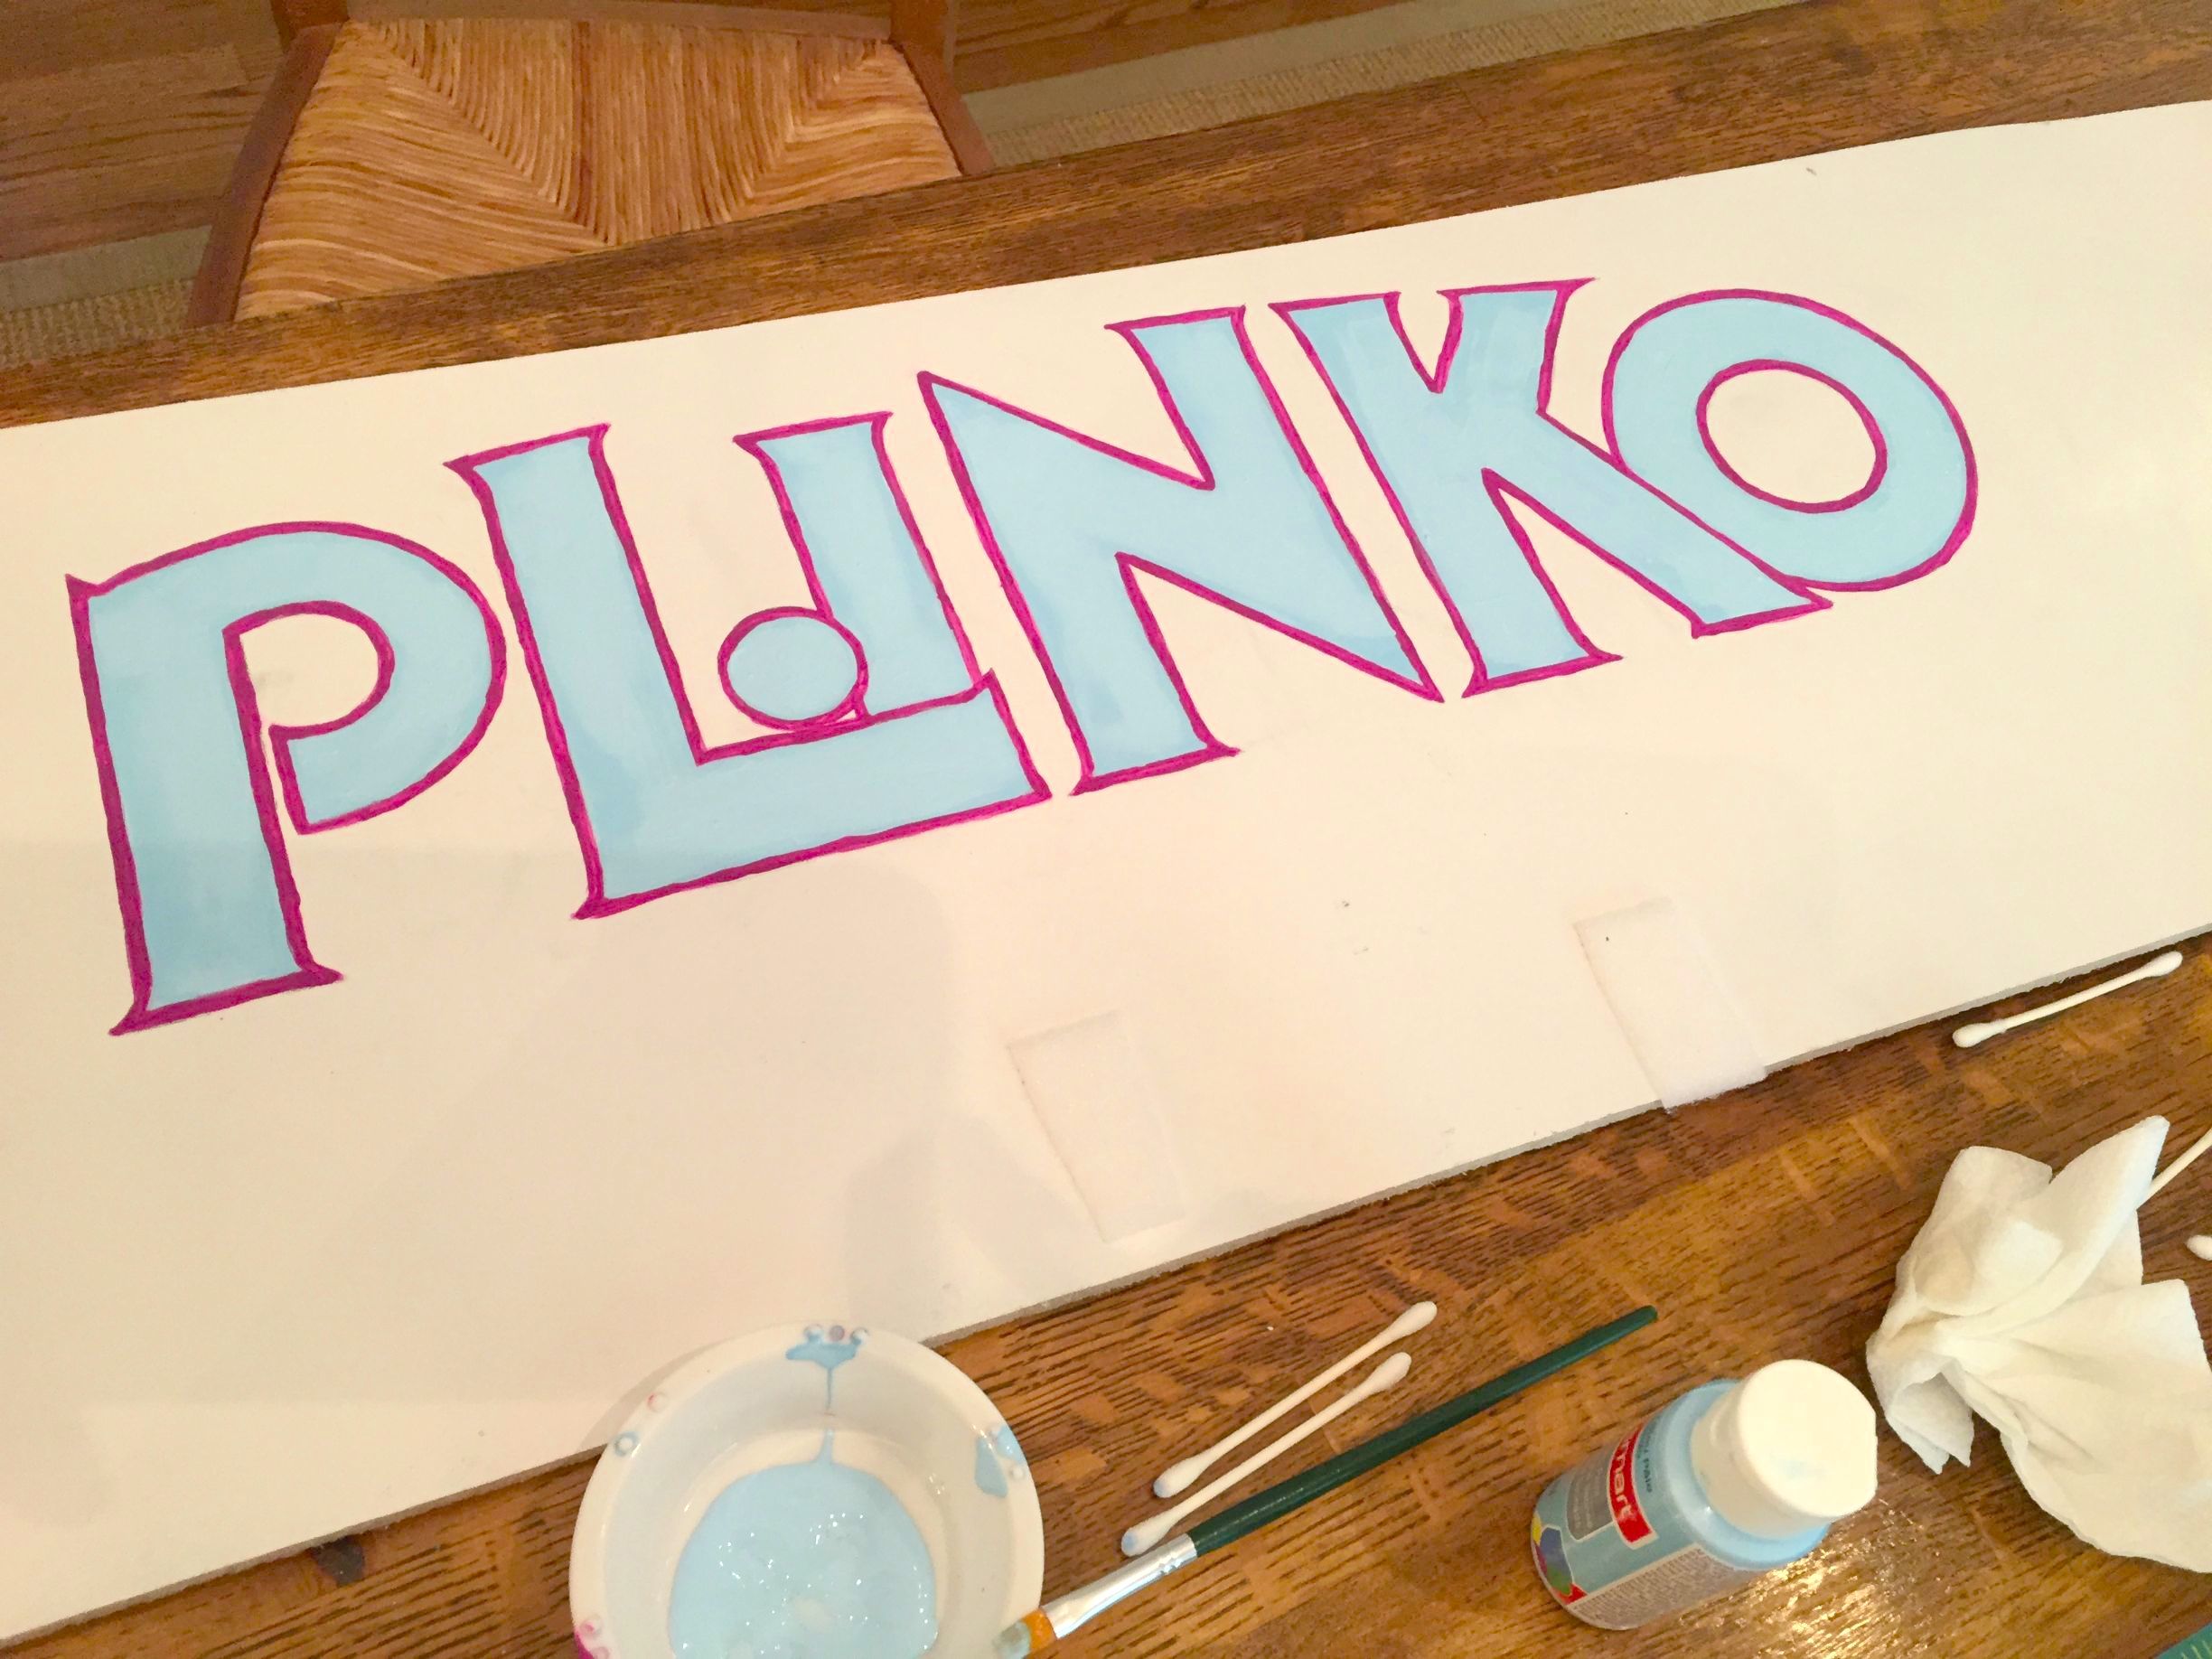
Finally, she gave her board one last coat of glossy enamel.
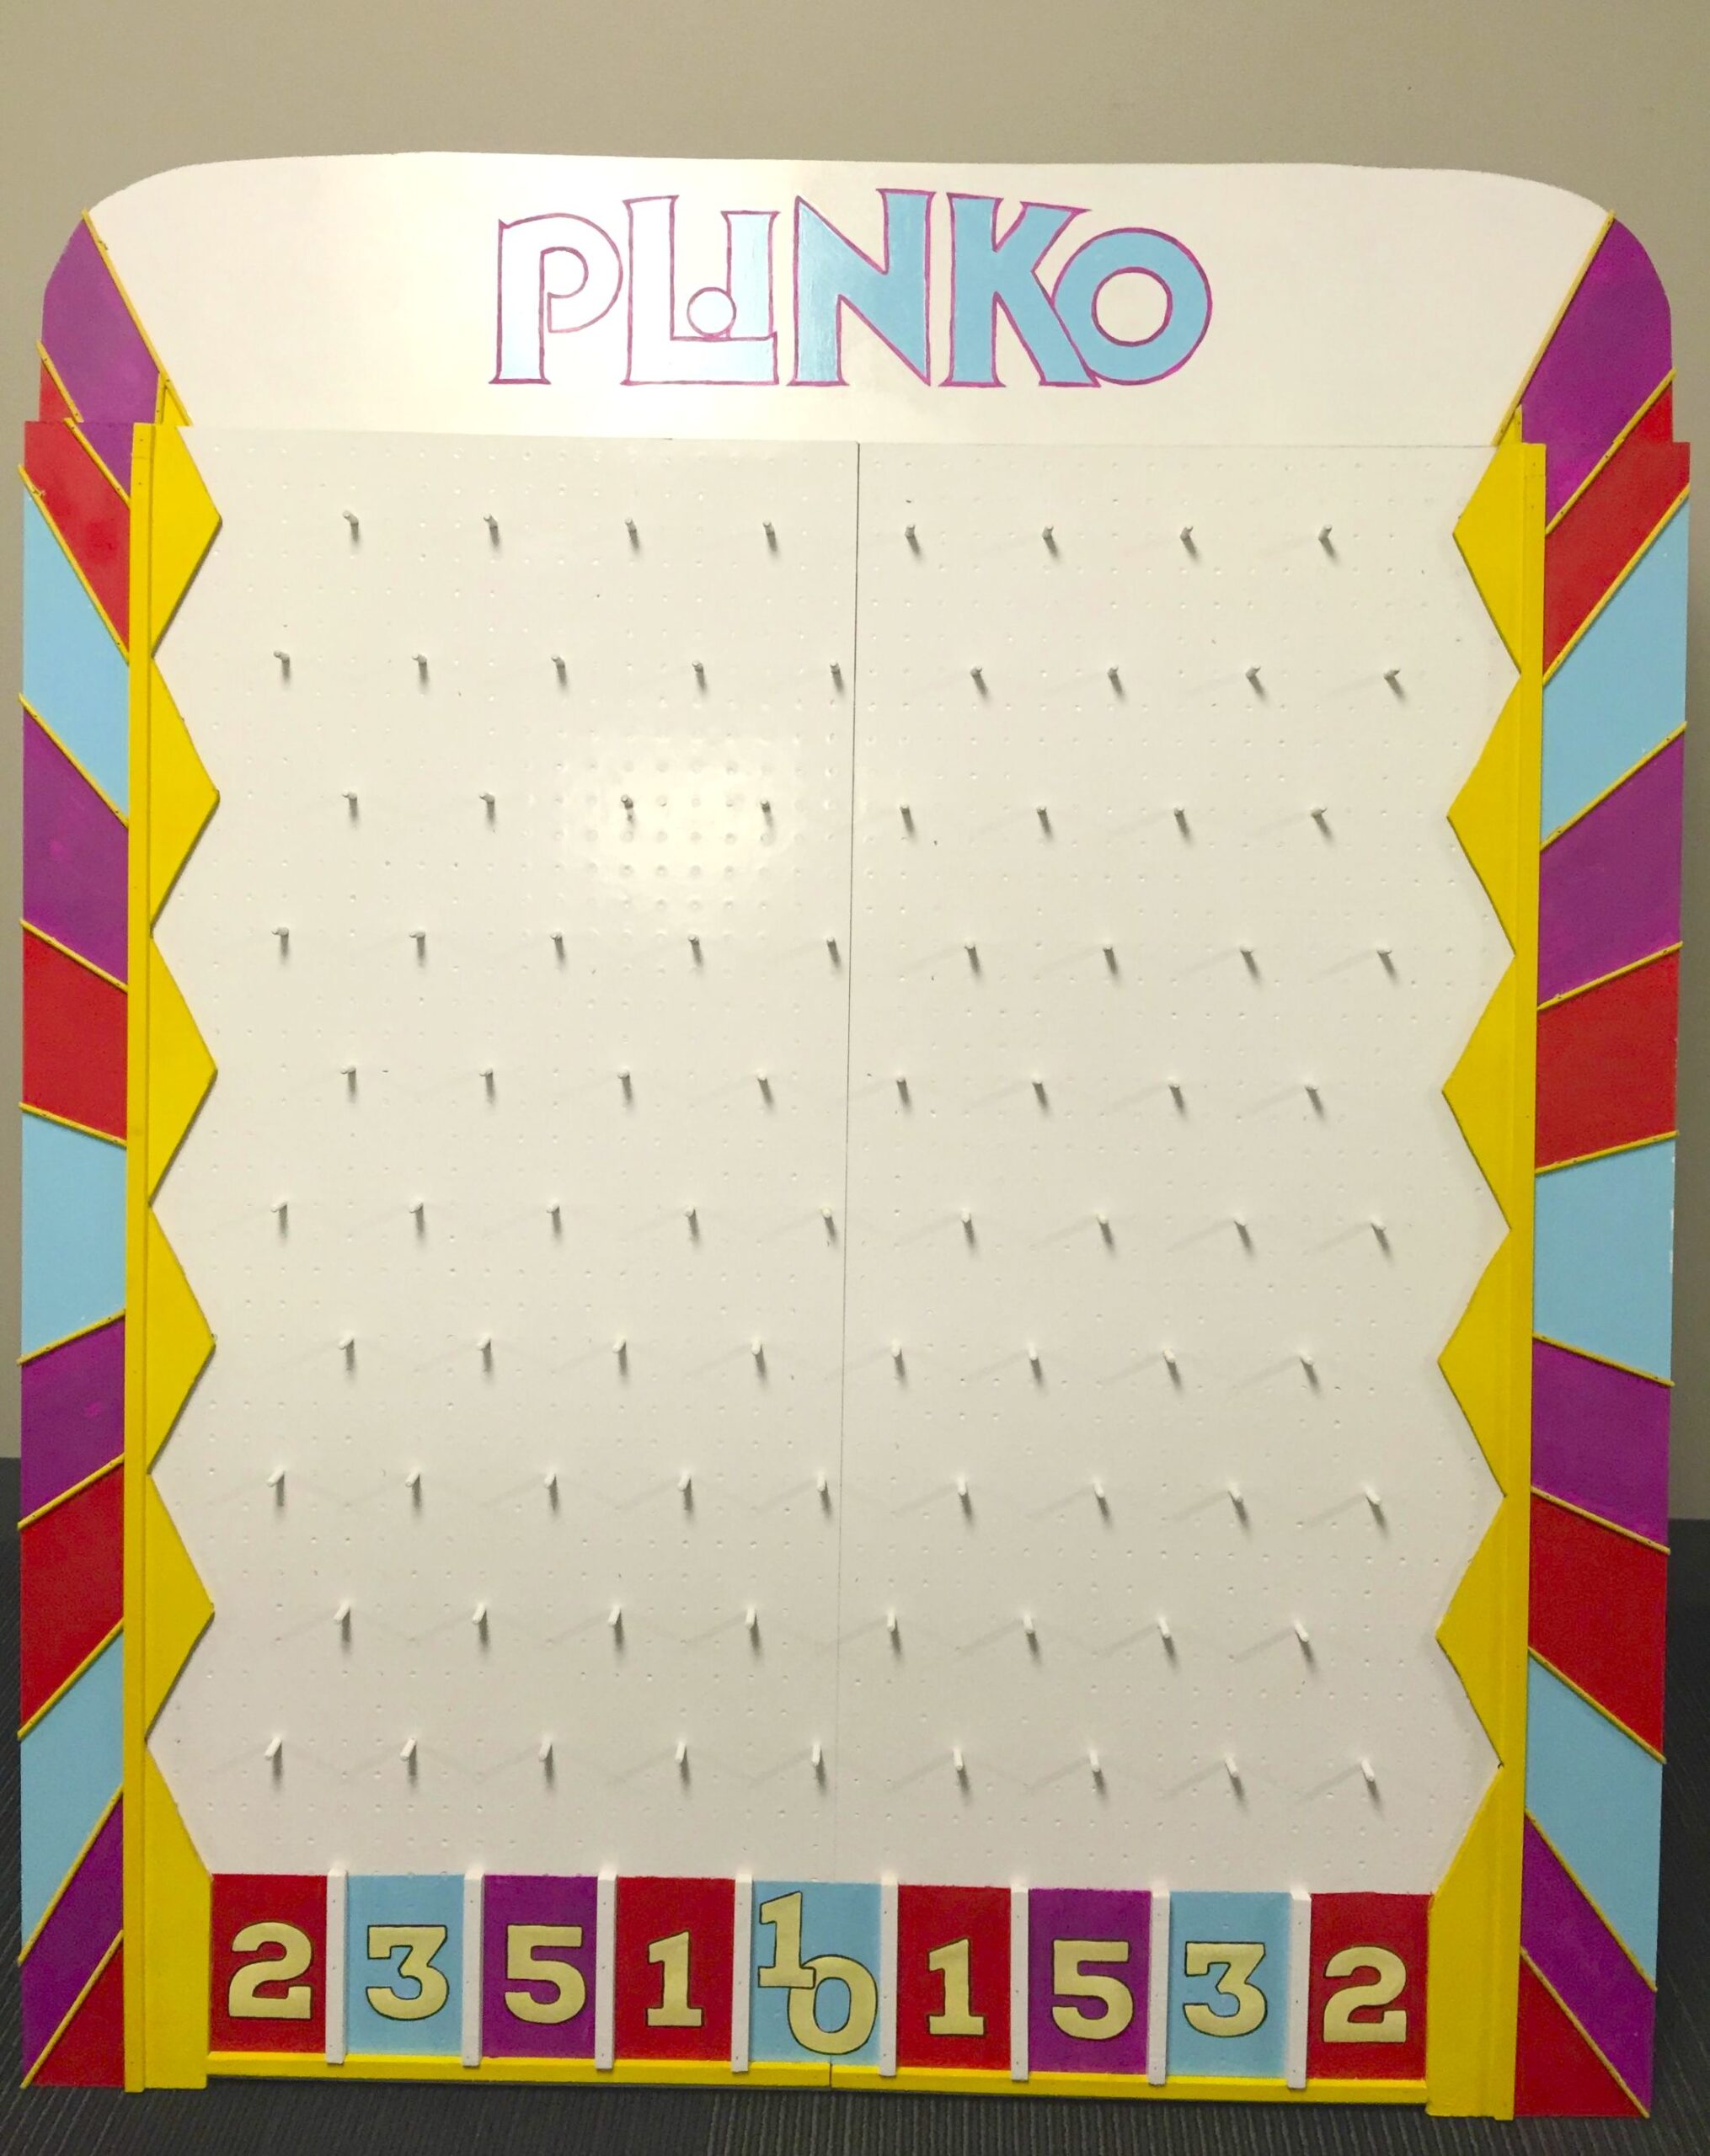
And voila! After painting in the numbers at the bottom, her beautiful, handmade "Plinko" board was complete!
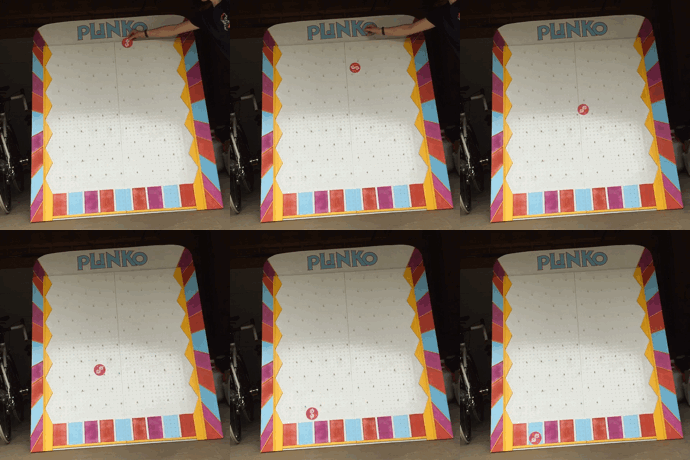
She tested it out to be sure it works — and it was perfect!
What do you think of this homemade game? Let us know below!
Be sure to watch the great "Plinko" video below — and please SHARE!


