One of my favorite activities is gathering friends together for a group DIY project.
Building something from scratch can be an enormously rewarding experience. But building something with friends is all the more special. I've tackled backyard decks and fire pits with the help of others. But when I saw the size and scope of the group DIY project these folks tackled, I knew I had never tried anything like it. And the result truly is spectacular.
This challenging and impressive DIY undertaking was designed to connect two areas of one man's property that were separated by a large pond. They built a beautiful wooden suspension bridge that puts any of my DIY projects to shame. What a great idea for a group build. I may just have to add it to my list of future undertakings as well!
Do you find this beautiful bridge as impressive as I do? Let us know in the comments.
Please SHARE if you love incredible DIY undertakings like this!
This DIY wooden suspension bridge was a massive undertaking. The finished product would stretch 76 feet across a wide portion of the property owner's pond.
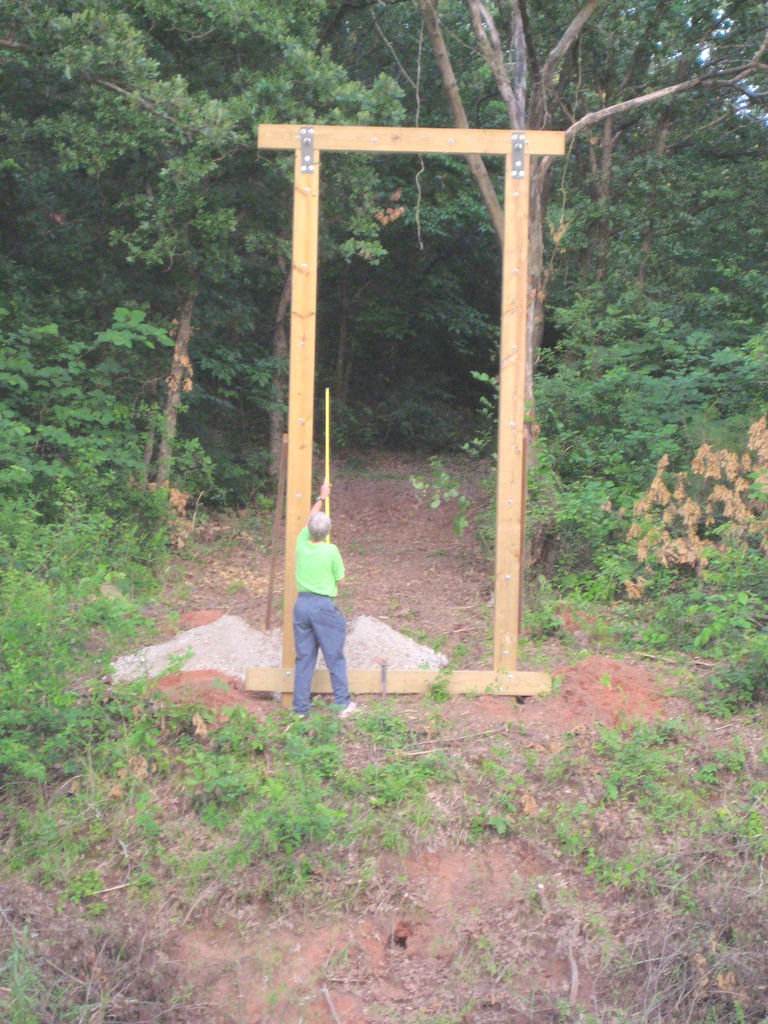
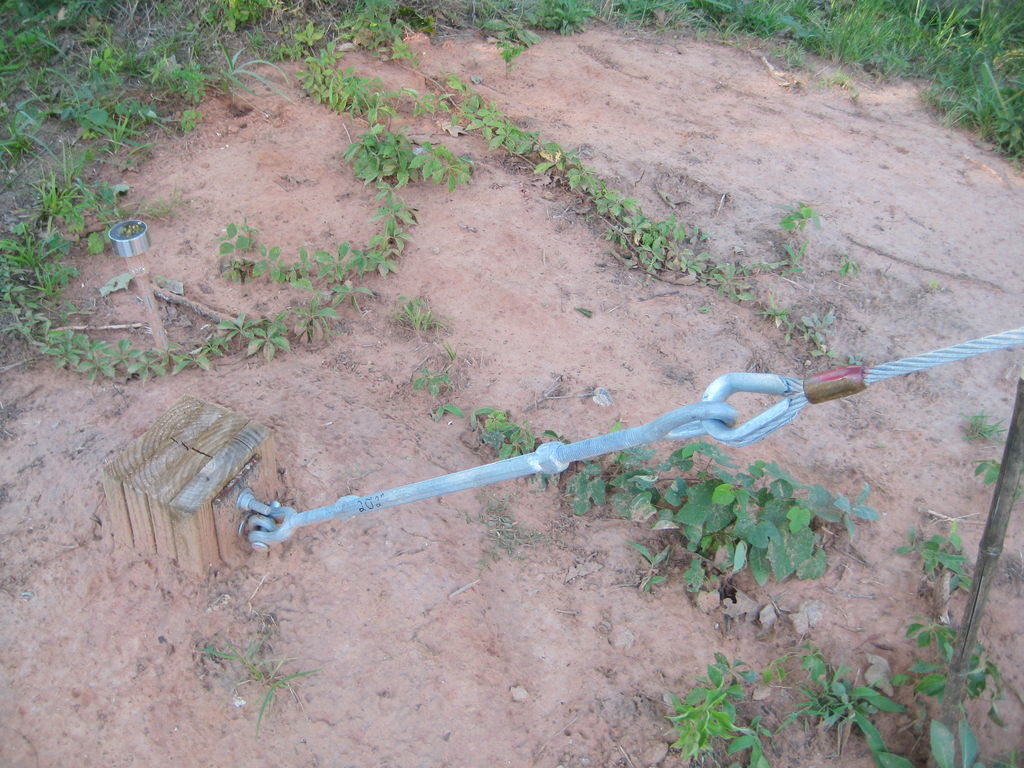
The majority of the bridge was constructed from treated lumber and galvanized wire rope. They started by anchoring the main towers on each side of the pond.
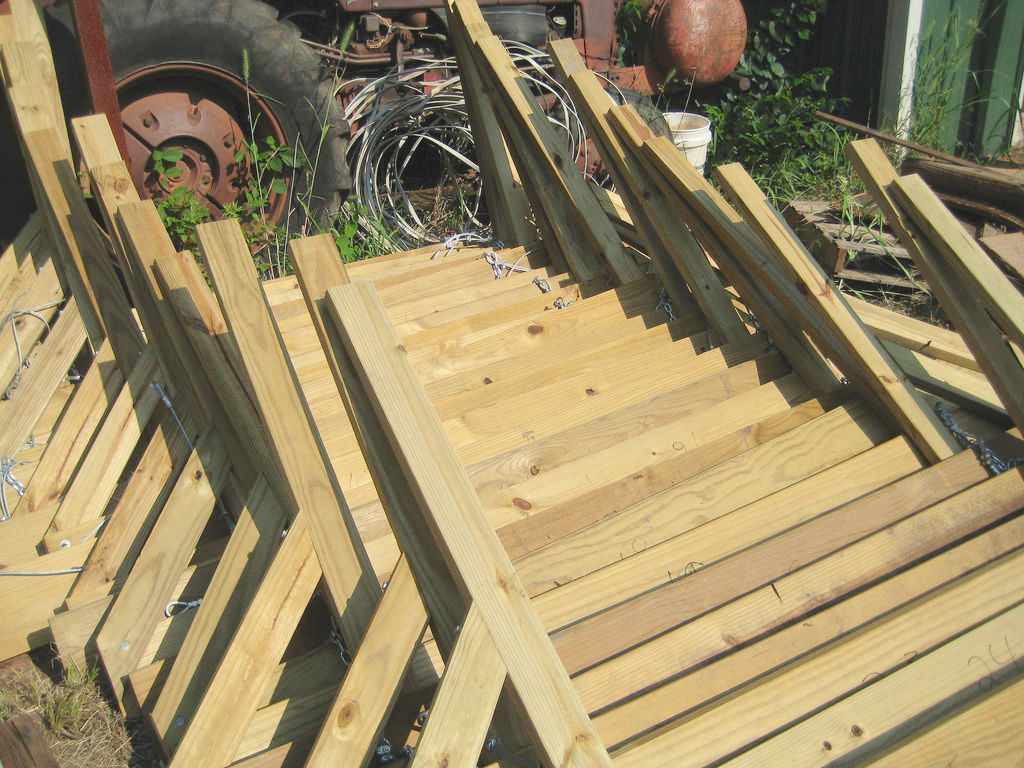
They built 37 joists to stretch across the length of their bridge.
The joists were assembled in five sections, transported on a truck, and floated in the pond to their final position.
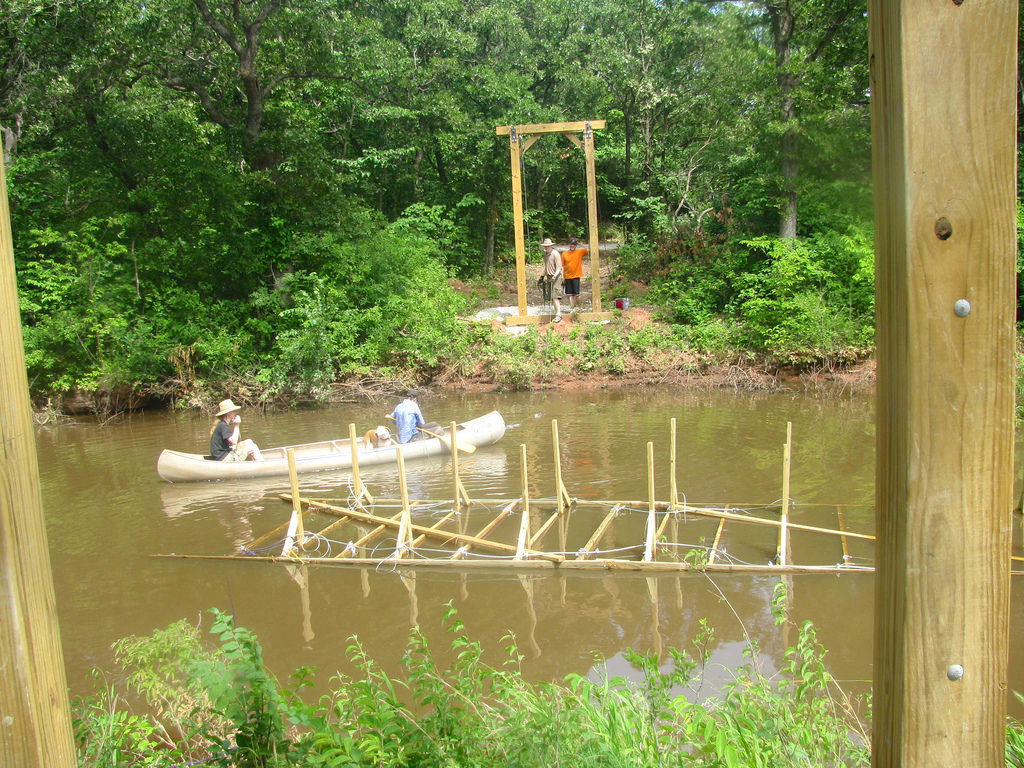
Floating the sections to the site proved key in easily assembling the bridge properly. Cables were attached to the bridge sections.
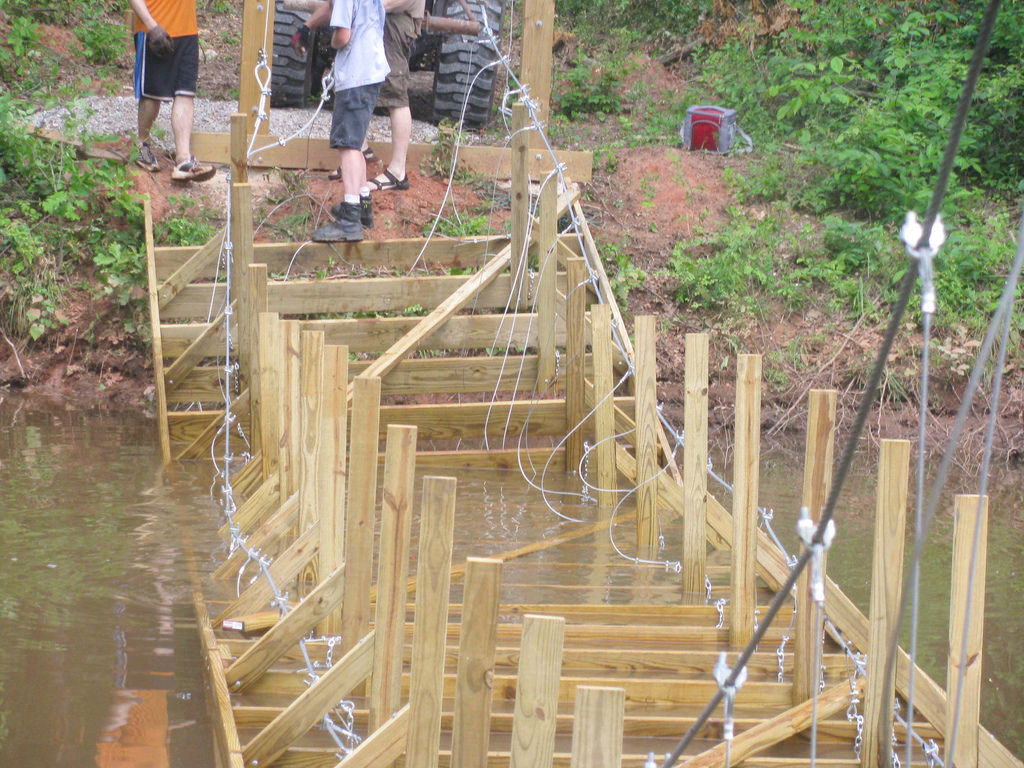
They then hoisted the bridge out of the water.
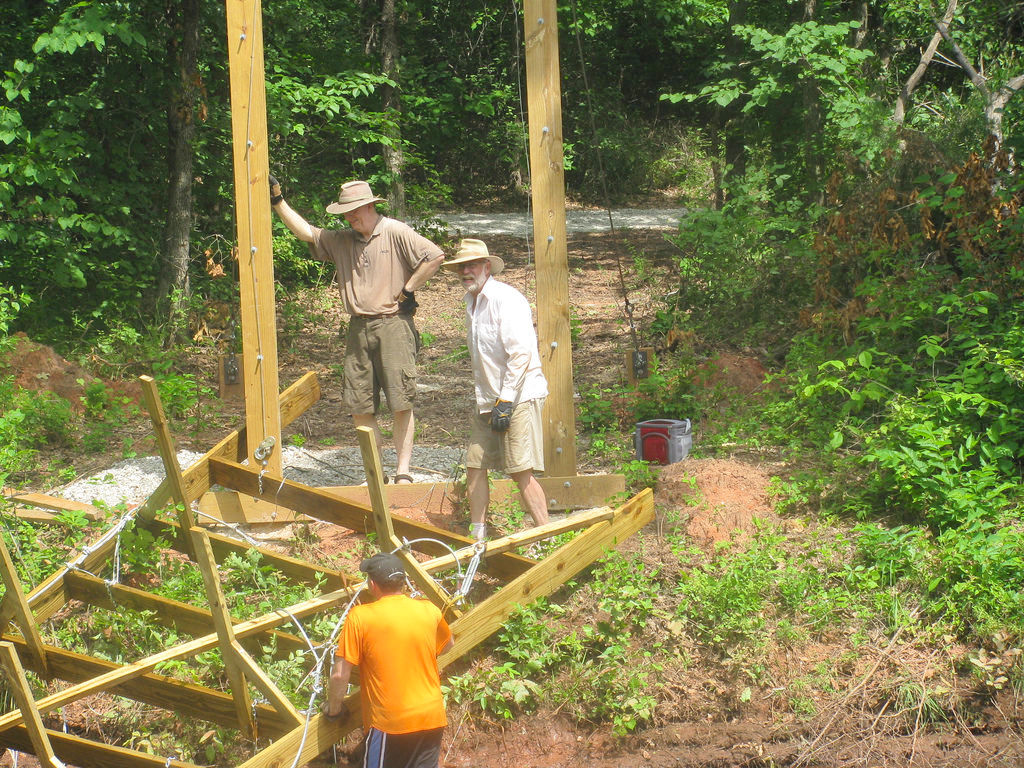
Once the suspension bridge was in the air, the deck still needed to be built.
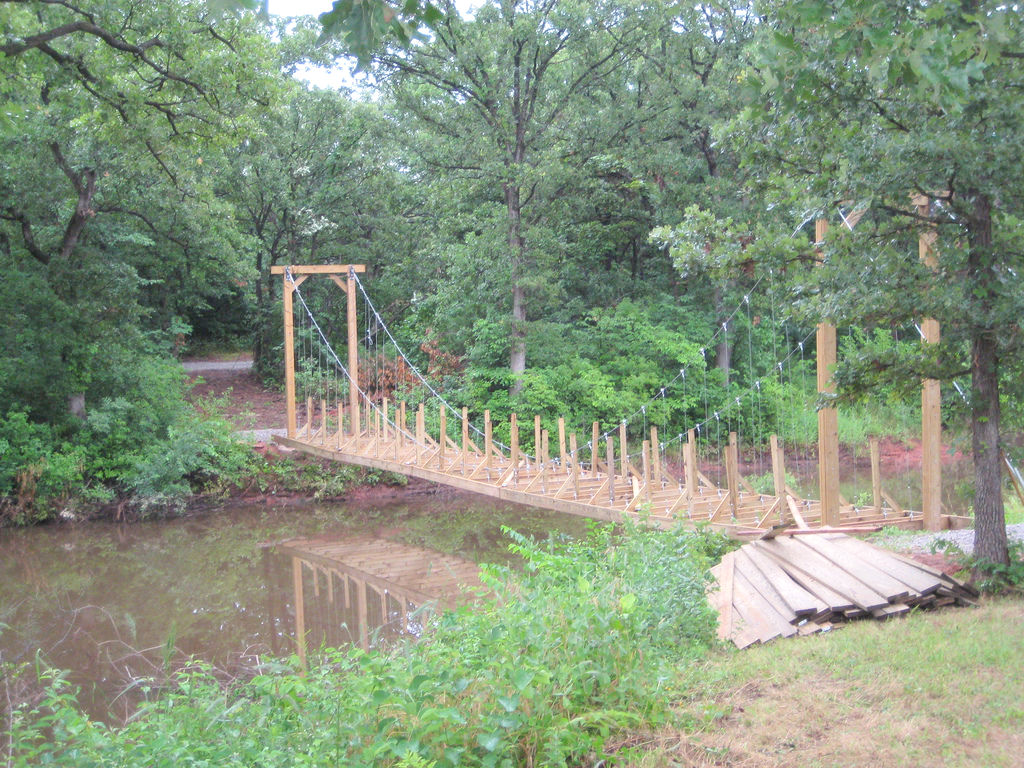
They installed the walkway as well as a secure handrail system.
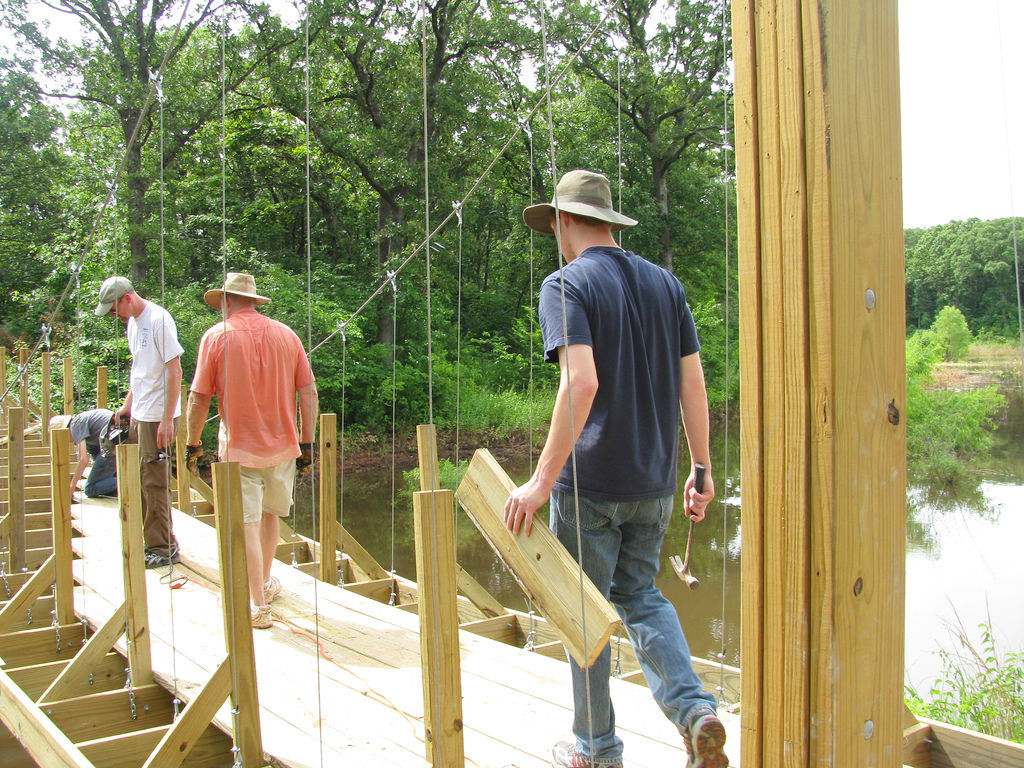
The result was an absolutely stunning and secure bridge!
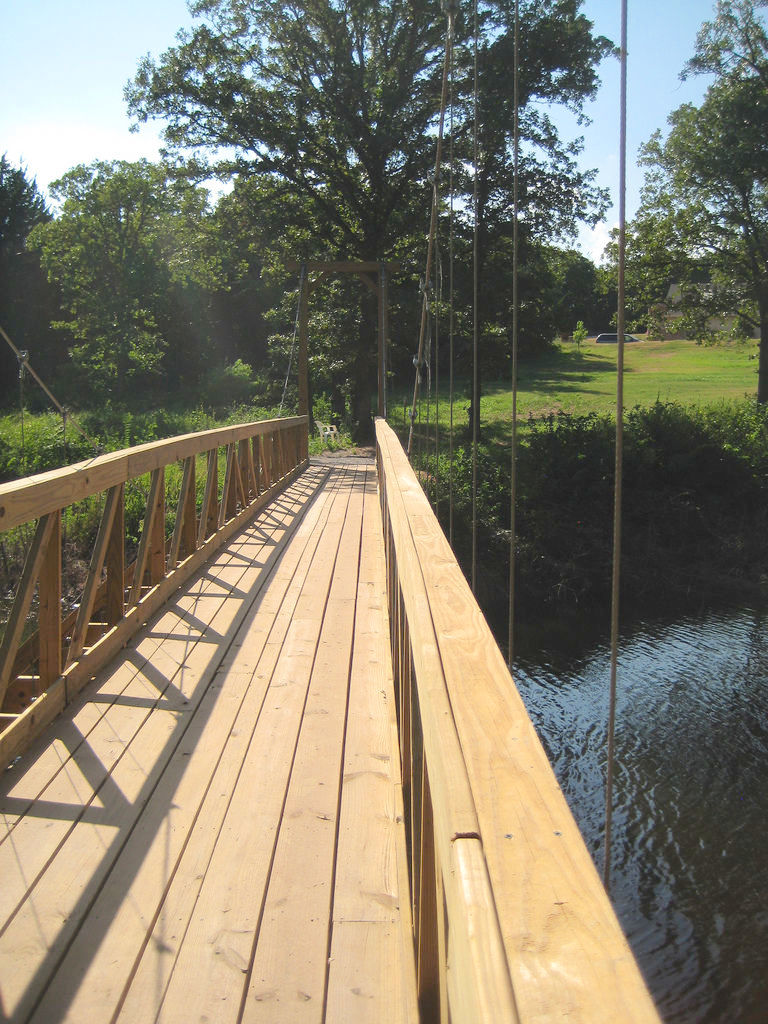
The entire process took several hundred hours of work and cost around $4,000.
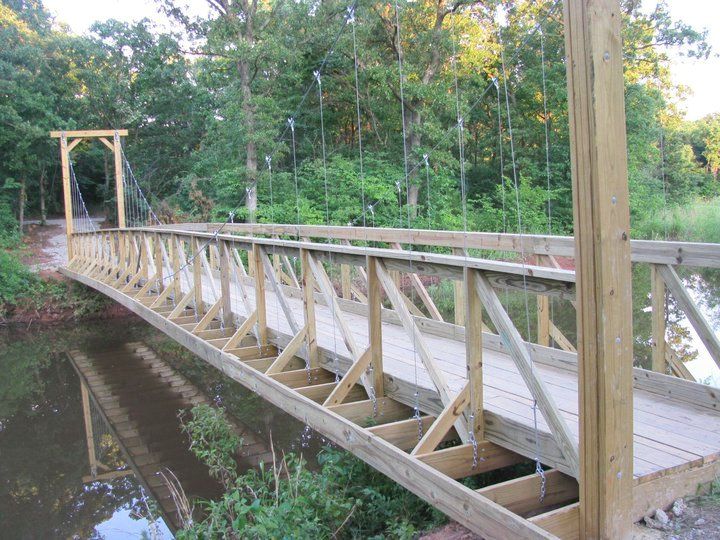
This truly is one of the most impressive DIY projects to date!
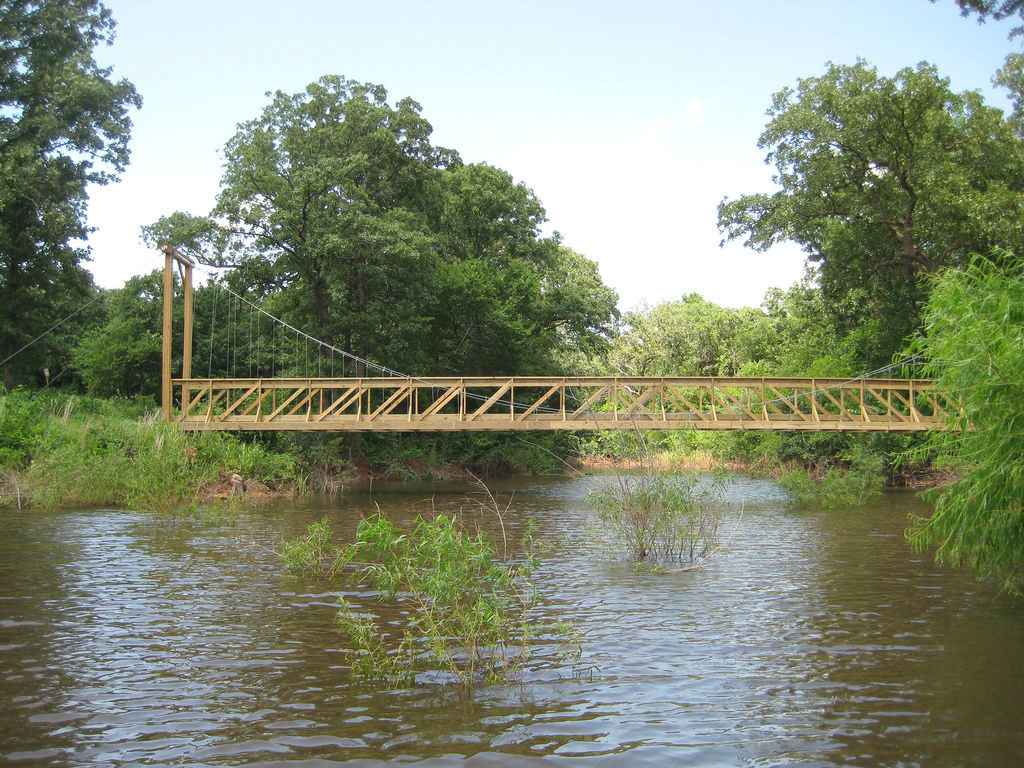
Please SHARE if you love incredible DIY undertakings like this!


