Cheese and fruit spreads are a good idea for any reason, from holiday parties to Saturday night snacks. And they can be as simple or as elaborate as you like. They can be a combination of seemingly endless exotic fruits and expensive aged cheeses, or they can be a mix of whatever you have leftover in the fridge. They can also be totally vegan if you opt for dairy-free cheeses, which come in all kinds of varieties these days. Frankly, all cheese and fruit spreads sound great to me!
I had recently put together a fall-themed charcuterie board and loved the final result, which was both beautiful and tasty, so I decided that something along the same lines would be wonderful for the holidays. However, I didn’t want to make another board that merely had a different theme. Instead, I was hoping to find something unique and interesting that would put me in the festive mood.
When I spotted the fruit and cheese Christmas tree that bloggers Kevin and Amanda had posted about along with a list of Christmas cookie swap party ideas, I knew I had to give it a try while (of course) adding my own little spin on the seasonal snack.
Everything about the idea appealed to me. I can’t resist nibble-worthy cubes of cheese, and grapes are the perfect fresh partner for the creamy dairy bites. And the fact that the spread is laid out in an adorably seasonal shape just made this delicious design an ideal option for holiday parties or those nights when you’re binge-watching endless sappy Christmas movies that all wrap up with heartwarming happily-ever-afters.
With my mouth watering and a short shopping list in hand, I took a trip to the store to pick up everything I’d need to create my own fruit and cheese Christmas tree spread.
Choosing the Fruit
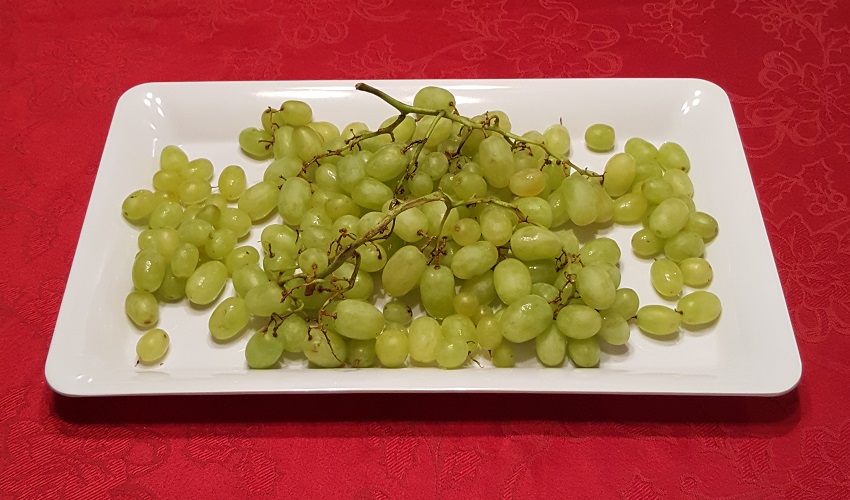
When I cruised through the fruit section at the grocery store, both green and purple (or are they red?) grapes were available. And while the design I was basing my creation on used both, I decided to stick with green grapes since I was using them to create a tree that is also, well, green.
If you’re not a fan of grapes, you could pretty much use any other fruit that suits your fancy. Apple slices would work great, as would orange sections. You could go with a selection of berries — strawberries, raspberries, blueberries, and blackberries would be lovely. Or you could mix it up and go for dragon fruit and kiwi.
Choosing the Cheese
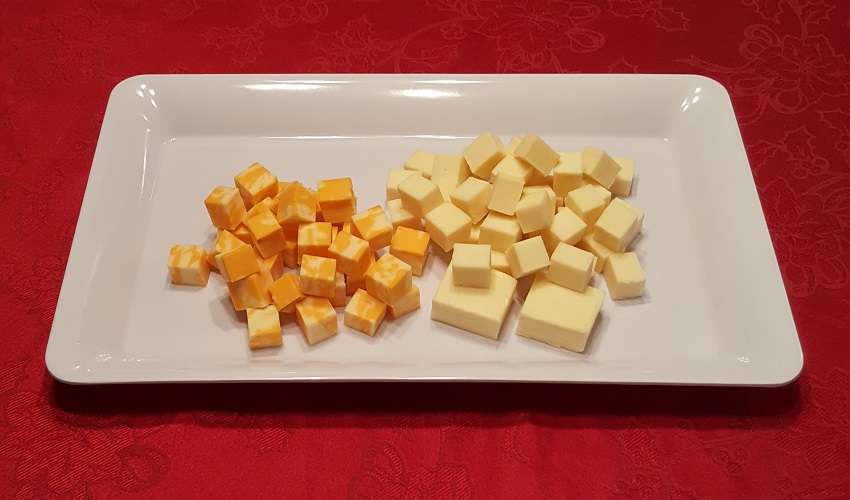
I knew I’d need quite a bit of cheese to complete my tasty tree, so I thought it was probably best to opt for something affordable. Of course, I also wanted to choose something that my family (who would be enjoying the snack) would want to eat. That’s why I picked up both marbled cheese and mozzarella.
Again, if those aren’t to your liking, you can grab anything from Havarti and Gouda to Brie and blue cheese.
The only thing I needed to do to prepare the cheese was to cut it into cubes that were all the same size. I also left a few larger pieces of mozzarella for a little something extra I wanted to add at the end (more on that later).
Other Items
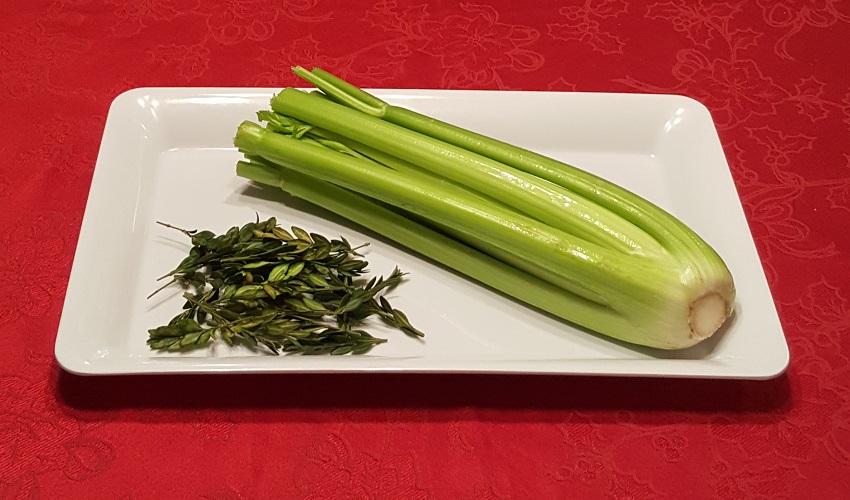
Although the fruit and cheese would be the stars of this setup, there were a few other items I needed to put together the perfect spread. First, I picked up celery (find out why below), and while the blog post I was referencing used fresh thyme sprigs to add some tree-like touches, I decided to snip a few adorable branches off the hedge in my front lawn (giving them a good wash before adding them to my spread).
A Proper Base
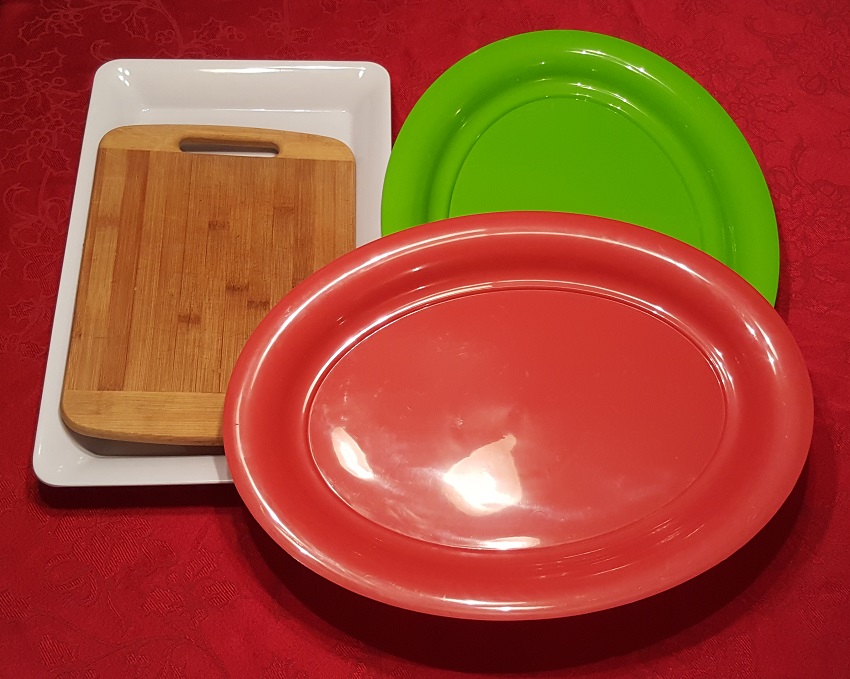
I had a few options when it came to choosing a base. I had a small cutting board and a white rectangular platter, as well as red and green oval ones. I didn’t think the cutting board would give me enough room to create my spread, and the same went for the white platter. I also wasn’t sure that the color of the fruit would show up against the green platter, so I opted for the red one.
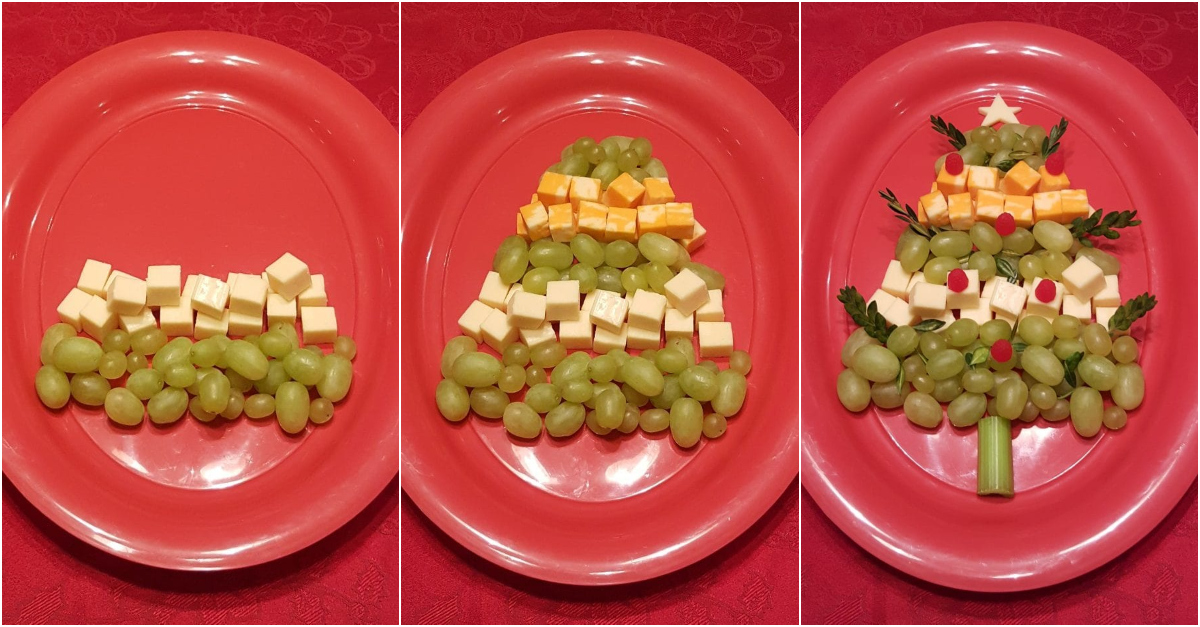
Bottom Layer: Grapes
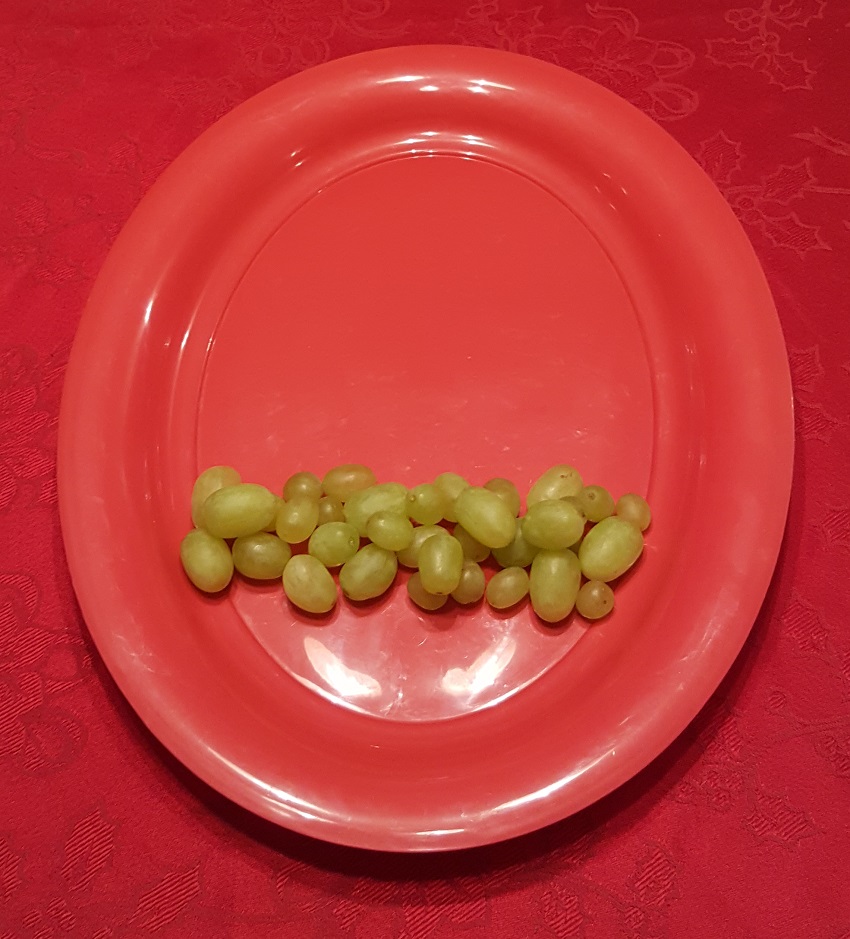
The first layer would make up the bottom of the tree. I left a little space at the edge of the platter (more on why I did that below) and started with grapes so that they would end up being the bottom, middle, and top layers. This meant that the majority of the tree would be made up of grapes, resulting in plenty of green to add to the effect.
I used both large grapes and smaller ones to make sure that I completely filled up the space. It was a bit of a challenge to keep them from rolling everywhere, but I eventually managed to keep each grape in place.
Second Layer: Mozzarella Cheese
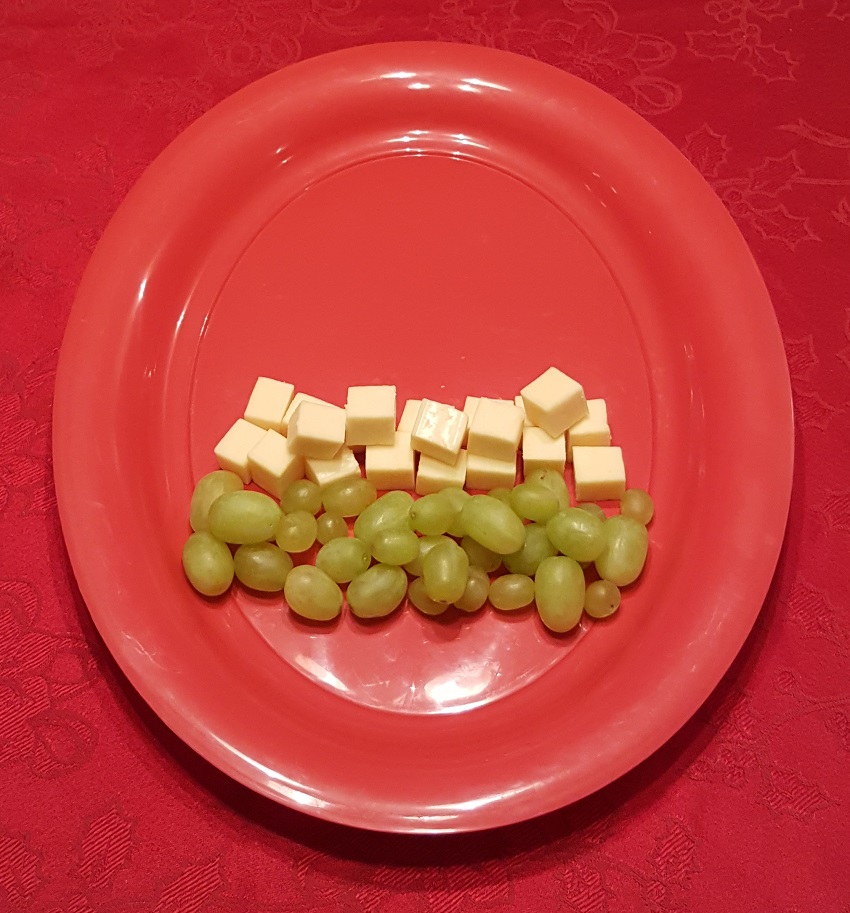
For the second layer, I used cubes of mozzarella cheese. I kept the line the same thickness as the layer of grapes but made sure to narrow it a little on either side so that my tree would end up with the proper triangular shape.
Third Layer: Grapes
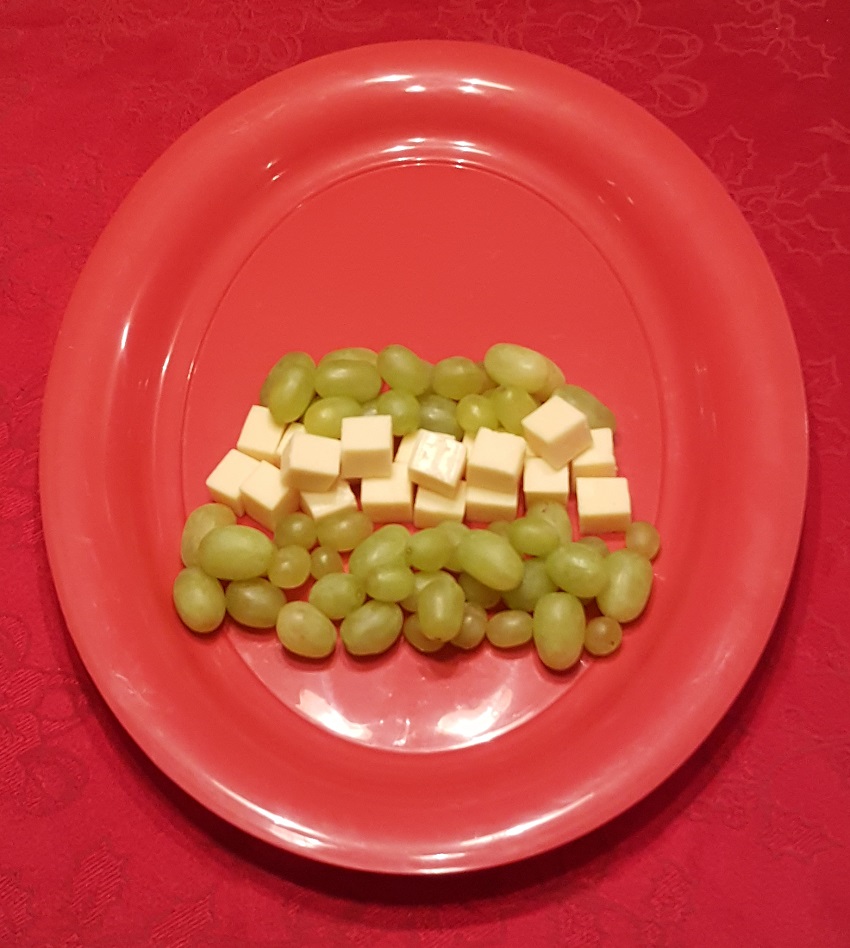
The third layer was made up of more grapes. Again, I made sure that this line was slightly more narrow than the one below. It was a little easier to keep the grapes in place now that the cheese was there for support.
Fourth Layer: Marbled Cheese
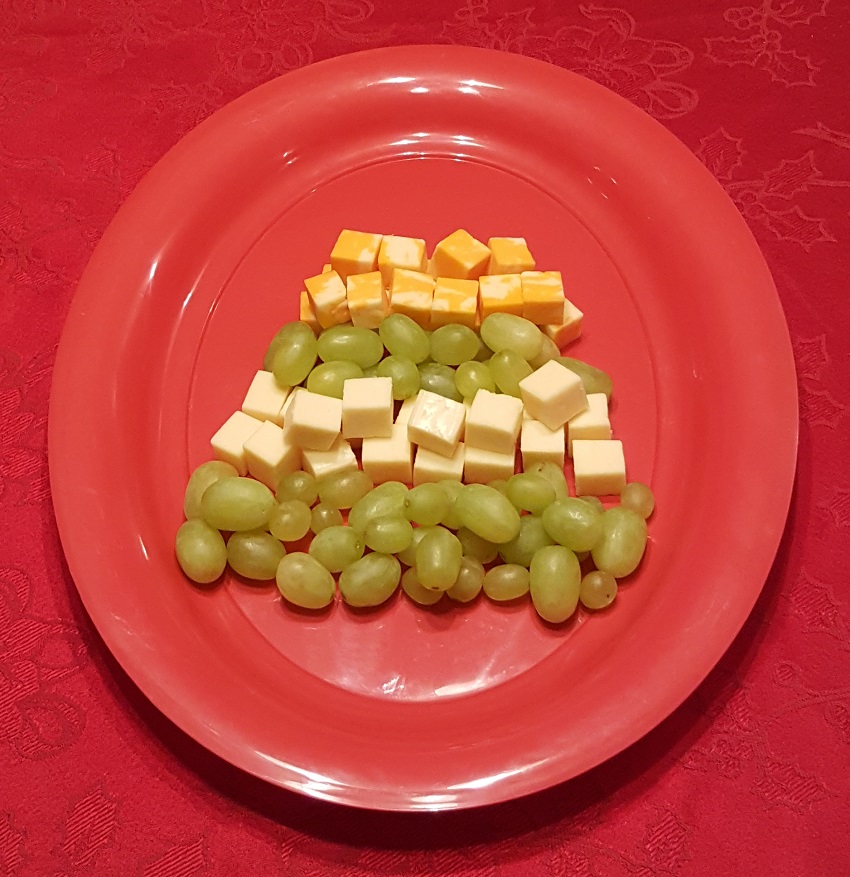
For the fourth layer, I went back to the cheese. However, this time, I went with the marbled. By this point, my tree was really starting to take shape.
Top Layer: Grapes
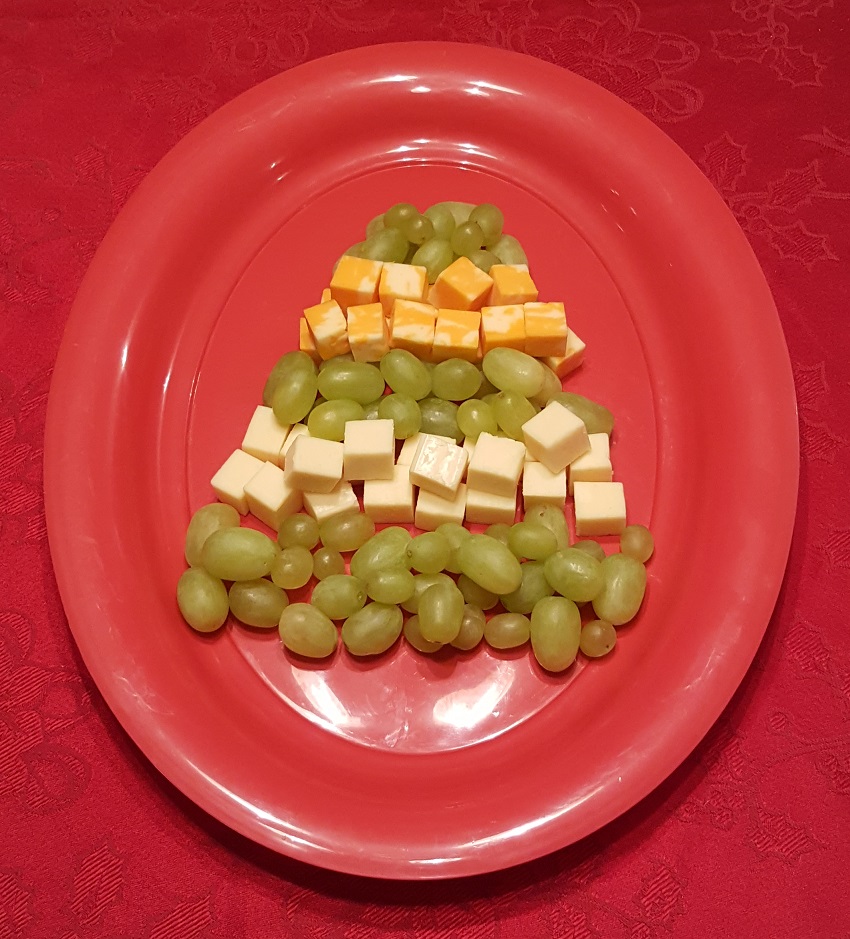
The final layer was made with a third group of grapes, and I was careful to place them in a way that formed a tip to the tree. I also left a little room for something at the top (more on that below).
Adding the Trunk
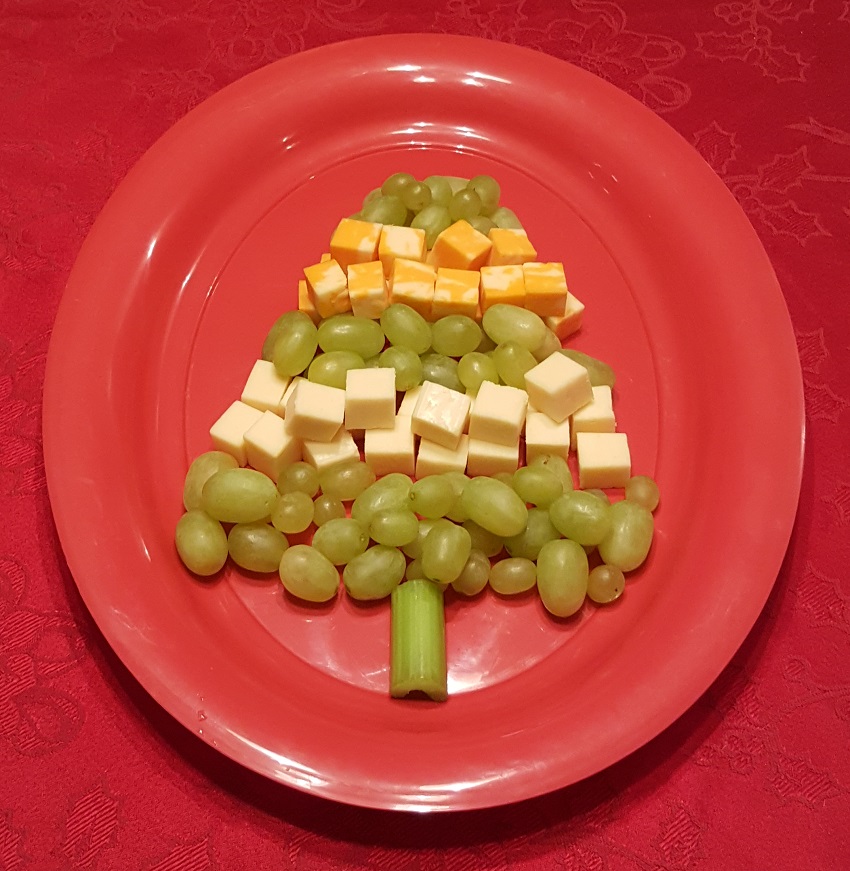
Although the tree was now the right shape, it looked like it was floating. I cut a little piece of celery off the stalk and placed it beneath the bottom layer of grapes to give my tree a trunk.
Adding a Star
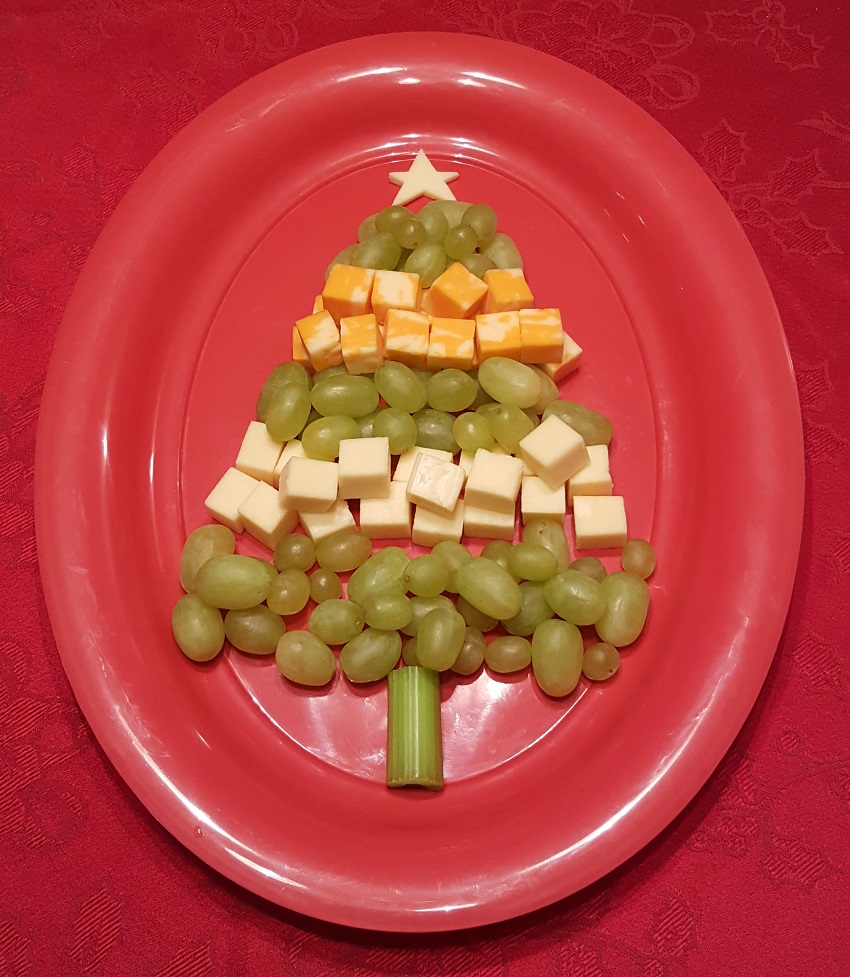
I then took the larger pieces of mozzarella cheese and cut one into the shape of a star. Since I didn’t have a cookie cutter small enough, I had to cut the star freehand, so it took a few tries but was definitely worth it. When I had a star I was happy with, I placed it at the top of my tree.
Extra Touches
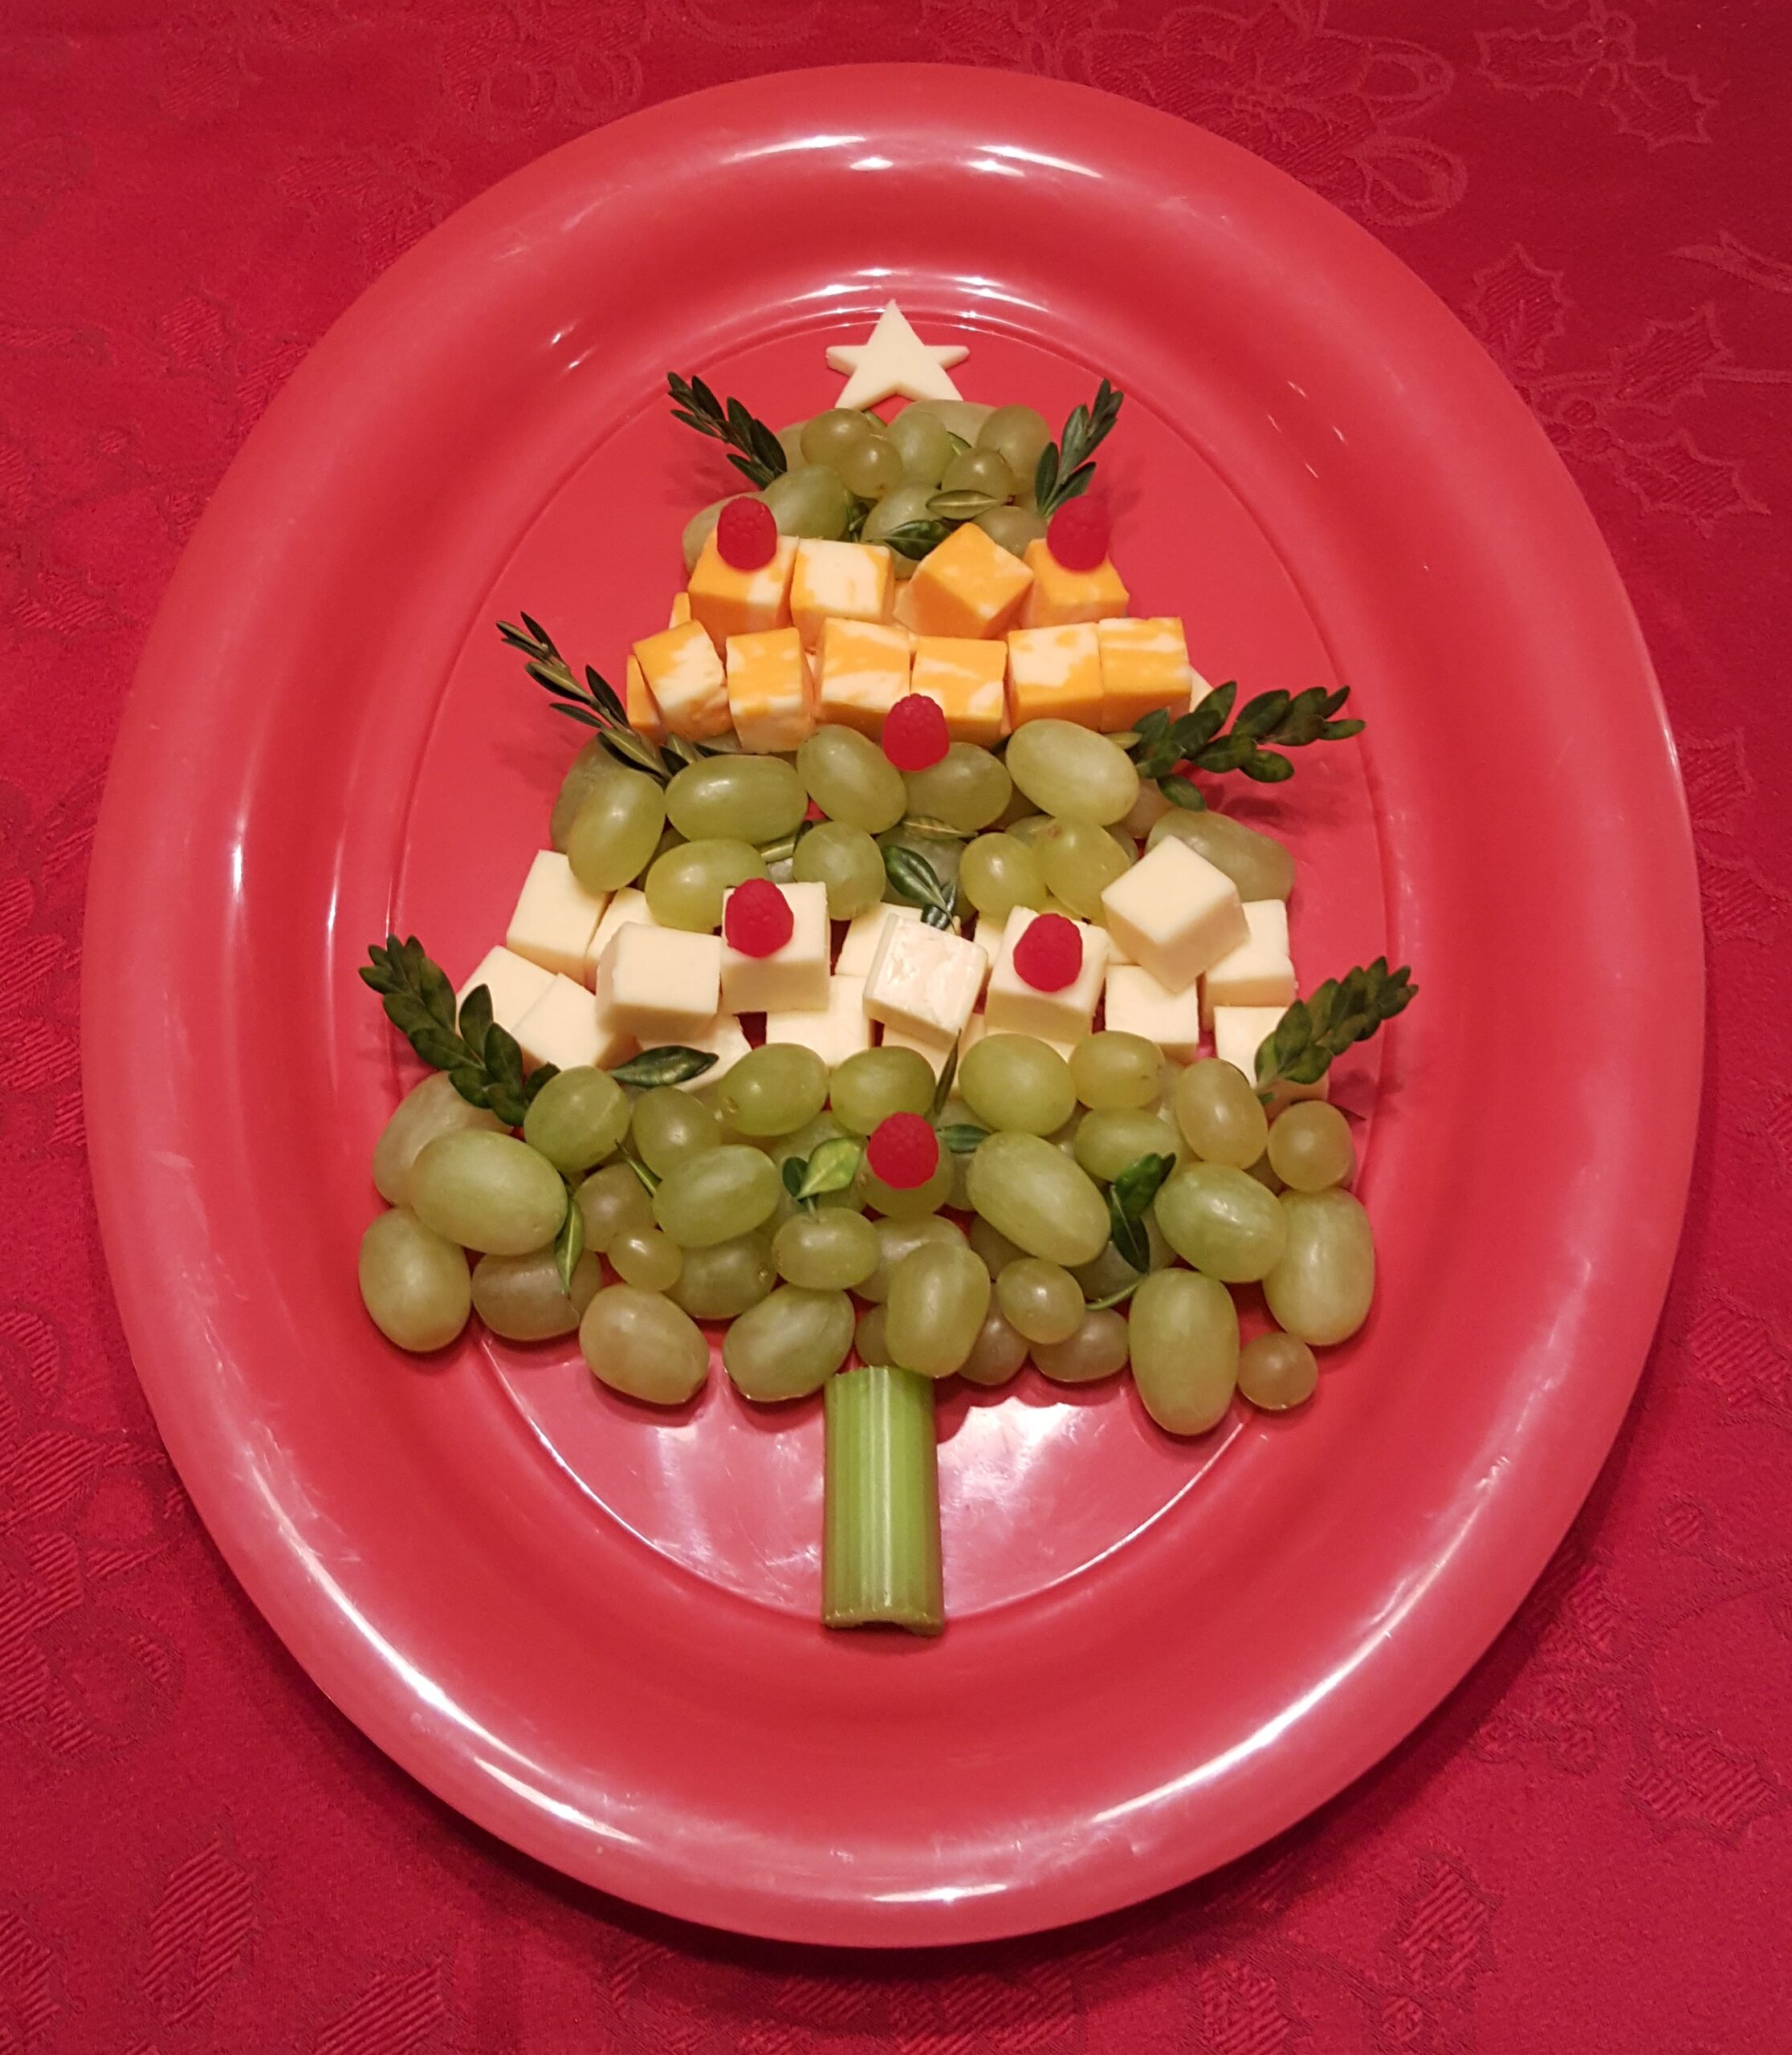
While my setup was pretty darn cute as it was, I wanted to add a few extra touches. I took a few of the sprigs that I had snipped off my hedge and carefully placed them around the Christmas tree. I then took a few of the tiny leaves and scattered them around the fruit and cheese.
At this point, my son wandered over and watched as I finished things up. When I told him that I had considered getting berries that would look like decorations for the tree, he excitedly brought me a tiny package of candy berries that he had been saving and offered them to me. I couldn’t resist the sweet gesture, so I popped them on, and honestly, I LOVE THEM!
Final Product
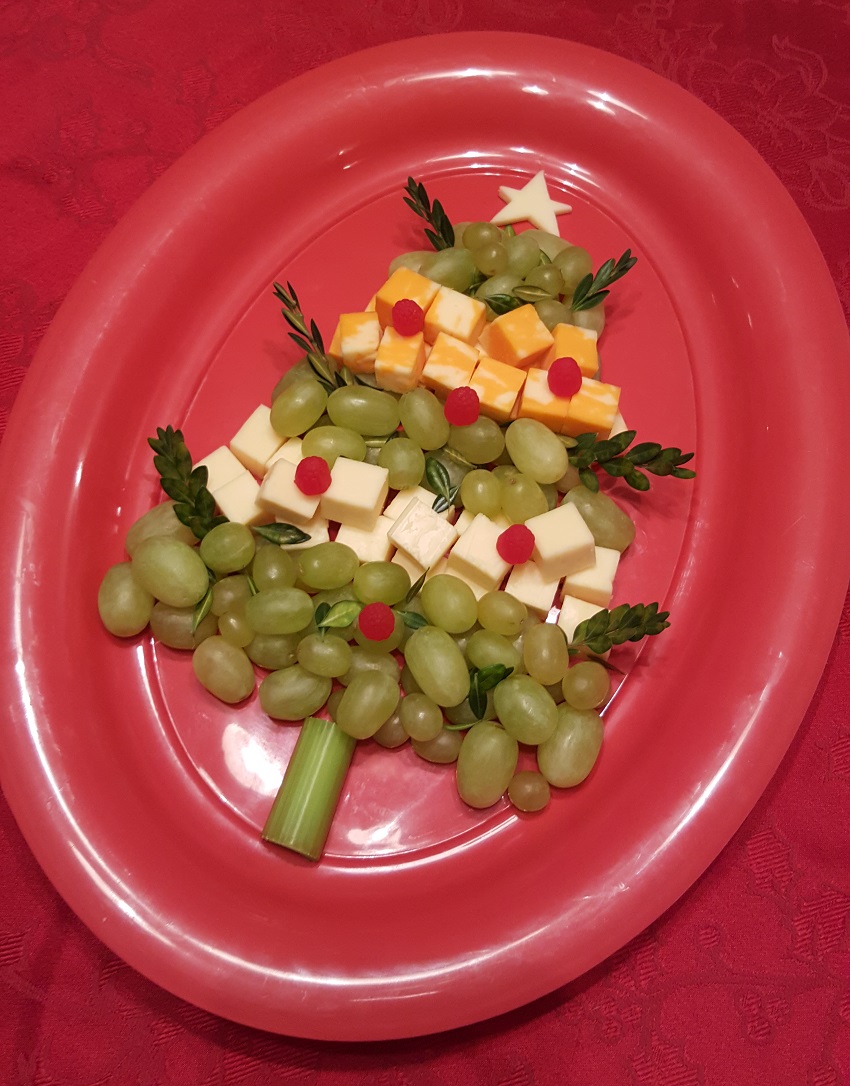
I felt like the final result was a seasonal success. It was simple to put together, it can be switched up to include whatever you prefer and be as affordable or as lavish as you’d like, and it would undoubtedly be the perfect festive addition to any holiday party.
The only hard part about making this fruit and cheese Christmas tree was ruining it by actually eating it!
Reviews
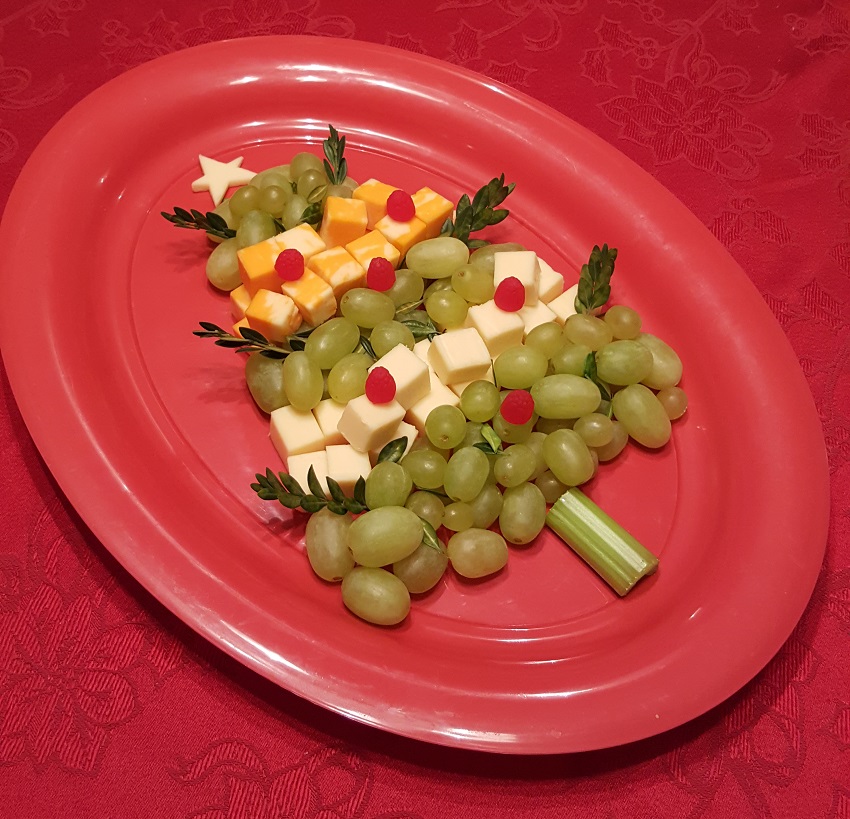
Hubby: “It’s gorgeous. I like the use of the natural leaves, I think the star is a nice touch, and the candy berries make it so fun.”
Kid No. 1: “It looks fantastic,” he said as he nabbed a few cubes of marbled cheese.
Kid No. 2: “Awesome!” He also immediately started nibbling on the grapes and mozzarella.
My review: Yay and yum! This will definitely be a new tasty tradition for my family. Happy holidays!

