Taking photographs is one of my favorite activities. I love capturing special moments either on film or with my camera phone.
And when I get a really good photo, I enjoy printing it out and displaying it in my house. So I'm always looking out for new and unique types of frames, like these DIY mason jar photo holders, to display my snapshots.
So when I saw this brilliant DIY project for turning a Mason jar into a photo frame snow globe, I knew I had to try it!
A Mason jar photo snow globe is exactly the kind of DIY addition that I want for my home, so I decided to give this easy project a try right here in the LittleThings office. And when everyone saw what I made, they were thoroughly impressed.
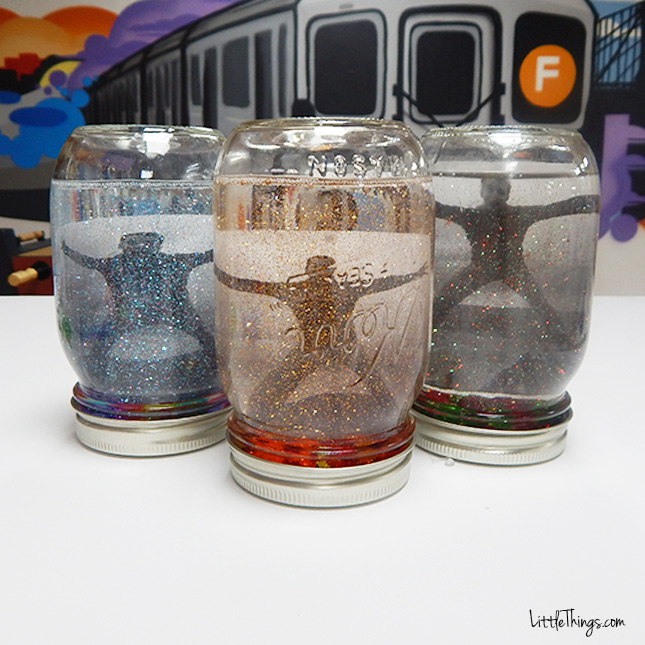
Now, I know snow globes tend to remind people of winter, so I decided to be creative and make a photo snow globe for each of the four seasons — and I was thrilled with the results!
I can't wait to bring these unique photo holders home to decorate my house. Does this sound like a project you might try? Let us know in the comments.
Please SHARE if you think this simple DIY photo snow globe is perfect for your home!
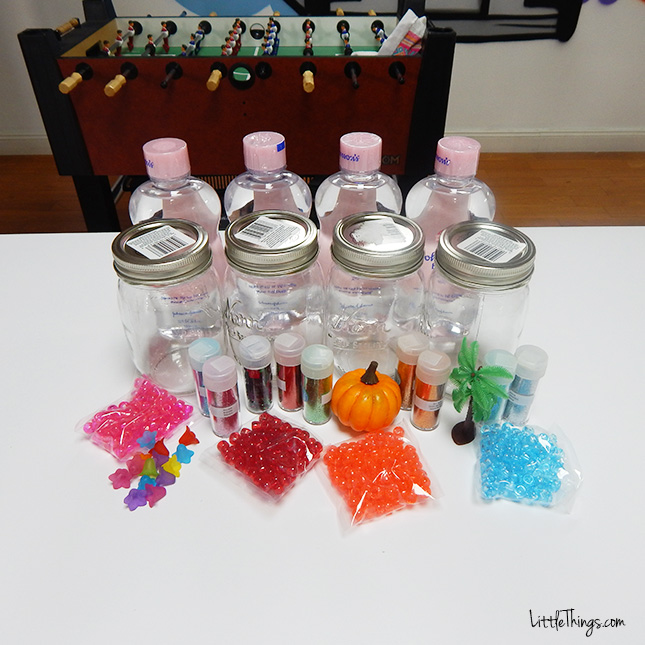
To make these gorgeous photo holders, start with Mason jars, baby oil, glitter, beads, seasonal decorations, a hot glue gun, clear packing tape, and your favorite photographs.
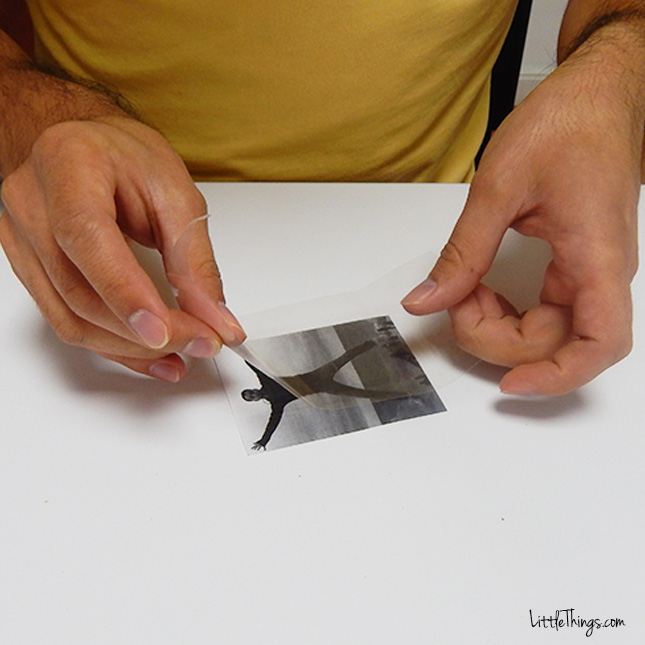
I chose a picture of me jumping in the air, because I thought it would look really cool inside the snow globe. First, trim the photo so that it will fit, leaving extra space at the bottom. Then, cover both sides completely with clear packing tape.
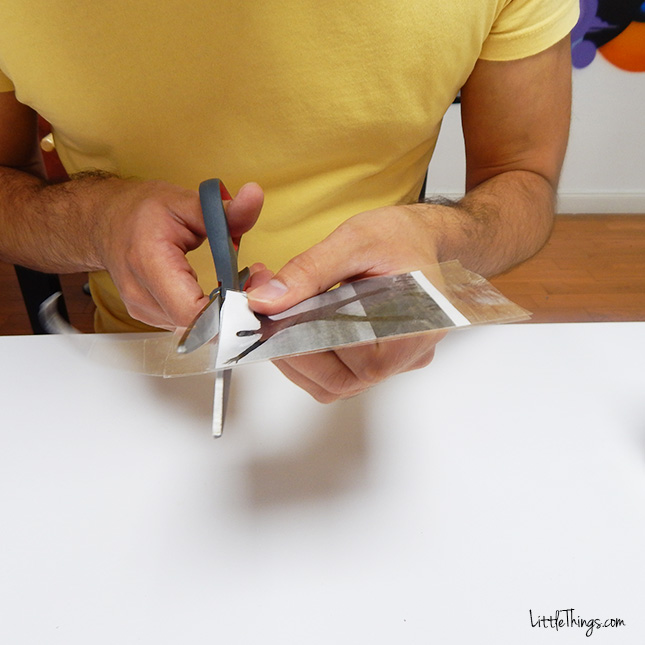
Trim off the excess tape while making sure that the photo is completely protected.
Take the mouth lid out of the Mason jar ring.
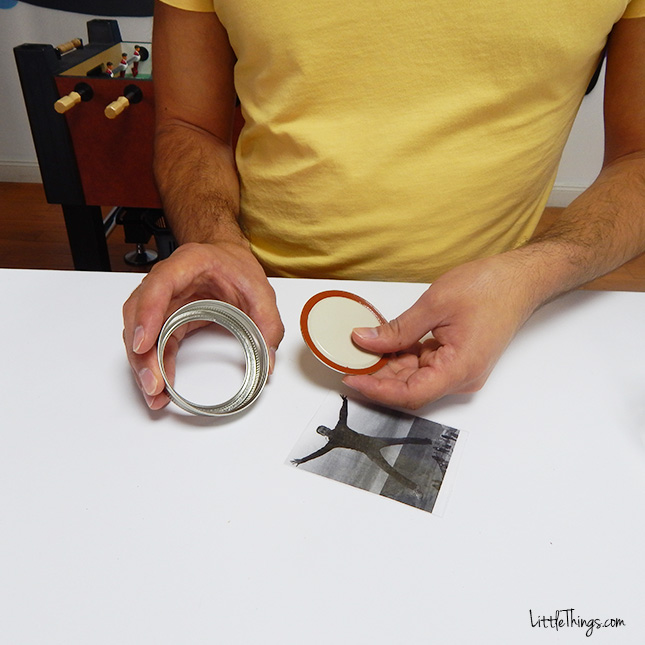
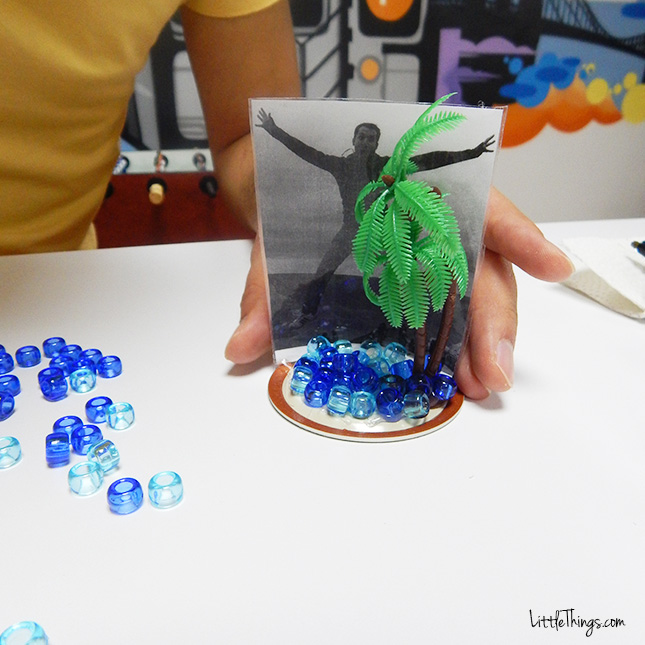
Using the glue gun, glue the middle of the photo to the mouth lid, leaving plenty of room in front of it for decoration.
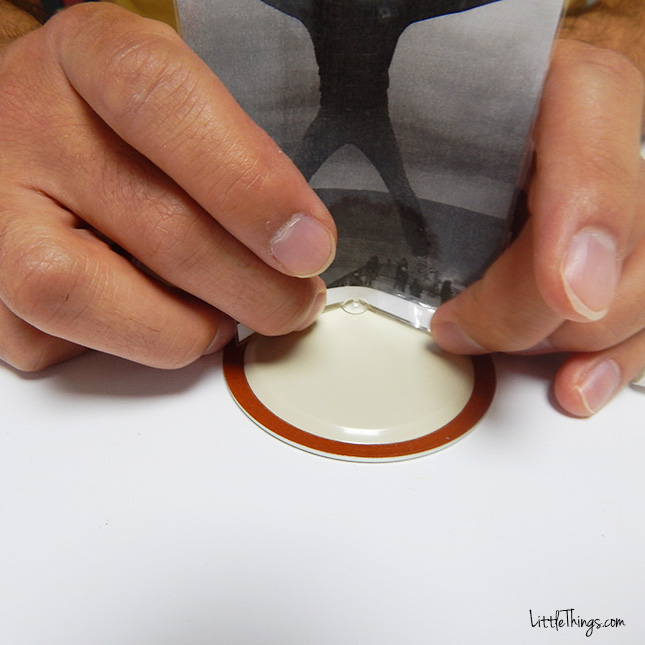
Curving the picture slightly, glue the front and back of the photo down. Try to keep the photo inside the lid's outer ring as much as possible.
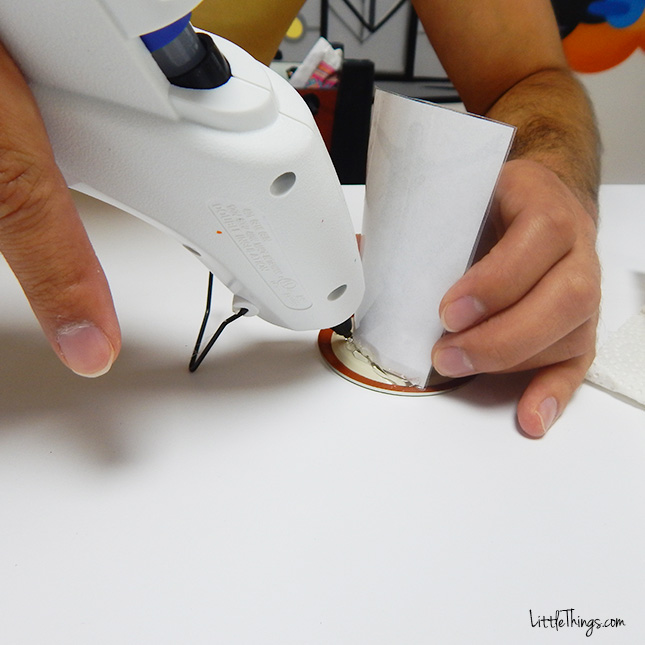
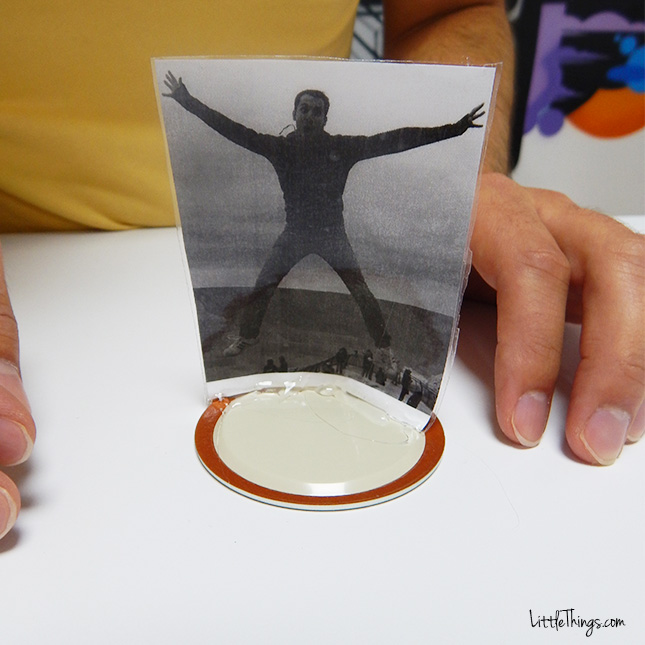
Once the glue dries, the picture should be able to stand completely on its own.
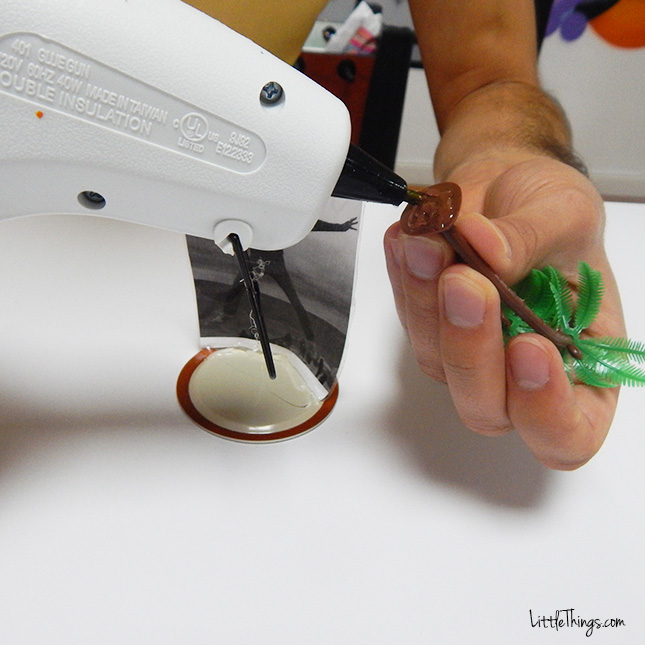
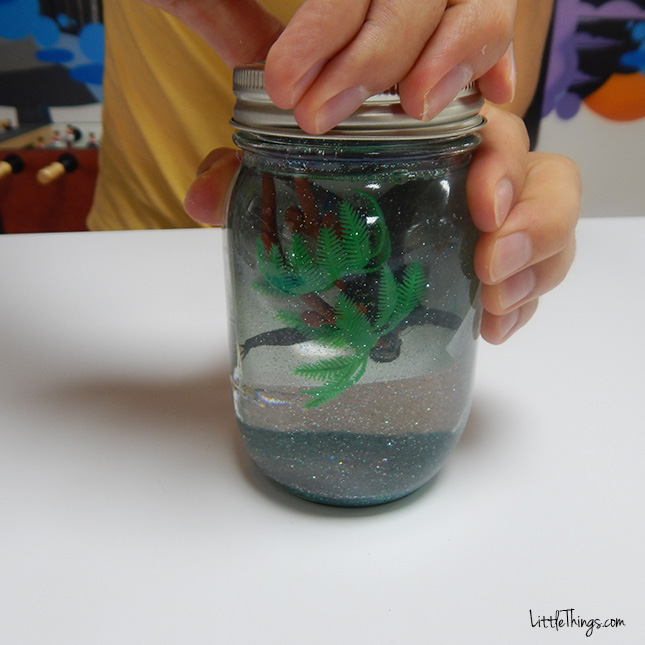
Use the glue gun to attach seasonal decorations to the lid as well. For summer, I used mini plastic palm trees.
Then, glue down colored beads to form a mound, masking the base of the photo. I chose ocean colors to keep with my summer theme.
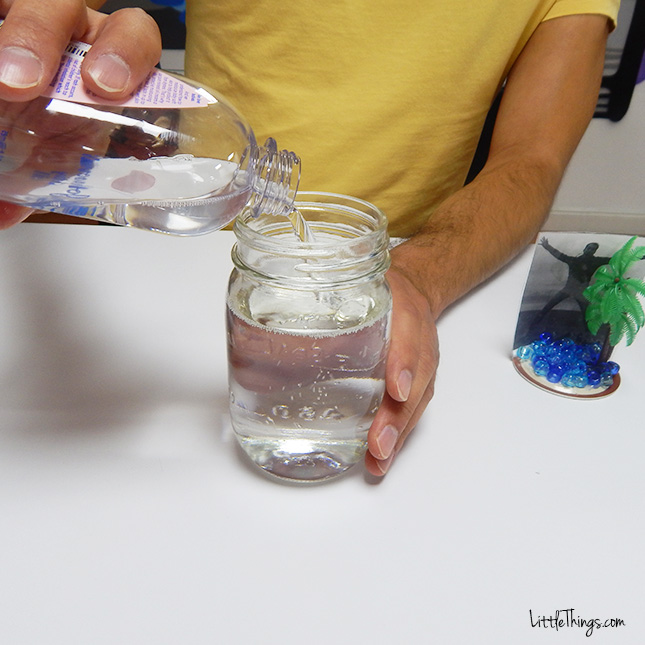
While the decorations on the lid dry, completely fill a Mason jar with baby oil.
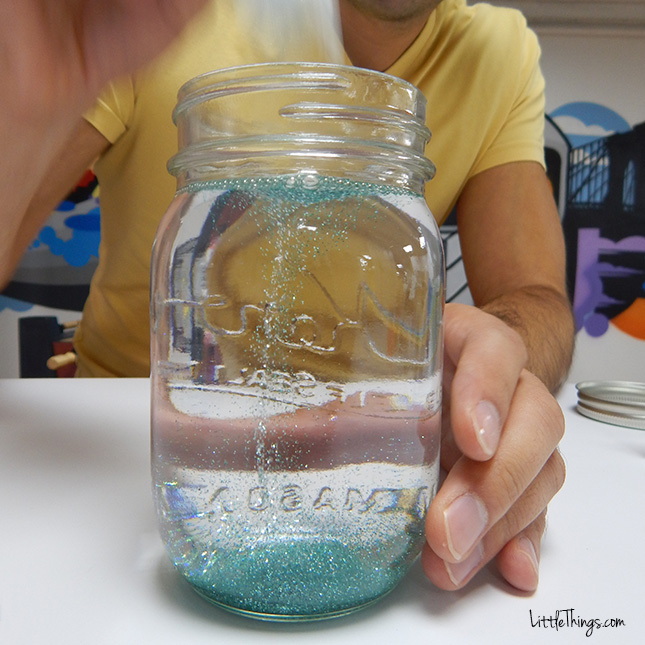
Add in colored glitter to act as the "snow" in the snow globe. For my summer globe, I used turquoise and silver glitter.
Next, lower the photo into the jar of oil.
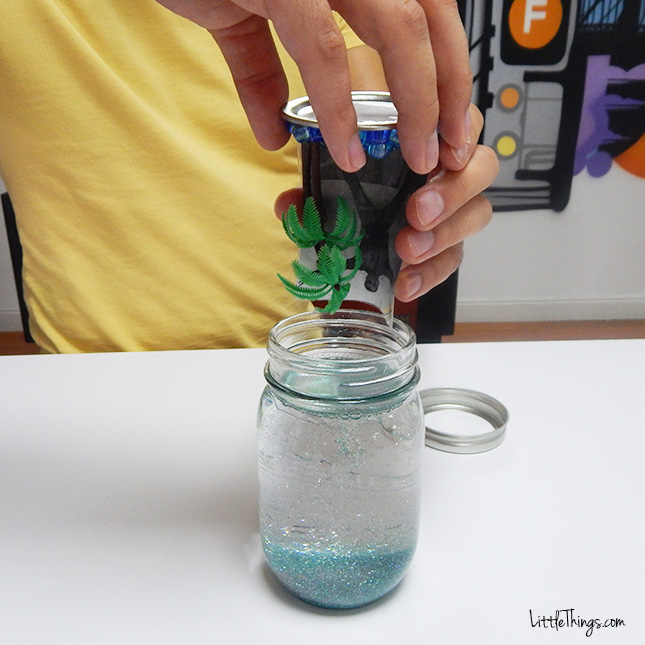
And this is where I ran into a problem. The corners of the photo began to bend, making it hard to see. Luckily, I had a brilliant idea to save the day!
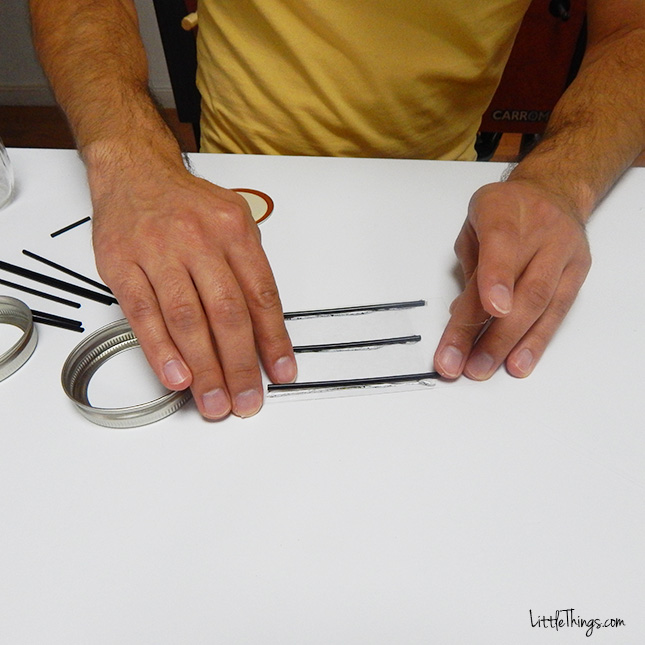
For the fall, winter, and spring snow globes, I changed things up! Before attaching the photo to the lid, glue three coffee stirrers to the back of the photo. These will provide stability and prevent the photo from bending!
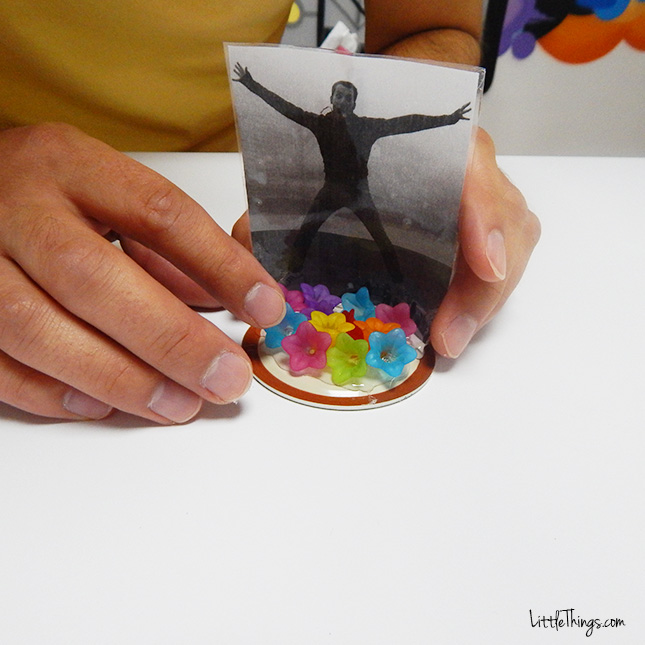
For the spring globe, I decorated the base with flower-shaped beads, and decided to use pink and blue glitter.
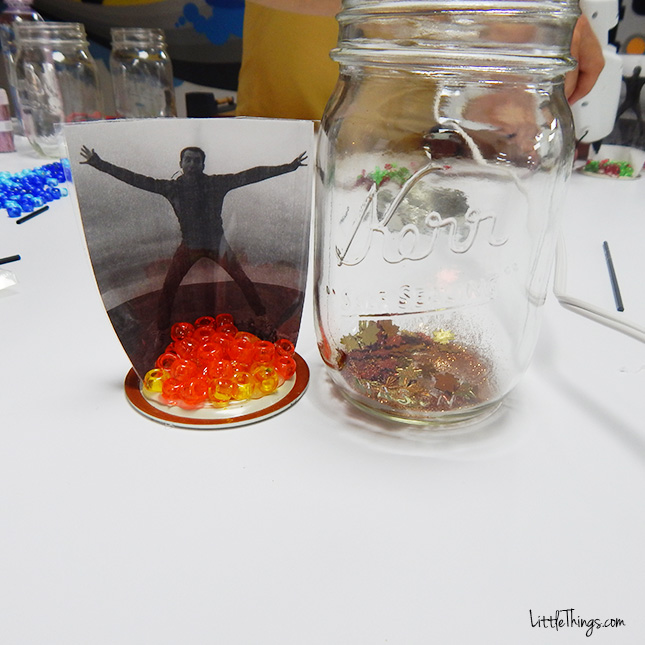
For the fall globe, I used fall-colored beads. I also put some small leaf-shaped confetti pieces in with orange and gold glitter. Here I switched things up a little and placed the glitter and confetti in the jar before the oil. Either way works just fine!
For the winter globe, I used red and green beads, as well as red and green glitter.
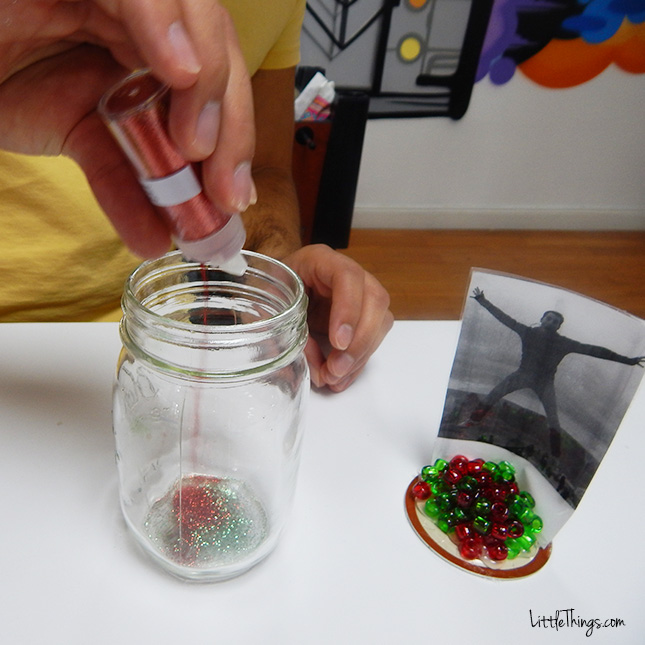
It was finally time to put the photos into the jars.
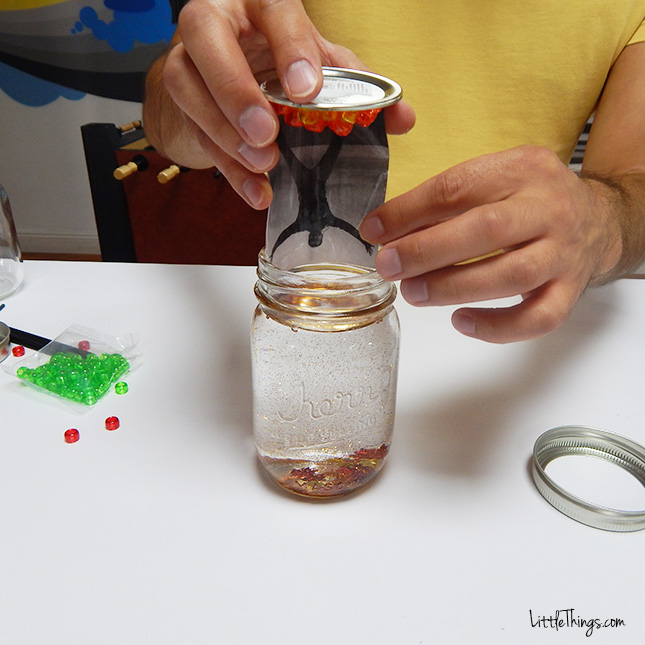
Fortunately, the pictures stayed completely upright this time around.
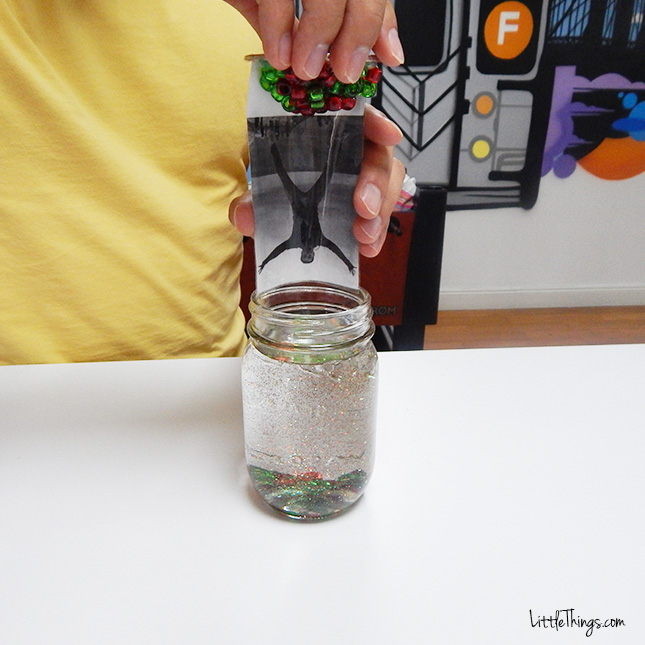
With the photos in, it was time to seal the lids tightly.
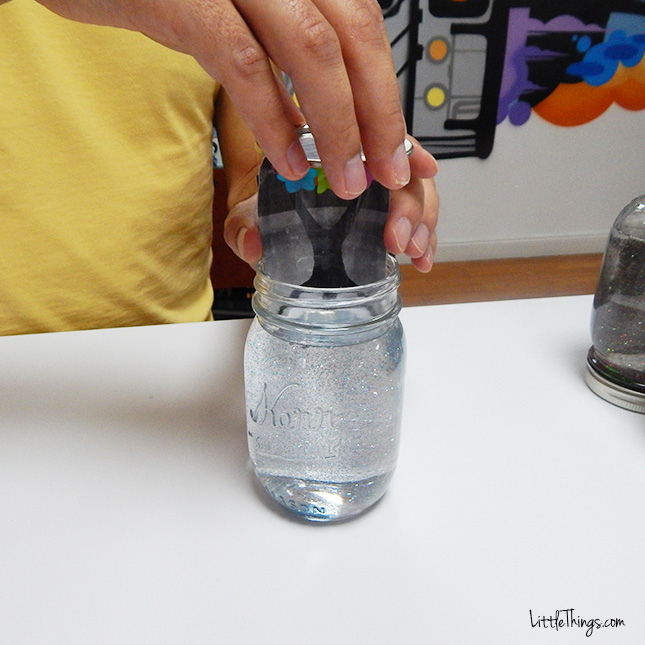
The only thing left to do? Give the globes a big shake!
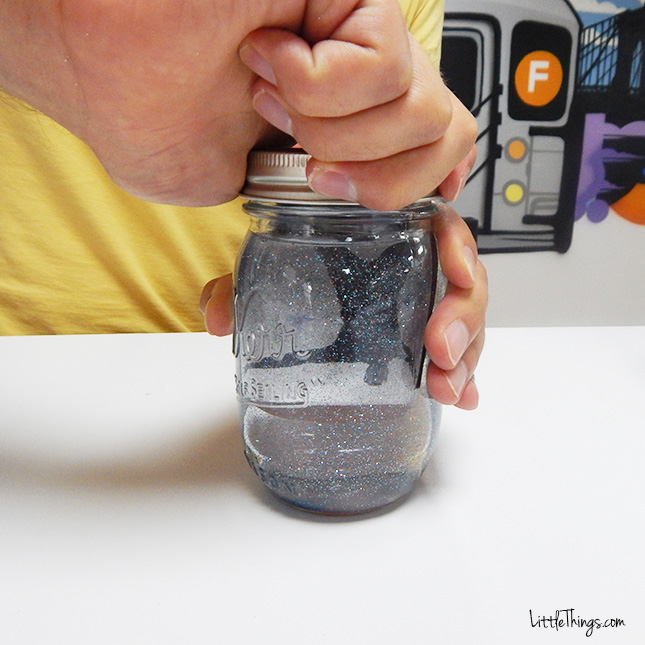
The glitter and decorations created a really beautiful effect.
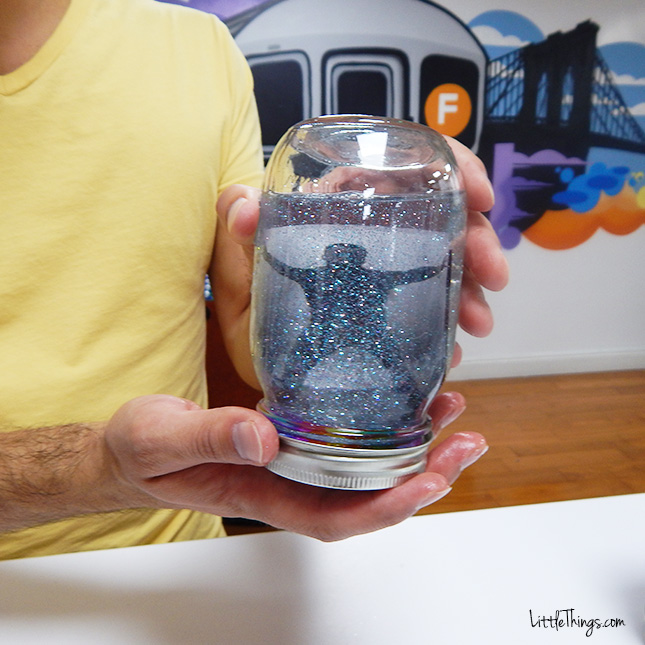
This fun and easy project was extremely inexpensive and took less than 15 minutes to make. I can't wait to decorate my home with these amazing Mason jar photo snow globes!
Does this sound like a project you might try? Let us know in the comments.
Please SHARE if you think this simple DIY photo snow globe is perfect for your home!

