Having something stolen is always upsetting, especially if it's something sentimental.
Of course, I think all of us would rather lose a flatscreen TV than a precious family heirloom.
That's why many of us choose to tuck our most valuable items away in safety deposit box or safe.
Usually, these are pretty utilitarian objects, designed for strength and not for discretion. As a result, I always thought that secret safes inside books and random objects were the type of thing you only saw in movies.
When you think about it, it makes sense that you don't see them in real life. They are supposed to be hidden in plain sight, after all.
While you might rely on a locked safe for your most valuable items, it's probably one of the most obvious places to look.
In all honesty, it's a good idea to have a number of disguised stash spots around your house.
For an easy way to hide small items, making a simple DIY soda-can safe helps to conceal your stuff, whether you're hiding it from little kids or real intruders.
[H/T: Instructables]
Supplies:
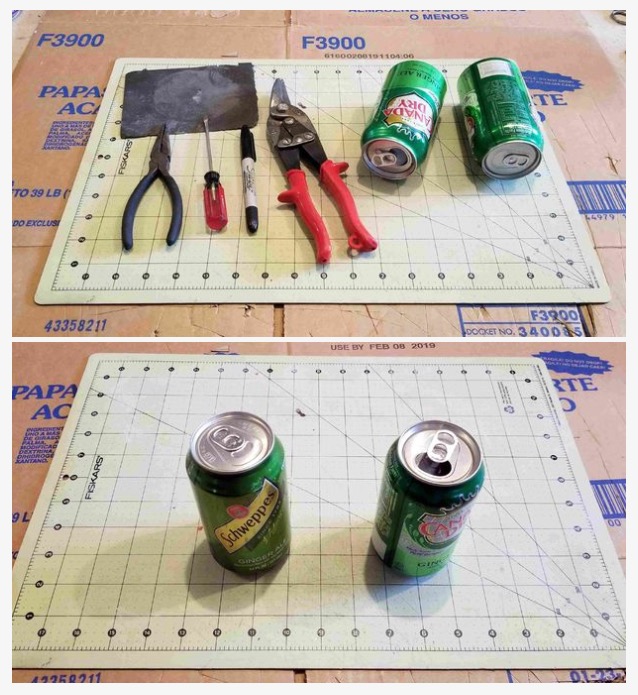
Chances are that you can make this sneaky safe out of things already in your house as long as you have a basic tool box.
The supplies are as follows:
- Metal shears
- Sharpie
- Pliers or flathead screwdriver
- Sandpaper
- Two soda cans, one opened, one unopened
Step 1: Remove Lip Of Open Can With Shears
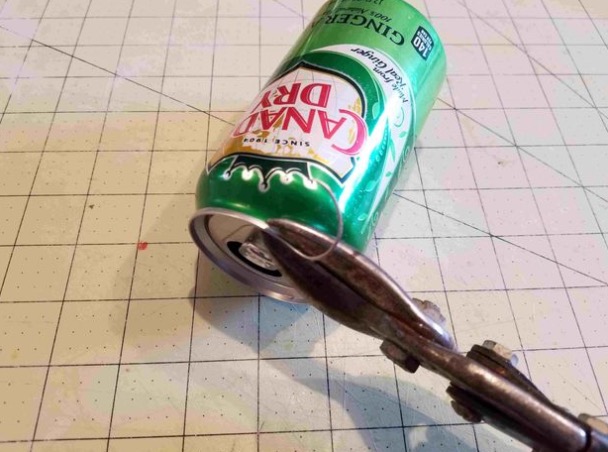
The very first step is to empty the can.
Using your metal shears, cut carefully along the lip of the can, taking it as slowly as necessary to be neat and precise.
When the lip has been removed all the way around, the lid part with the can opener should pop out or be able to be peeled off.
Step 3: Sand Down Edges
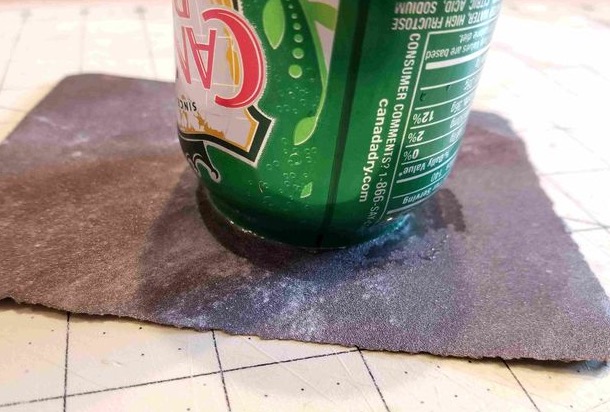
Sanding down the edges will save you the trouble of getting cut on the sharp edges of the can.
Just make sure to do this carefully so you don't cut yourself in the process!
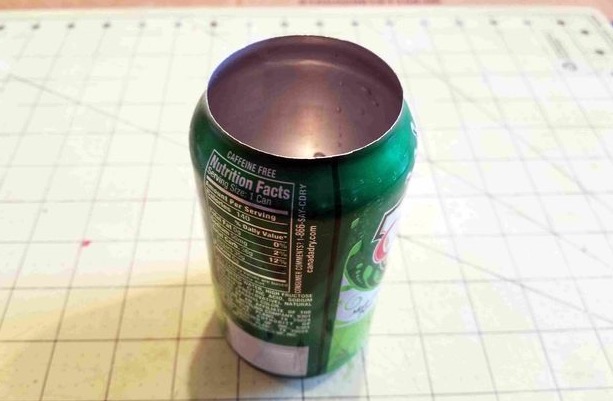
When all is said and done, the first half should be complete and you can move on to the second can.
Step 4: Preparing The Sealed Can
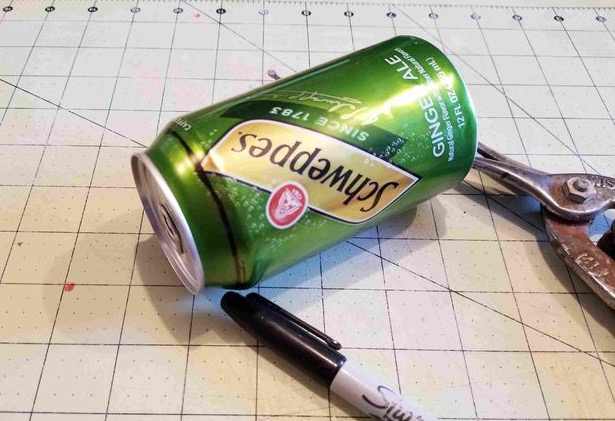
For the next step you'll need a full can of soda, and you can't empty it by opening the pop tab.
Instead, poke holes in the bottom of this can with the screwdriver to drain it. You may want to do this outside because it could spray.
Then, draw a line along the rim as shown, where you will cut along the can to remove the whole lid, completely.
Step 5: Preparing The Safe "Lid"
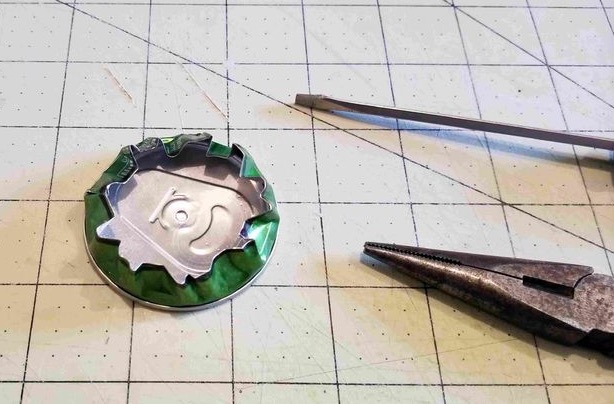
Sand down the lid the same way you did the first one, to make sure you don't get cut.
Next, fold over the excess metal under the lid and lip as shown above.
Step 6: Fitting It All Together
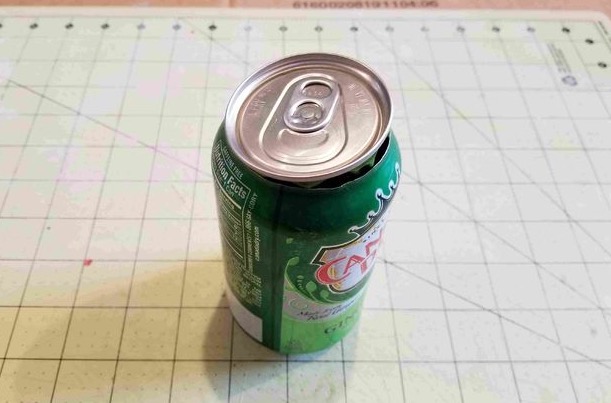
Take your new squished-in-edges top and place it on top of the can that didn't have the holes in it.
The rest of the can parts won't be needed anymore.
You want to make sure that the lid is flush to its new can so that you don't arouse any suspicion by denting the can strangely.
Step 7: Store Your Valuables!
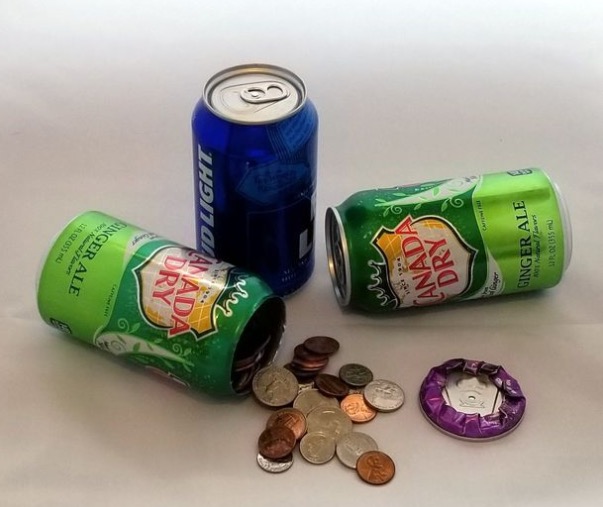
The rest is up to you! Decide whatever valuables you want to hide inside your brand-new DIY soda-can safe.
Then, find an inconspicuous spot where nobody will try to drink it, perhaps at the back of a cabinet or deep in the pantry.
Please SHARE this project with your friends and family!


