Dogs are embodiments of pure love wrapped up in a snuggly coat of fur. They’re easy to love. But some of their doggy gear? Not so much.
Take a rawhide bone. They’re fine. Dogs even do incredibly cute things with them, like getting their heads stuck in doggy doors when they want to jump through with a giant bone in tow. But when you have a house cluttered with dozens of half-chewed bones? Not the most pleasant of sights.
Dog crates or kennels are another eyesore. They’re either tan, boxy, plastic behemoths or giant cages. Ick. Yet, they can be handy tools while training a dog, especially if the dog — like the adorable kennel-climbing puppy in this video — has behavioral issues.
So, what is a pet parent with standards for tasteful interior design to do in this kind of scenario? Easy. They can create their own customized kennel that’s not only beneficial to their puppy-love but lovely to look at.
One Instructables user, sellers.nathan, figured out just how to do this and the results?
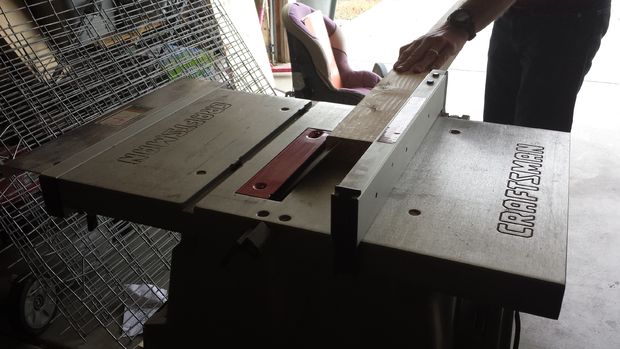
First, lumber was cut. The base and the posts for a frame were created first so everything else could be built upon it.
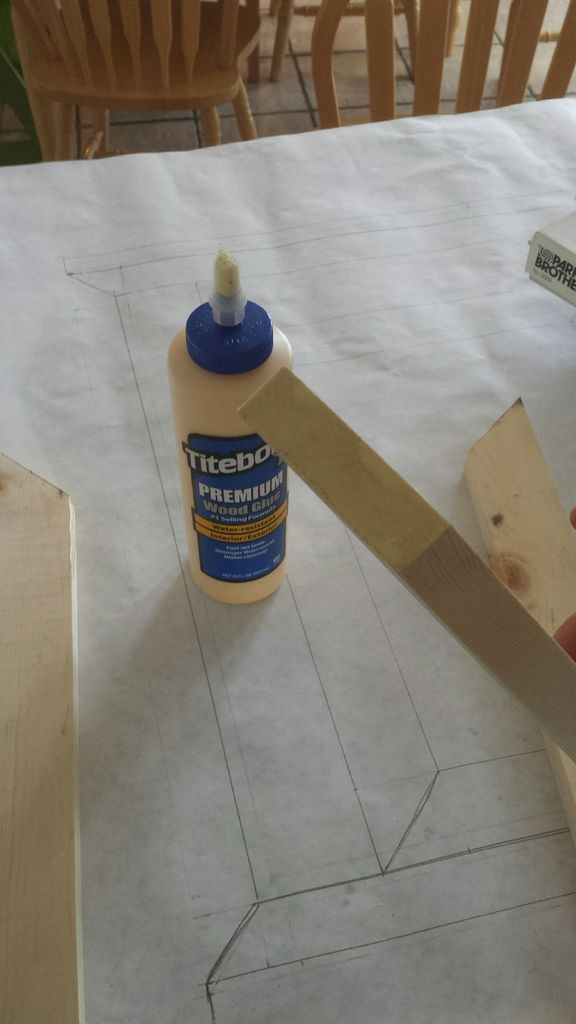
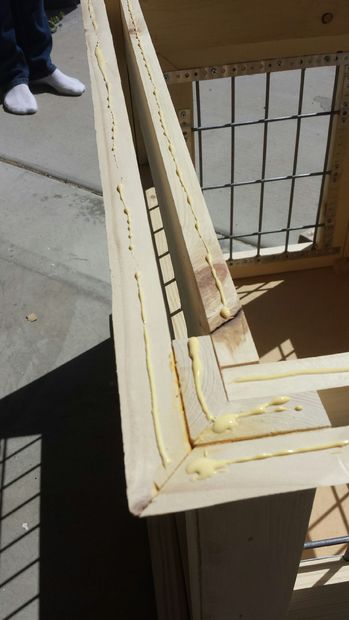
Wood glue was placed on the spots where the joints would meet. Then everything was nailed together.
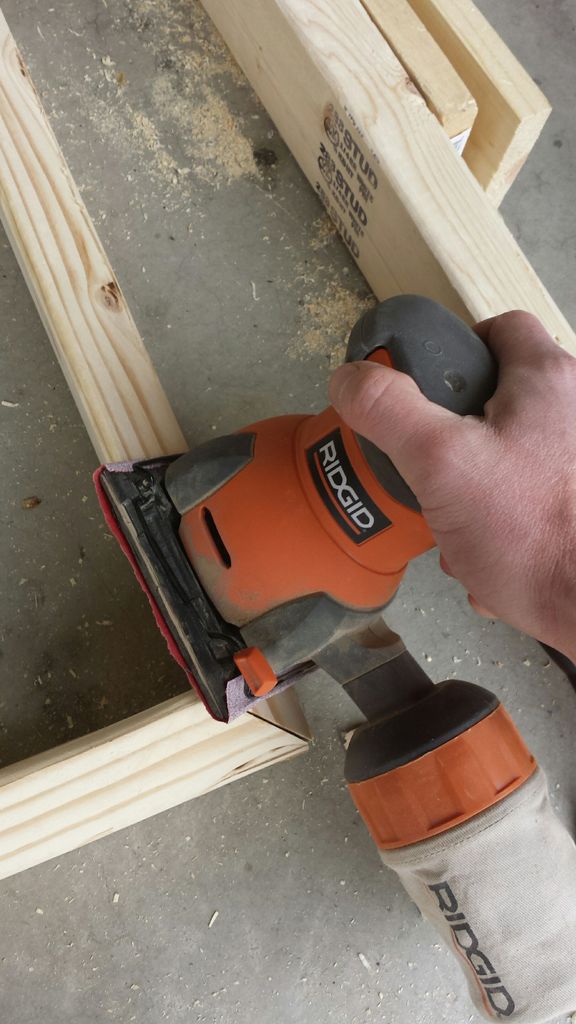
Next, the trusty sander was taken out and buffed until there was a nice smooth finish. This made it easier to access all the parts.
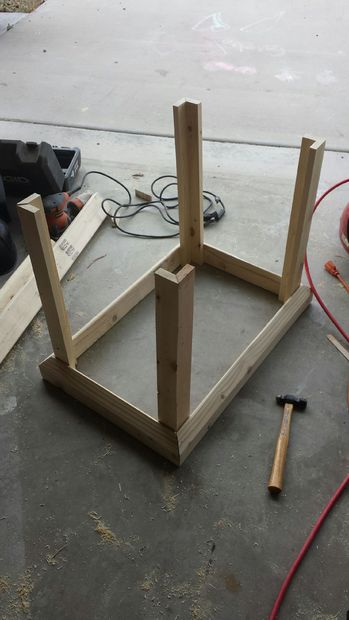
The piece was then put together, the structure was held in place while nails were hammered in into the base.
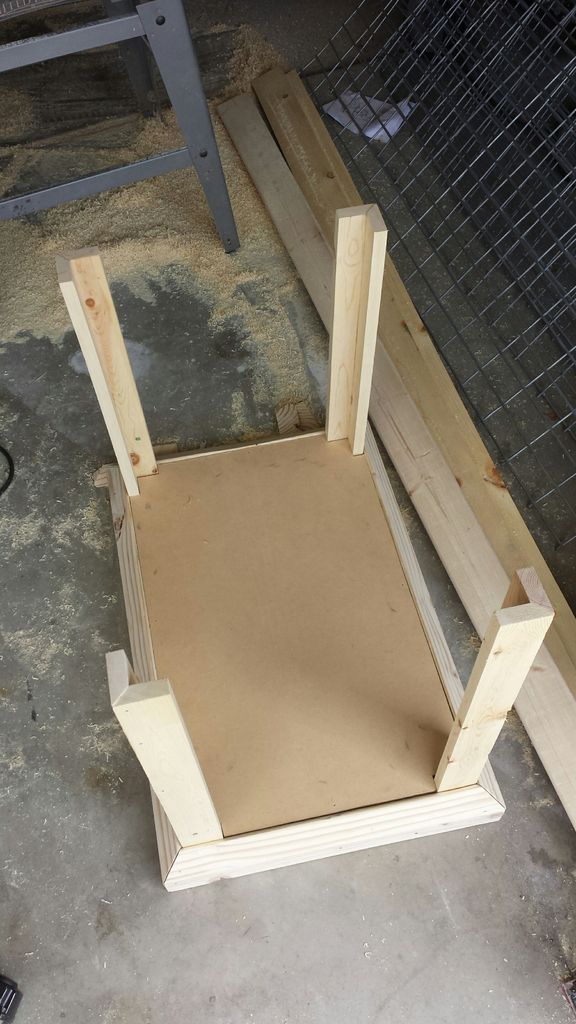
The baseboard needed to be built and to rest on something, “Luckily, I saved some of the scraps,” said sellers.nathan. “I drew a level line around the whole inside of the base and then just nailed the support in place.” He then cut it to shape and slid it down into place and nailed it in.
Next, the walls needed to be put together. Caging had to be added to each wall before it was all put on the frame and assembled.
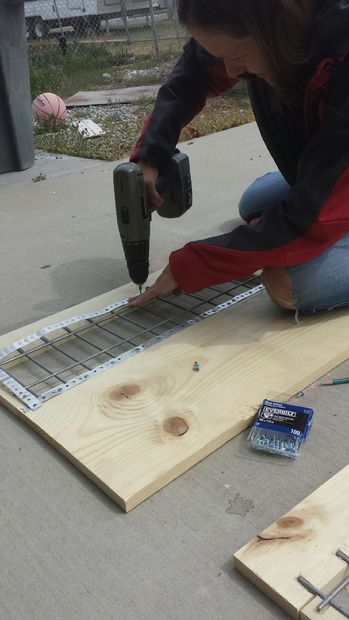
The walls were then put into place on the frame and nailed in.
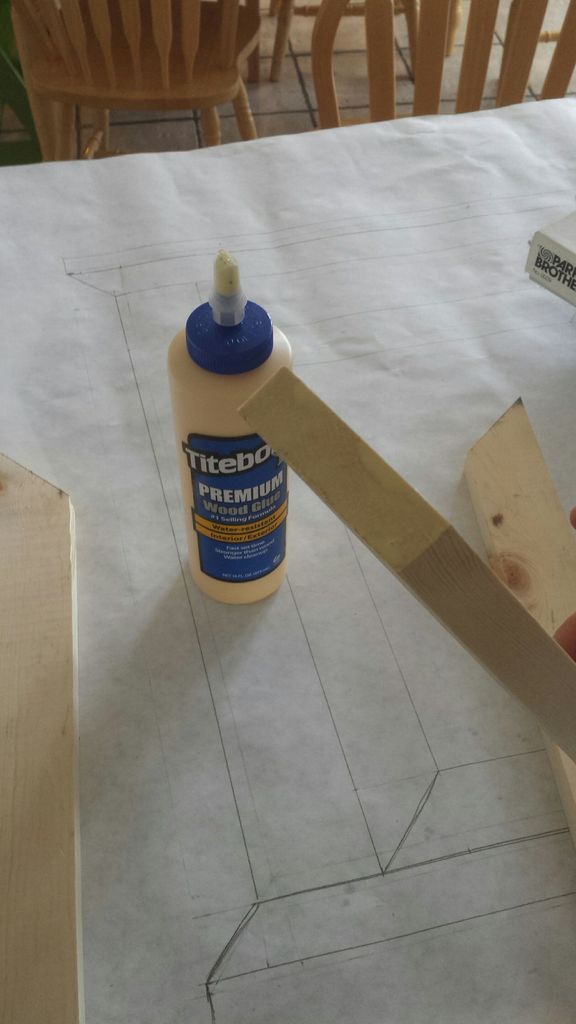
Next up was the creation of a door. In order for the door to work smoothly, there needed to be some gaps between it and the frame.
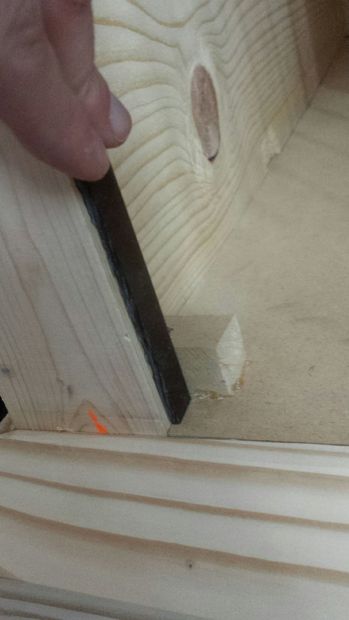
A little doorstop was put at the bottom to keep it from stressing the hinges and swing inside the kennel.
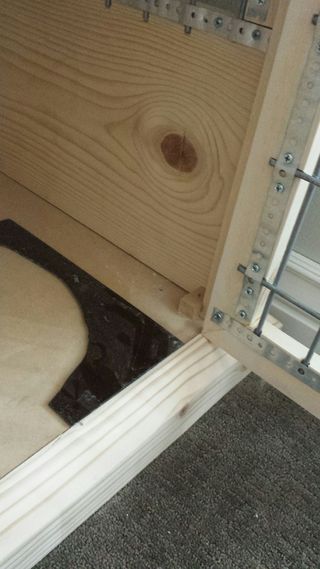
The door also received a lock and hinges before it was completed.
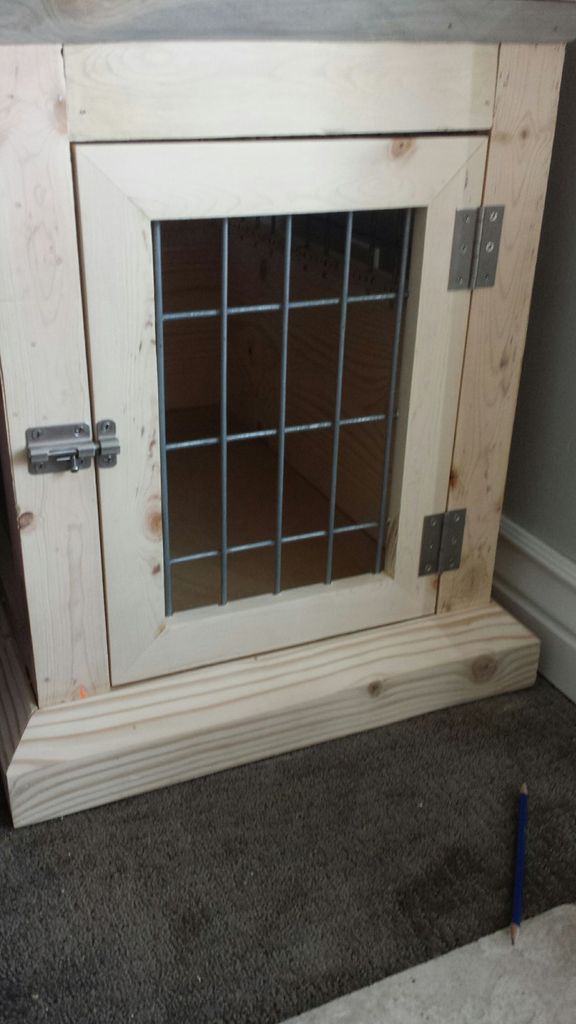
Trim was then added with leftover scraps.
Once everything was put together, the kennel received a deep stain.
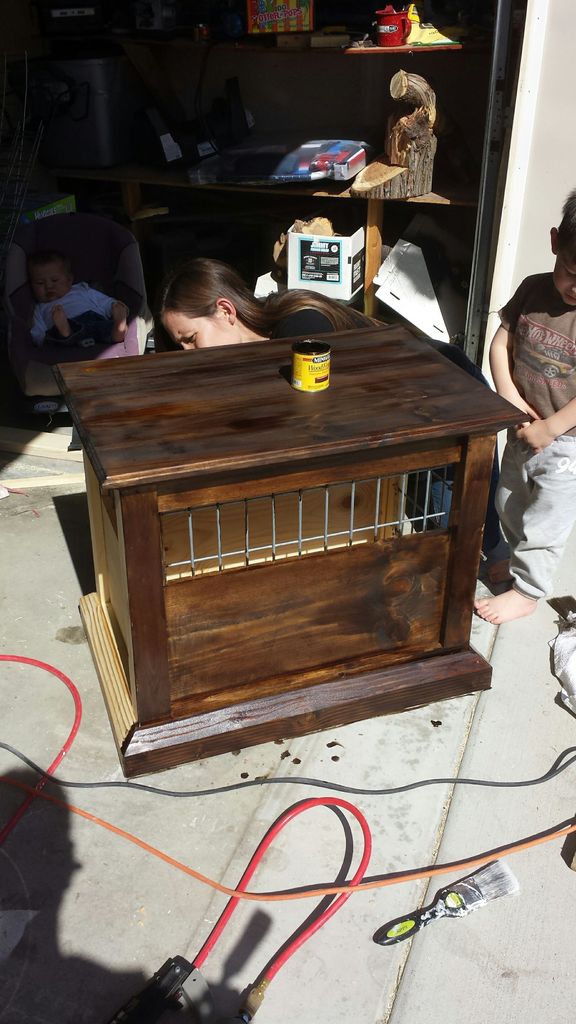
The kennel dried overnight, and then Fido was invited inside for a test nap in his brand new bed.
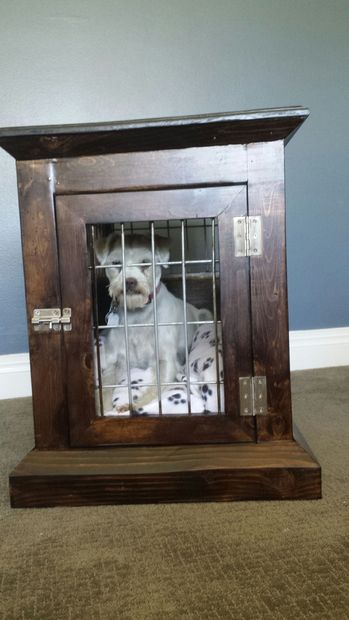
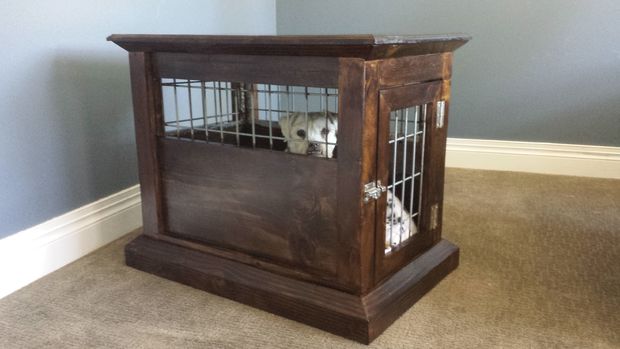
The end result is a kennel/end table that is functional and looks handsome in any home.
Please SHARE if you love dogs and DIY projects!


