If you've ever had a hamster, you know how downright adorable they can be. They're clever and cute, and also incredibly soft.
Of course, every hamster is also a unique individual, like this naked cutie-pie.
Some love cuddling with people, while others prefer solo adventures exploring new places.
If your hamster falls in the second category, hamster wheels and balls are great ways for these little guys to get their energy out.
Still, every once in a while it's fun to make them something a little more elaborate, that caters to your pet's specific interests.
Hamsters, just like other animals, have preferences when it comes to food, toys, and activities.
One man, Bogdan Berg, noticed that his little hamster really liked to play in the sand, so he decided to use his creative skills to make a custom sandbox for his little pet.
Bogdan went all-out with the sandbox, using computer graphics programs, a laser cutter, and other high-tech equipment. At the end, he called it "Hamster's Paradise."
[H/T: Imgur]
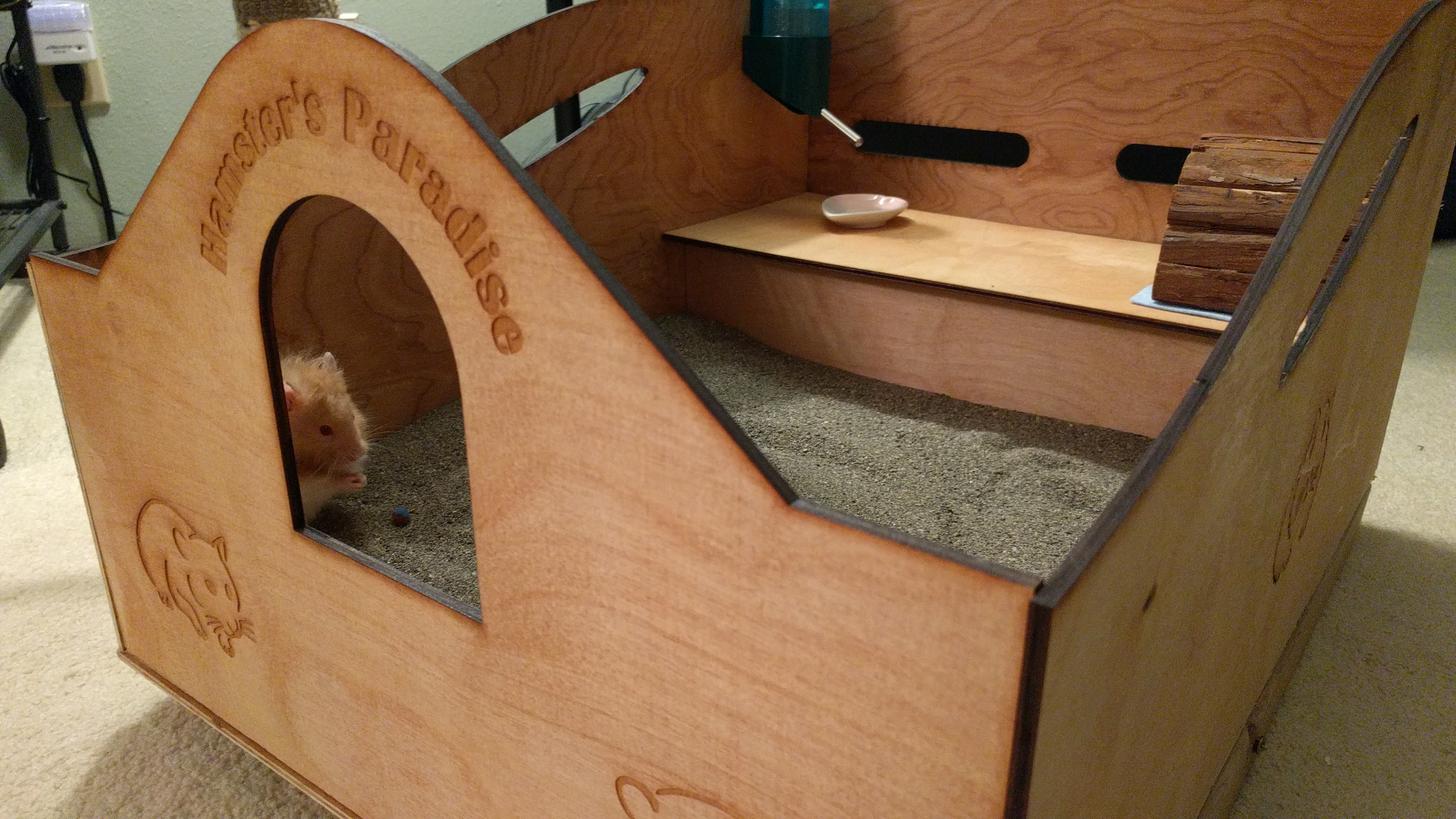
Bogdan shared his project on Imgur, where he explained the process. He wrote:
DIY Hamster Sandbox – easy to make project that will bring hours of fun to you and your hamster.
While I used a laser cutter for precision (and convenience), this can be also done by cutting pieces manually.
Everything you see has been built out of 5mm plywood, and few extra trim pieces from Home Depot (to make sure there are no gaps along the edges and strengthen the construction).
Want to make your pet happy? Keep on reading!
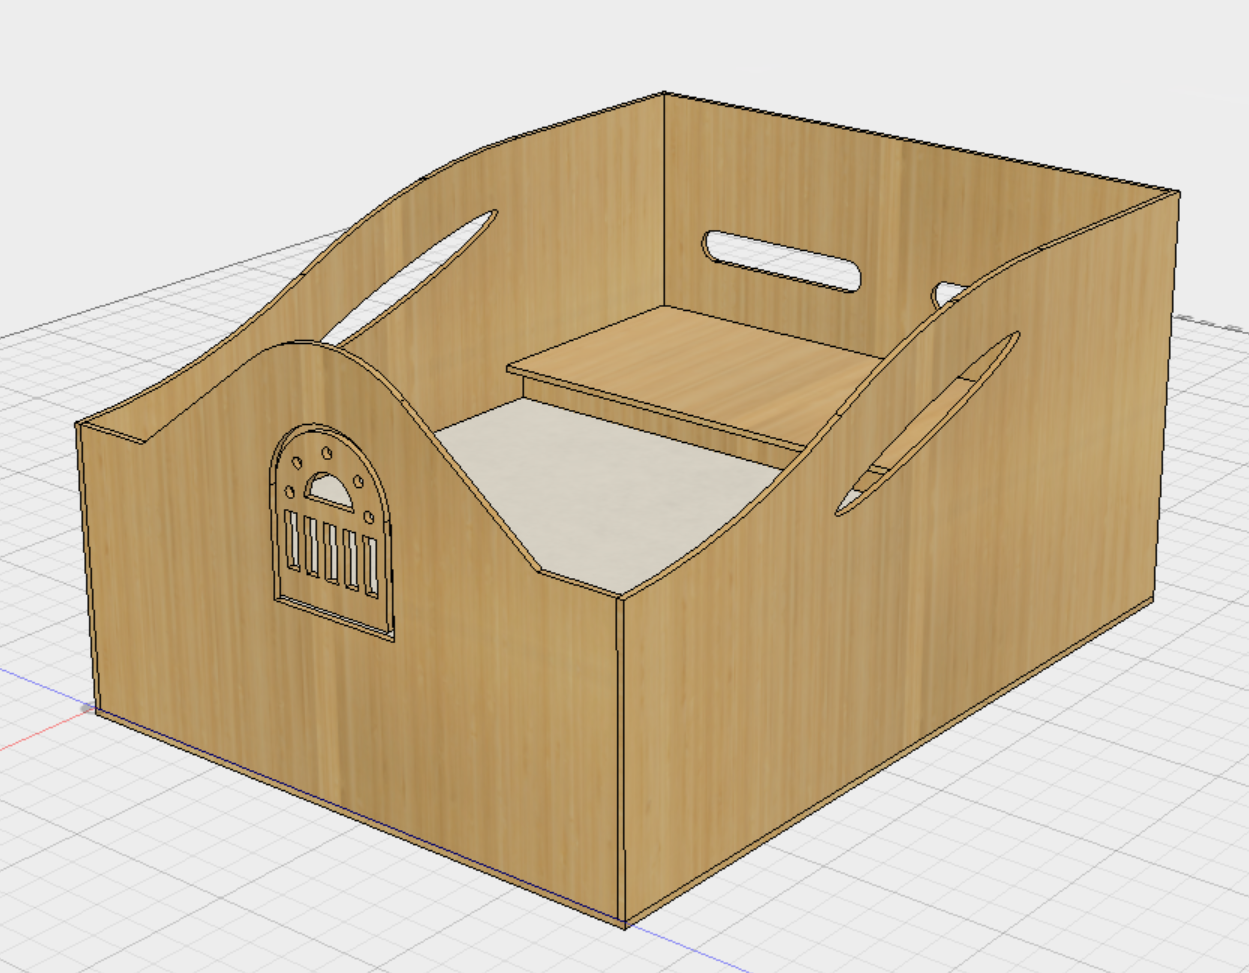
To start, he decided on the measurements of the hamster sandbox, then programmed them into the computer. Using a special program, he created the design he wanted.
Since he was going to use a laser cutter to slice the wood, he also programmed in a few cool hamster designs to personalize the sandbox.
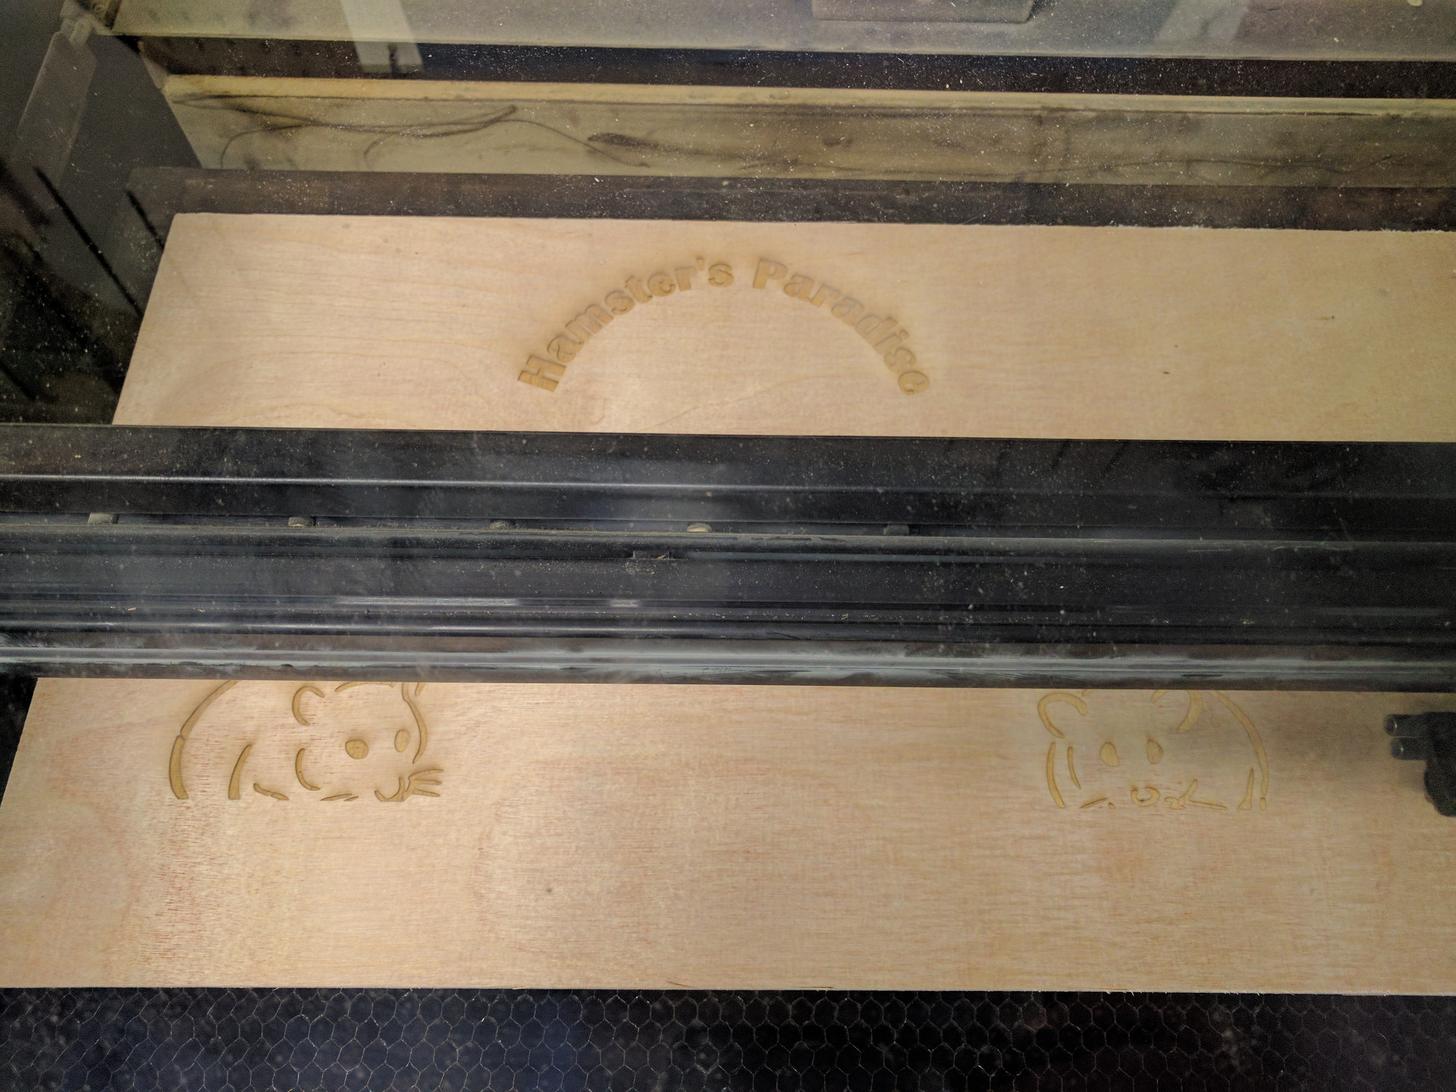
Although he used a personal laser cutter, he explained that you could check out a local artists workplace to use a laser cutter there, or you could just cut it by hand.
If you don’t own a laser cutter, check with “maker spaces” in your neighborhood, they often provide training where you can learn how to use one yourself, or will assist and cut the design for you (potentially for a fee).
Or, again, you can cut the pieces manually with a saw, which is not difficult considering the thickness of the material.
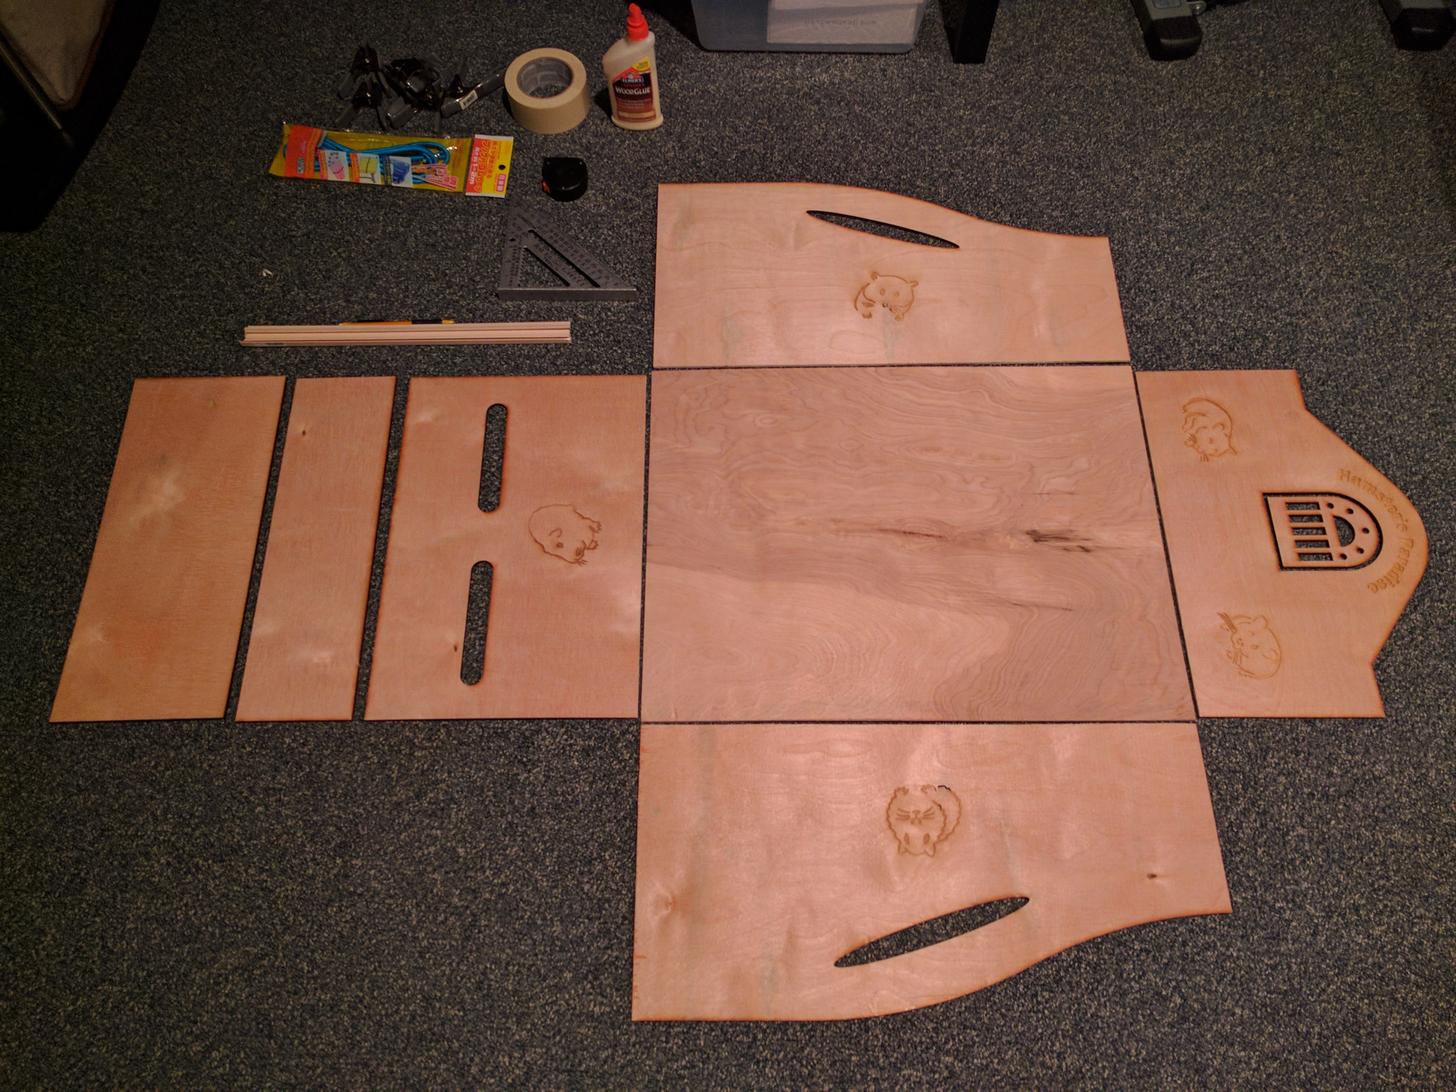
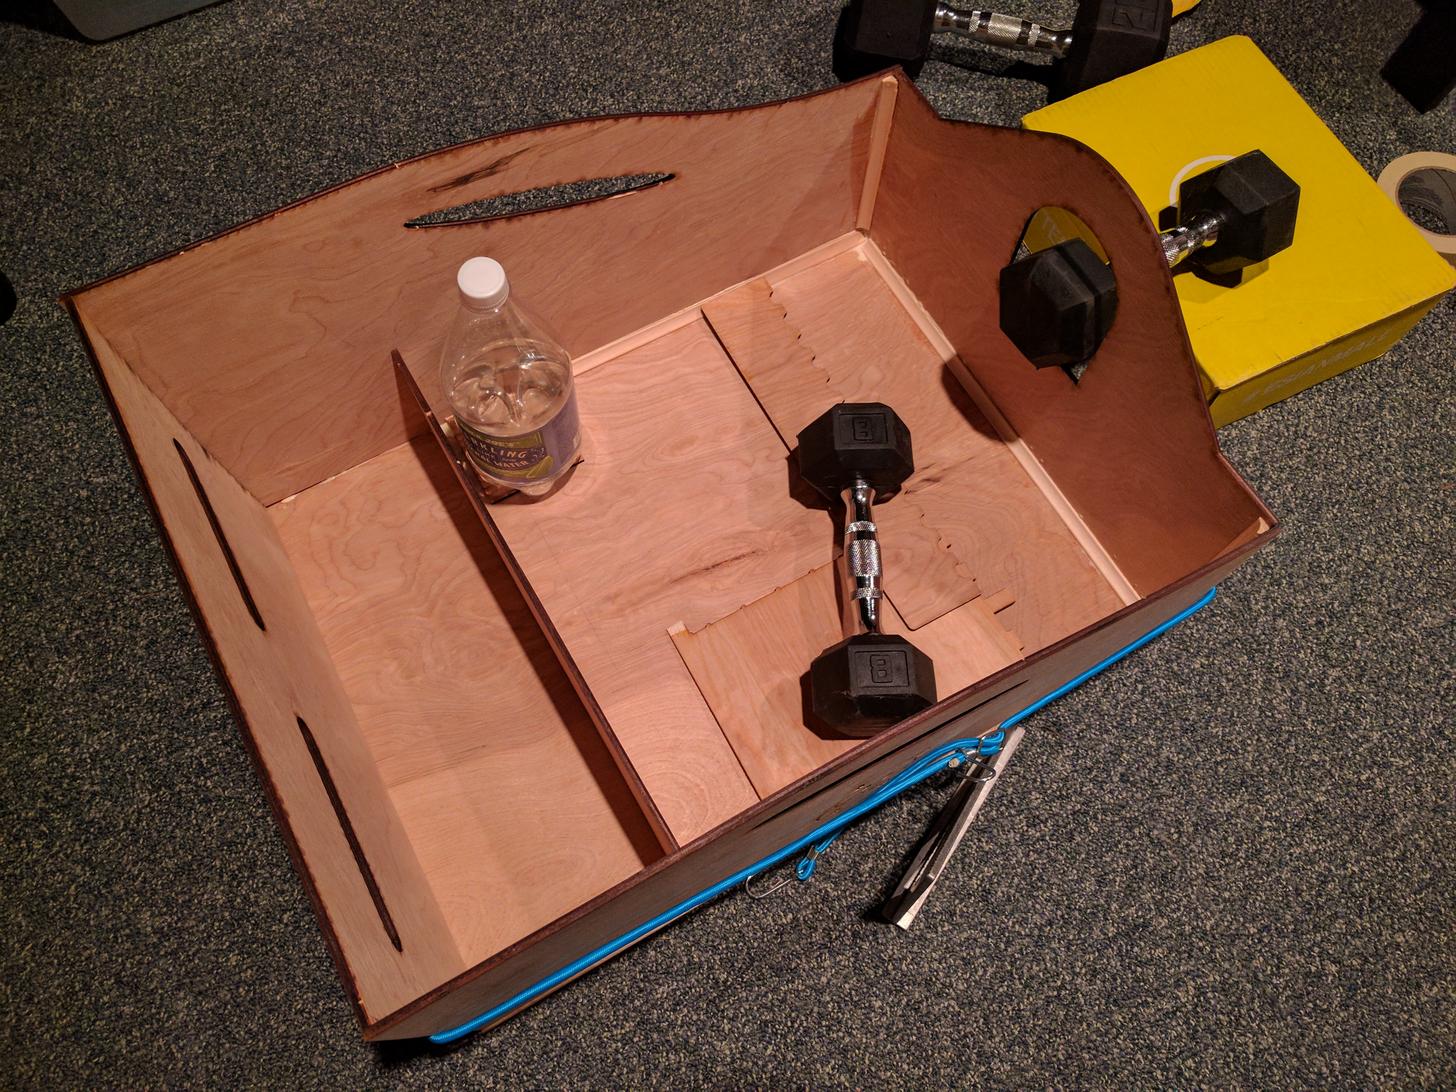
I wanted to have a “clean place” in the sandbox, where I could keep a snack bowl, water bottle, etc. This is why there’s this divider, on top of which I added a shelf.
If you don't glue the shelf, but instead simply squeeze it in, so that it can be removed if needed, you just made a handy storage.
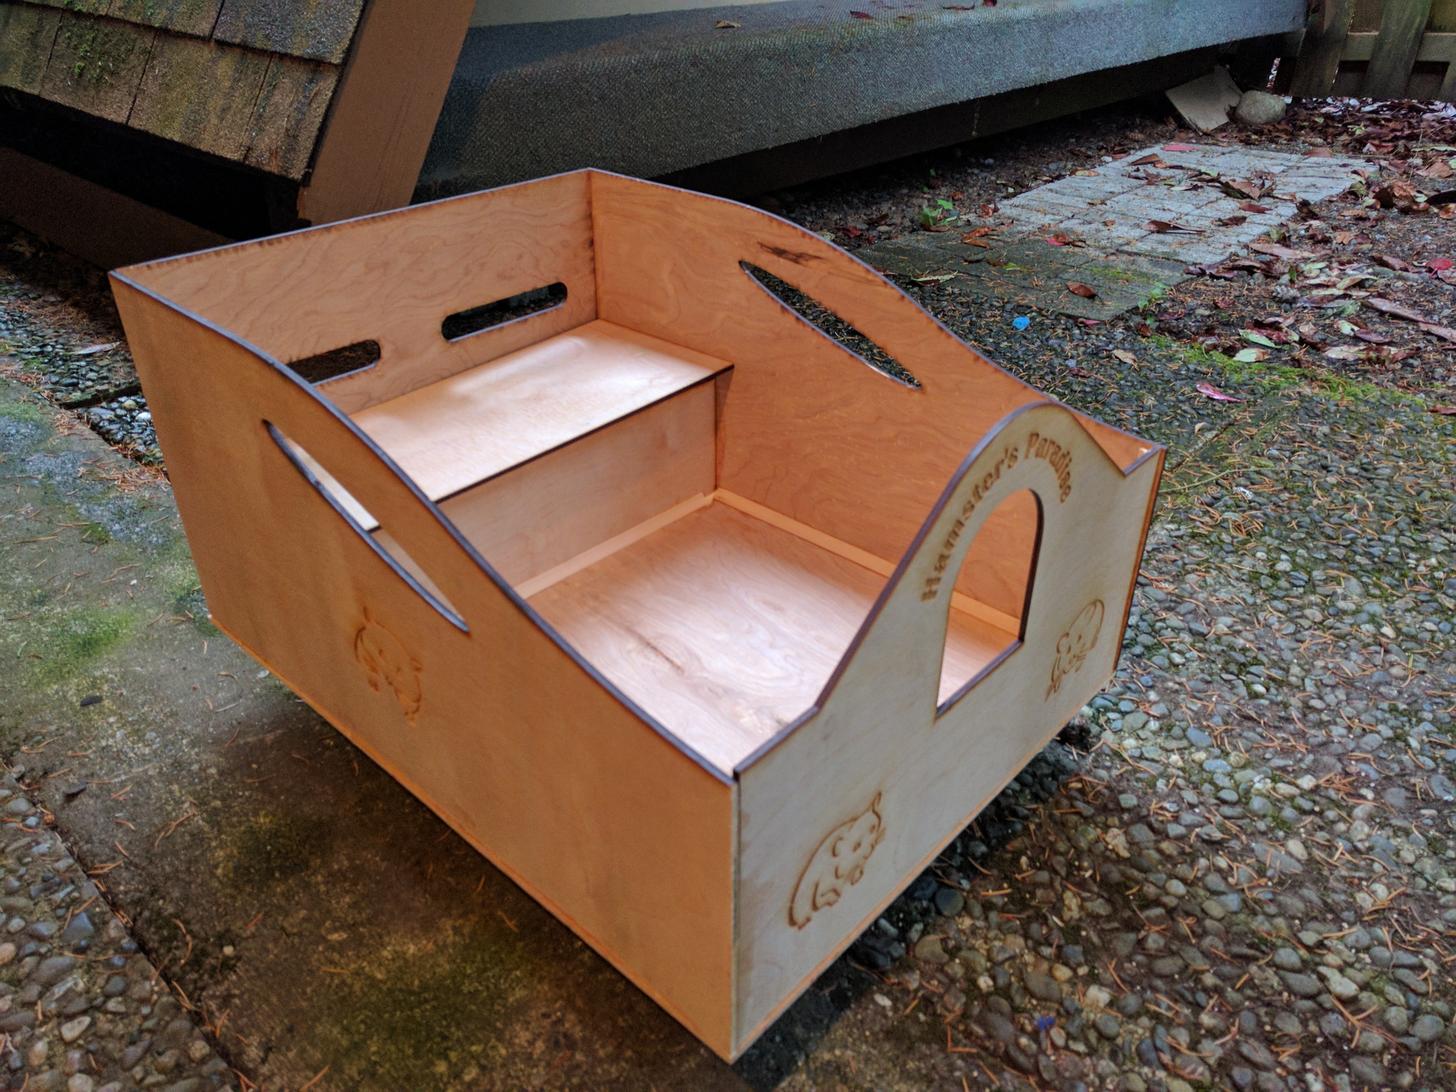
Everything glued and dried… with the added shelf.
I used a polyurethane to seal the wood. It gives it nice finish and protects from water damage, to some extent.
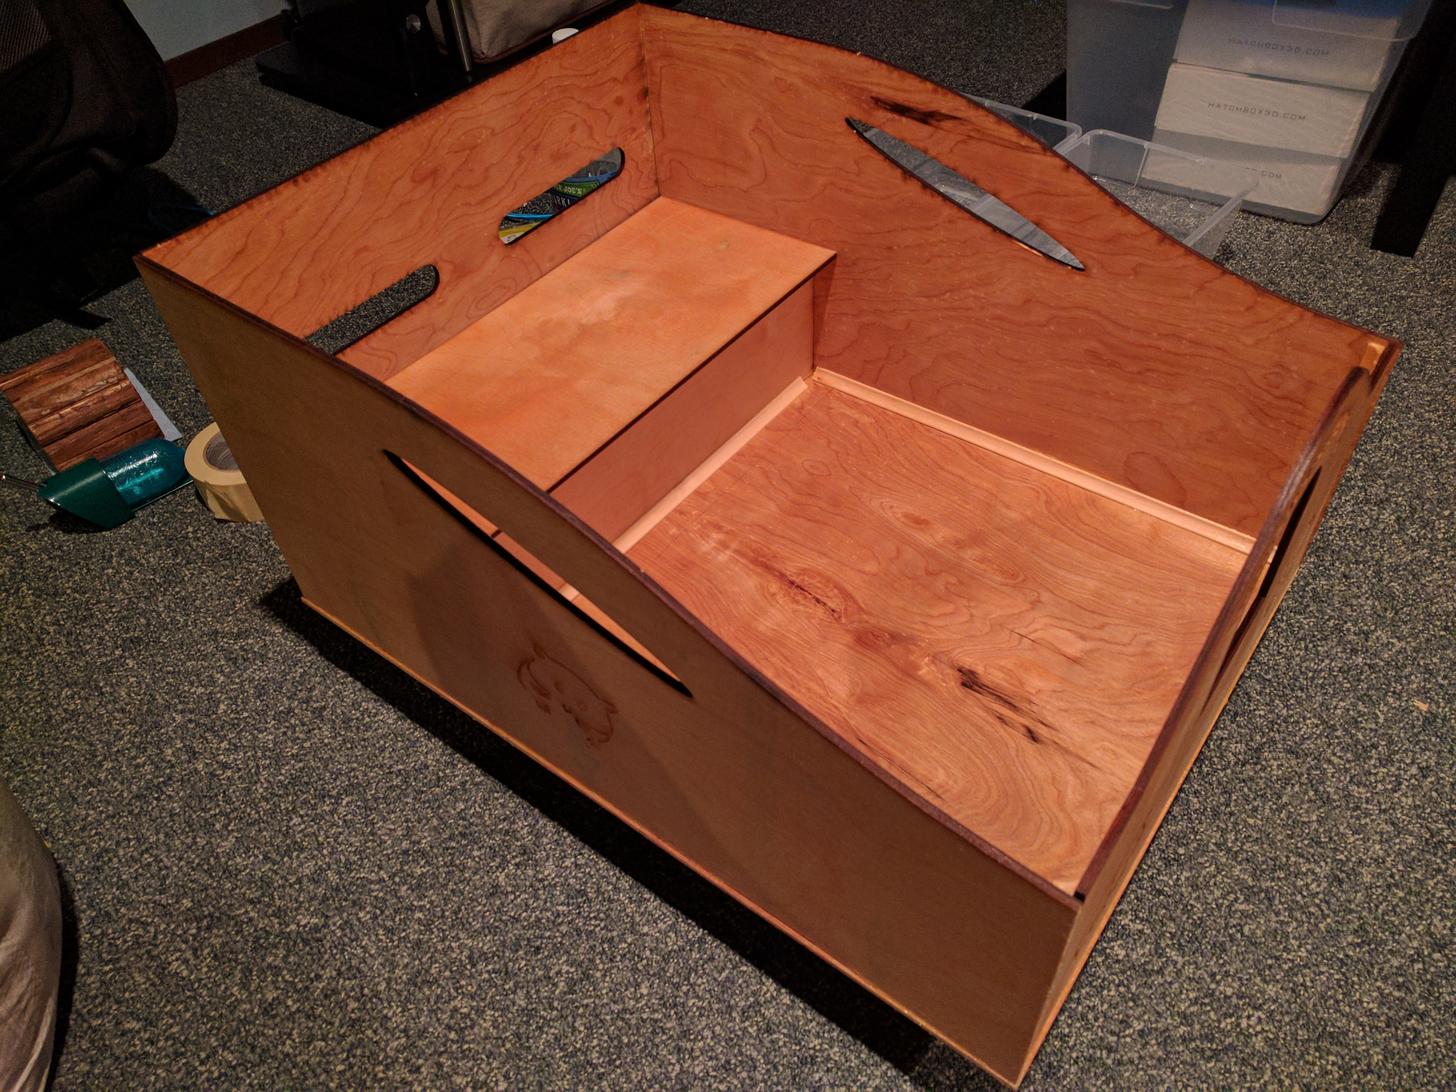
You can get polyurethane in a spray, or a can to be applied with brush. For best results, use 2-3 layers, allowing to dry between coats, and gently sand the surface before applying the final coat.
Make sure it dries completely before allowing your pet to play with it! Couple days in the sun does the trick perfectly.
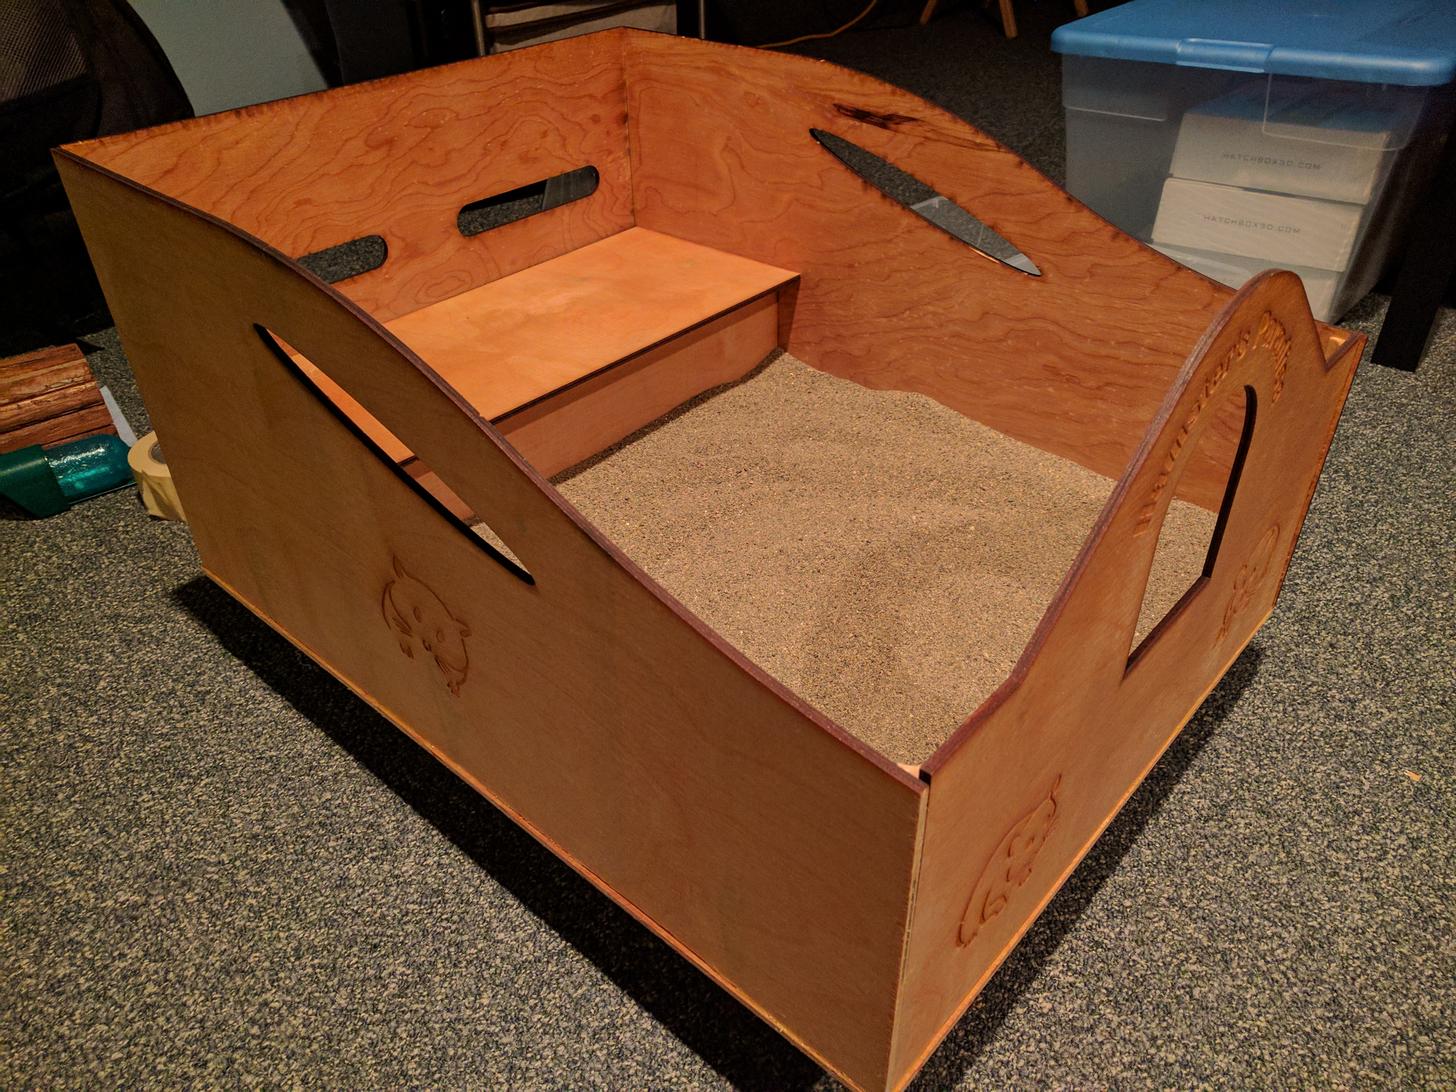
Everything sealed and dried… time to add the sand!
I used "play sand" from Home Depot. Make sure you get the "play" kind, and not regular sand (i.e. used to mix with cement).
Alternatively, you can buy terrarium sand, sold in pet stores for geckos, lizards, etc. However, this option is significantly more expensive (play sand is about $5 for 50lbs, sand from pet store is about $15 for 10lbs!). Overall, I used about 40 lbs of sand, but now I see it would also work with less.
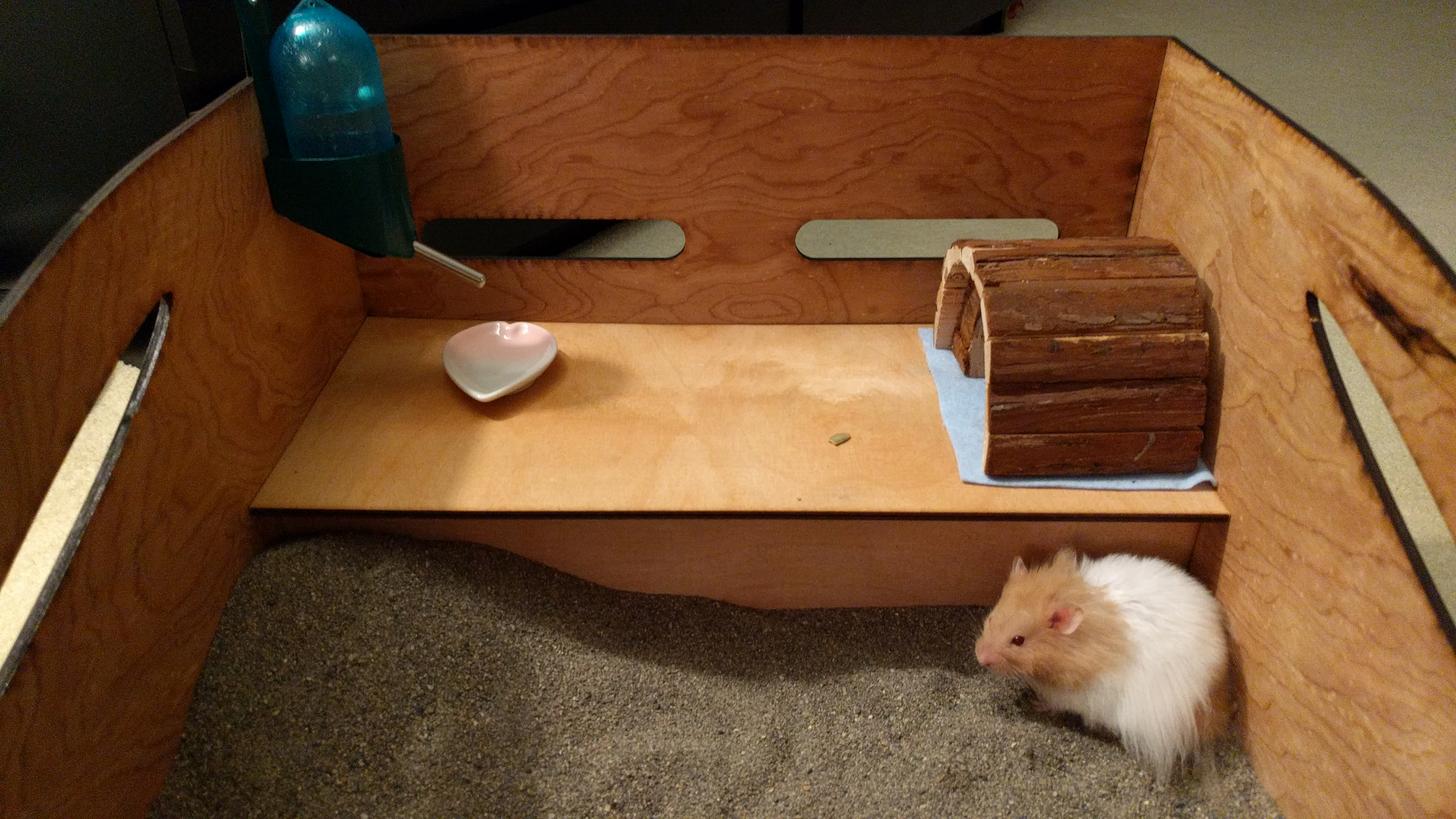
Add a water bottle, snack bowl, a small hideout, and done!
Oh wait, don't forget to add a pet!
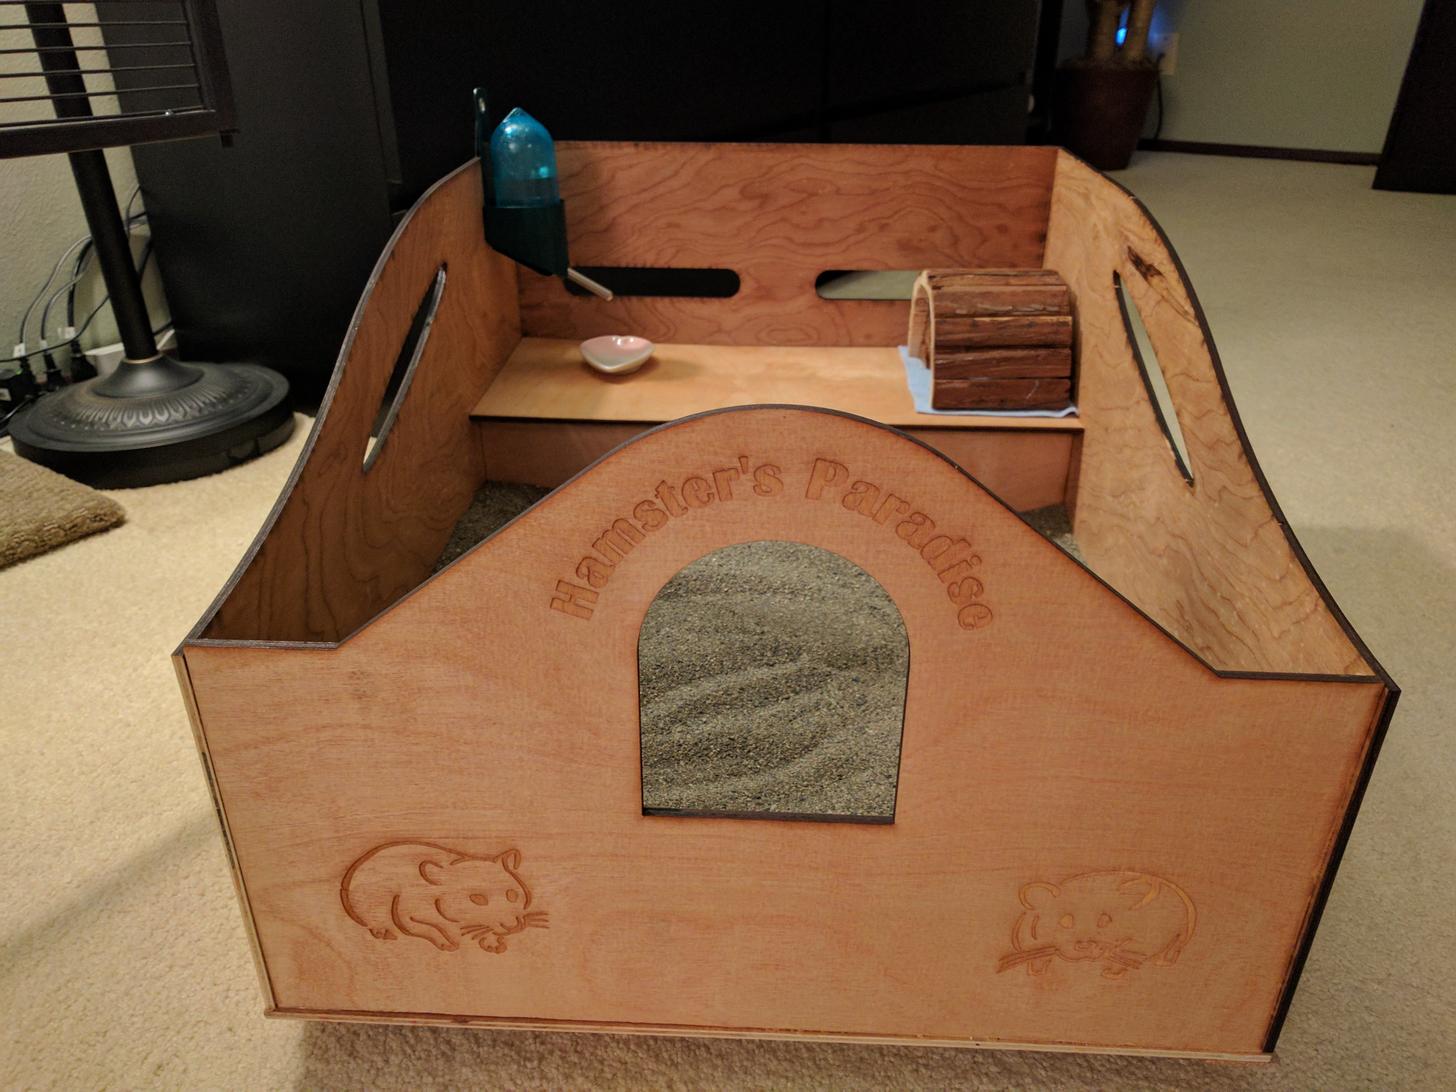
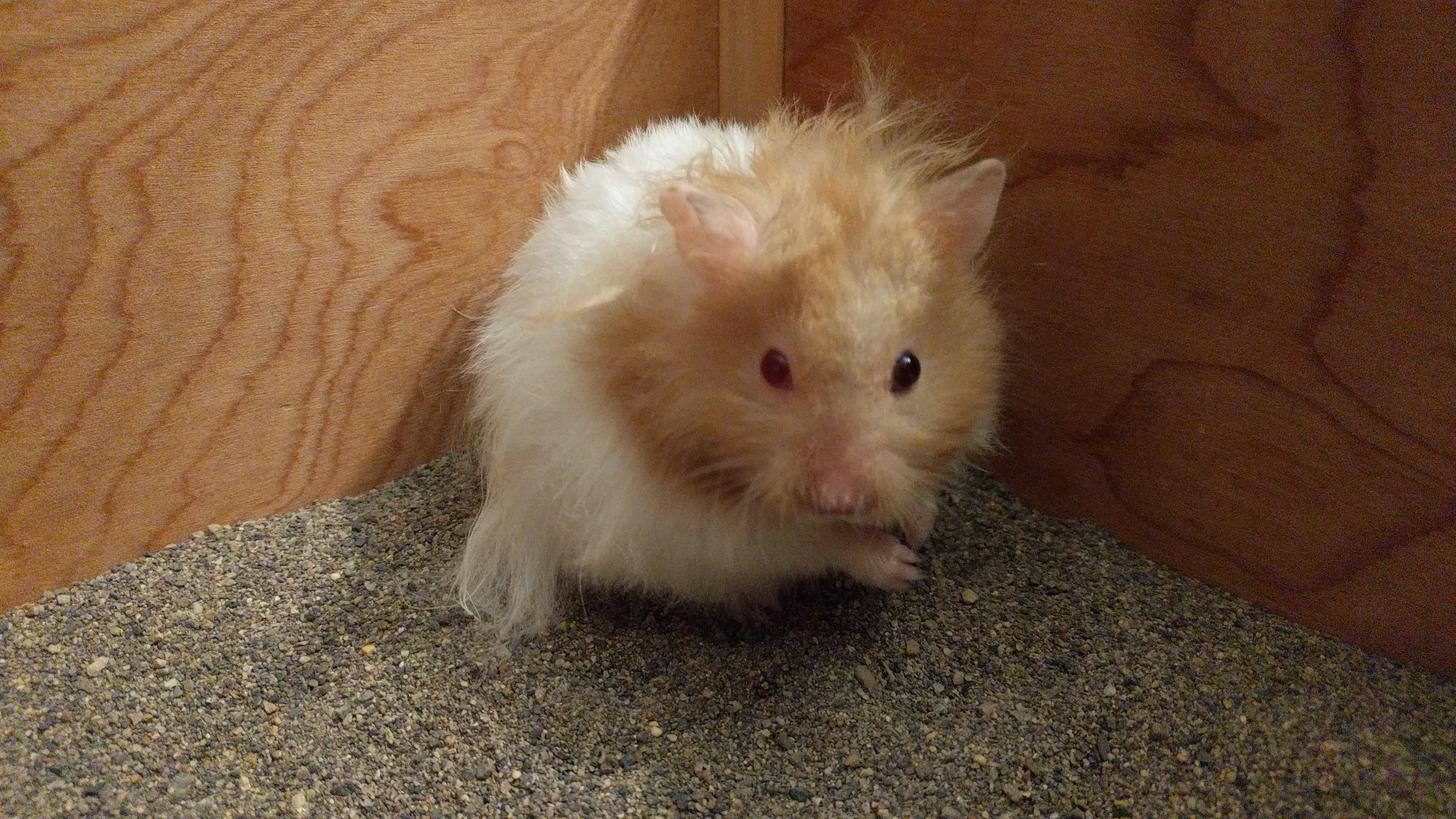
Our hamster loved it immediately. He quickly started digging, sniffed every corner and was very active.
If you love this creative “Hamster Paradise,” please SHARE this awesome idea with your friends!


