Anyone who has ever had to deal with spatial constraints when decorating and furnishing rooms knows that it is beyond frustrating.
Here at LittleThings, we love reimagining and repurposing materials. A lot of the time, spare pieces of material are overlooked, and end up being thrown out and wasted. Many out there have discovered that they can actually be used to create the most fascinating things — things that will keep you entertained on hot summer days, things that can make the perfect gift for a special someone, and more.
Instructables user NatalieL2 completely saw the advantage in making use of unused, unwanted pallets. She saw their wonderful potential and crafted something absolutely utilitarian and gorgeous to spruce up her bedroom.
This clever crafter has salvaged these pieces of wood in the best possible way. The best part of this project? It's incredibly easy to put together. Let us know what you think in the comments!
Please SHARE if you thought this creation was fabulous!
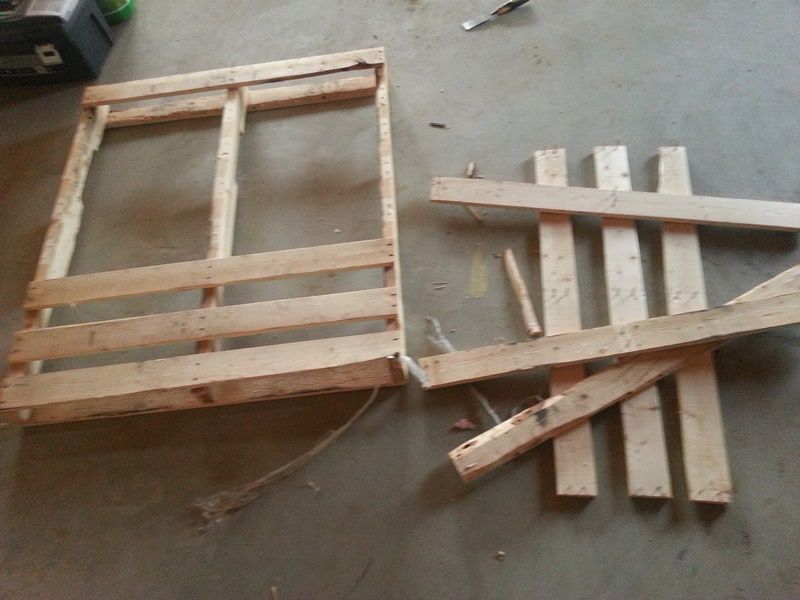
Crafter Natalie Langkopf has long seen the beauty in fashioning objects out of natural materials. She has also never been able to find the perfect end tables to place beside her bed. That's why she decided to make her own. First, she took apart two pallets, and made sure to rid them of nails and sanded them down.
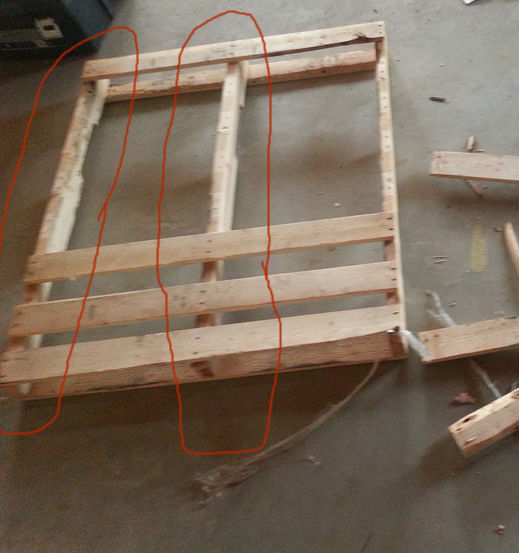
She started by making the legs of the table. She cut the cross pieces in half to give her the height she wanted. She only used 8 out of the 12 pieces that were produced.
To make the tabletops, she cut 3 boards in half. She kept their length narrow so that they could fit next to her bed.
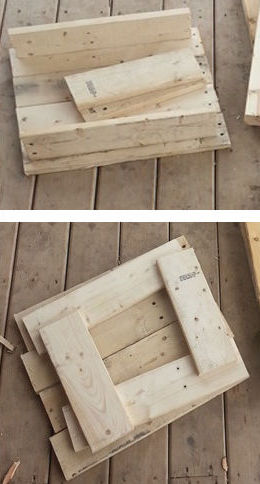
She cut an additional four smaller pieces, and screwed them together to make a box. This was positioned underneath the tabletop, which sealed it like a "cap."
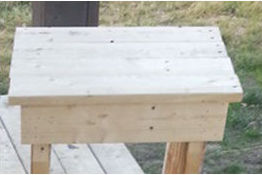
Then, the legs of the table were each attached to the inside corners of the caps by screws.
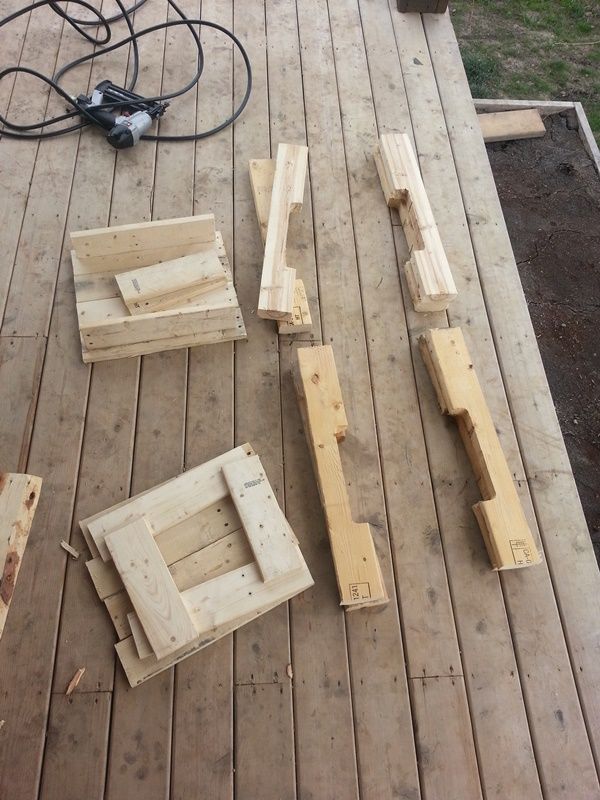
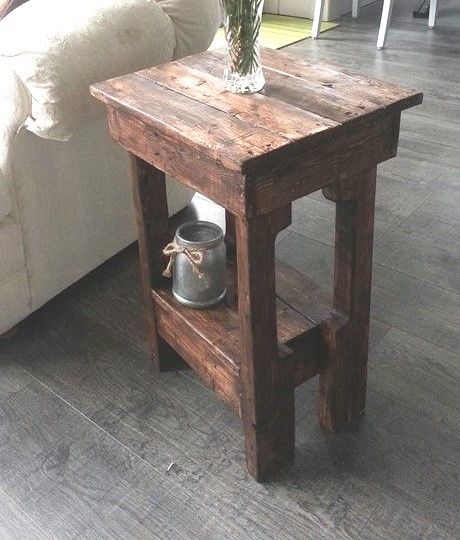
She even created a second cap, and placed it further down on the legs, creating an additional shelf that gave the table more of a balanced look. It was made a little smaller, and with no overhang.
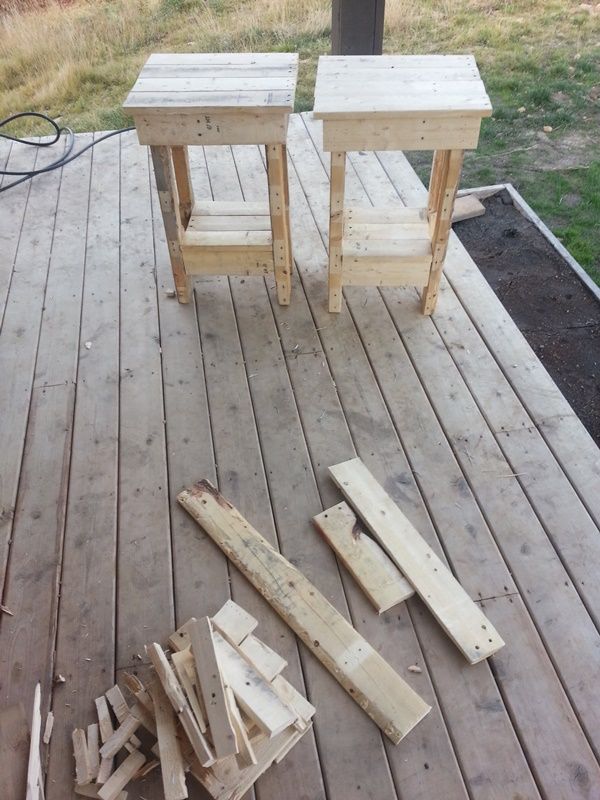
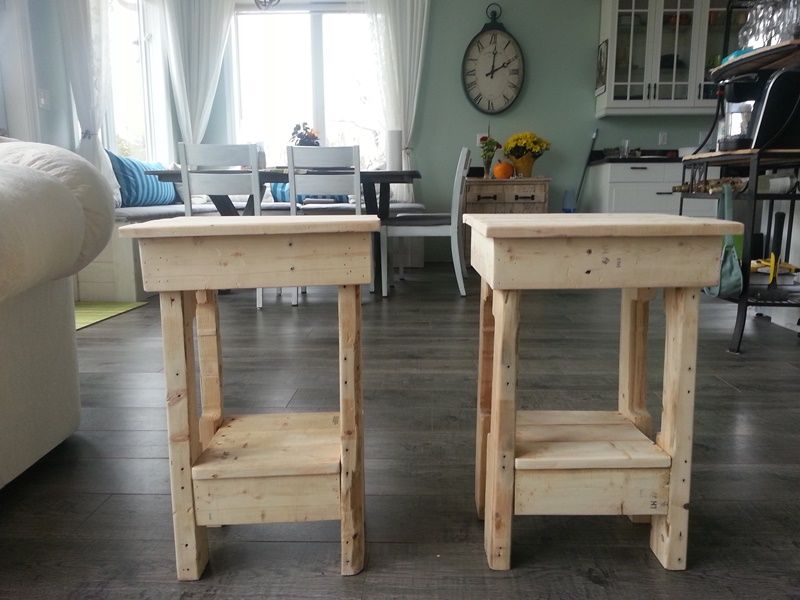
Then, it came time to decorate. Feel free to do whatever suits your aesthetic — sand, stain, or paint to your fancy. Or leave them as they are!
Here it is after it's been stained.
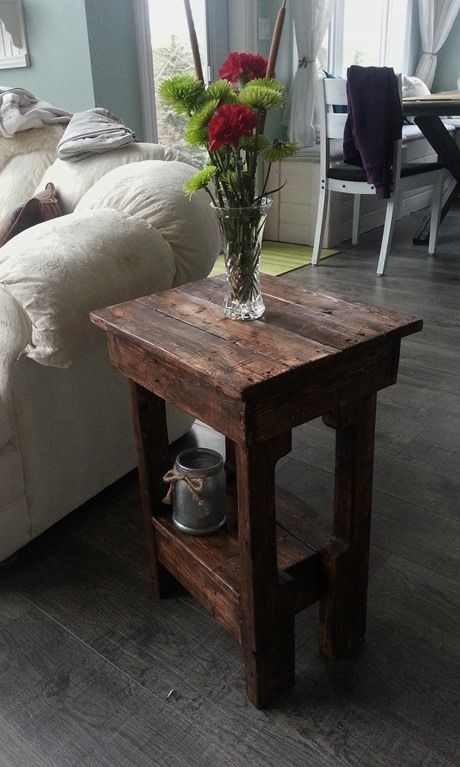
What an elegant, rustic addition to have in the bedroom!
What do you think of this project? Let us know in the comments below, and please SHARE!


