Right now, a lot of our children are spending way more time at home than they usually do. And while all that extra family time is really fun, a lot of kids are also missing their friends right now. That's why we are introducing our "Virtual Playdates With a Purpose" kits. Your children can set up a time to "meet up" with their friends online and work on a fun, creative games project that they can do entirely by themselves.
Today, we wanted to share one of our favorites: a DIY cereal box puzzle! With just four tools, your kids can make this puzzle on their own. We chose a cereal box puzzle because there are so many benefits that children can gain from making their own puzzle. We asked Victoria Garcia, who teaches kindergarten in New Jersey, what makes puzzles so special for kids. She told us:
“There are so many reasons why puzzles are a great option for kids! They are a win-win because not only are they fun to do, but they have great educational and developmental benefits! Now that kids are spending more time at home, they need a way to ‘exercise’ their brains and make social connections with others. On a normal day, kids are constantly using decision making skills (making plans with friends, choosing a lunch, what they want to do for a school project, etc.) as well as using fine motor skills (writing notes in school, zipping up a jacket, tying shoes, etc.). These skills can be put on hold while at home without friends, which is why puzzles are a great option!”
Since we also know that a lot parents are feeling the extra weight of suddenly needing to do everything for the home all at once, we also wanted to design our virtual playdates so that kids can do them all by themselves. While they might need a little help getting their video chat going, they should be able to take over from there.
This virtual playdate will probably take your children 30 minutes or less to finish and is ideal for children between ages 6 and 8. The directions below are written so that kids can follow along on their own.
The Benefits of Puzzles

Victoria also explained in more detail the benefits kids gain from making their own puzzles:
“Fine-Motor Skills: For the little ones, picking up the pieces of a puzzle, flipping them, and placing them together is constantly working their fine-motor skills. For the older ones (6+), gluing and cutting out the pieces works this skill. All of the tasks to make and complete the puzzle will help develop their small muscle movement!”
Puzzles also encourage problem solving:
“Problem Solving/Cognitive Development: When kids work on a puzzle, they are constantly using their brain to map out what the final product will look like, and the best plan to get to the finished product. A problem will occur if a piece does not fit, but kids can figure out how they can fix that problem by looking for a different piece. Deciding to group the pieces into color/shape is also helping with organizational skills.”
And they teach kids the value of persistence:
“Persistence/Task Completion (my favorite part of puzzles): Having kids set a goal and completing that goal is extremely gratifying for them, and also teaches them the importance of patience and persistence (which is a skill that can be tricky for younger children)! When the final piece is put in place, and the puzzle is completed, kids are able to see their hard work pay off, and how success is obtainable if you keep going even when times are difficult!”
Games Project: DIY Cereal Box Puzzle

The best part is that everything in this project can be made with items you already have at home. Here's what you need to make your own cereal box puzzle:
- Cereal box
- Safety scissors
- Glue
- Printout of our puzzle template
That’s it! Here’s how you get started:
First make sure you're all ready for your video chat.

First things first: Make sure you're connected with your friends! If you need help setting up a video chat with your friend, ask an adult to help you with this part. Once you and your friend are all ready to chat with each other, you can move ahead to the first step of the project.
Step 1: Flatten your cereal box.

Flattening your cereal box isn't too hard once you get the hang of it. Cereal boxes are held together at the corners. To flatten your box without ripping it, follow these steps:
- Open the flap at the top of the box.
- Open the flap at the bottom of the box.
- With the back of the box facing you, turn the box so that the small side to your right is facing up.
- Using your fingernails, open the side of the box from the top-left corner.
- Gently pull apart the box.
- Ta-da! You have a flat box!
Step 2: Cut your box.

Decide if you want to use the front or the back of the box for your puzzle. It doesn't matter which one you choose, but this will be what you make your puzzle from. Fun tip: You can also choose to make another puzzle with the piece that is leftover!
When you are ready, just cut along the line on your box to separate your two pieces.
Steps 3 to 5: Glue the template to your box.

Flip over your piece of cardboard so that the brown side is facing up. Then glue the puzzle template to the brown side. You will use this template to make the shapes of your puzzle.
Remember that you don't need to use too much glue. The more glue you use, the longer you'll need to wait for your glue to dry. If the glue is too wet, it will be hard to cut out the puzzle pieces.
Step 6: Cut out your puzzle.

Now that your template is glued to the back of your piece of cereal box, you can begin cutting out the puzzle pieces! You just need to follow the puzzle shape lines with your scissors. And remember, there's no rush. Take your time cutting out the pieces so that you are happy with how your puzzle turns out.
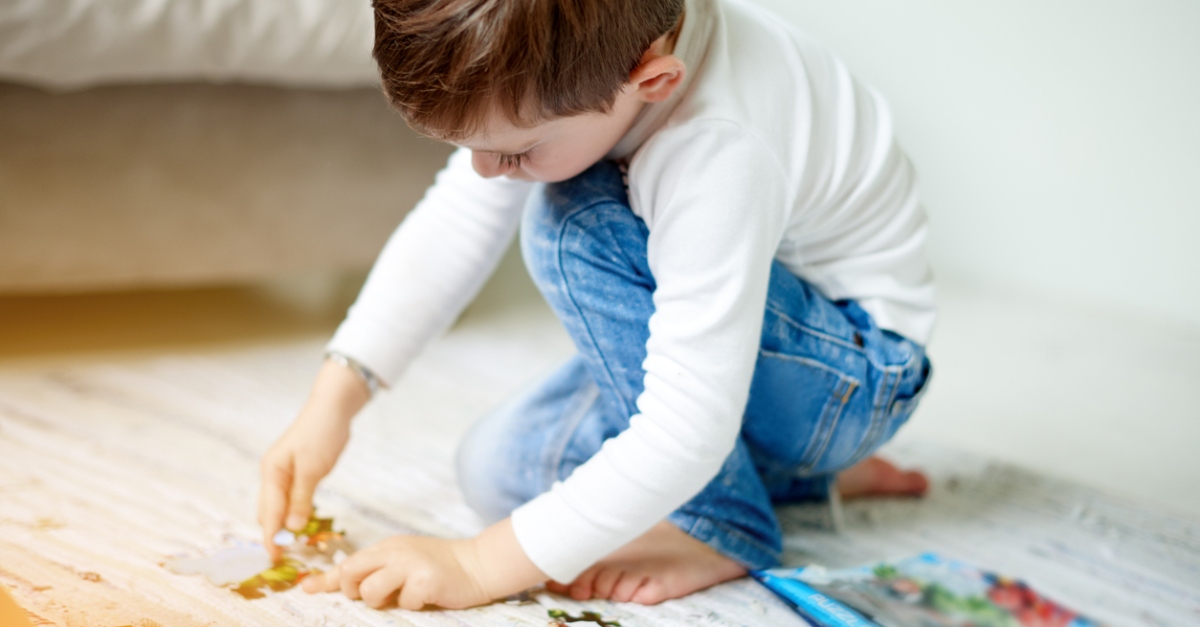
7. Put your puzzle together.

Now you are ready to put together your puzzle pieces! This is the fun part. You can take turns with your friends on the chat and watch each other put their puzzles together, too.
If you have a brother or sister, see if they want to take a turn with your puzzle. Also, what else can you make puzzles out of? It could be fun to look around and see what other boxes you have at home.
For Your Parents: Questions To Ask and Things To Remember

Now it's time to turn it back over to your parents! We asked Victoria what kinds of questions parents could ask their children to extend this games project and turn it into something extra special. Here's what she suggested:
- Before cutting the box: Look at the picture. What do you notice? What colors do you see, and where are they located (right, left, top, bottom, center)?
- Are you going to use a strategy when placing the pieces together? What is it, and why do you think that will work best?
- How many pieces are in the puzzle? Then set a goal with your child: After ___ amount of pieces are put together, take a ____ minute break with your friend!
Other STEM/STEAM Initiatives

We also have a lot more STEM/DIY initiatives and projects that your kids will have a blast putting together! Here are a few of our favorites: