If you or someone you know is having a baby, you know how overwhelming it can be.
People from all corners of your life are offering advice, telling you the tips and tricks that worked with their kids, and then there's the intense moment of actually becoming a mom that nothing can really prepare you for!
Many couples preparing for their first baby are also stunned by all of the equipment that has to be purchased to make sure the first days of parenting are as easy as possible.
Clothes, cradles, and baby carriers can all be very expensive, which is why it's great to use clever DIY projects like this one to save money!
Created by mom and writer Peapodriot, this Instructables post shows how to transform a thrift store pillowcase into a space-saving diaper organizer.
Scroll through the images below to learn how you can make one for yourself or use it as an adorable baby shower gift!
Instructables user Peapodriot faced a problem that many new mothers struggle with: Where do you store diapers so they're in reach, but not just piled up and in the way?
Instead of settling for a store-bought diaper organizer made of cheap materials, she decided to DIY her own using some colorful pillowcases she had lying around.
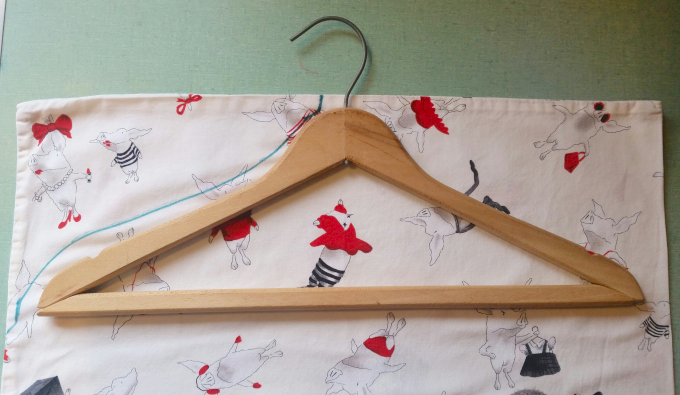
The first step is to find a sturdy wooden hanger and a pillowcase. Turn the pillowcase inside out, then center your hanger along the finished end.
Use a pen to trace the curved edge on one side as seen above.
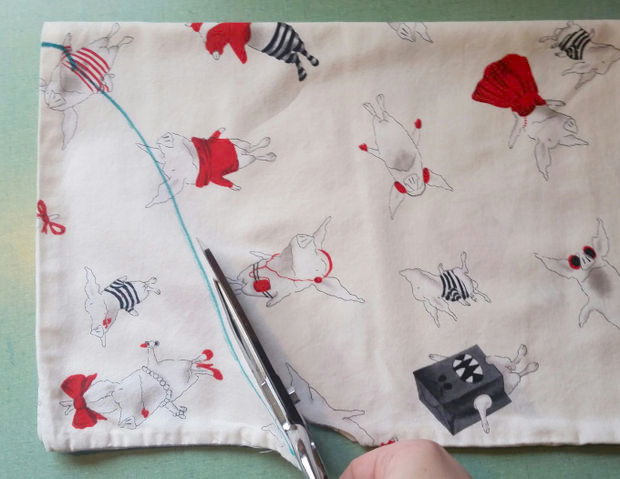
Then, fold the pillowcase in half and cut from the finished edges (NOT the folded edge!) just under the traced line.
At this point, it's probably a good idea to iron the pillowcase flat, because the next step involves the sewing machine!
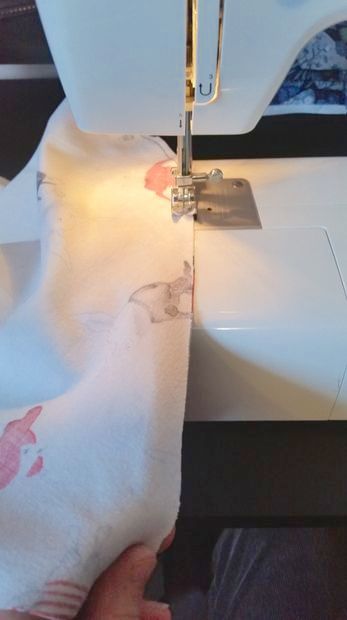
Use a simple stitch to attach the sides of the pillowcase along the curved line you just traced.
This is forming the seam that will allow the diaper organizer to drape on your hanger. Make sure you do it for both sides.
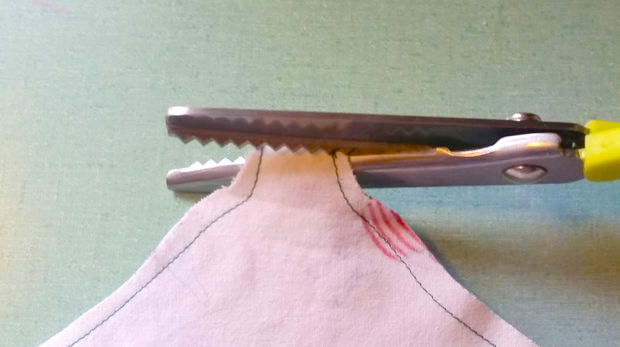
Once both sides of the hanger compartment are sewn, use pinking shears to trim the opening where the swivel arm of the hanger will poke through.
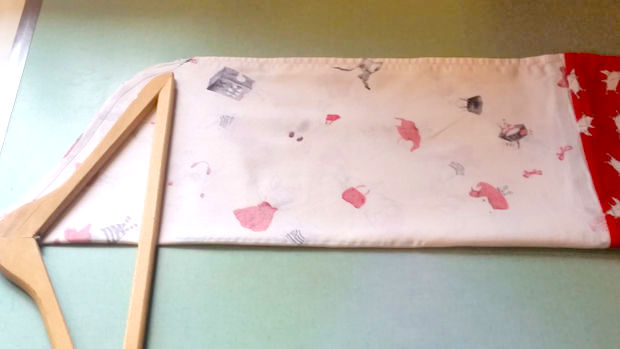
Now it's time to fold your pillow case in half again. Use a pencil to trace along the folded edge, leaving 1 inch below the hanger and up to 8 inches from the bottom.
You're trying to create a perfectly straight line down the middle of the fabric. It will be the opening through which diapers are inserted and removed from the organizer!
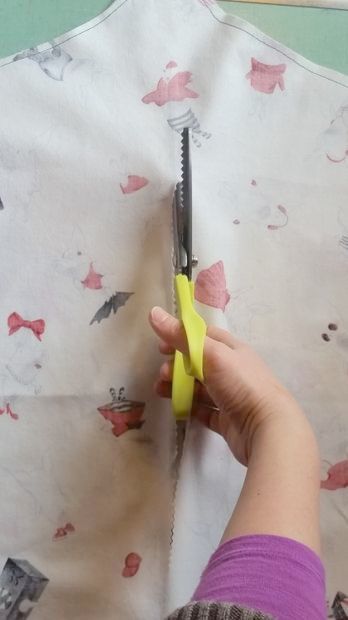
Time to bust out your pinking shears again! They'll help prevent fraying. Carefully cut along that line you traced.
Peapodriot writes: "Make certain NOT to cut through to the other side! You just need this one opening."
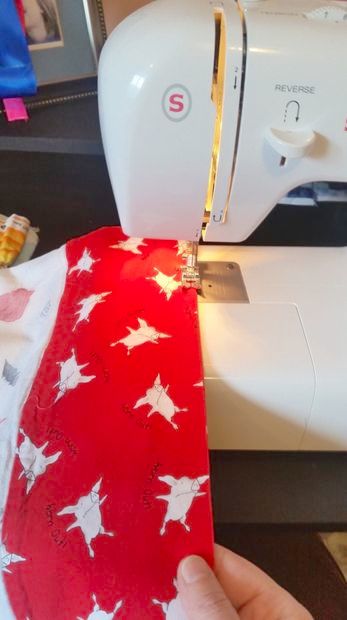
Once the opening is cut, it's time to sew shut the bottom of the pillow case.
Again, just a simple stitch will do because diapers aren't very heavy! Clean ones, at least…
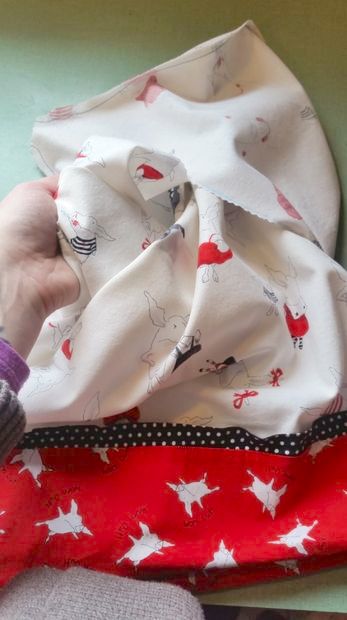
Now, turn the entire pillow case right-side-out.
You'll see that your stitches have formed beautiful seams at the top and bottom of the case.
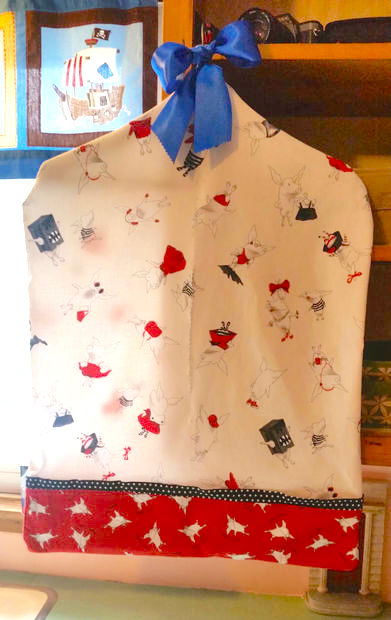
Insert the hanger through the slit and adjust the case over the edges so it hangs neatly.
The folded cloth nappies or disposables can now be stacked three to four across the bottom and it has the durability to hold up to 40 diapers.
Peapodriot says: "A nice fat ribbon tied in a bow finishes this project and it’s ready to use!"
Please SHARE with any new parents you know who are looking for organization tips!


