There are so many reasons to love autumn, it's almost a shame when the season passes and the beautiful, bright autumn leaves fade and blow away.
But now, there's a way to keep a few tokens of autumn with you forever, and in a totally practical way, too!
Using some of your favorite big leaves and a bit of clay, you can keep these beauties year-round — and keep track of all those tiny things you keep misplacing!
How? By turning them into ceramic bowls! Not only is this a great way to preserve the beauty of fall, but they add a charming, homespun touch to your table, just like these beautiful, fall-themed centerpieces will.
And if you're hosting a holiday dinner, they can also double as little holders for wrapped candies, nuts, or place cards.
Take a look at the simple steps below and get inspired. This project is easy enough to have kids help out, too.
Will you be making an adorable and functional bowl from a backyard leaf? Let us know in the comments below!
For this project, you'll need a few simple materials:
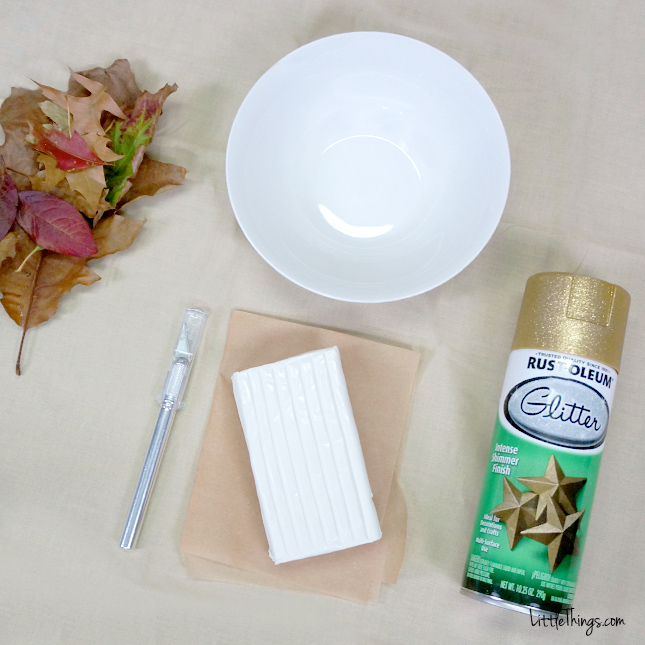
- A package of oven-bake clay.
- An oven-safe bowl.
- An X-Acto knife.
- Some autumn leaves.
- Paint of your choice. We used gold glitter spray paint.
If you’re using oven-bake clay, you’ll also need an oven, and to follow the directions on the package.
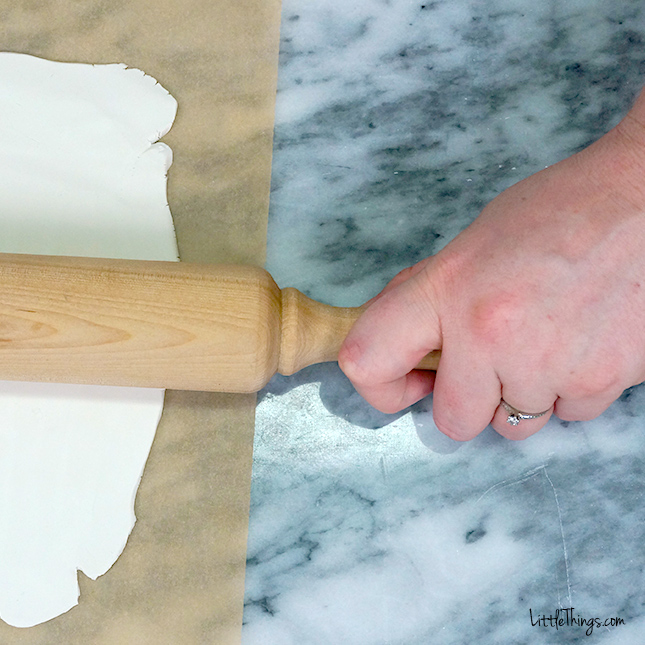
First, roll out your clay so that it forms a flat, even sheet.
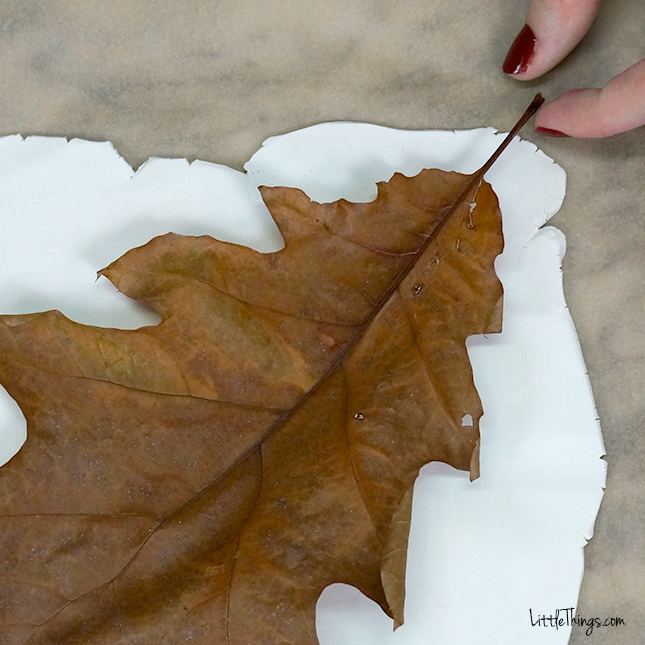
Place a leaf of your choice onto your rolled-out clay. A large, broad leaf with a lot of surface area works best for this project.
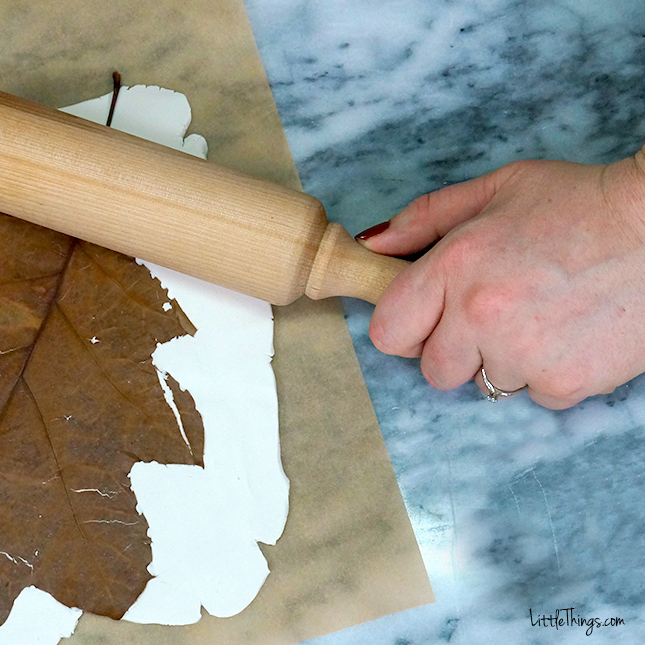
Gently roll the leaf into the clay until it lies completely flat.
Using an X-Acto knife, trim around the edge of the leaf. Get as close as possible for a natural shape, but don't worry about the stem!
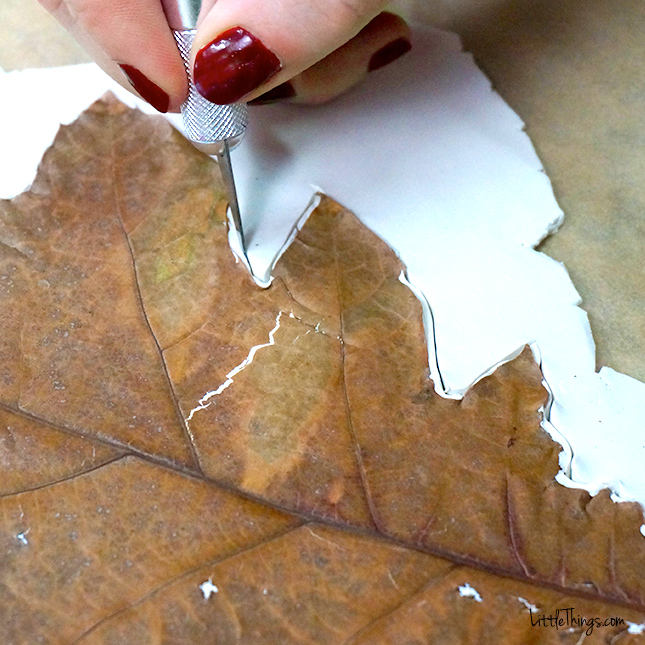
Remove the excess clay.
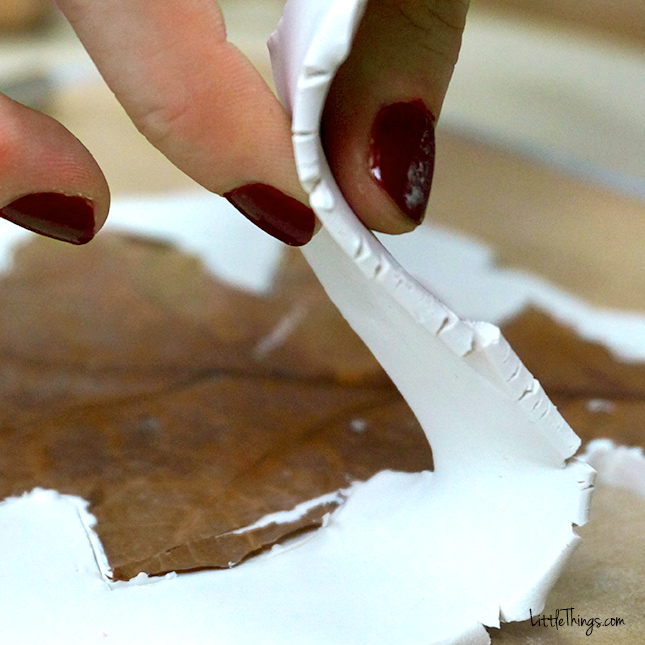
Now carefully peel off the leaf to see the beautiful imprint that's left in the clay.
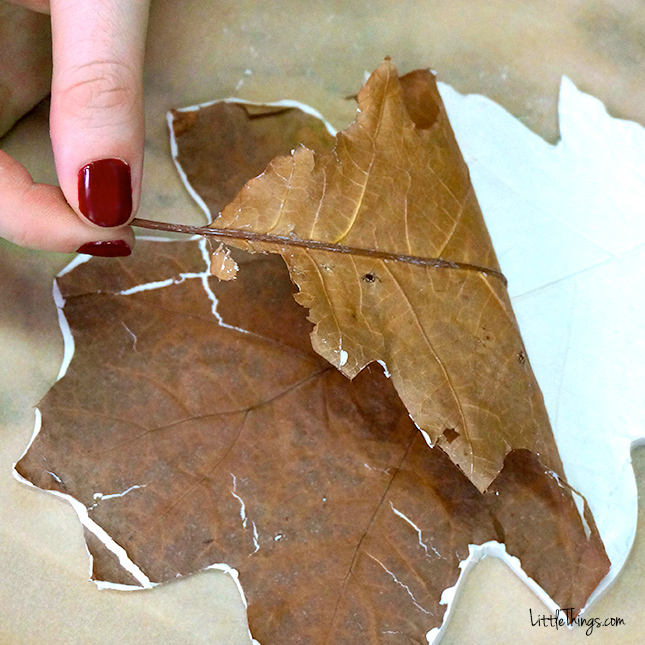
Carefully lift the clay leaf from your work surface. Go slow! You don't want to tear it.
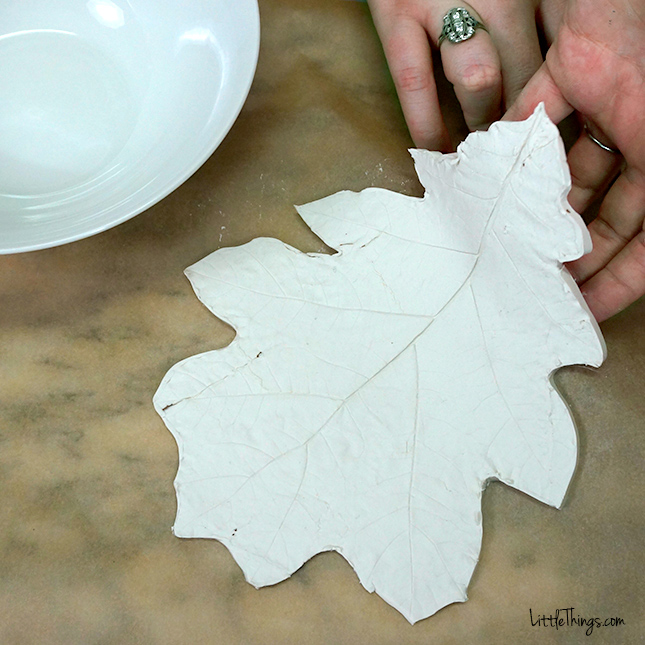
Lay the leaf carefully into an oven-safe bowl, with the imprinted side facing up.
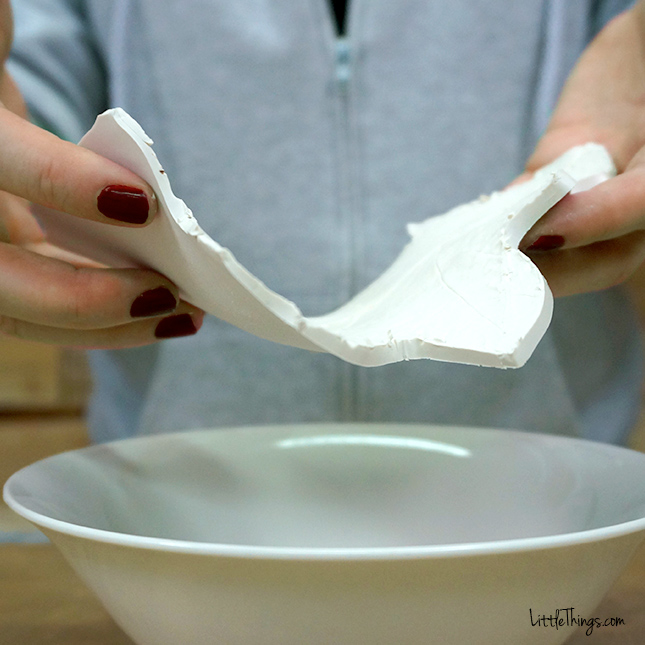
Make sure it's even and lying smoothly in the bowl, and that your bowl is oven-safe!
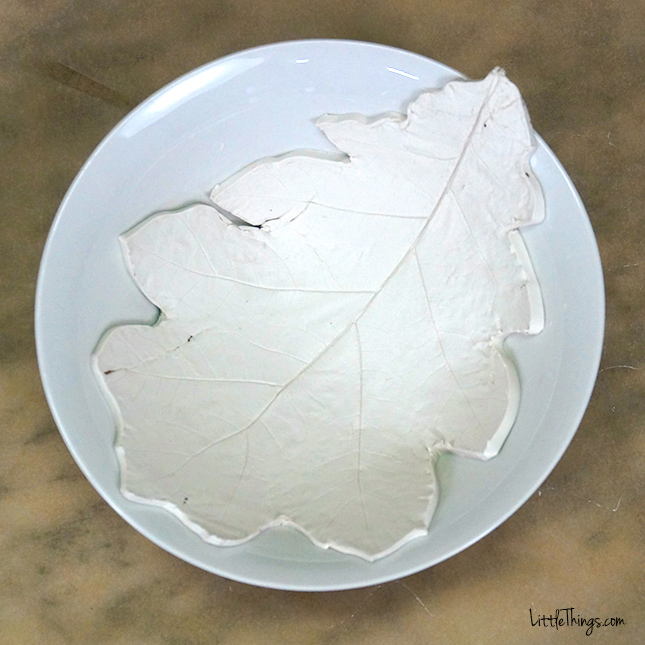
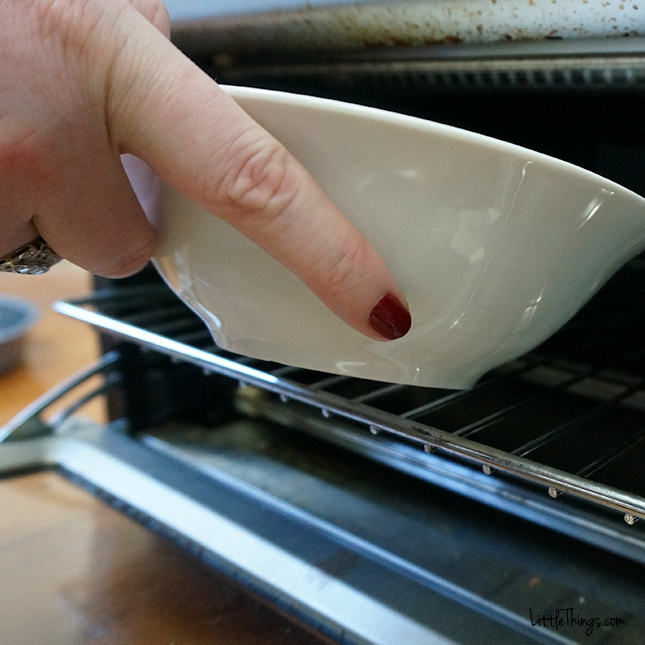
Now pop the whole thing in the oven, following the baking instructions on your clay package.
Remove from the oven and the bowl and let cool. Don't worry about the discoloration — we'll paint over that!
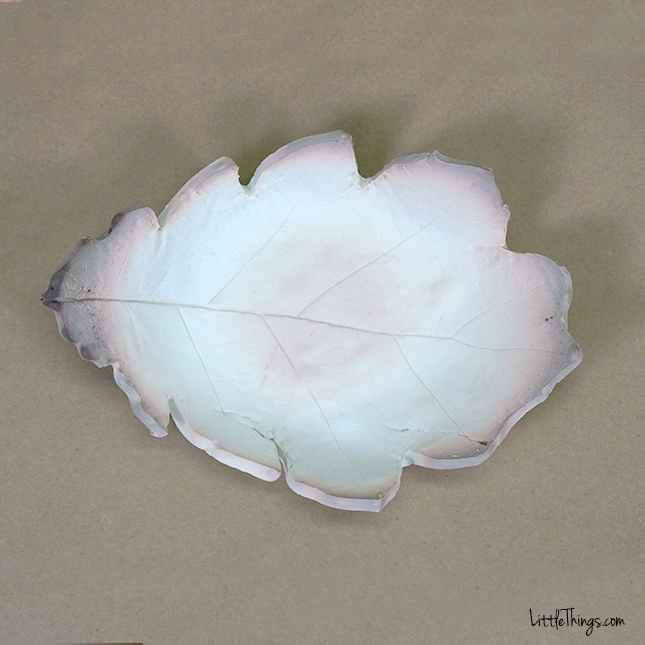
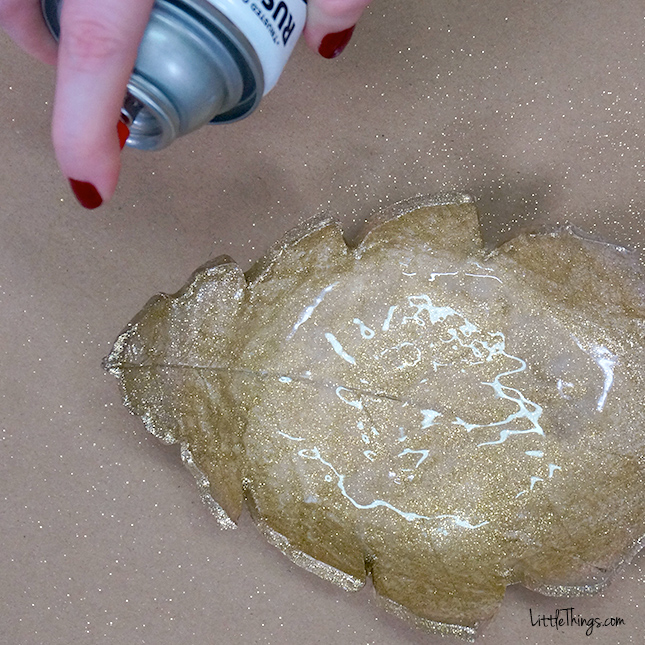
Now it's time to decorate. You can get as elaborate or as simple as you like. We used a simple but festive gold glitter spray paint.
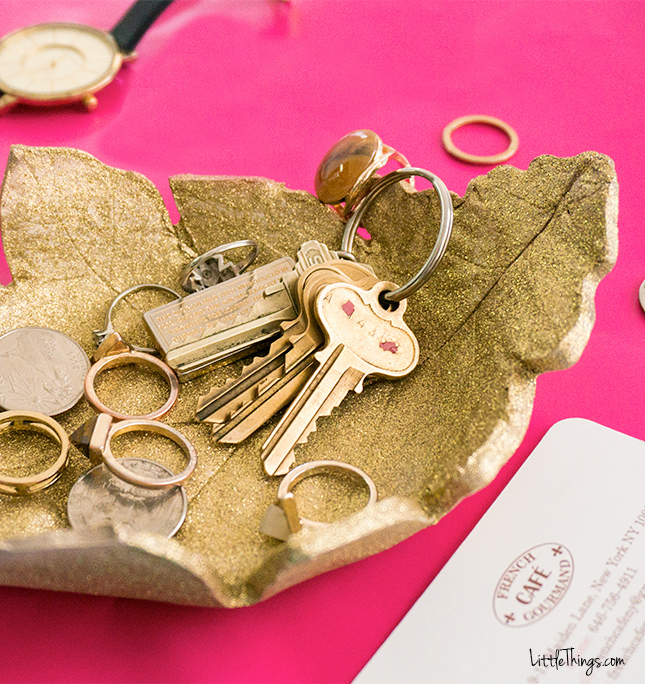
And you're done! It makes a great little catchall for keys, jewelry, and all the other small things you keep losing!
It also makes a great little dish for wrapped candies on a holiday table.
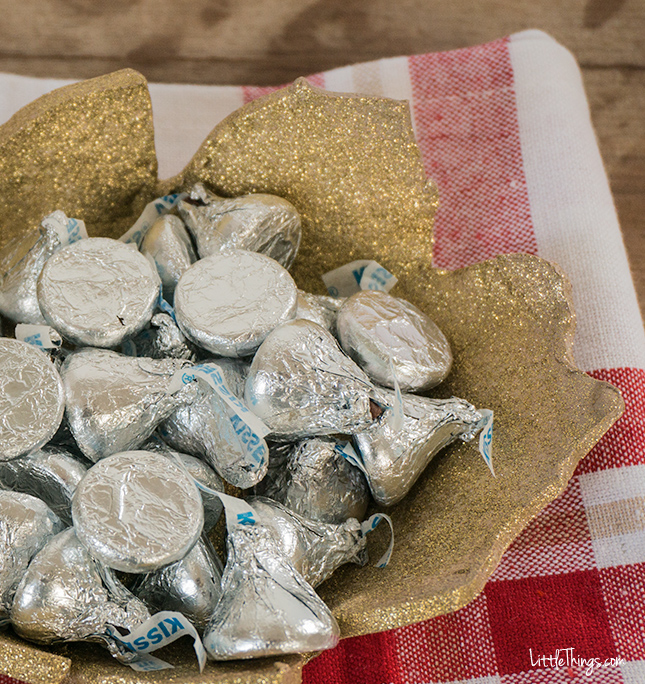
Feel free to experiment with all kinds of leaves, but the larger the leaf, the more you'll be able to hold inside.
And of course, you can decorate them however you like, to match your decor for a year-round accessory, or as a holiday-themed piece.
And remember to SHARE with your crafty friends!


