Recently, I moved into a house that was formerly owned by an older family member.
She held onto absolutely everything from old bank statements to dish towels. Of course, I ended up having to go through most of it to decide what should be kept and what should be thrown away.
One thing I couldn't part with were lamps. You can't just throw a lamp away, because I might need it if I decide to redecorate. The only problem is the lampshades are pretty worn and extremely outdated.
Of course, each lampshade comes in a different odd size so finding a replacement won't be easy. I started looking into some DIY projects for inspiration. A project I found on Instructables really caught my eye.
With a hot-glue gun and a string of colorful ribbon, one DIY-er managed to turn a boring white IKEA lampshade into a colorful conversation piece!
Scroll down to see the final results, and let us know what you think of this vibrant project in the comments below!
With only a few materials, this DIY-er turned a plain white lampshade into the most colorful piece of furniture in the room!
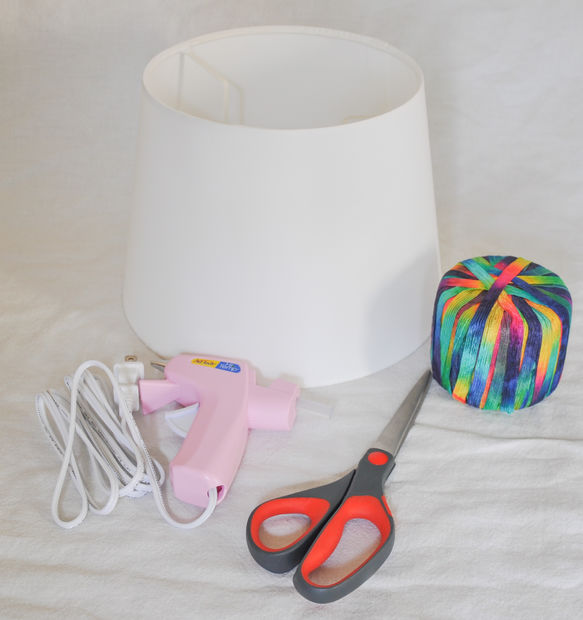
All she needed for this project were a lampshade, a hot-glue gun, a ruler, scissors, and some colorful ribbon of her choosing.
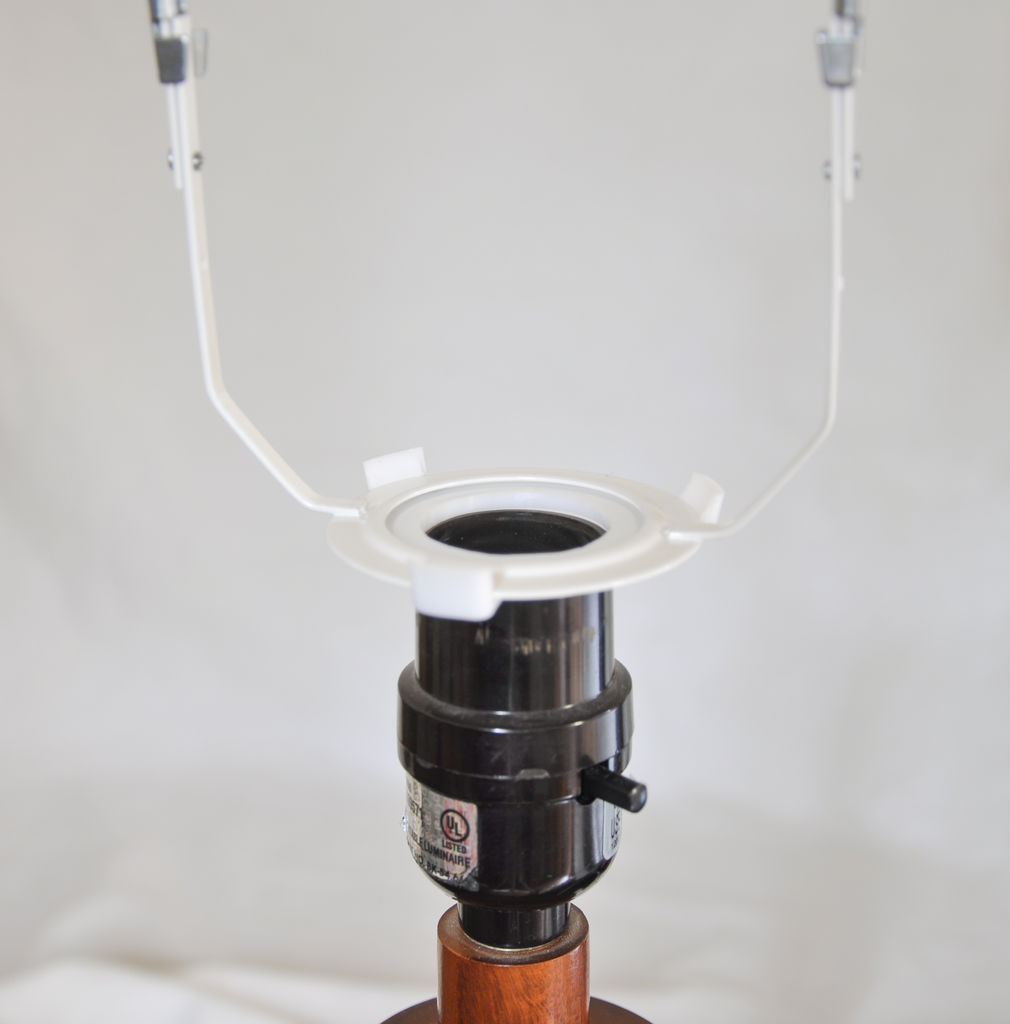
Before beginning this project, this DIY-er had to make sure the lamp she chose worked well with the lampshade she found.
They didn't originally go together, but they looked just fine!
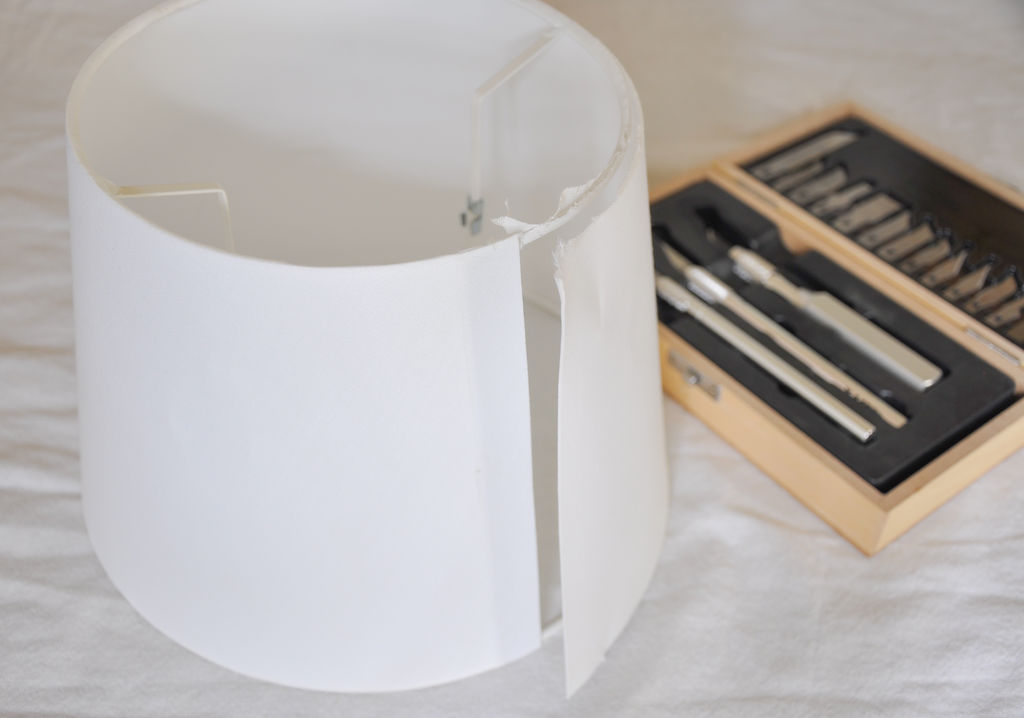
She began by disassembling the lampshade with an X-Acto knife.
The only necessary part needed for the project was the structure.
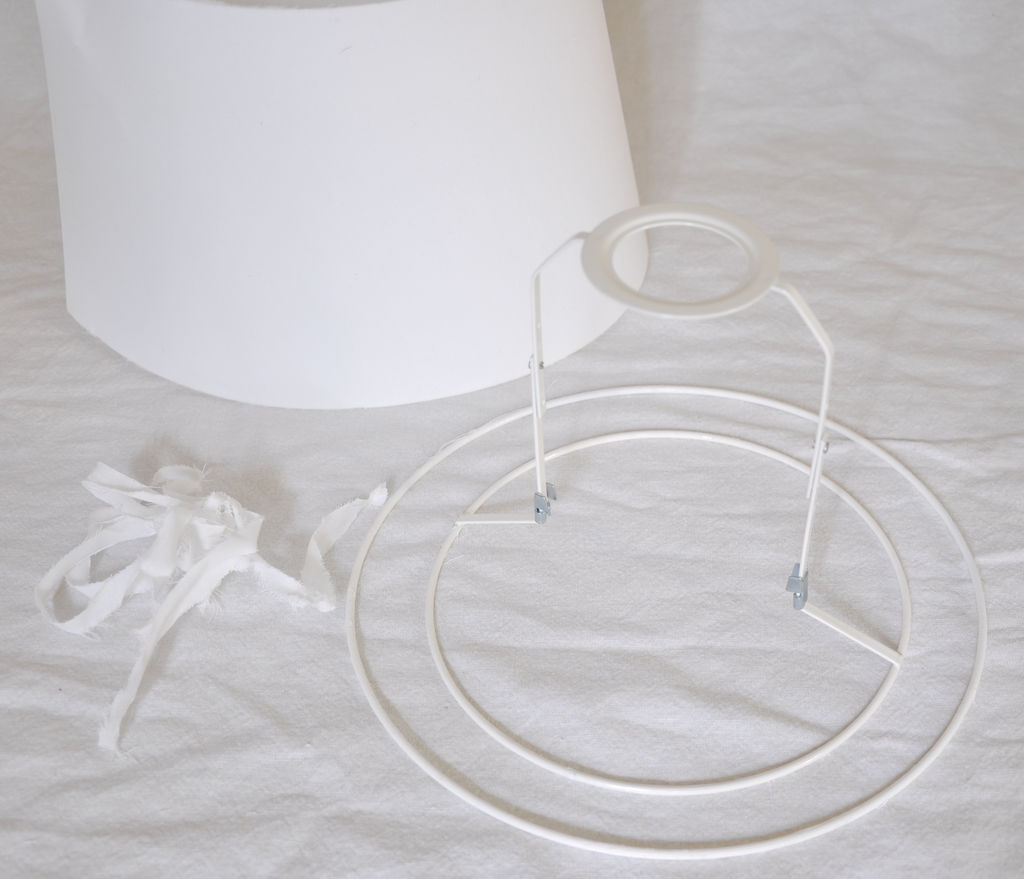
The rings were a little bit sticky from adhesive used to hold the former lampshade.
This actually worked in her favor since the stickiness would eventually hold the ribbon into place.
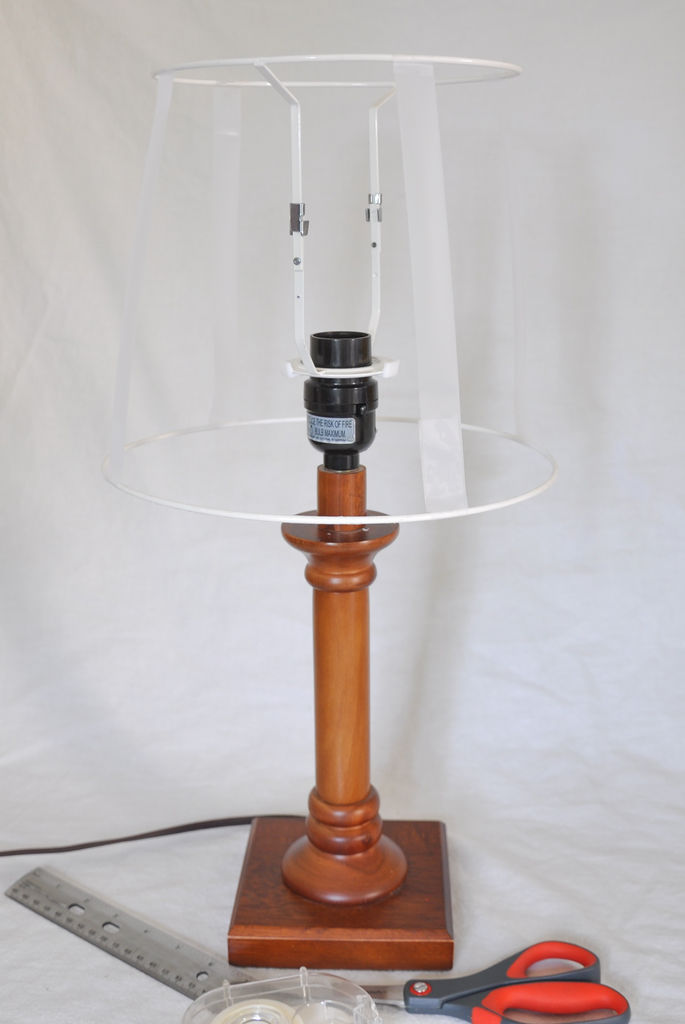
Next, she prepared her lampshade by temporarily attaching the top and bottom rings with a few pieces of tape.
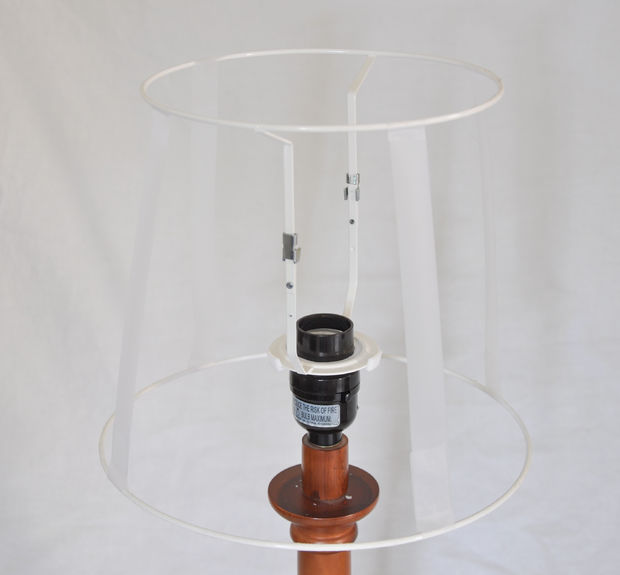
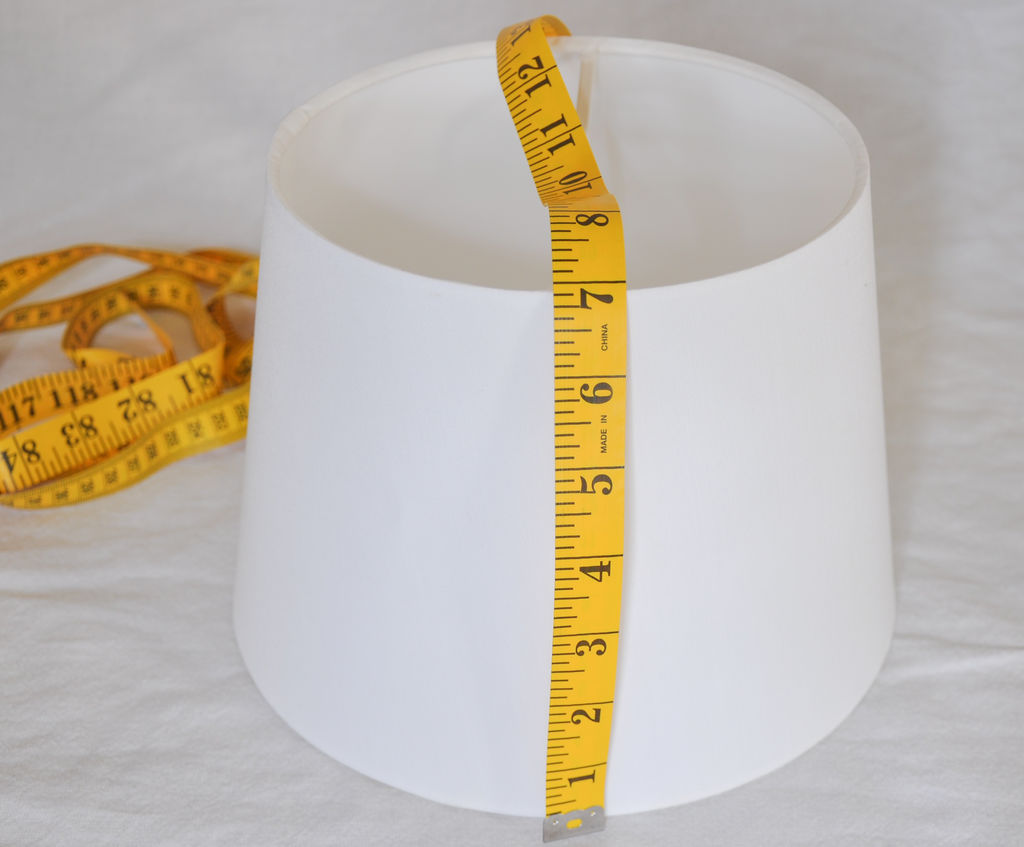
After taping, she used a tape measure to make sure the height was even all around before proceeding.
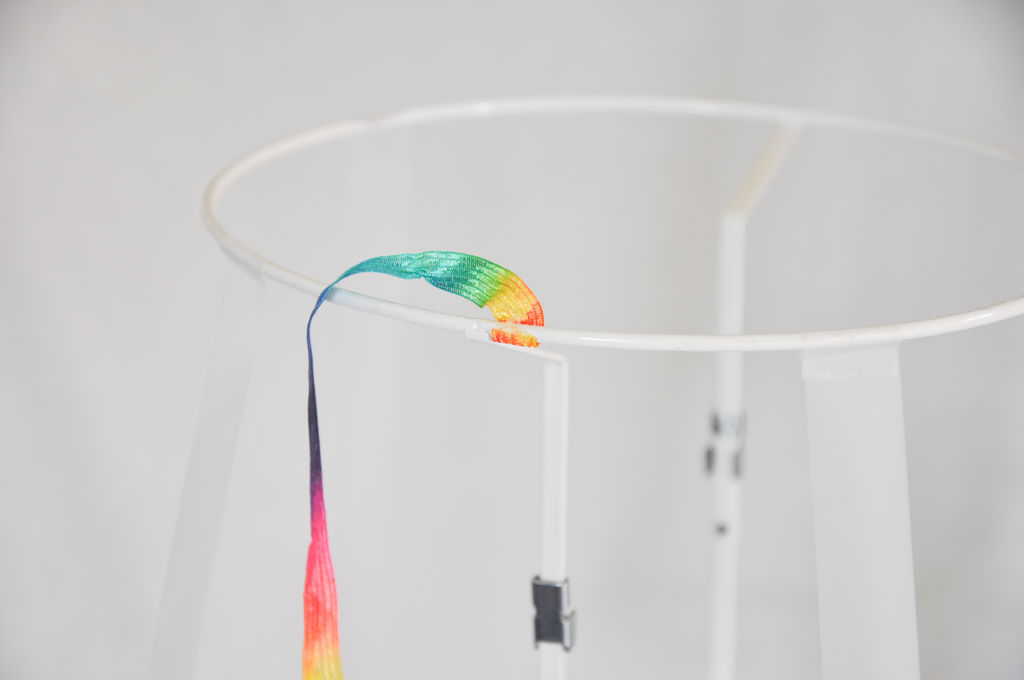
This next step was the fun part: attaching the ribbon!
She began by gluing the ribbon to the top ring.
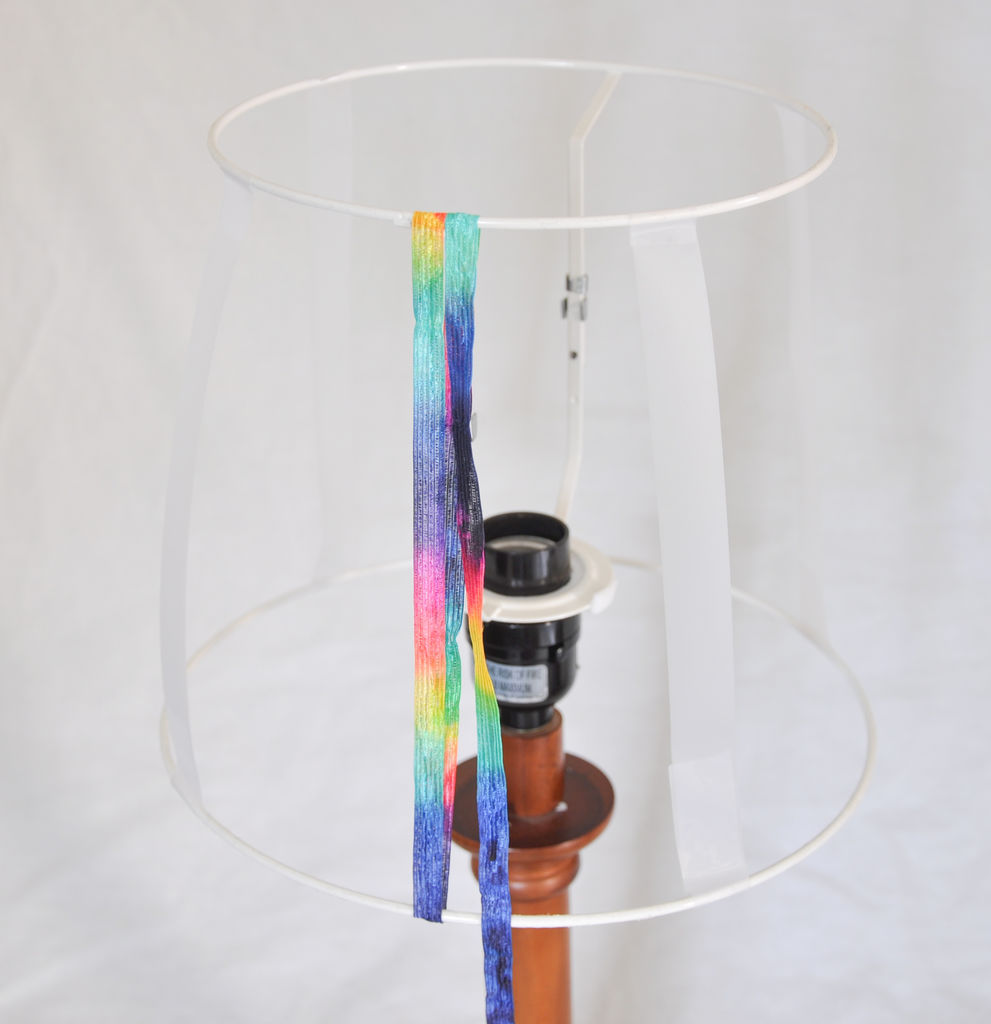
From there, she continued to wrap the ribbon over the top ring and under the bottom ring.
She put a bit of glue along the ring where the ribbon touched so it wouldn't move out of place.
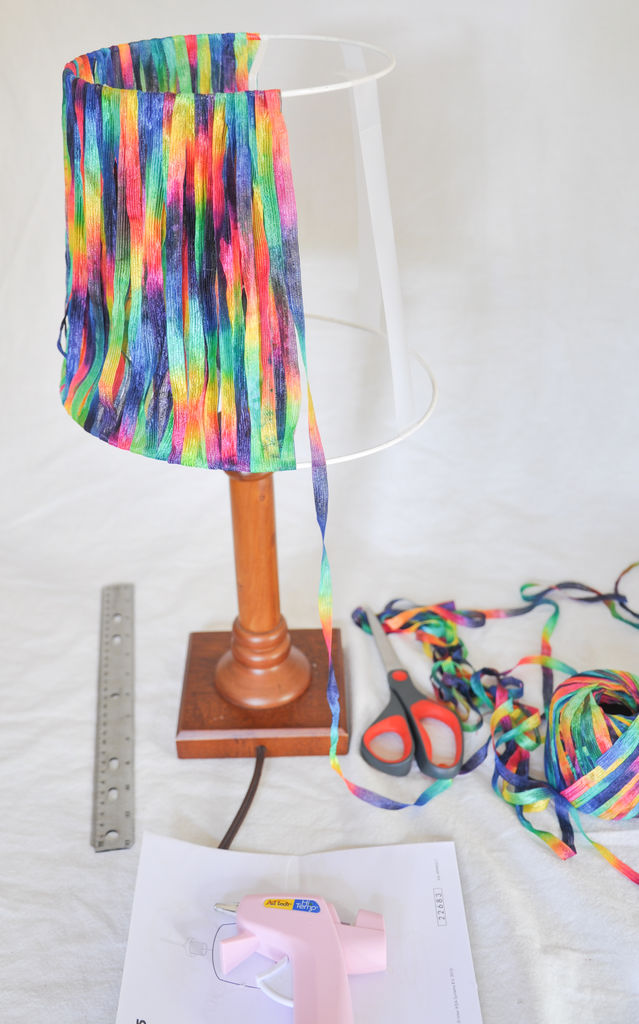
She was almost finished!
The DIY-er suggested paying close attention to how tightly you wrap the ribbon.
The tighter you wrap, the more likely it is that you'll have an uneven lampshade.
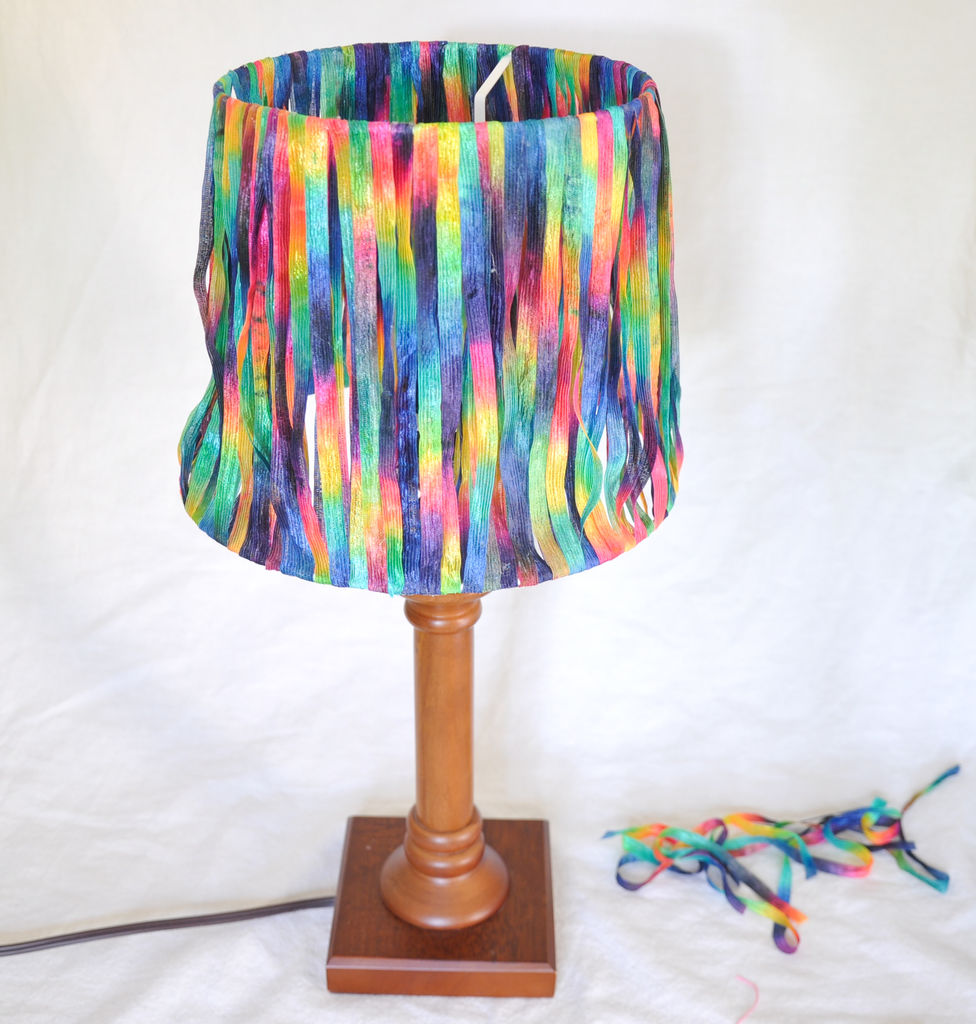
Finally, she had her completed project!
This lamp would make the perfect addition to a child's bedroom or playroom.
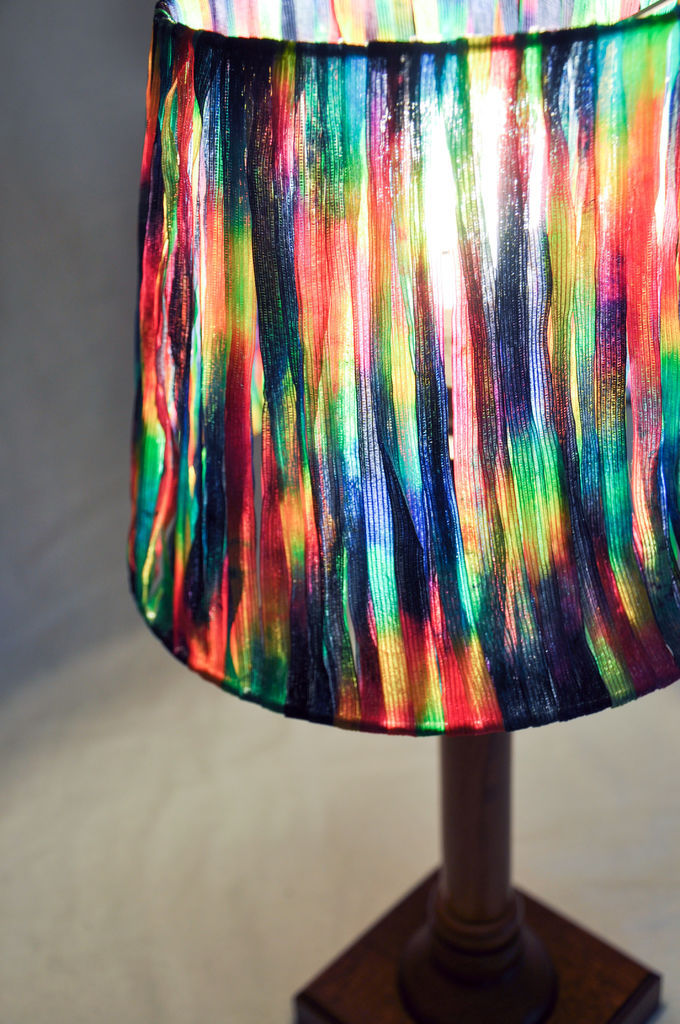
Have you ever made your own lampshade to add a splash of color to a room?
Let us know in the comments, and don't forget to SHARE with anyone who could use a little DIY inspiration for their home!


