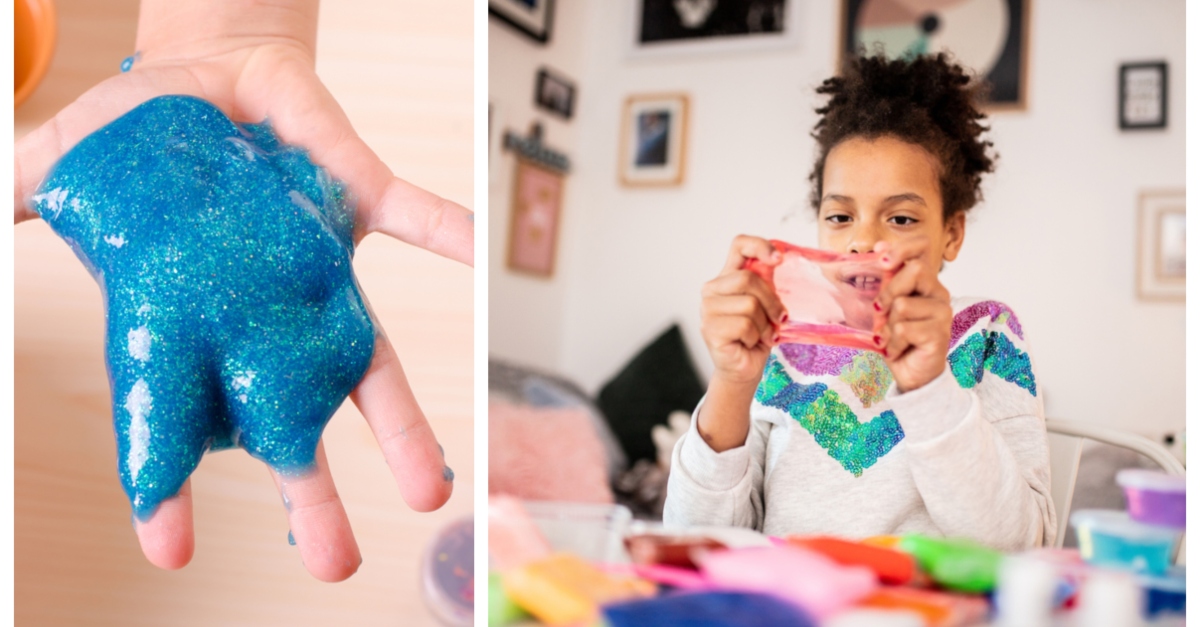
Kids are naturally curious, inventive, and very creative. All of that curiosity means that they are natural explorers, and learning to make something new is a great way to funnel their energy. This is why we have introduced our Virtual Playdates With a Purpose: a series of DIY tutorials for creative projects that your children can make entirely on their own. And today we are making a childhood classic: slime!
Before we get into how to make your own slime, I wanted to share what K-12 teacher Brooke Gariepy shared with me about how great making slime is for kids:
“We love DIY slime at our house. It is beneficial for multiple reasons. The first benefit is that it’s a science experiment; it teaches about combining substances to make different substances. The second benefit is that it uses measurement and ratios when you are mixing the ingredients together. It’s easy to just dump the things in until you get the desired texture, but to make it more mathematical, you can easily measure how much glue and activator you are using.
"A third benefit for kids is that completed slime can help build finger and hand muscles. Young kids often don't like writing because their hands get tired and they aren't strong enough to hold a pencil and write for long periods. Playing with slime can help work those muscles in a fun way!"
Brooke also suggested that parents could even use making slime as an easy mindfulness check-in with their children, since playing with slime can be really relaxing for kids.
Why Make Slime?
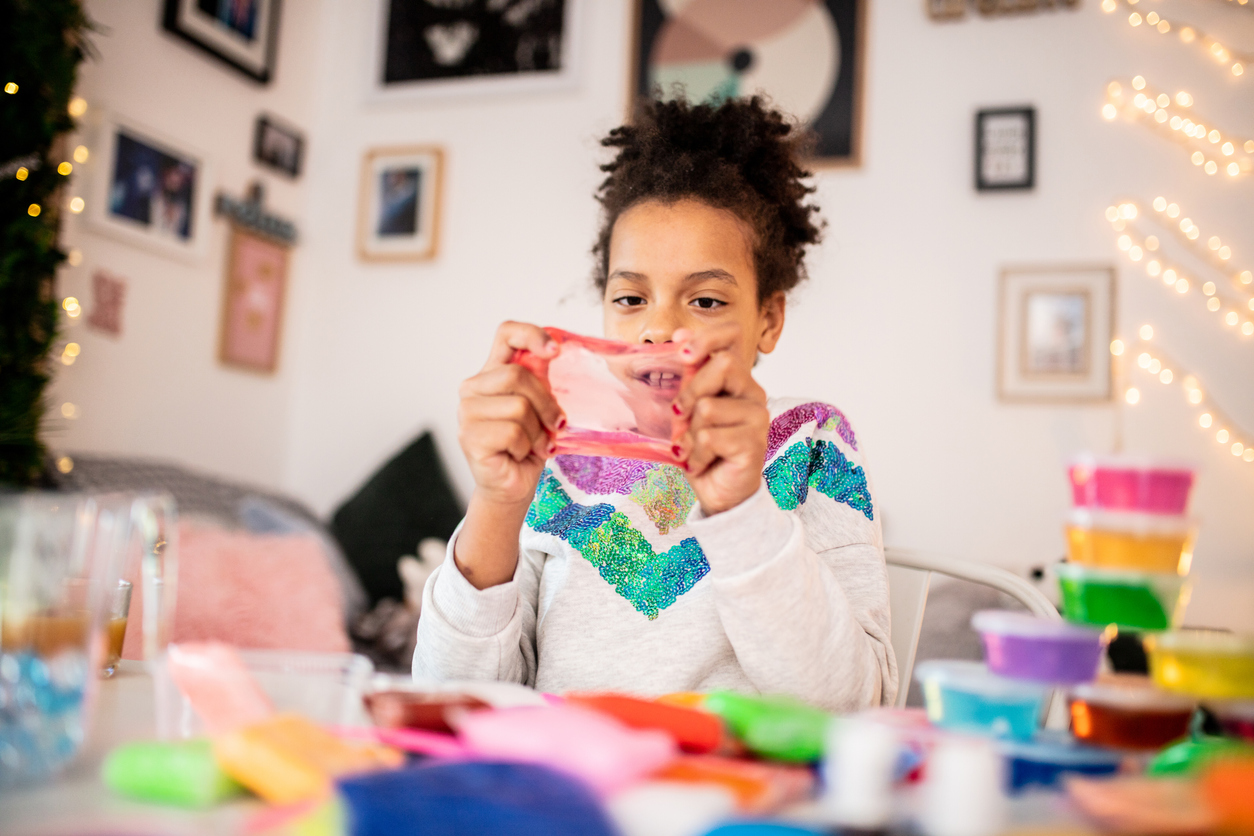
Sometimes parents aren't super into the idea of their kids making slime because it can be messy, but slime is a pretty amazing tool for children of all ages. Making and playing with slime provides a singular tactile experience that kids don't always get in other ways these days. If your child is always moving and zooming around, making slime will keep them busy and focused on the task at hand. Making slime also helps relieve stress and tension, which a lot of us could probably use these days.
DIY Slime Recipe: How To Make Your Own Slime
There are a lot of slime recipes out there, but today we're sharing one of my favorites. Earlier this year, I was visiting a friend and his daughter, who is completely obsessed with slime. She explained her recipe to me and clued me into an ingredient that I didn't realize you could put in slime: eye contact lens solution. I was curious, so we headed to the nearby grocery store to pick up ingredients so I could see the slime in real life.
DIY Slime Recipe: What You Need
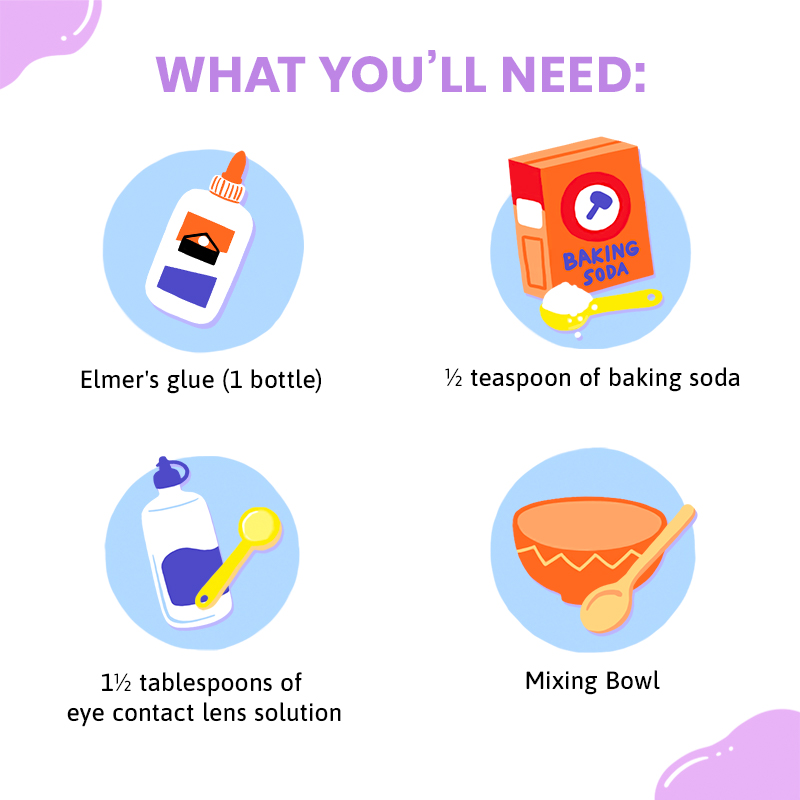
One of the best things about making your own slime is that you don't really need that much.
Here are the ingredients we're using today:
- One bottle of Elmer’s glue
- ½ teaspoon of baking soda
- 1½ tablespoons of eye contact lens solution
When it comes to which contact lens solution you use, there are options out there. Keep in mind that you need a solution that has boric acid and sodium borate. Equate and Renu Fresh are both good options!
You will also need a mixing bowl for this project.
Before you begin, make sure your video connection is ready.
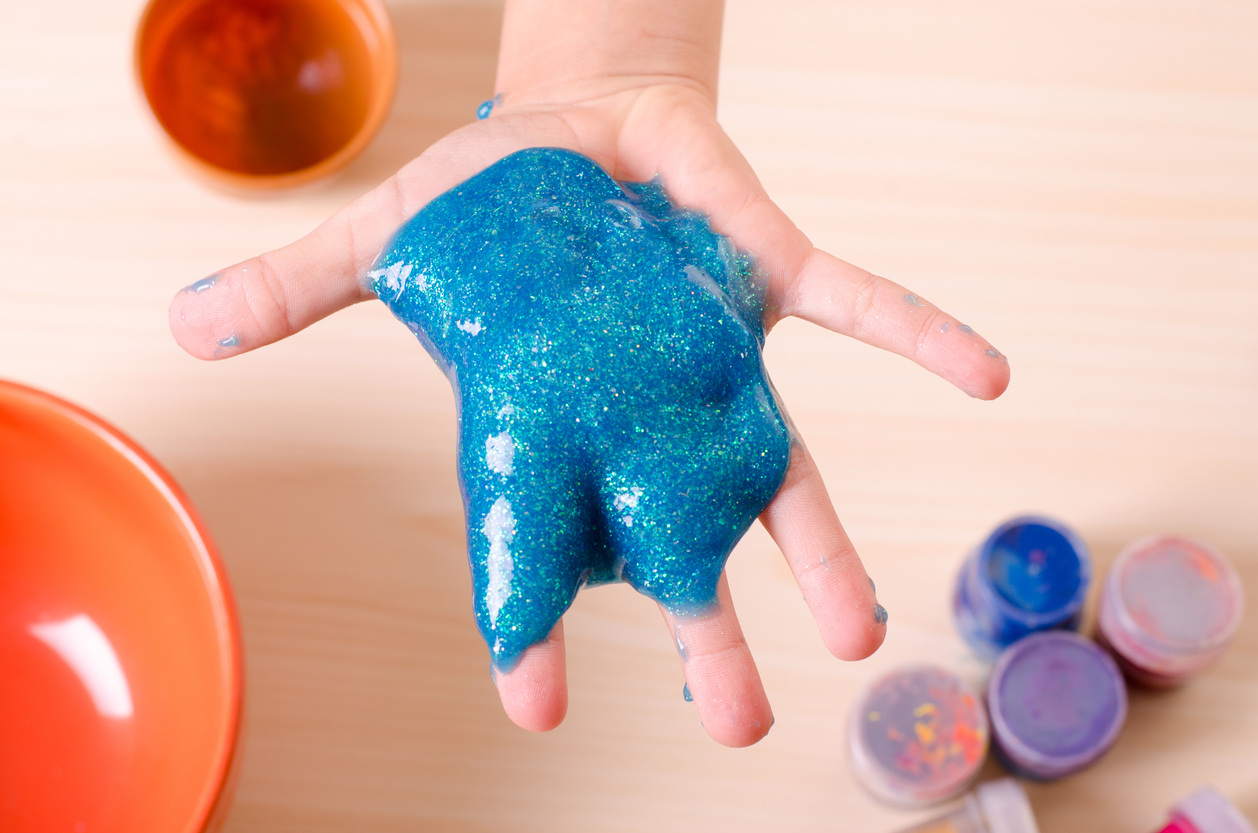
The best part of a virtual playdate is that kids can connect with their friends and work together on a project. So before you dive into making slime, it's important to make sure you're all ready to video chat with your friend or friends first. If you're a child and tackling this on your own, ask for help if you need it.
Step 1: Pour the glue into the bowl.
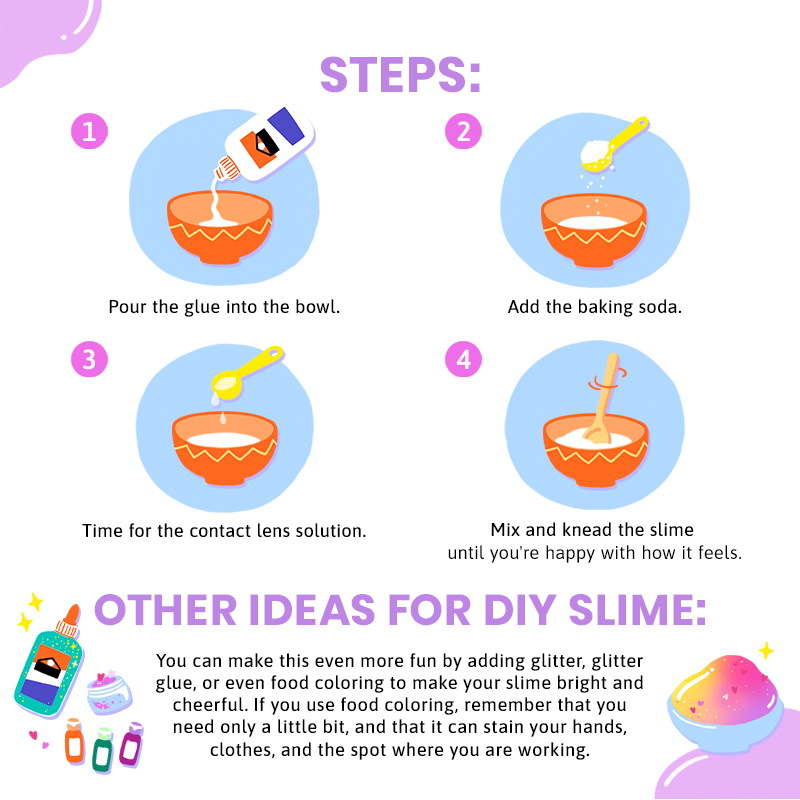
The first step is easy and fun: Pour the entire bottle of glue into your bowl. Simply turn the bottle of glue upside down and let the glue settle into the bowl. If you think that not all of the glue is coming out, squeeze the sides of the bottle to help it along.
Step 2: Add the baking soda.
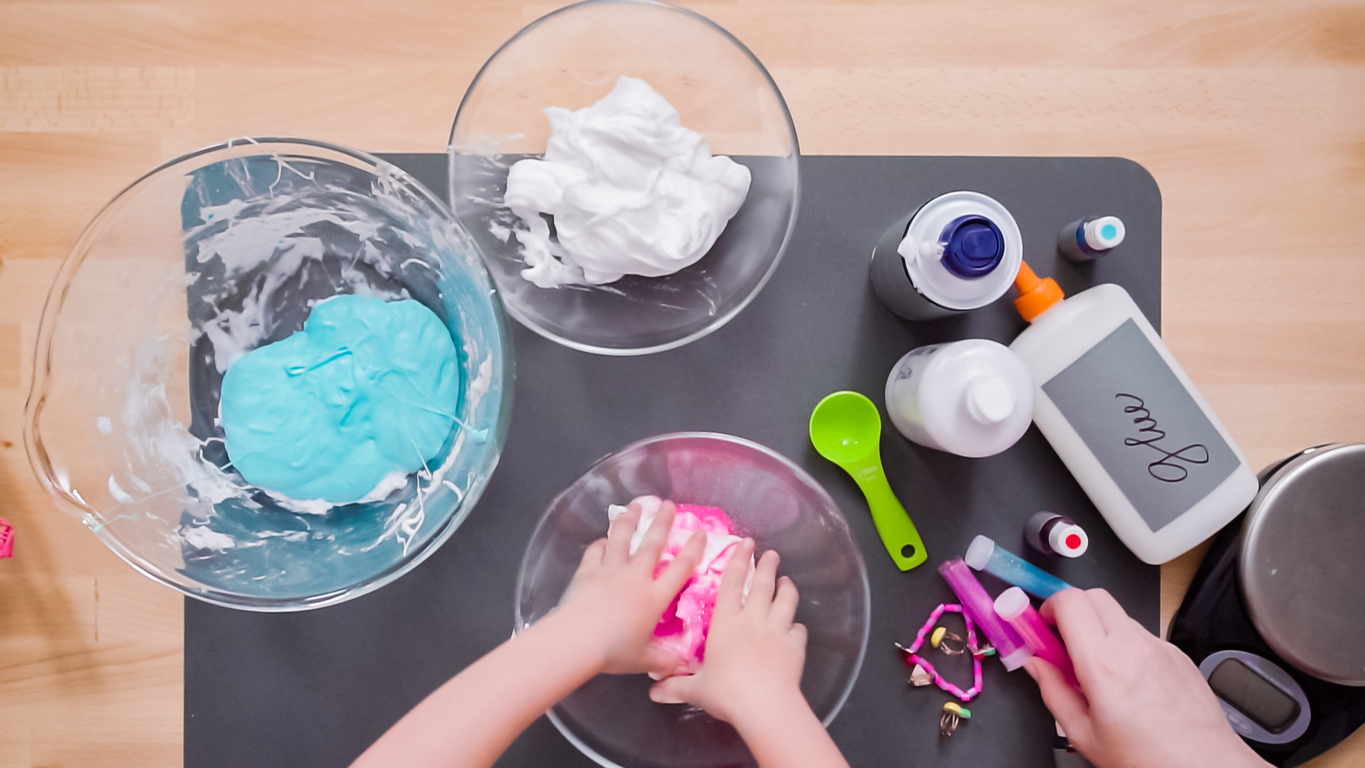
Carefully measure out ½ teaspoon of baking soda and add that to your glue. Make sure you mix the ingredients together really well. If you want stretchier slime (which is super fun), you can also add 2 tablespoons of water to the mixture.
Step 3: Time for the contact lens solution.
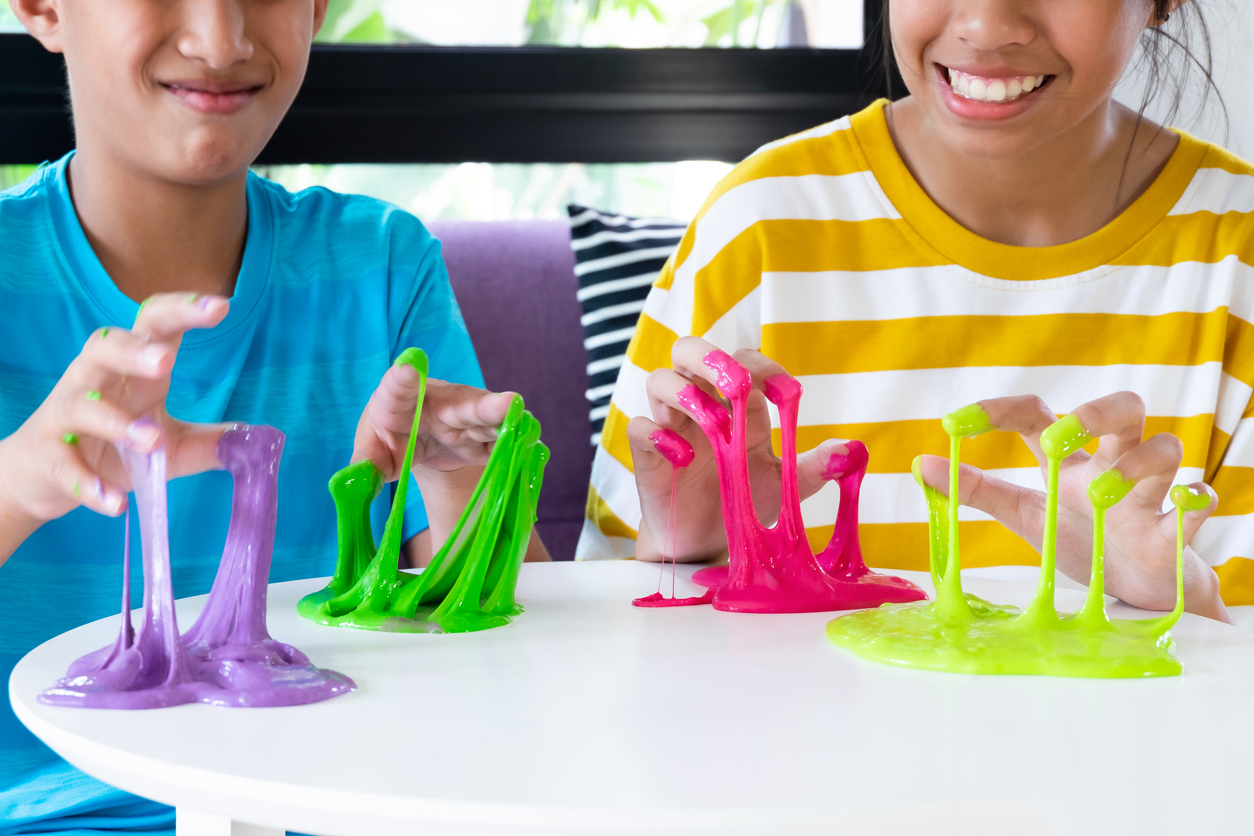
Now you're really ready! Pour your contact lens solution in very slowly, just a little bit at a time. Stir the mixture together so you can figure out how much more solution you need to add. It's a good idea to add 1 or 2 teaspoons, mix, and then knead your slime a little to see what the texture is like. It can be hard to go slowly, but it's really important, especially if this is your first time making slime.
Step 4: Mix and knead.
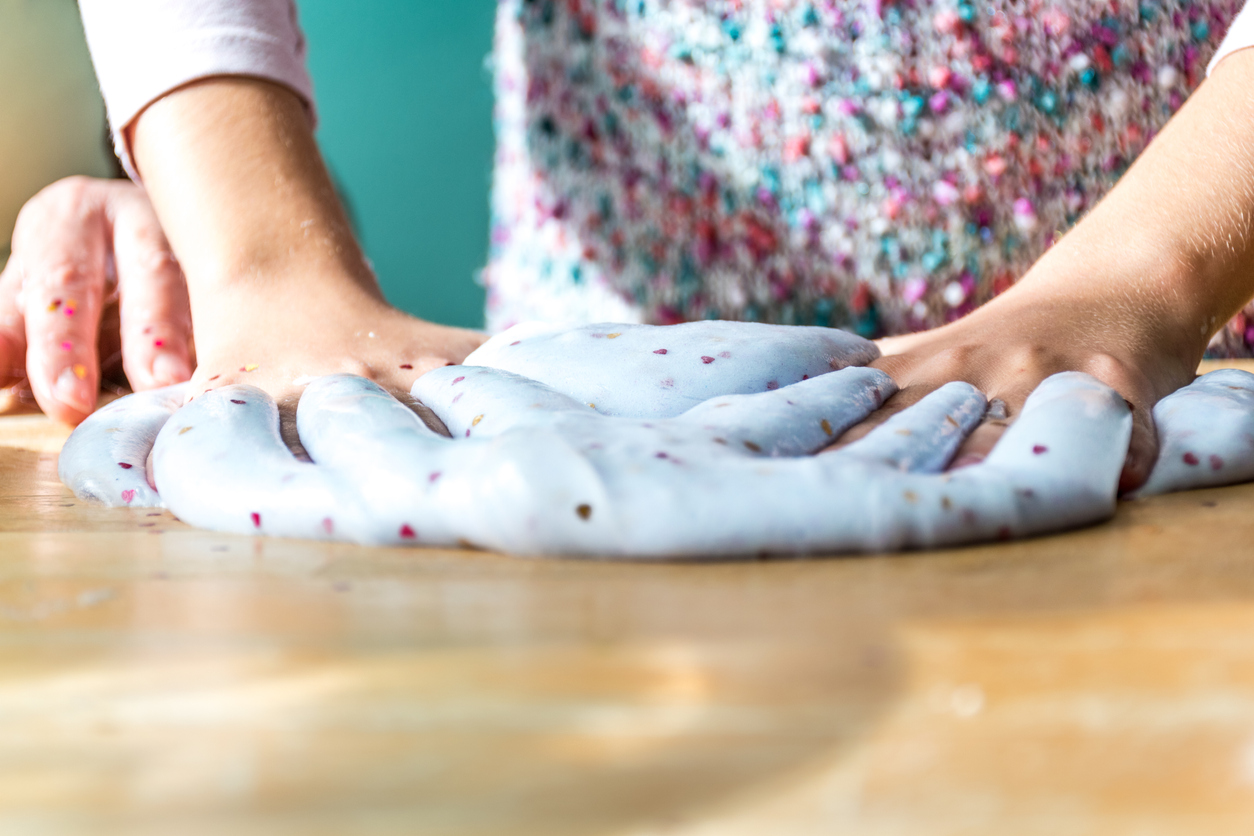
After you've got a texture that you like, mix your slime by hand so that it hardens. You can pick the slime up right out of the bowl and roll it around in your hands. This is a really fun part! Knead the slime until you're happy with how it feels.
Other Ideas for DIY Slime
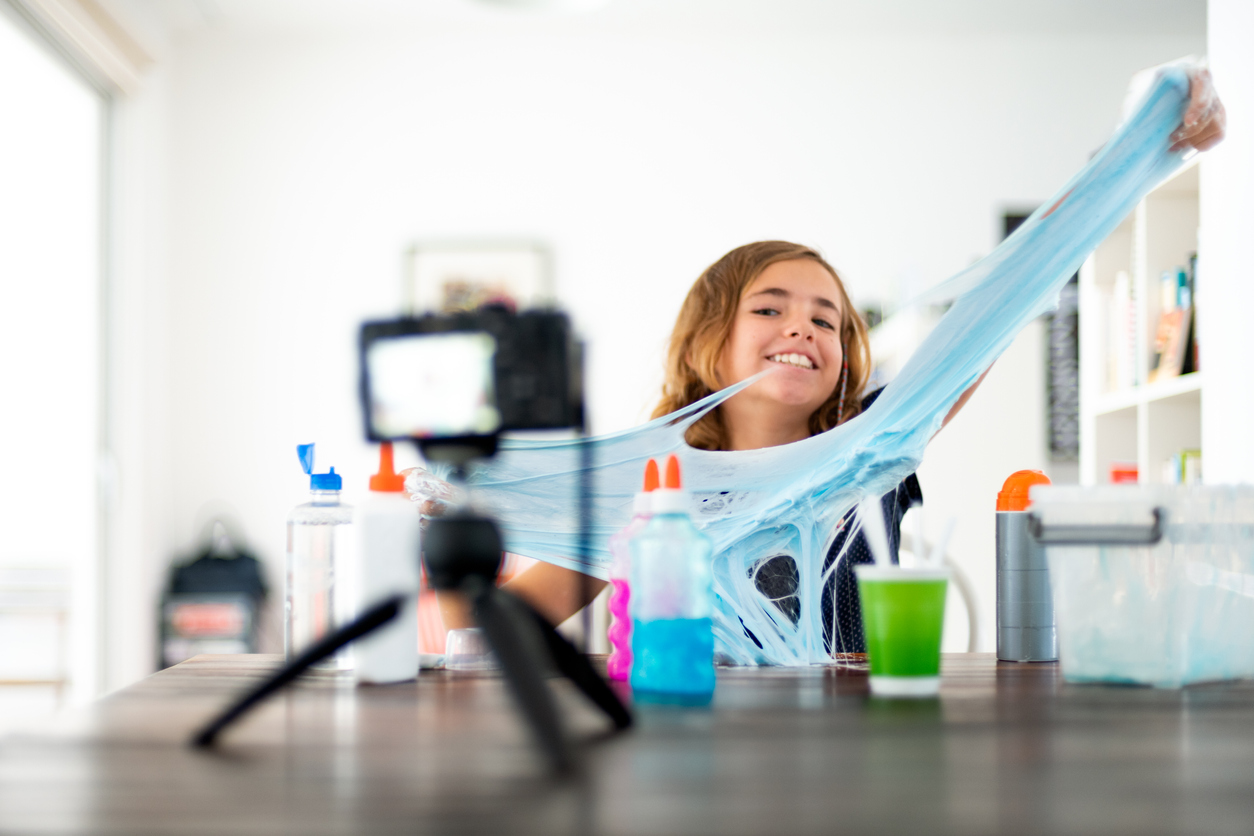
You can make this even more fun by adding glitter, glitter glue, or even food coloring to make your slime bright and cheerful. If you use food coloring, remember that you need only a little bit, and that it can stain your hands, clothes, and the spot where you are working.
For Parents: Questions To Ask and Things To Remember
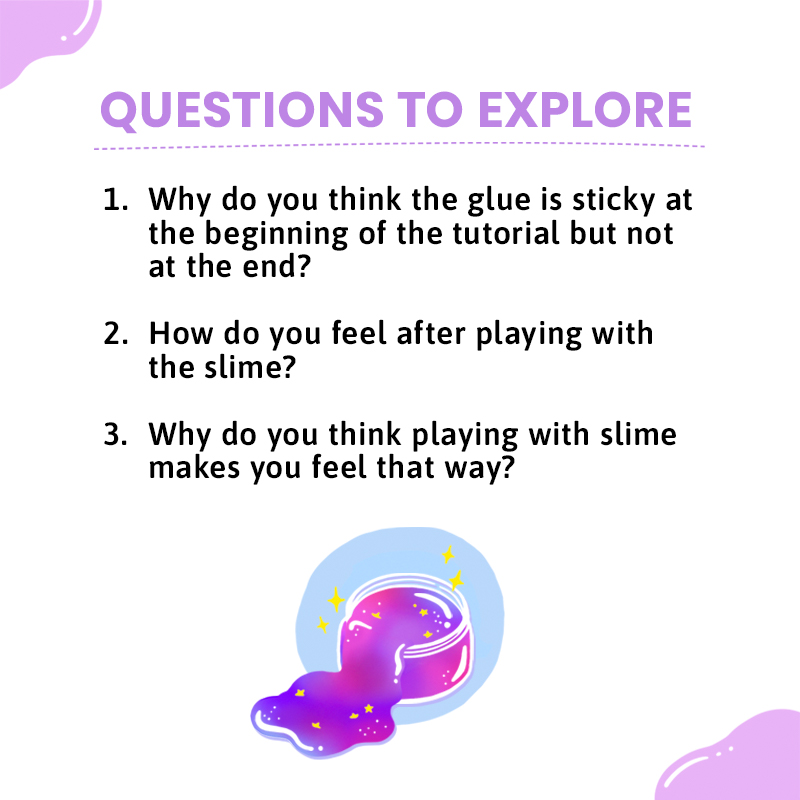
Each of our Virtual Playdates provides parents with an opportunity to ask their children questions that will help the kids go a little deeper. Here are a few questions you can ask while making slime with your kids:
- Why do you think the glue is sticky at the beginning of the tutorial but not at the end?
- How do you feel after playing with the slime?
- Why do you think playing with slime makes you feel that way?

