I'm always looking for more ways to capture a little more nature in my day to day.
Whether it's scheduling a camping trip or creating a new forest-inspired DIY project — like these adorably rustic wooden candle holders — winter is the perfect time to bring a bit of the outdoors inside.
So when I discovered how one blogger built an out-of-this-world DIY tree towel holder, I knew I'd be jumping to make one myself!
Instructables user "Powercube" noticed a fallen tree in his backyard and wanted to put it good use — so he took a piece of the 80-year-old pine and decided to transform it into a truly incredible bathroom addition.
By adding a few coats of lacquer, a simple LED lighting system, and a few custom hooks, our DIY-er created a tree towel rack that looks straight out of your favorite upscale magazine.
Scroll through to discover how you too can build this amazing wood piece!
Do you love custom-made furniture? Let us know in the comments!
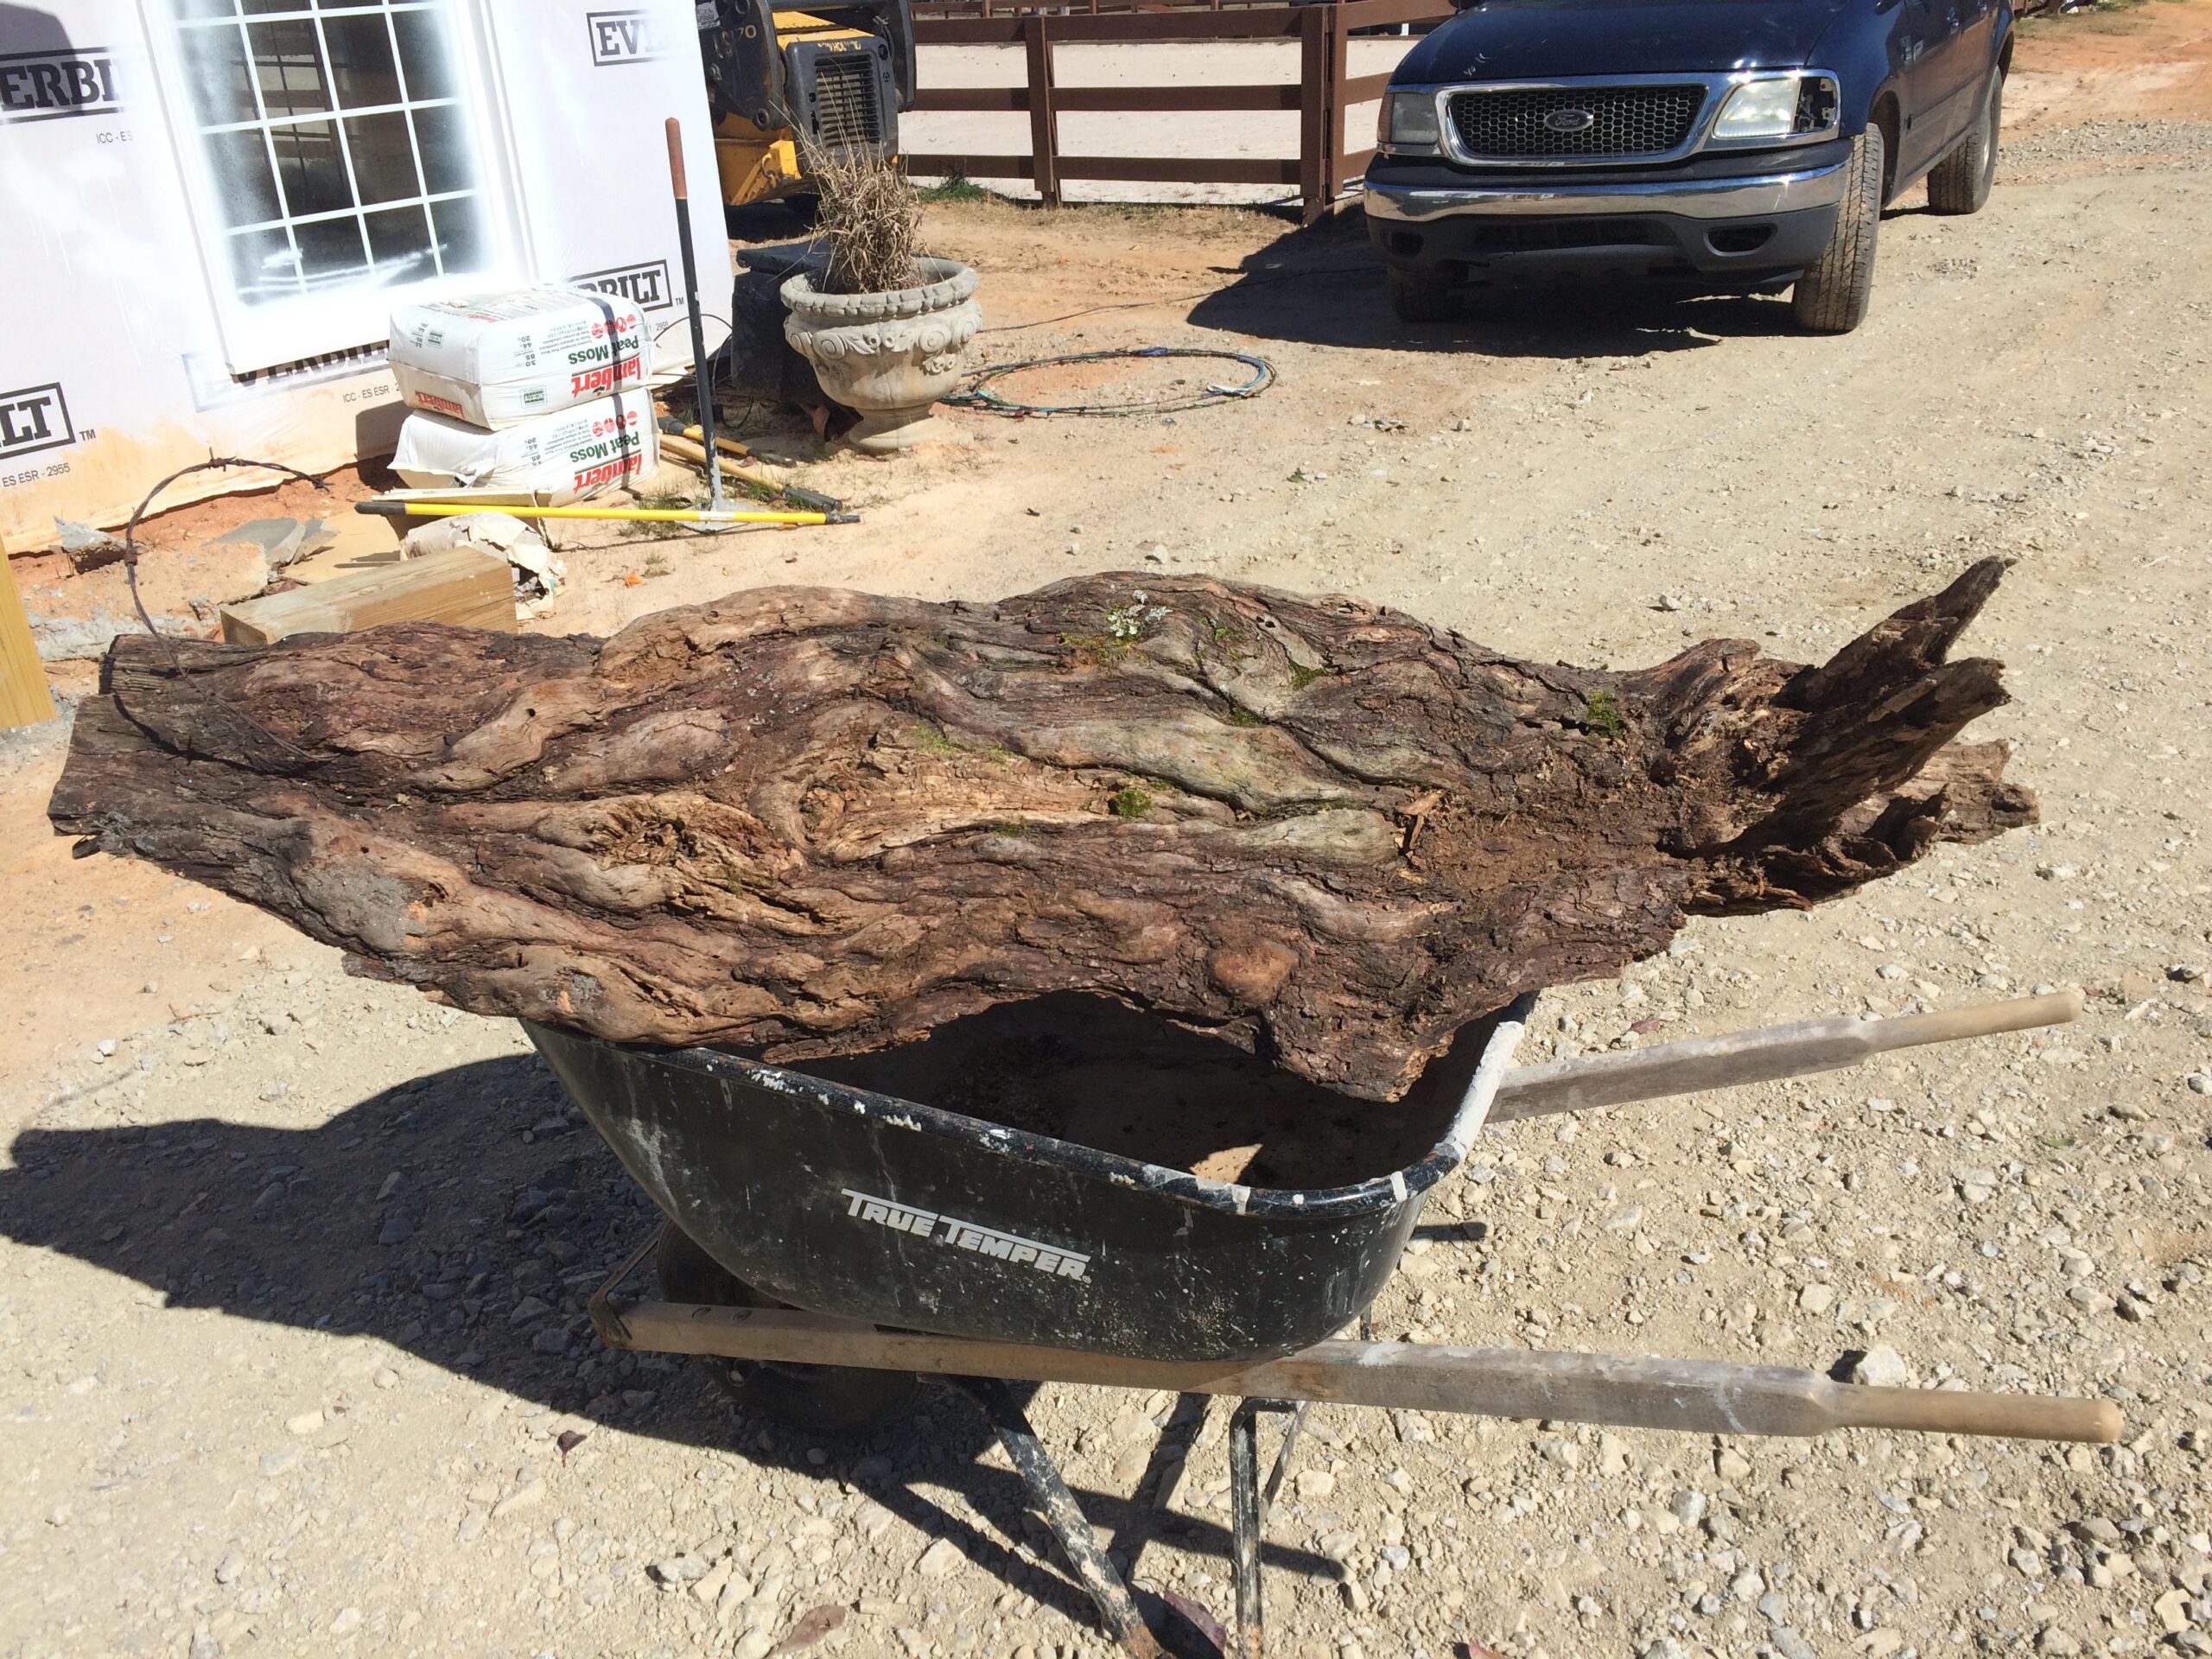
Our DIY-er began this project with a piece of bark from an old pine tree that fell in his backyard.
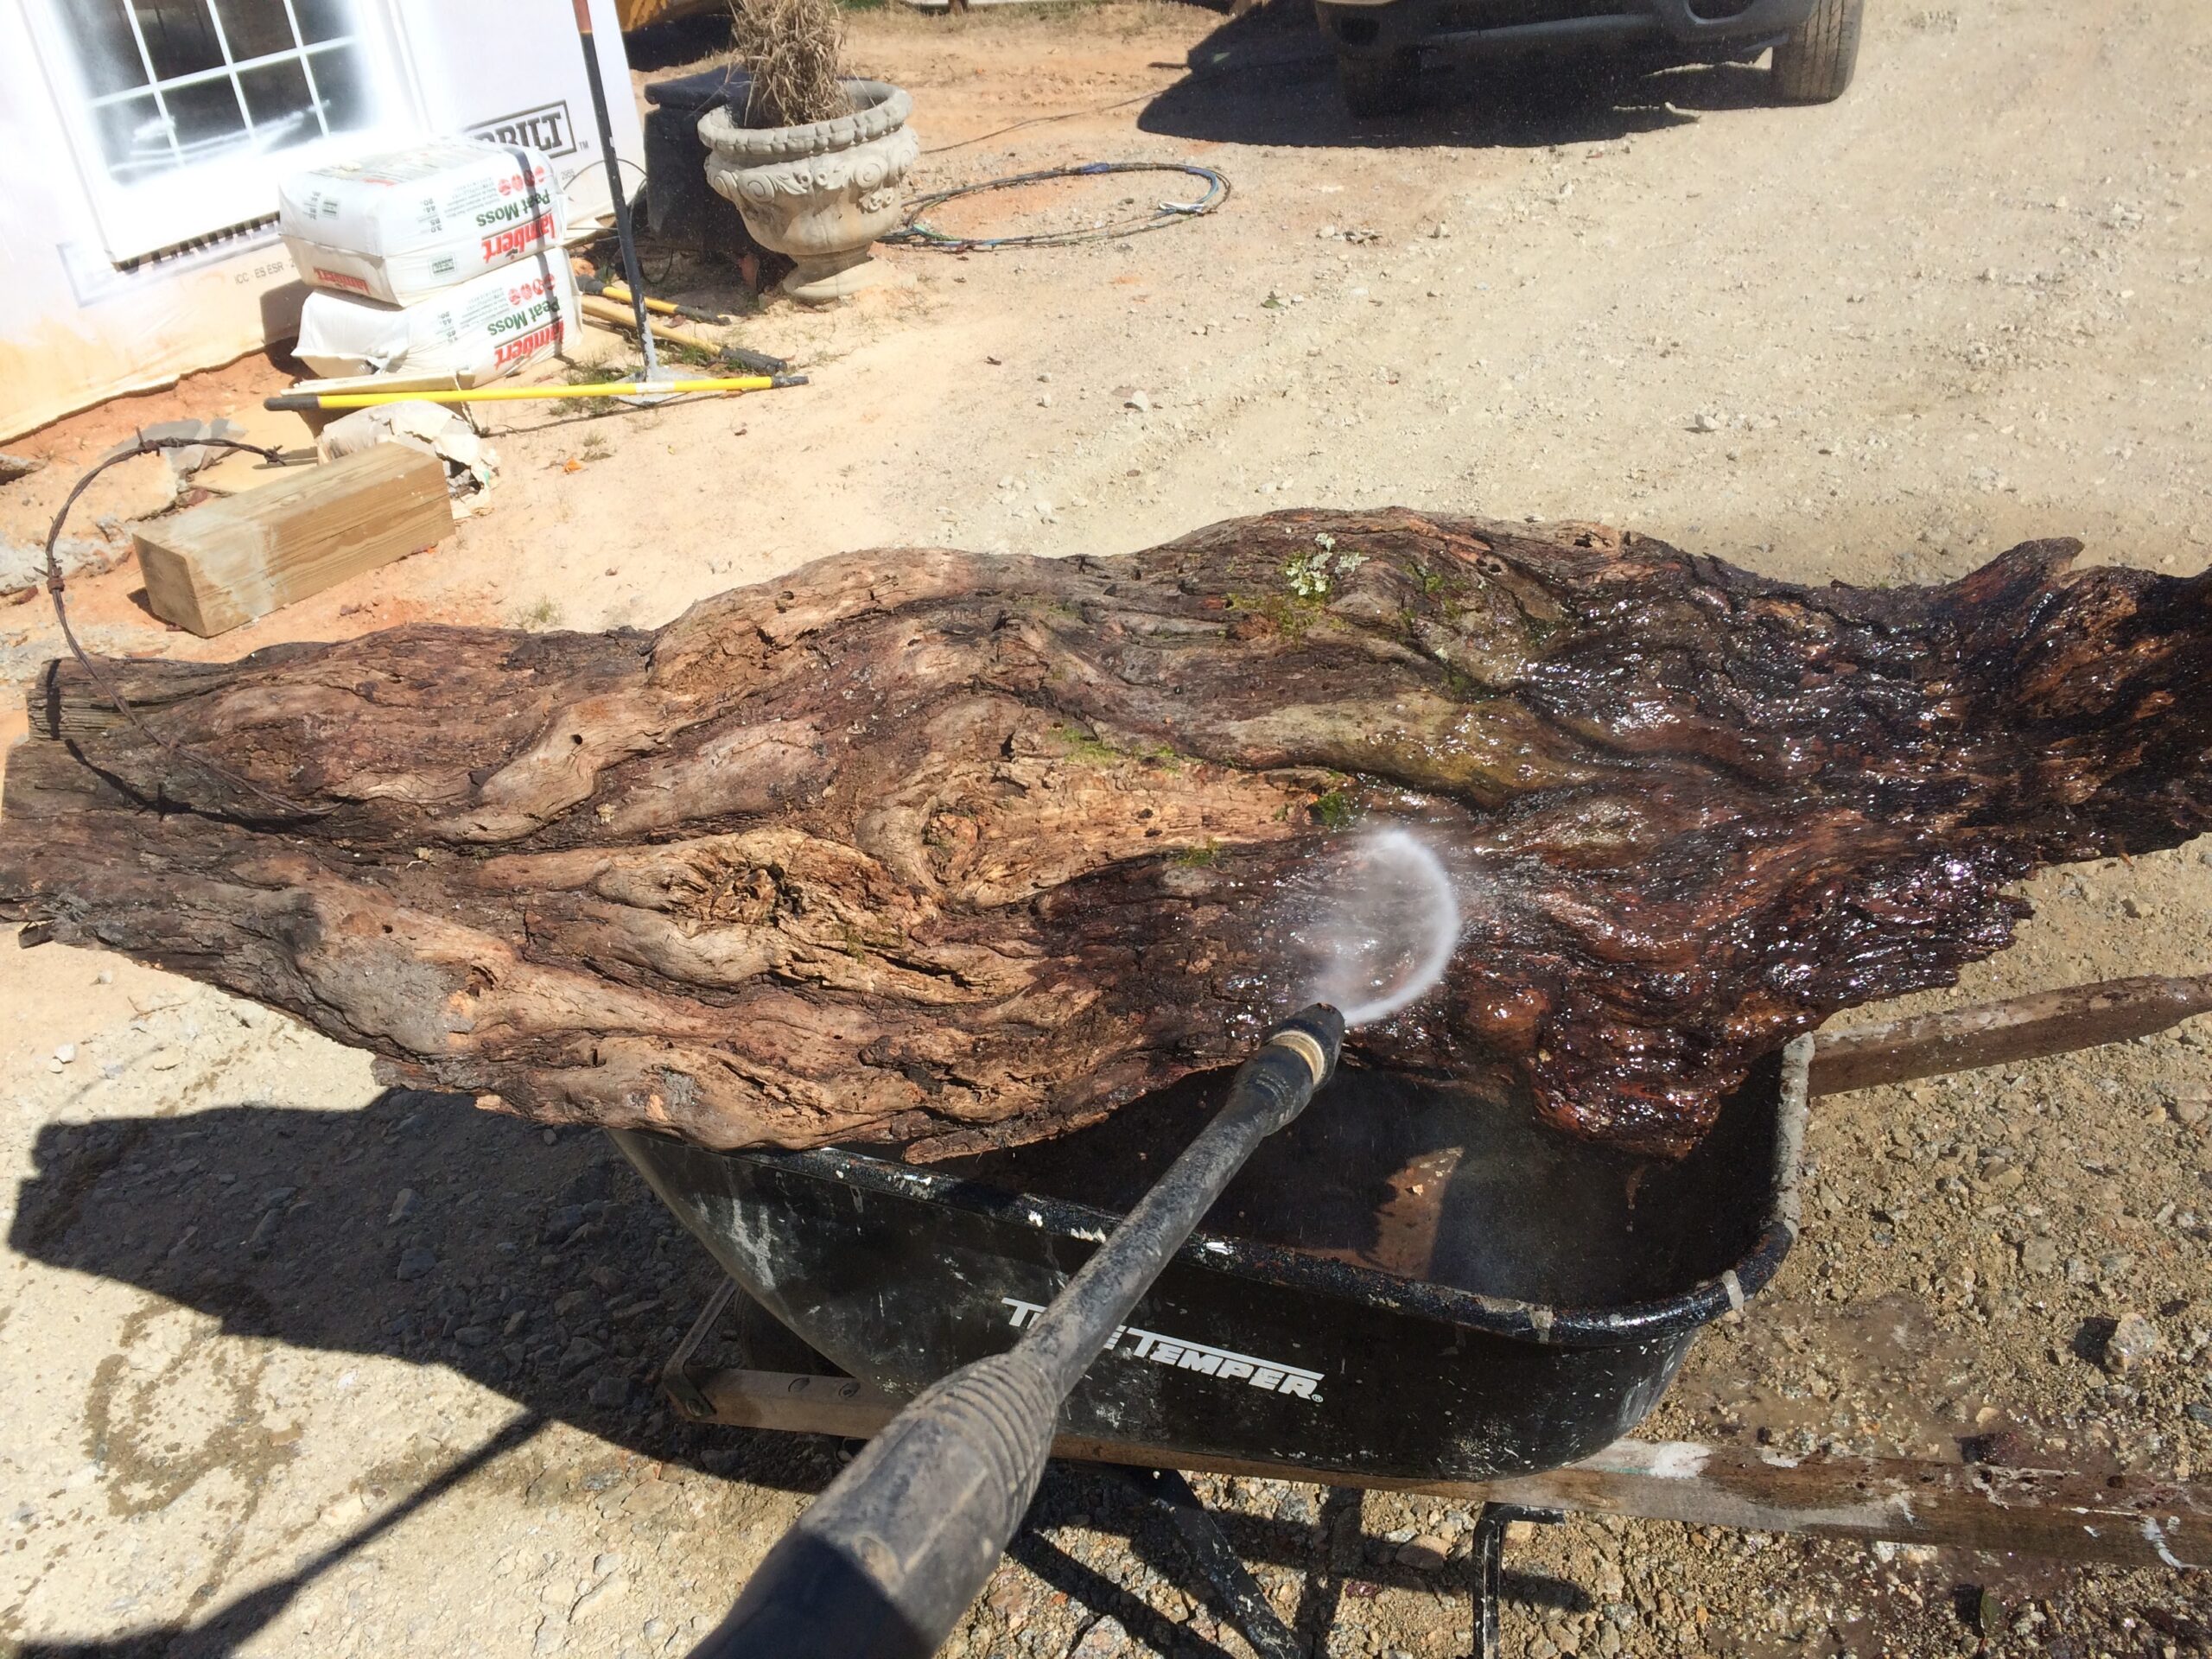
Next, he pressure-washed any remaining dirt off this soon-to-be towel rack.
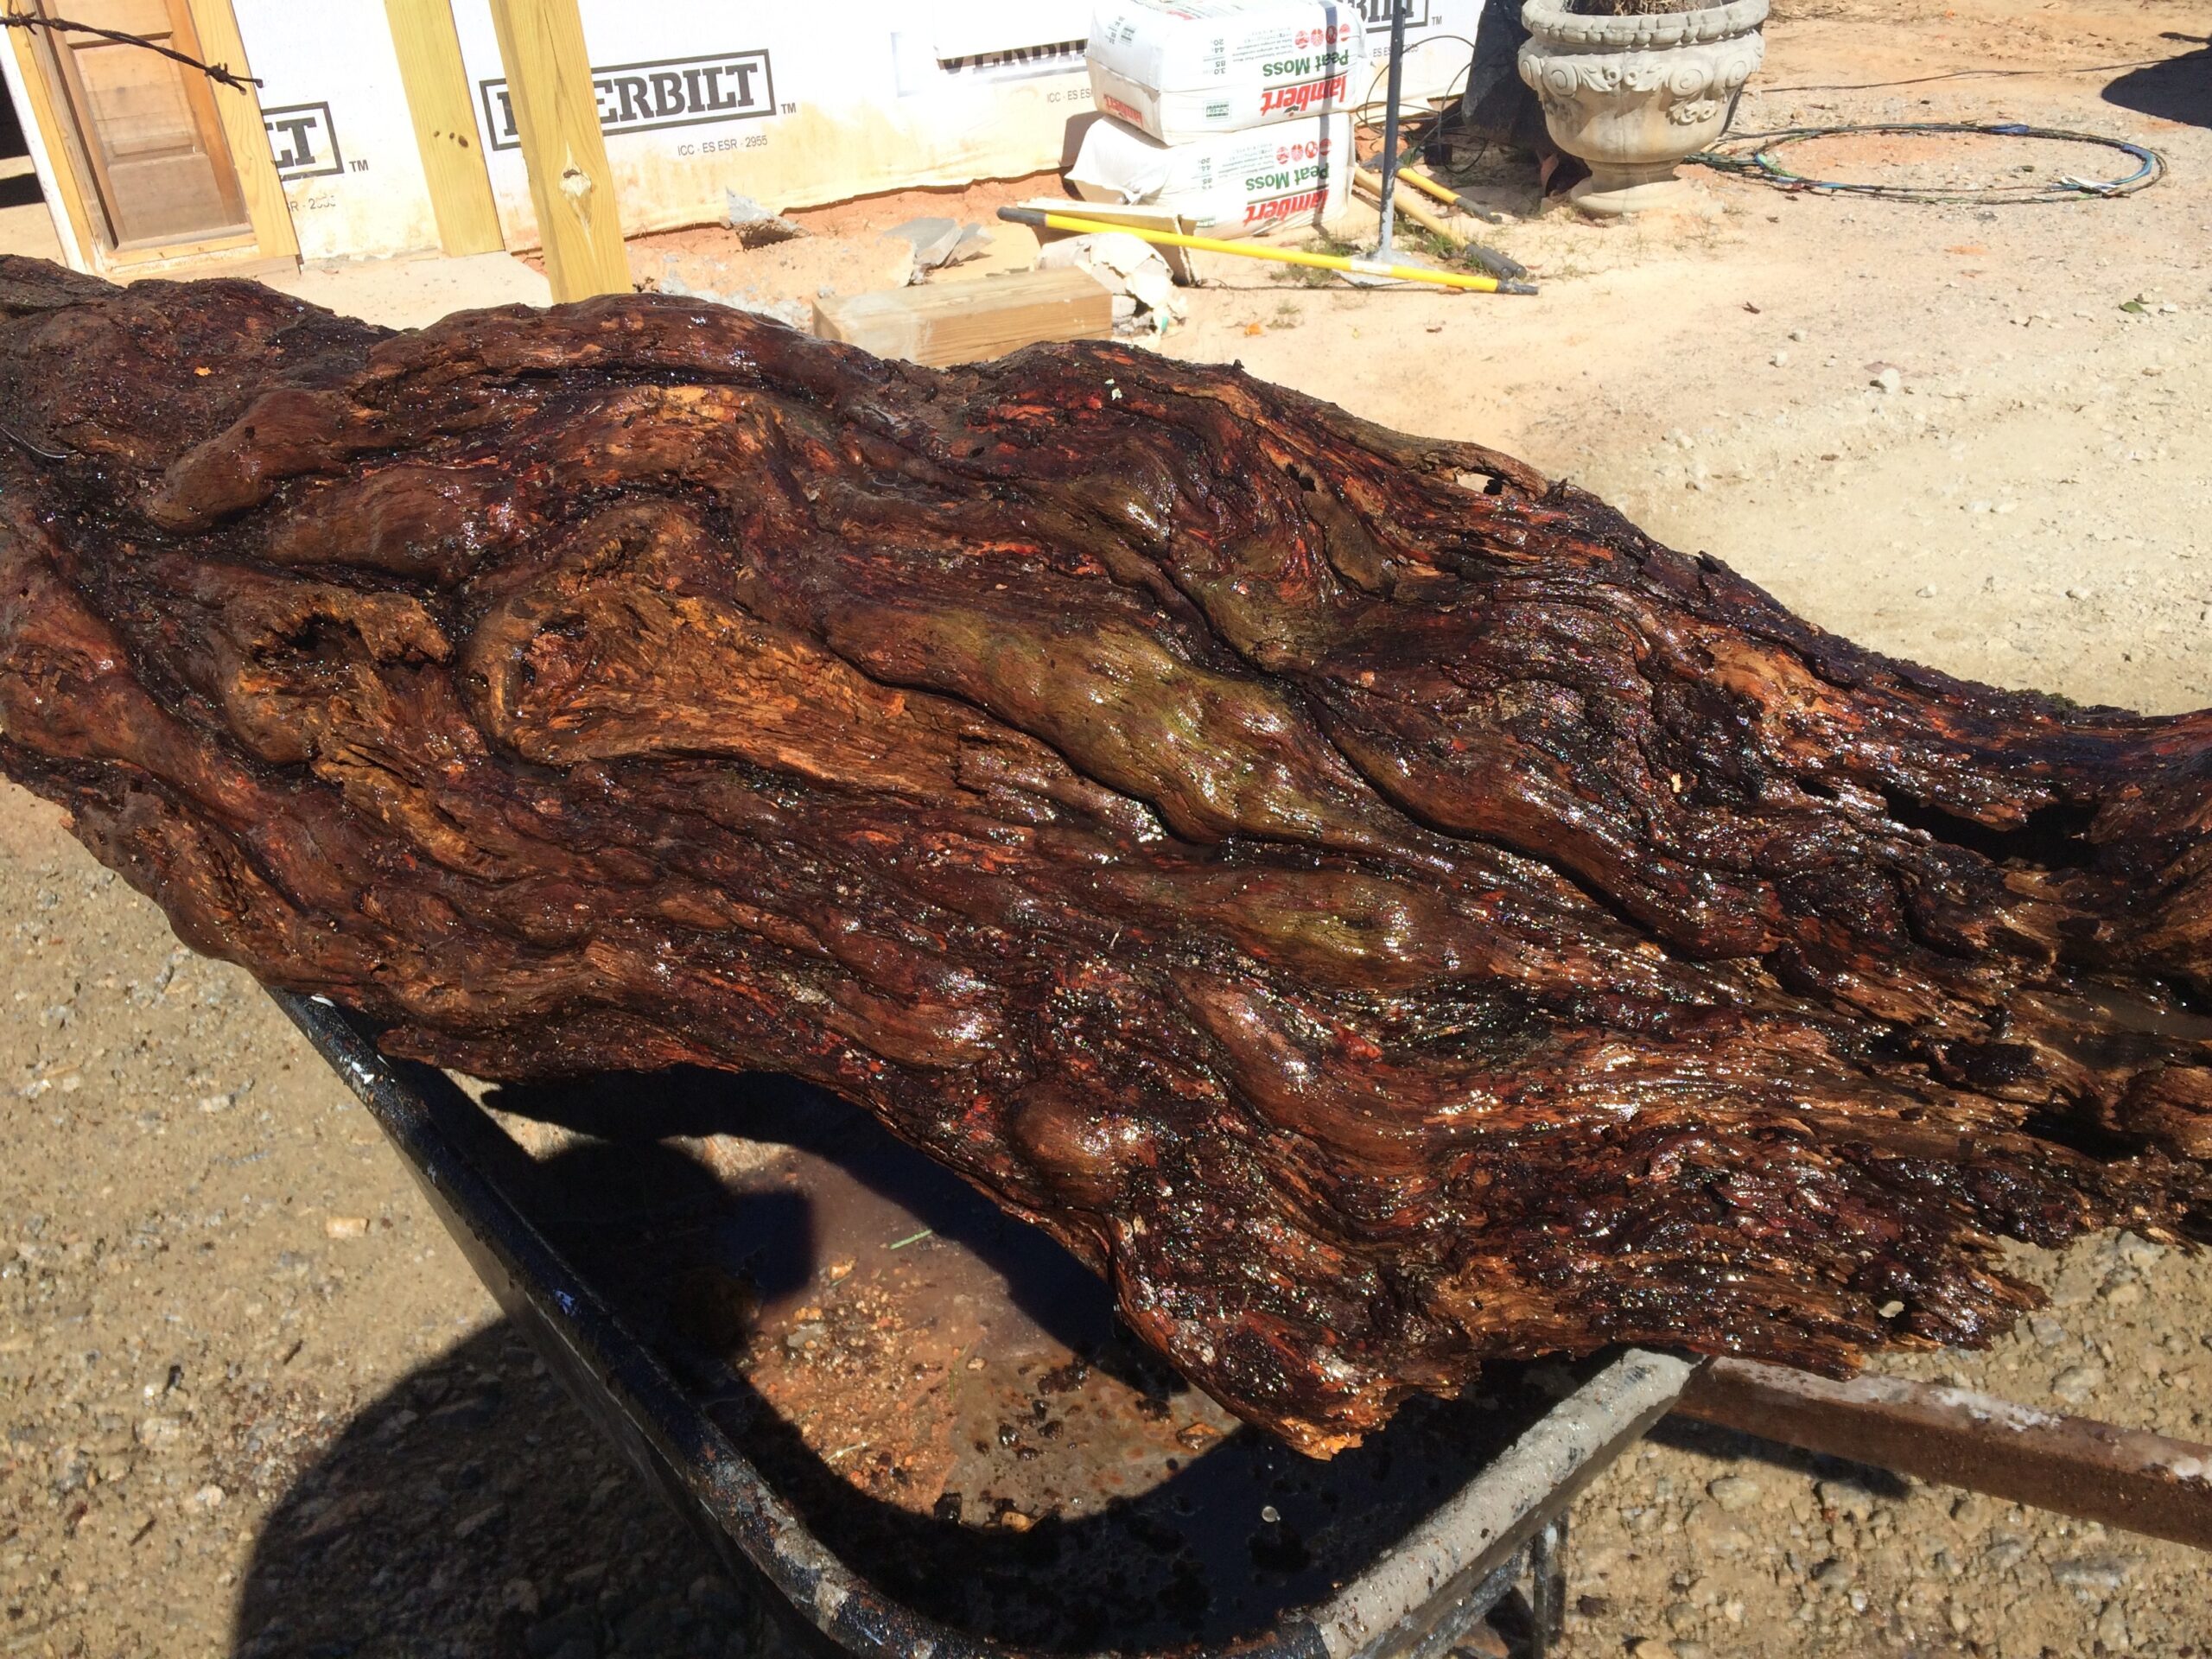
The wet version "gives an idea of what I expect coloring to look like after the wood is finished," the Instructables user shares.
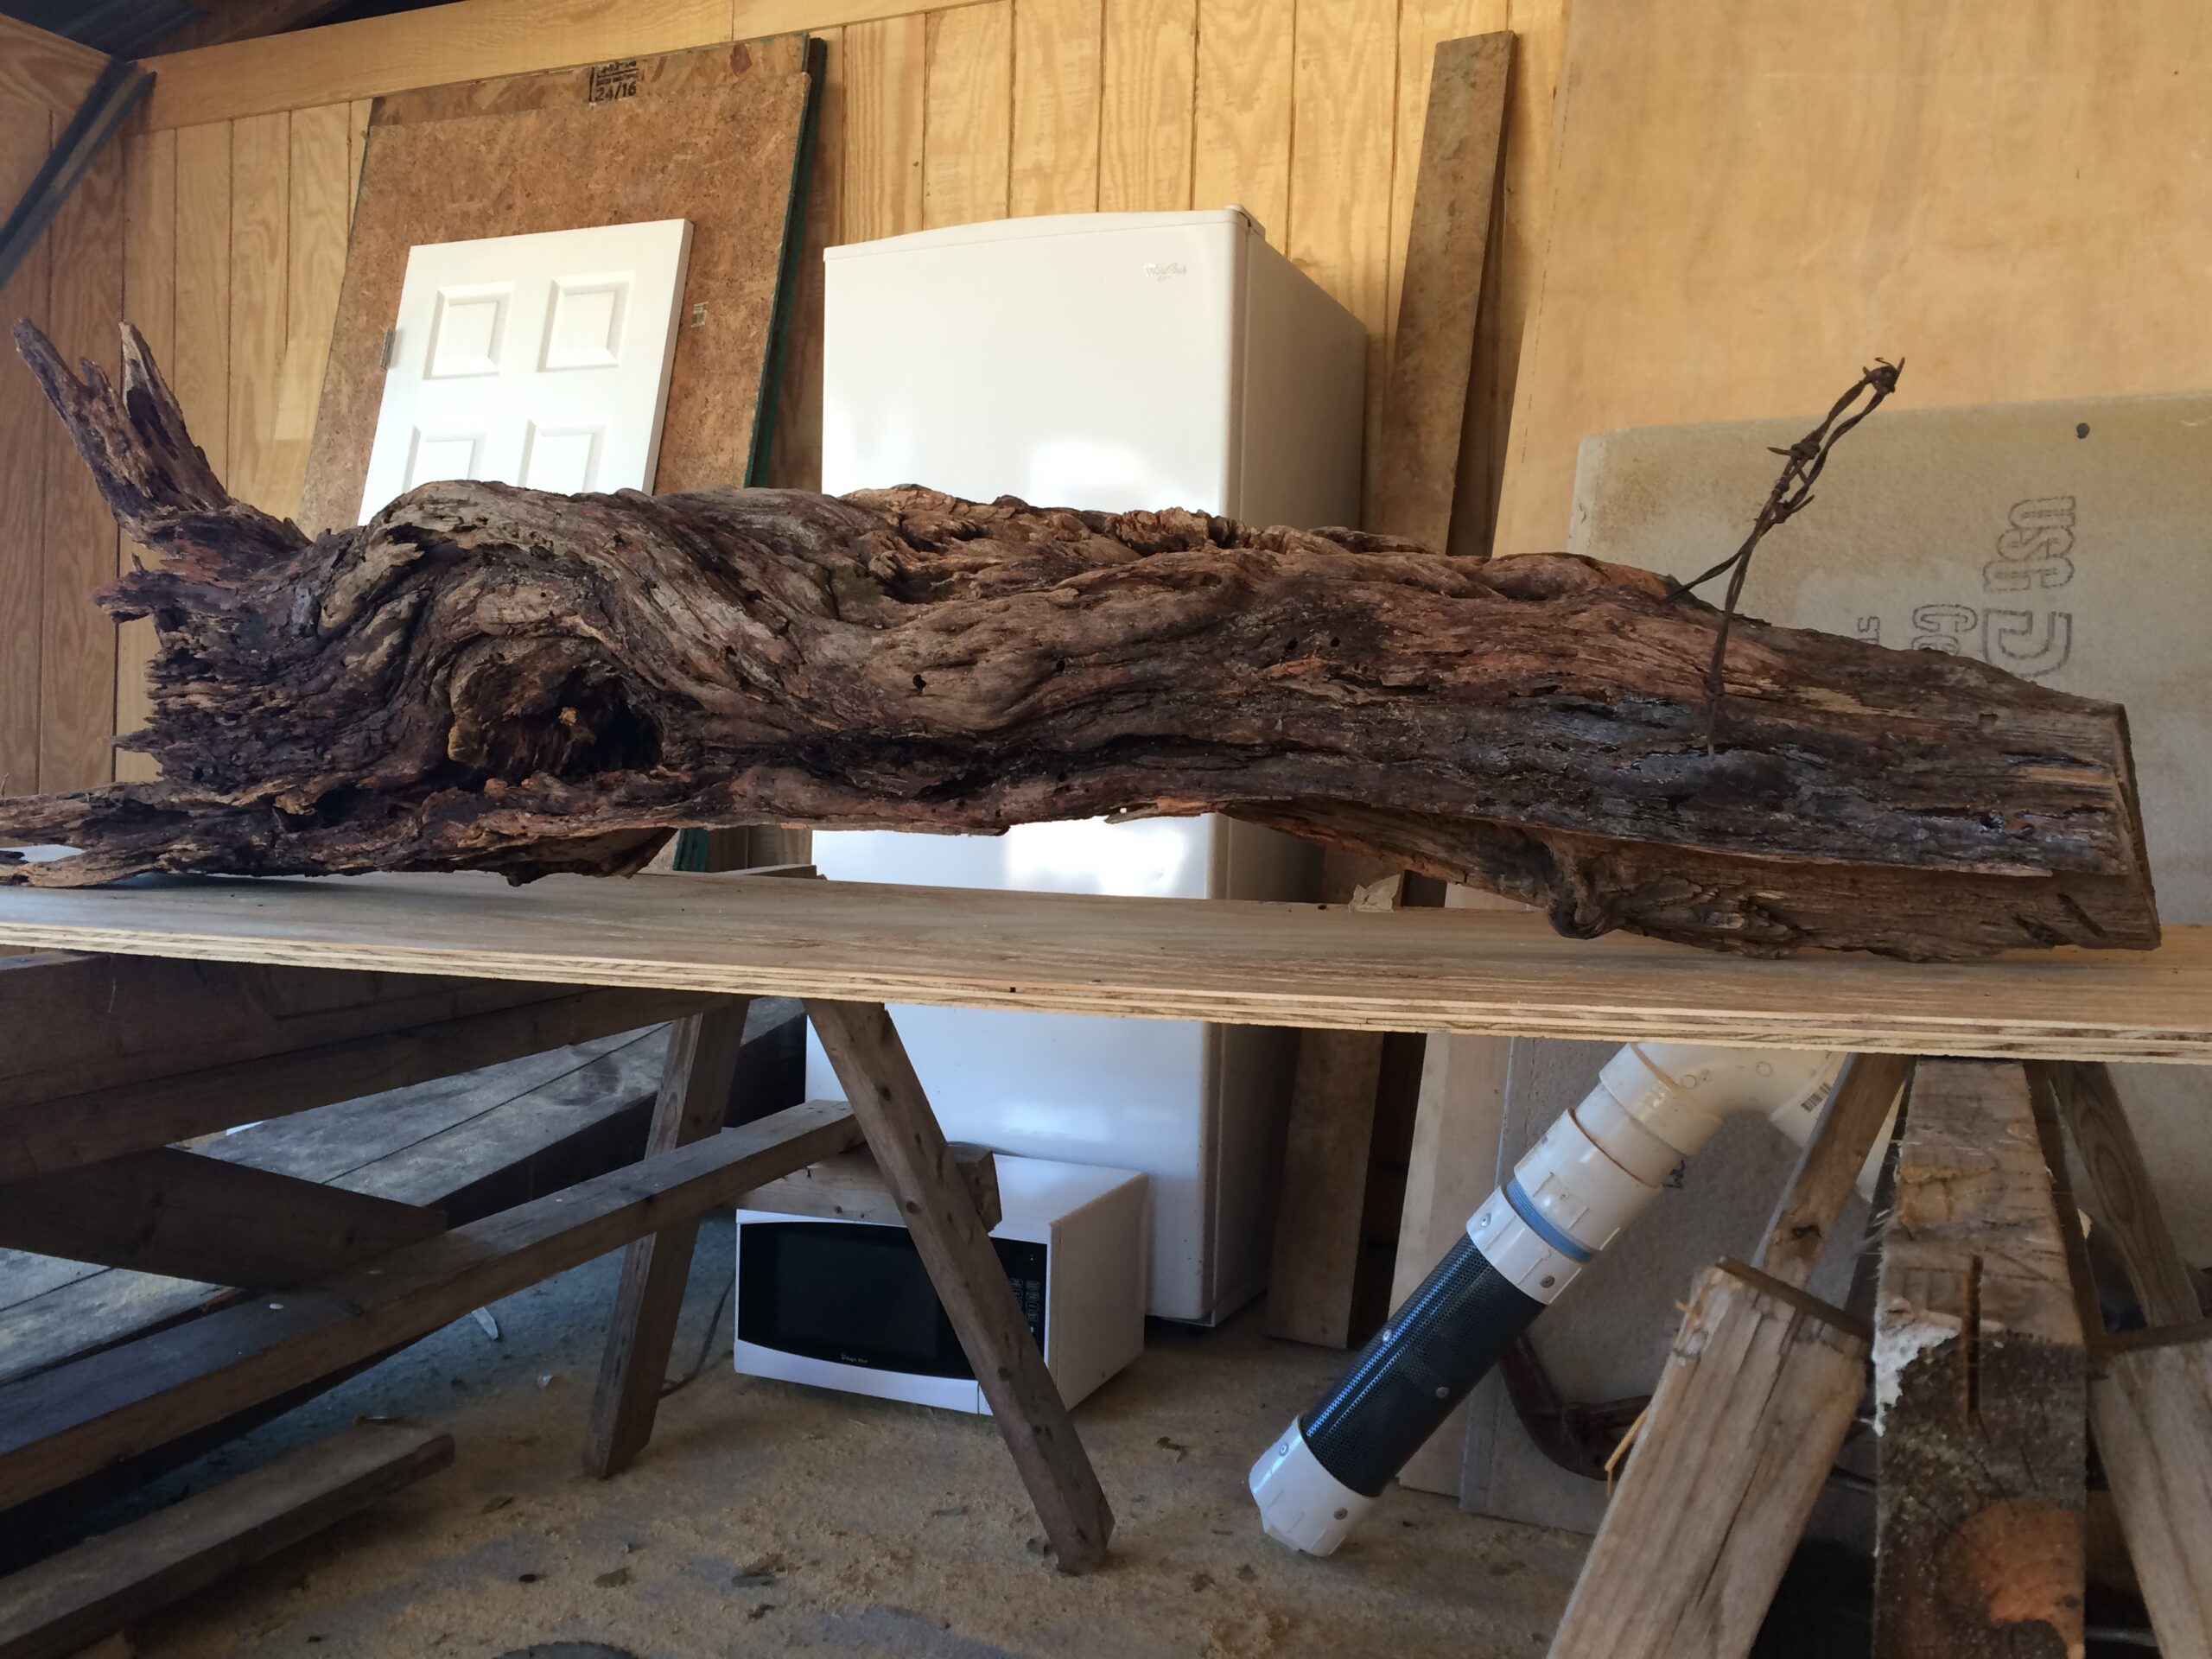
Leaving the original shape intact, he marked where he wanted to level the back side — leaving room for an LED light rack.
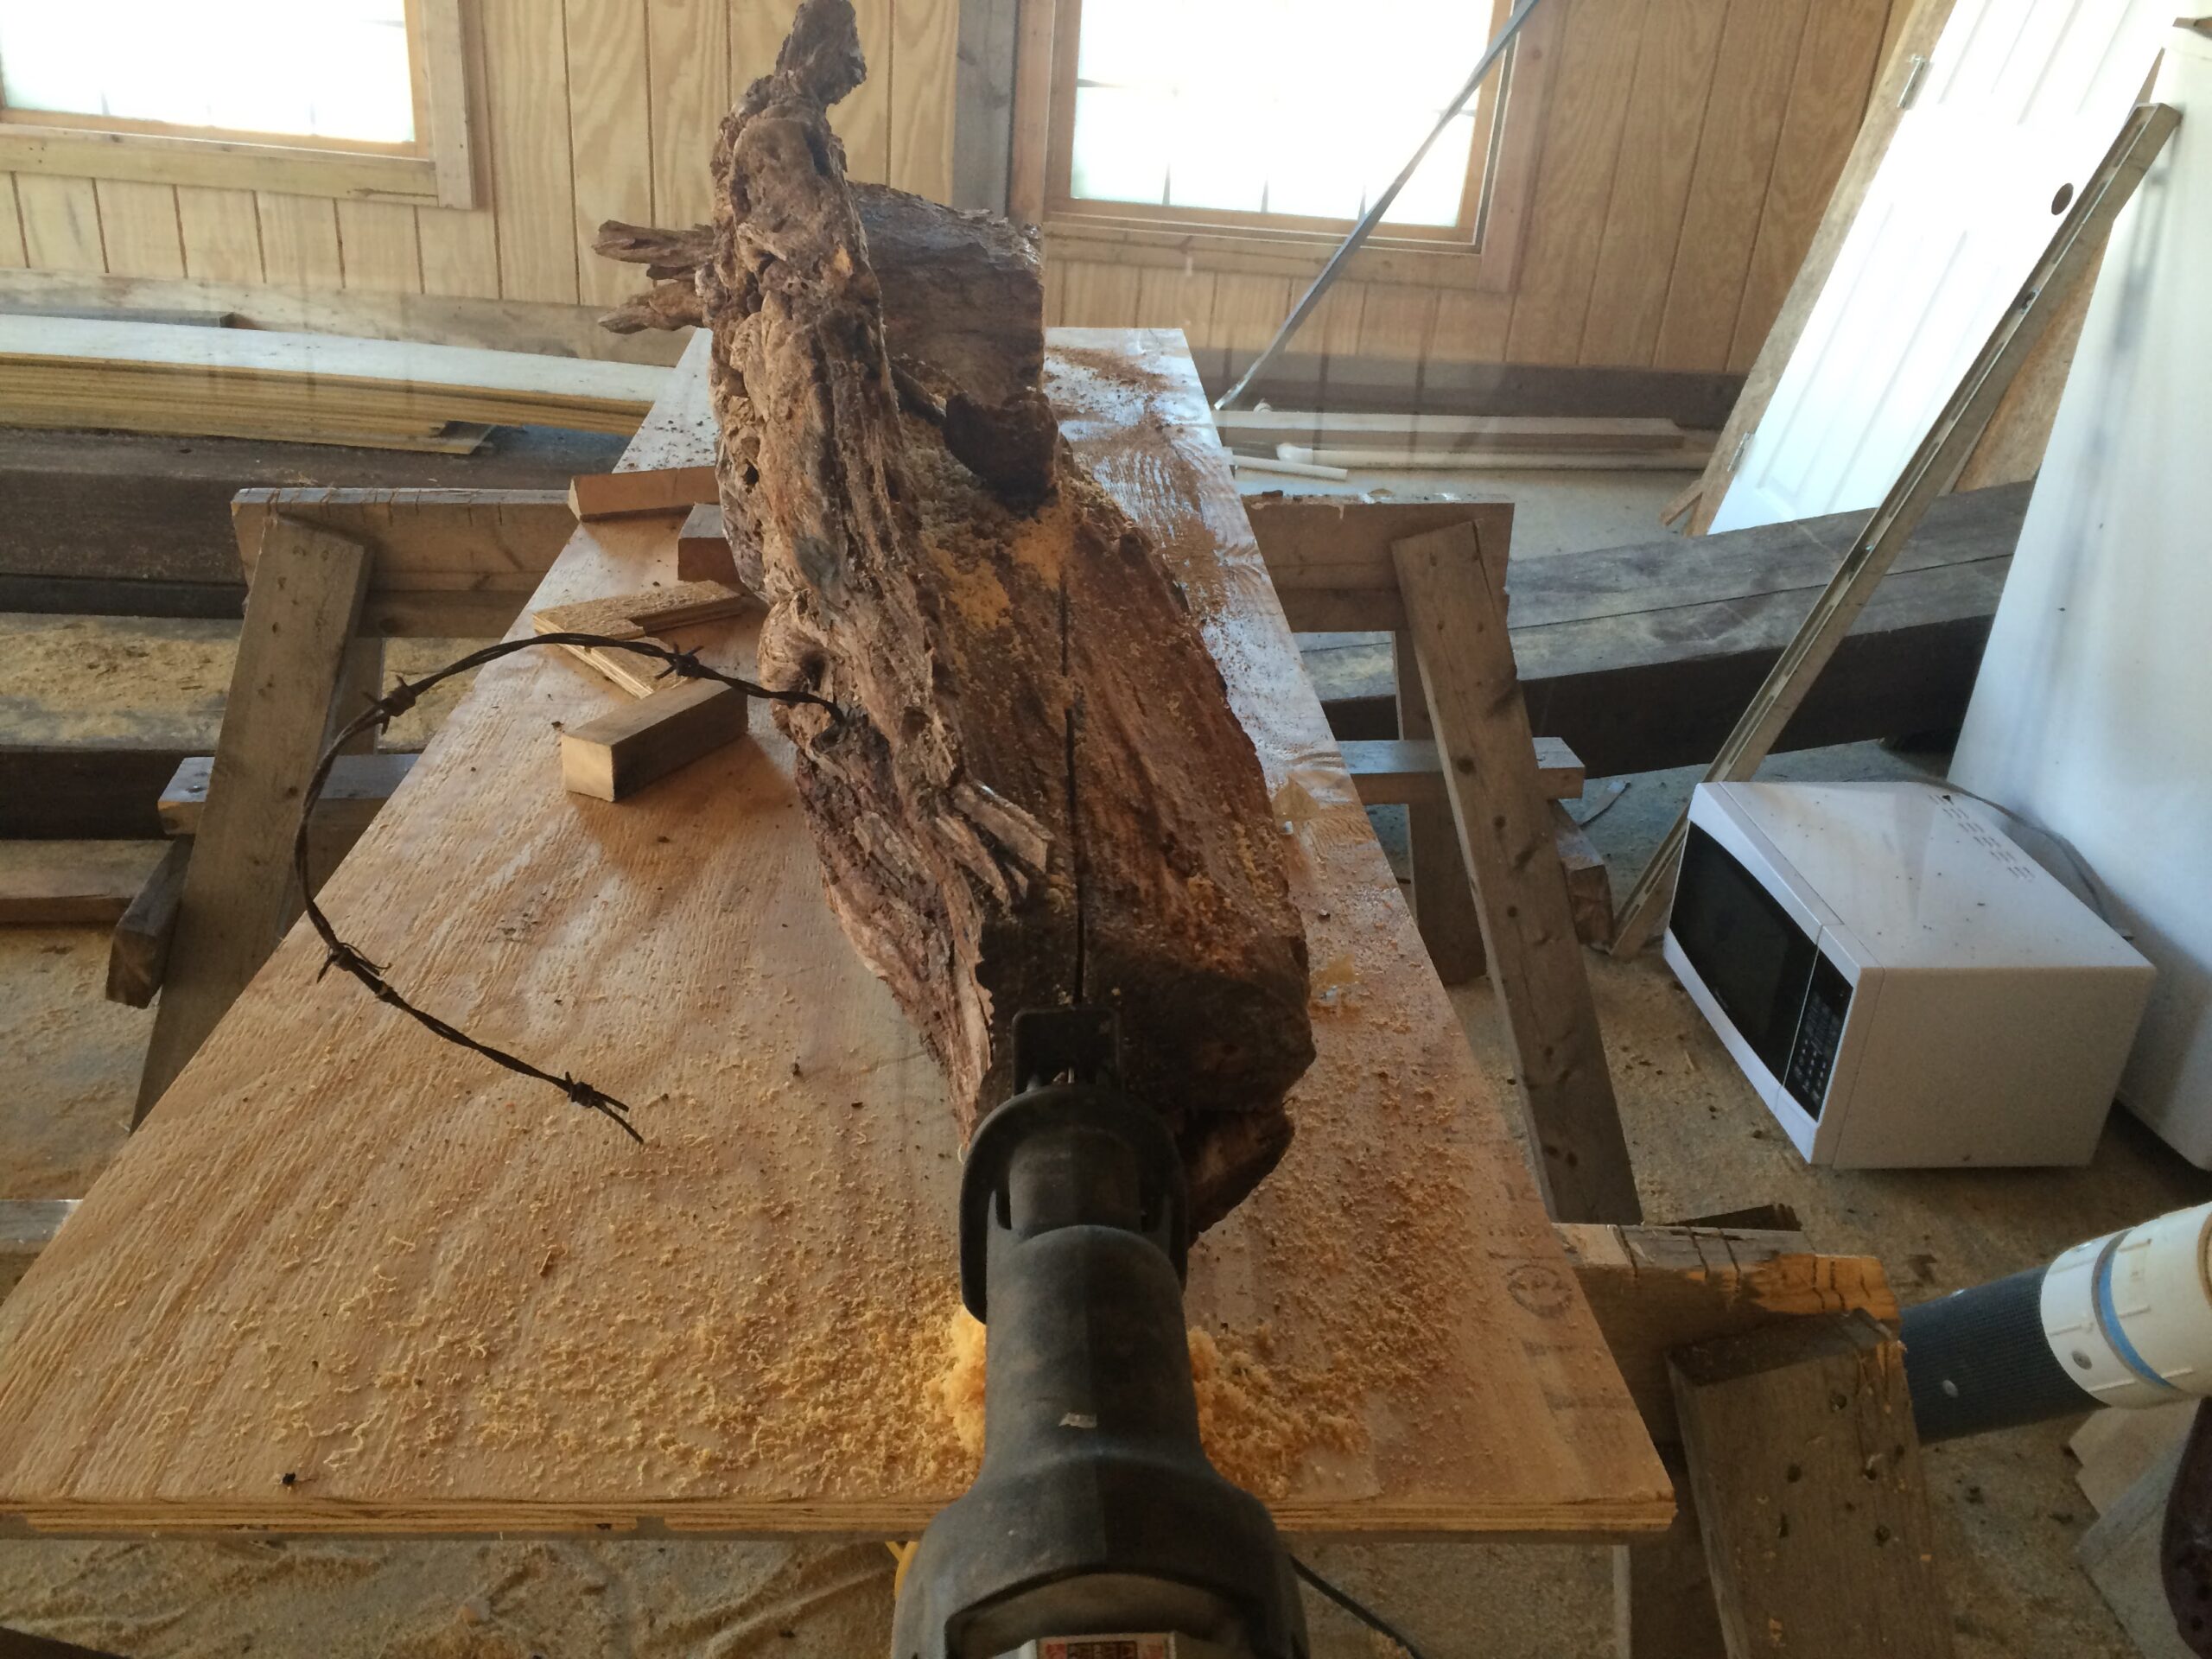
After cutting away a good chunk of the wood, our DIY-er used a belt sander to flatten and smooth out the surface.
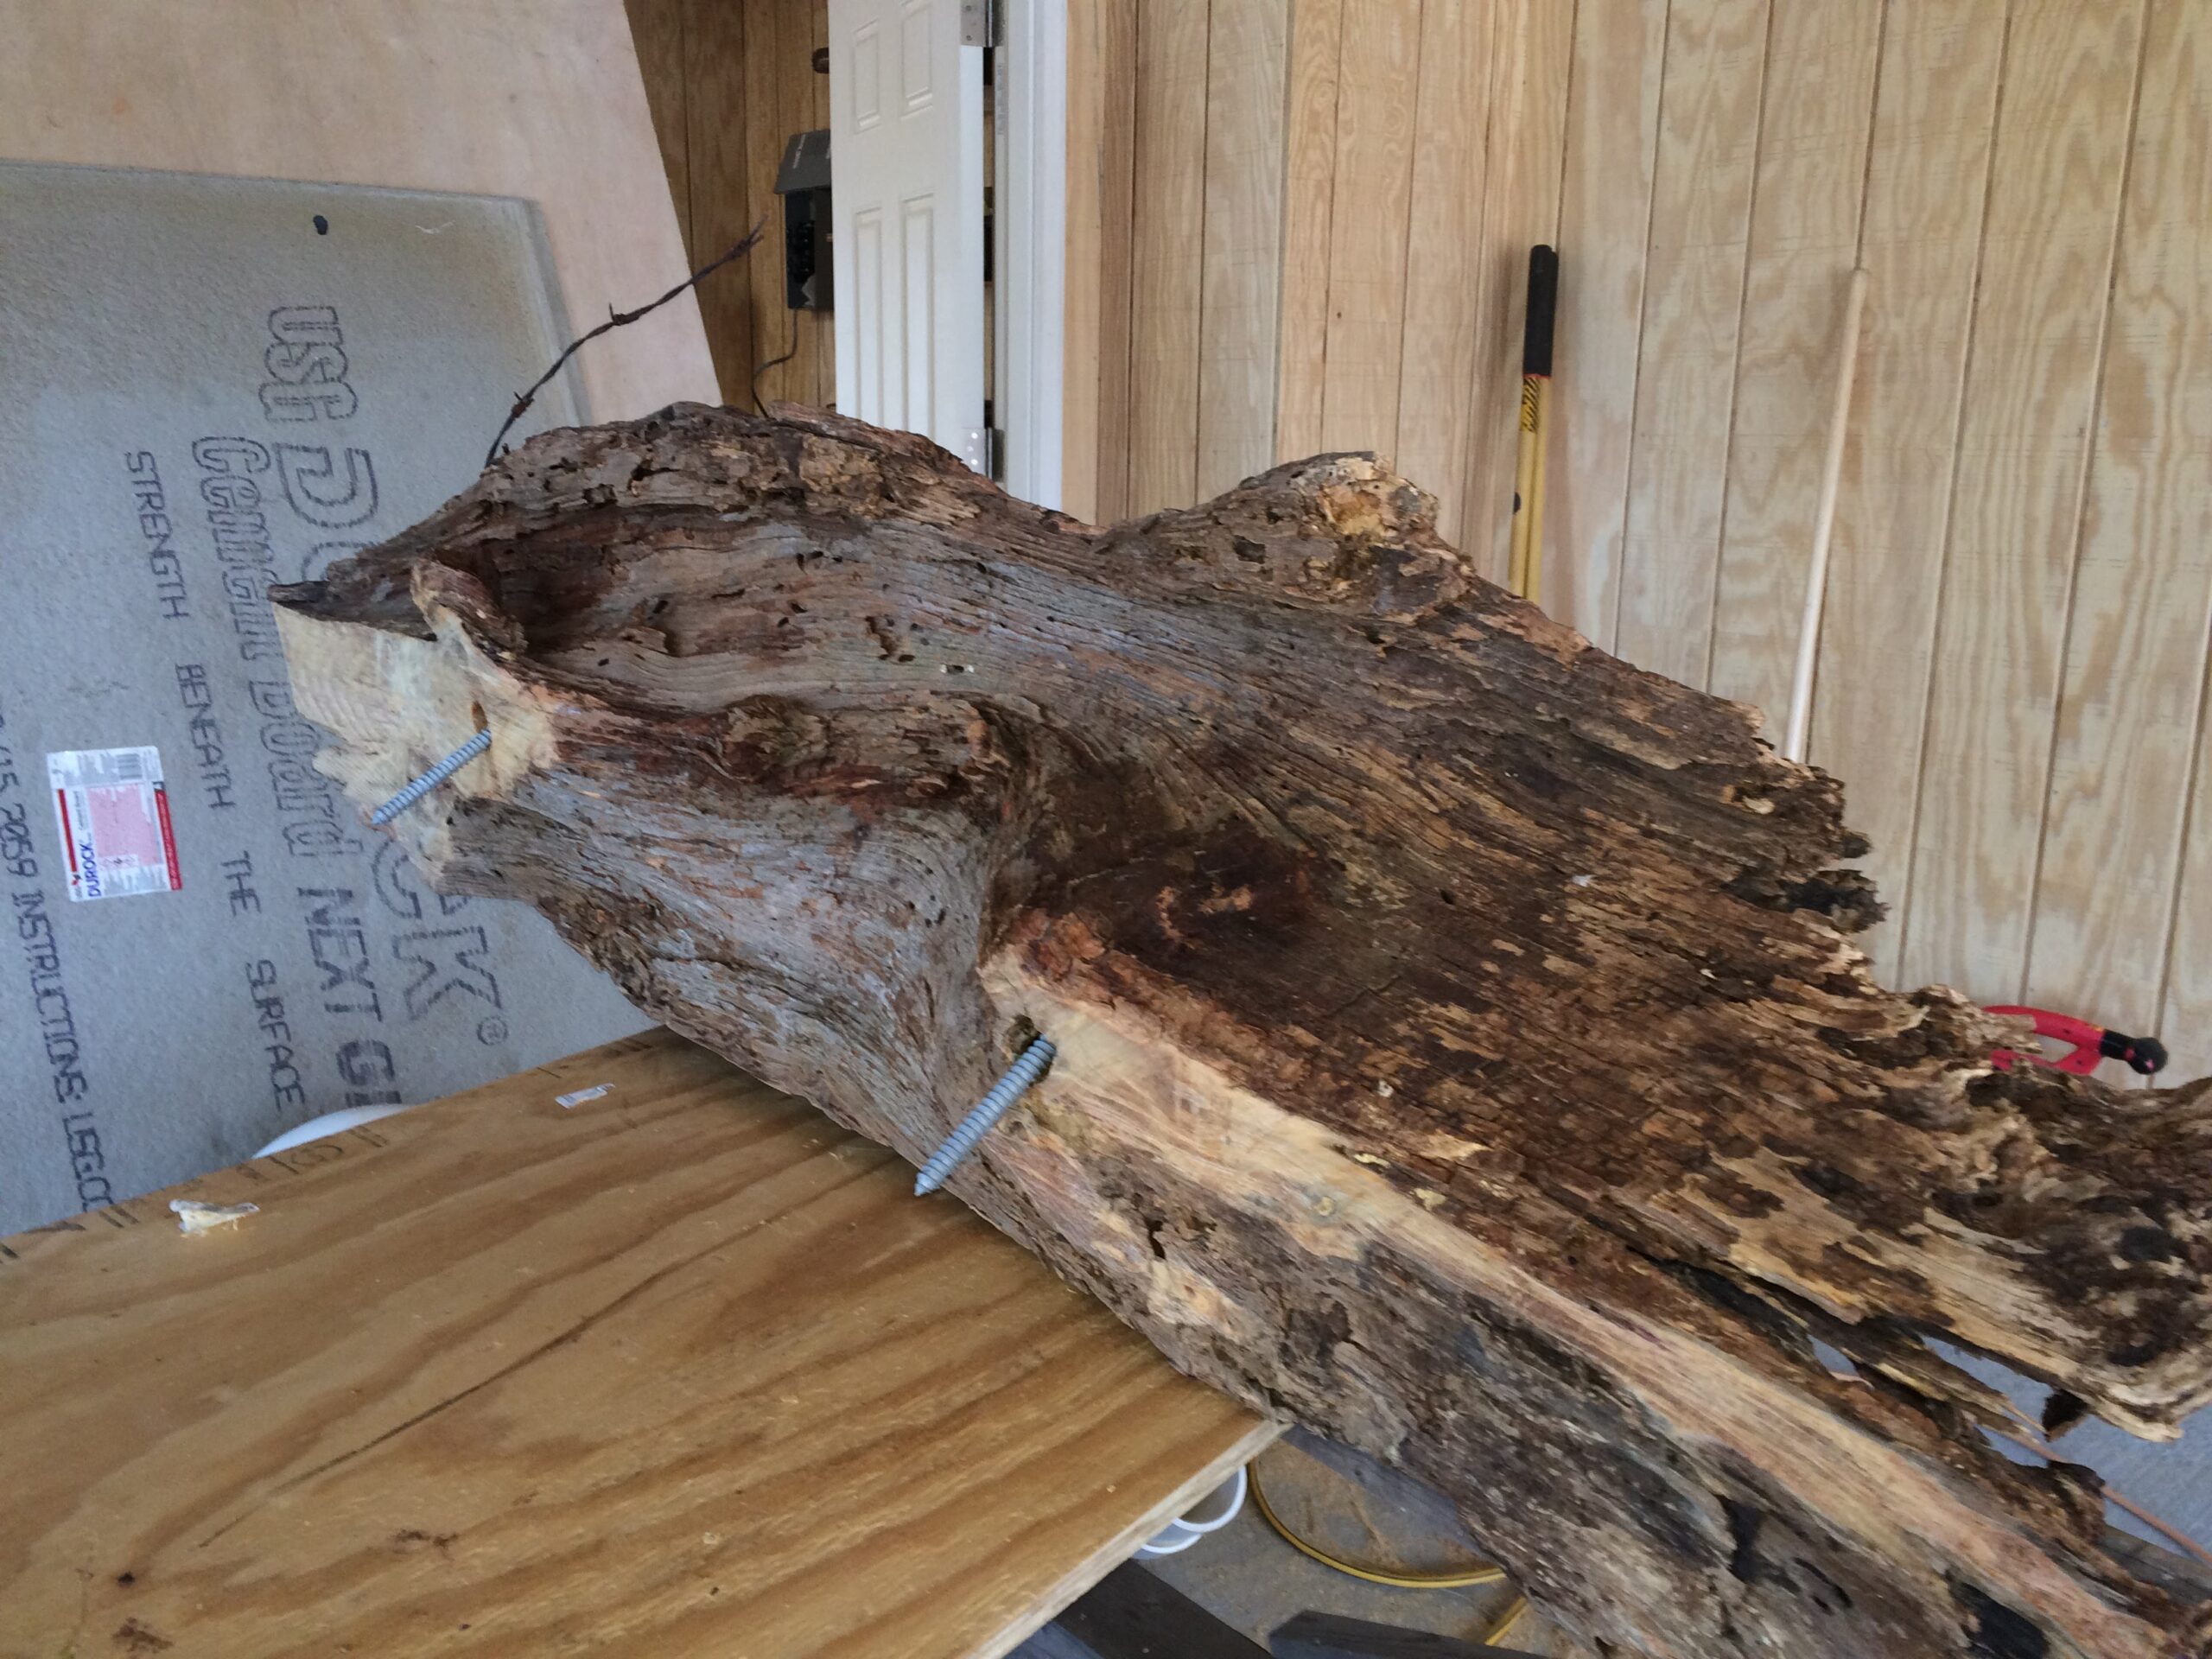
Next, he drilled in two bolts — taking care to measure them 24" apart from one another.
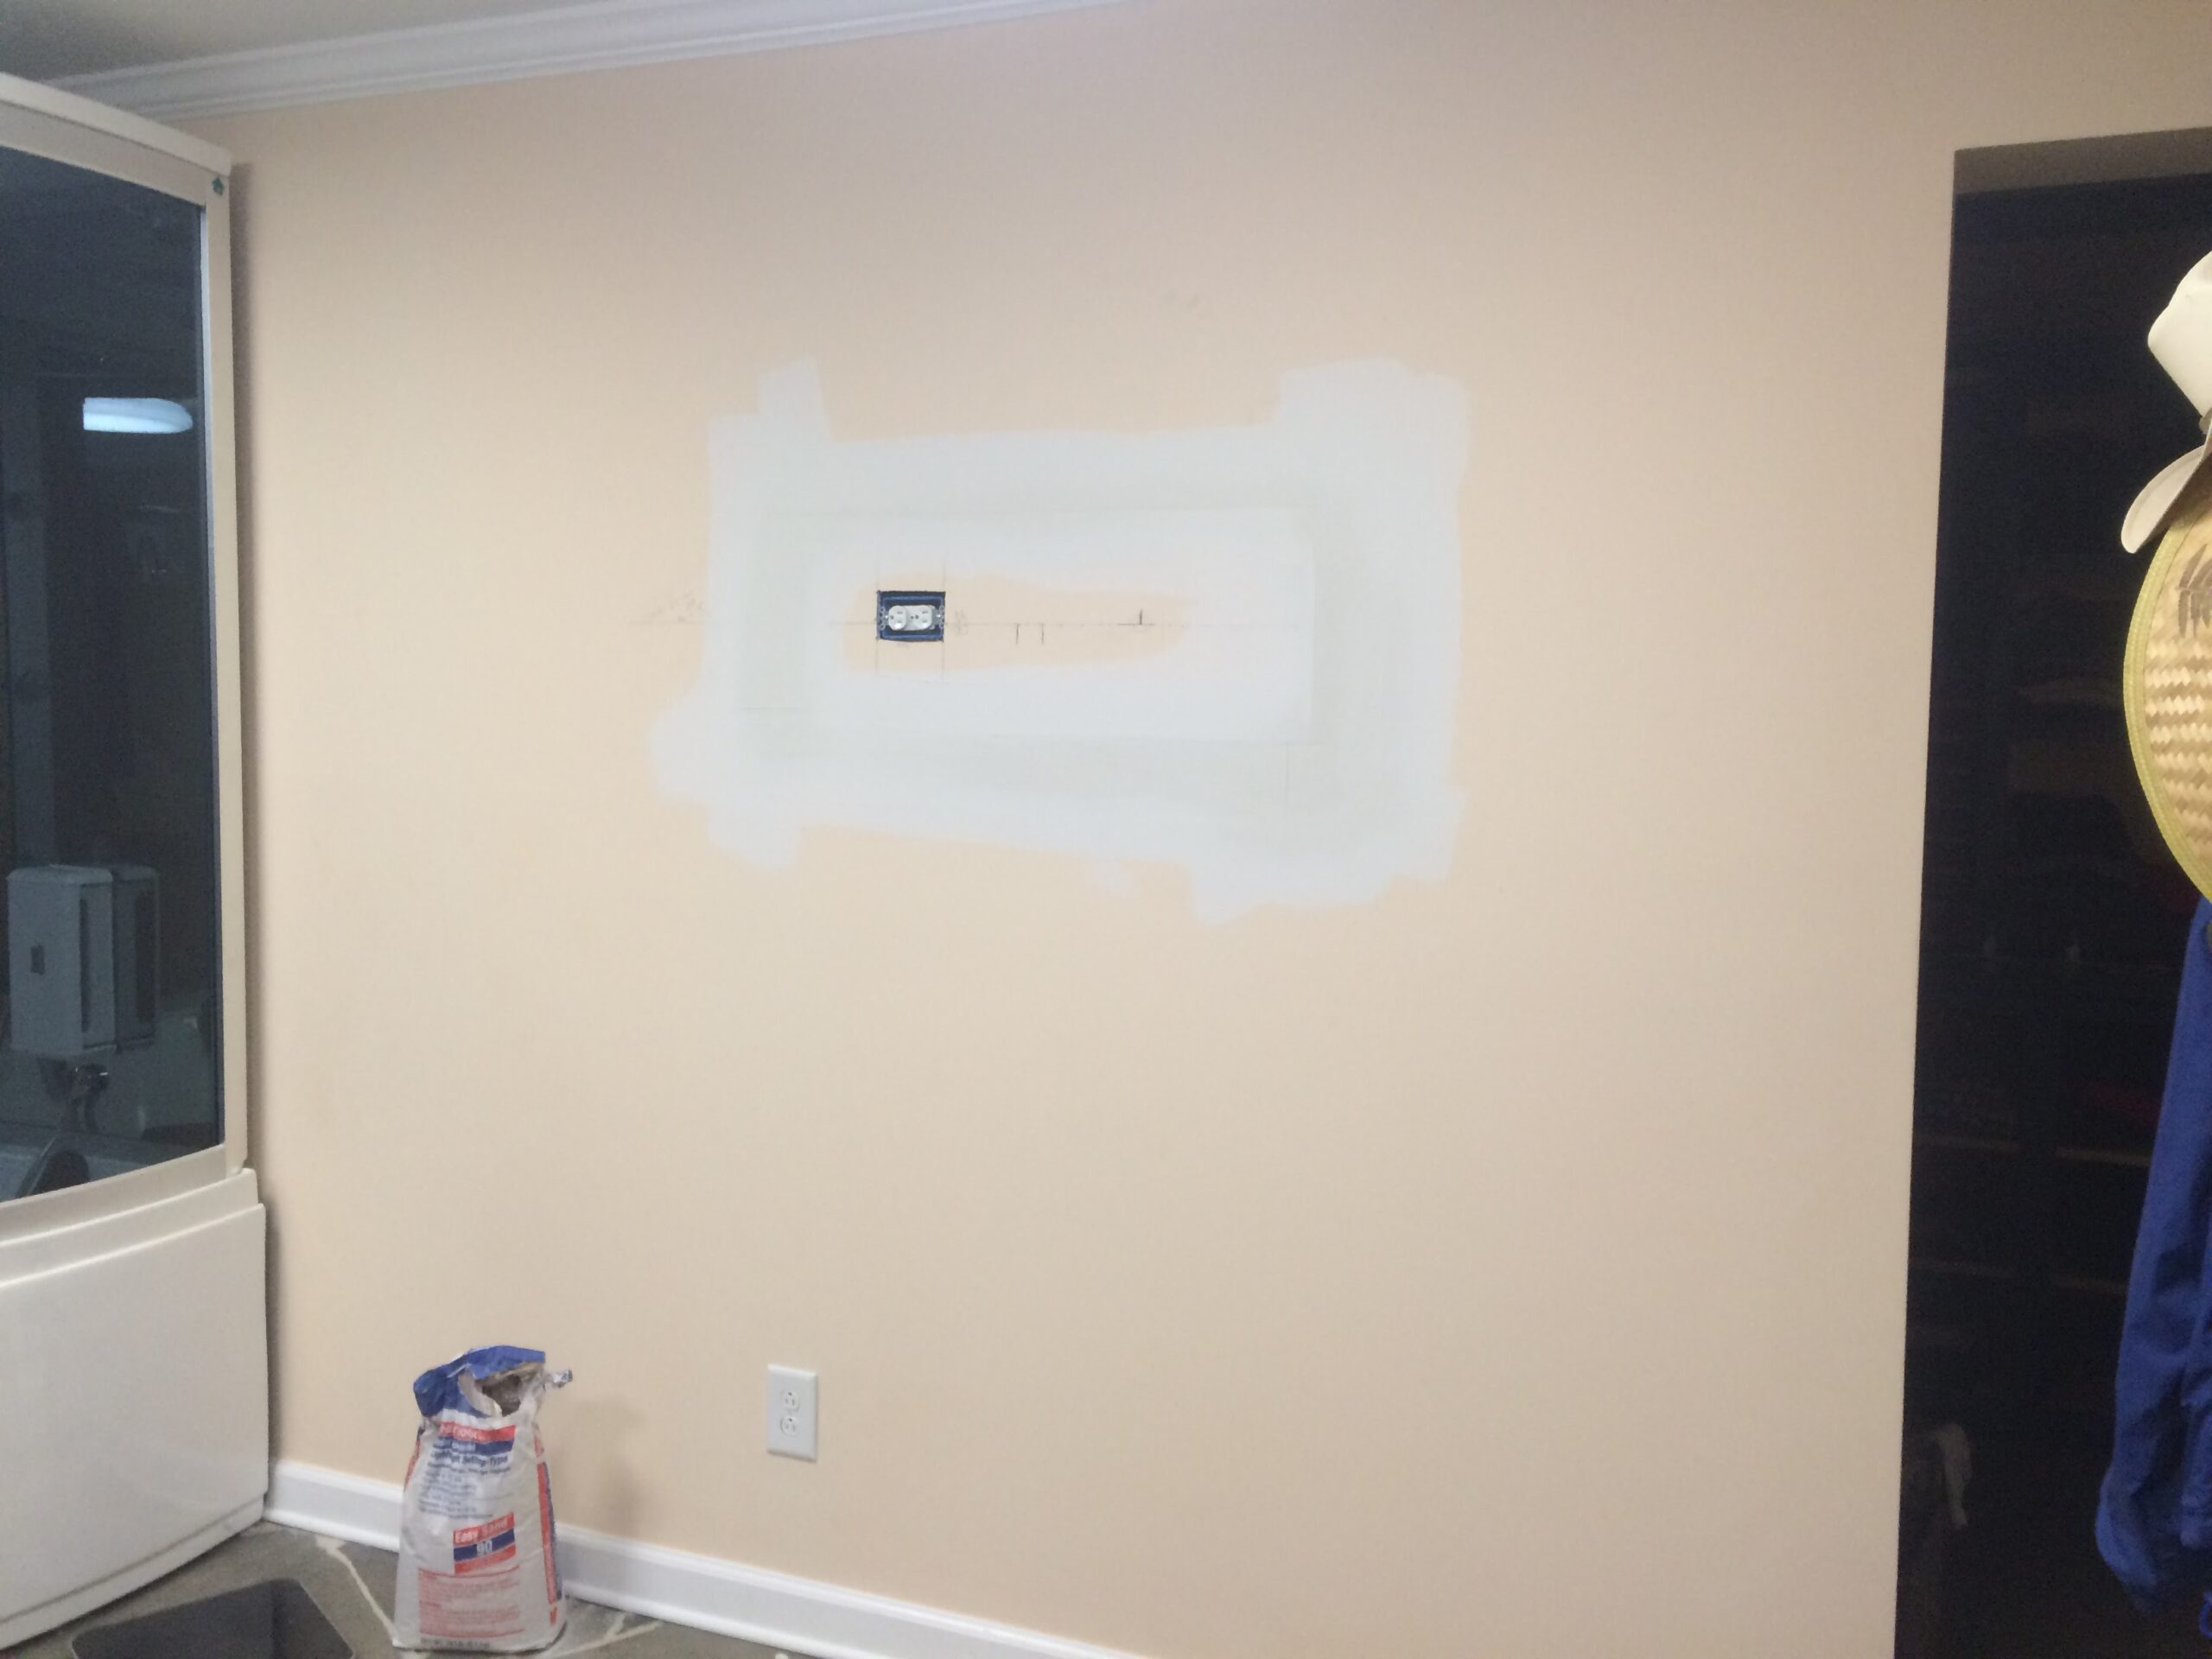
Afterward, he prepared his wall to install both the tree towel rack and LED lighting.
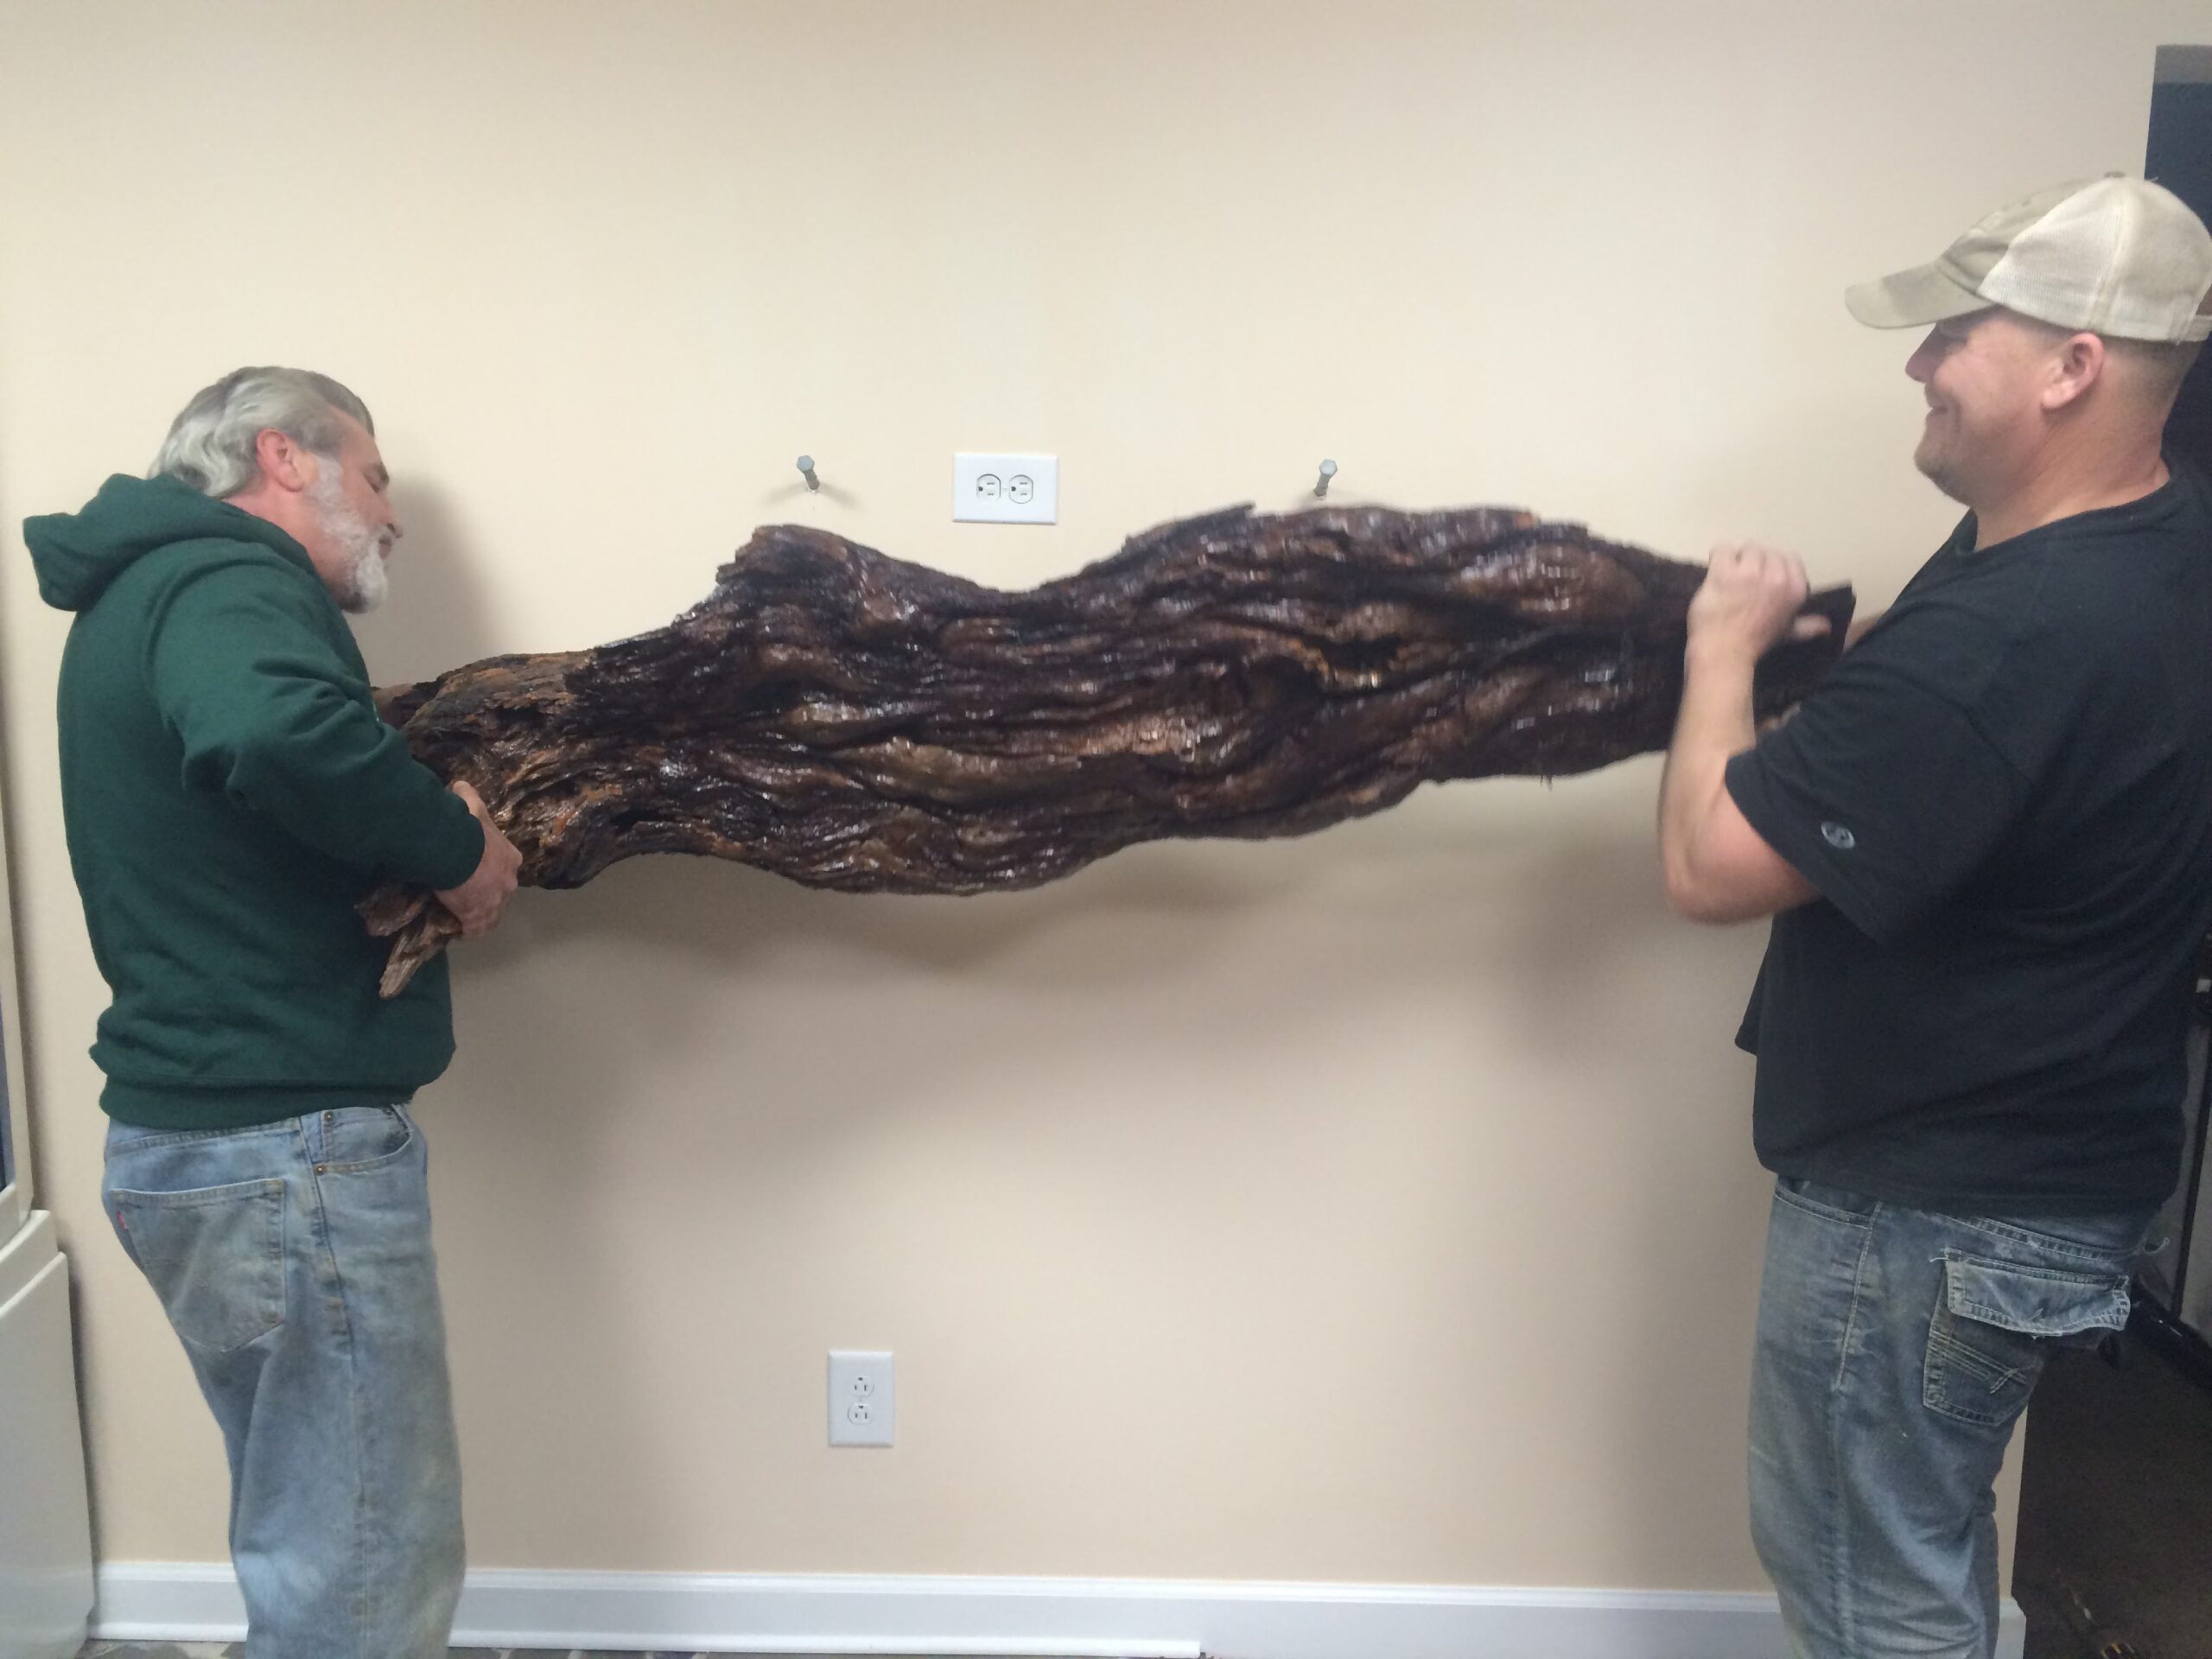
This epic piece took two grown men to properly mount in his bathroom.
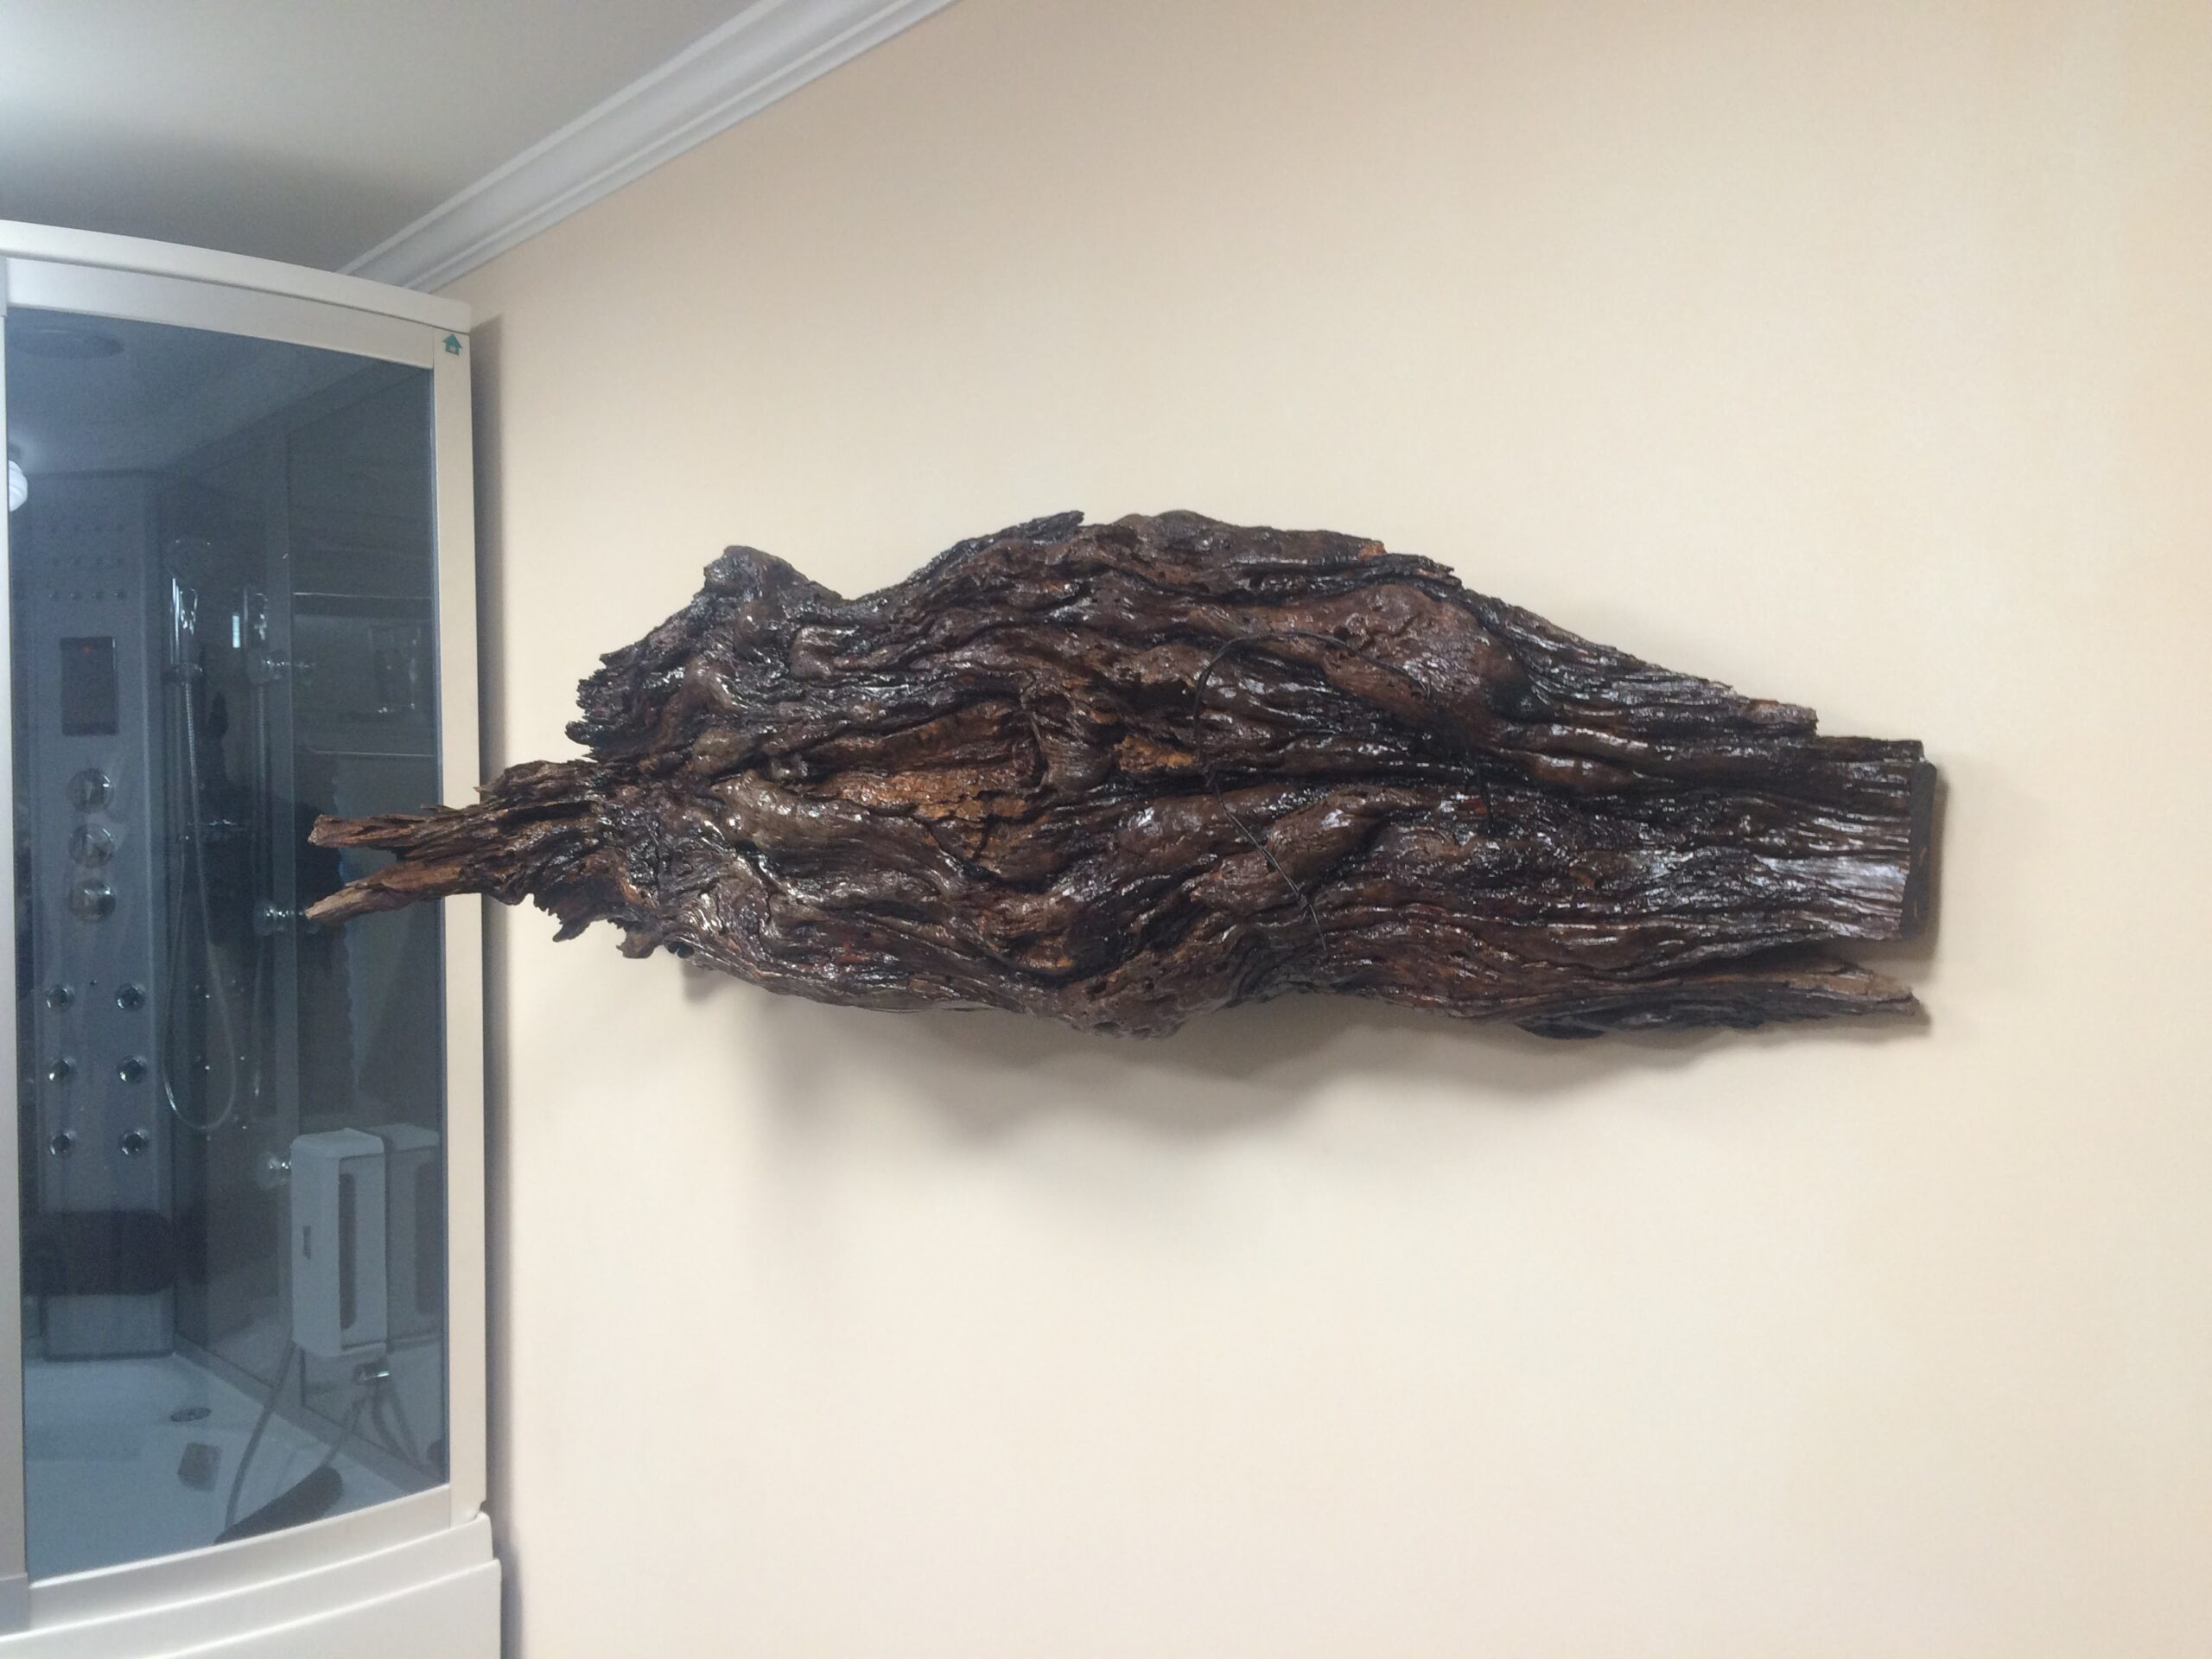
Our DIY-er finished off the initial round by adding six coats of spray-on lacquer.
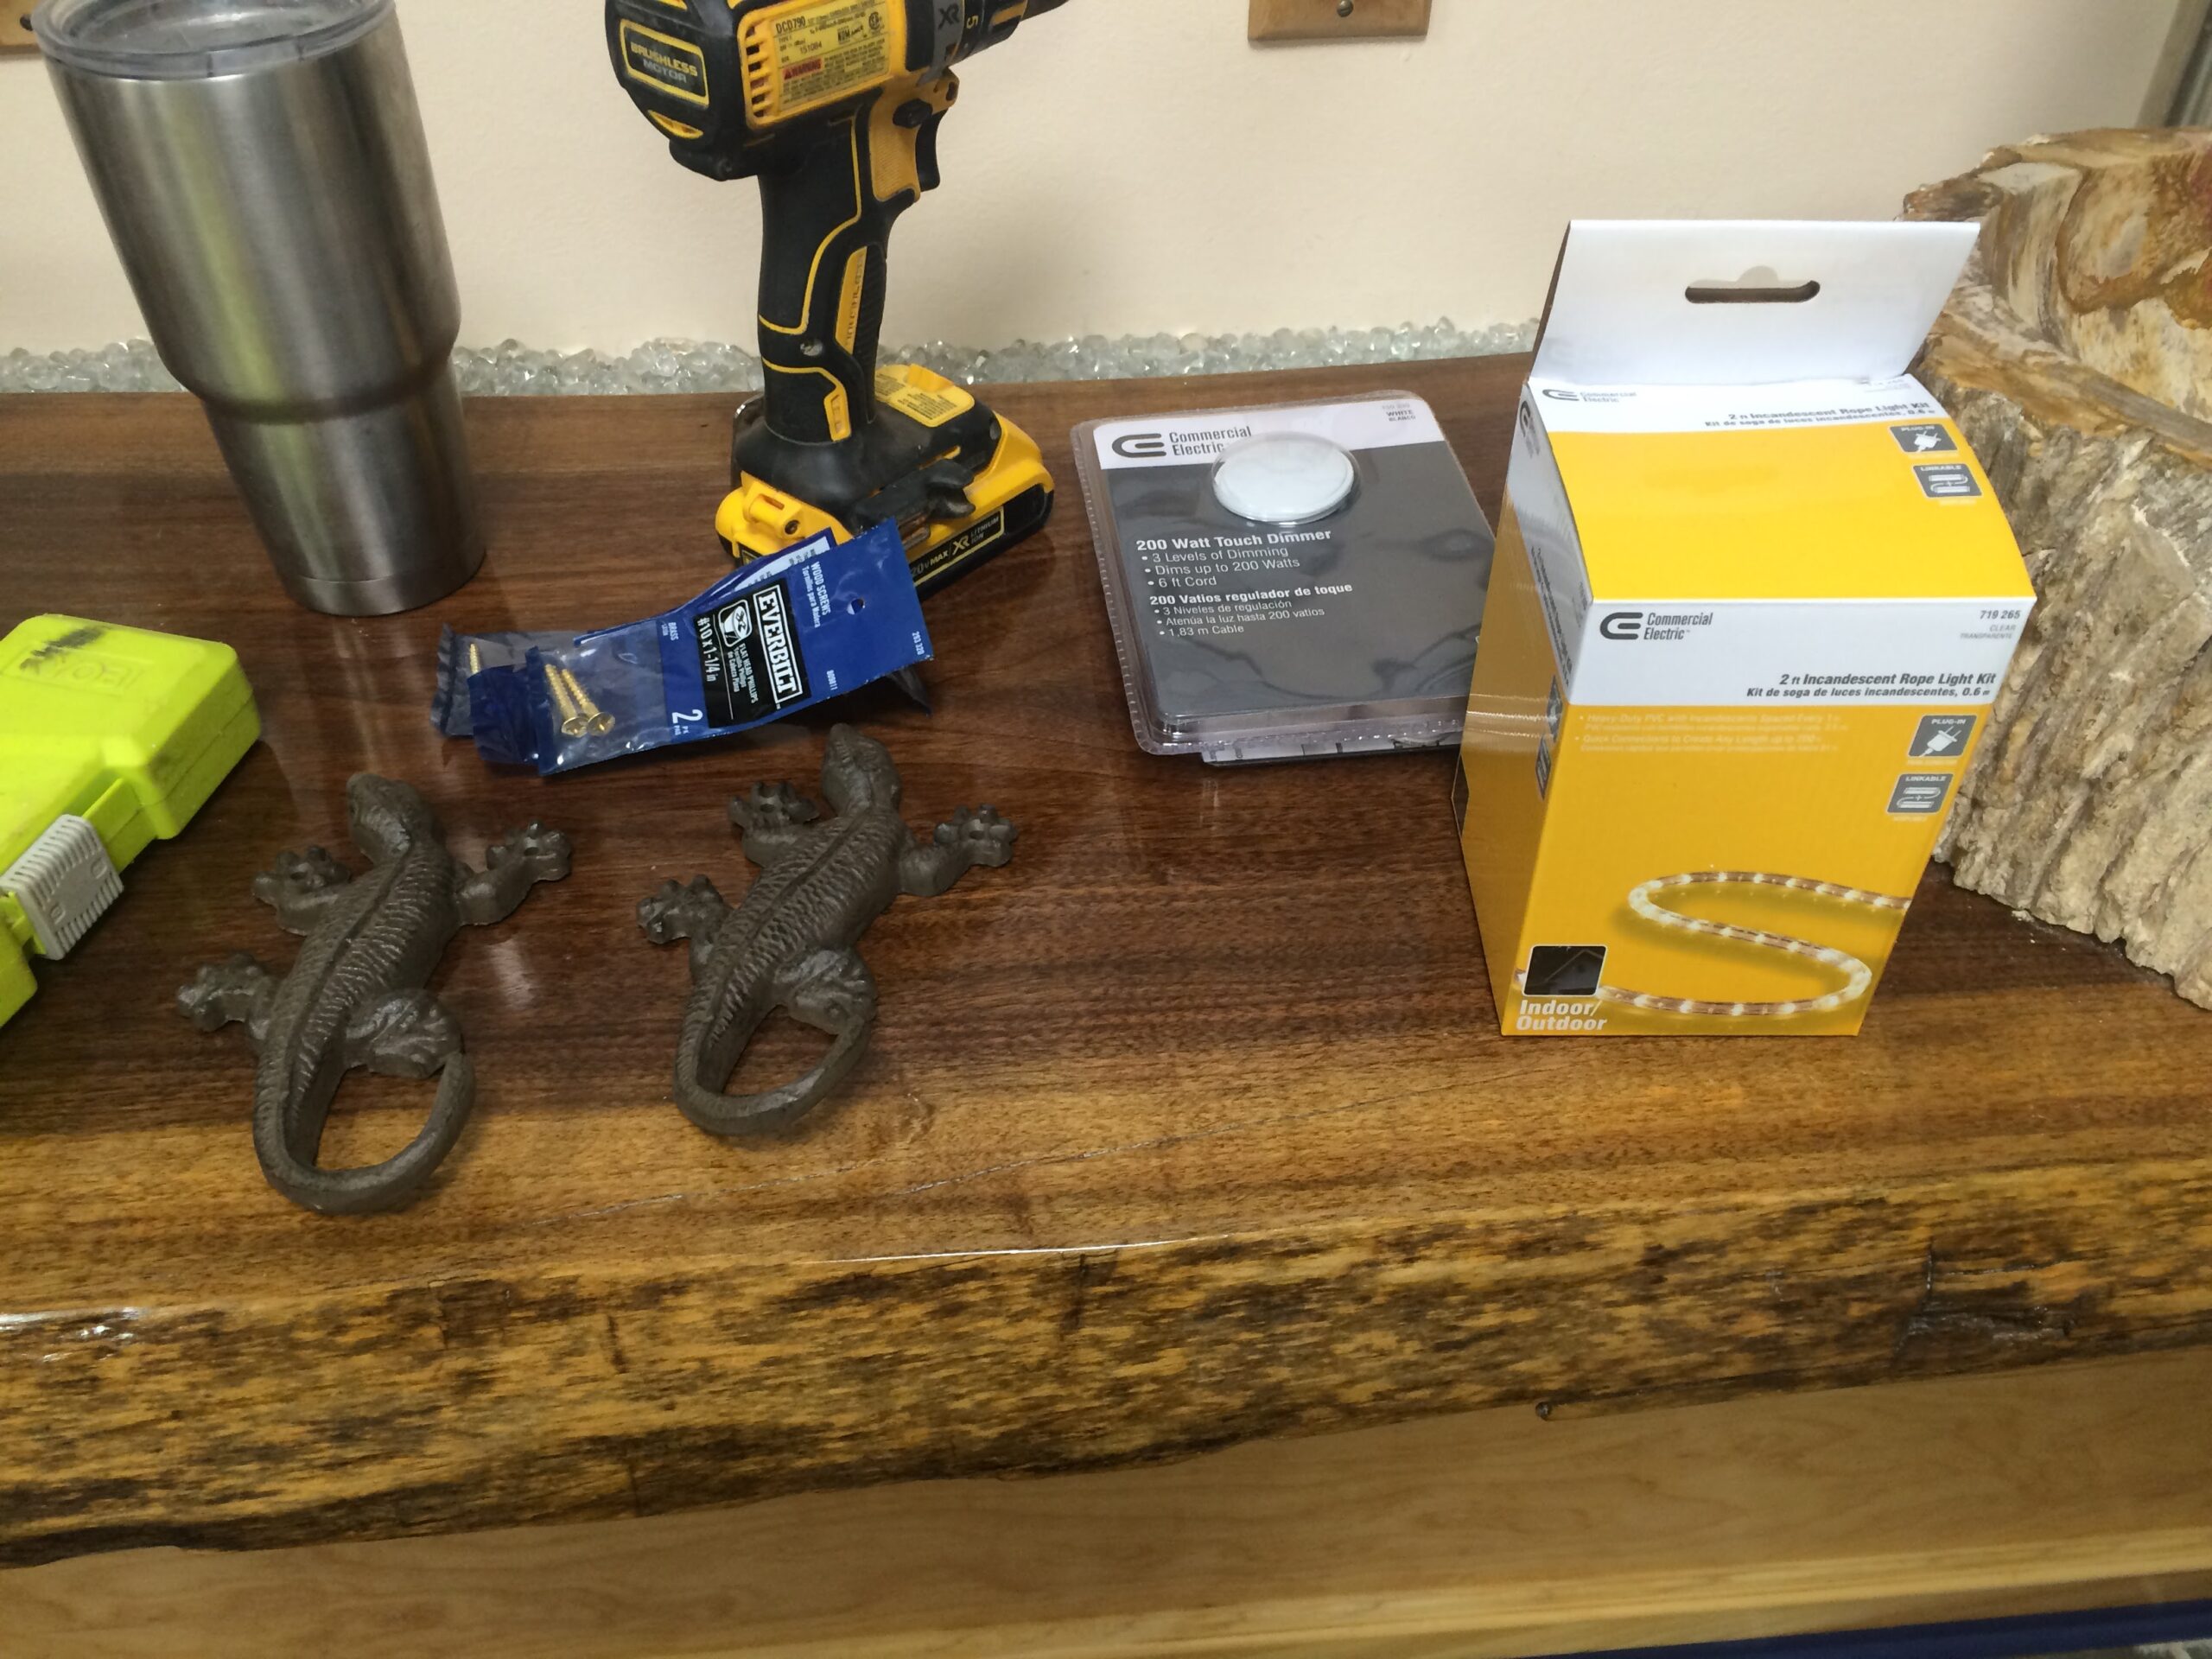
Next, he organized the final supplies: cast-iron lizard wall hooks, a two-foot LED ribbon, and a touchpad dimmer.
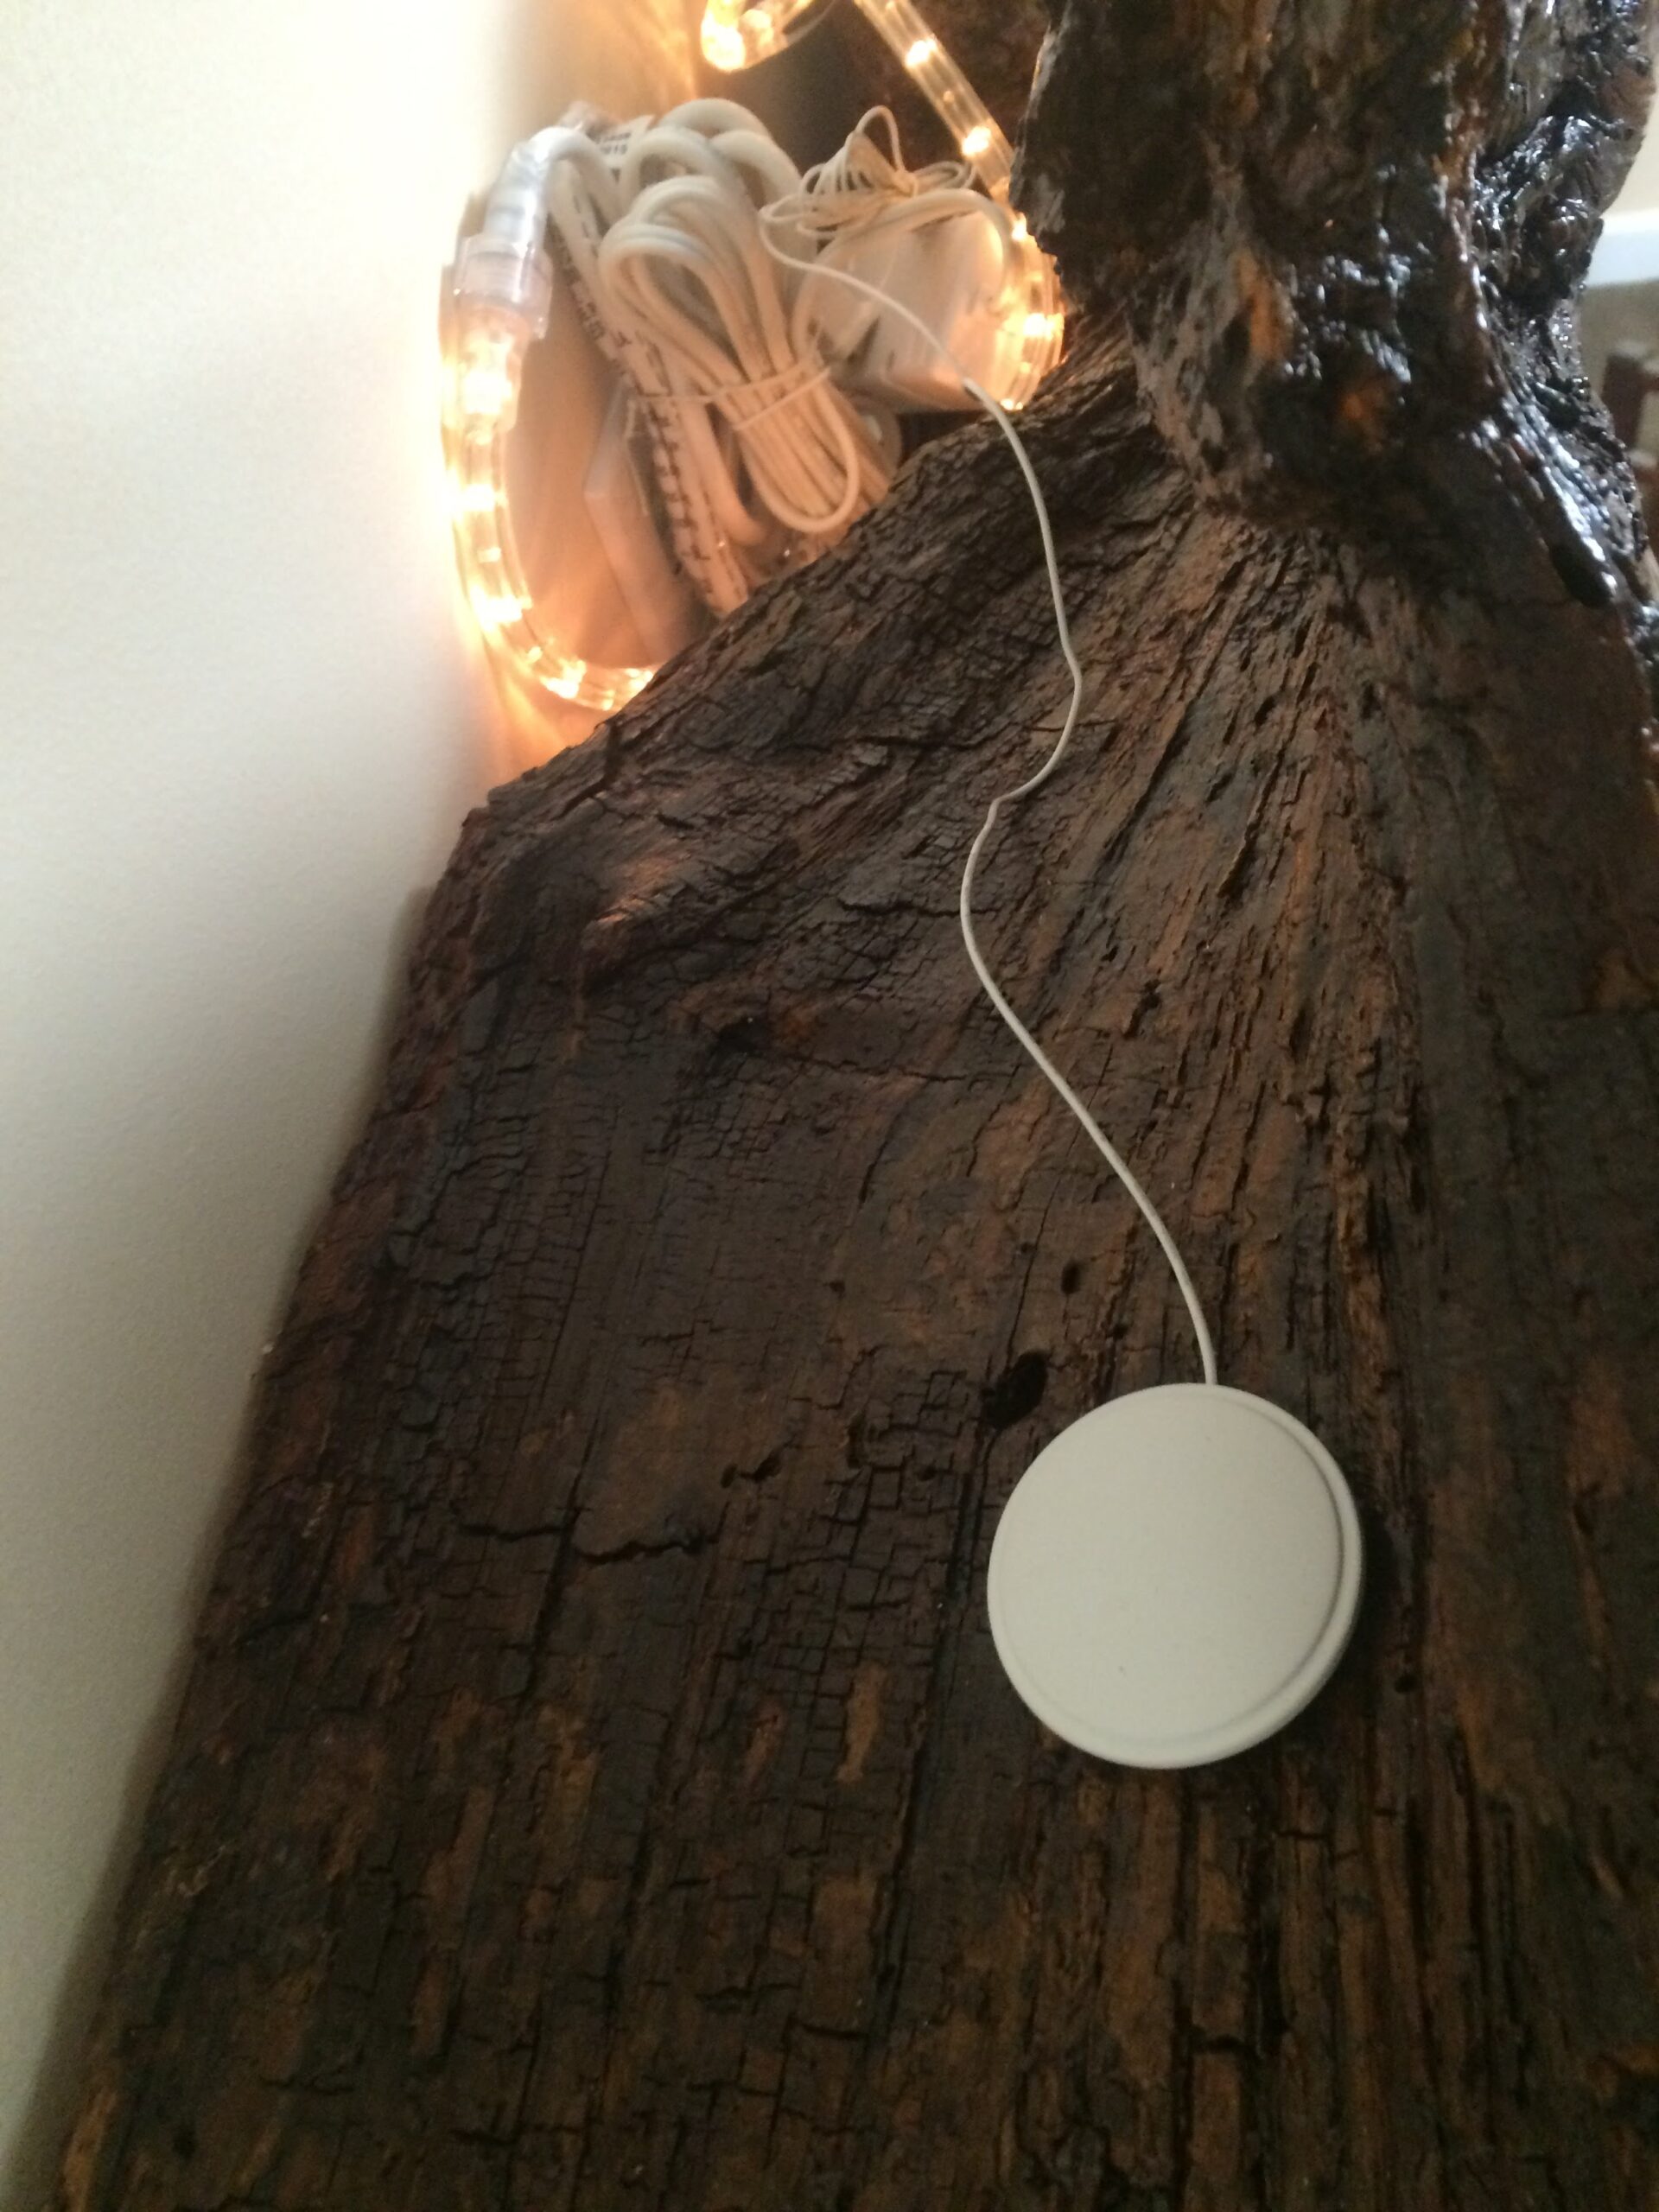
He threaded the strips of lighting through the back portion of the towel rack.
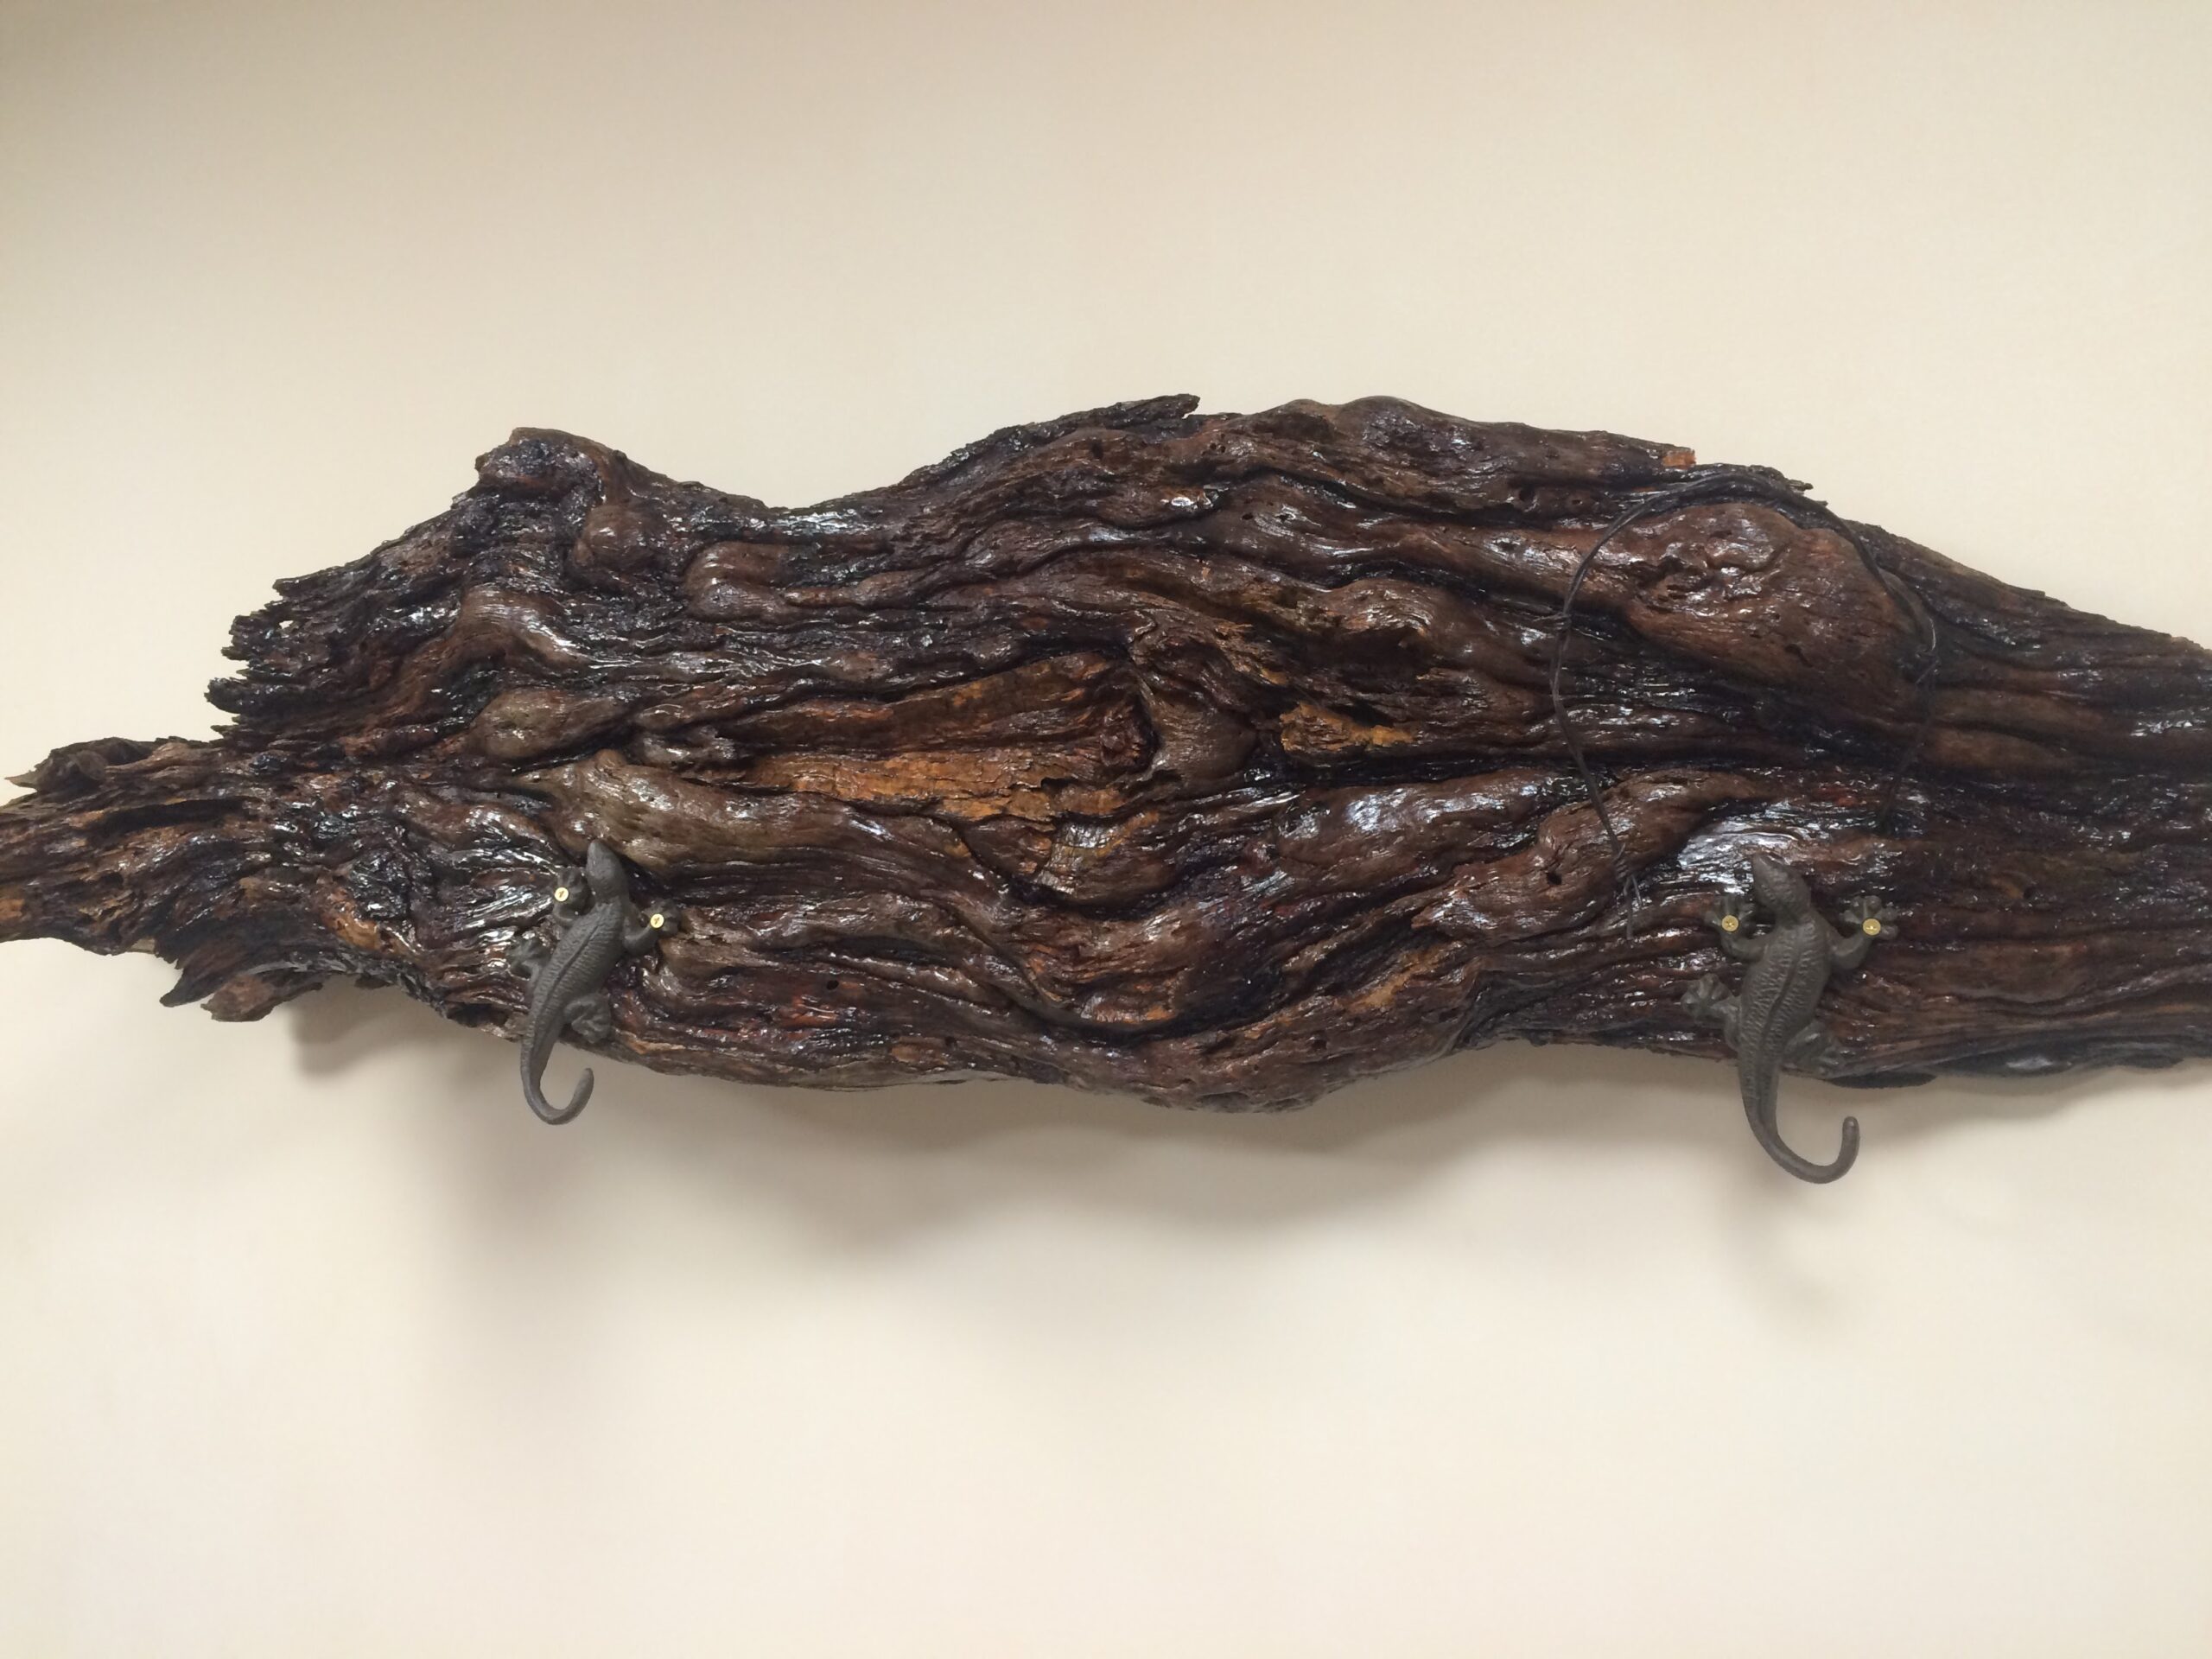
Using brass screws, our DIY-er installed the lizard wall hooks.
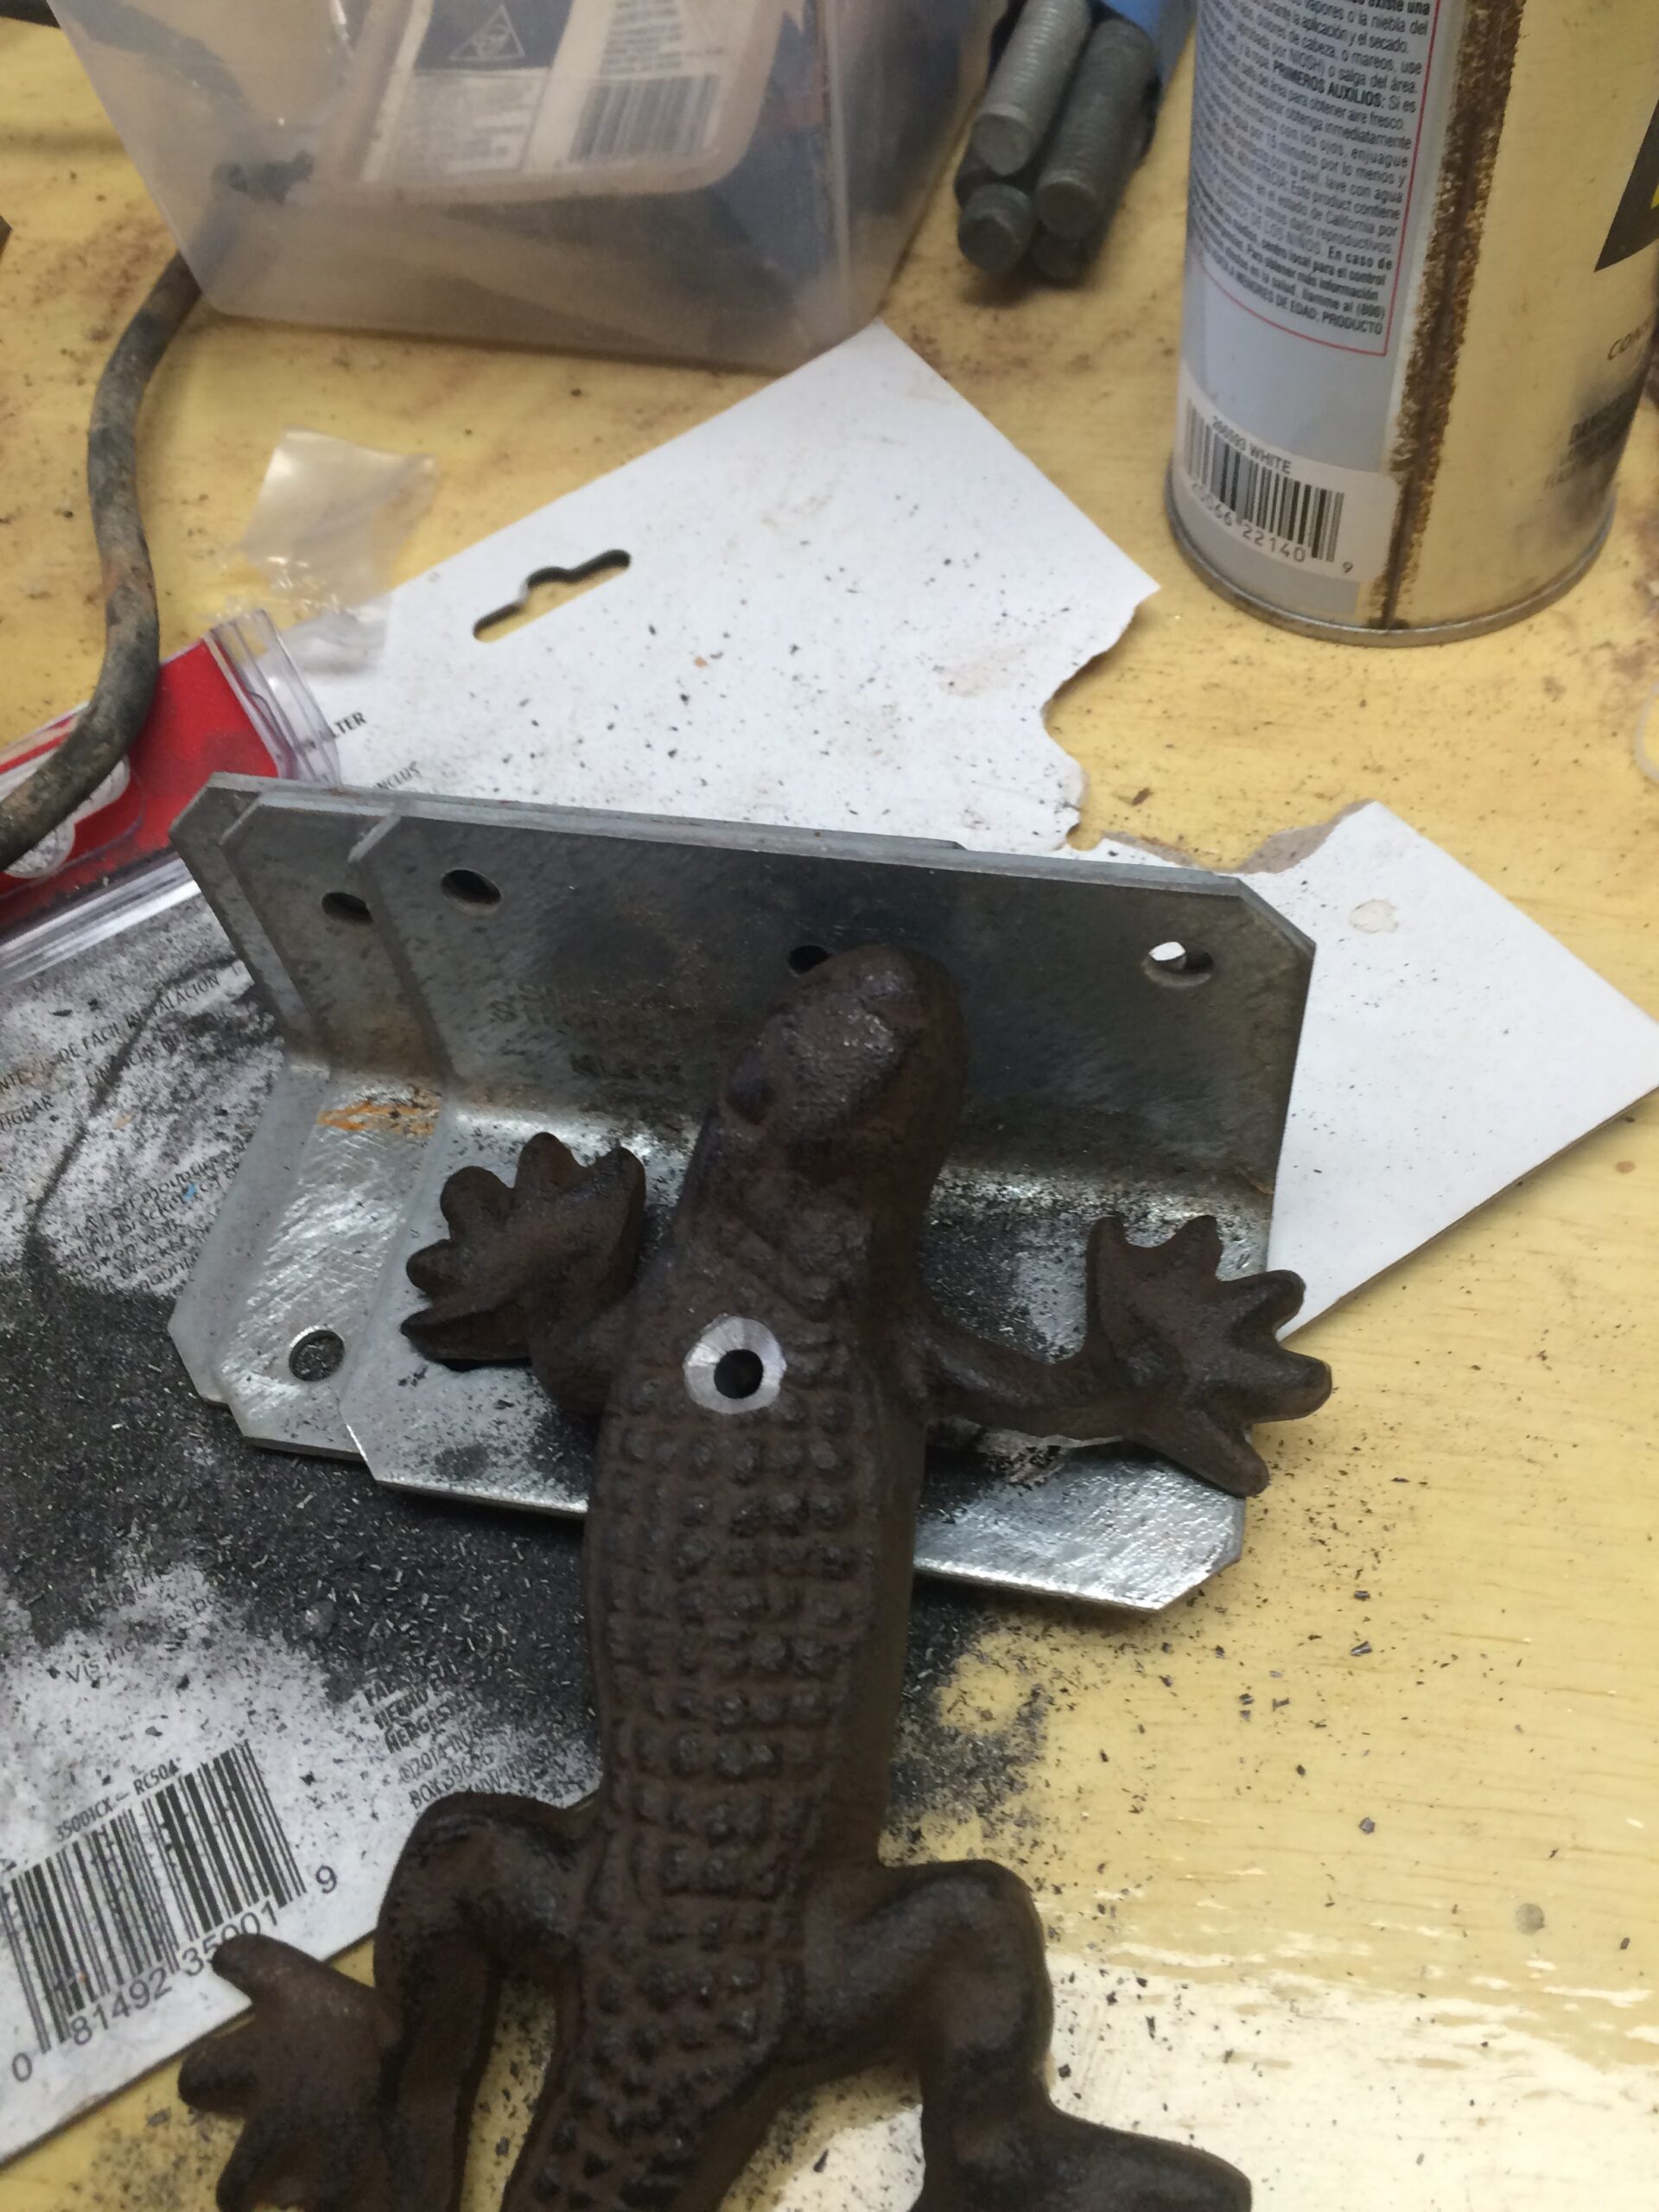
He screwed through an extra decorative lizard and added it as an extra bit of flair.
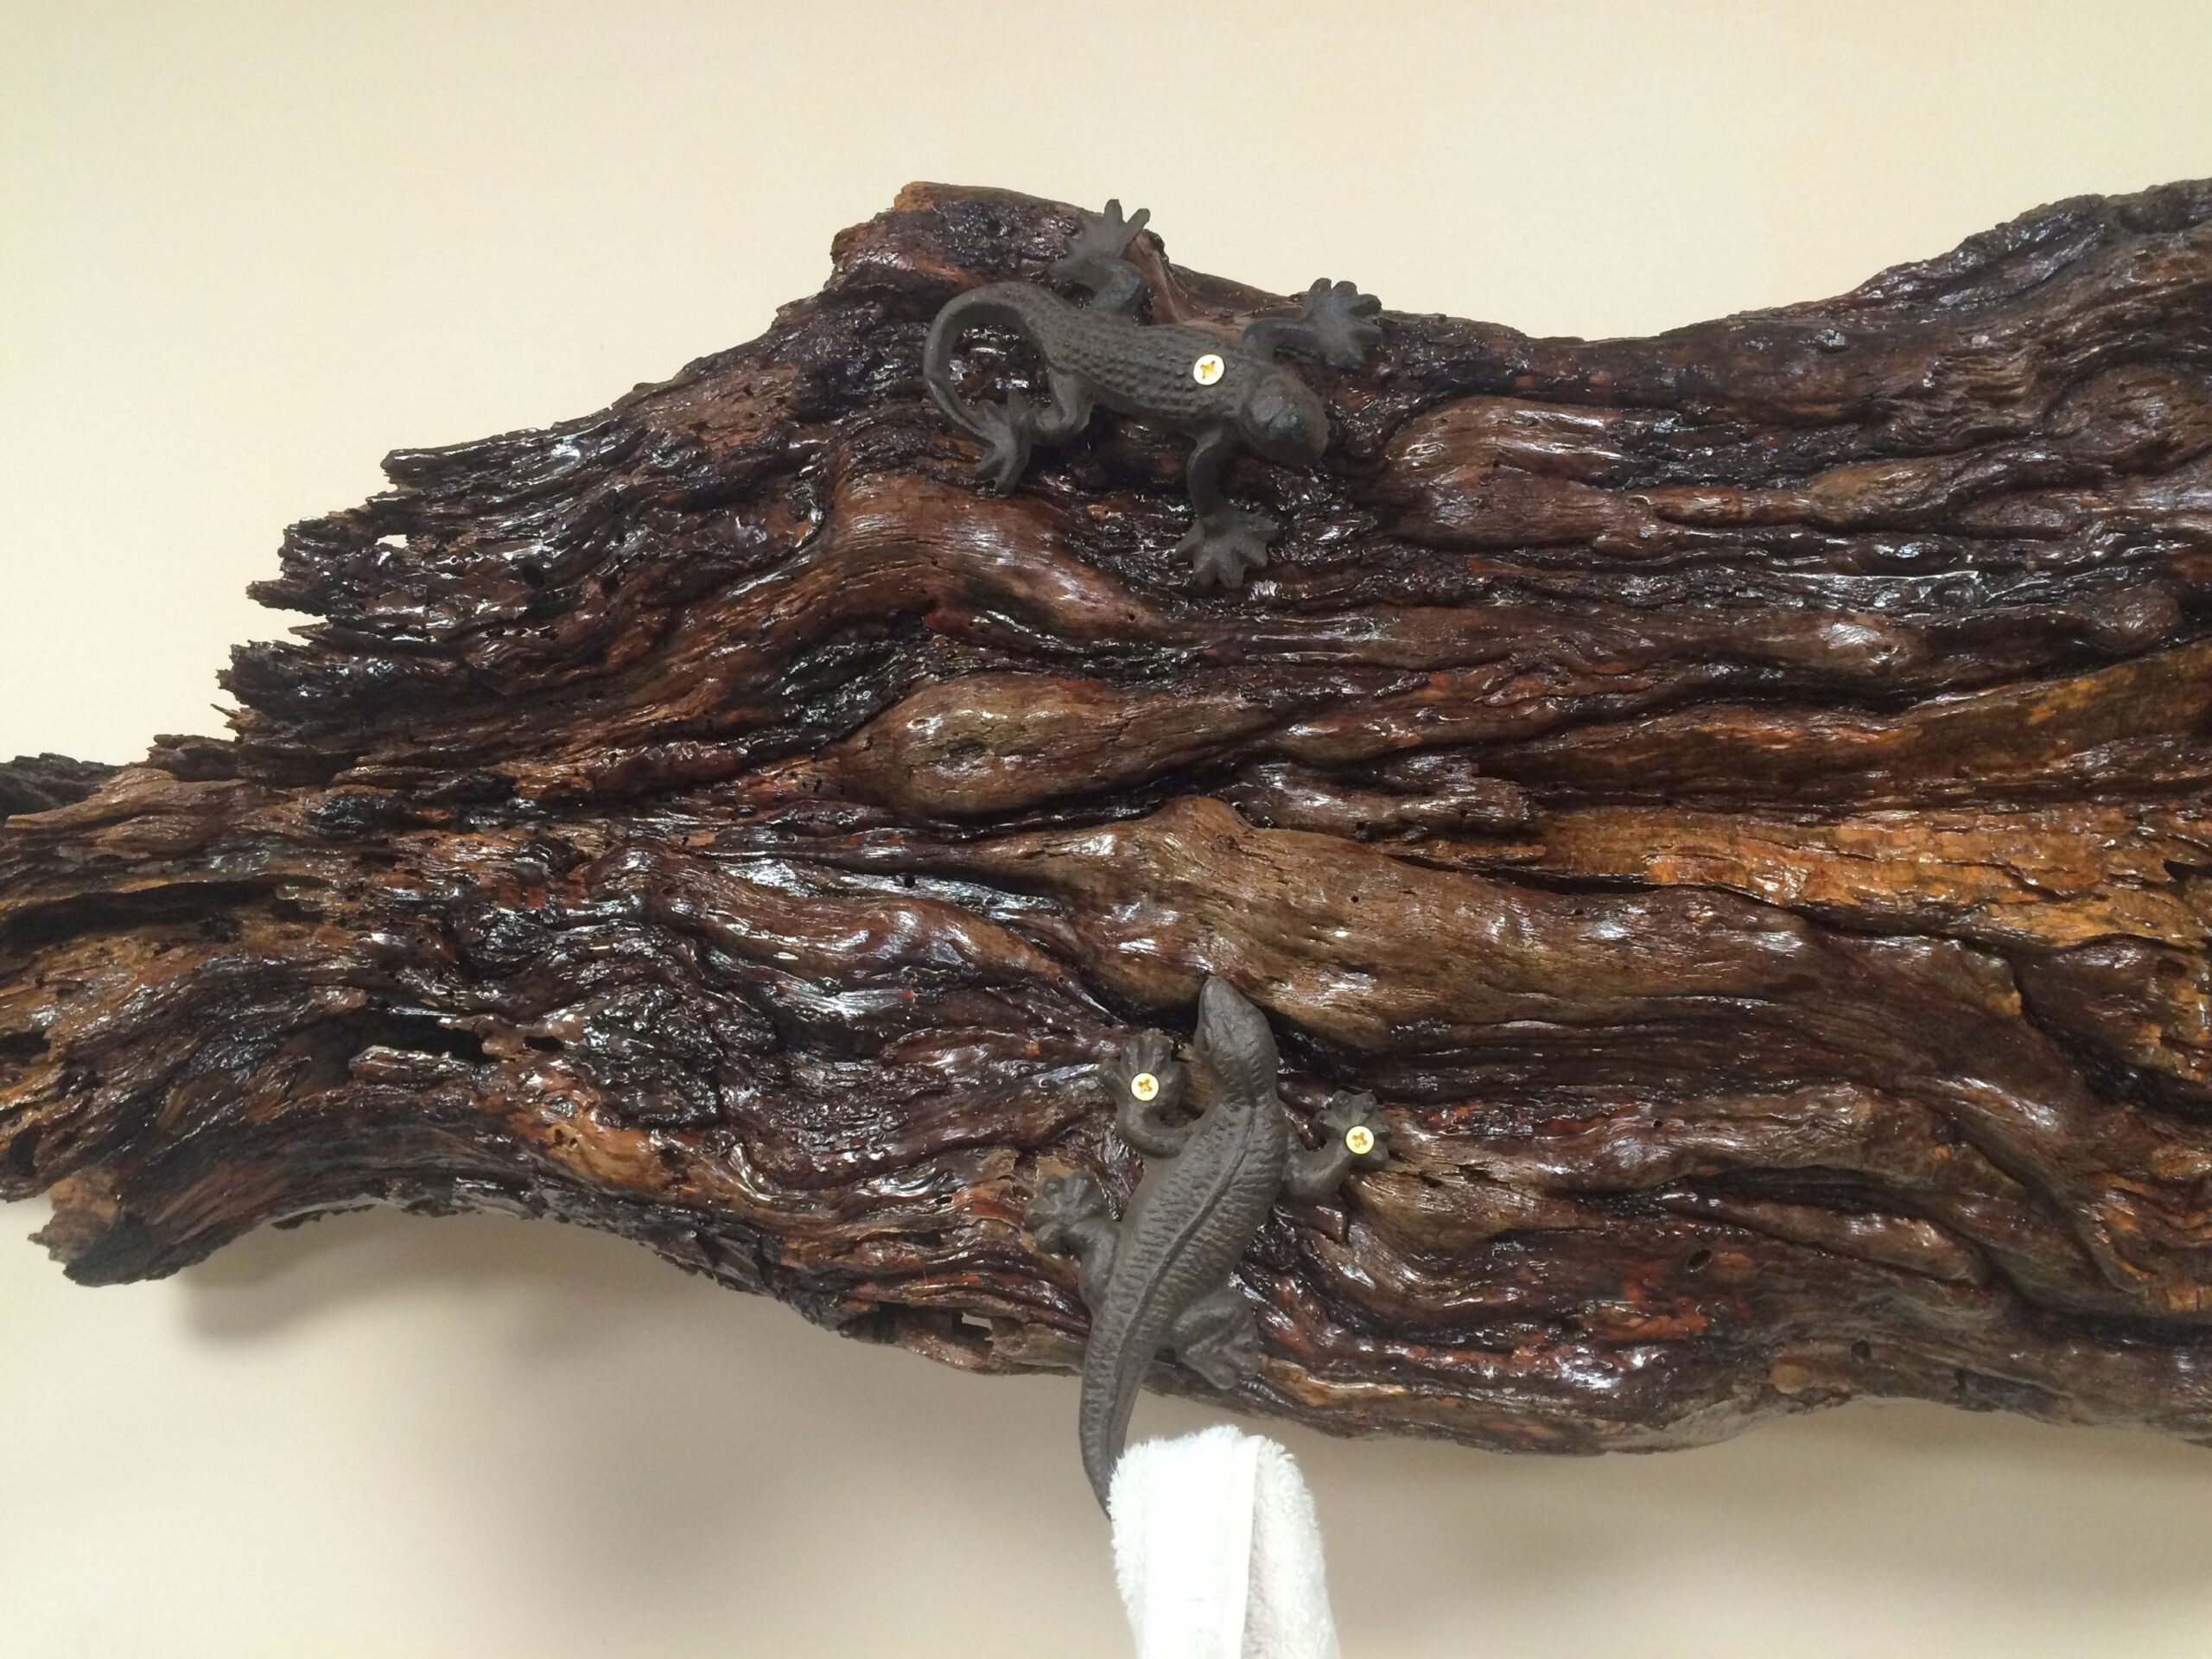
His DIY bathroom rack was ready for towels — and these lizards couldn't possibly be happier!
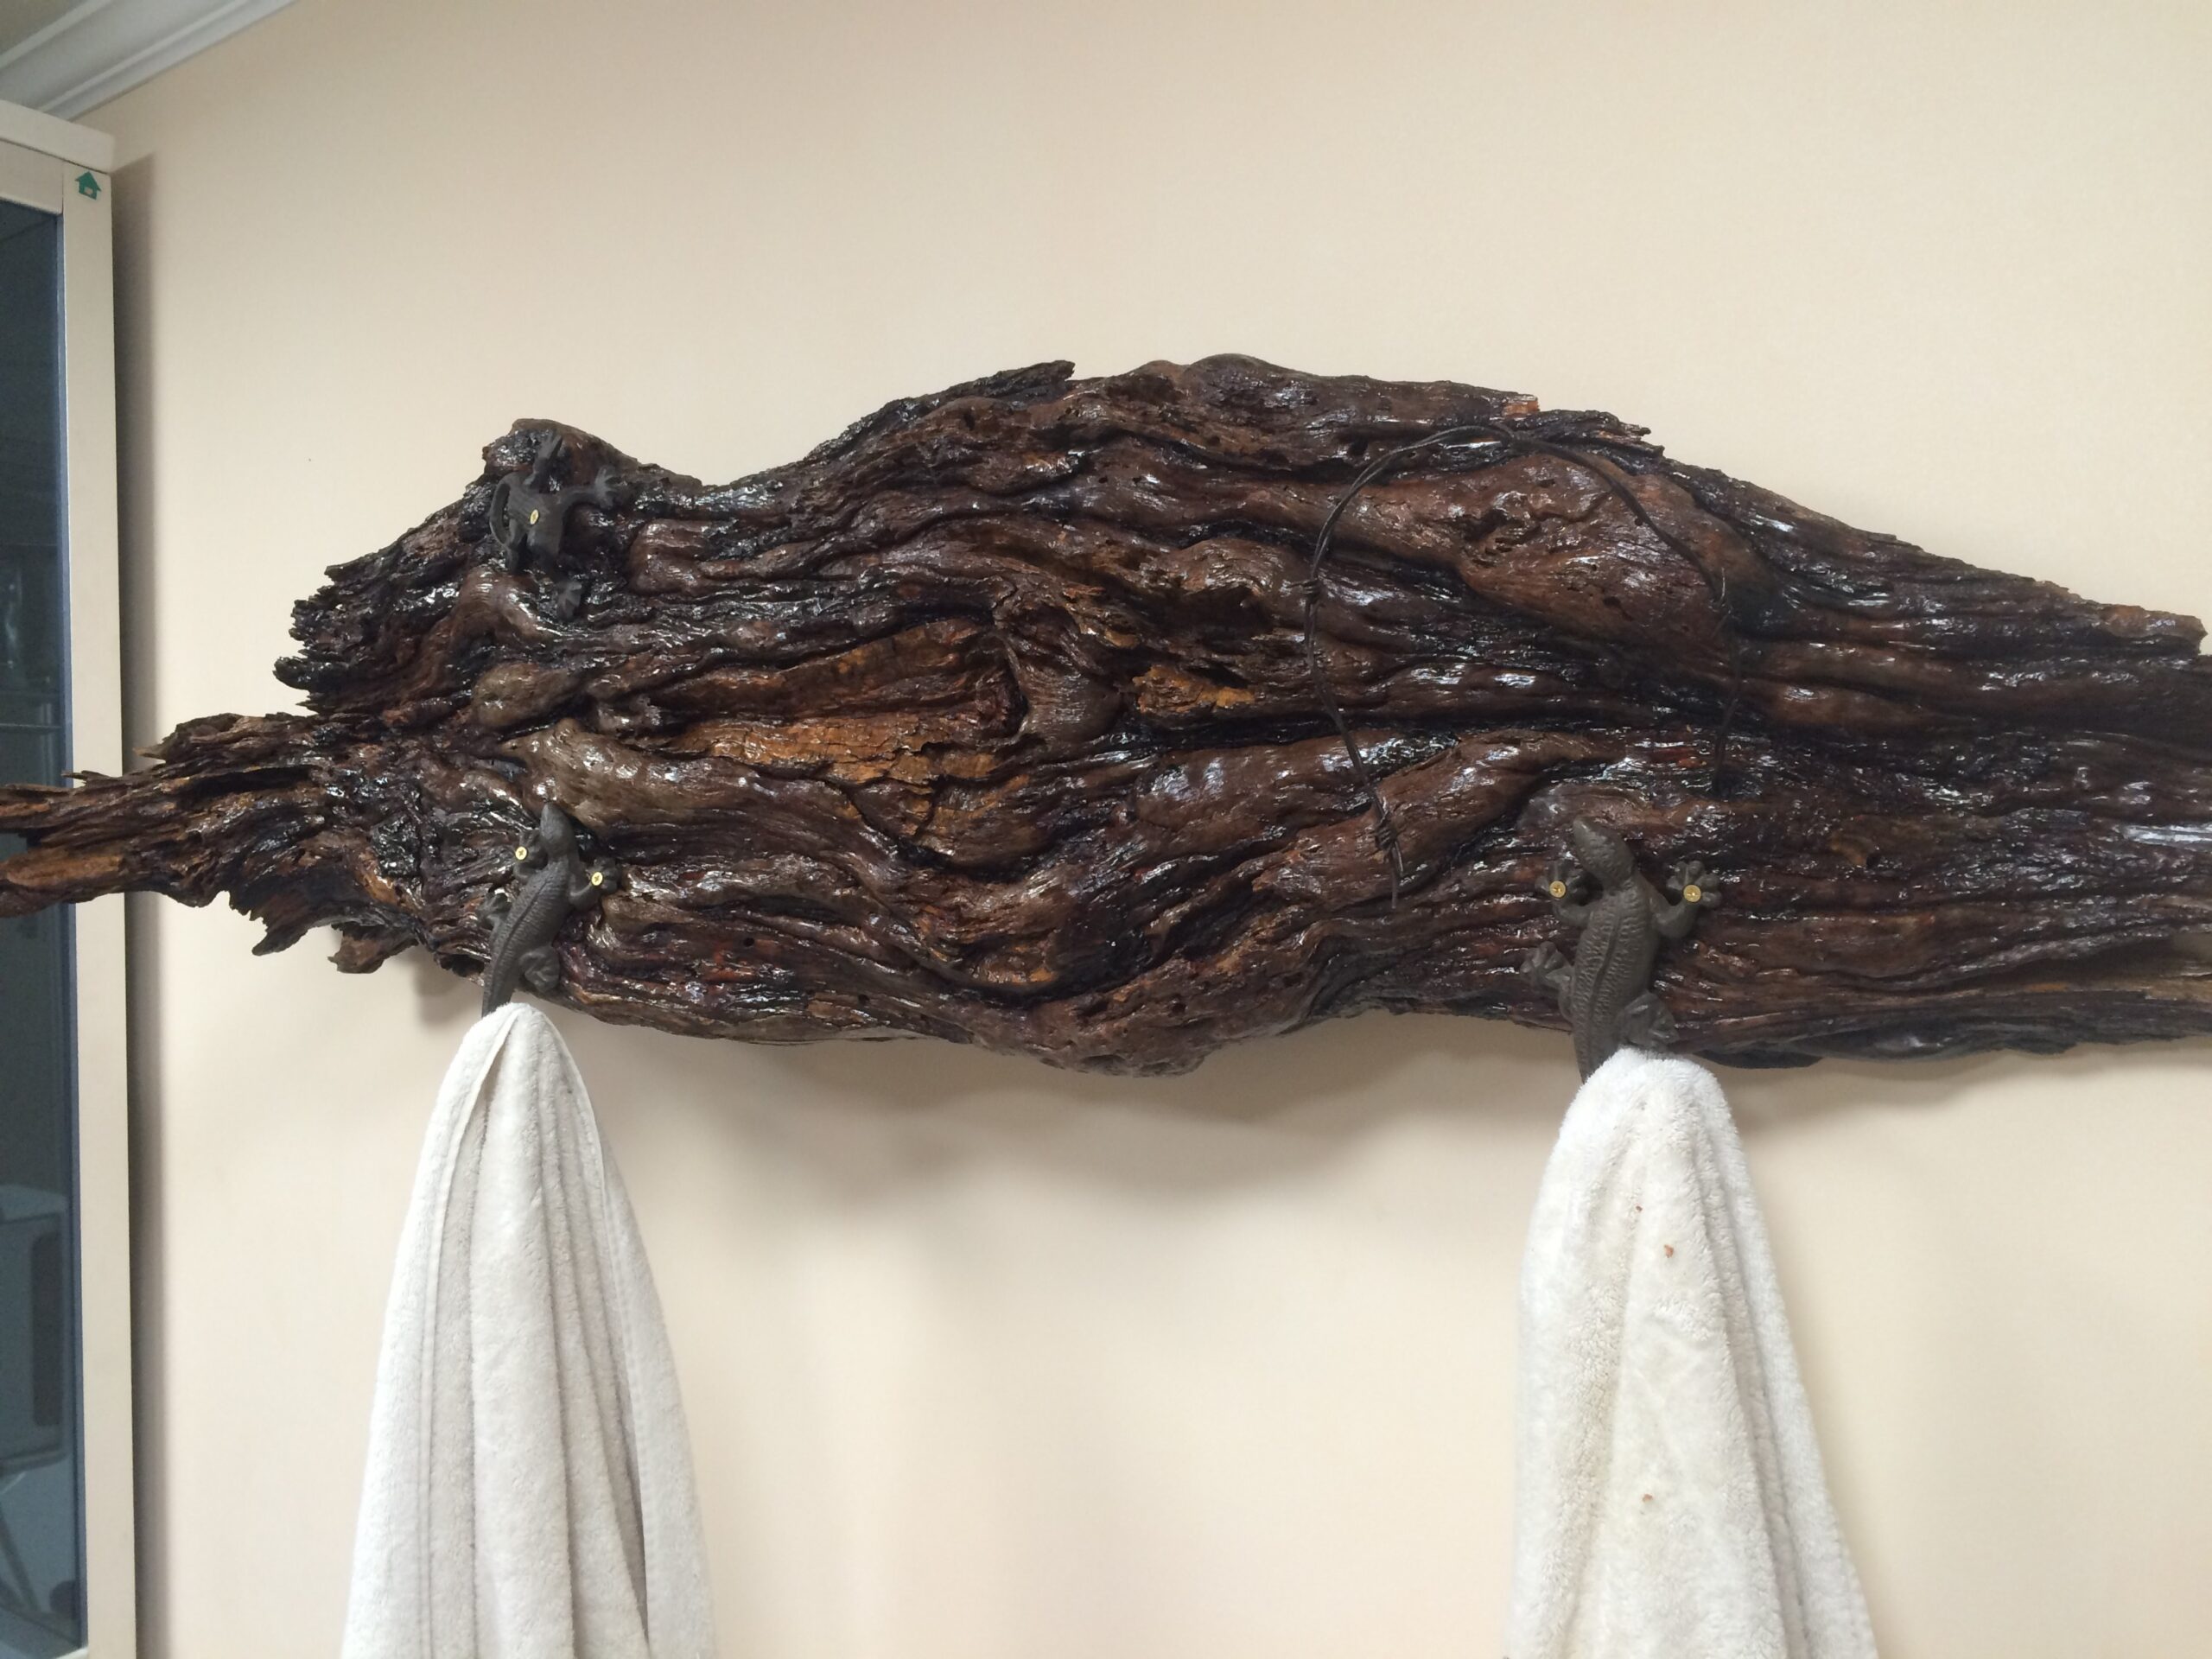
This gorgeous rack had ample space for "his" and "hers" towels.
With just a bit of basic hardware and some leftover lumber, you too can create this truly one-of-a-kind DIY towel rack.
Do you like all-natural home decor? Let us know your thoughts in the comments below!
Please SHARE if you love home decor with a rustic twist!


