I come from a family of men who are incredibly gifted at carpentry and building their own pieces of furniture. My uncle Ron built our family a table, and if you gave my uncle Edward a hammer, he was basically unstoppable.
Somehow, that gift was not passed on to me, but I can definitely appreciate the crafty people who like to do things in a "DIY" kind of way.
The Roekers are a family of crafters and DIY-ers, and they blog about it here. When we saw one of their projects on Pinterest, we just had to share it with you. Their work is truly impressive.
They had a small clutter problem in the kitchen, but where there's a will (or at least some wood and power tools), there's a way. They spotted a little space next to their refrigerator and saw a lot of potential.
Read through their tutorial and please SHARE their amazing creation!
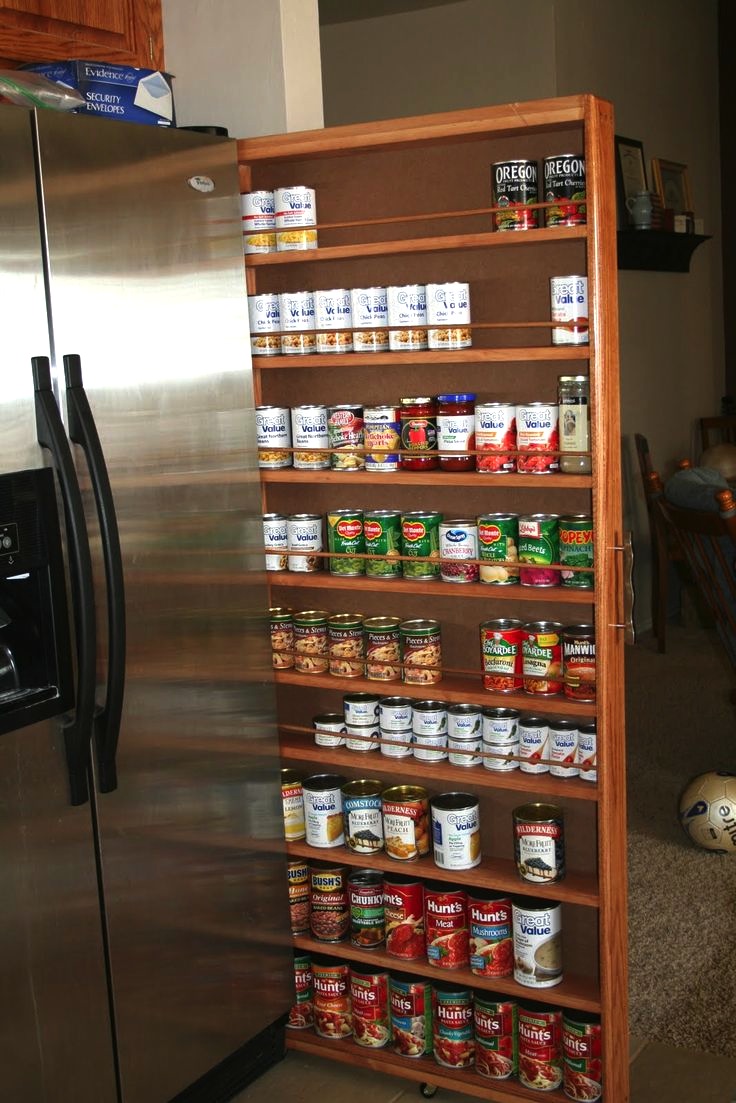
Here's their cabinet. Imagine about 50 more cans stuffed into that tiny space. Most of these were non-perishable goods they needed, so there was no reason to throw them out!
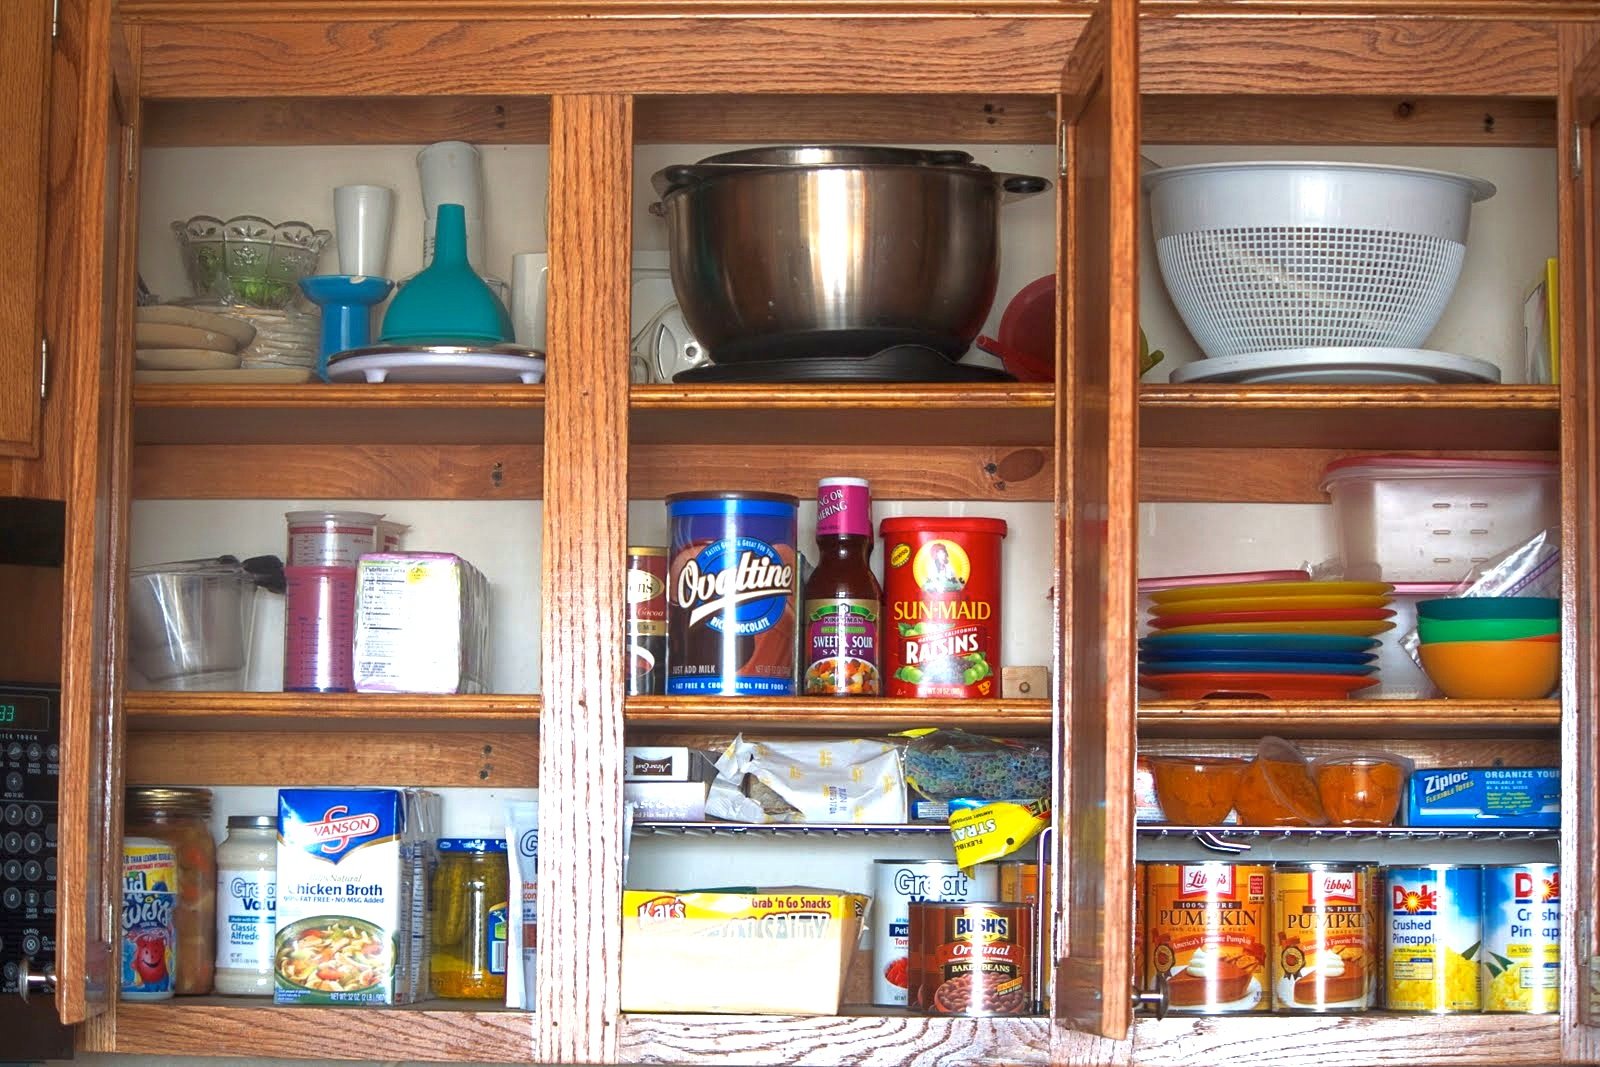
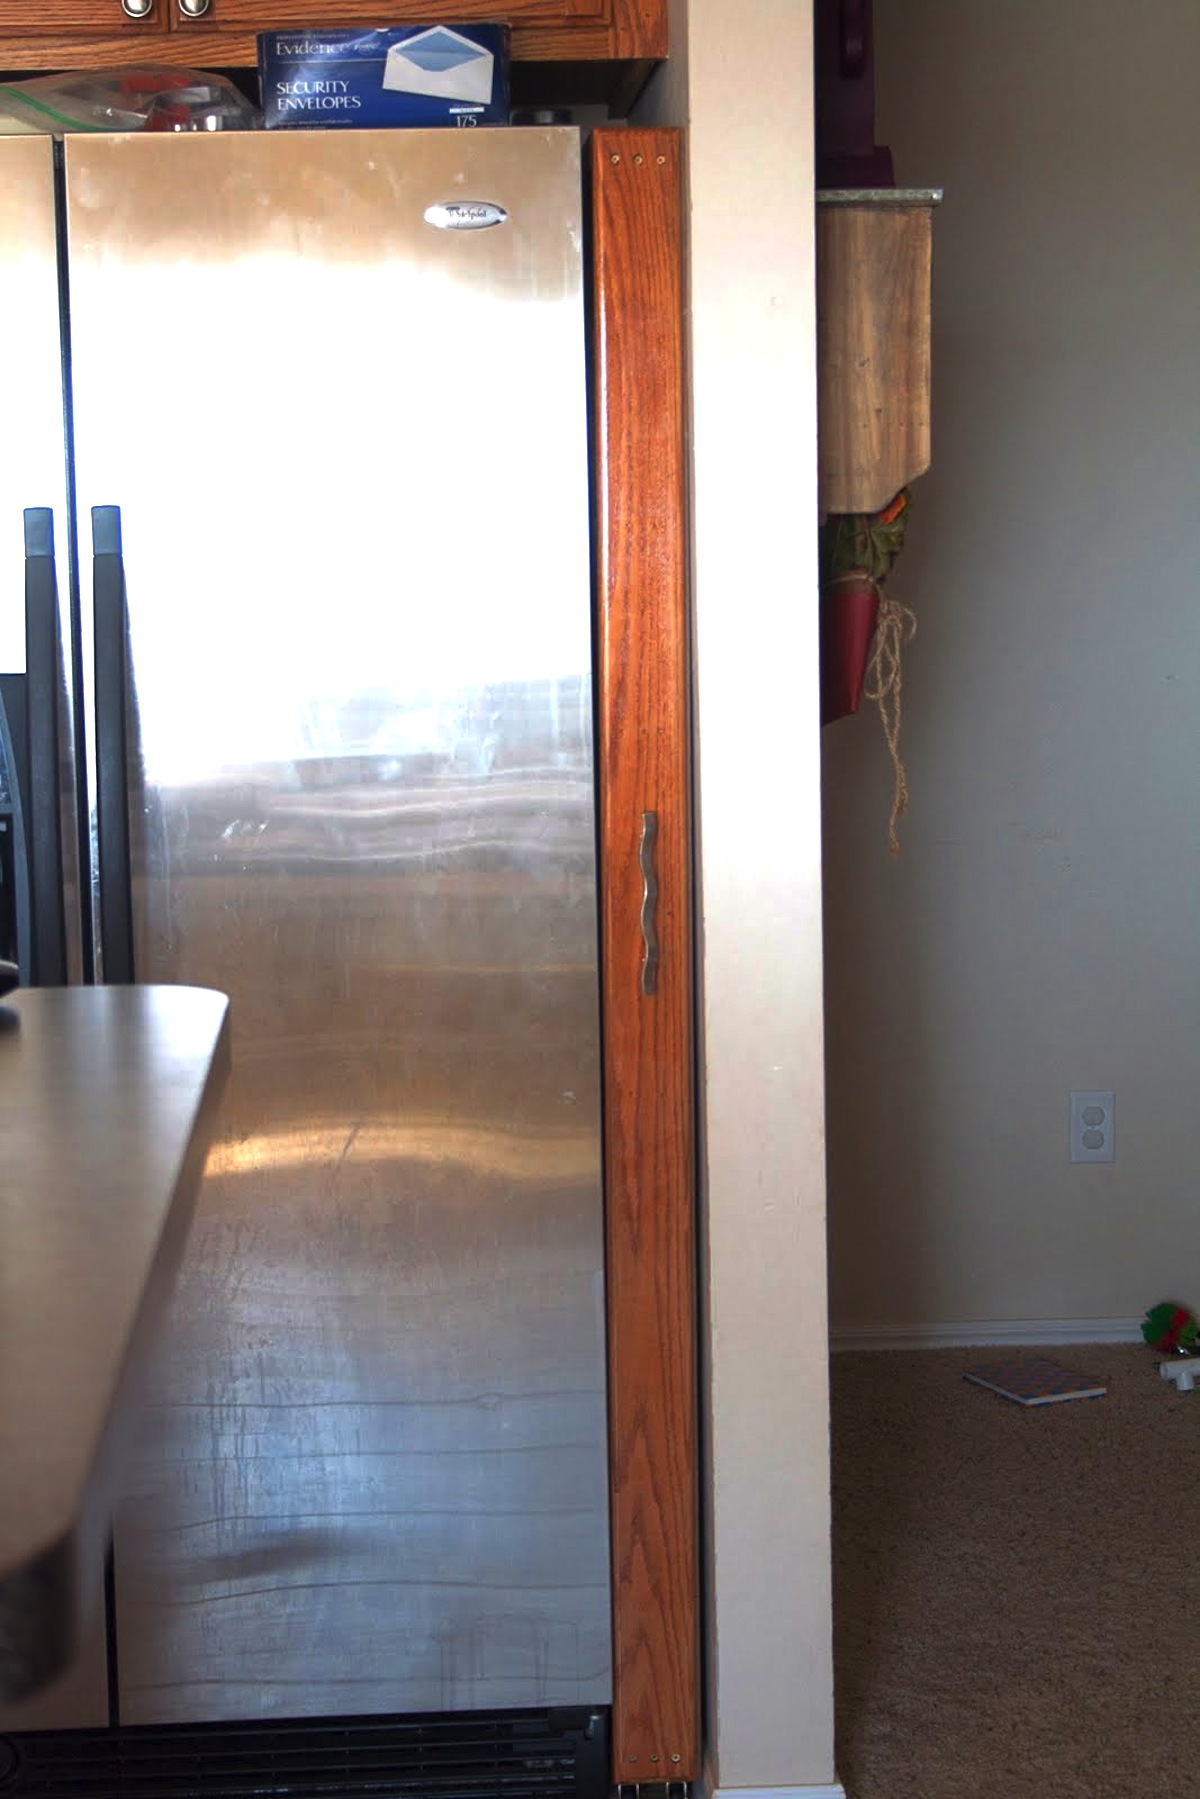
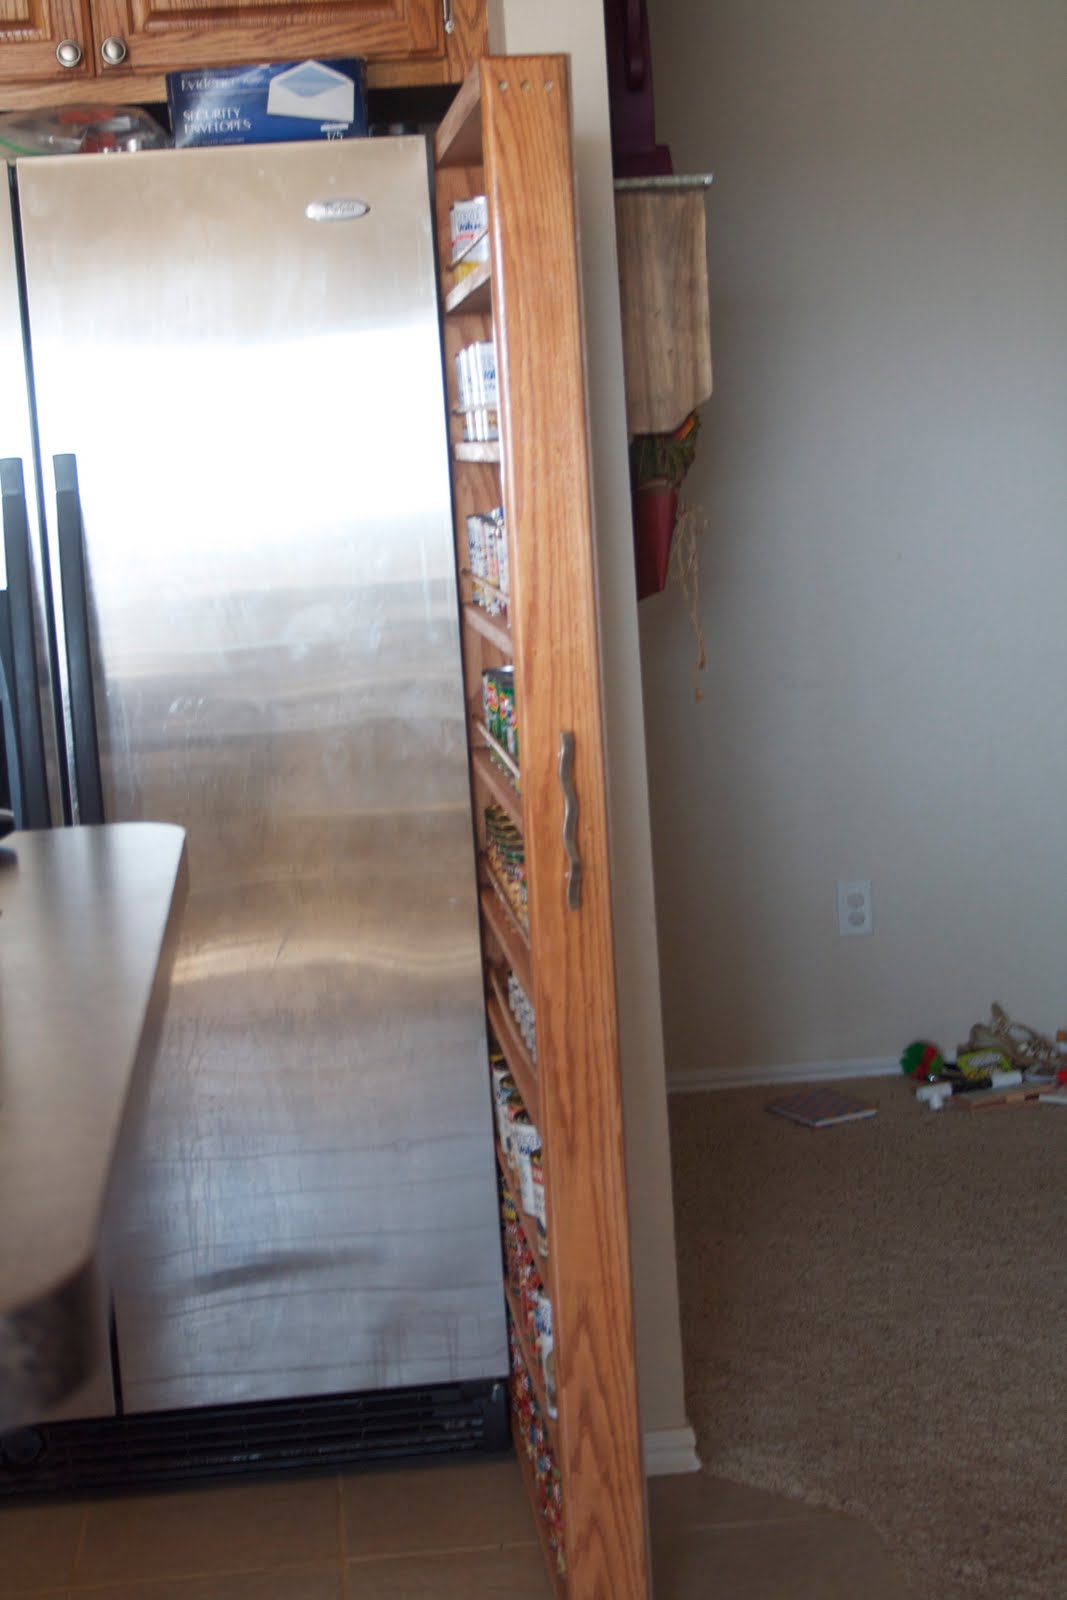
They didn't have much space, except for a few inches between the refrigerator and the wall. They decided to build a shelving unit to fit their needs.
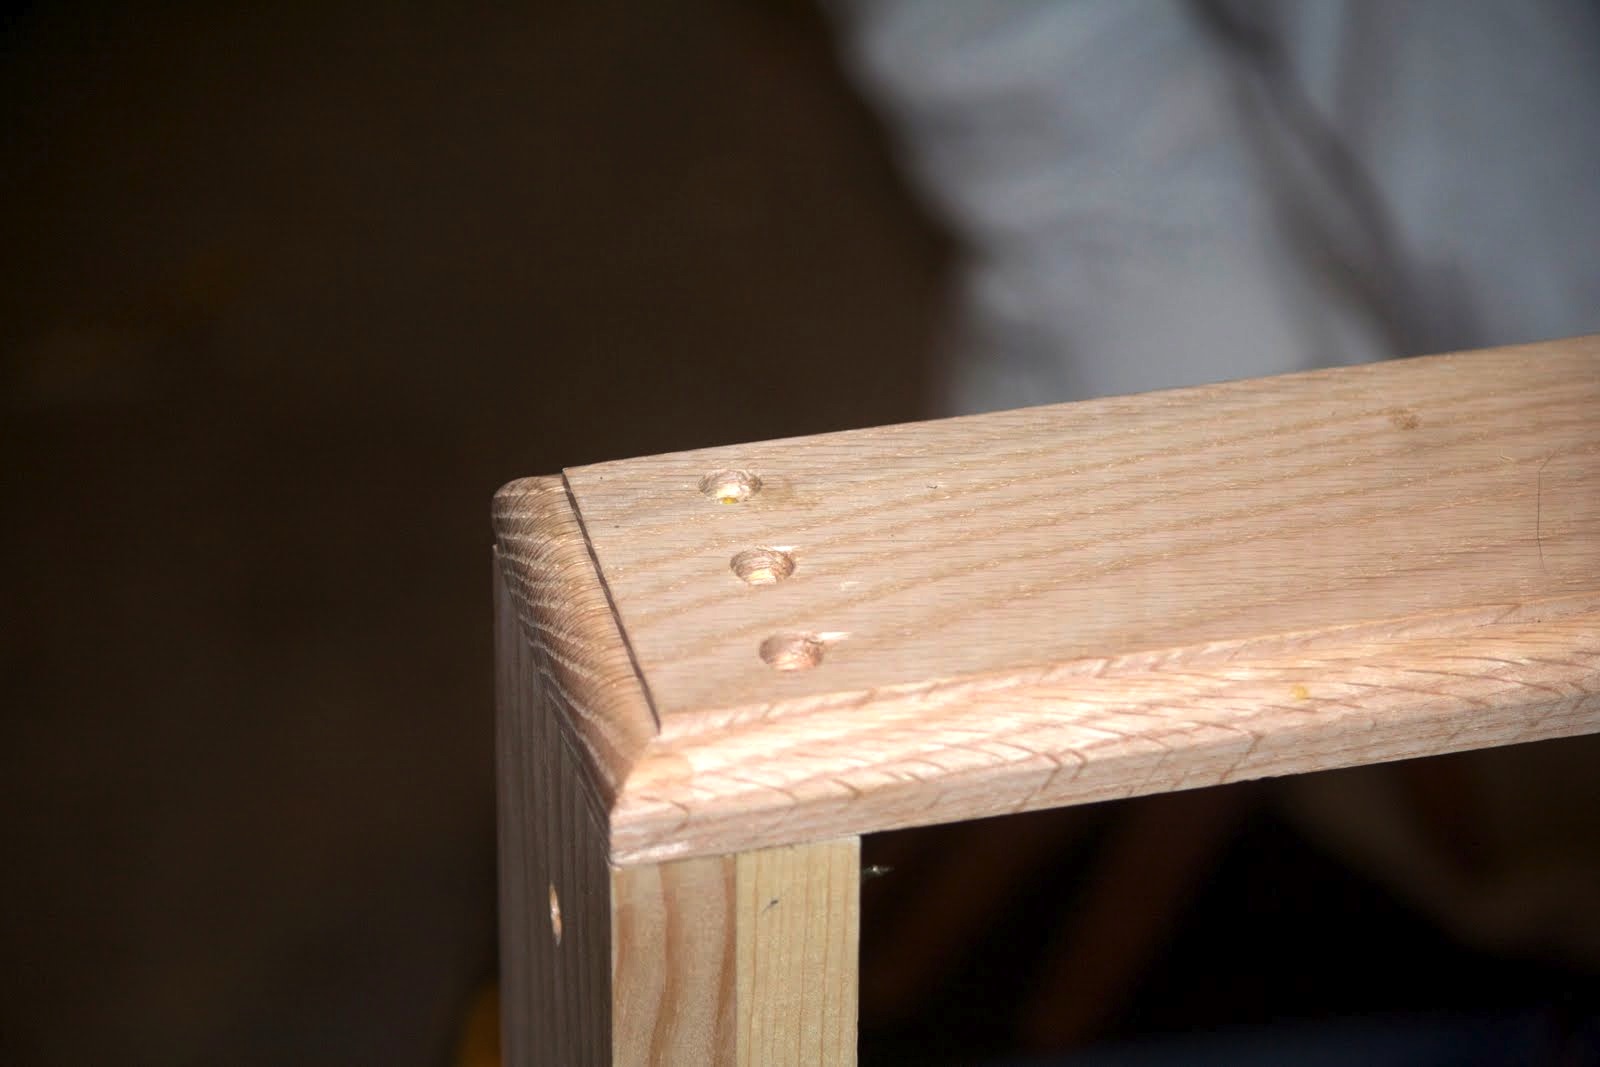
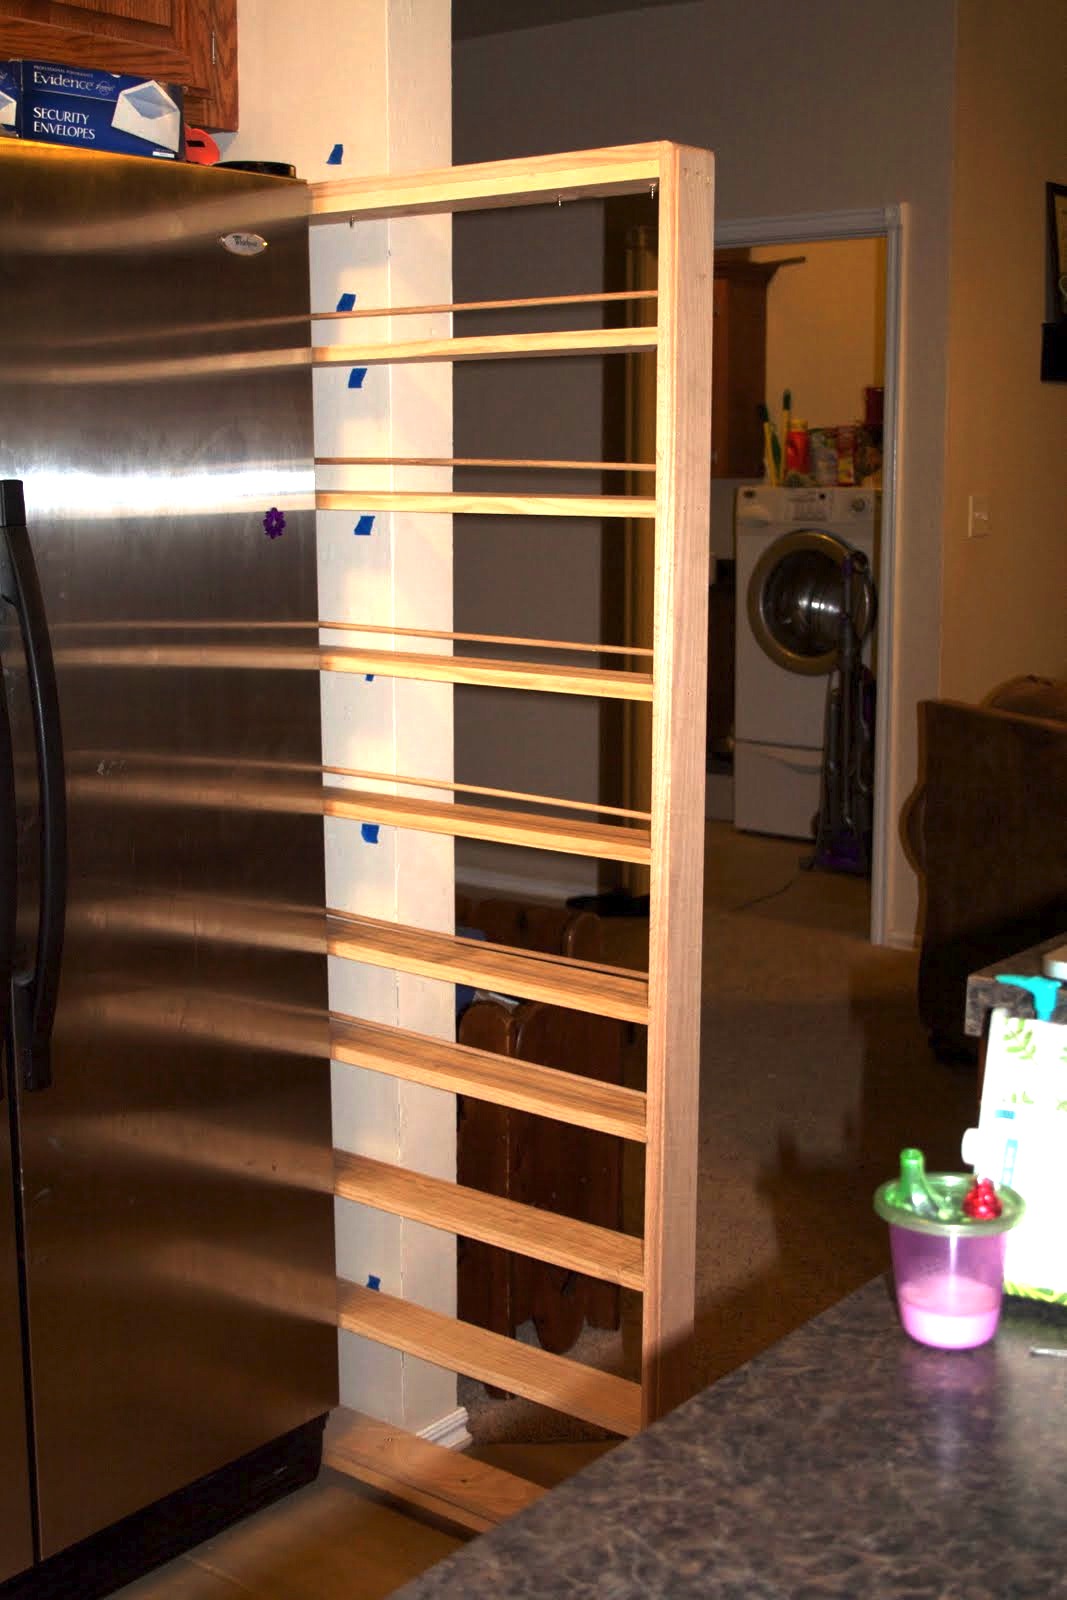
They started with the outer box, which was the only thing that required screws. They doubled up the bottom and top boards to make it a little sturdier and to have something solid to screw the coasters into.
Since they built the box first, they had to figure out how many shelves the could get and how big they could be. Each shelf was about 7.5 inches tall. They used pine, which was relatively cheap and required no sanding.
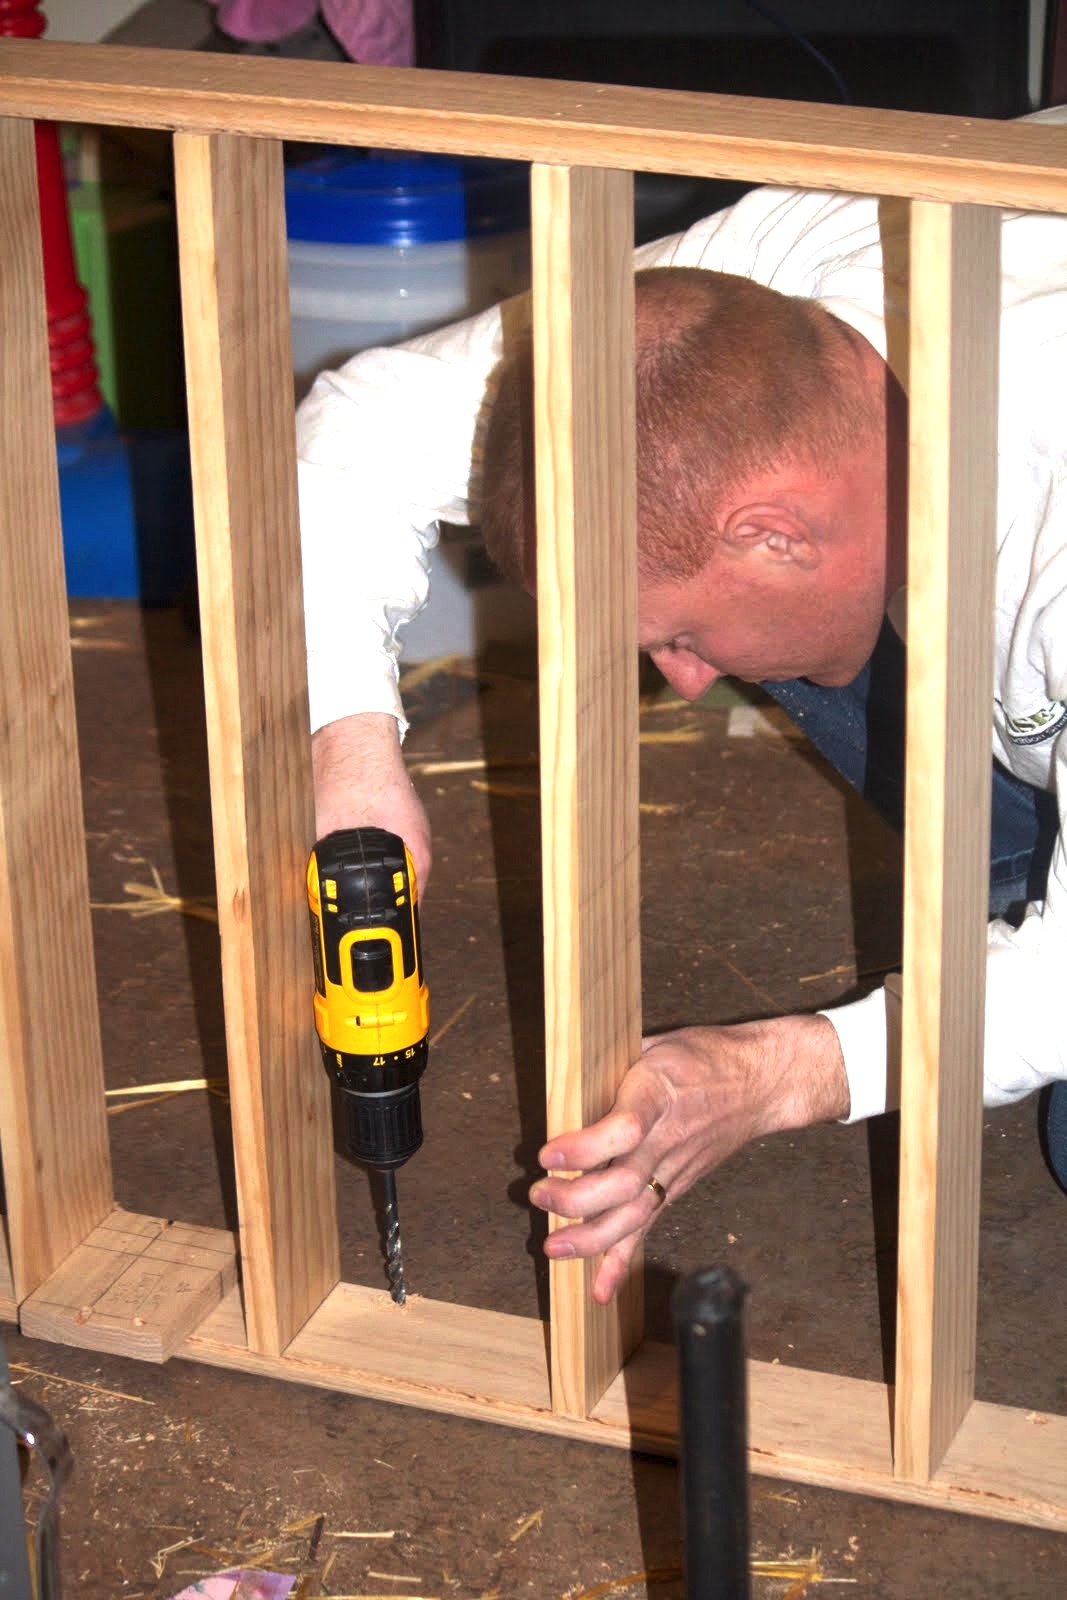
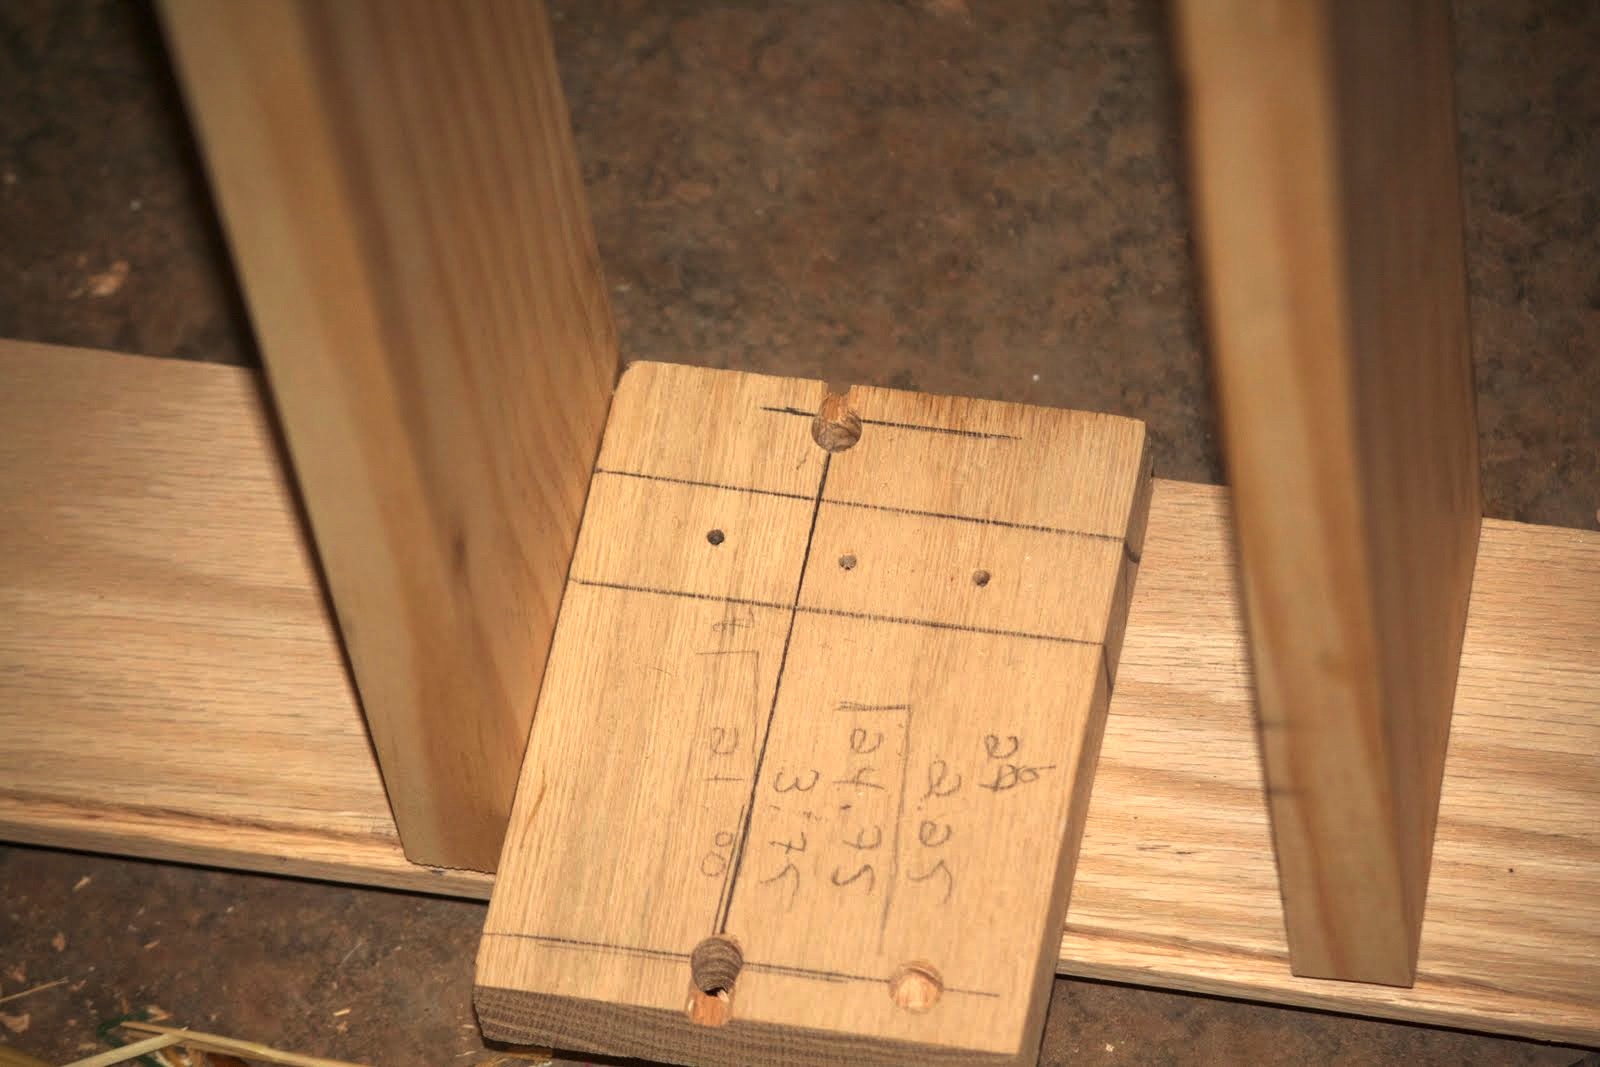
To insert the shelves, they used small dowels. They figured out where they wanted the dowels to be placed by creating a template. The template allowed them to avoid measuring where to drill the holes every time.
After they knew it could fit, they sanded it, stained it, and added casters.
For the outside, they added a medium coat of polyurethane, screwed on a handle, then filled their shelves!
Voila! It's an amazing space saver and a great kitchen hack.
Please SHARE this awesome project!


