It may seem kind of dorky, but I love wrapping presents.I just love taking the time to do something crafty for my friends and family.
While some find it tedious and tricky, I find it soothing and sweet.
But if there's one thing I don't love about wrapping presents, it's the paper itself. Oftentimes, it's expensive, cheaply made, and doesn't come in the colors or patterns I want. That's why I recently decided to do something I've never done before: make it myself!
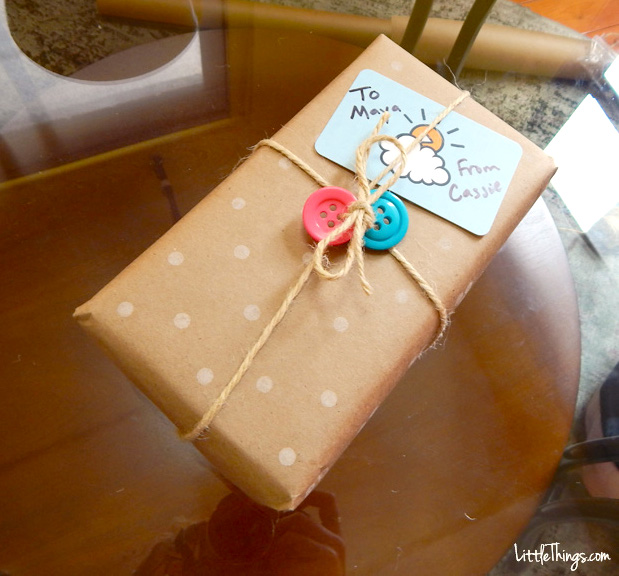
Inspired by the brown paper packages of old (think "Little House on the Prairie" and "Sound of Music"), I decided to forgo a trip to the store and instead make my gift wrap at home. The results were not only easy, but inexpensive and adorable! For the price of one roll of wrapping paper, I had a totally custom-made package! Now, my friend Maya is sure to know it was done with love and care.
Let us know what you think about this adorable gift wrap, and please SHARE with family and friends!
Tired of buying expensive wrapping paper, I decided to get a little creative. I started by wrapping my gift up with plain kraft paper.

I liked the rustic, old-fashioned parcel look — but I wanted to dress it up a bit.

So with just a normal pencil and a pad of white ink, I got to work.

After pressing the eraser into the ink, I gently and firmly pressed it against the paper.
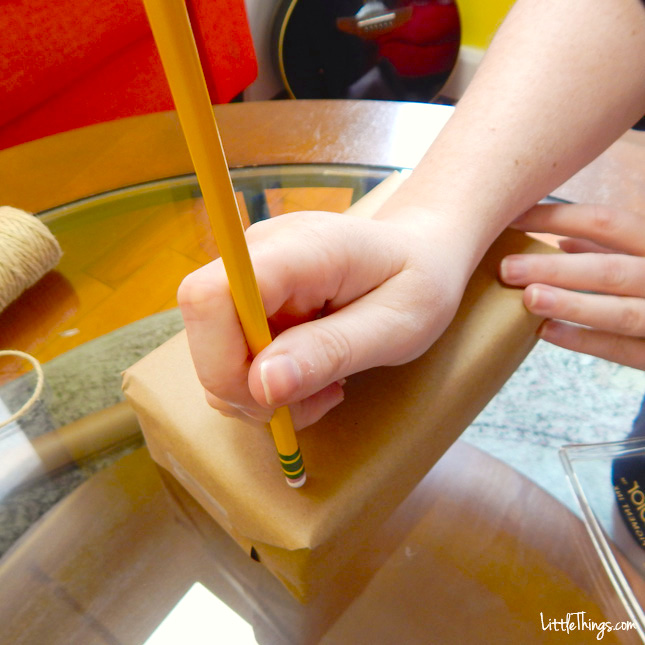
I continued to do this across the paper. I didn't stick to an exact pattern, but I tried to keep the dots equal distances from each other.
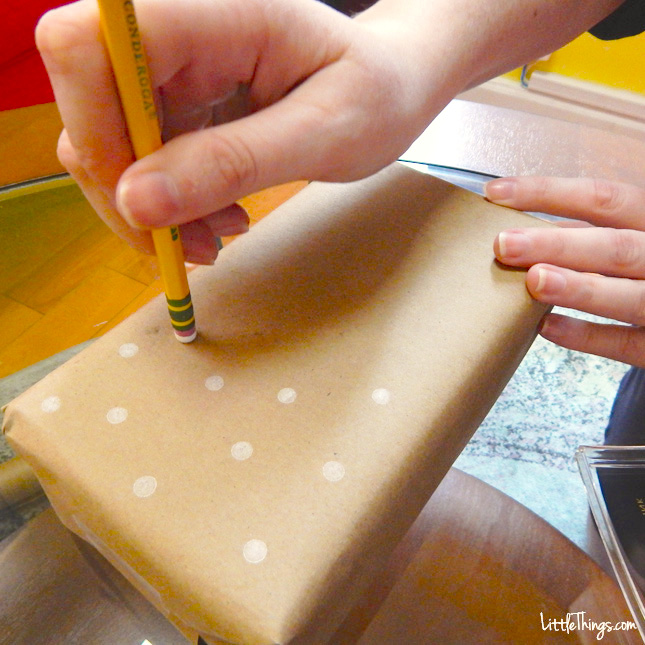
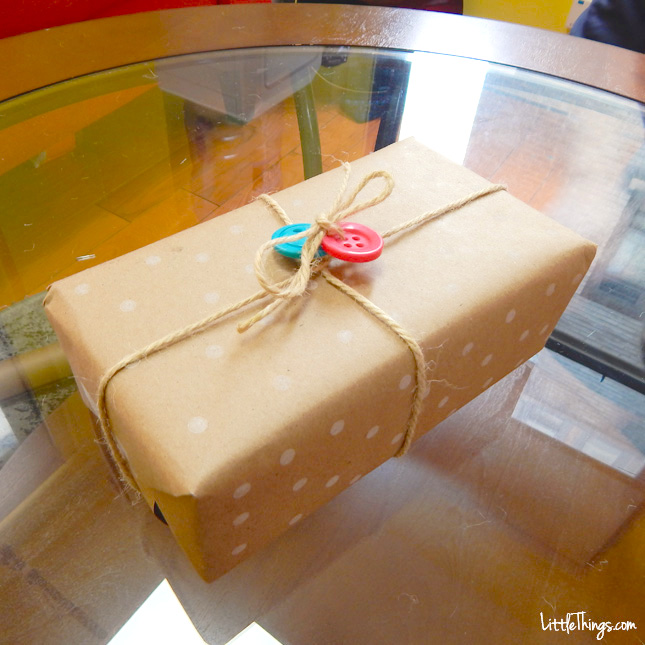
Once I was happy with the dots, I grabbed some simple twine and wrapped it around.
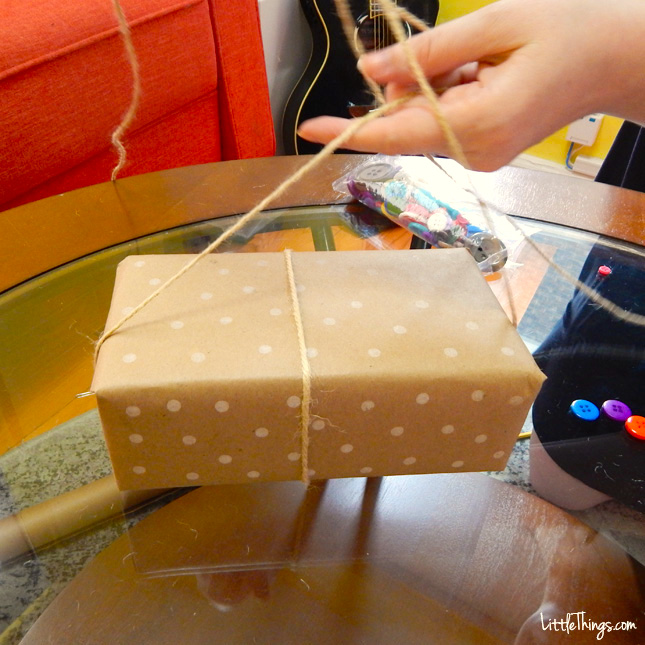
Since I didn't buy one of those expensive plastic bows, I dug through my craft drawer and decided to use some old buttons.
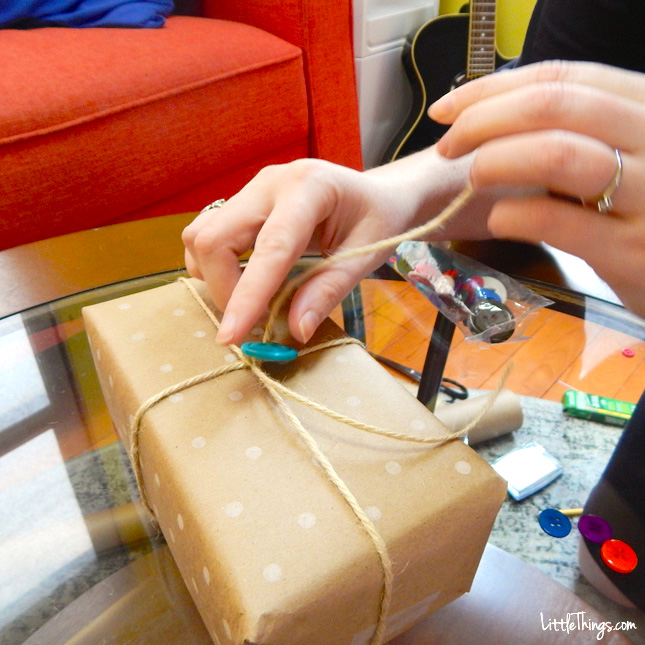
After slipping them through the twine, I tied it all up in a cute little bow.
If you're wrapping multiple gifts and want some variation, grab a couple more pencils and tie them together.
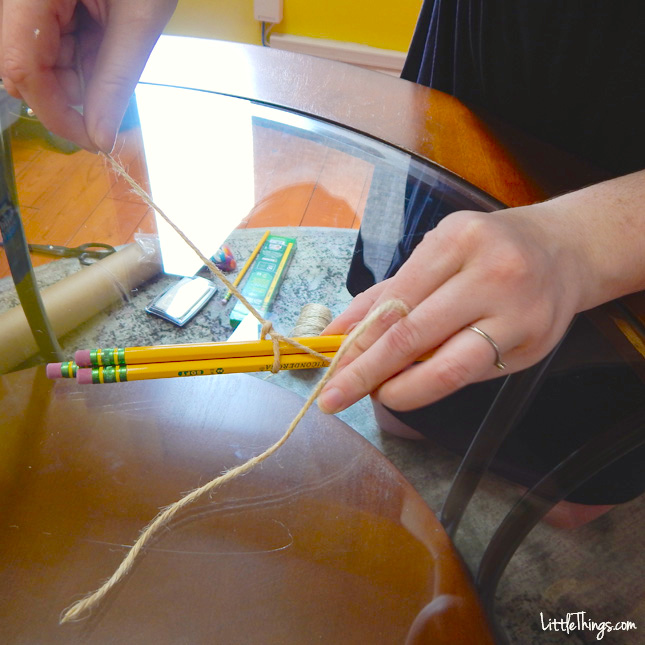
Once you have them in a little bundle, dip them in some ink and press them firmly to your other gift.
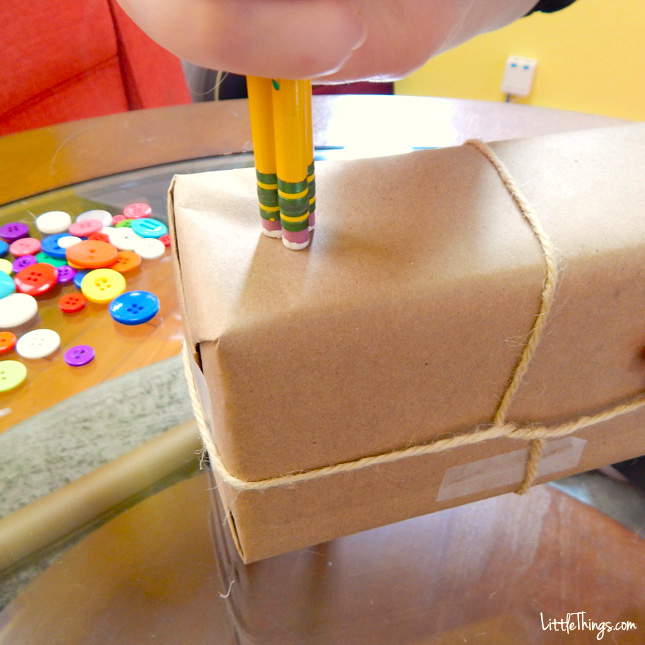
Your package will soon be covered in cute little flower shapes! Switch up the ink colors for an even cuter touch.

Another way to liven up a simply-wrapped package is with stamps. I decided to use a custom-made stamp by carving a potato!
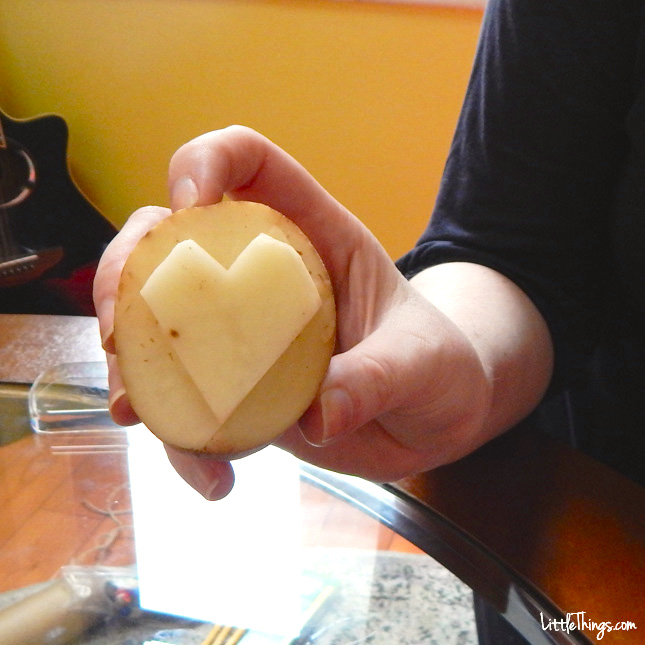
Just as I did with the pencil, I pressed the potato stamp into my ink pad then firmly pressed it to my gift.
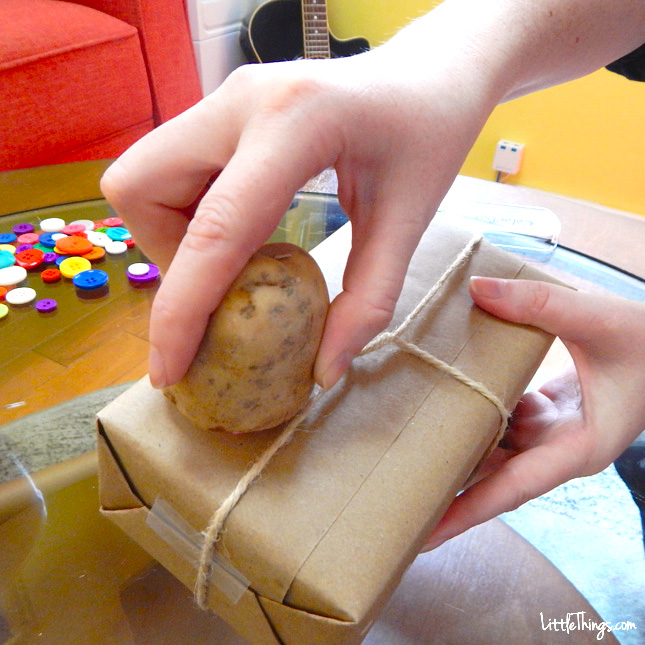
You can use many different shapes and colors, but I chose a pink heart.
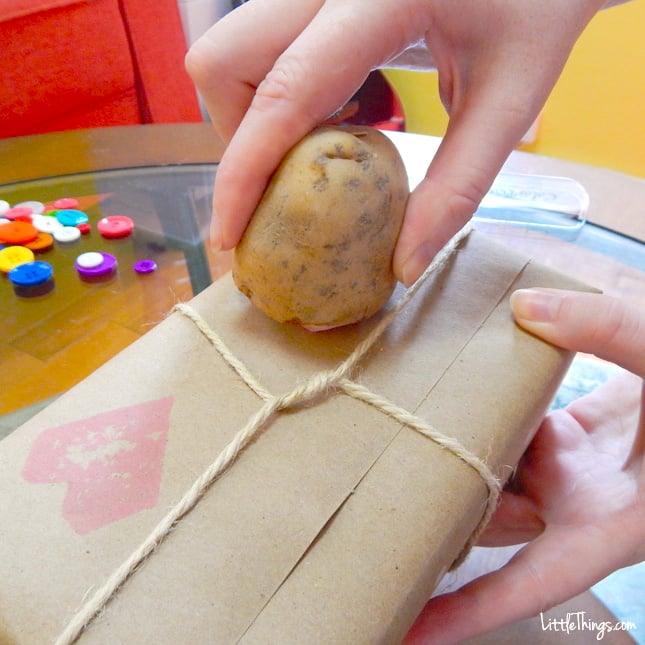
If your print comes out faint, you can always go back and trace it for more contrast.

When it was all finished, my cheap, simple gift wrap looked better than anything I've bought from stores — and it was all made my hand and with love!
