For most of us, decorating a home is a great way to let your personality shine!
Minimalists might go for light wood and plain walls, while somebody with a more elaborate instinct might prefer lush carpets and tons of knickknacks.
Some folks even reflect their passion for history by decorating in a time-warp, like the homeowners responsible for this perfectly preserved 1950s kitchen.
We love when people let their homes reflect their personalities, and our very favorite iteration might just be a new trend that's been sweeping the Internet lately.
Forget hardwood or tile — the hottest new thing in flooring is carefully laying out elaborate patterns in plain old pennies!
People have been laying copper penny floors for years, but lately, it's taken on whole new dimensions as innovative DIY remodelers apply the techniques to their own homes.
The latest penny floor sweeping the world wide web might just be the prettiest we've seen yet.
Scroll through below to see this awesome hand-made penny floor unfold!
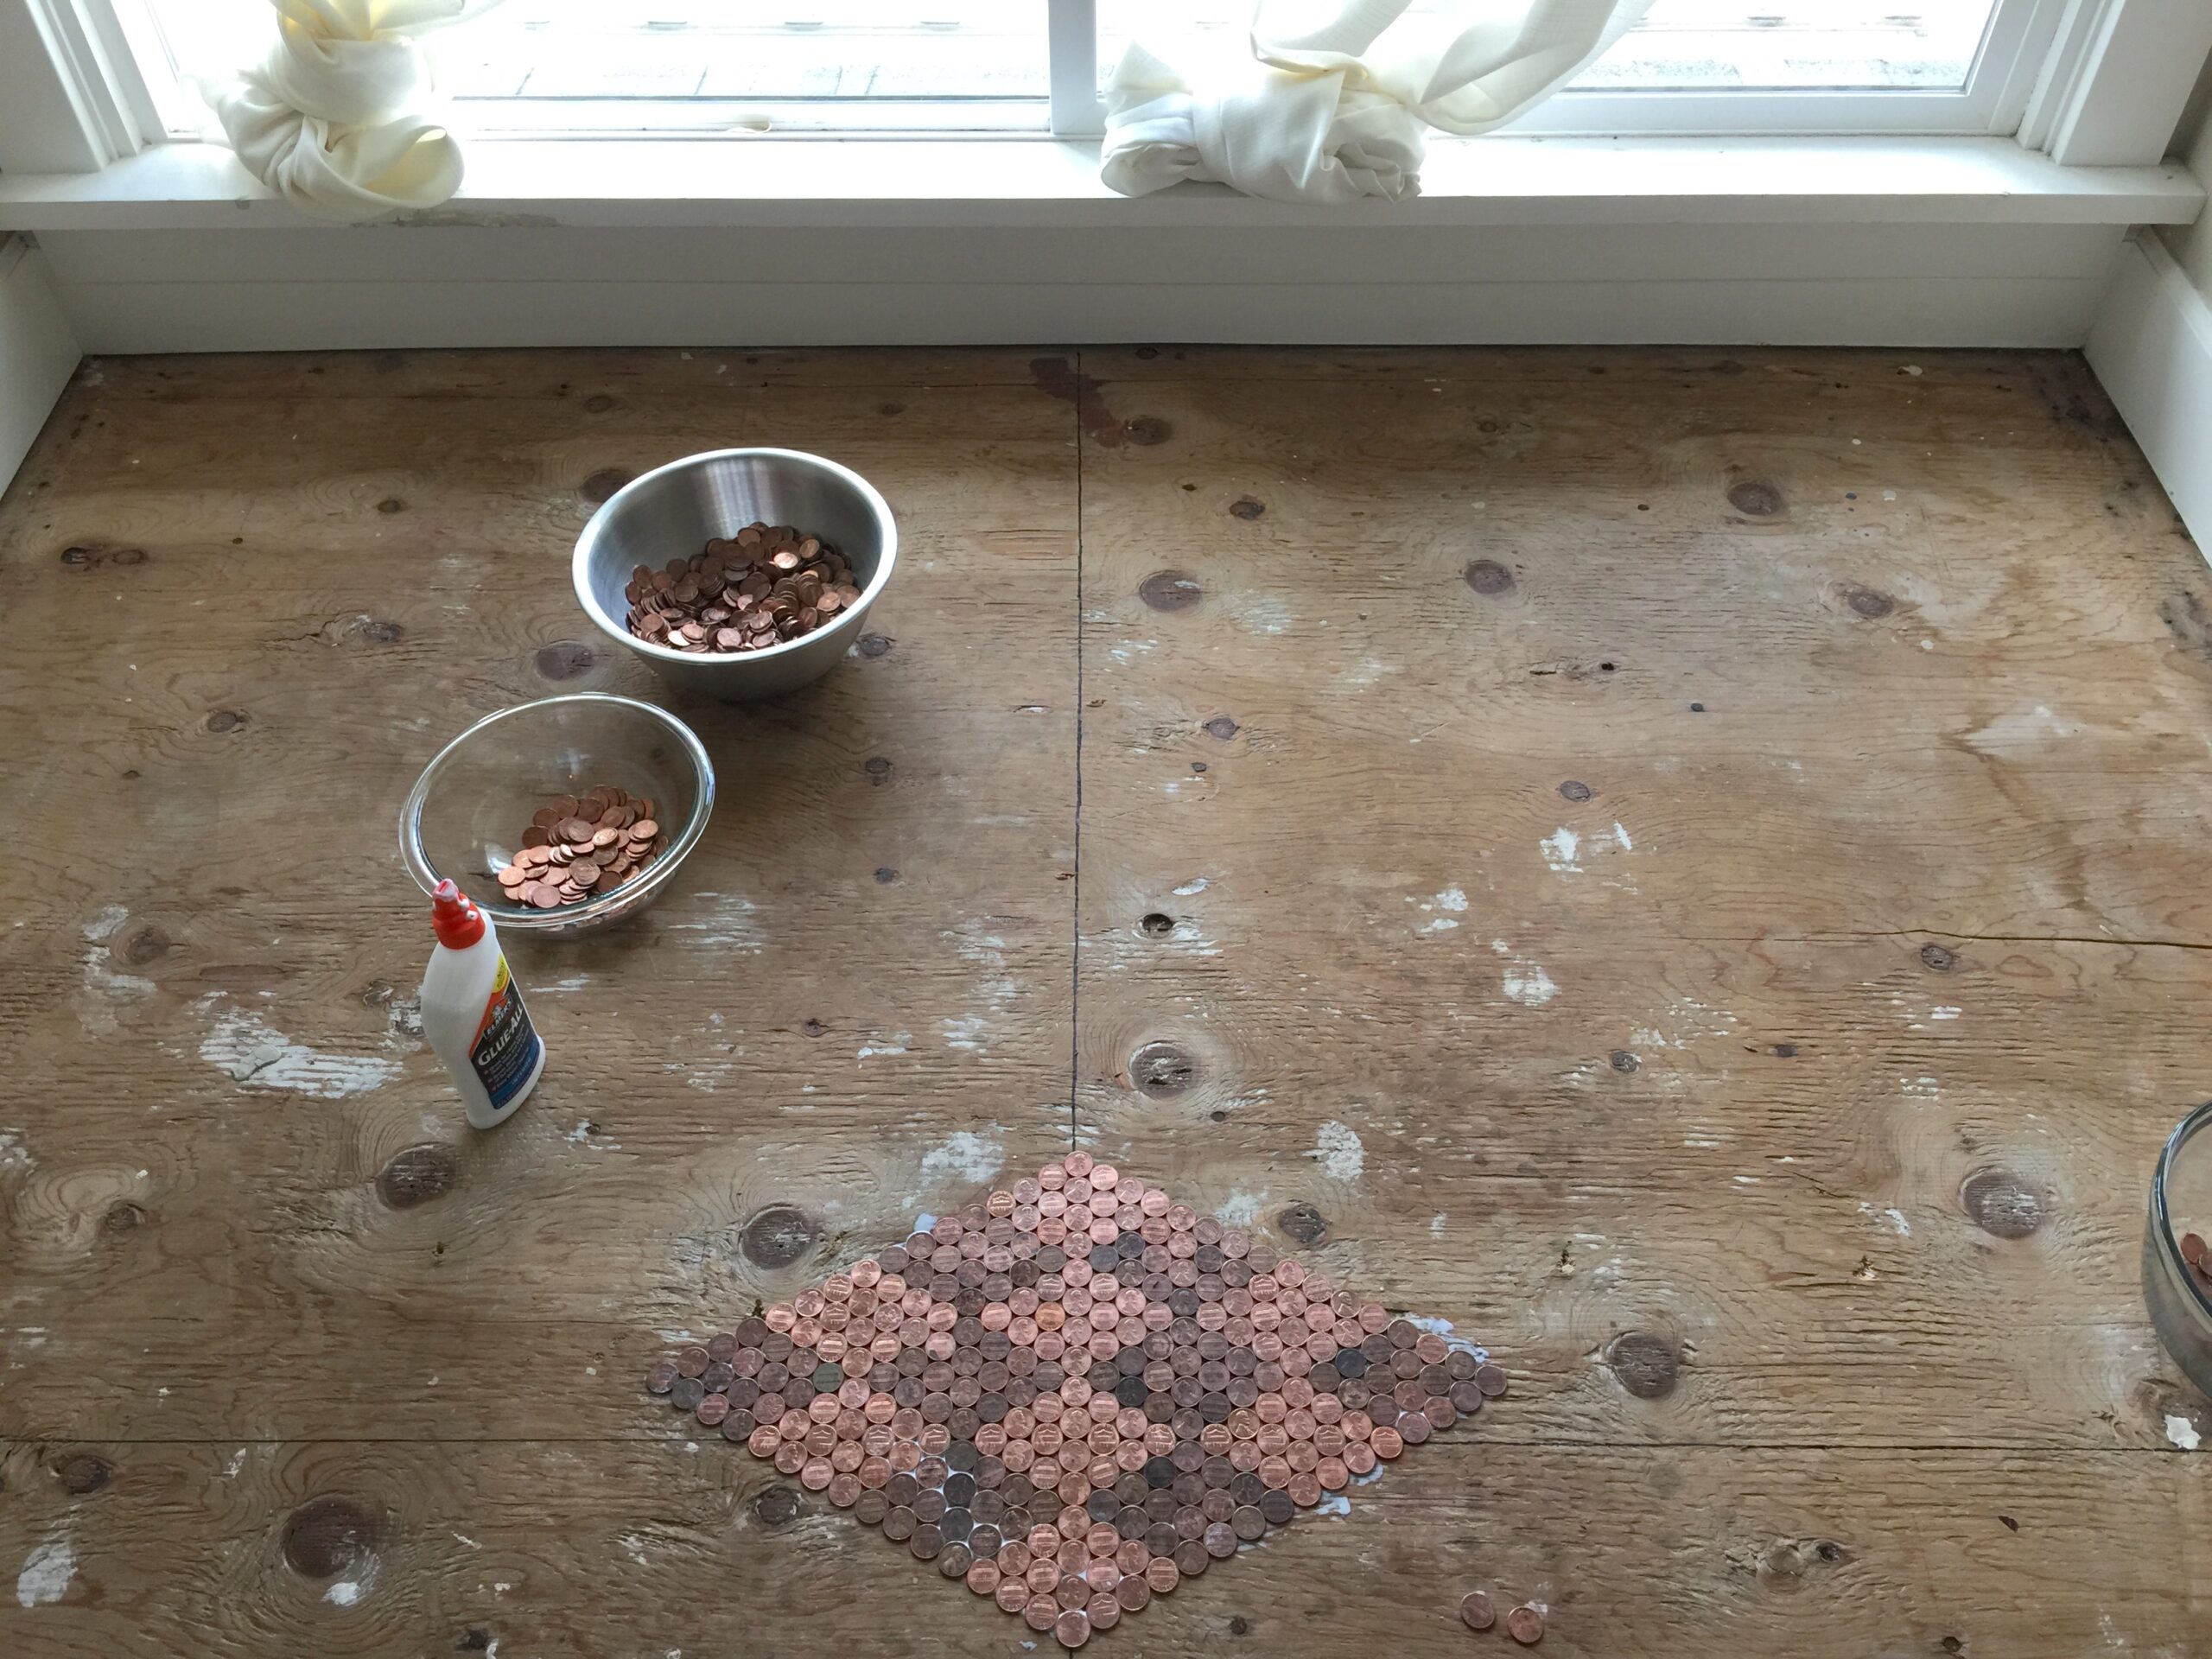
A woman using the online image-sharing site, Imgur, recently took to the platform under the handle TonyaTooners to share photos of her incredible penny floor in progress.
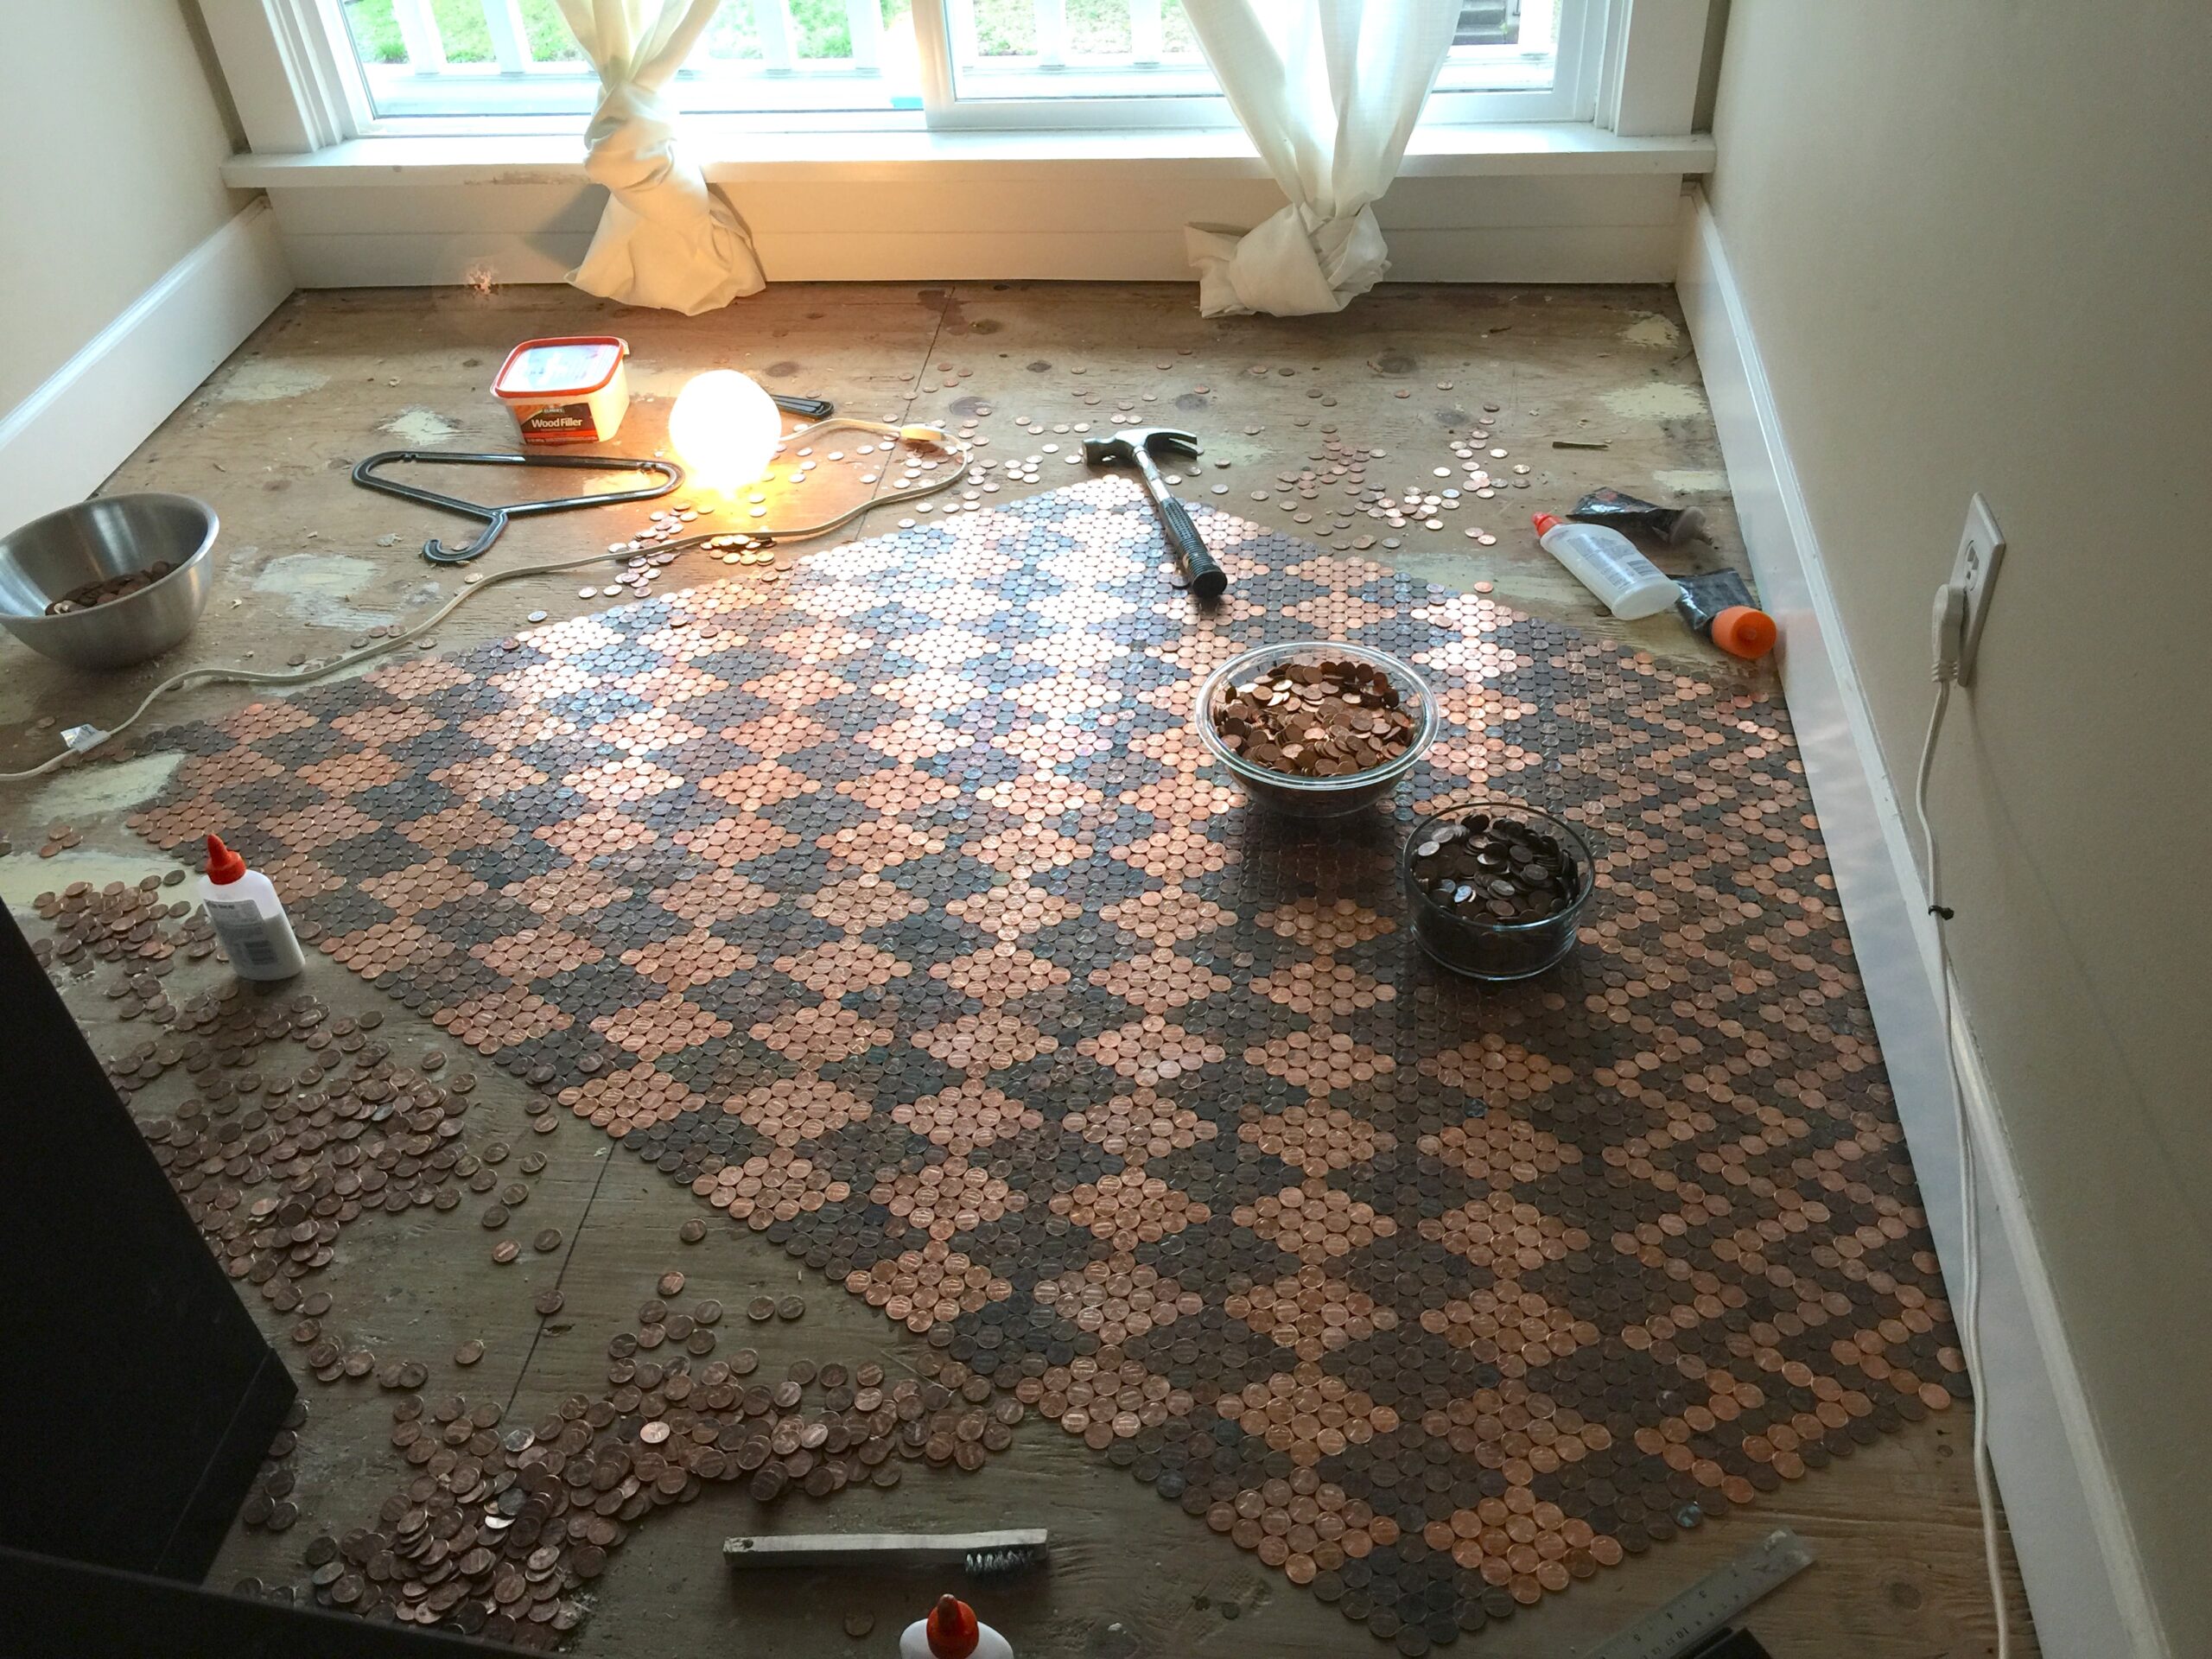
According to her posts, she withdrew $150 in pennies from the bank, and began to sort them into shiny and tarnished piles to create a color-contrasting pattern on the floor.
She also used plain old Elmer's glue to lay the pennies, grout, and epoxy for the project.
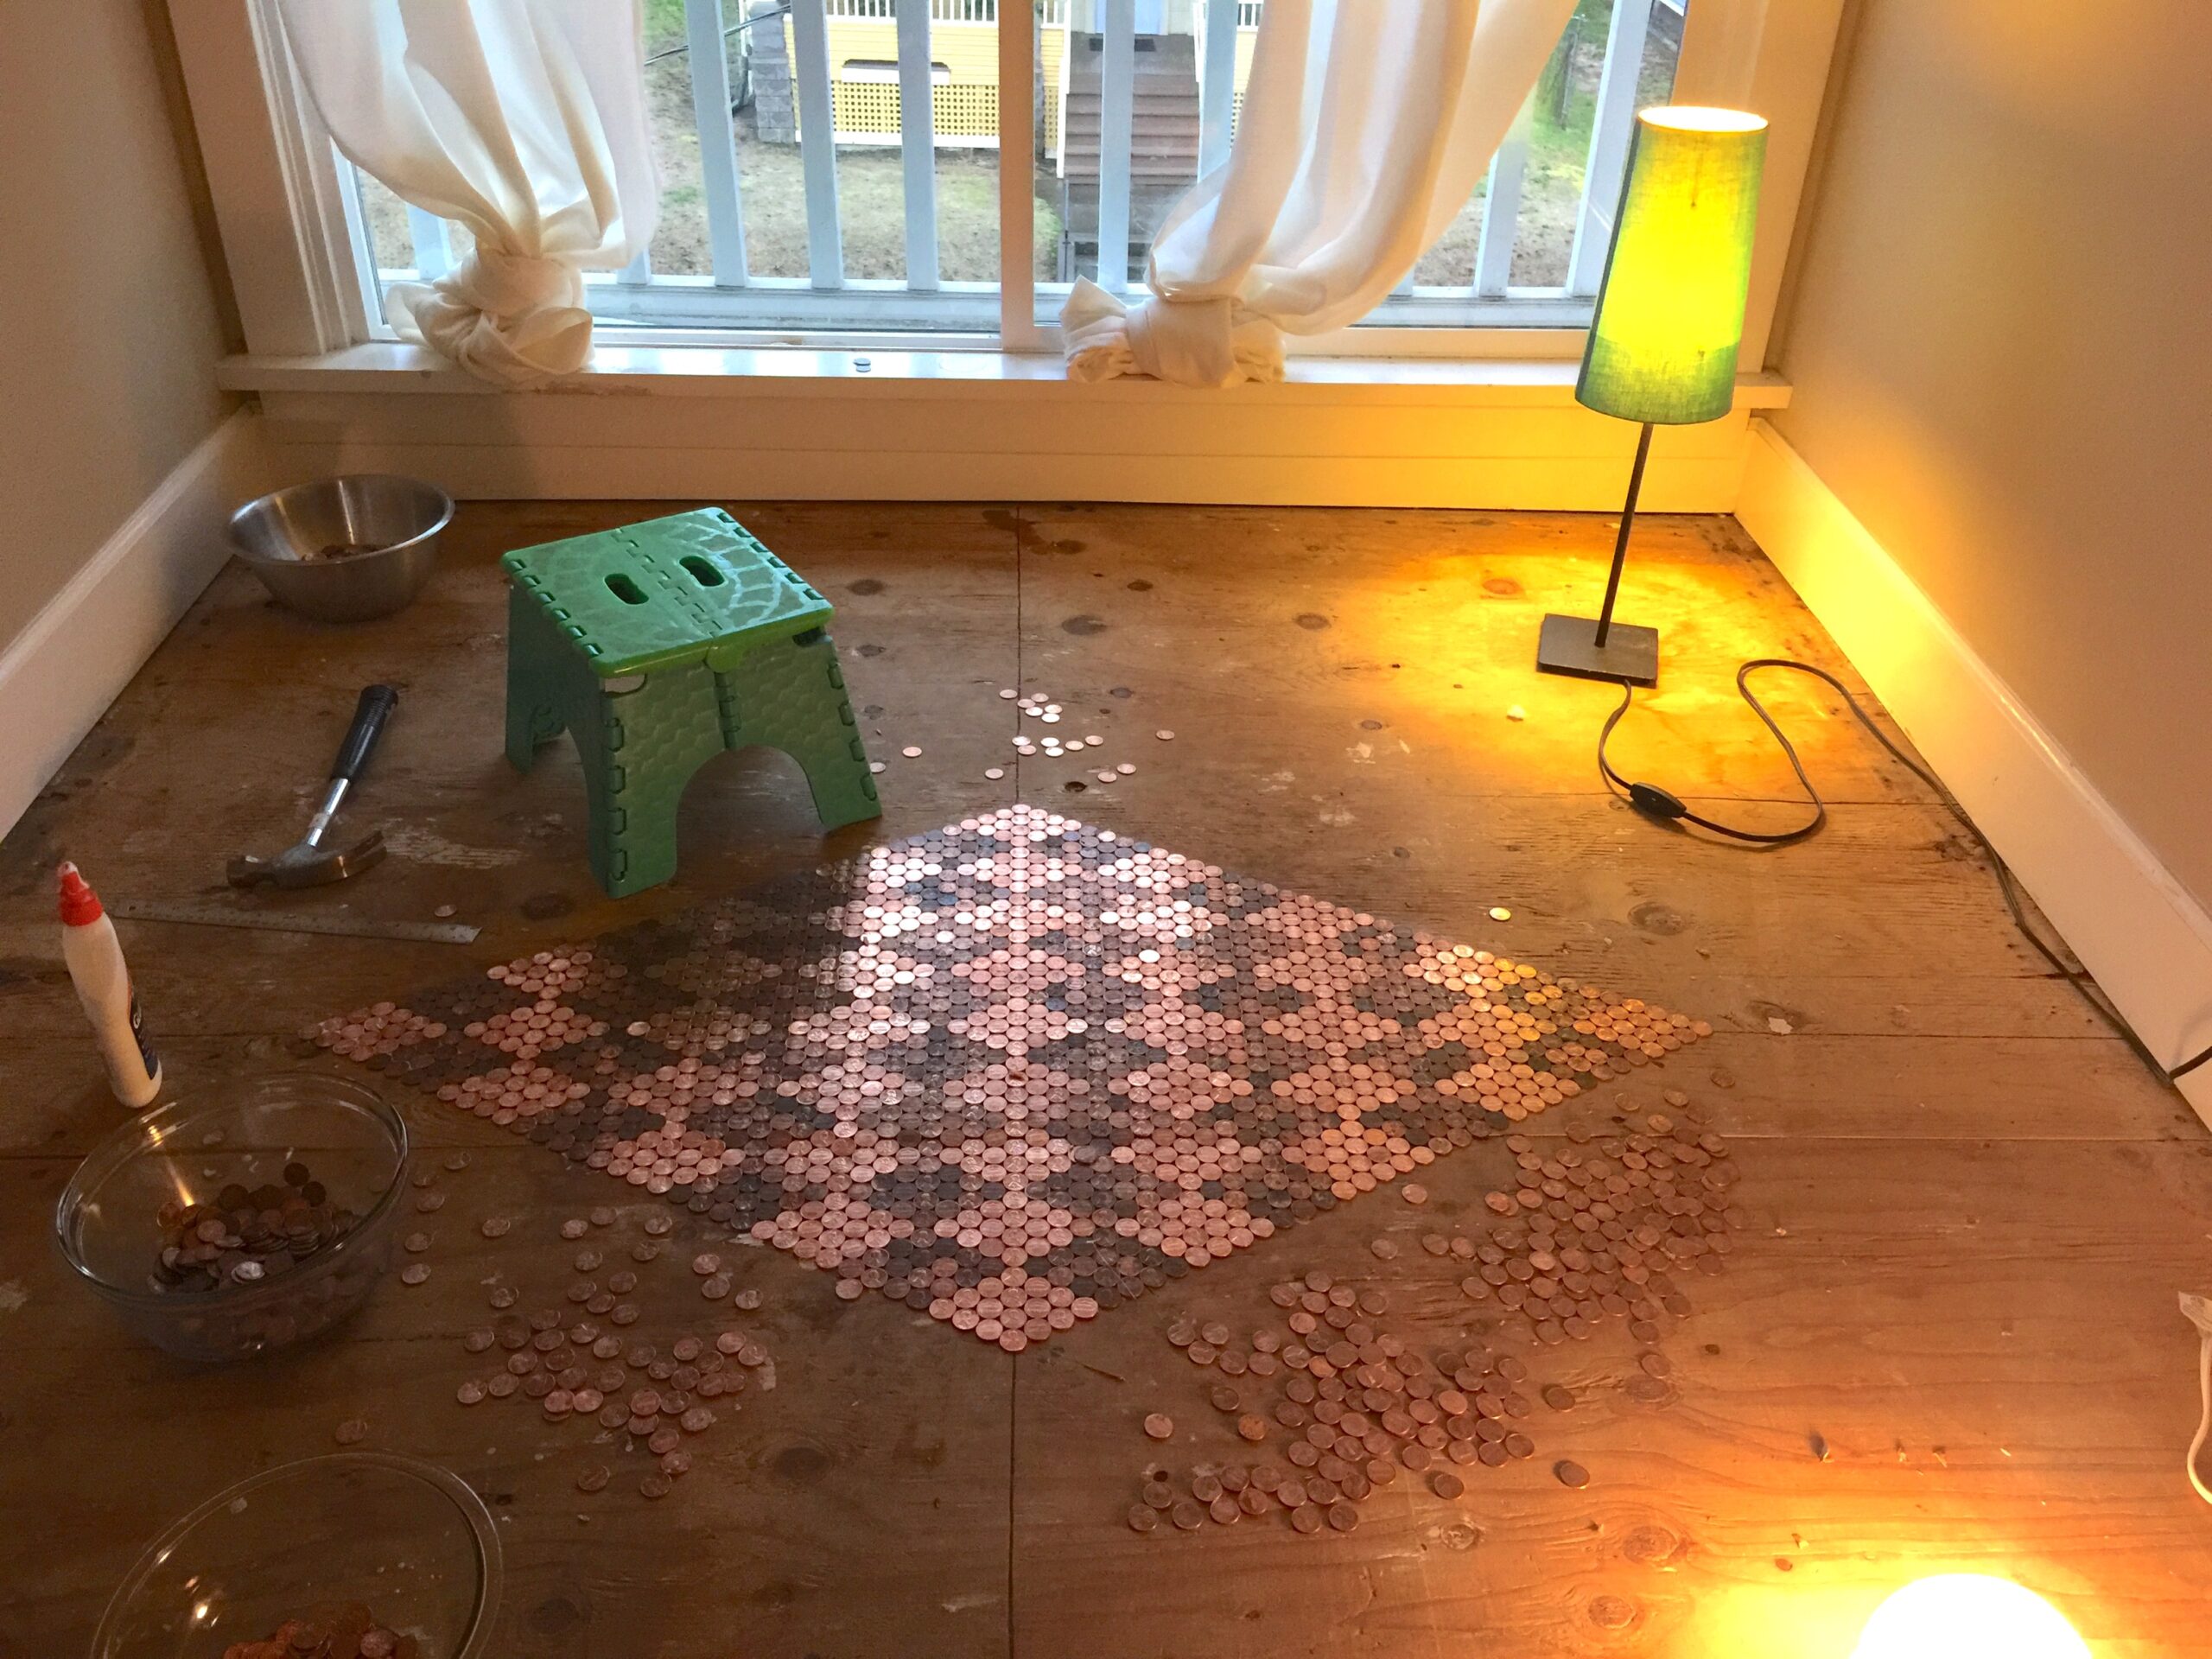
She started by measuring out the space, and laying a grid to work on.
Then, she started laying pennies by working from the center of the grid outward in a diamond pattern.
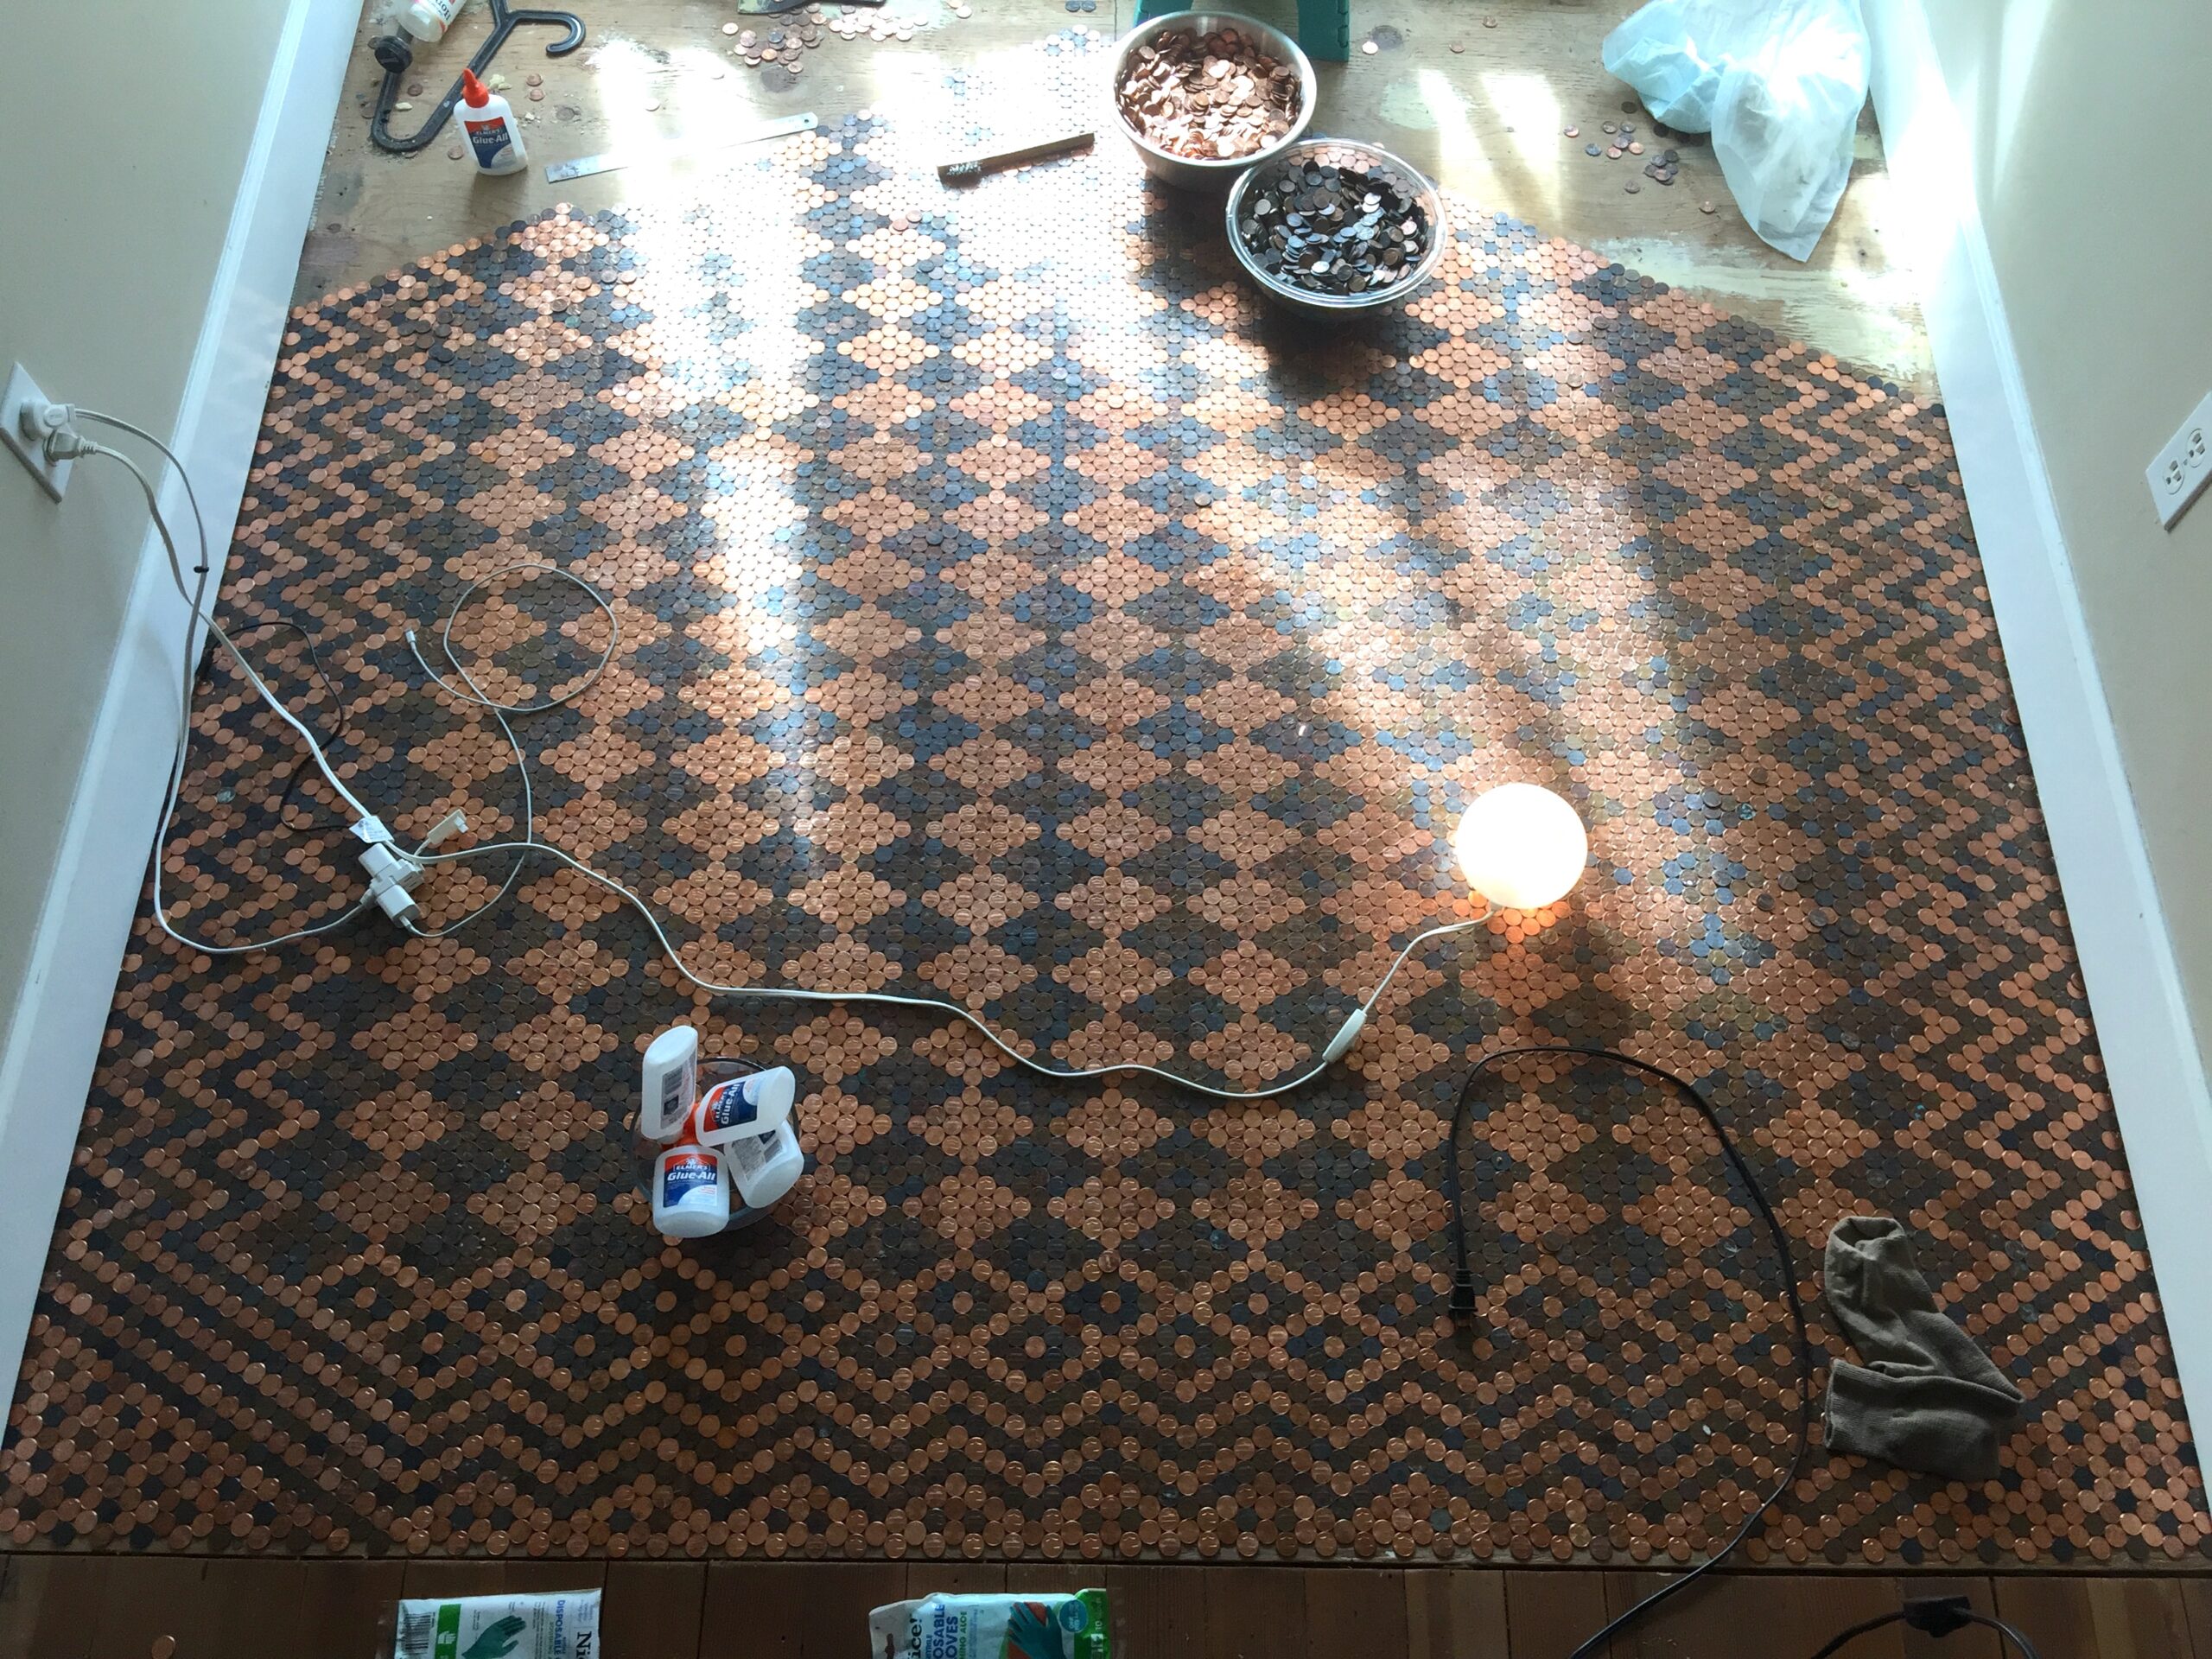
The contrasting pennies were put to work in the main pattern that takes up most of the floor, alternating diamonds of shiny pennies and tarnished pennies.
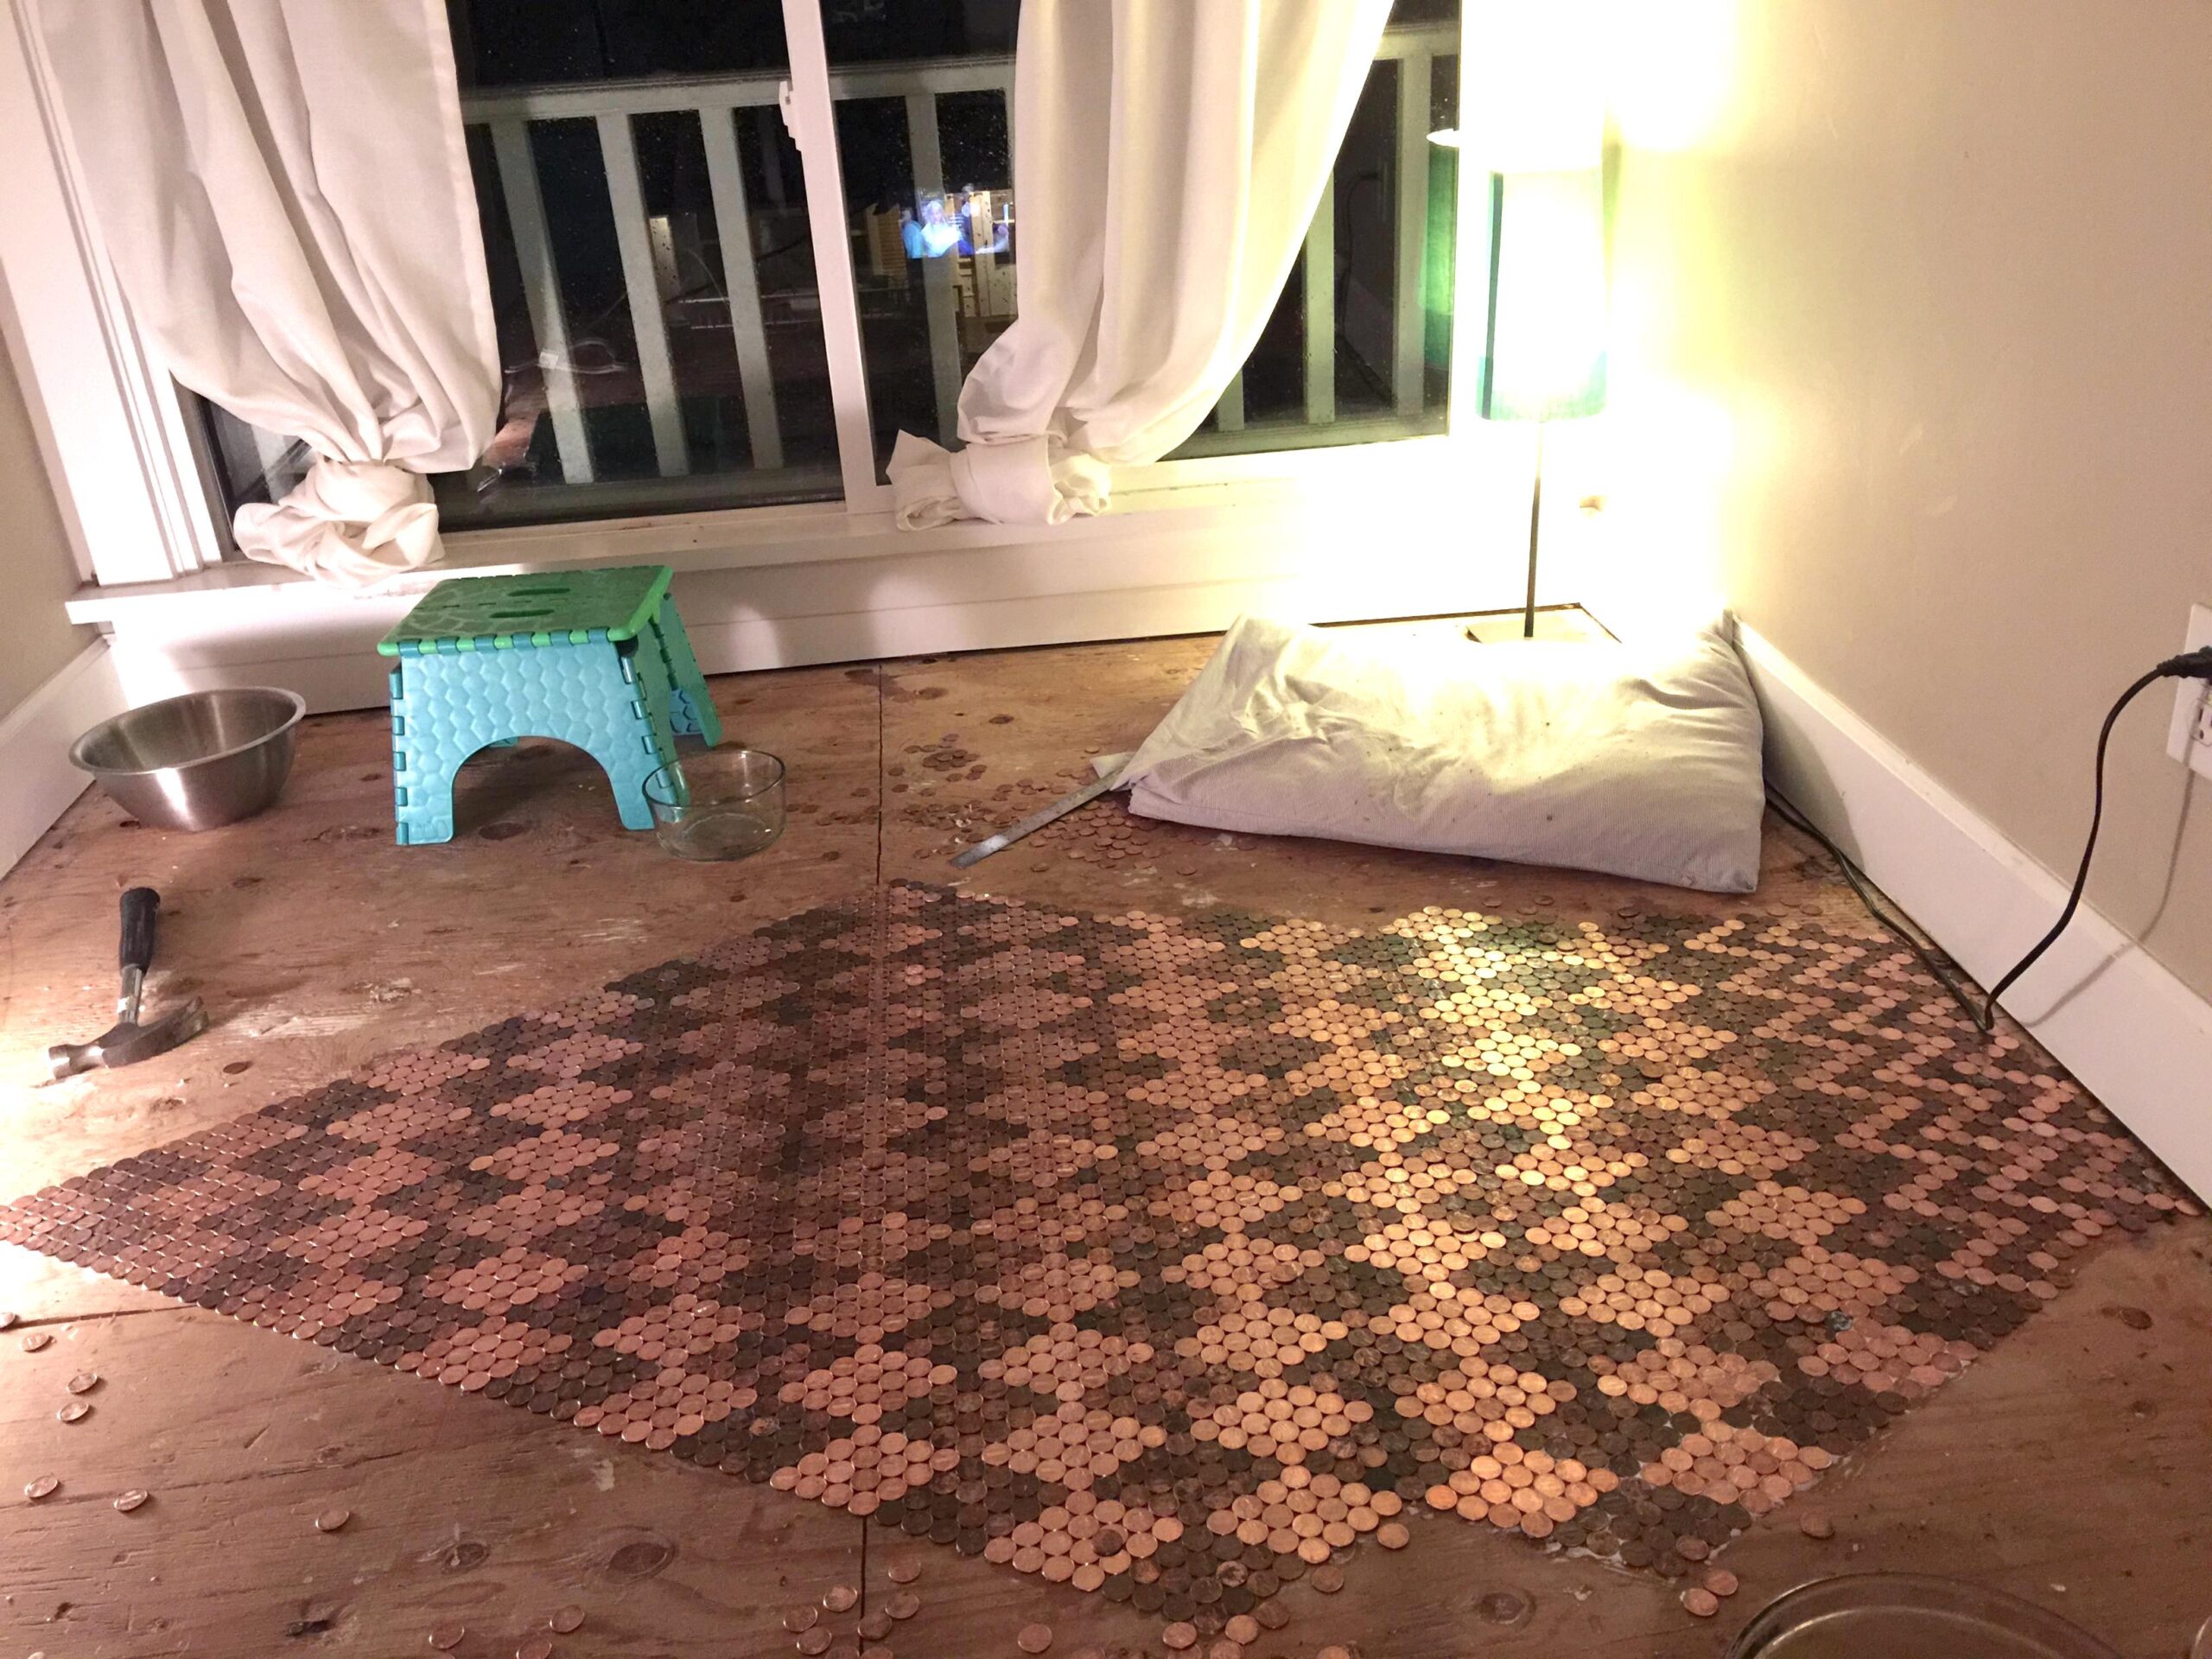
It's a simple but elegant pattern that takes its cues from the look of old-fashioned hardwood parquet, which used contrasting colors of wood.
For this floor, the pennies served the same purpose.
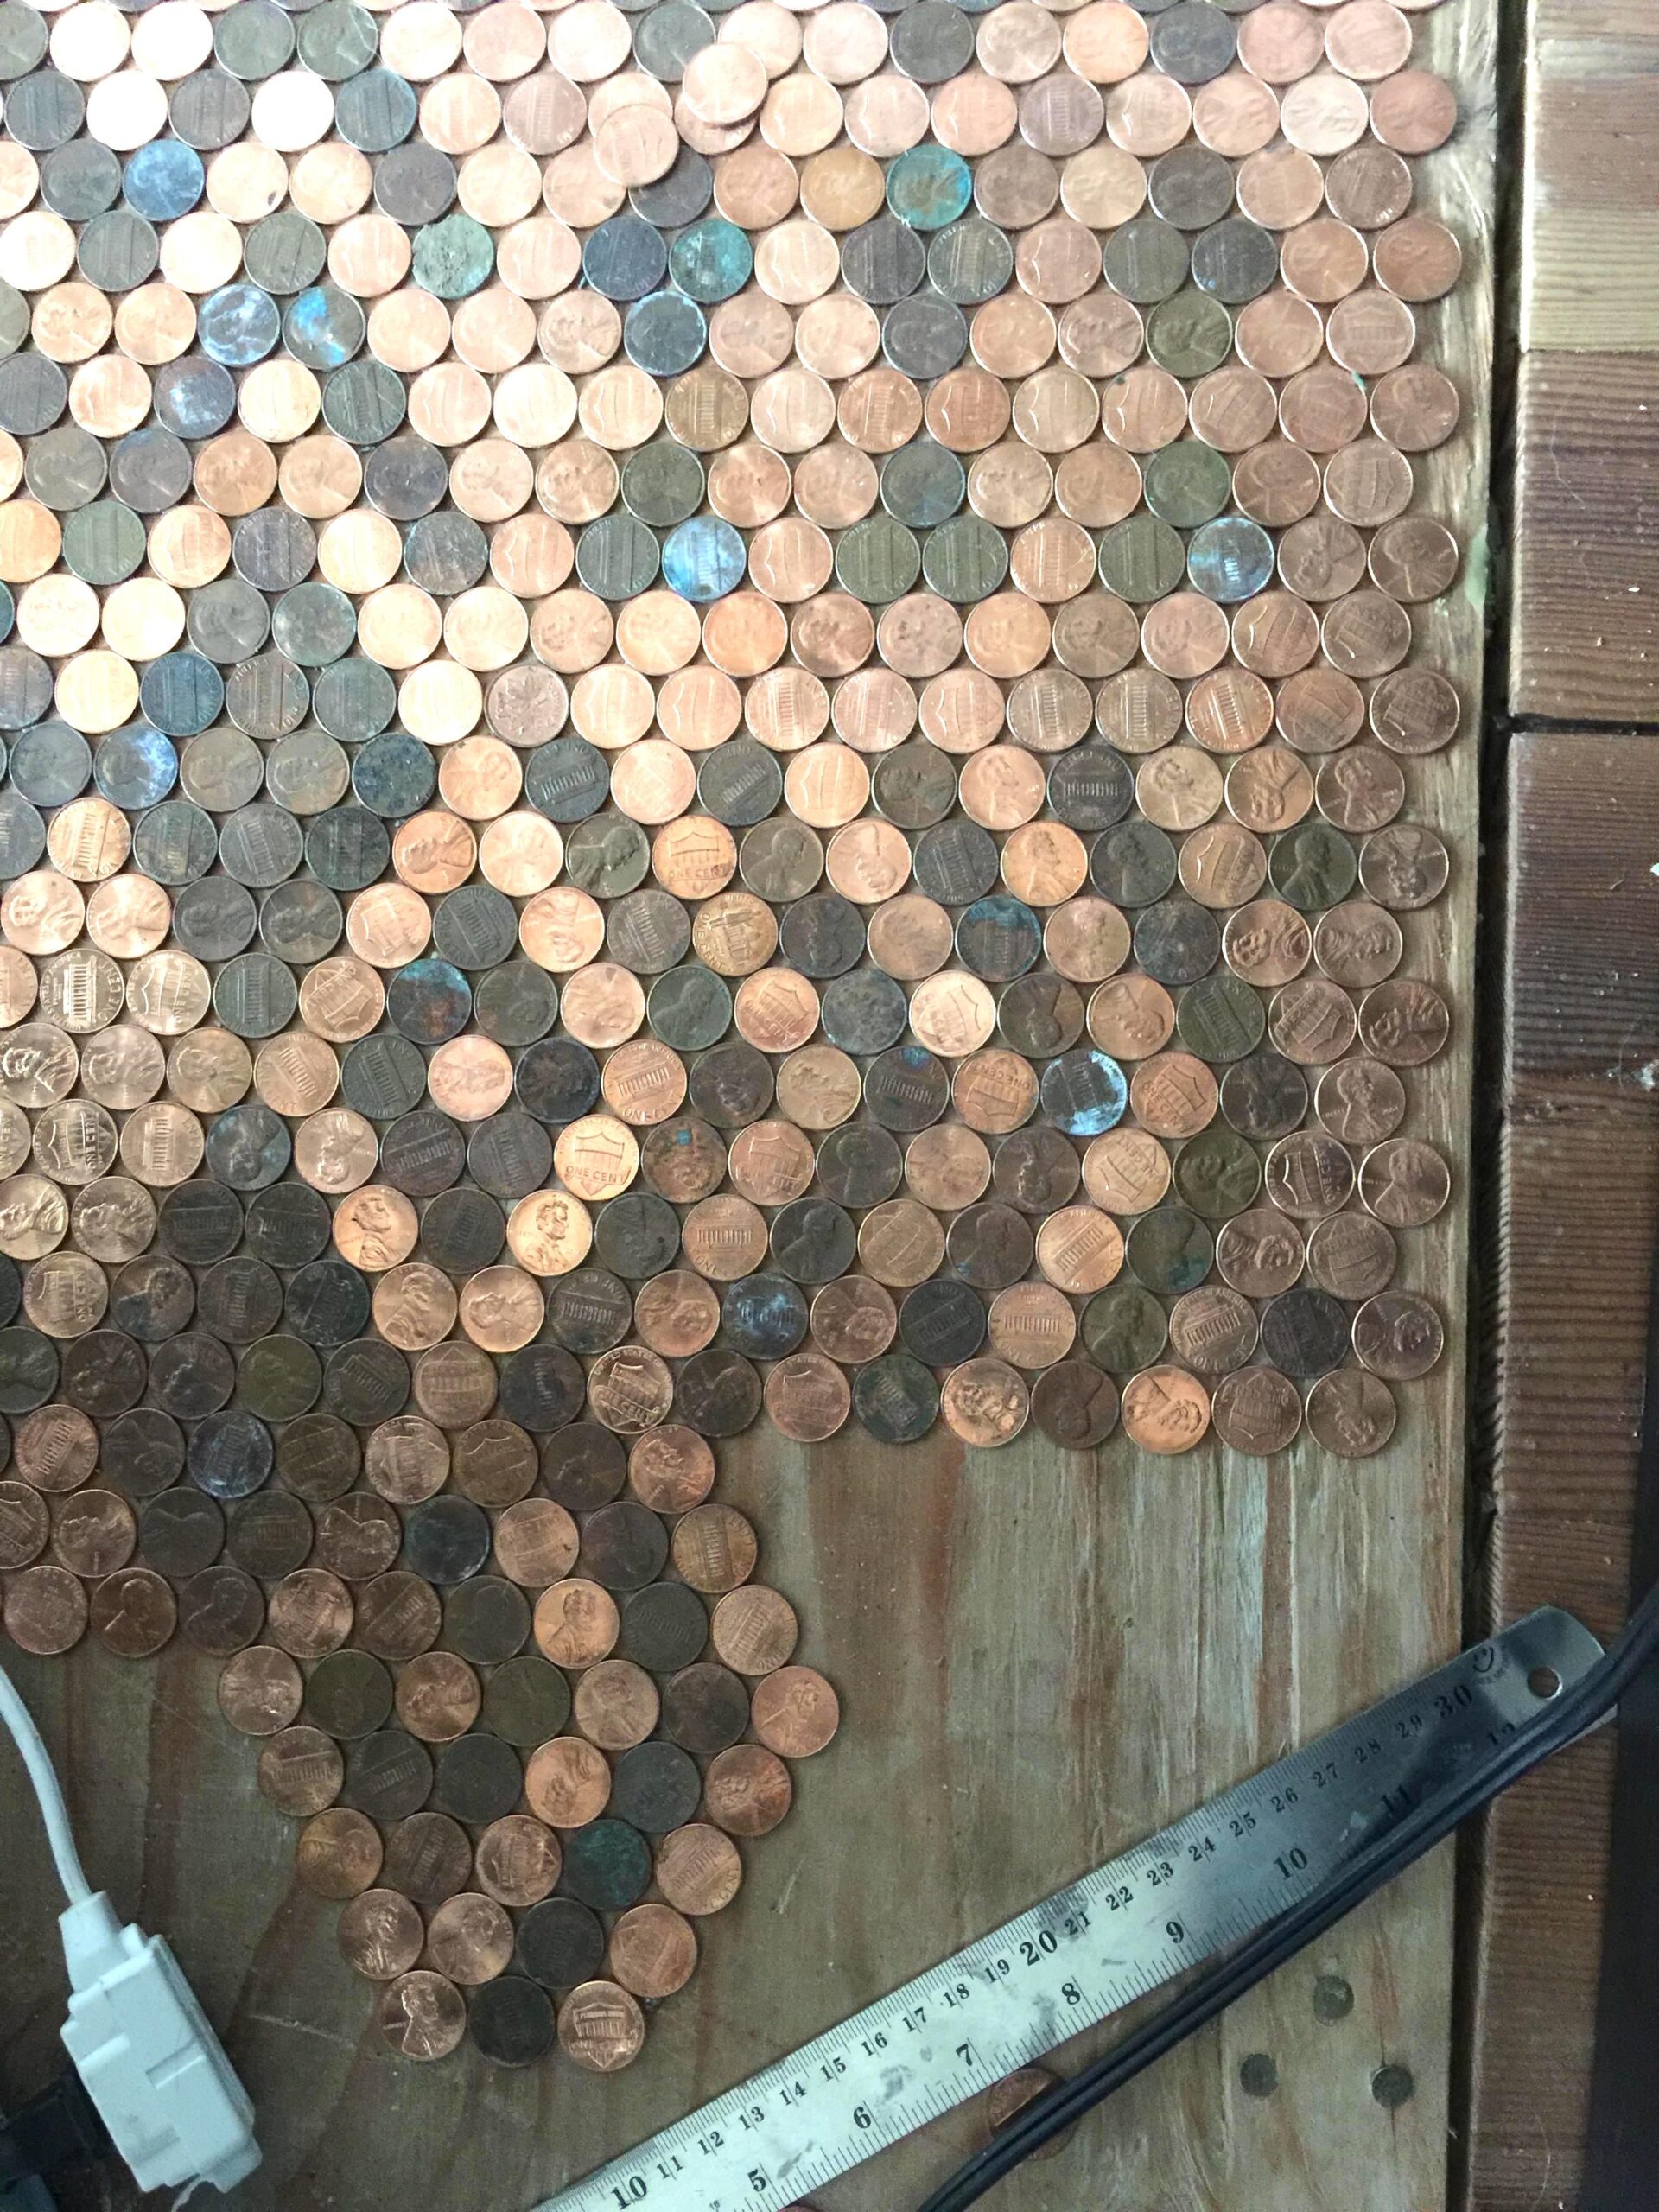
Over the course of the project, she discovered she wouldn't have enough dark or tarnished pennies to complete the pattern, so she improvised, and ended up dying a few of the shinier pennies with liver of sulfur, a gel which gives metal a blue-black patina.
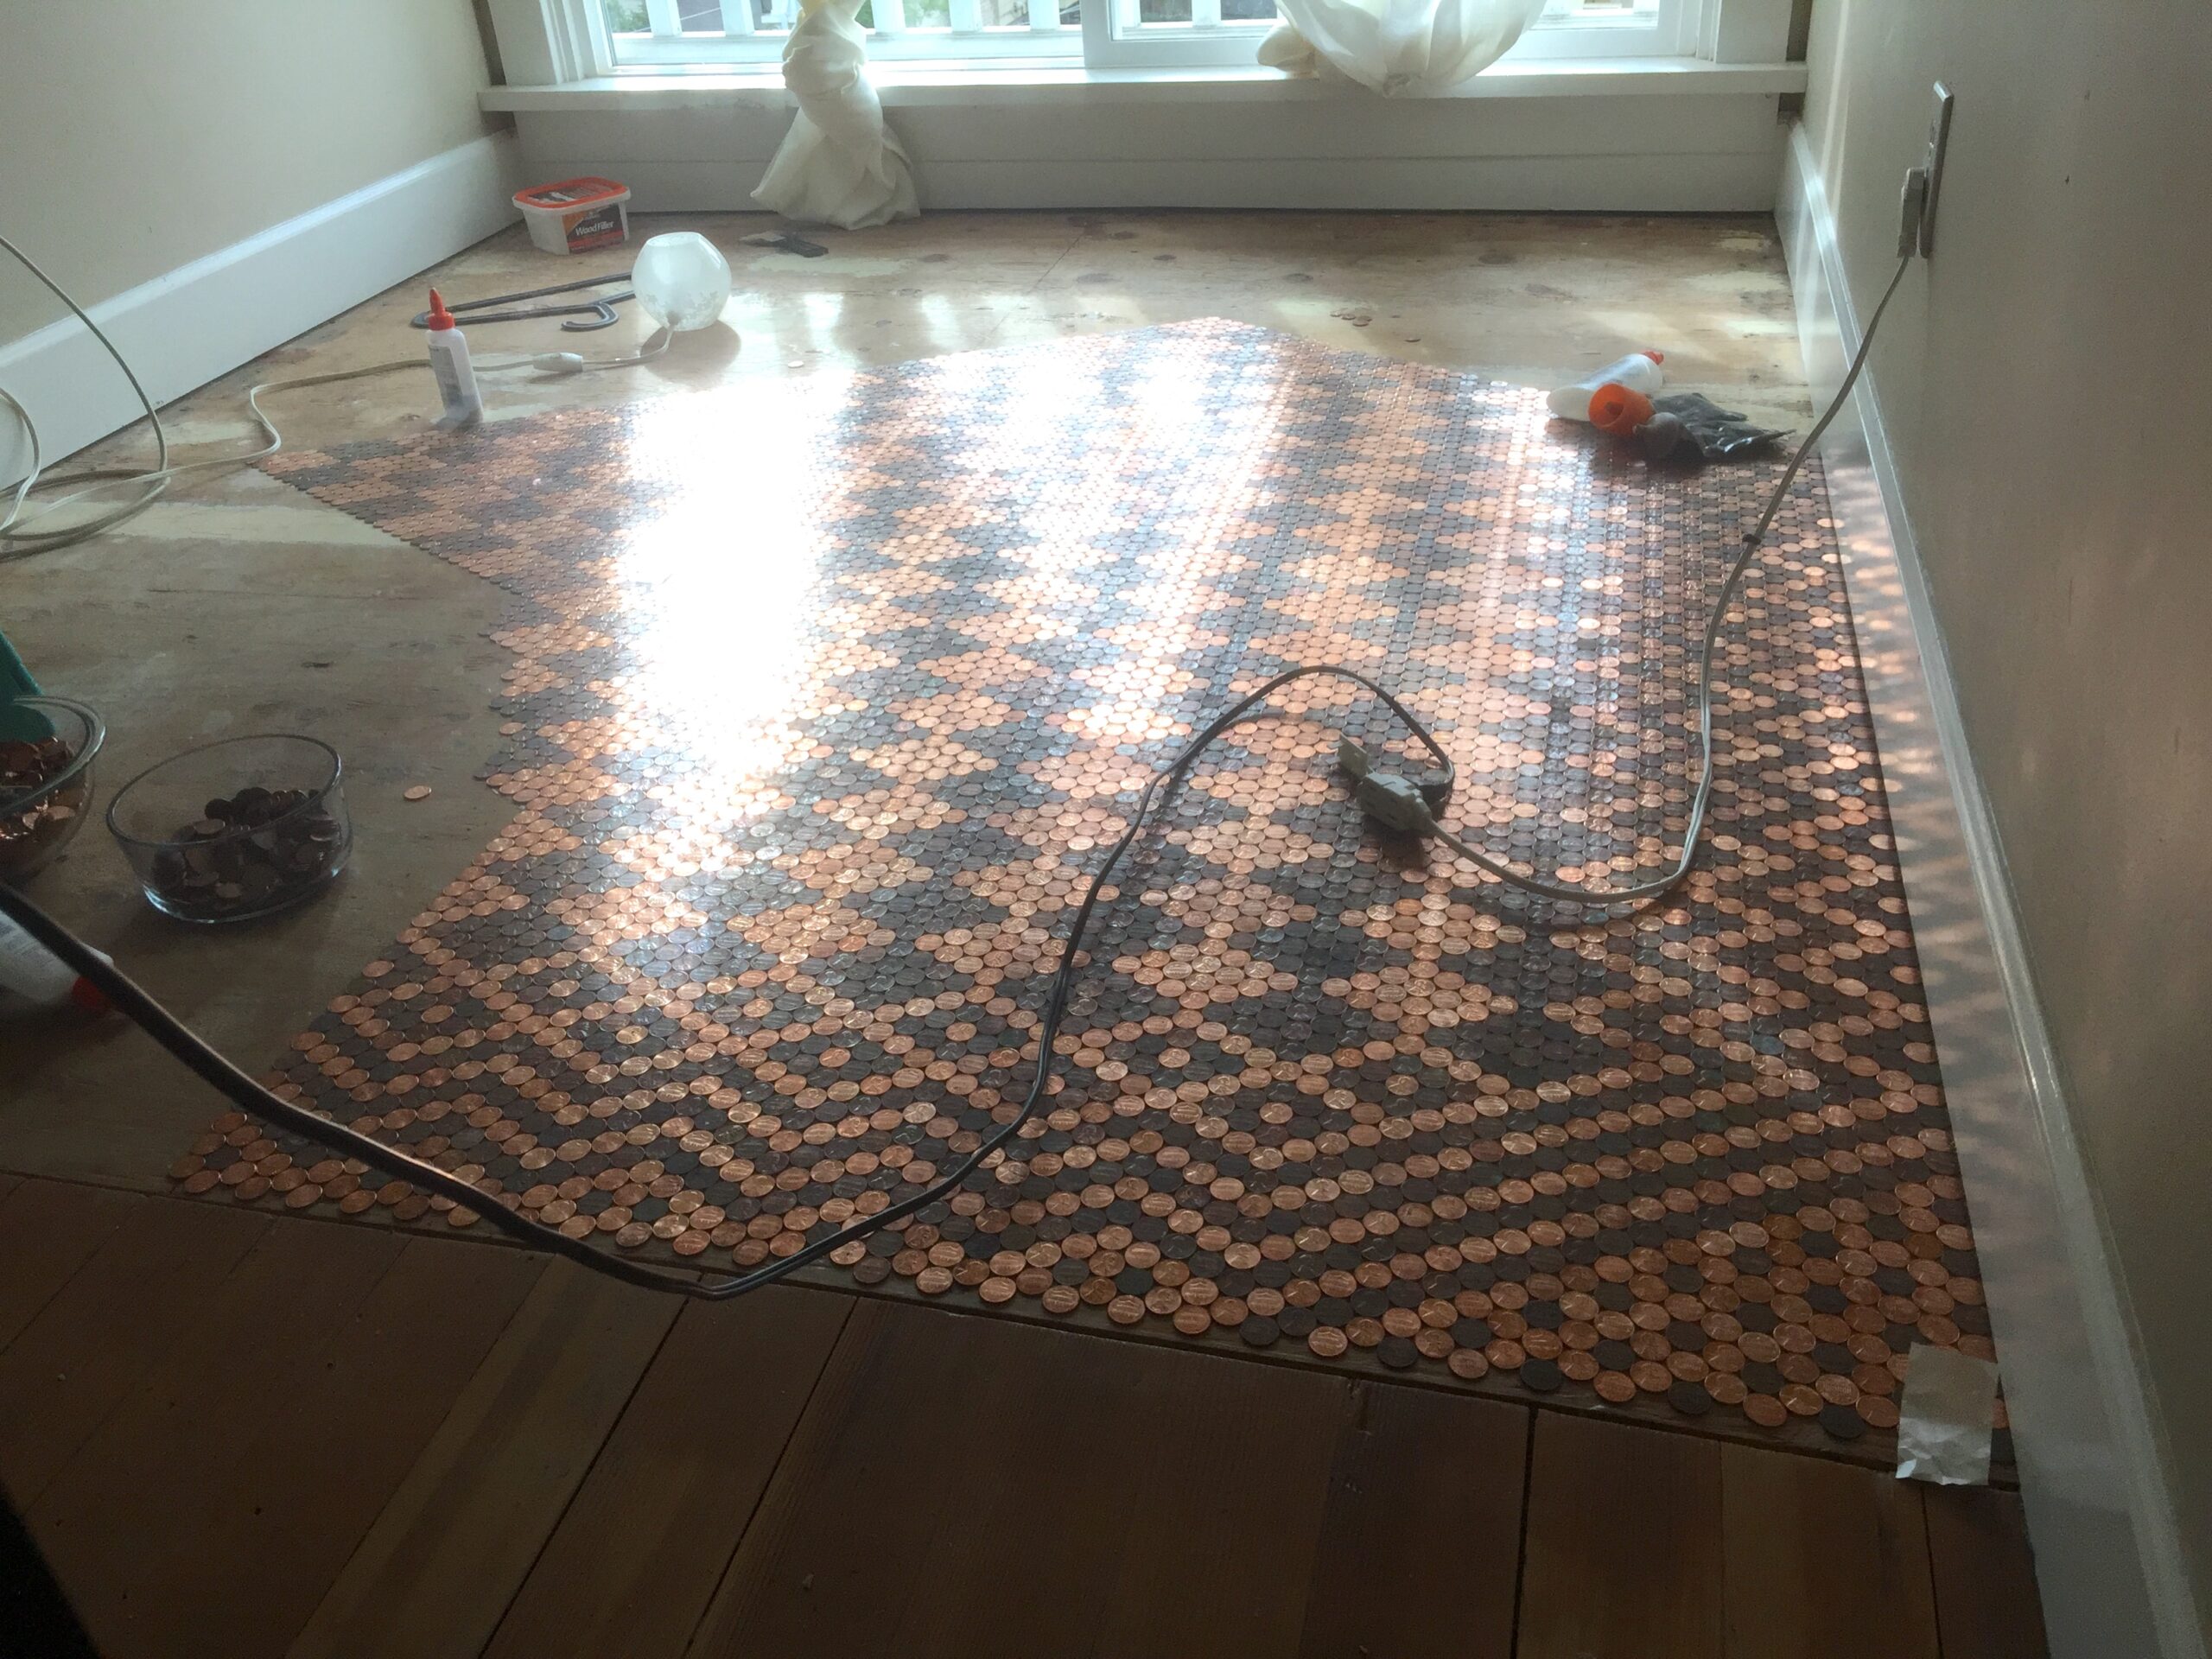
As she progressed towards the edges of the room, the pattern started to get more elaborate as she created a “frame” for the simpler pattern in the center.
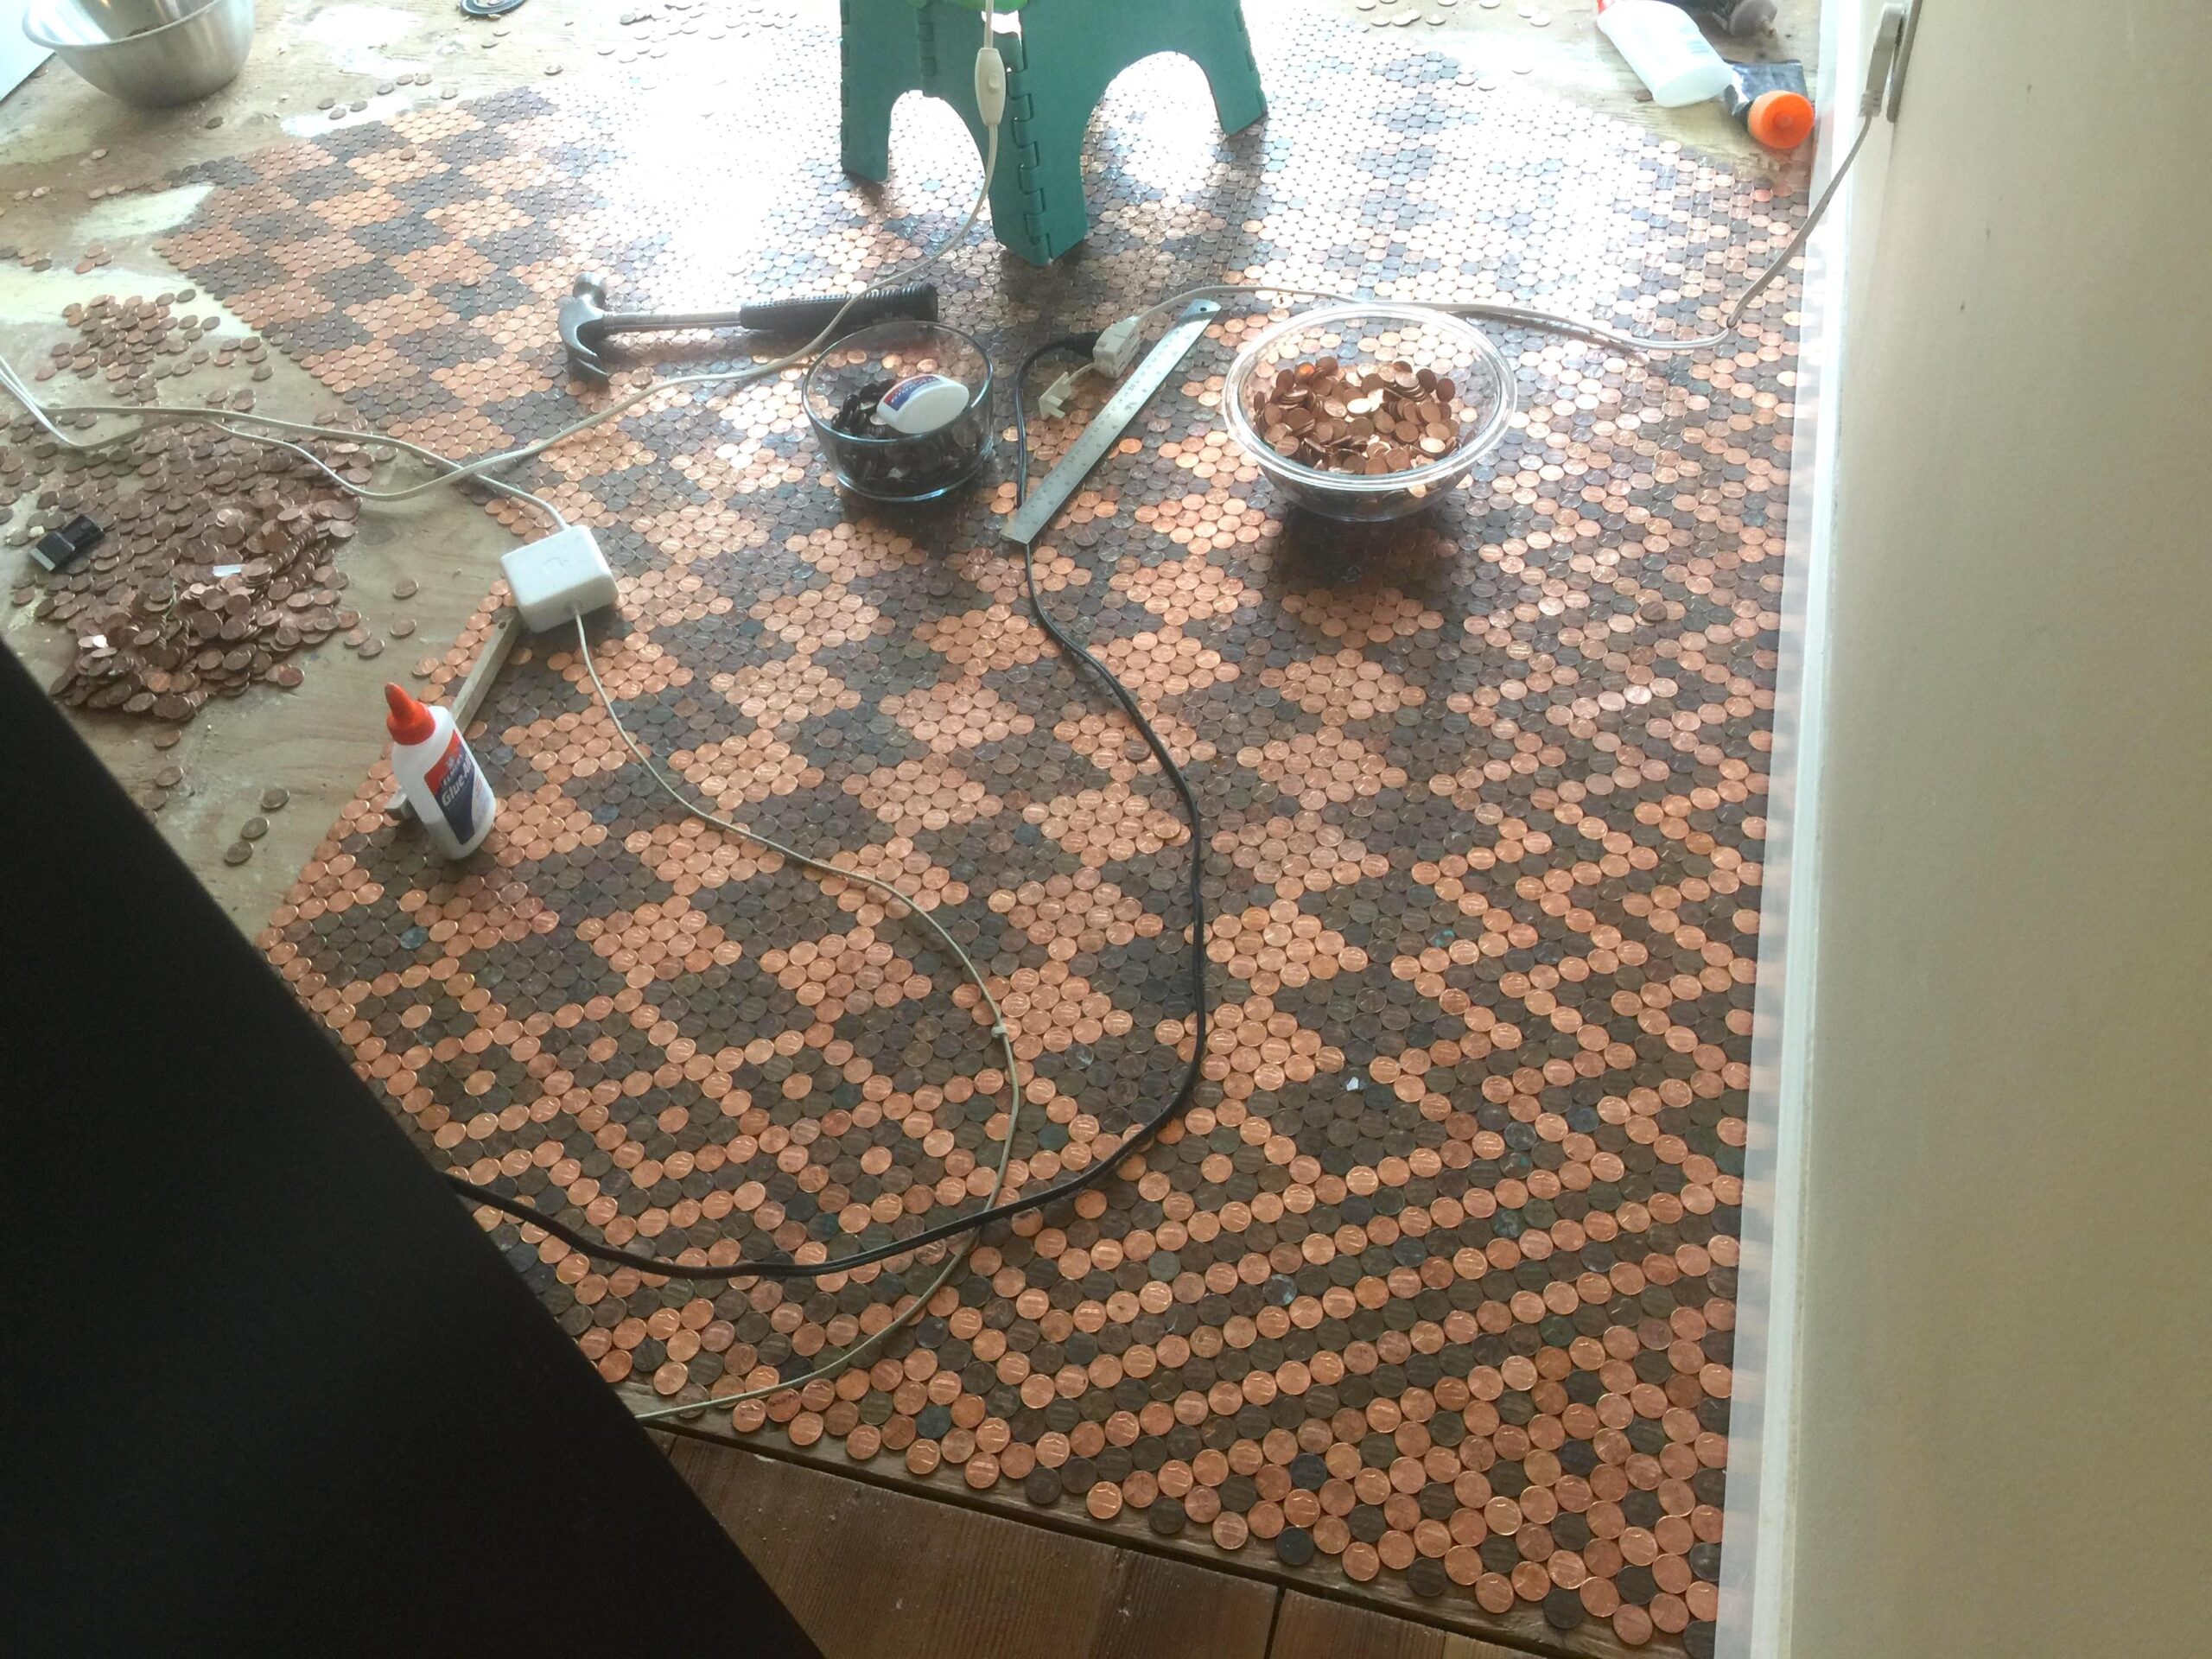
The edges feature a slightly more elaborate diamond pattern, where each diamond is made up of contrasting stripes of shiny and dark pennies.
This variation on the diamond pattern then turns into a simple zigzag.
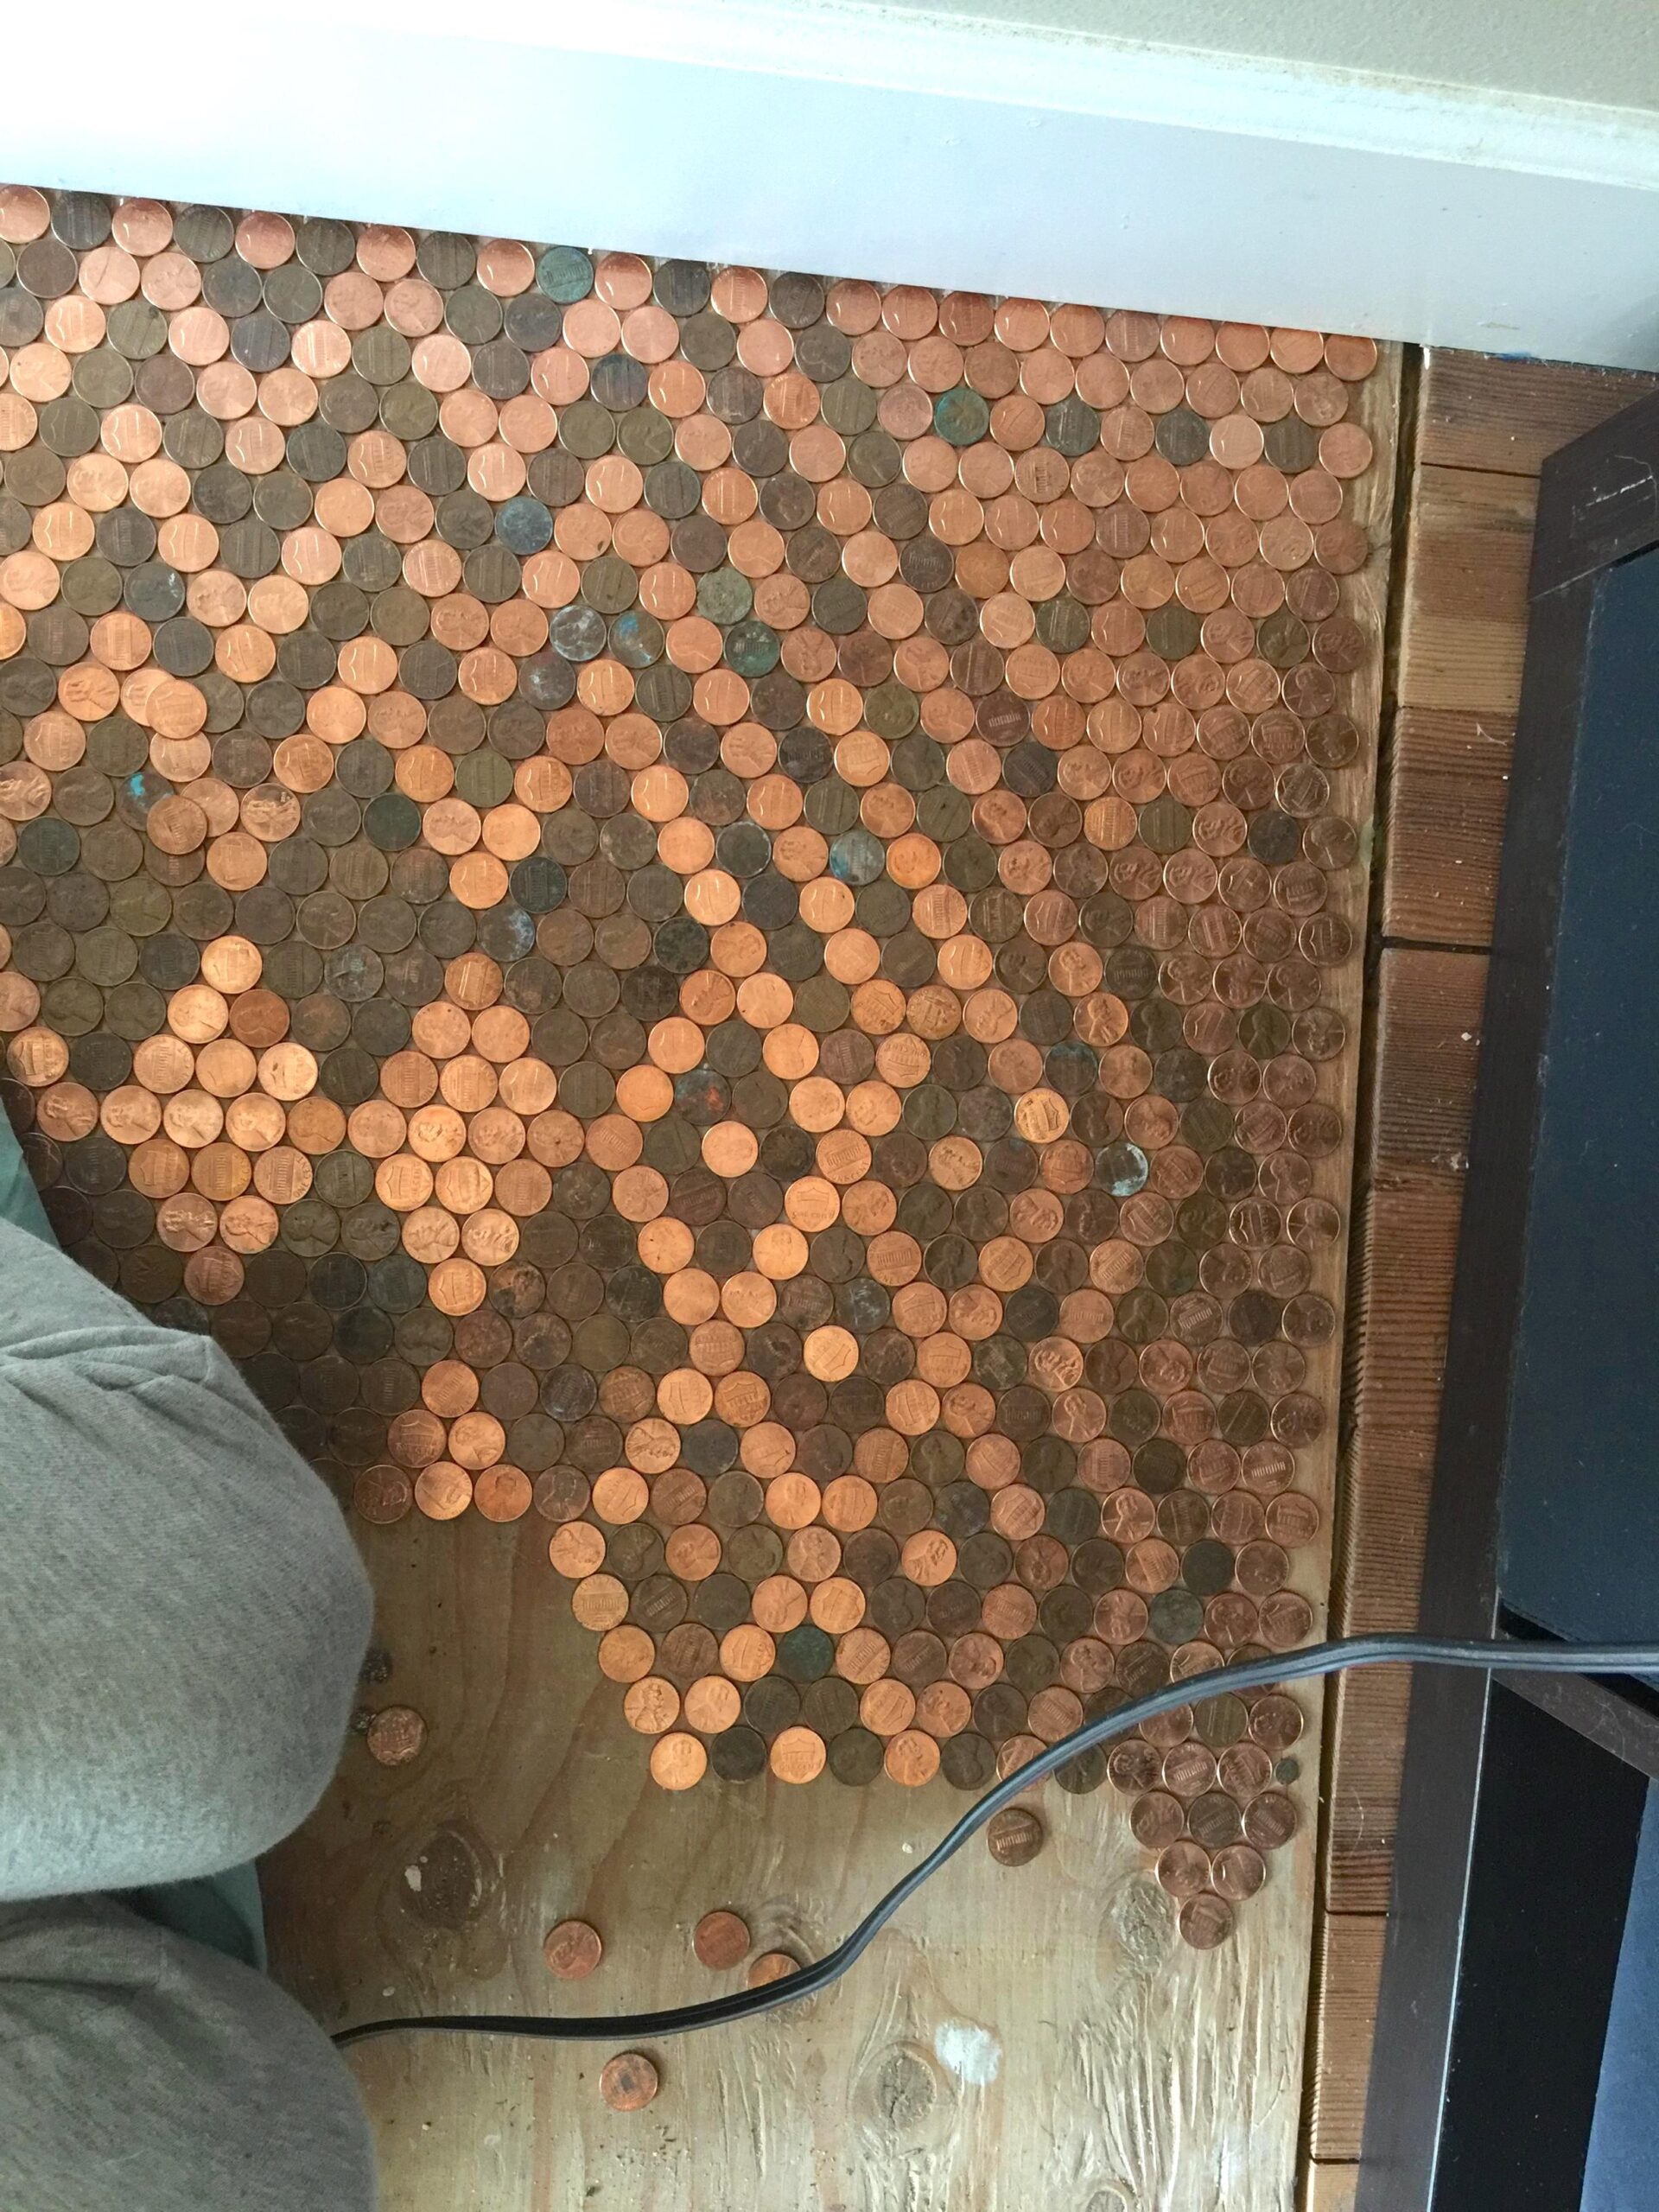
The zigzag edge stretches around the room, covering up just about everything but the corners.
For those, she went with a simple filler pattern of shiny pennies interspersed with a few regular intervals of tarnished accent pennies.
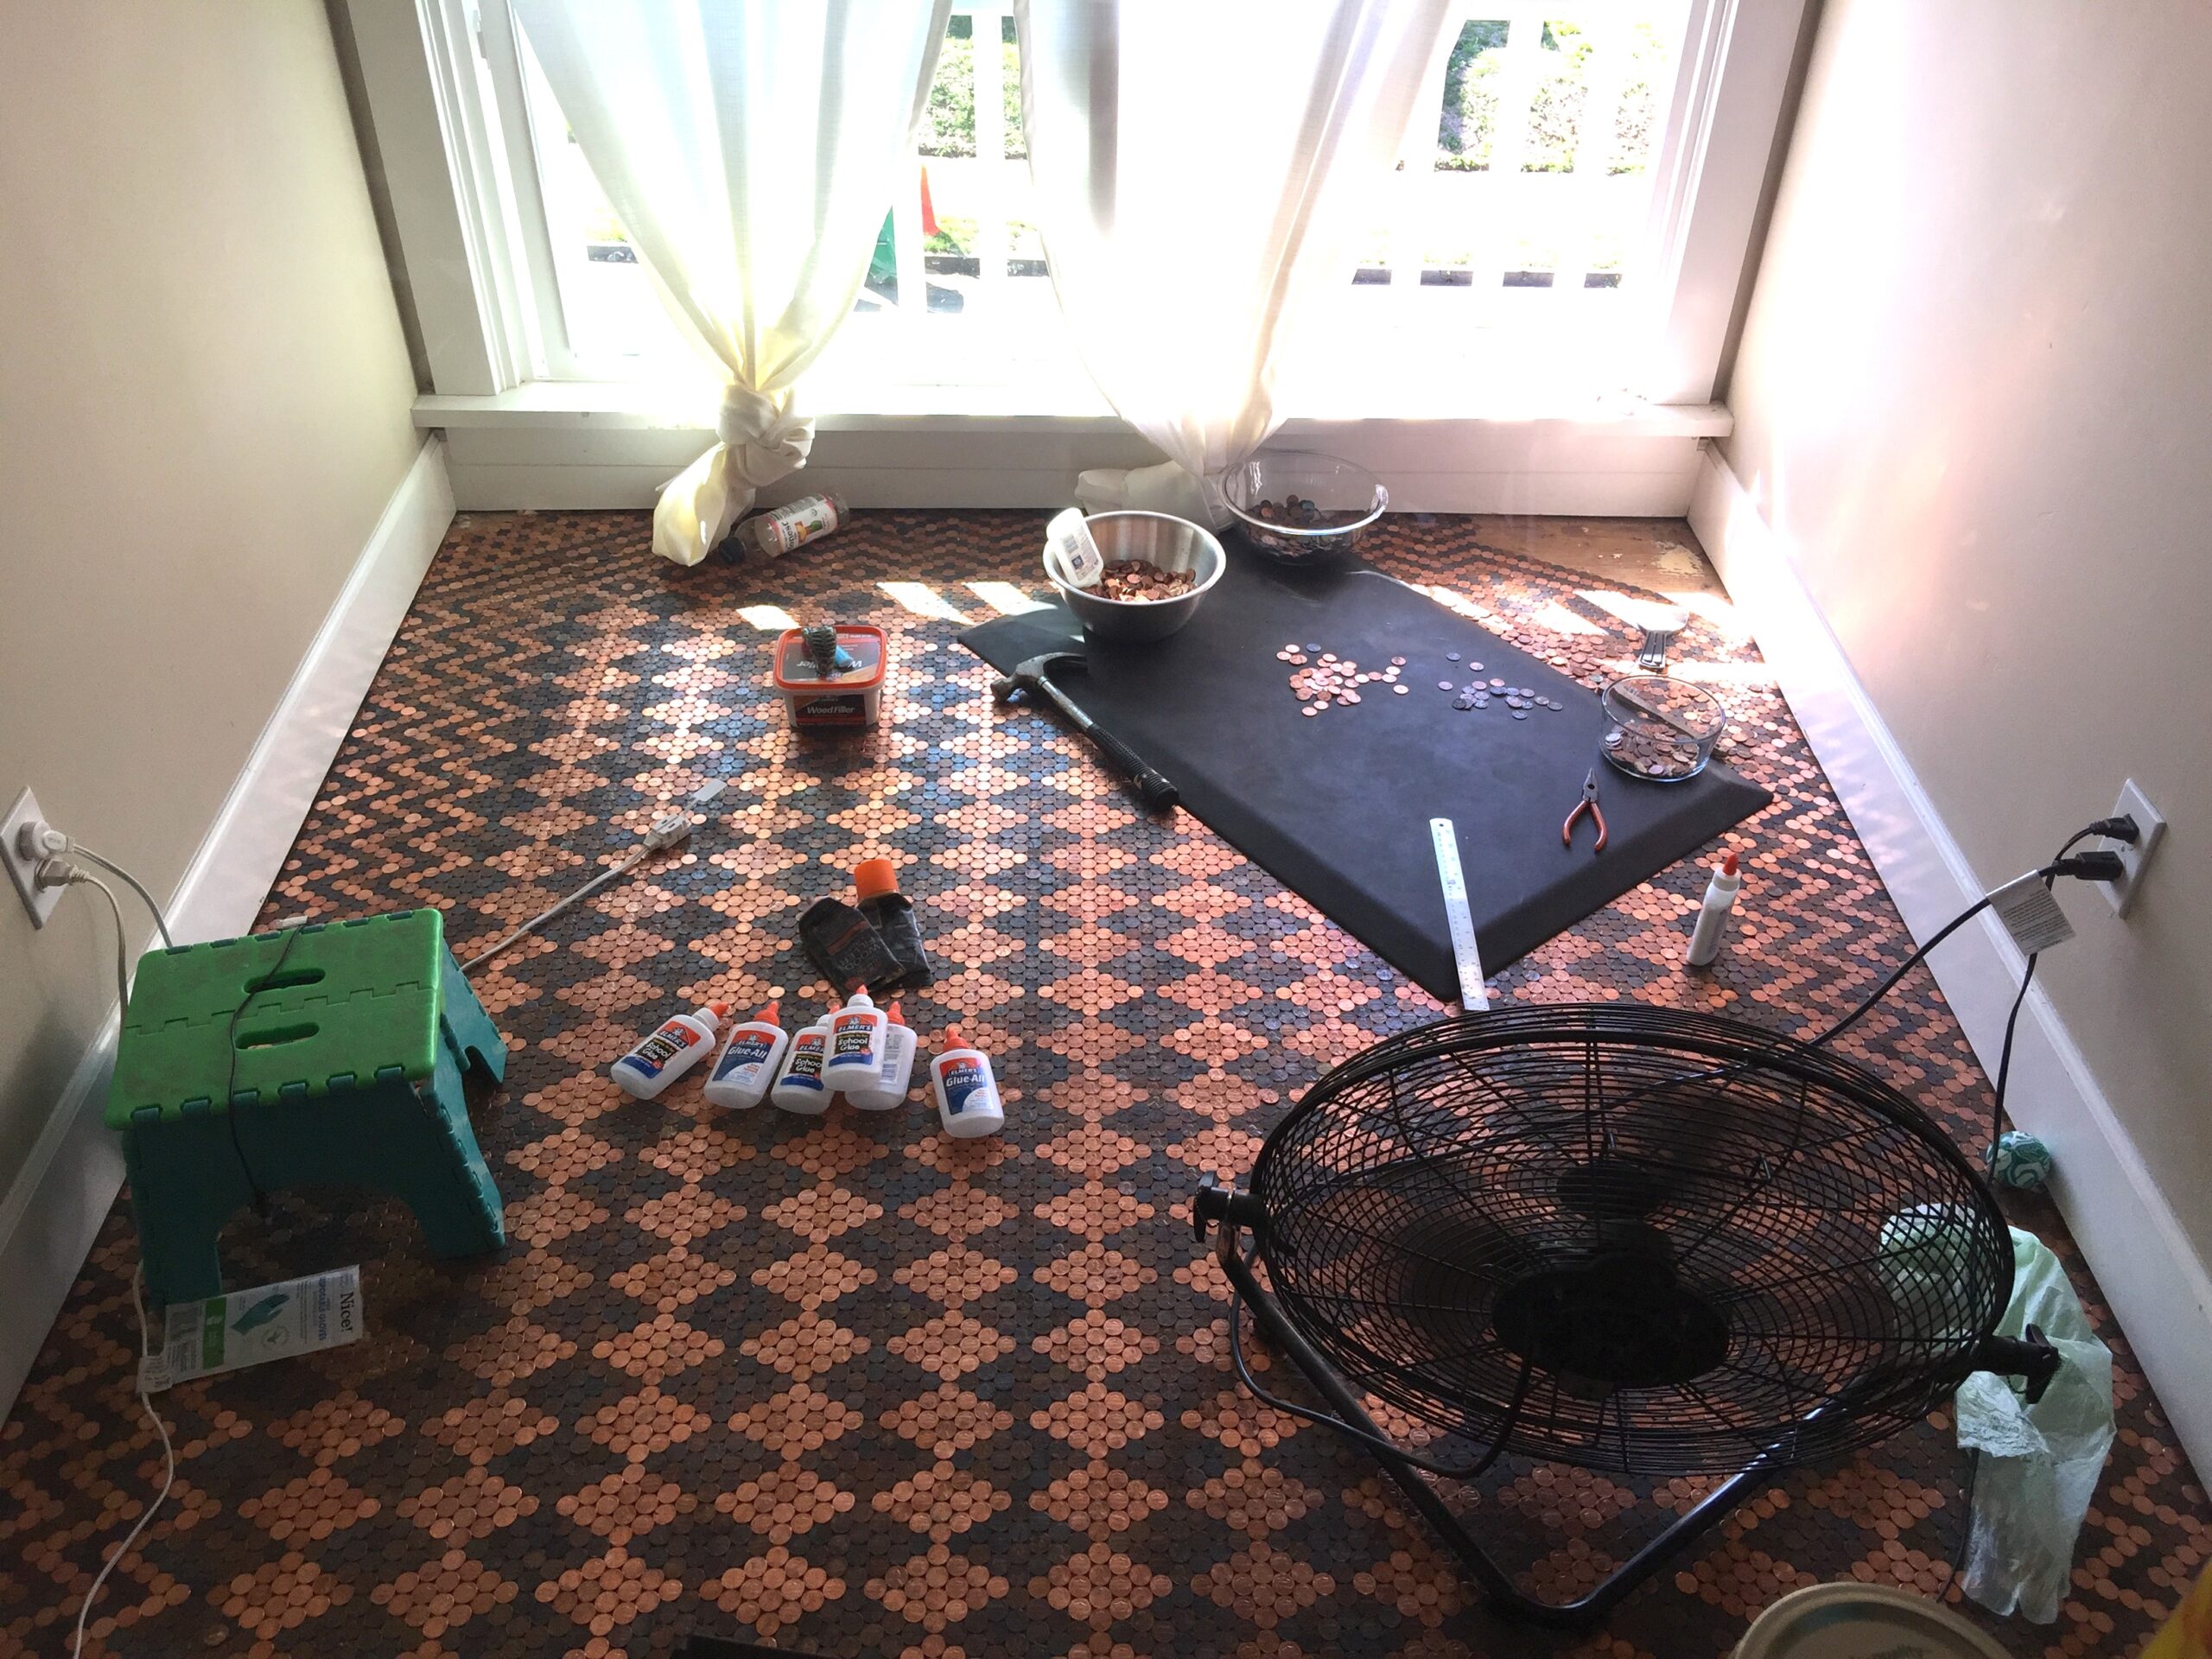
It was an involved process that took a lot of time to get right.
She started by laying out her pattern and fixing it with ordinary Elmer's glue, which required new applications from time to time, and then fixed them in place with grout.
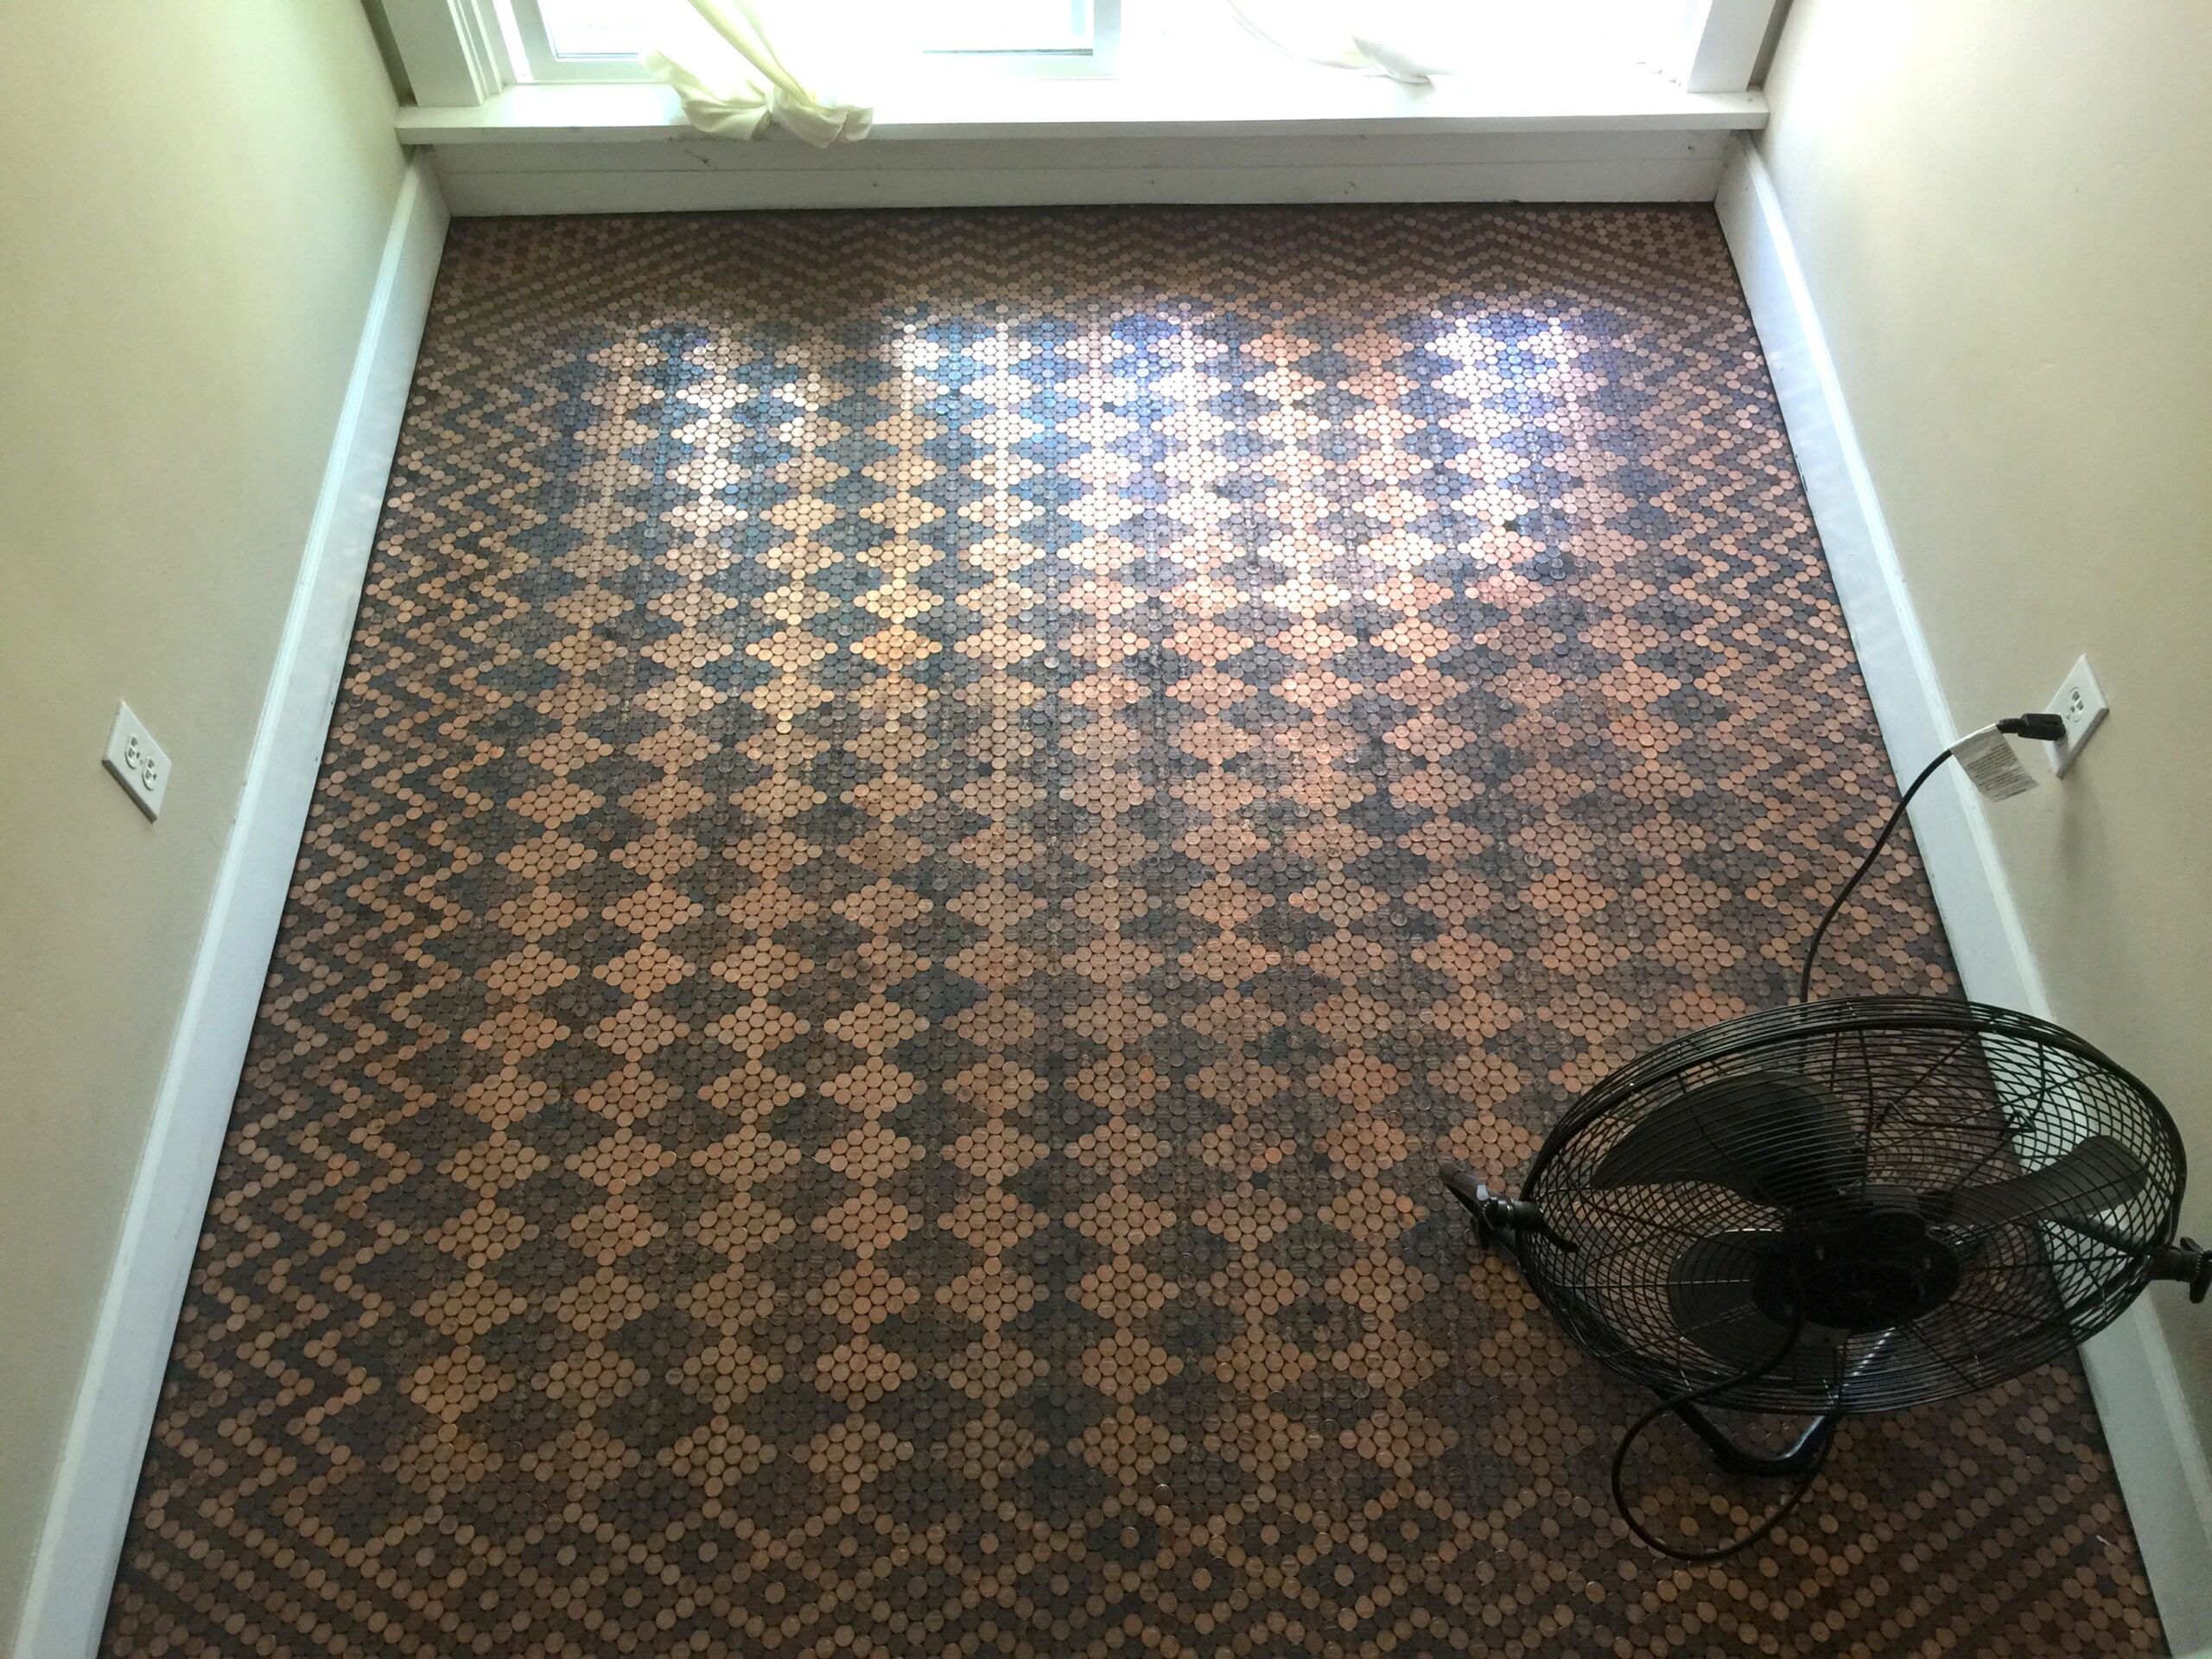
After the grout was laid, her flooring pattern was pretty stable and unlikely to pull up again the way it might have with glue, but it still needed to be polished off and given some shine.
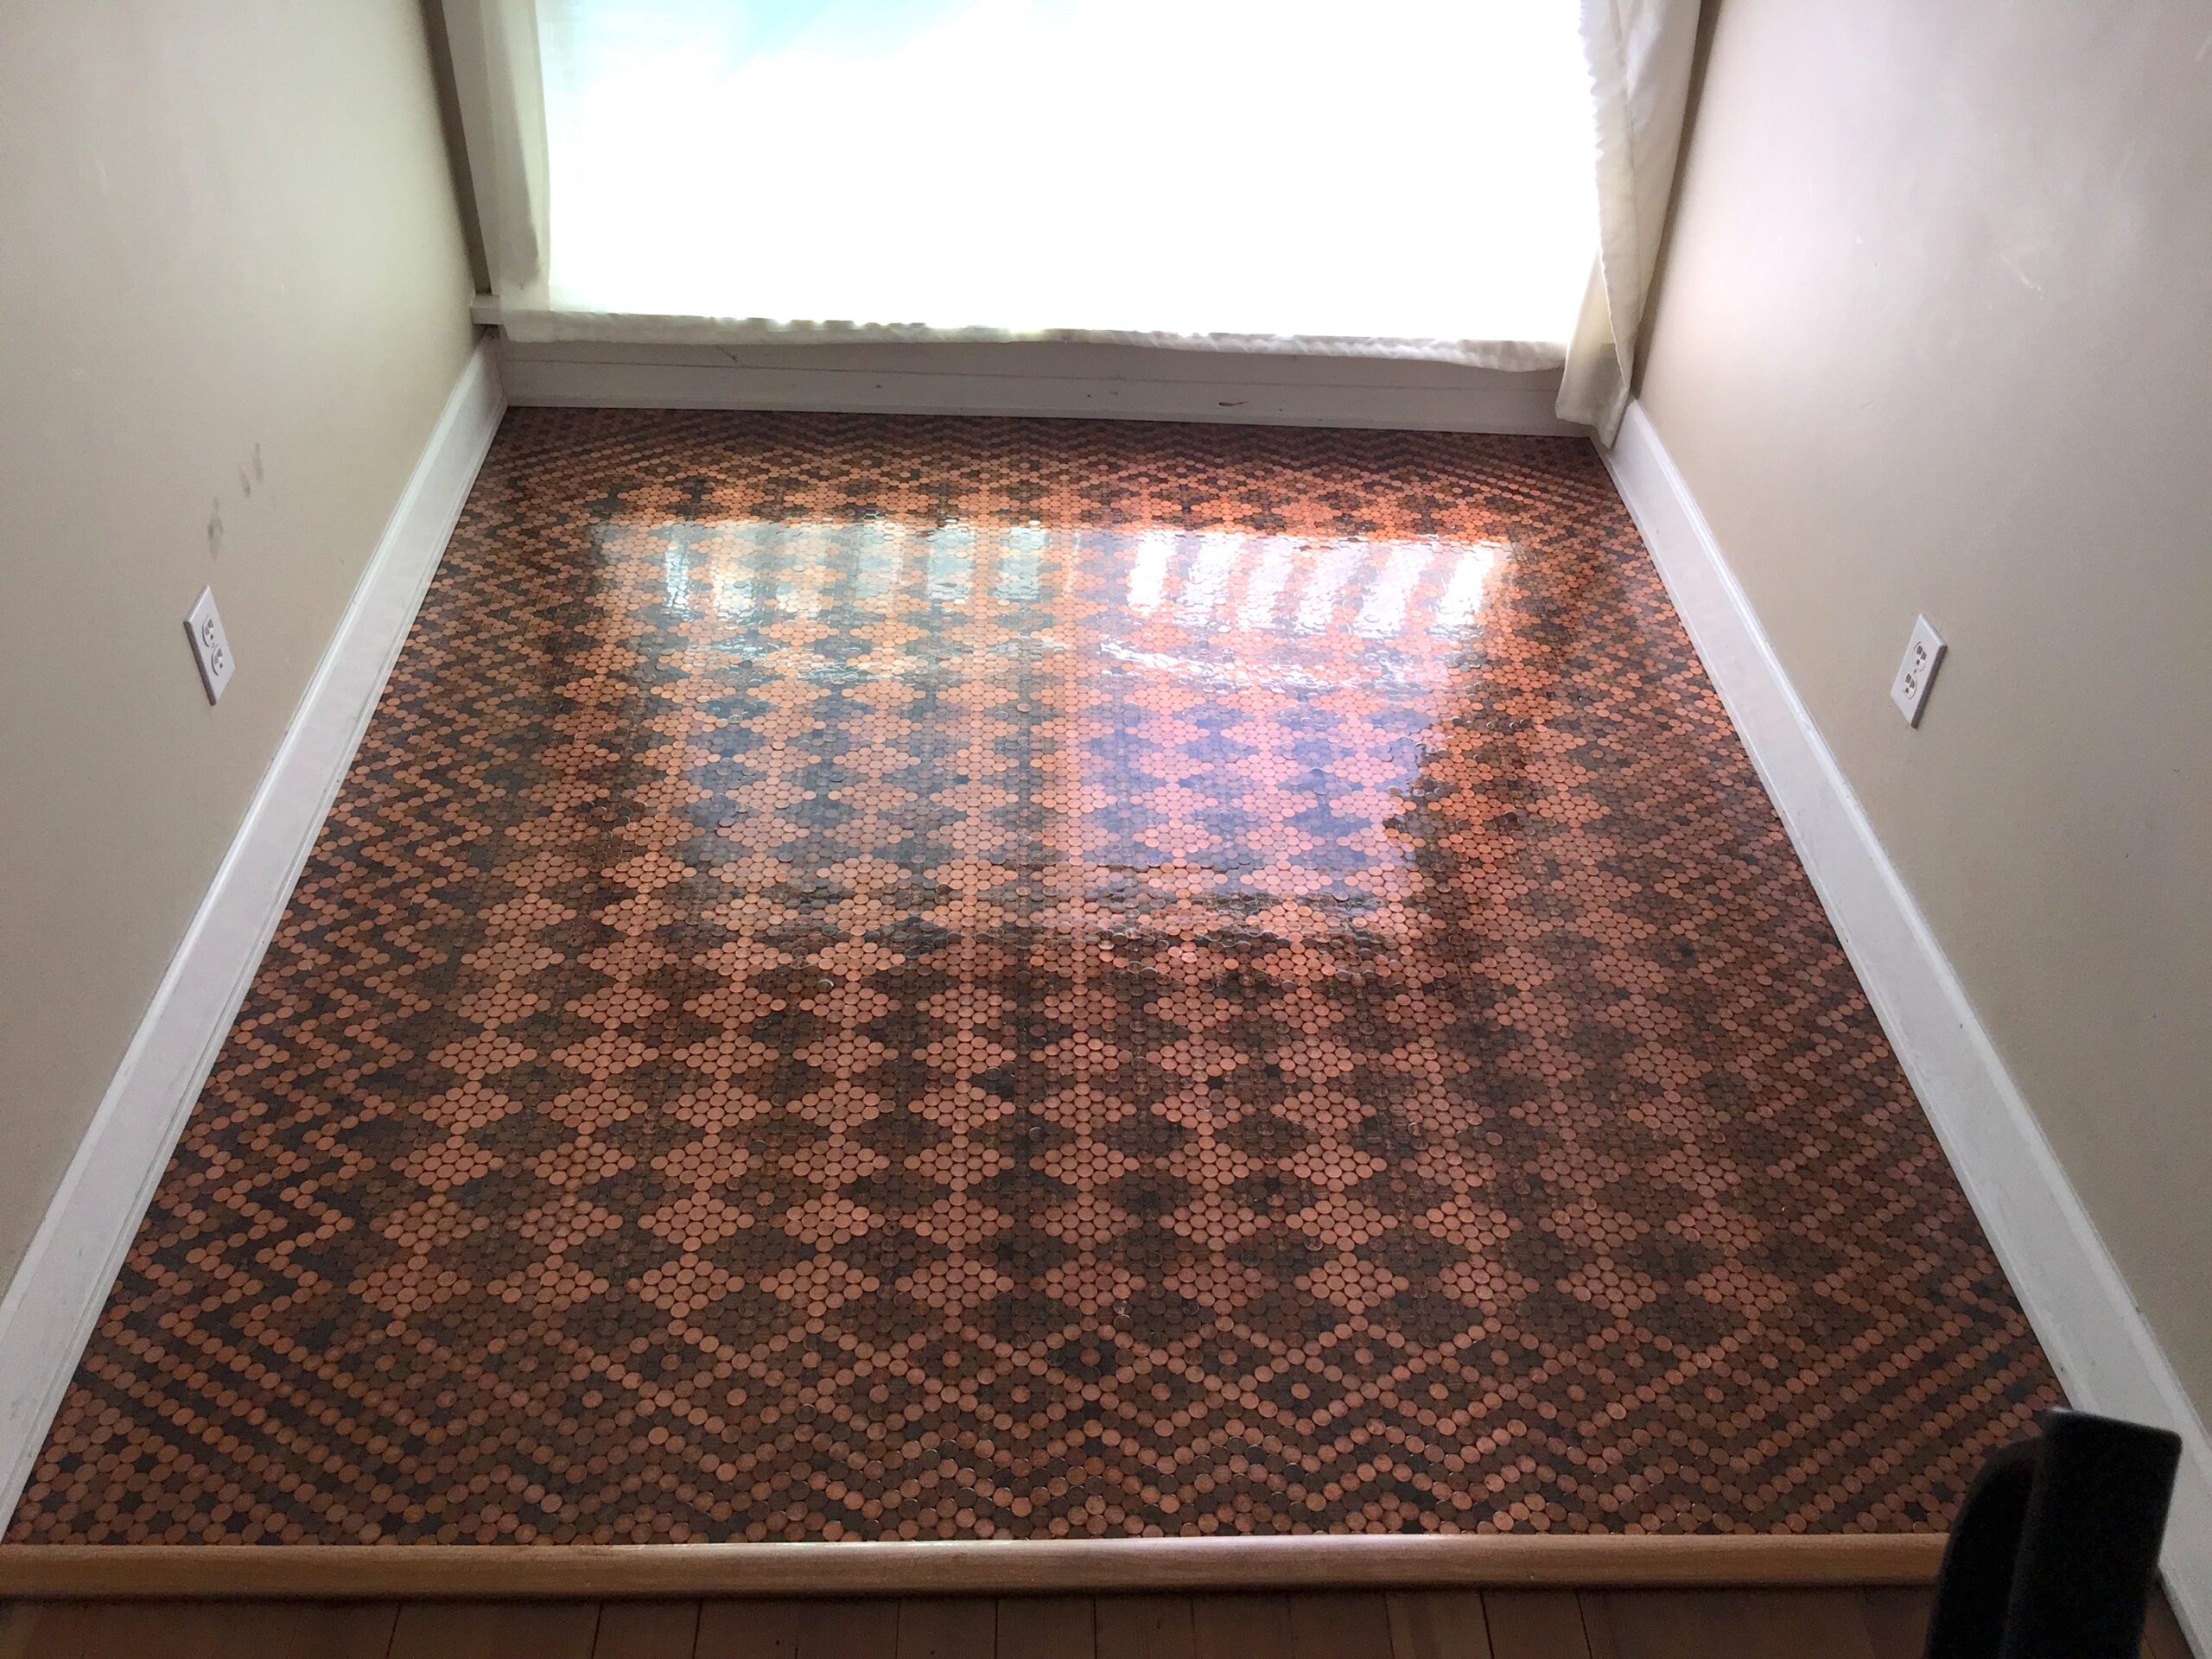
In order to finish off the flooring, she coated the whole floor with several layers of shiny epoxy.
The epoxy creates a laminated effect over the surface of the pennies, further cementing them in place, protecting them from wear and tear, and giving the floor a beautiful, shiny finish!
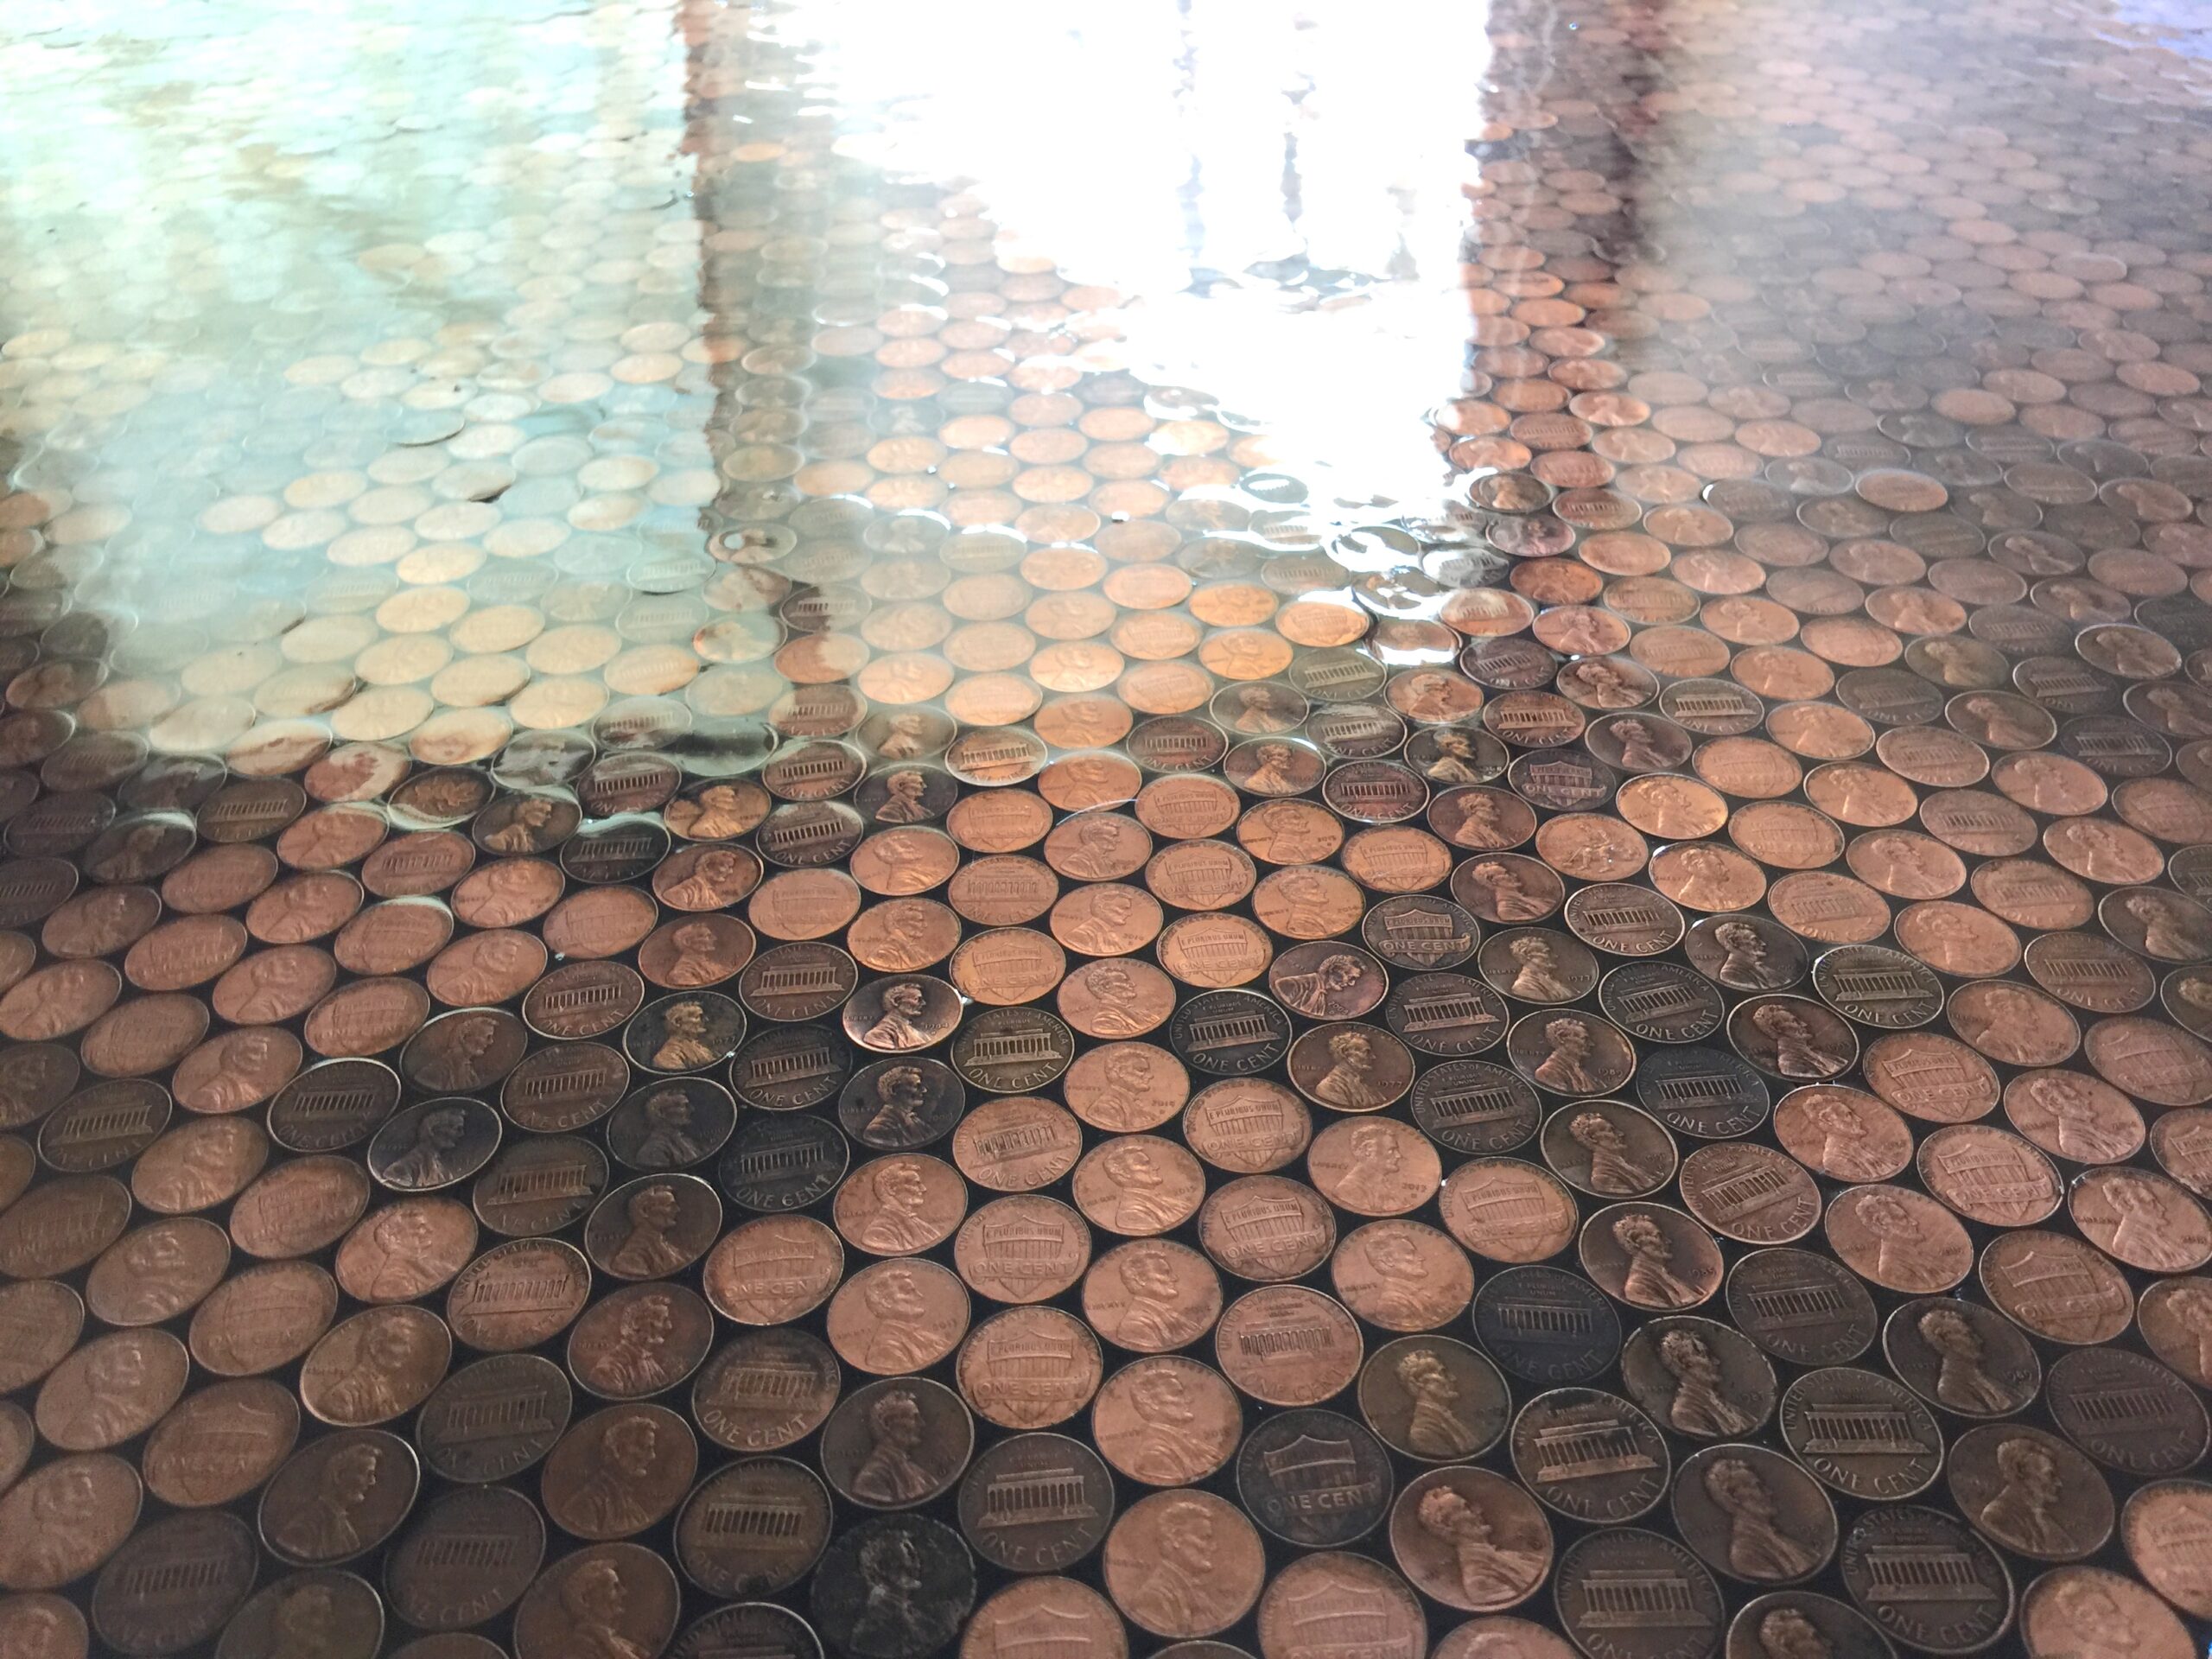
Up close, the work is even more impressive, as you can see the level of detail put into the project — for example, Lincoln's profile on the penny is facing the same direction every time it appears!
Are you as impressed with this gorgeous labor of love as we are? It just goes to show how far a simple penny can go!
Let us know in the comments and don't forget to SHARE this spectacular flooring masterpiece!


