I've always loved flowers and plants, but every time I try to bring them into my home, they die.
It's not that I'm an irresponsible person — I have a dog and a fish that I successfully care for — but for some reason I can't seem to keep plants alive.
As a solution, a lot of people have recently turned to succulents, a very low-maintenance plant. Plus, they're so pretty — they can even be beautiful wall art.
But if succulents still seem like they're too much effort, there's another solution I'm about to tell you about: pinecones.
Now, obviously pinecones don't offer the same health benefits as living plants do, but they can be just as gorgeous.
If you love the look of flowers and succulents but want something easier to care for, try this incredibly gorgeous pinecone craft! It's so simple and your friends will be so jealous.
Supplies
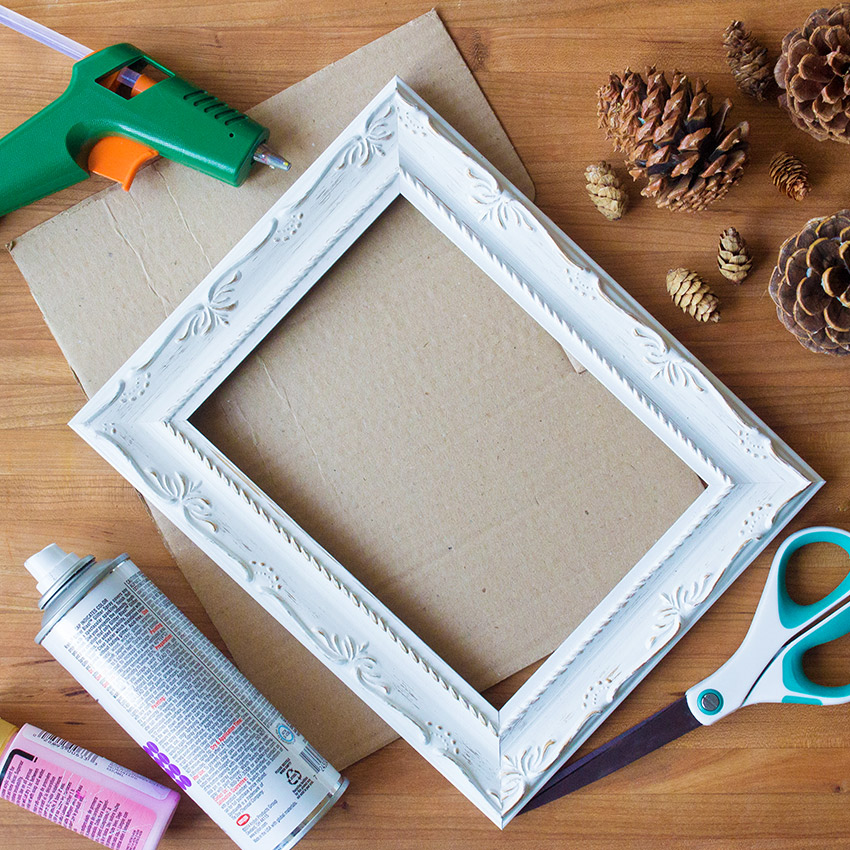
The supplies you'll need for this project include:
- craft pinecones in a variety of sizes
- large picture frame
- spray paint
- acrylic paint
- paintbrushes
- hot glue gun
- scissors
- cardboard
Step #1: Cut Pinecones In Half
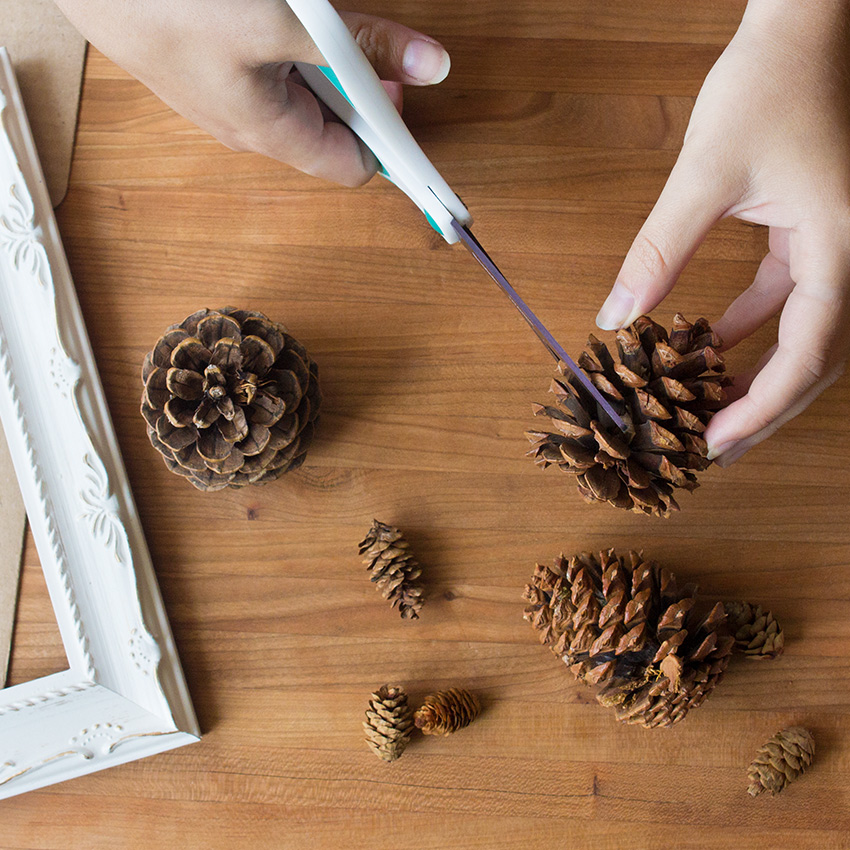
First, cut all of your pinecones in half.
By cutting them in half, you'll create a surface that is easier to glue, and you'll make the pinecones look more like flowers/succulents.
You can use both halves of the pinecones, so don't throw anything away.
Step #2: Spray-Paint Pinecones Different Colors
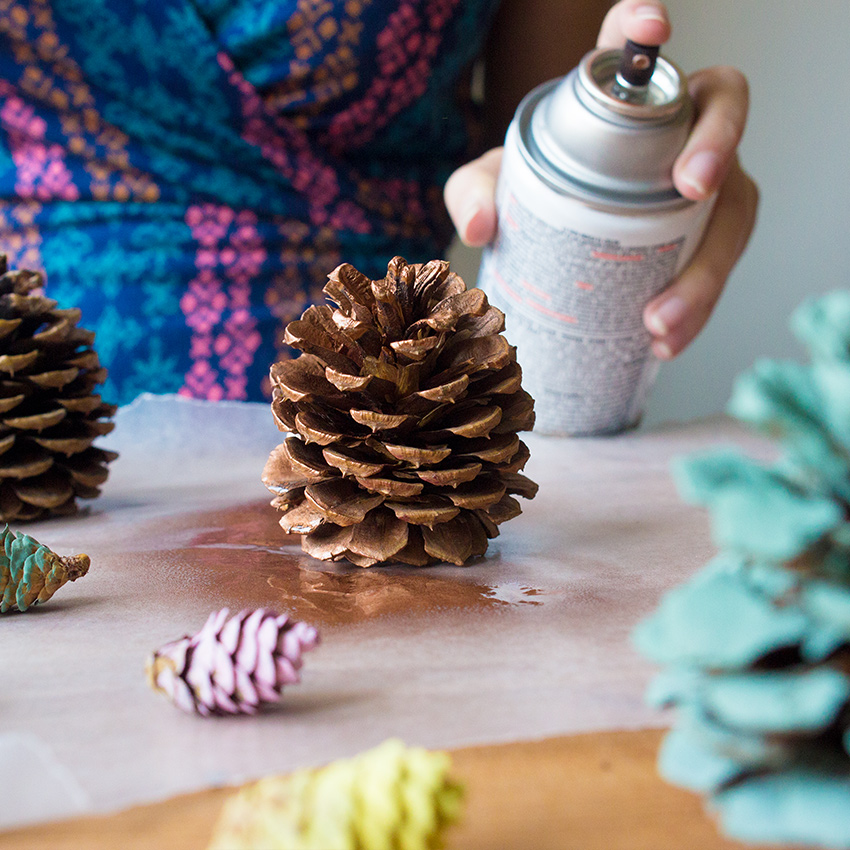
Pick out some colors of spray paint that will go together, then spray your pinecone halves.
Make sure to use a good variety of colors, and spray into all the nooks and crannies of the pinecones.
Once your pinecones are all spray-painted, set them aside to dry.
Step #3: Cut Cardboard To Size Of Frame
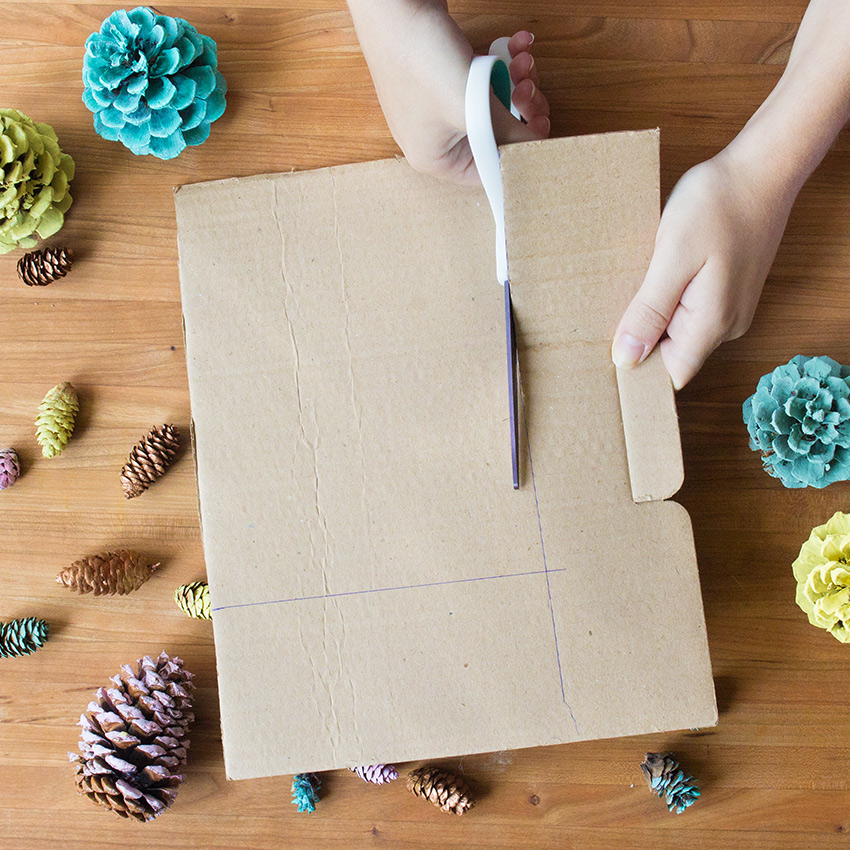
While the pinecones are drying, measure out your cardboard to fit the frame.
After tracing lines onto the cardboard, cut it out and make sure it fits perfectly into the frame.
Step #4: Put Cardboard Into Frame
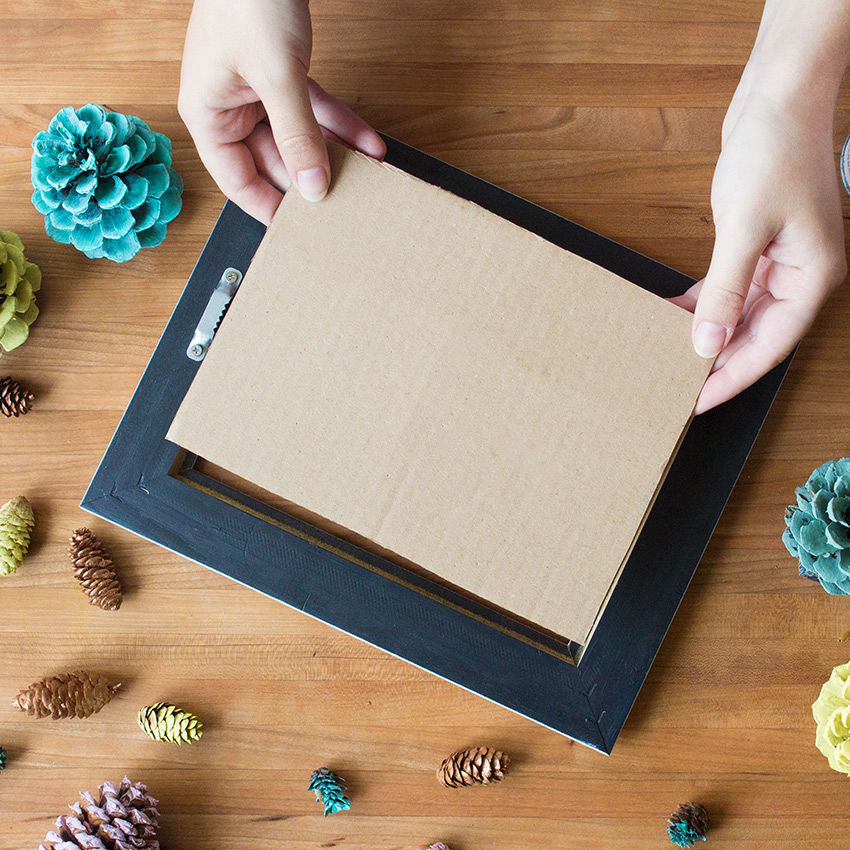
After you've cut your cardboard down to size, put it into the frame. Don't be afraid to trim the sides to make it fit better.
Once you place the cardboard in the frame, put the backing in place and secure it.
Step #5: Paint On Centers Of Flowers/Details of Petals
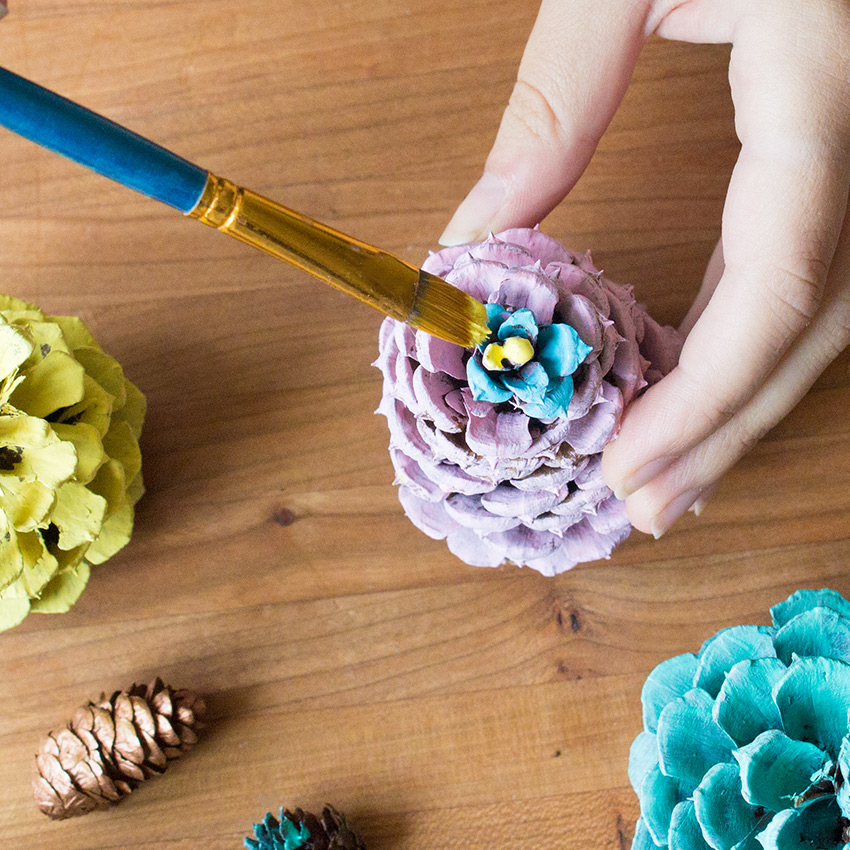
Now that your pinecones are done drying, choose some colors of acrylic paint and add details to the flowers.
Using small paintbrushes, add color to the centers of the flowers and do the edges of the petals.
Step #6: Glue Pinecones Onto Cardboard
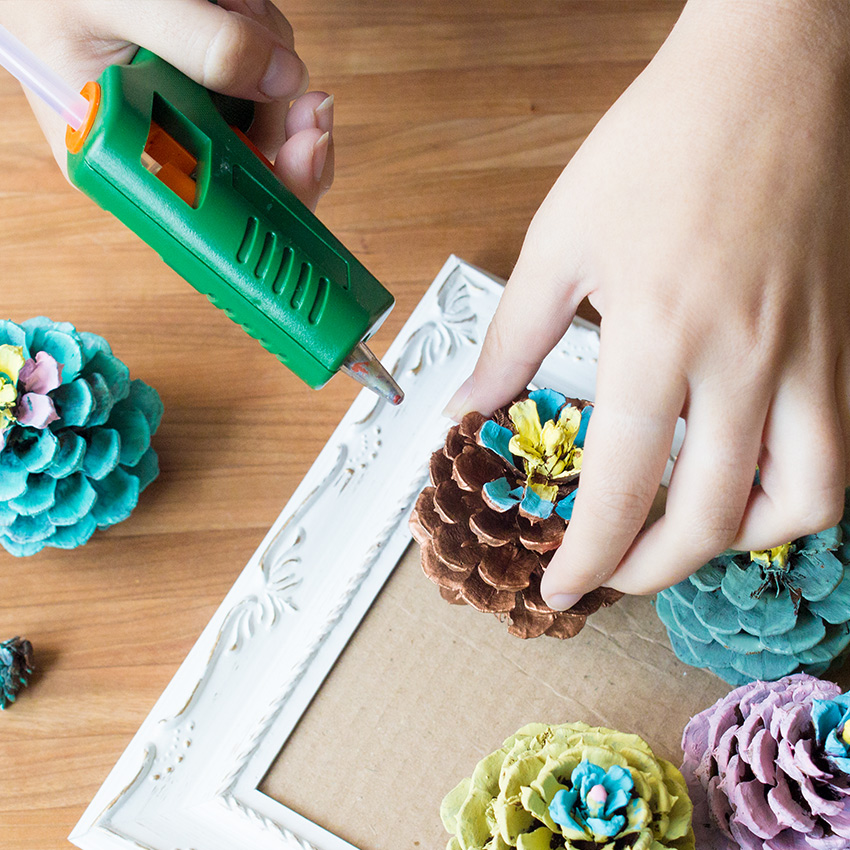
After the pinecones have dried from the second coat of paint, glue them onto the cardboard.
The best glue option for this is a hot glue gun, since it dries so quickly, but you could also use industrial-strength glue if you don't have any hot glue.
Step #7: Hang It On The Wall And Enjoy
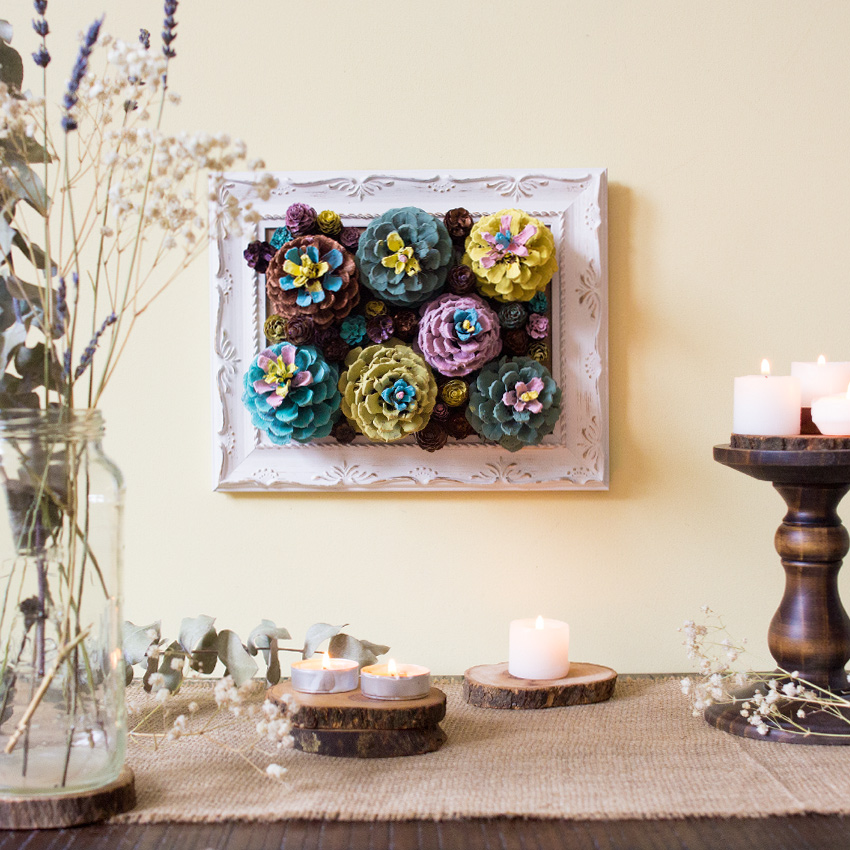
When all the hot glue has dried, hang your masterpiece on the wall and enjoy!
If you can't wait to make this, please SHARE this article with your friends and family!


