In elementary school, kids are often taught an incredibly easy way to make bird feeders using only a pinecone, peanut butter, and birdseed.
These simple bird feeders are adorable and cute, but aren't so great when you grow up and want to hang something nice outside your house.
Unfortunately, it's often the only bird feeder people know how to make. (I definitely know that's true for me!)
Instead of buying a fancy birdhouse or bird feeder, you can make a beautiful DIY bird feeder right at home — and it won't be made out of a pinecone!
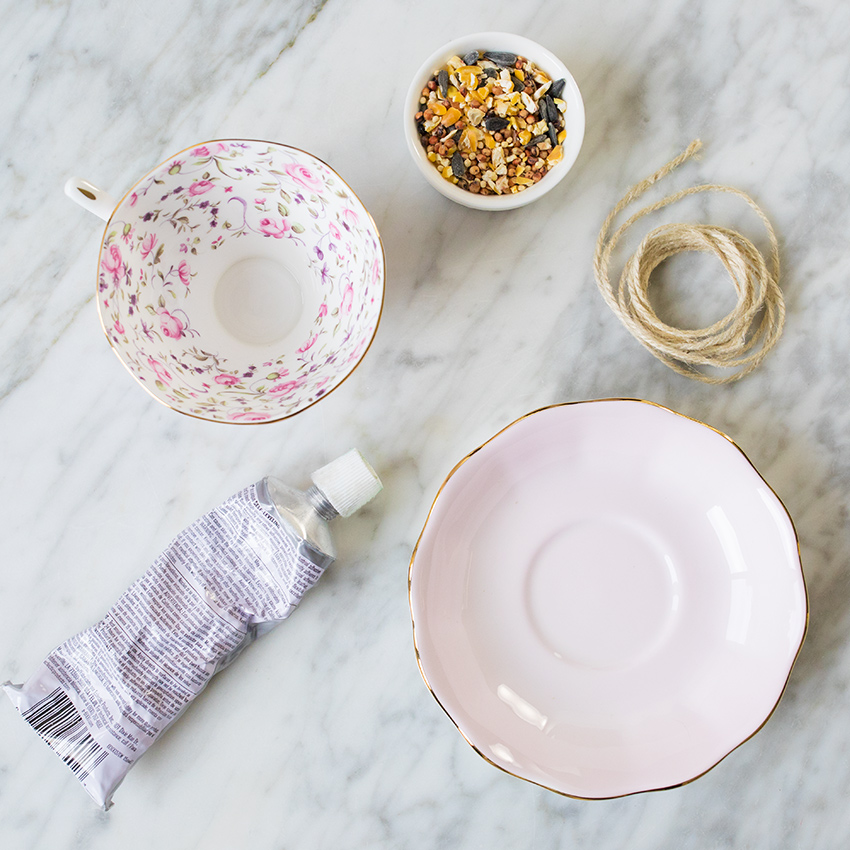
All you need is a simple teacup and saucer, some glue, a little string, and some birdseed, and you can hang this gorgeous bird feeder outside.
Follow along with the photographic instructions below to learn how to make a perfectly romantic teacup bird feeder!
Step #1: Find A Teacup And Saucer
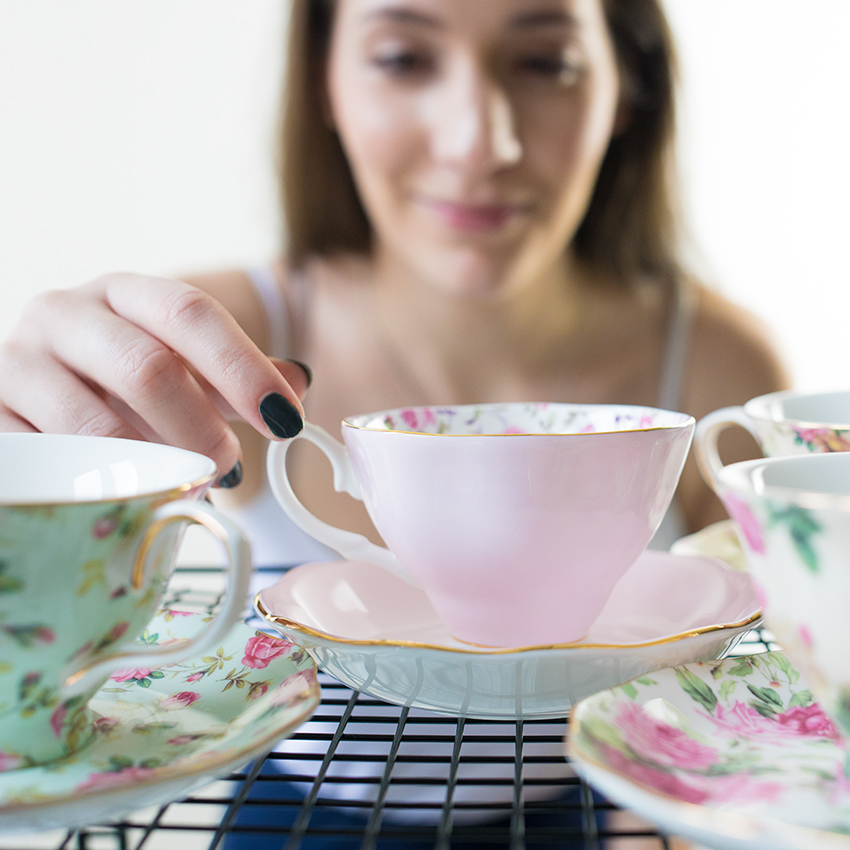
The first step for this simple DIY is choosing your teacup and saucer.
This step is arguably the most fun because you can totally personalize your bird feeder.
Pick out a teacup that fits your personality — whether that's floral, bold, bright, or delicate.
Step #2: Gather Your Supplies
Step #3: Apply Glue To Teacup
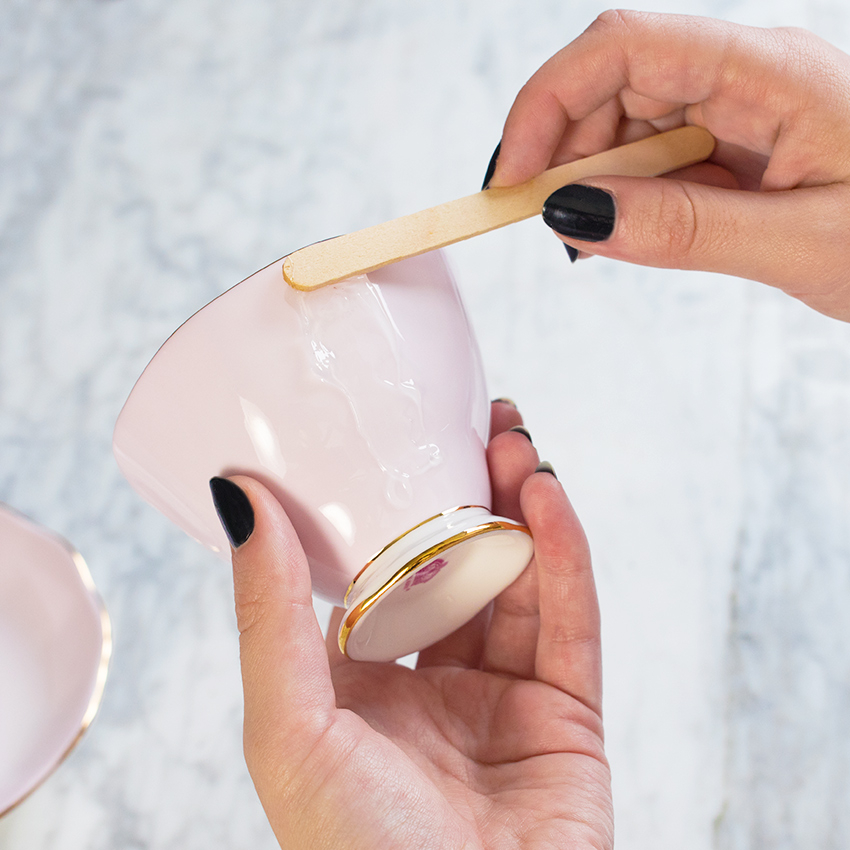
After you have all your supplies, the next step is putting glue on the teacup.
You'll definitely want to use an industrial-strength glue for this project, so that when birds land on the feeder, it will hold up.
Step #4: Place Cup Sideways Onto Saucer
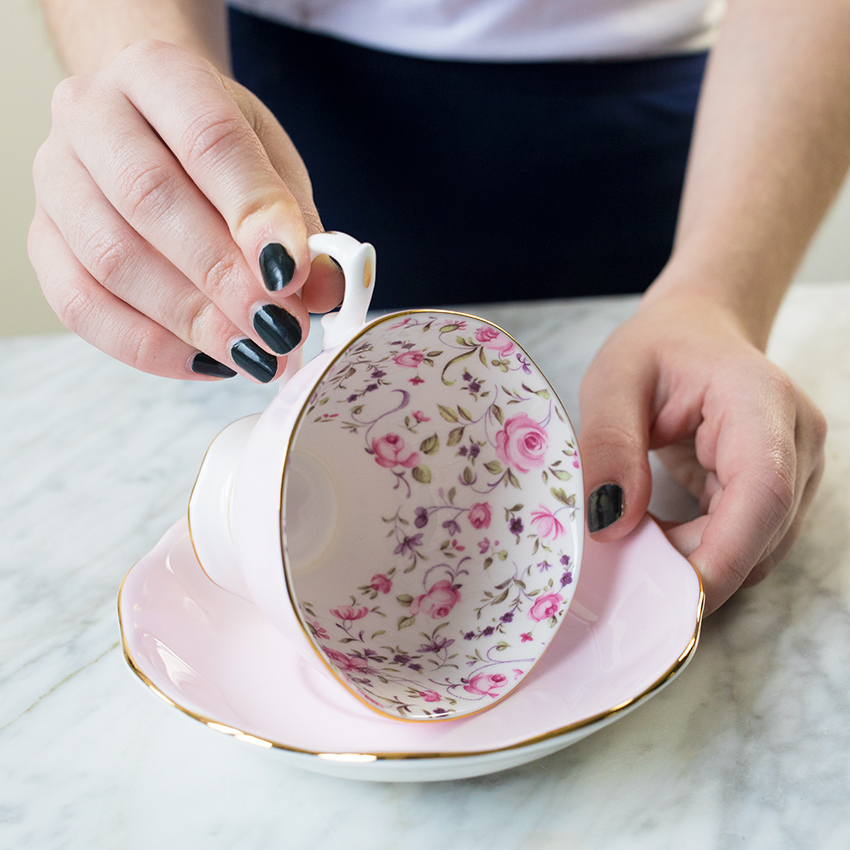
Once you've rubbed glue onto the side of the teacup, you need to place it down on the saucer.
Be sure to really press the teacup onto the saucer, then hold it in place while it begins to dry.
Step #5: Wait For Glue To Dry
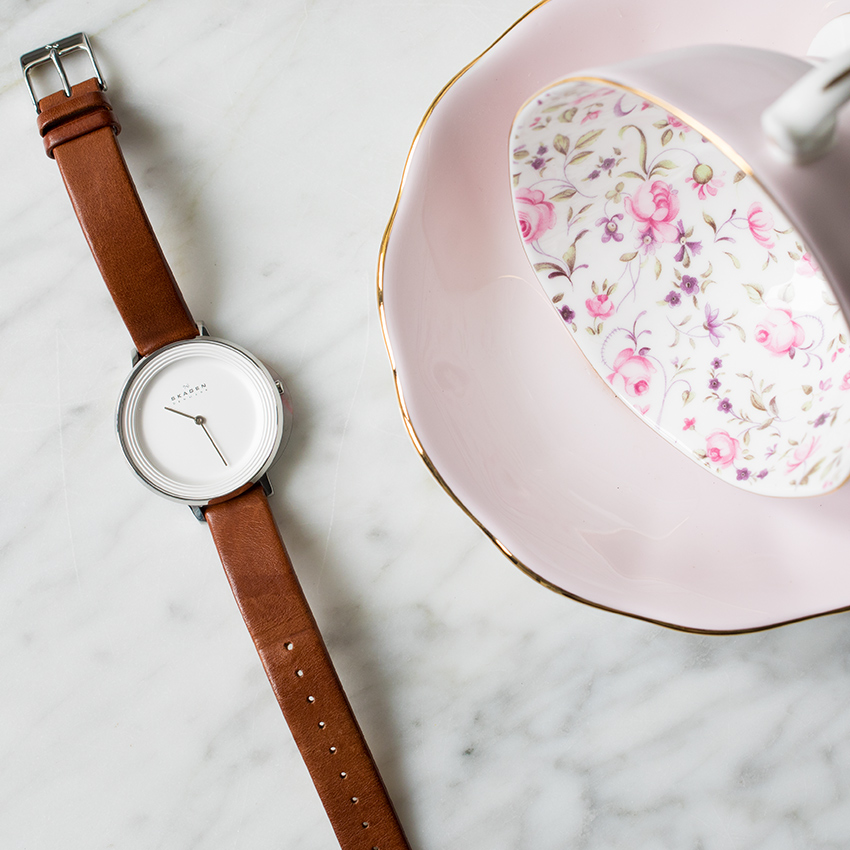
Give the glue a good amount of time to dry before continuing onto the next steps.
You may want to wait overnight before hanging it outside, even if it seems dry beforehand.
Step #6: Tie String To Teacup Handle
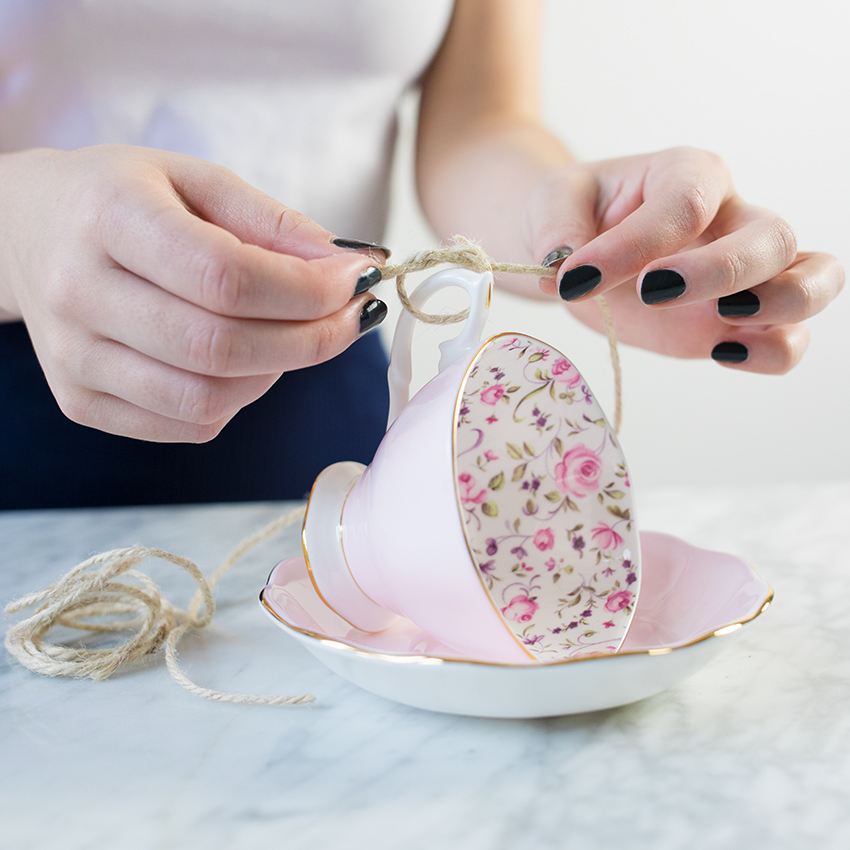
Once the glue has dried fully, tie a string around the handle of the teacup.
Make sure the string is securely tied, and tie it on twice if you want to create a loop.
Step #7: Hang Teacup Outside
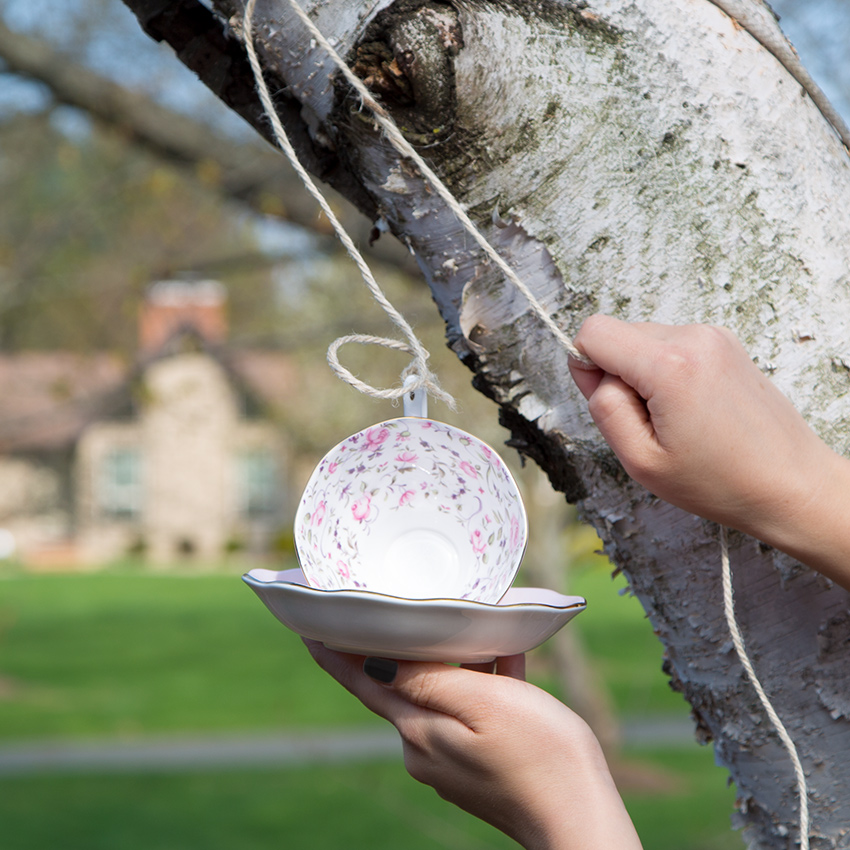
Next, find a beautiful spot outside to hang the bird feeder.
Take the teacup outside and hang it at whatever height you think is best for the birds.
Step #8: Fill With Bird Seed
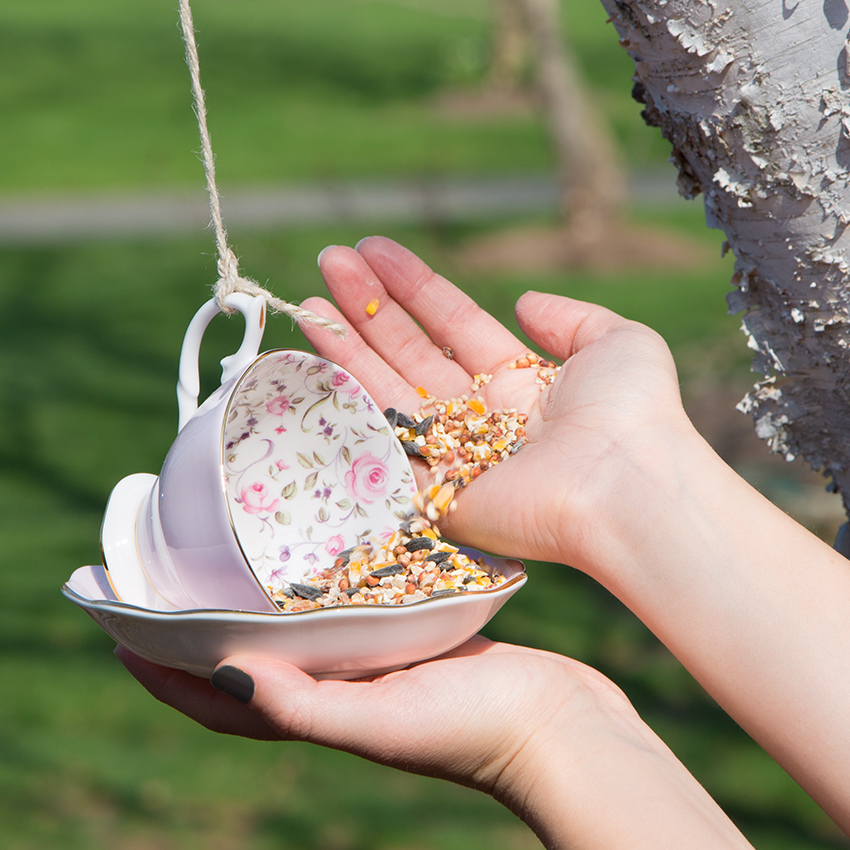
Finally, fill the teacup with bird seed, pouring in however much you think is necessary.
Make sure the birdseed isn't falling out (or you'll attract squirrels). You can refill it as needed.
Step #9: Wait For Birds!
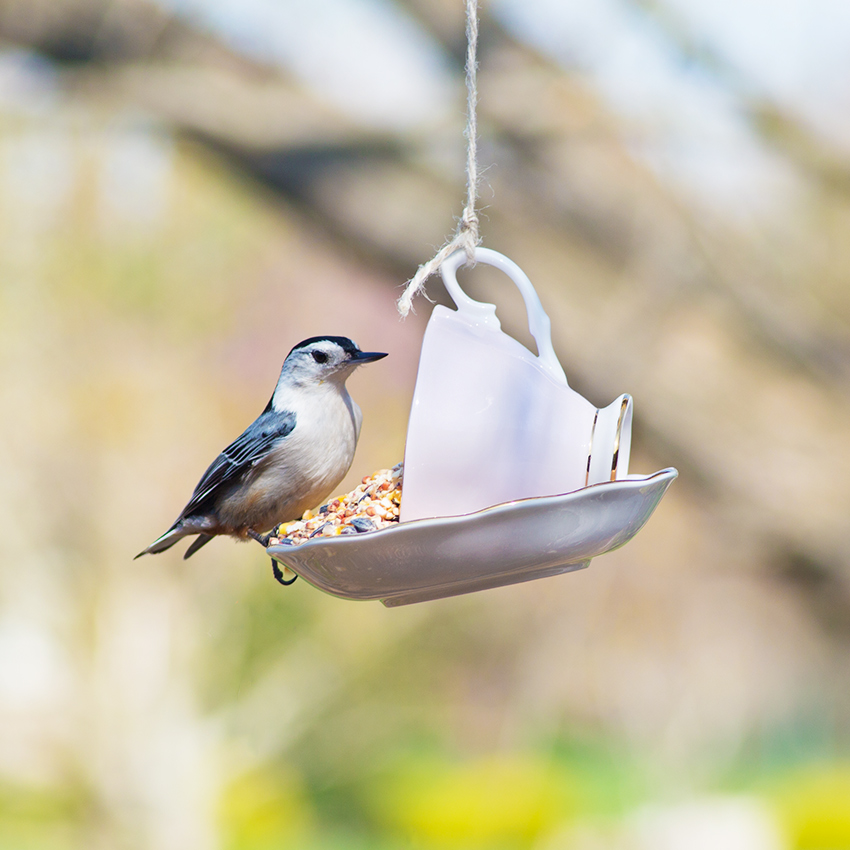
All you have to do after that is find a cozy spot inside to watch for birds!
They'll definitely love this creative bird feeder — and other people who see it will adore it too.
If you love this bird feeder and can't wait to make your own, please SHARE this article with your friends and family!


