Happy Easter! It’s the one time of the year to put all your eggs in one basket and get creative. Painting eggs is a long and beloved tradition that can really showcase your personality, but coming up with new ideas every single year can be tricky.
By now, you and the kids are probably bored of dying your eggs pastel colors and maybe sticking some googly eyes on them, so here are a handful of egg design ideas and methods you probably haven’t considered yet.
Pretty in Pressed Pink Flowers

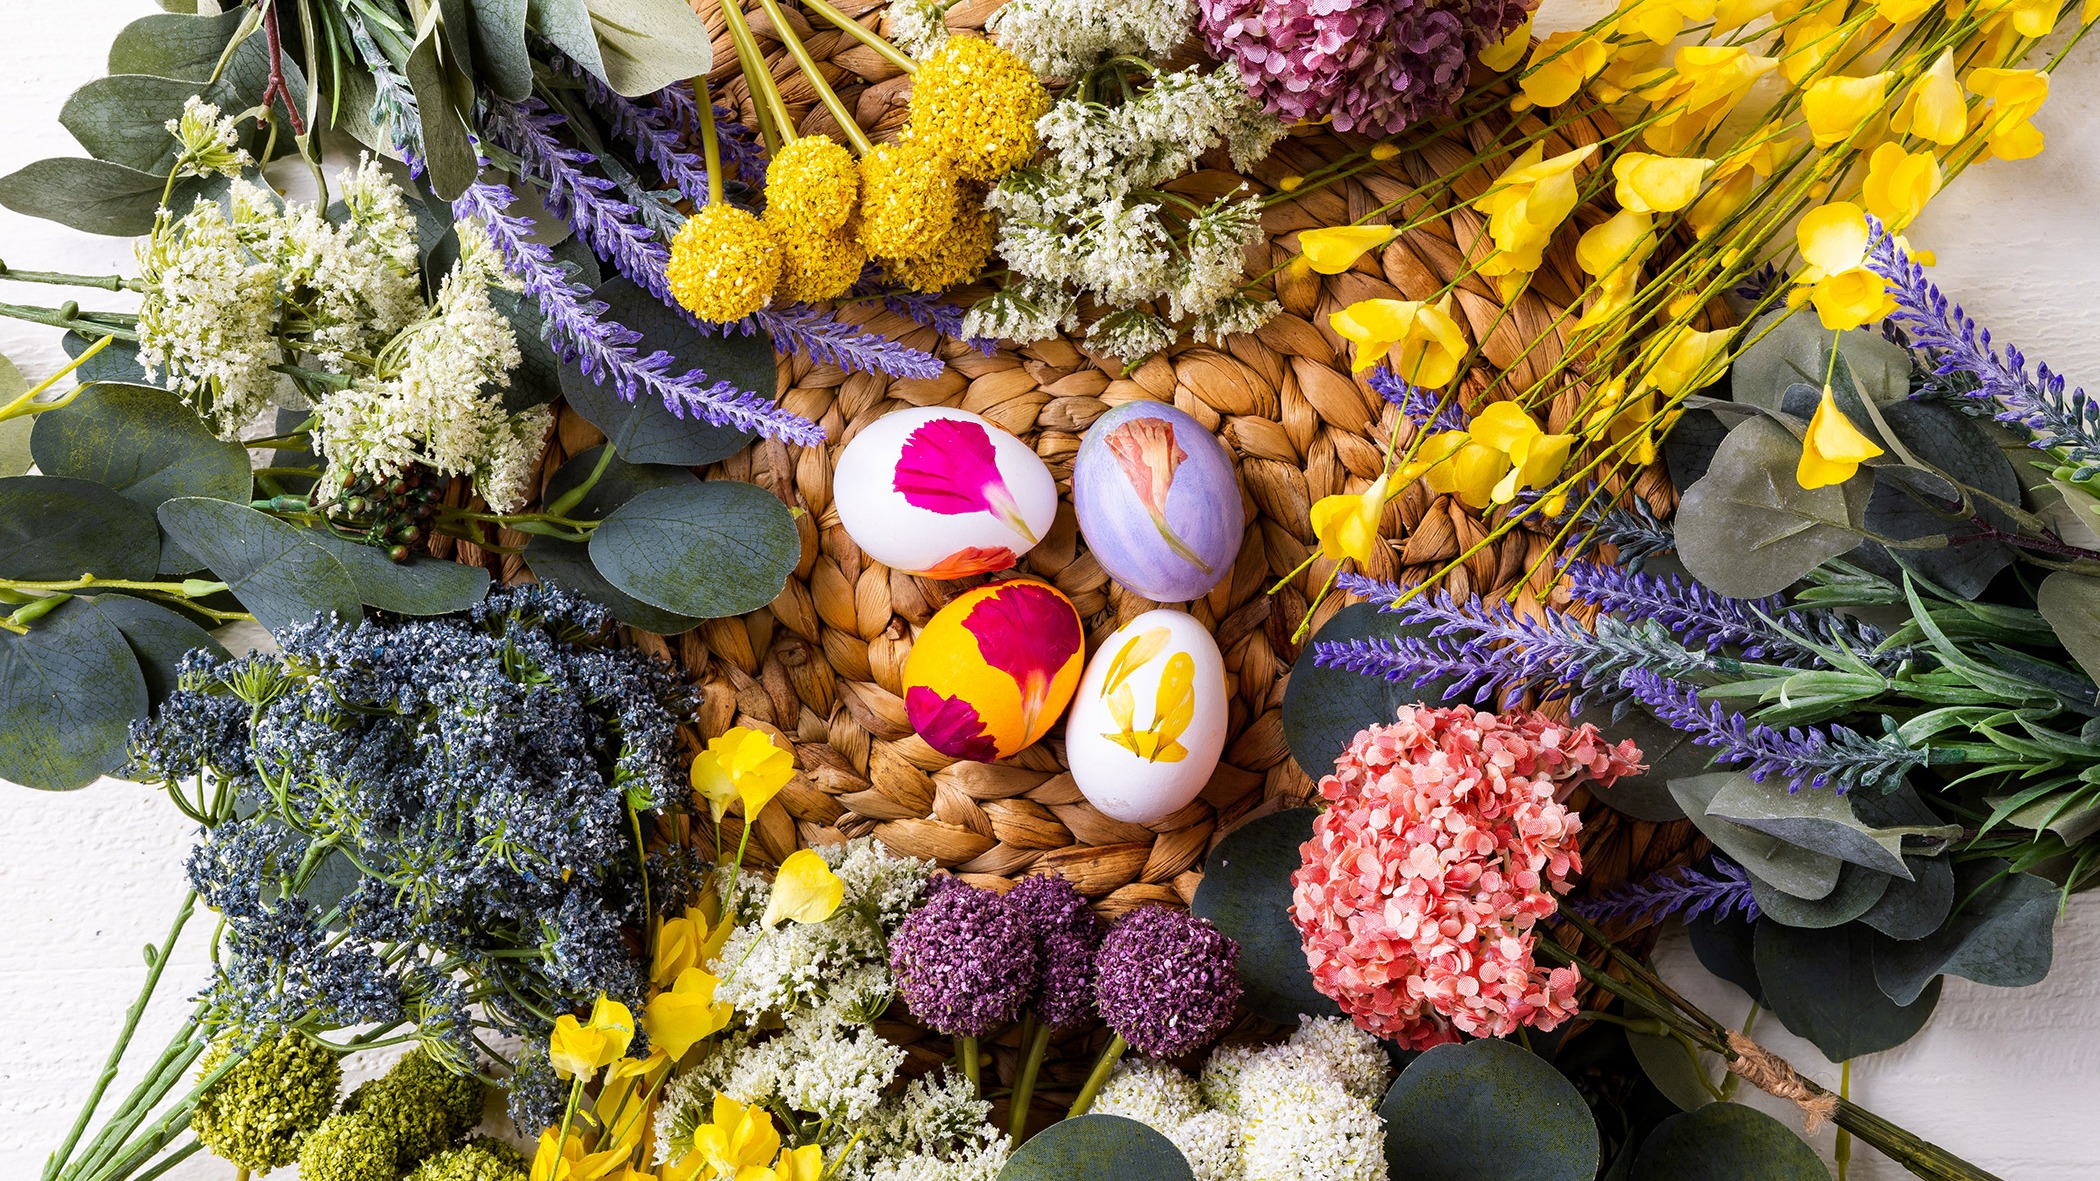
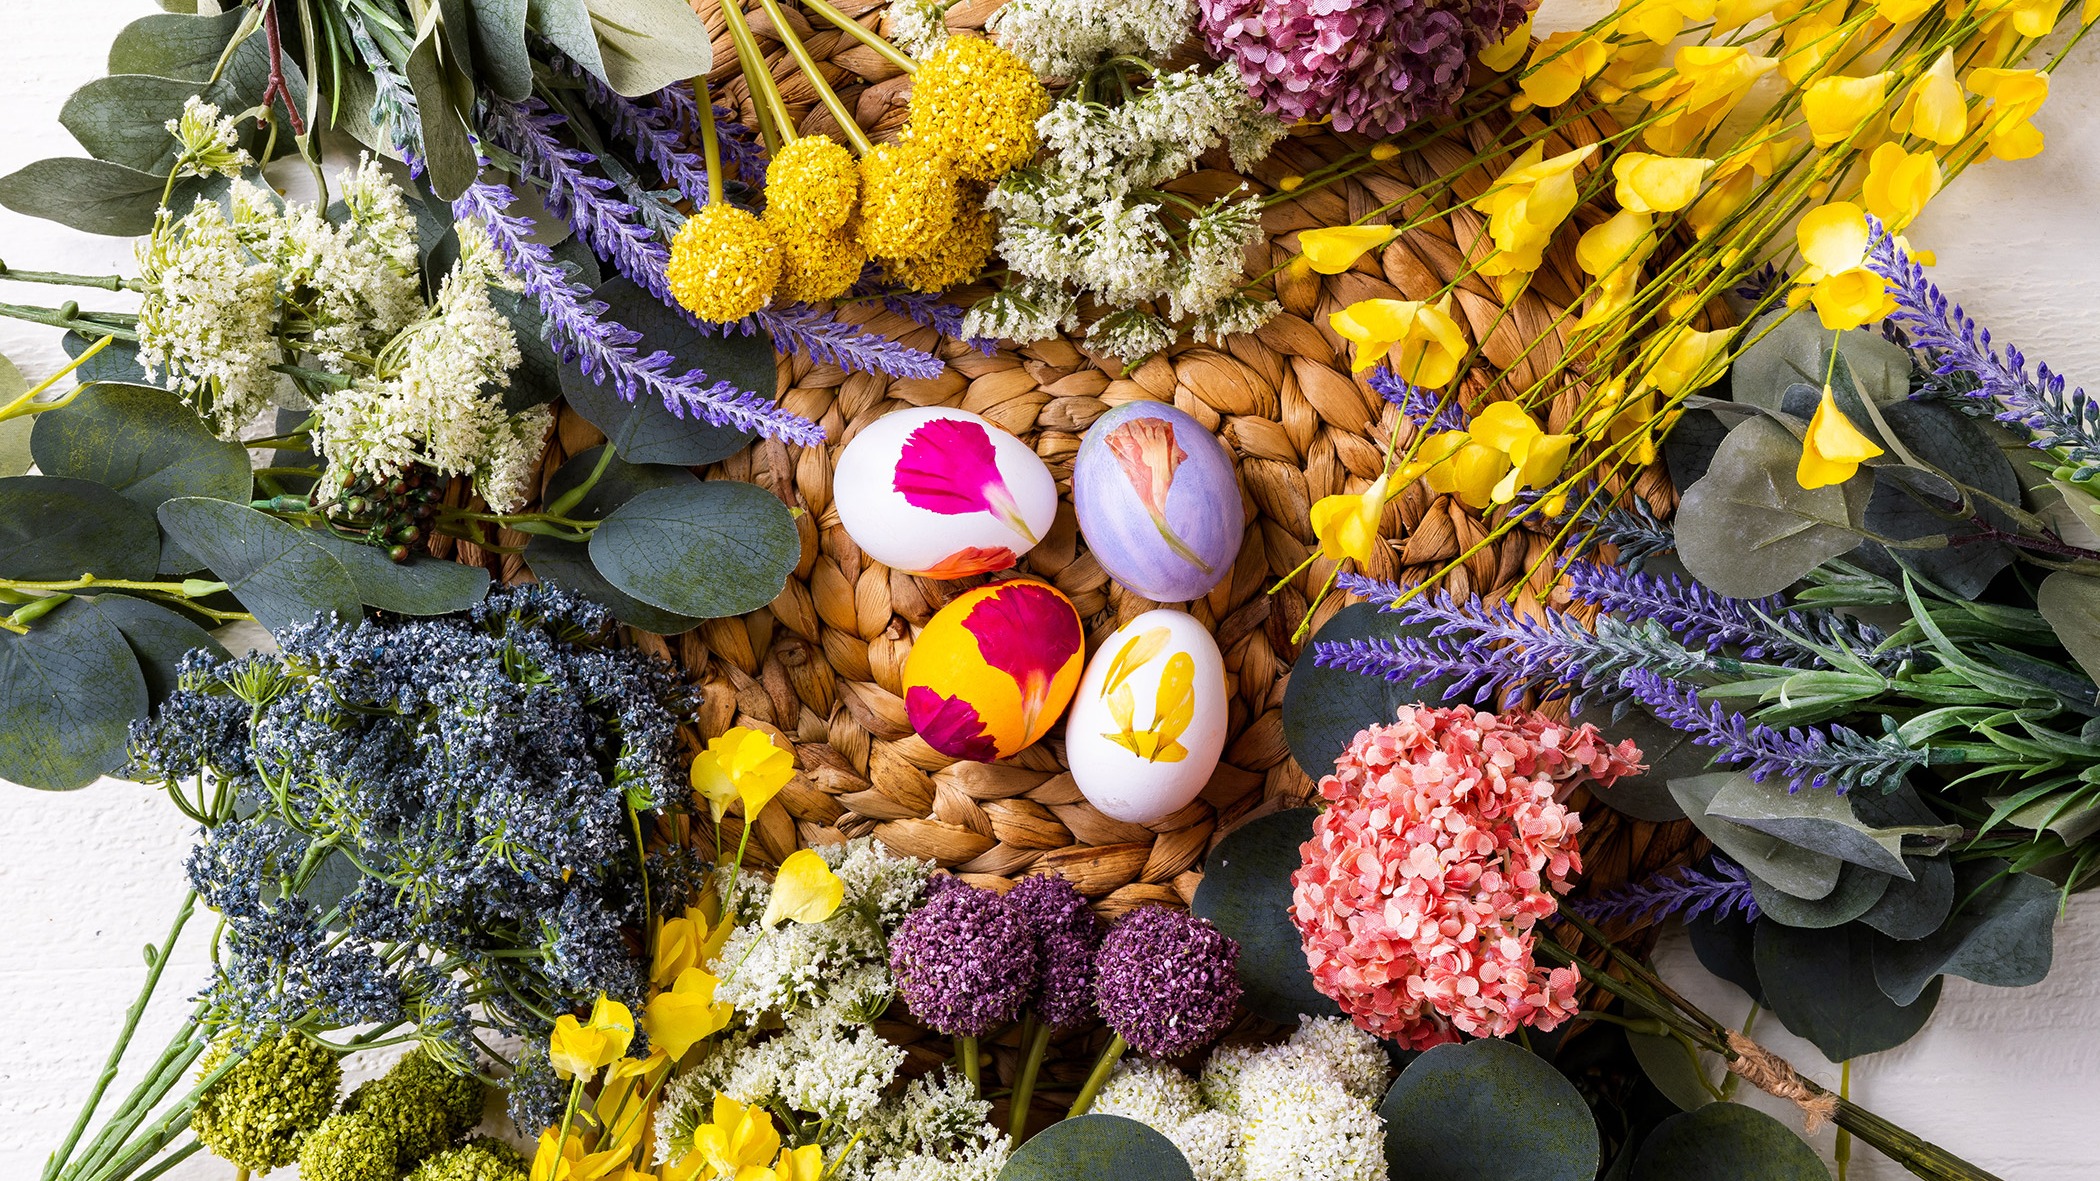
One of the simplest yet eye-catching egg designs involves pressed flowers. Firstly, collect your flowers; you can either buy ready-dried flowers online or do a little scavenger hunt in your garden. Dye your egg as you would any other egg — food coloring and vinegar being a popular method — or keep it plain. Then proceed to coat your egg in Mod Podge or PVA glue. Take your chosen flowers and stick them onto the eggshell, holding each one down to make sure they adhere properly. After everything has dried, secure it all in place with another coat of glue — and voilà! Incorporating vibrant, dazzling colors into your design process will really make it stand out if a family member plans to enter an egg decorating contest. Try using Pantone's 2023 Color of the Year: Viva Magenta. It's unconventional, assertive, and beautifully bright. You can find loads of magenta flowers that will fit this vibe, such as roses, verbena, and peonies.
Paint Pen Animal Eggs
For an even easier but just as sweet egg design, grab your paint pens and think of your favorite animals. The clever part of this process is that there isn’t really a process — just prep your paint pens and get doodling. Paint pens are pretty much markers with an acrylic paint texture, but there are no messy paintbrushes to clean up, and no fear of spilling paint water. Pens can be a lot easier to use than paint brushes for kids who haven’t developed good hand dexterity yet, as well as for arthritic joints that cramp easily with repetitive brush strokes. As for painting ideas, floppy ear bunnies are an easy and classic way go to. You can draw on the ears and whiskers without any added materials. More unique animals could include frogs, foxes, cows, and even armadillos.
Neon Glow-in-the-Dark Eggs
Neon glow-in-the-dark egg designs can brighten up your days and nights. Create your dye mixture by mixing vinegar with neon paint, adding some extra drops of glow-in-the-dark pigment for an extra UV boost. Submerge your eggs in your new dye and leave to sit for at least a few minutes, flipping the egg over several times for a consistent dye. For a darker color, leave it longer; for a pastel shade, leave it for no longer than a minute or so. But let’s face it — it’s time to go big or go home. For a more wild look, dip the eggs in a different color to get a nice contrast. While the eggs are drying, shine a UV flashlight over them to activate the UV pigment. This means when you bring the eggs into a dark room, they will naturally glow. If you’re more of a black light person, you can put the eggs under the black light and they will glow without any pigment at all.
Marble Succulent Eggs

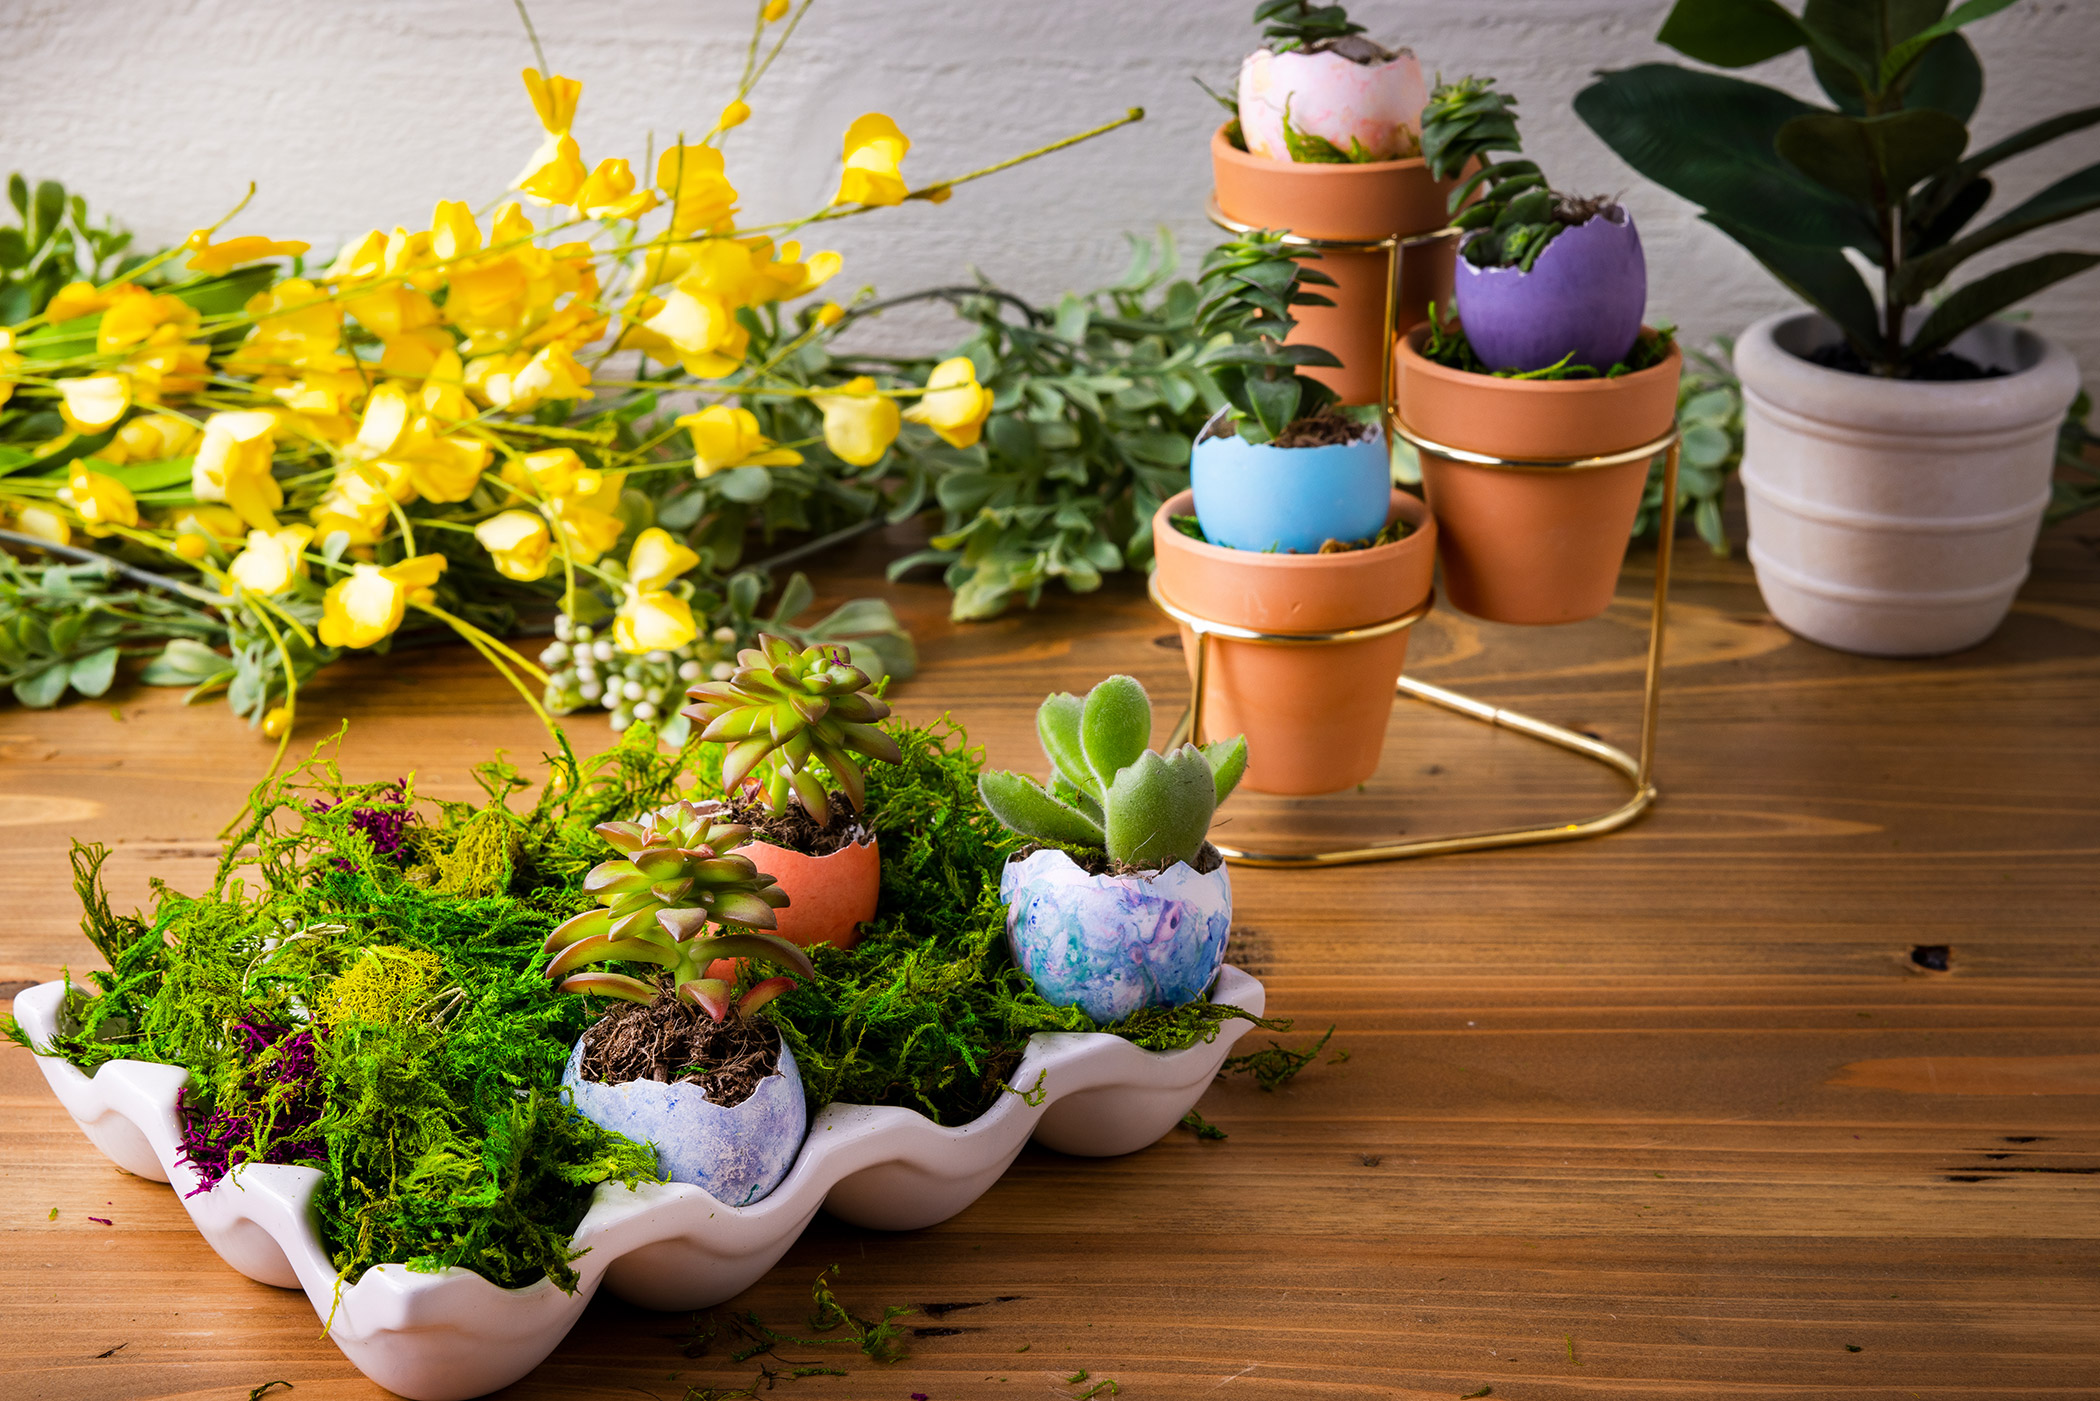
Here's an eco-friendly egg planter that doesn’t take any clay, baking, or glazing. Fill a large throw-away tub or bowl with cool water, and grab your nail polish collection (must be air-dry, not gel). Choose colors that complement each other and fit well with your succulent of choice — neutral colors like greens, greys, and nudes. Throwing in a few drops of gold or silver here and there will really make these colors pop. Drip a few drops of nail polish into the water till the drops expand into a circle shape on the surface of the water. Do this with a couple of different colors. Take a craft stick or straw and swirl the colors slowly and loosely to create a marble effect.
Don’t rush, but be swift so the varnish doesn’t clump in the water. Take a raw egg and dip it into the water, collecting the design onto the egg shell. Use your stick to remove any leftover clumps of nail polish so you can start fresh on a new egg if you wish. Leave the egg to dry for at least an hour, as nail polish can take anywhere from a few minutes to 24 hours to fully solidify. Once everything is dry, pierce the egg shell with a needle to drain the insides. Then very carefully crack the egg in half with a small hammer. You’ll definitely lose some eggshell, but that rough, jagged effect will add to the natural look of the egg planter. Plant the succulent in the shell; you can actually get two planters from one egg if you wish. Water as you would any other succulent plant, and there you have it. You can also house herbs, cacti, flowers, and small edible plants (for a little while anyway) in your homemade planter.


