The leaves are beginning to change. Soon, your neighbor's porches will be decorated with pumpkins and jack-o'-lanterns.
If there aren't any kids around, or you don't have professional-grade pumpkin-carving skills, chances are that you'll let plain pumpkins do the talking for your fall decor.
That being said, there are more ways to use pumpkins than we could probably ever imagine. Since we can't all be professional DIYers, we found the easiest, cutest way to utilize pumpkins this fall.
Instead of carving a face or a pattern, just carve out enough space for a tin can so you can put a bouquet of flowers inside to make a bright statement.
After putting your pumpkin flowerpot outside, you may notice your neighbors doing the same. It's just too cute and hard to resist imitating.
Learn how to make your very own pumpkin flowerpot by following these easy steps.
Supplies:
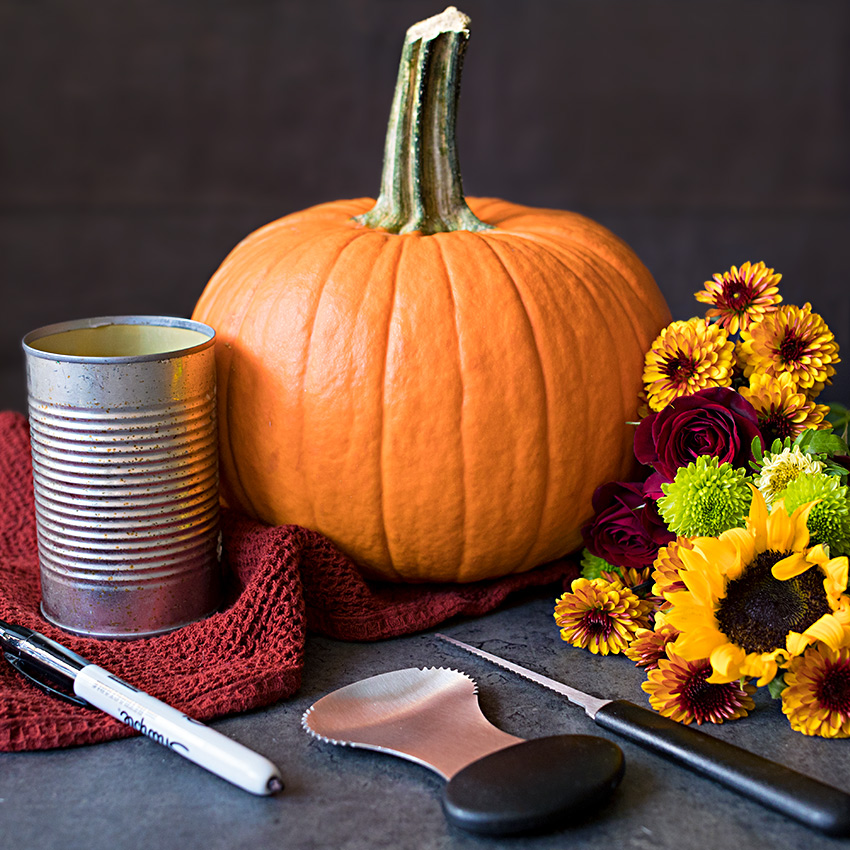
One of the best parts about this project is that you likely have most of the supplies in your house already.
You will need:
- coffee (or any) can or jar
- a pumpkin big enough to fit your chosen can inside
- permanent marker
- flowers of your choice
- knife for carving
- large spoon for scooping
Step 1: Trace Can Outline
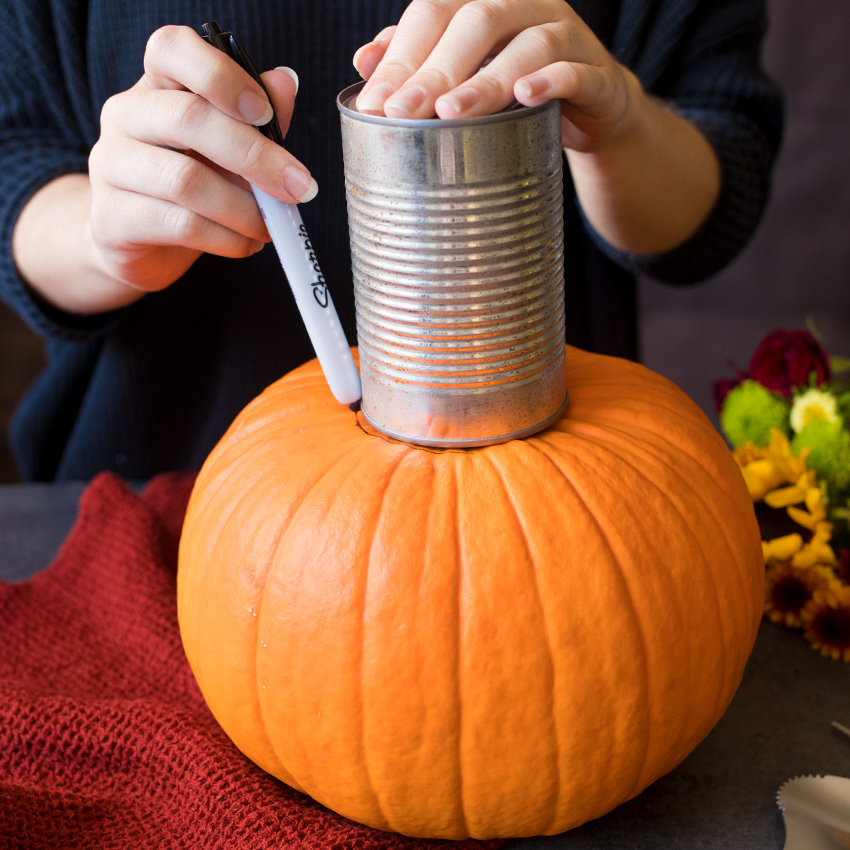
It is important to make sure that the can or jar you have for this project is the right size for your pumpkin.
If it is, trace its outline around the stem, just as you would for a jack-o'-lantern.
Step 2: Carve Along The Line
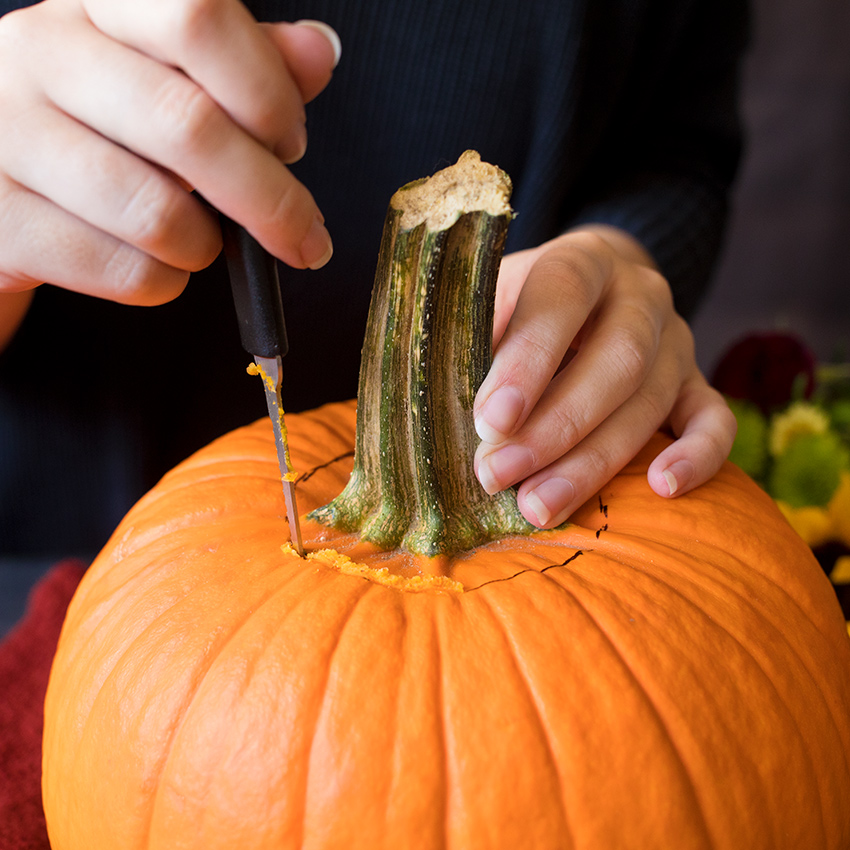
Next, carefully use your knife to carve along the outside of the traced line. (That way, the can will fit snugly inside.)
You may have to go over the areas with your knife a few times depending on the thickness of the pumpkin and size of your knife.
Once you have cut through, remove the stem and clean the edges of the opening.
Step 3: Scoop Out Pulp
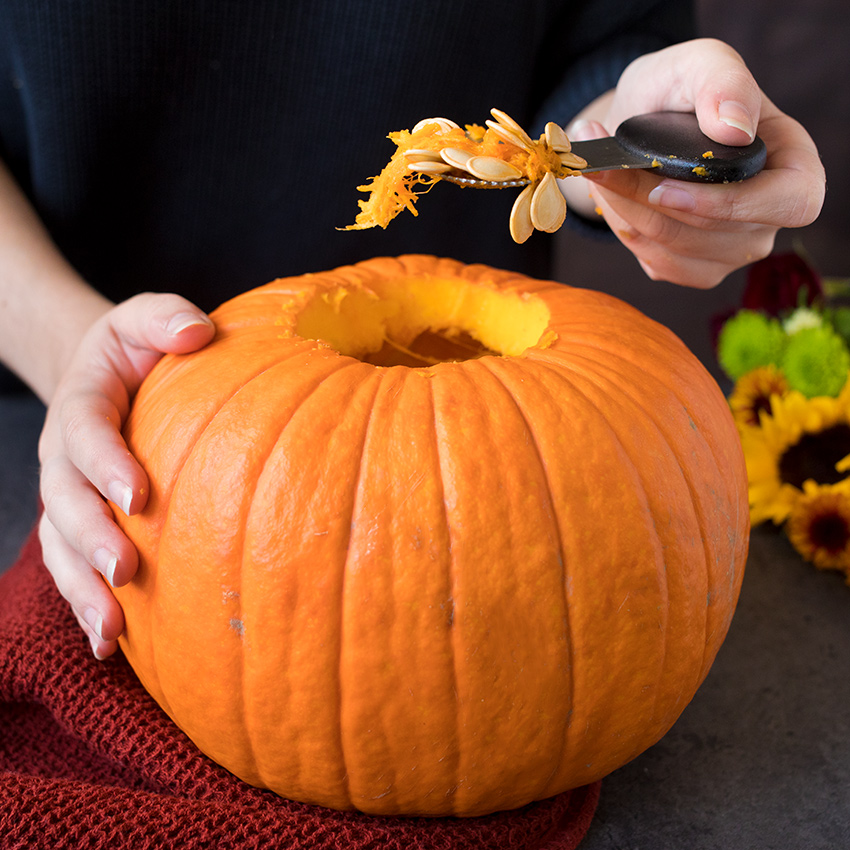
Scoop out enough of the pumpkin's pulp to make room for the can.
Remember to save it for later — so you can make roasted pumpkin seeds or any of your favorite other ways to use the pulp inside.
Step 4: Place Can Inside The Pumpkin
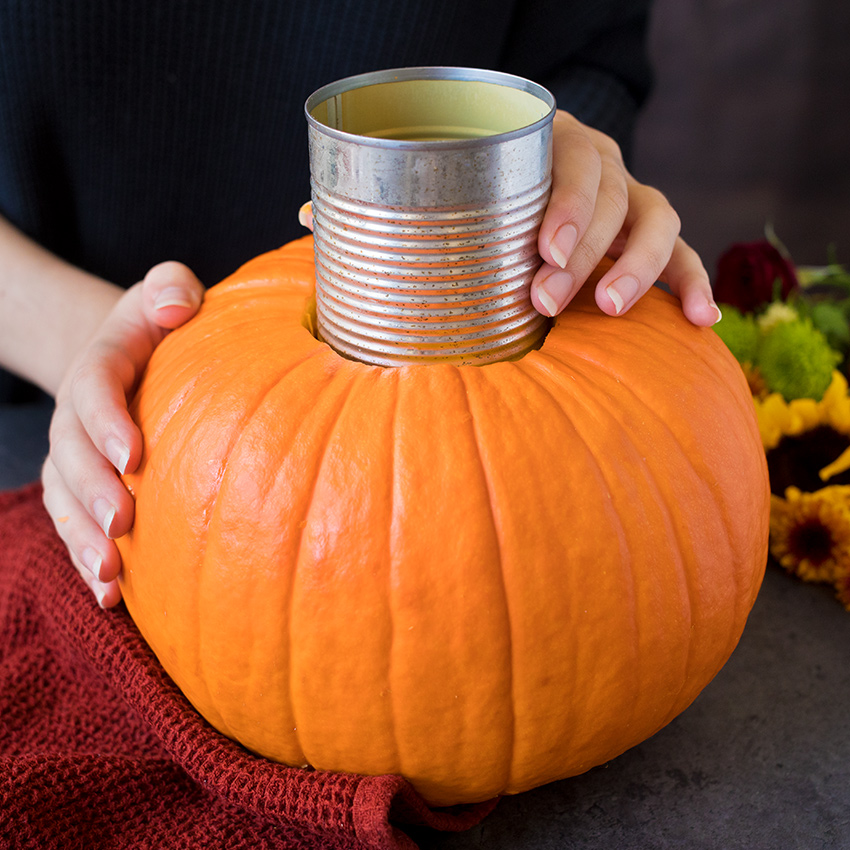
Place the can inside the hole you have made for it in your pumpkin. If it's too small, carefully widen the edge of the hole to make sure the can fits.
Make sure your can settles into the pumpkin without much of the rim showing over the edge.
Step 5: Arrange Flowers
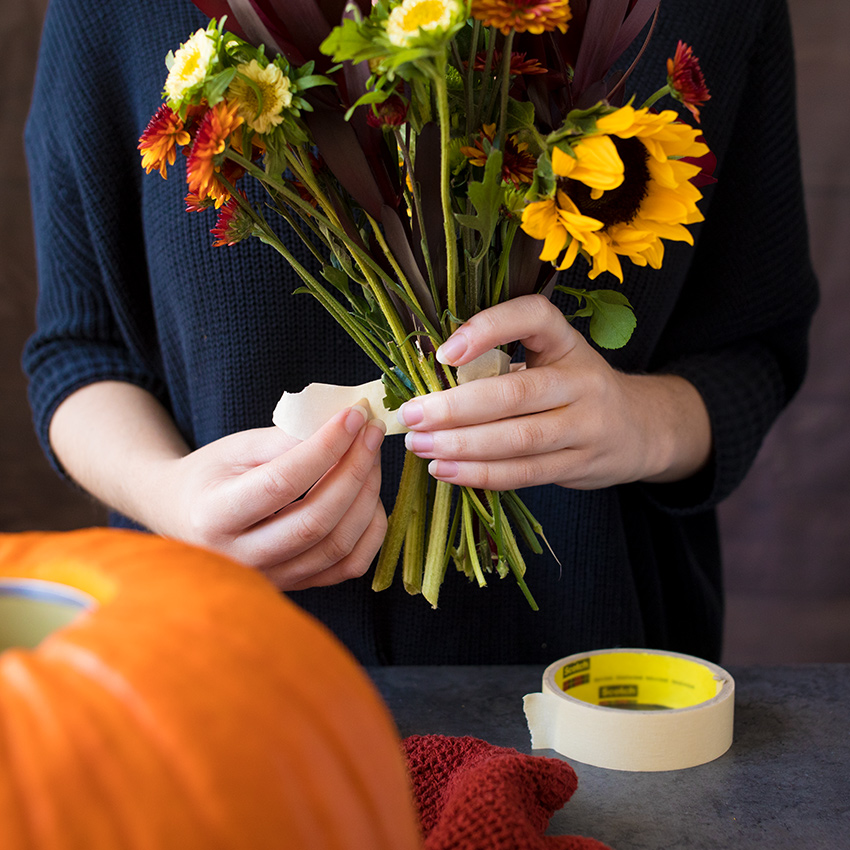
Arrange the flowers to your liking, and tape the stems together toward their lower half.
You can transition from summer to fall with some gorgeous sunflowers or even pick fall flowers from your garden.
Step 6: Fill Can With Water
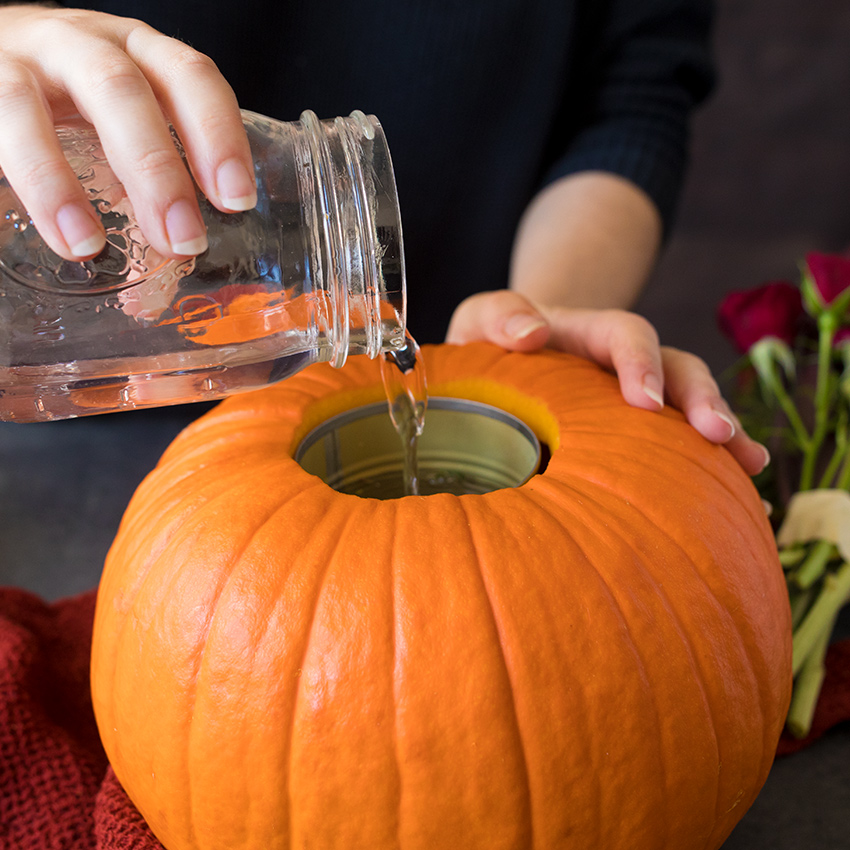
Your precious flowers are going to need to drink. Make sure to pour an inch or two of water from the get-go to prolong the life of your new decoration.
Alternatively, you can also pack the can with potting soil (and rocks for drainage) and plant a living bunch of flowers, like chrysanthemums or pansies.
Step 7: Place Flowers In Pumpkin
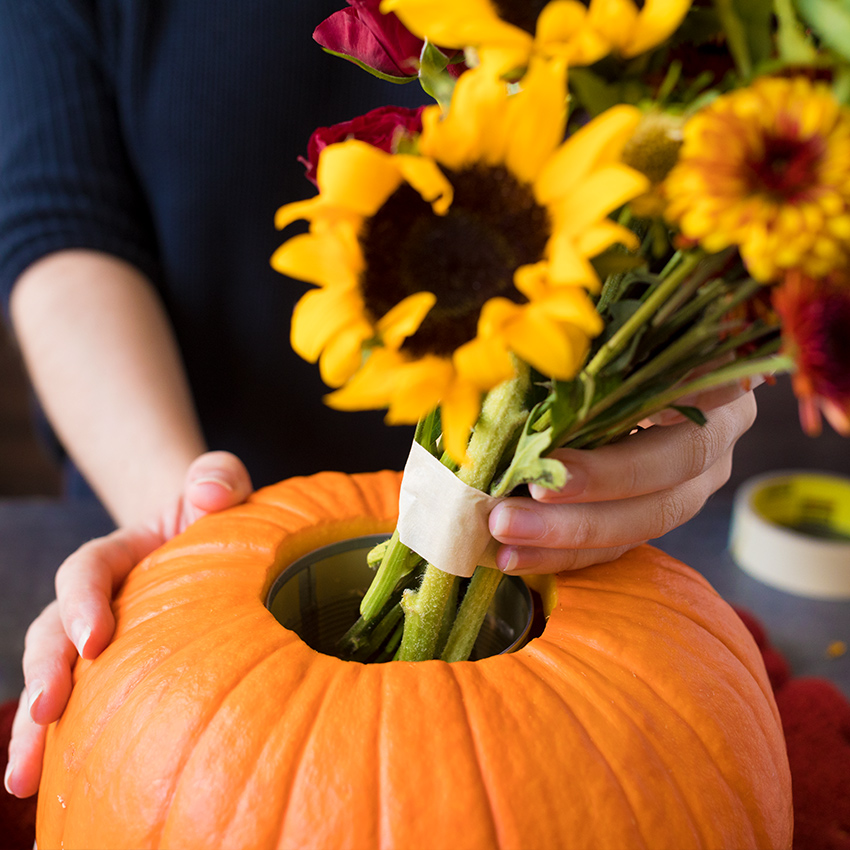
Last but not least, place your flowers in the pumpkin, and enjoy your new flowerpot!
Make sure to SHARE this project with all your crafty friends on Facebook!


