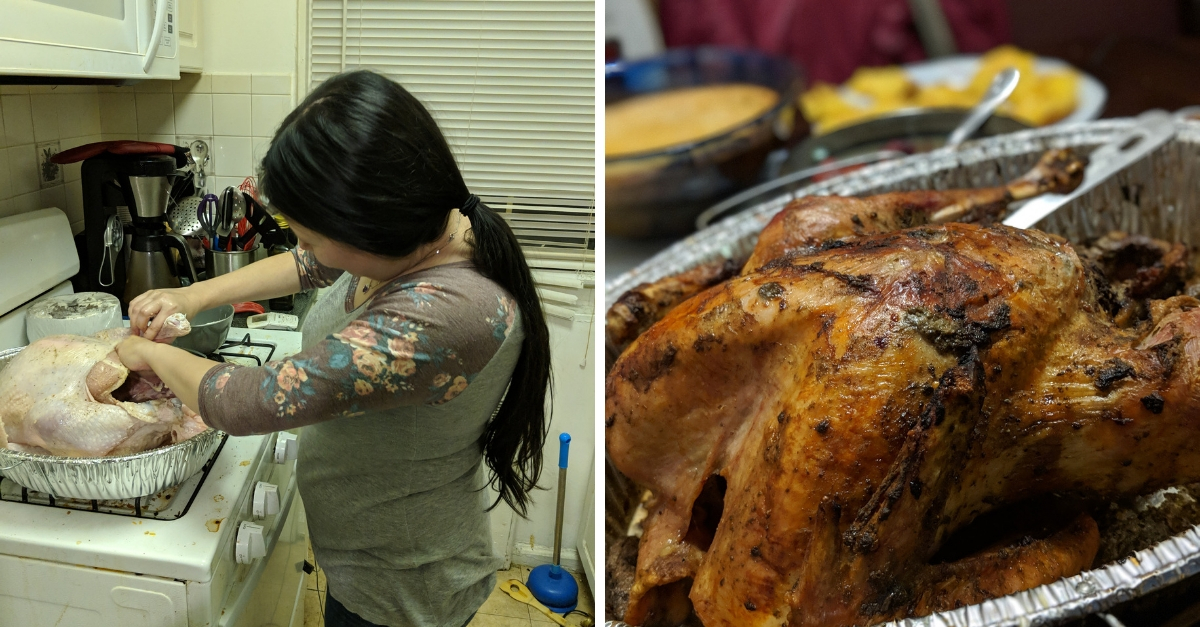
There are certain dishes that are part of just about every traditional Thanksgiving meal. Stuffing, cranberry sauce, and some type of seasonal pie — probably pumpkin! — can typically be found when families and friends gather around the dinner table on the evening of the fall holiday. But above all and perhaps most importantly, there's the dish at the center of it all: a massive, well-cooked whole turkey.
Making a Thanksgiving turkey for the first time is an incredibly overwhelming and humbling experience. For so many years, you're on the receiving end of the turkey. All you have to do is eat it and comment on the quality, ideally with a rave review. (And by the way, once you realize making a turkey is a multiday process and that every single soul has their own special way of doing it, you realize you should never comment on anyone else's bird with anything but praise.)
I consider myself pretty ambitious when it comes to cooking. I'm always ready to try a challenge, and a Thanksgiving turkey is a very unique and special challenge. The holiday comes just once a year, and food is the centerpiece of it all.
Turkey is the core of the centerpiece, the most important piece of an important meal. On top of that, it's not usually a small meal. Popping a small chicken into a slow cooker is a piece of cake, but you can't exactly do that with a 20- to 30-pound bird. It's a lot of constant monitoring. It's having a plan and knowing you might have to change it when you look in the oven and see what it looks like. There are so many reasons to be apprehensive of taking on a task like this. And yet, I volunteered myself to do it.
If you're thinking about tackling your first turkey, have no fear. I documented the ups and downs of my turkey-roasting attempt to share with you so that you can be prepared when the turkey becomes your task.
Buying a Turkey
The first step in the process is buying your turkey.
For each adult at your Thanksgiving celebration, plan on 1 to 1.5 pounds of bone-in turkey. Count 0.5 to 1 pound per child. If you're wondering whether to take the lower or higher side of those estimations, consider the number of sides you are serving and whether guests will be eating at other locations before your meal if they're making multiple stops.
Remember, leftovers are a wonderful part of Thanksgiving. If you're left with too much, you can always send guests home with leftovers. But you can't make more turkey appear if there's too little.
Defrosting a Turkey
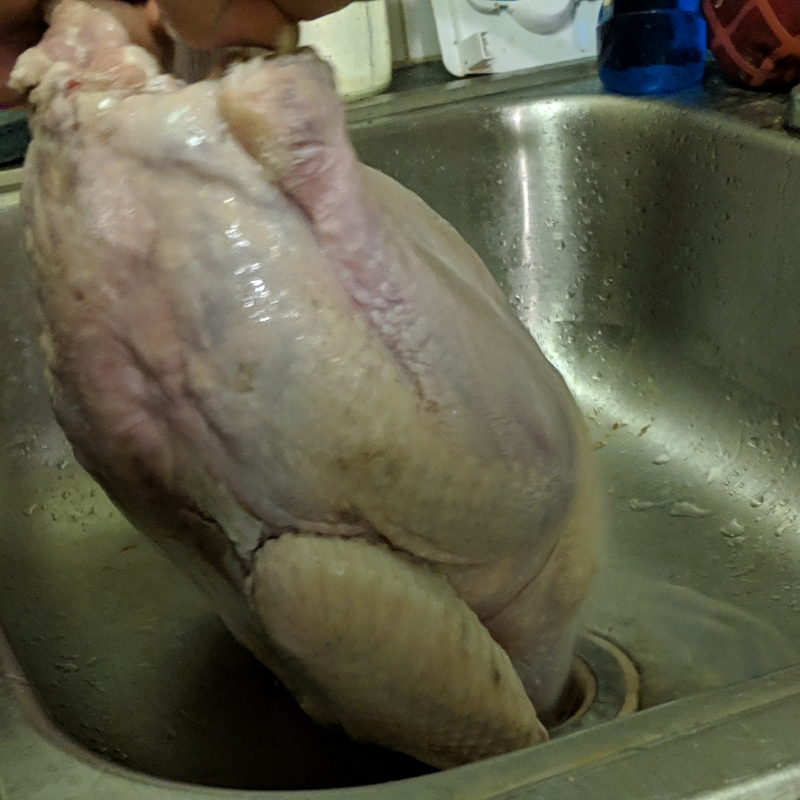
Since my celebration is small, I went with a 12-pound turkey. Depending on how far in advance you get your turkey, you'll need to plan for the time necessary to defrost it. Account for 24 hours for every 5 pounds of turkey. I picked up my 12-pound turkey and got it settled in the fridge, where it would stay for the next two days.
To Brine or Not to Brine?
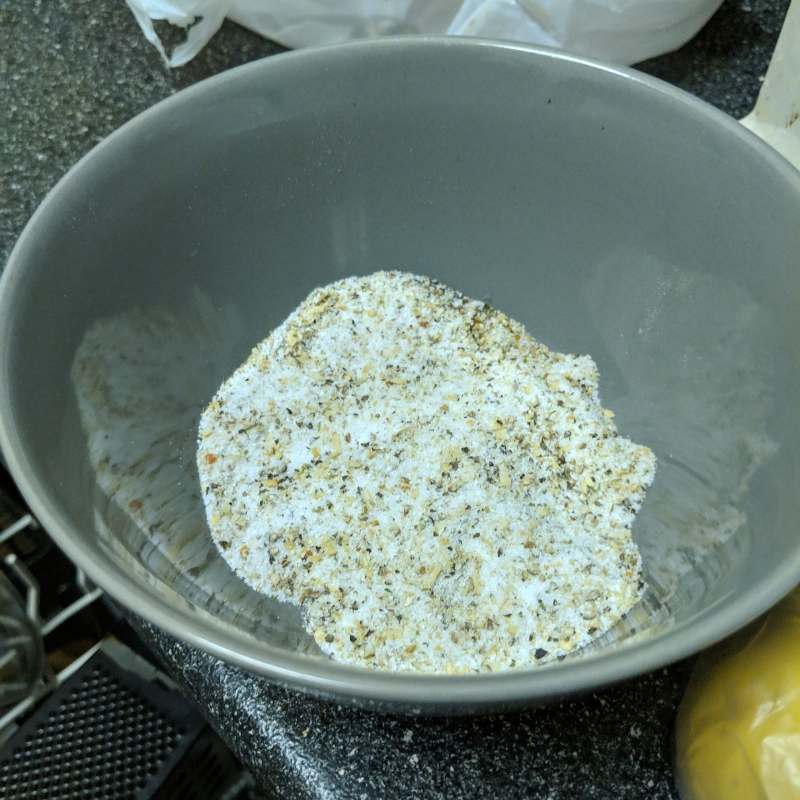
You might have heard of brining a turkey, but what does that actually mean? Brining is a method of preparation that's supposed to give you a juicier, more flavorful turkey. There are two methods of brining, a dry brine and a wet brine.
The wet brine is the more common method that many top chefs (including Martha Stewart) swear by. Every wet brine is different, but the solution has to include water and salt. It's a little tricky to wet brine because it requires a vessel big enough to hold your turkey and several quarts of water, a bag to keep the moisture and seasoning properly surrounding the turkey, and at least 24 hours of time.
I chose to do a dry brine, which boasts the same results with an easier process. With dry brining, you simply rub down the turkey (inside and out) with the same salt and seasoning you'd put in a wet brine. Then you let it sit in a roasting dish in your fridge, where the salt will bring out moisture.
About the Inside of That Turkey…
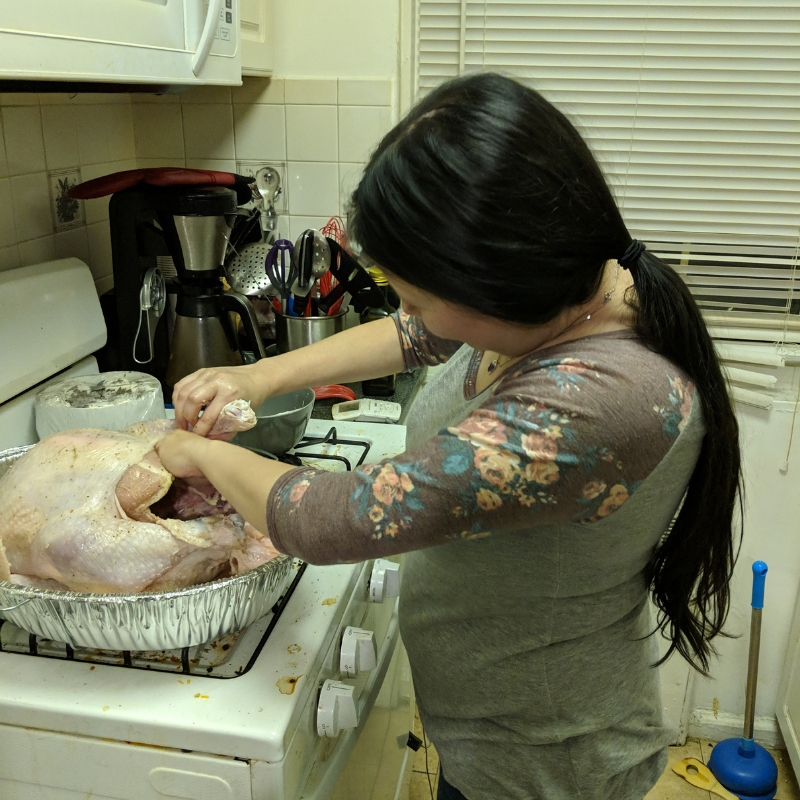
Even if your turkey is mostly thawed, there can still be frozen spots on the inside. It's cold, after all. But before you can even get inside, you might have to pop out a metal or plastic cage.
To do that, unhook the legs from the cage and pull on it. It should come out fairly easily. If your turkey is too frozen, it won't budge. Once the caging is off, reach inside and pull out the neck. There's also a bag of giblets that you have to pull out. It's not the most pleasant part, but necessary.
Once you've taken the extraneous parts out, you can brine if you choose. Remember that if you're dry brining, you want to pull the skin away and apply salt under and over the skin where possible. It might seem like a lot of work, but breathe! You're just a day away from a Thanksgiving feast.
Game Day
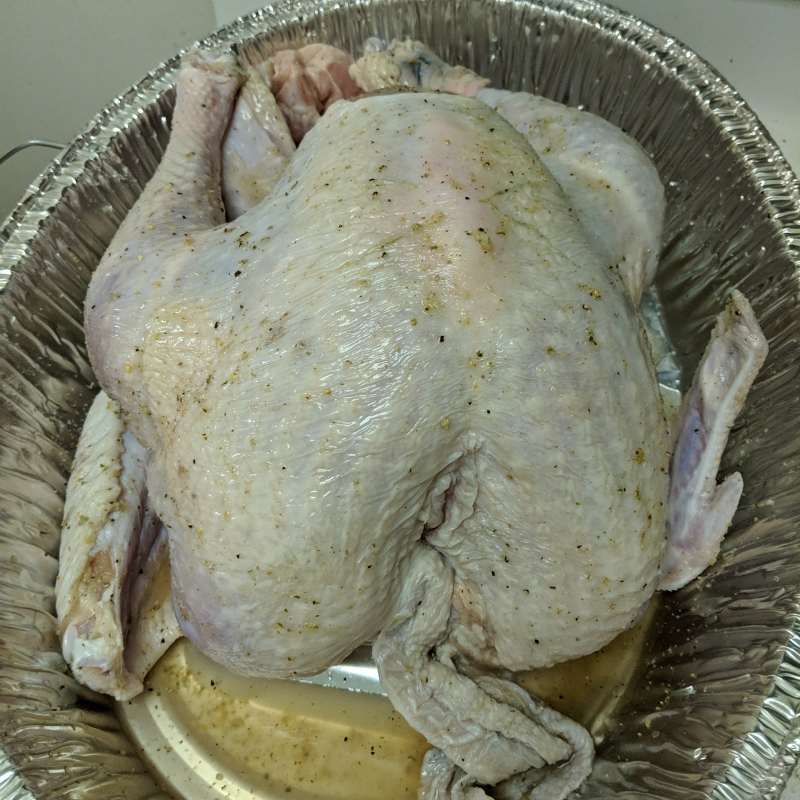
Once Turkey Day has arrived, you'll likely find yourself up early. If you roast your turkey at 350° F, you'll need to cook it for about 20 minutes per pound.
Set an ideal dinner time and work backward from there to determine when your turkey needs to be in the oven. Keep in mind that a stuffed turkey takes longer to cook than an unstuffed turkey. I chose not to stuff mine for fear of screwing up two things at once.
The Reason for the Season
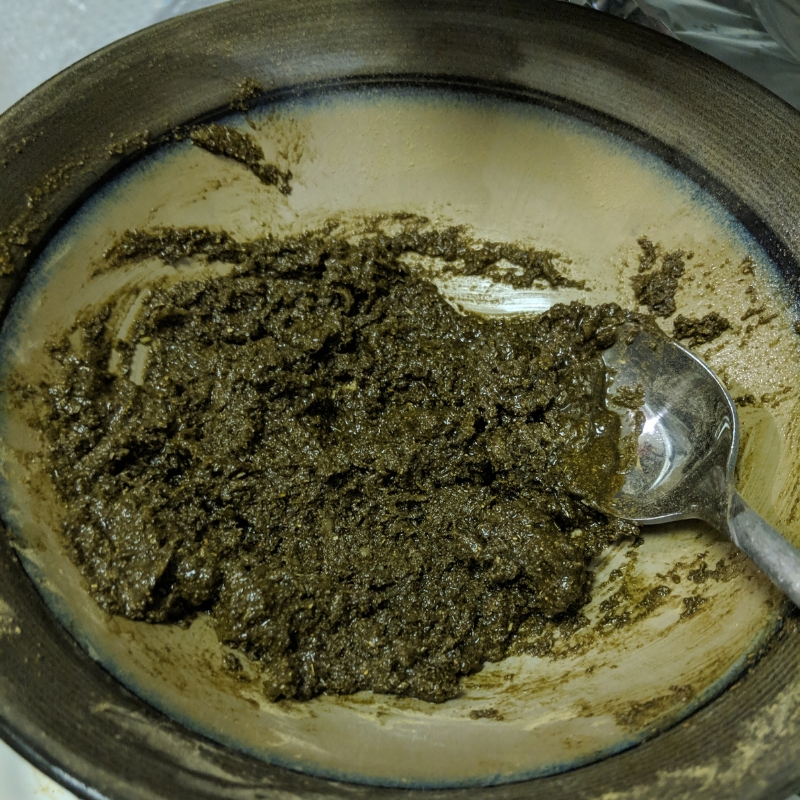
Seasoning your turkey is super important. Everyone has different ideas of what's best here. While some people believe that keeping it simple with just salt and pepper is best, other people like more elaborate seasonings.
I used a family recipe, so while I can't give the whole thing away, I will recommend Bell's Seasoning. It's a salt-free seasoning blend, which can be useful if you already brined the turkey with ample amounts of salt.
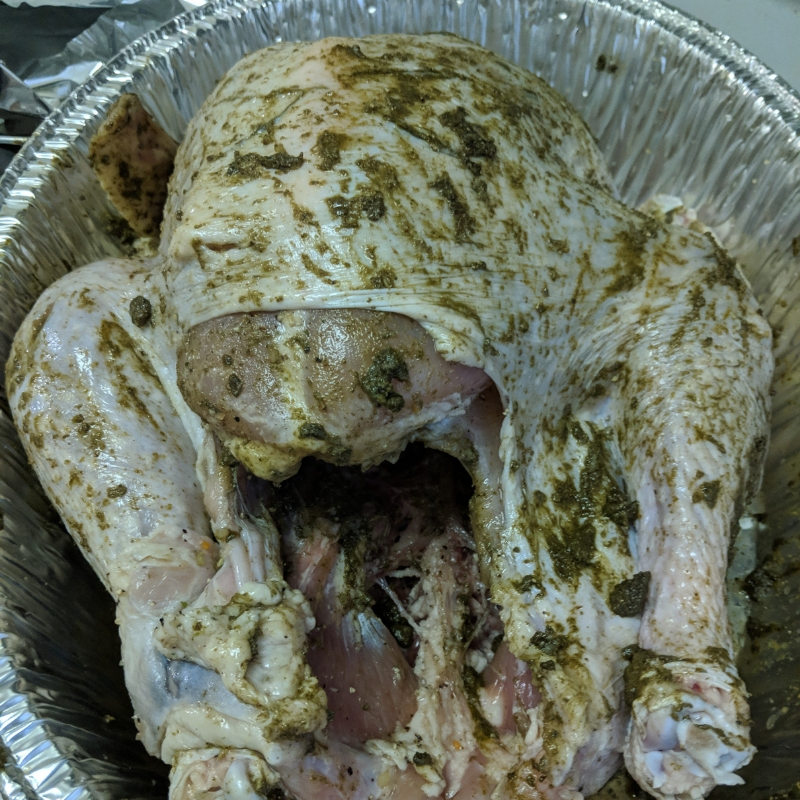
Rub the seasoning under the turkey's skin and on it, as I suggested for the dry brine. Don't forget to season the turkey cavity! A lot of people think it's gross, but it'll make a huge difference in getting an evenly seasoned, delicious bird.
Once your turkey is seasoned, you're ready to get her in the oven. You don't want to cover your turkey with the roasting pan lid, because you'll steam it instead of roasting. You can cover your turkey with foil, but it might increase your cooking time. If you find during cooking that the skin is cooking faster than the inside, you can cover it with foil to allow things to even out. It's ultimately a preference, but I covered my turkey with foil during cooking.
Be sure to use at least two timers to keep track of your cooking time.
Basting Ain't Easy
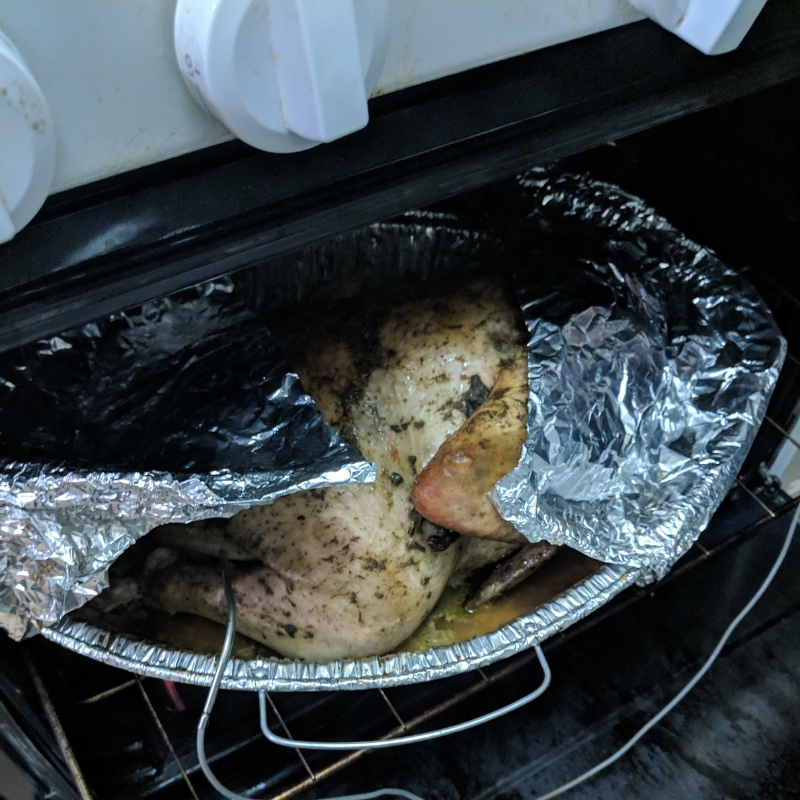
Basting is another matter of preference when it comes to making a turkey.
Basting is when you take the juices and fat dripping out of the turkey and spoon them over the turkey while it's cooking. Like brining, basting is also a method of ensuring a juicy turkey. Some people don't baste if they brine. I grew up in a baste-don't-brine family, but I chose to do both.

When you're basting, be sure to cover the whole turkey. You want to make sure everything is juicy, after all!
You'll want to baste your turkey periodically through cooking. If you also have sides cooking on the stove top, you'll be working with a very hot, open oven, so proceed with caution.
The Final Stretch
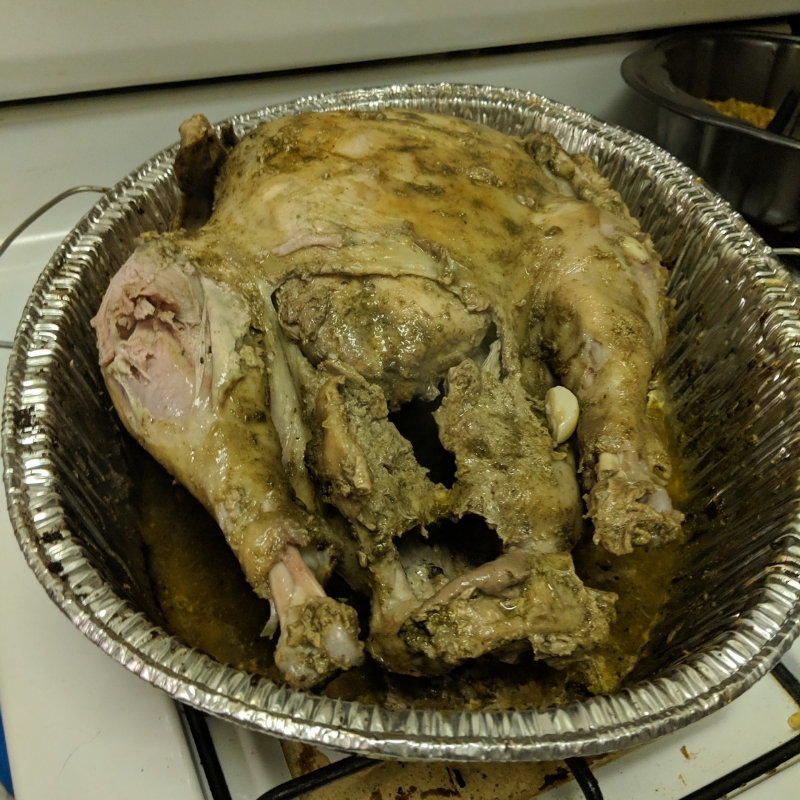
While you want to check on your turkey often, keep in mind that opening your oven door too much lets out heat and messes with the delicate balance of cooking. Open the oven door only when necessary. Otherwise, peek in. I opened my door more because of my decision to use foil. It's all about balancing risk and reward.
My last check on the turkey before uncovering it had me nervous. It wasn't looking the way I hoped, and I was sure I'd botched the whole job.
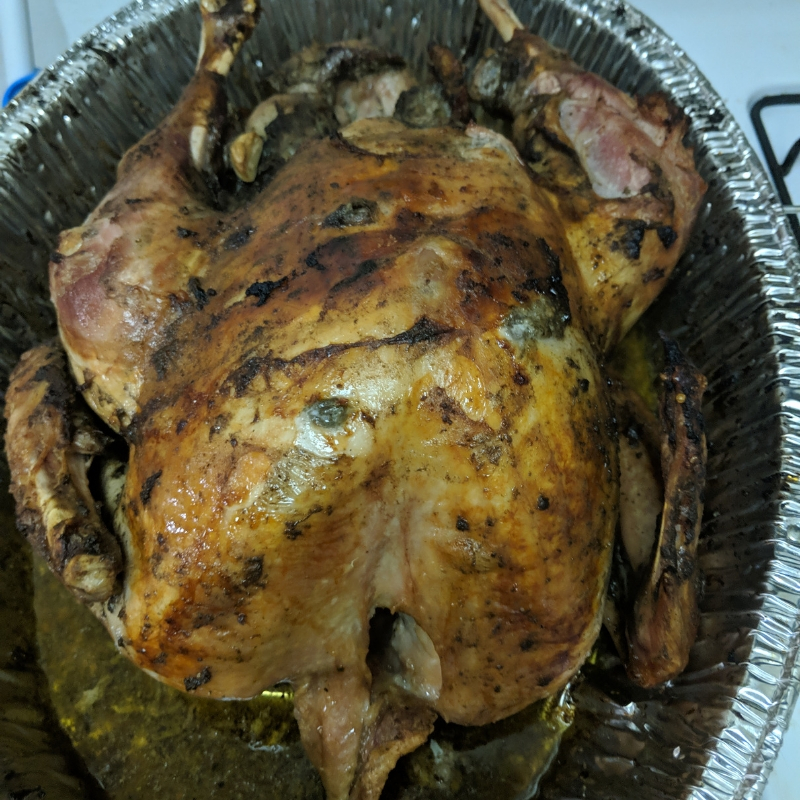
If you like crispy skin and you've used foil, allow the last 30 to 45 minutes of your cooking time for flipping the bird. I cooked my turkey breast-side down and then flipped it so that the skin on top would become nice and crispy. I also cranked the oven up to 425° for the final stretch.
If you do it differently, don't fret! All kinds of turkey are made all kinds of ways, and they're still scrumptious.
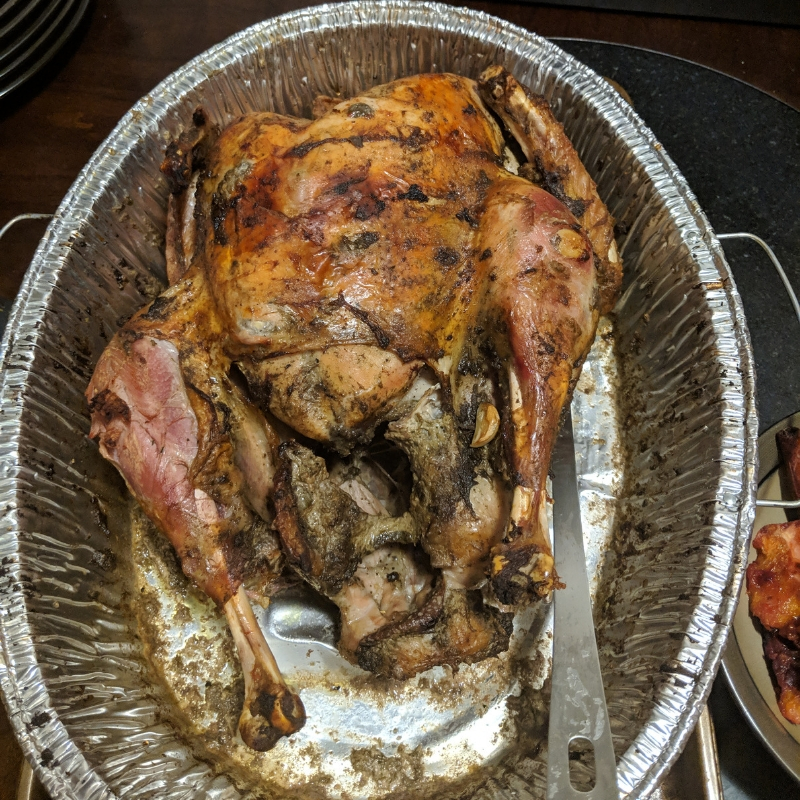
Don't pull your turkey out the second you think it's ready. Use a meat thermometer to measure the temperature of the turkey in the crease where the breast and thigh meet and it's the thickest. If it reads 165° F, you're ready to take your turkey out of the oven. If your bird is stuffed, make sure the stuffing is also at 165°.
I was relieved to see my turkey looked the way it should and the temperature was right. I might have made a not-so-pretty gash in it by accident, but at least it was edible and wouldn't kill anyone.
Let the Turkey Rest
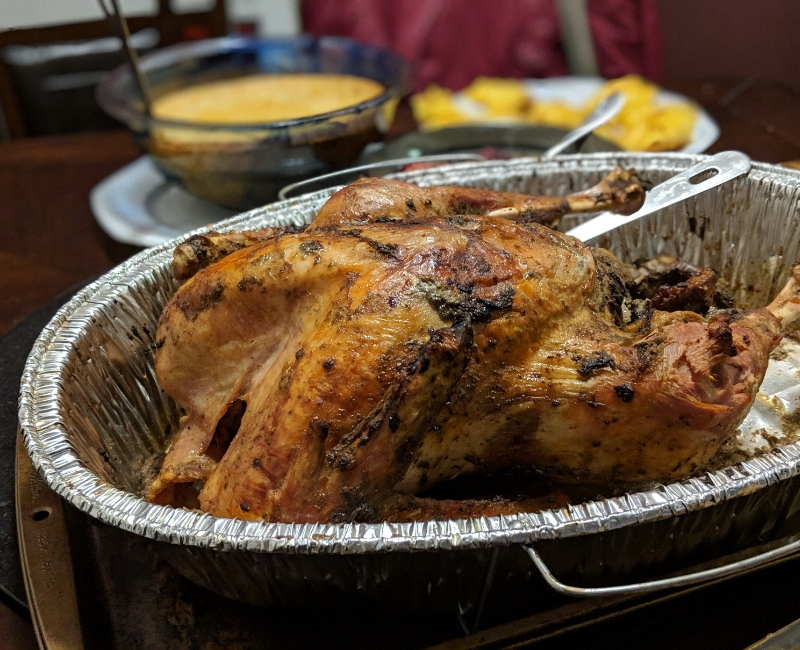
Your finished product isn't quite finished yet. The turkey should sit for 20 to 30 minutes before serving.
And don't get rid of those pan drippings! I used them to make the gravy while the turkey was resting, based on this recipe by Center Cut Cook.
Serving Time!
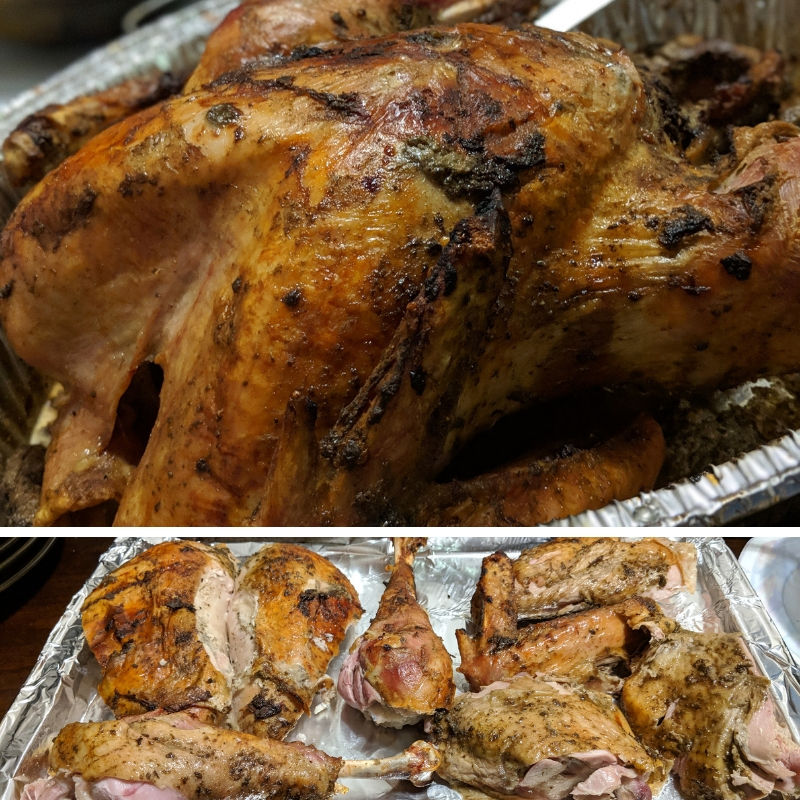
It's time to introduce your turkey to the hungry masses. Put it on a platter, and dress it up however you please. Take a moment to be proud of what you accomplished.
Plenty of people make turkey every year, but it isn't an easy process. Be proud of your bird! I was definitely proud of mine.


