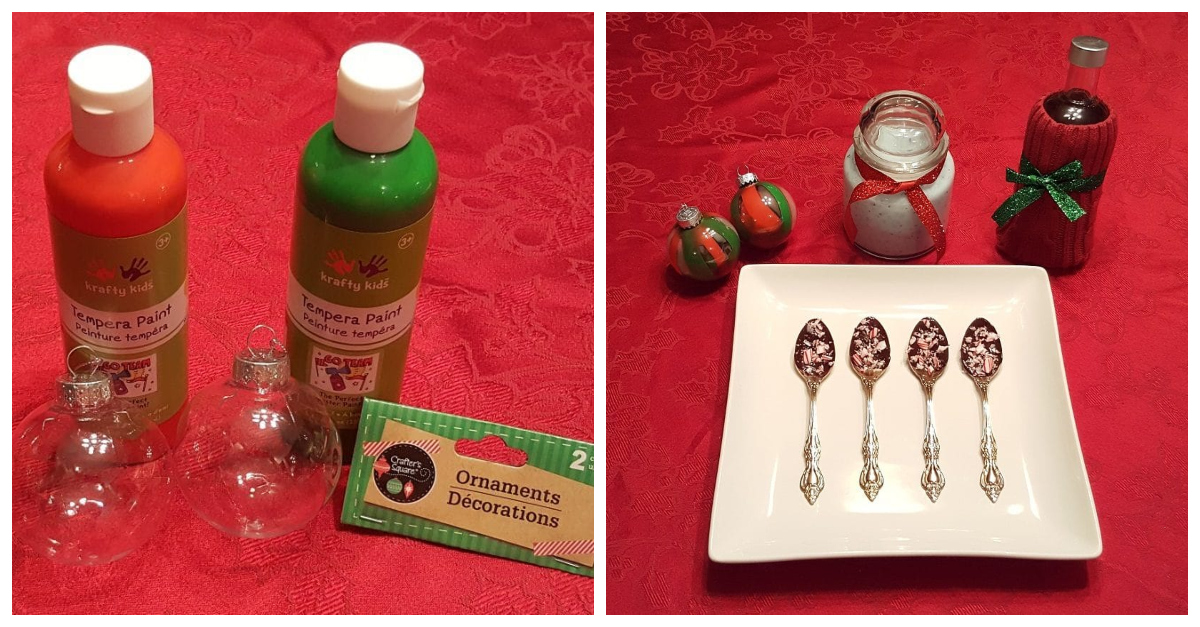
DIY holiday gifts add a special touch to any celebration and let those in your life know that you’re willing to put a little (or a lot) of time and effort into something that you want them to have. Although according to author and artist Douglas Coupland, “Handmade presents are scary because they reveal that you have too much free time.” (Jk! Jk!) While Douglas certainly knows a thing or two about crafting gorgeous items by hand, the fear that may or may not accompany making handmade presents is certainly outweighed by the joy that the gifts bring. That’s why I wanted to try making a few handmade gifts for my friends and family this holiday season.
I decided to check out ideas others had to offer online, and a quick Google search brought up more possibilities than I could ever hope to tackle. There were plenty of options that ranged from super simple to (seemingly) overly complicated. There were activities that needed little to no experience and others that required specific skills. There were projects that would cost nearly nothing if I could source the majority of the materials from around the house, and there were ideas that required a hefty budget.
I scrolled past plenty of gift baskets that anyone could assemble and noticed various ideas for making adorable ornaments. There were plenty of options if I wanted to try making something that incorporated food and the same went for alcohol. There were a lot of varieties of cute crochet patterns, and Rudolph the Red-Nosed Reindeer-themed activities were in abundance.
Since I’m neither Martha Stewart (i.e., supernaturally talented at homemade endeavors) nor Mark Zuckerberg (i.e., super rich), it seemed reasonable for me to stick to reasonable projects with a modest budget.
With that sorted out, I was ready to make four different kinds of DIY gifts for under $30.
Choosing My DIY Gifts
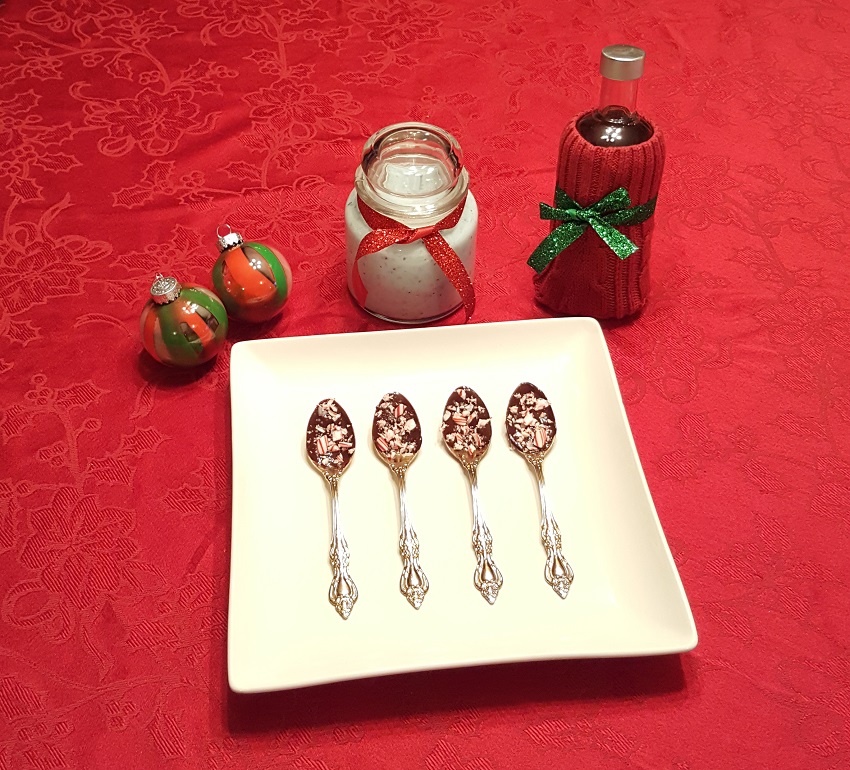
I first opted for paint-filled ornaments, something I had done years earlier when my niece and nephew were little and that I was sure anyone in my art-loving family would love to receive as a gift and hang on their tree. Second, I thought it would be fun to slop together some snow slime for my kids. For the adults in my life, I wanted to try making both candy cane and chocolate coffee stirring spoons as well as an adorable sweater bottle cozy for those who like to lighten up their holidays with a little booze.
Paint-Filled Ornaments: Materials and Cost
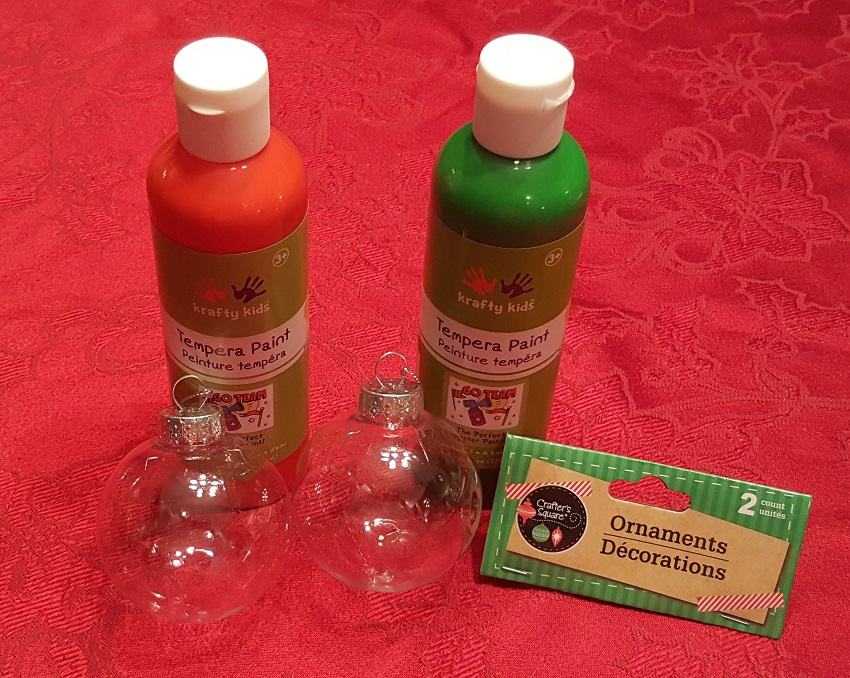
Supplies:
- Clear ornament balls ($1.25 for two)
- Paint ($1.25 each)
Total cost: $3.75
Paint-Filled Ornaments: Process

Making paint-filled ornaments is super easy and wildly fun. Just grab yourself some clear ornament balls and carefully pop off the top (if they’re plastic balls you shouldn’t have any worries, but glass balls can easily crack, so be careful). Take whatever color of paint you desire — I stuck with a classic red and green for Christmas — and pour each one into the ornament one at a time. You can either drip the paint into the ball in stripes like I did or tip, roll, and tilt your ornament every which way until the inside is completely coated. Then leave it to completely dry before popping the top back on the ornament.
Paint-Filled Ornaments: Result
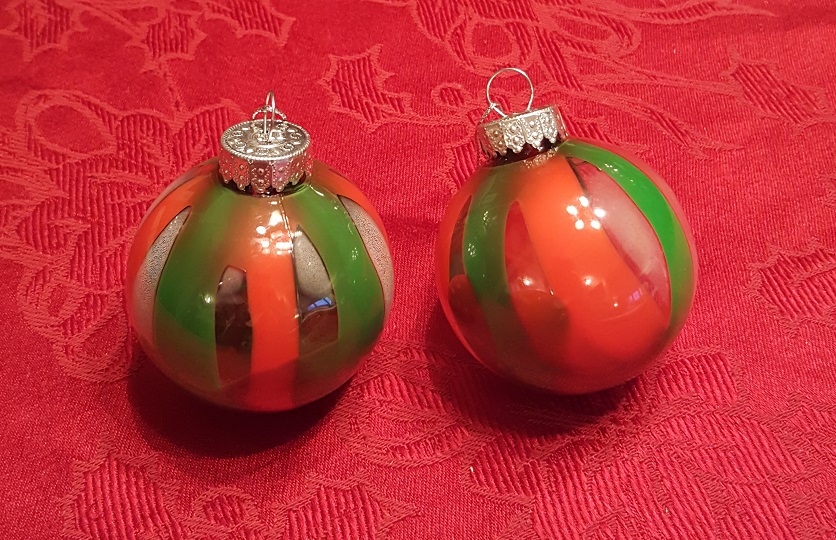
The ornaments ended up being just as cute as I had expected. However, the paint still needed time to dry, which resulted in a tiny bit of condensation. That will disappear soon enough. Once I put the tops back on, the ornaments were ready to either wrap up as a gift or pop on a tree.
Snow Slime: Materials and Cost
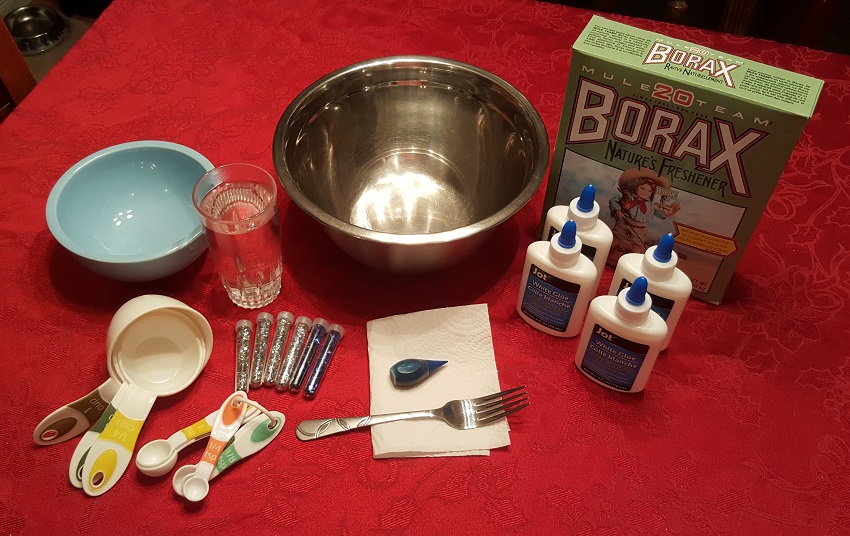
Supplies:
- Large bowl
- Small bowl
- Measuring cup
- Measuring spoons
- Fork for mixing
- 4 (4 oz.) bottles of white craft glue ($1.25 per pack of two, $2.50 total)
- Warm water
- Blue food coloring ($1)
- Glitter ($1)
- Borax ($5 for a large box)
Total cost: $9.50
Snow Slime: Process
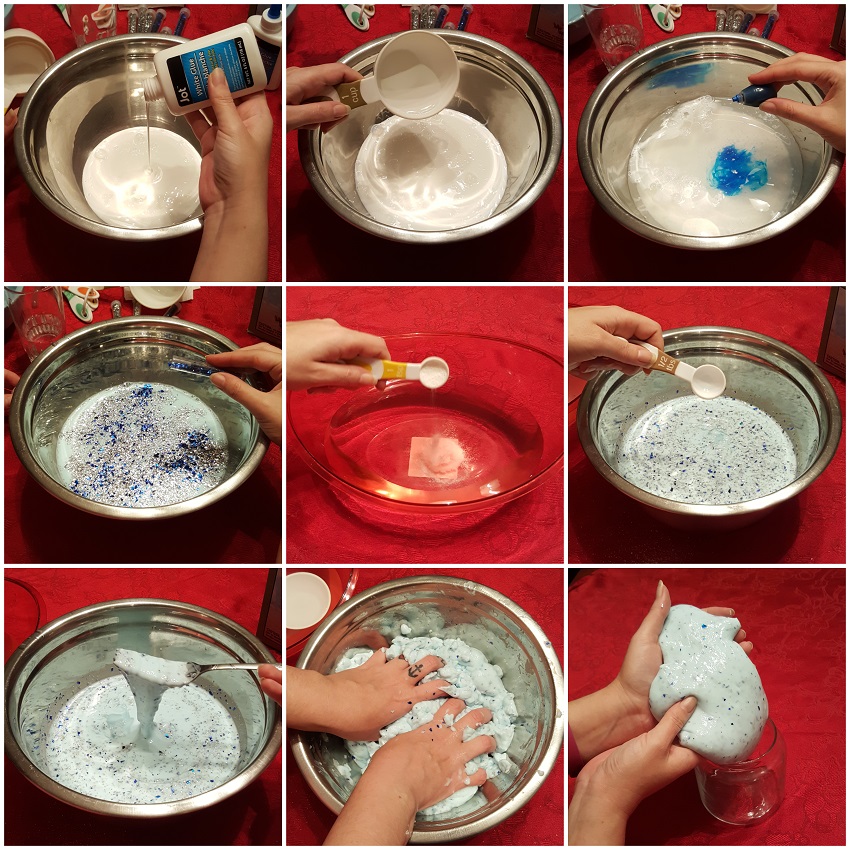
Before I had even started, I felt like I would need much more slime than the original recipe would make, so I multiplied everything by four. If you’d like to start with a smaller amount, just use a quarter of what I did.
I began by pouring four bottles of the white craft glue into the larger bowl. I then mixed in 2 cups of water and gave it a good stir before adding 8 drops of food coloring and mixing it up until I had the light blue shade that I wanted. Finally, I added silver and blue sparkles.
Next, I realized the smaller bowl I intended to use was a little too small, so I grabbed a larger one and added 4 cups of warm water. I then mixed in 4 tsps. of Borax. (Note: I ended up with WAY too much of this water/Borax mixture, so you could definitely cut this amount in half.)
It was then time to slowly add the water/Borax mixture into the bowl with the gluey stuff. I poured in one spoonful at a time and was delighted to notice a slime-like muck emerging immediately. As I added more of the water/Borax mixture, I began to knead the slime until it became thicker, and once it was the consistency I was looking for, I spent a little extra time squishing it into slimy perfection.
To make the slime a proper gift, I put some in a little jar I had picked up and added a glittery bow.
Snow Slime: Result
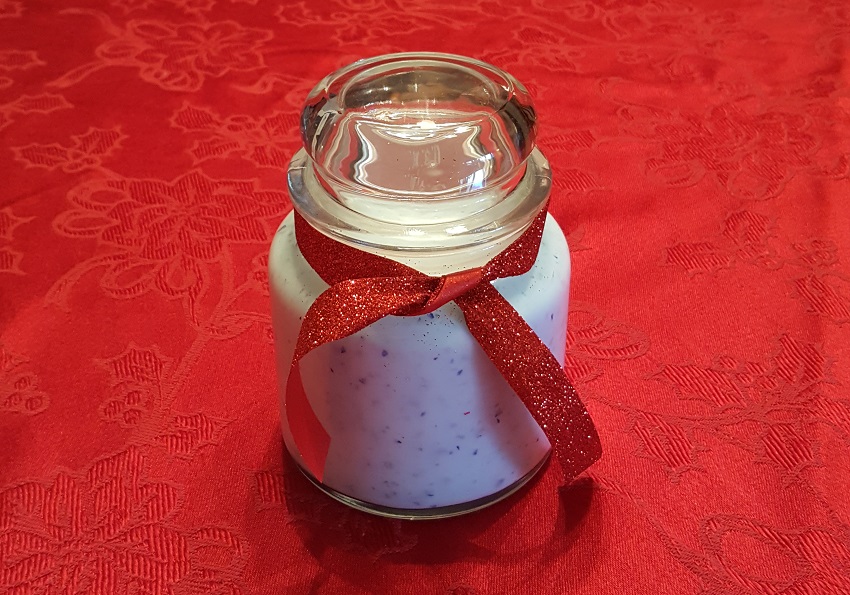
I was surprisingly pleased with how well the slime turned out. It wasn’t as stretchy as I had hoped, but it was definitely squishy enough to amuse any kid (or kid-like adult). The only issue I had with this mixture was that the sparkles didn’t completely stay in the slime and instead ended up all over my hands as I was kneading as well as afterward when I was playing with the slime.
Chocolate and Candy Cane Coffee Stirring Spoons: Materials and Cost
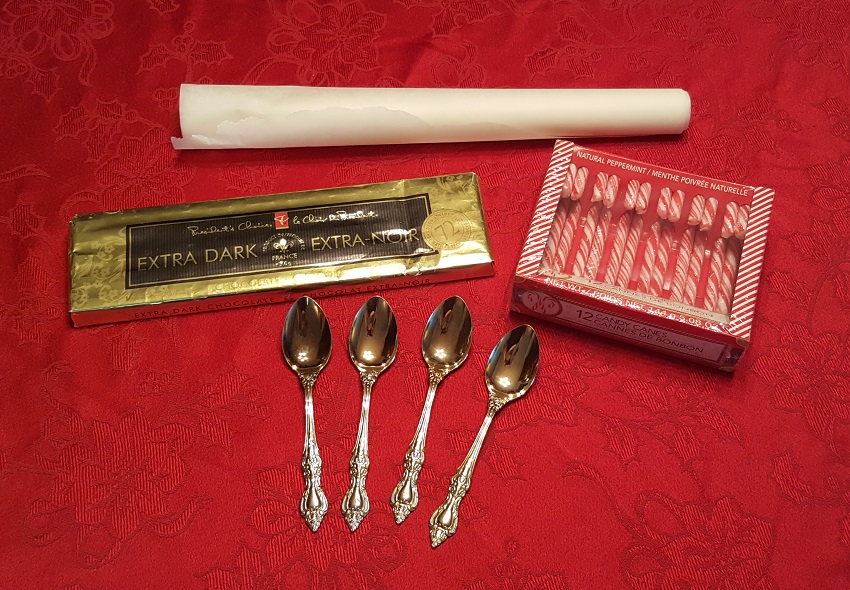
Supplies:
- Spoons ($3)
- Melting chocolate ($5)
- Candy canes ($1.25)
Total cost: $9.25
Chocolate and Candy Cane Coffee Stirring Spoons: Process
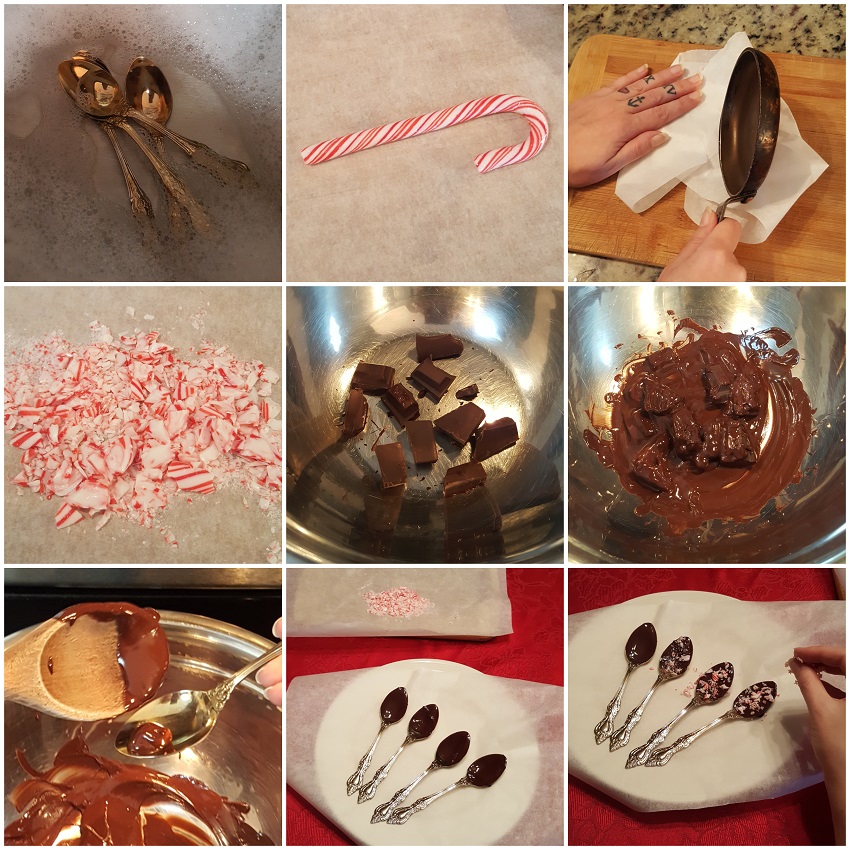
I ended up scoring some gorgeous spoons from a local thrift store, so I started off by giving them a good wash. I then took one candy cane and smashed it into tiny bits (I didn’t have a mallet, so my small frying pan came in handy).
From there, it was time to melt the chocolate and resist the urge to dip my fingers into the sweet deliciousness. When the chocolate was creamy, I first tried to dip a spoon in, but I had better luck when I dripped the chocolate onto the spoon. I then put the spoons on wax paper and sprinkled on some of the candy cane bits before leaving them to settle and harden.
Chocolate and Candy Cane Coffee Stirring Spoons: Result
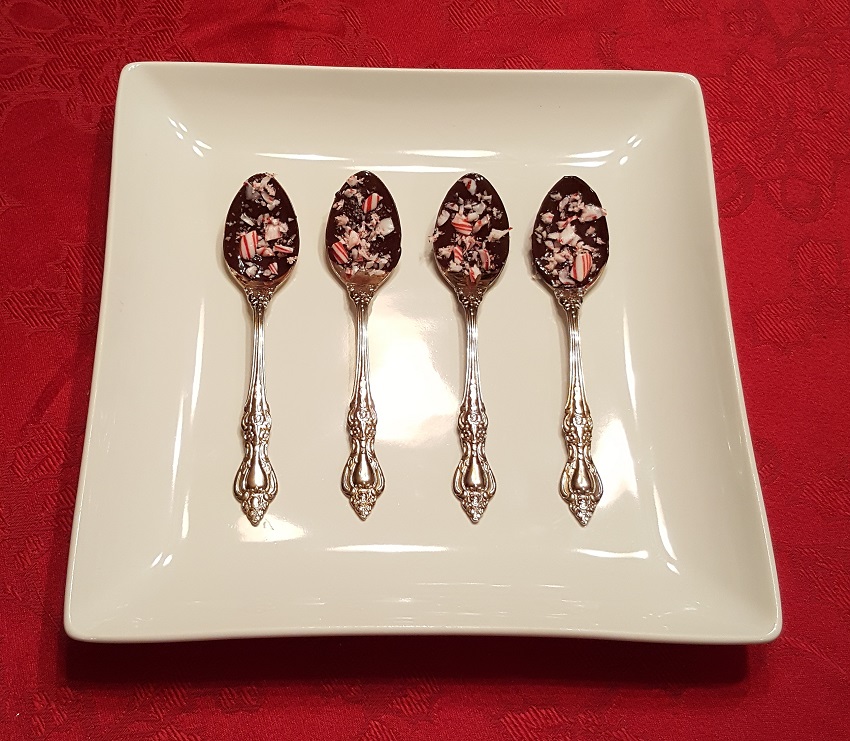
I felt like the chocolate and candy cane coffee stirring spoons turned out incredibly well. I intended to leave them out as a little gift for guests who visited my home around the holidays, but if you wanted to pass them out as presents, you could easily wrap them up and tie a ribbon around each one.
Sweater Bottle Cozy: Materials and Cost
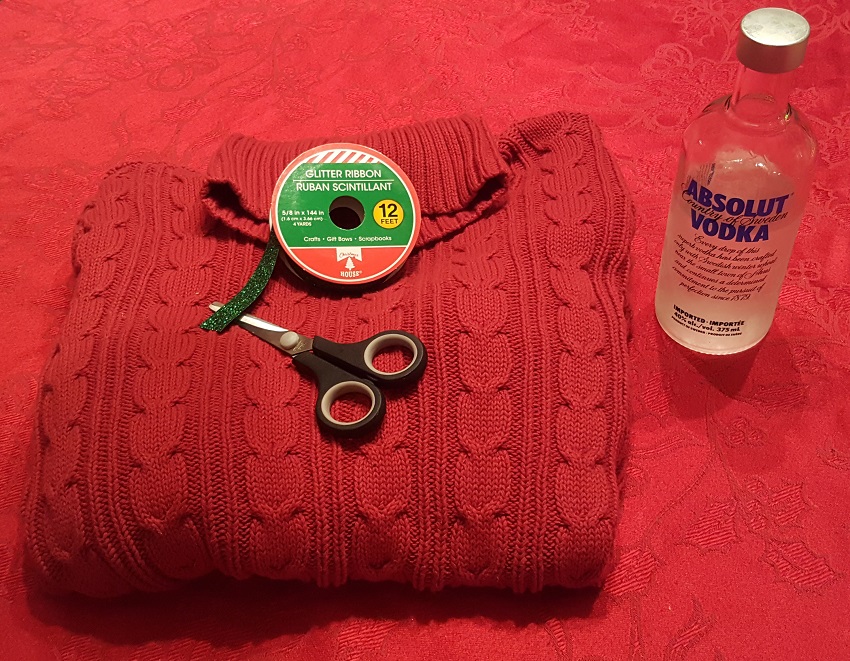
Supplies:
- Sweater ($6)
- Bottle (depends on the kind of booze you choose)
- Ribbon ($1.25)
- Thread ($1)
- Needle
Total cost: $8.25 (plus the cost of the booze)
Sweater Bottle Cozy: Process

After finding a sweater that I didn’t feel horrible about destroying, I cut off one sleeve. I then sewed the cut end of the sleeve together and left the cuff side open. Finally, I slipped the new cozy over the bottle (I used a bottle of vodka I had on hand, but I will definitely replace that with a nice bottle of wine when it’s time to gift this little present). I then added a little ribbon to keep the cozy in place and to add a little extra pizzazz.
Sweater Bottle Cozy: Result
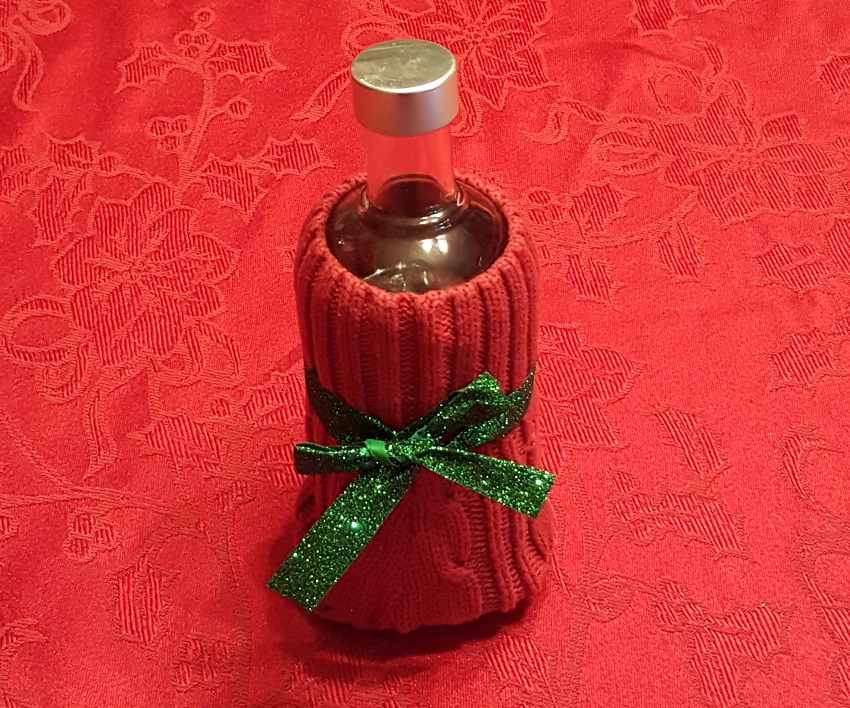
I couldn’t get over how cute this sweater bottle cozy was, especially since it was so simple to make. Thanks to the fact that I had chosen a sweater with an adorable pattern and tight cuff, it looked great and worked perfectly. And because I don’t like to be wasteful, I intend to make a second bottle cozy out of the other sleeve and a pillow out of the midsection of the sweater.
Final Thoughts
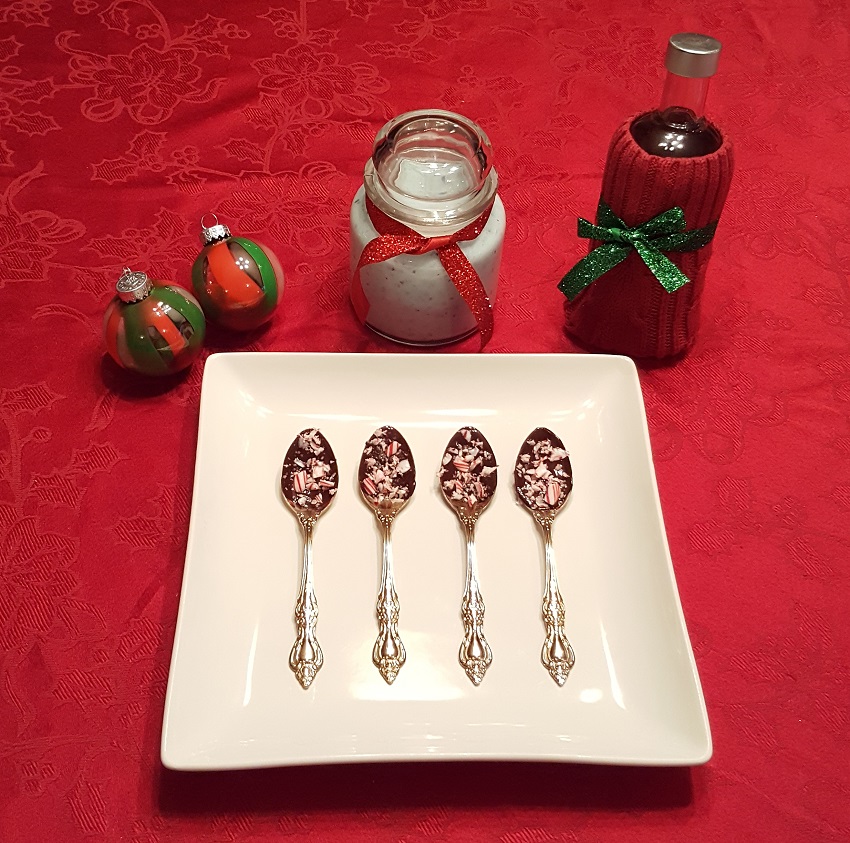
All of the gifts I made were a great success, and each came in well under $30. I was happy with the range of projects I had attempted and am excited to give them to my friends and family. Frankly, my husband may have already nabbed one of the chocolate and candy cane coffee stirring spoons, and my kids have been having some ooey-gooey festive fun with the snow slime.


