Sometimes you just know that something has a potential for greatness when you see it, even if it doesn't look like much at the time. But you just get that feeling that under all the grime, wear, and dust, there's something special.
This is a pretty common occurrence for the mother-daughter team behind Mother Daughter Projects.
Vicki (mother) and Steph (daughter) work together on a variety of projects for home improvement. So when Vicki spotted an old sewing bench on the side of the road, she knew she'd found a new project.
Old sewing tables and their matching benches are charming, but not practical for many people. Luckily, though, they don't have to go to waste thanks to crafty people.
There was one DIY-er who turned a sewing table into a cute drinks cart that's perfect for summer parties, and this bench was about to become something adorable, too.
It took Vicki and Steph a week to figure out what exactly to do with the bench, but then inspiration struck.
Check out what they did to turn a piece of trash into a perfect, personalized treasure!
[H/T: Instructables]
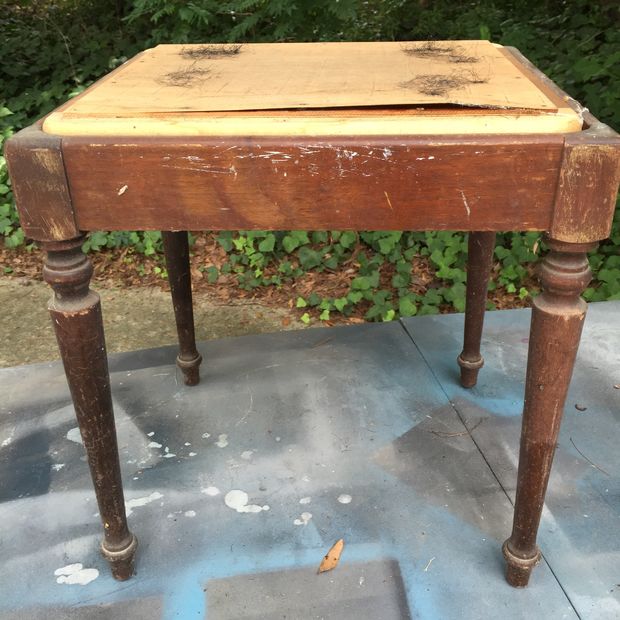
This sewing bench was in bad shape when Vicki found it on the side of the road, headed for the trash.
Vicki often picks up discarded items, but she has a rule: in order to take them, they have to be in such bad shape that they couldn't be donated.
And this bench fit the bill.
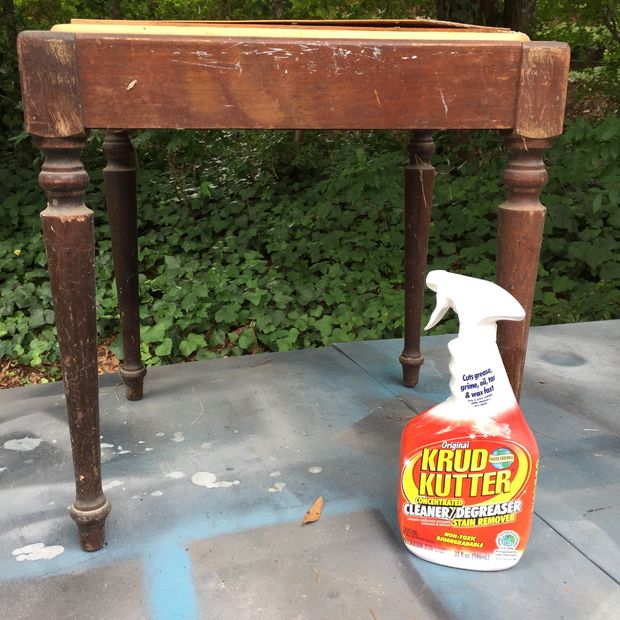
After taking some time to formulate a makeover plan, it was time to spring into action. She'd been looking for a small hamper for her bathroom, but hadn't found anything she liked. She had a feeling this little bench might just do the trick.
First order of business? Cleaning. It was covered in years' worth of grime and gunk, as well as a number of cobwebs.
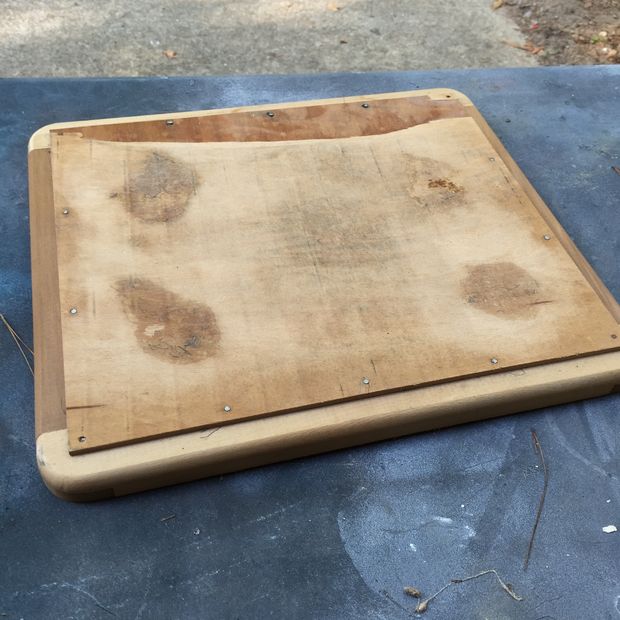
Next, she removed the warped plywood seat, which was attached to a frame on the bench's top.
She tossed the plywood, but kept the frame.
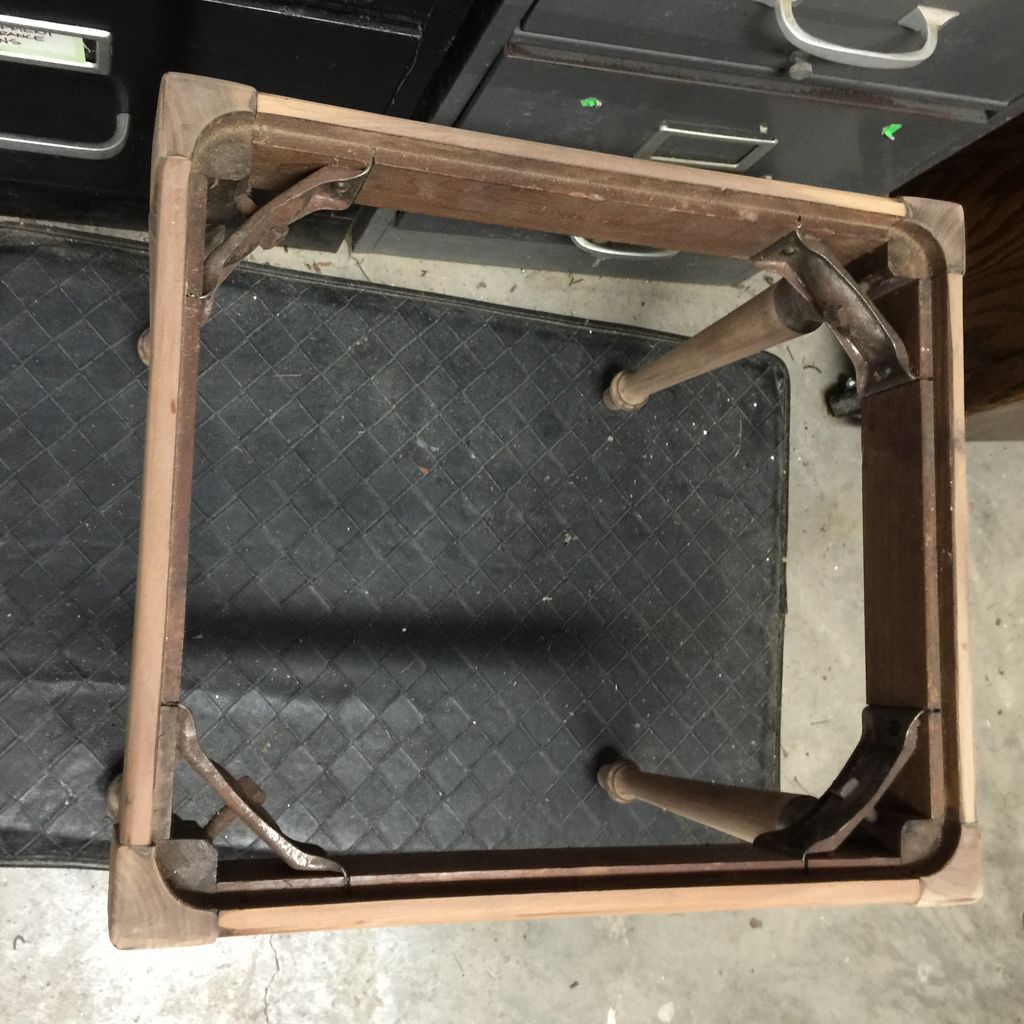
The bottom surface of the bench came out, too, leaving just a hollow rectangle on four legs. But that was all part of the plan.
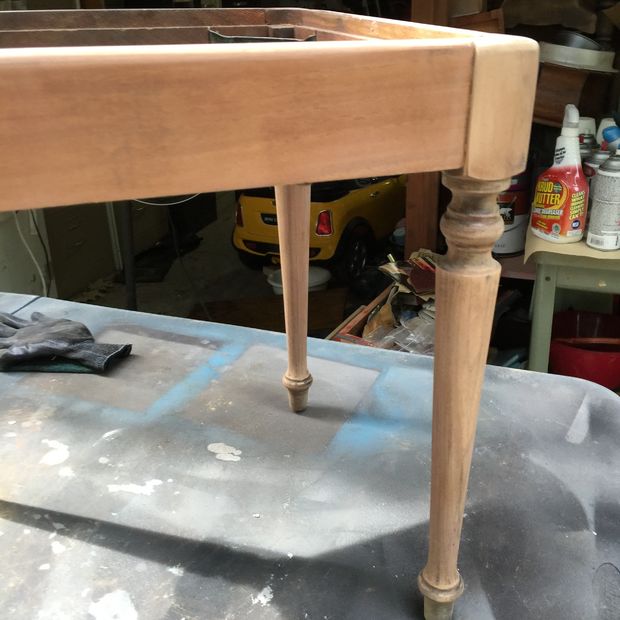
Then it was time to sand away the old finish from the bench and the top frame, which Vicki was happy to report came off very easily.
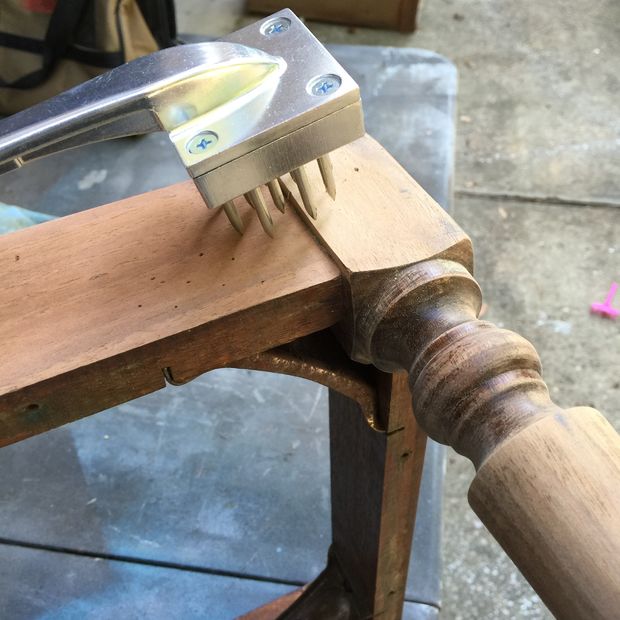
Using special tools, she also distressed the wood slightly, giving it a few nicks and scrapes that would add texture and character to the piece.
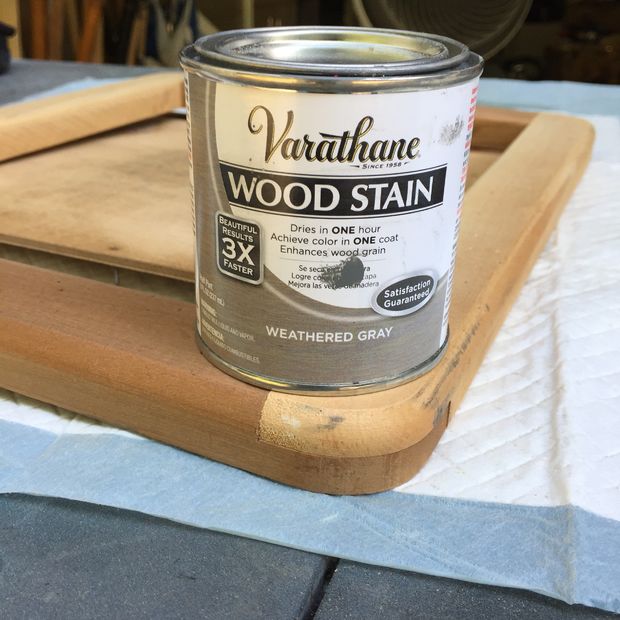
She used this gray-tinged wood stain to give the top frame, seen here, and the rest of the bench a new color.
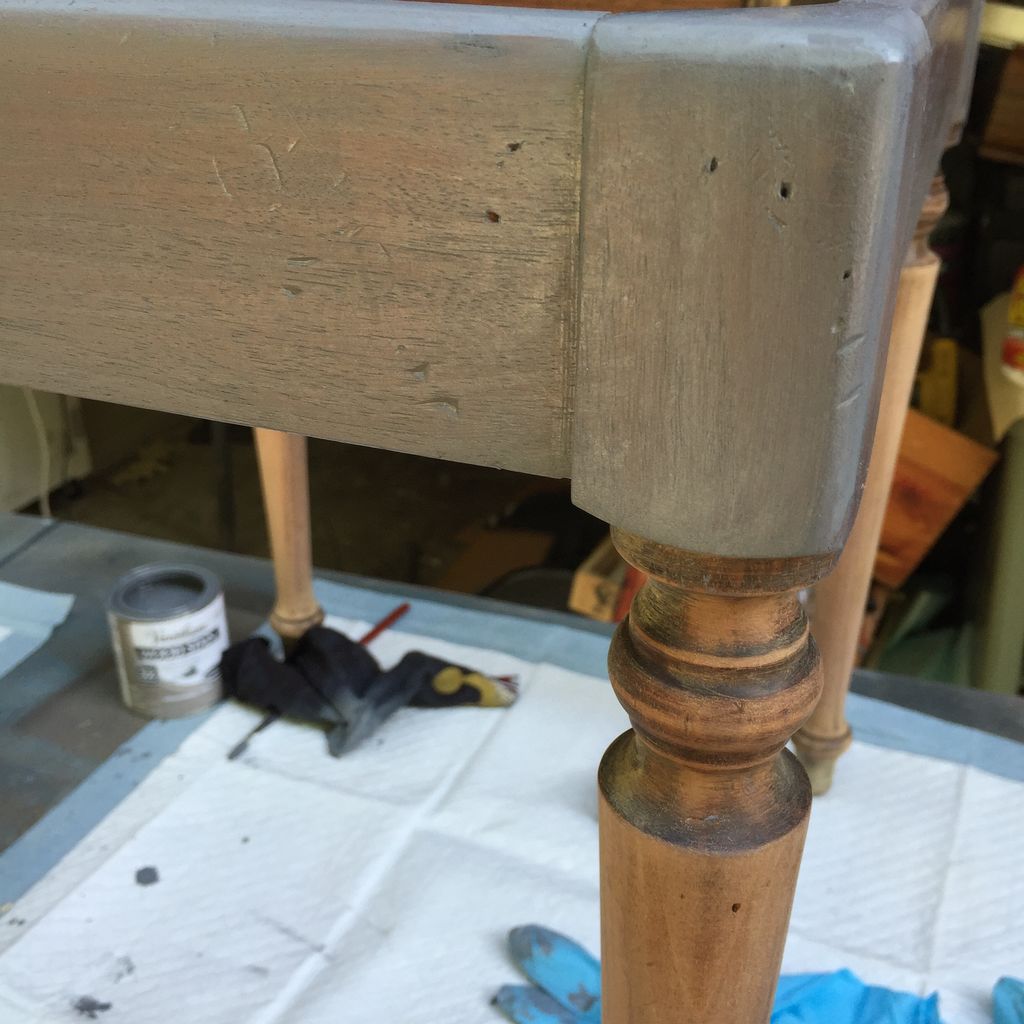
The distressing is highlighted by the wood stain, and gives a whole new character to the bench.
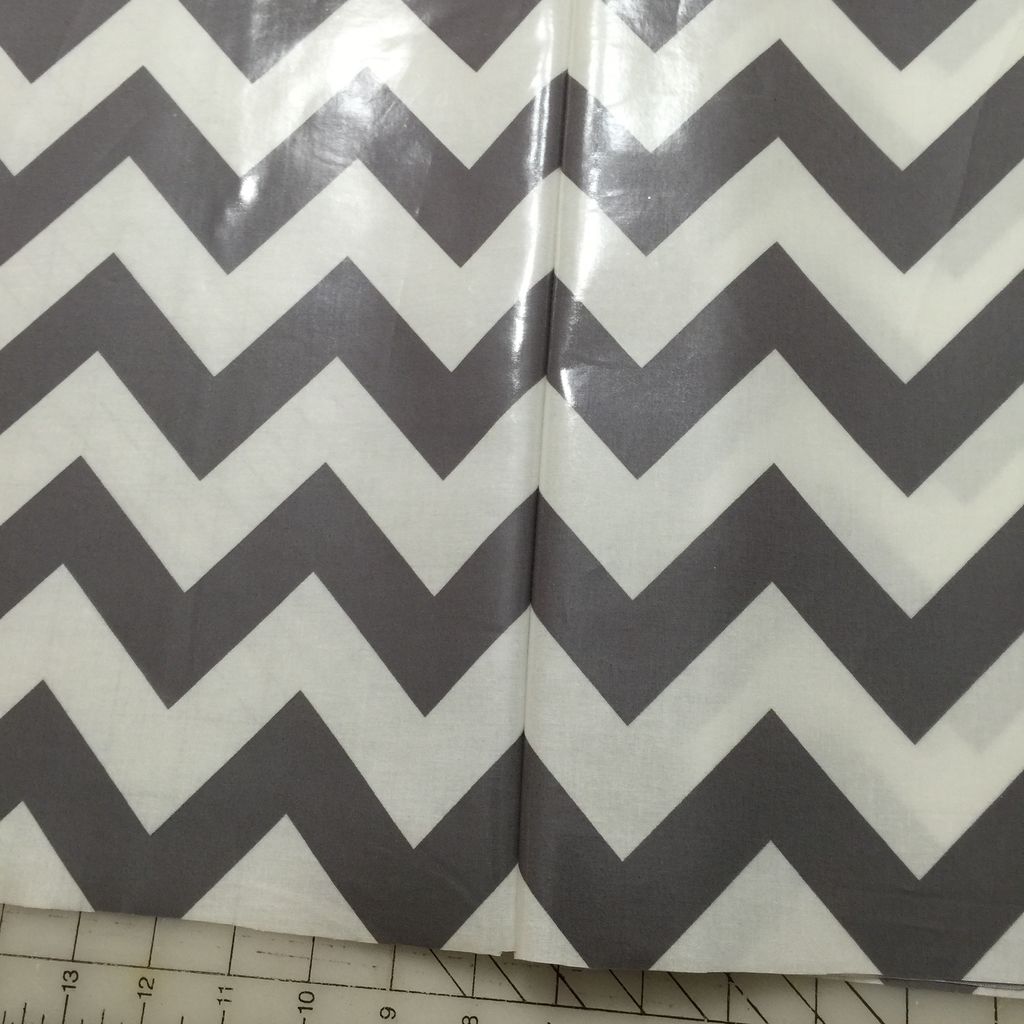
With the wooden parts done, it was time to make the hamper itself. Vicki opted for a laminated cotton fabric, which would stand up to both use and humidity, and chose this stylish chevron pattern.
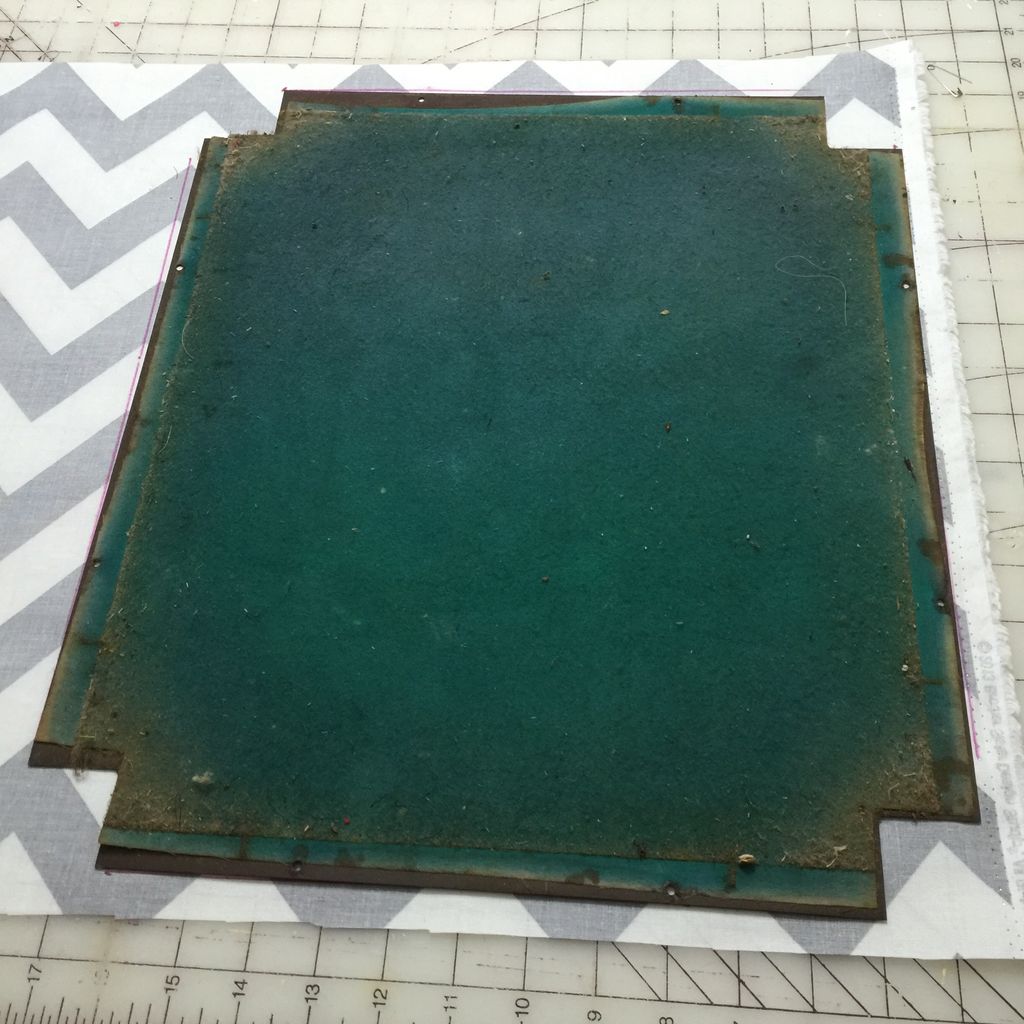
To create the panels, she used the bench's old bottom as a guideline.
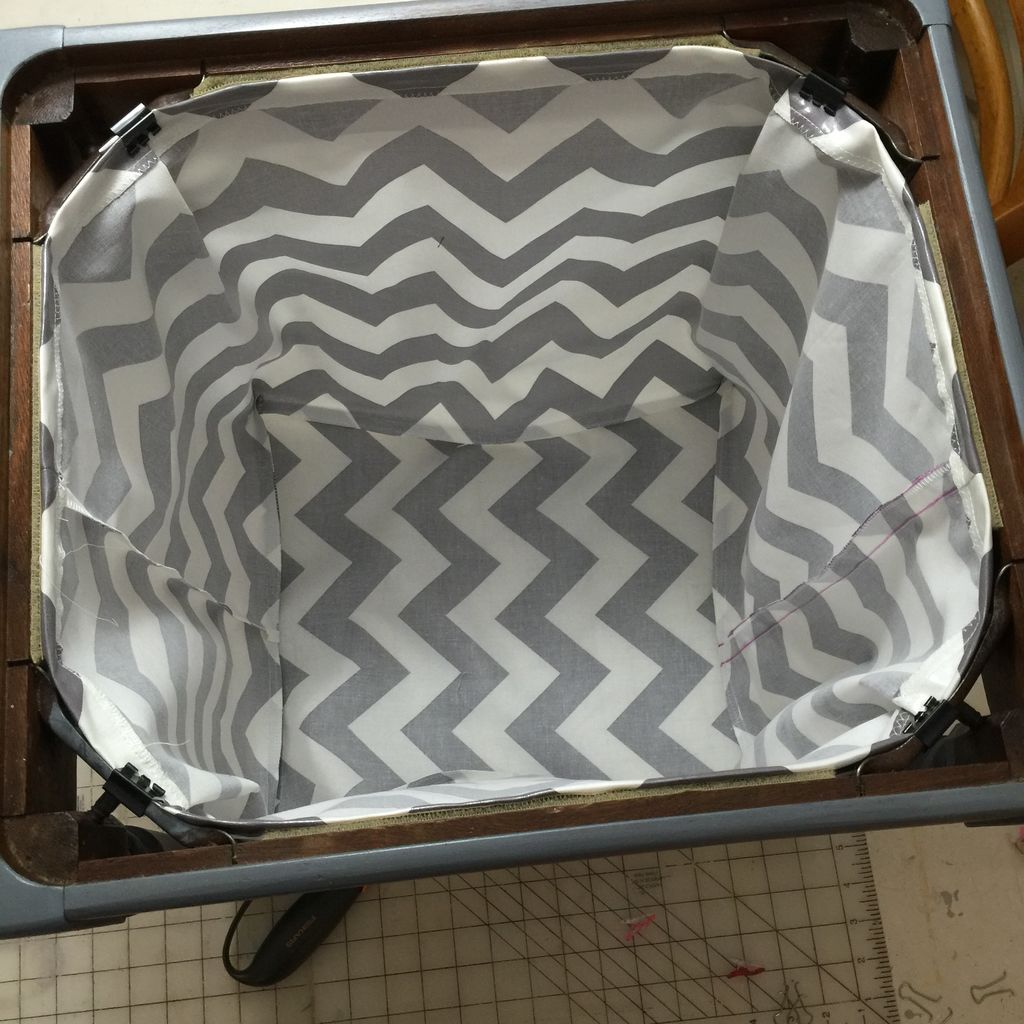
She cut five rectangles to create this square basket shape that would fit into the open bench, between the four legs.
It was attached with Velcro tabs on the flat sides, and binder clips in the corners.
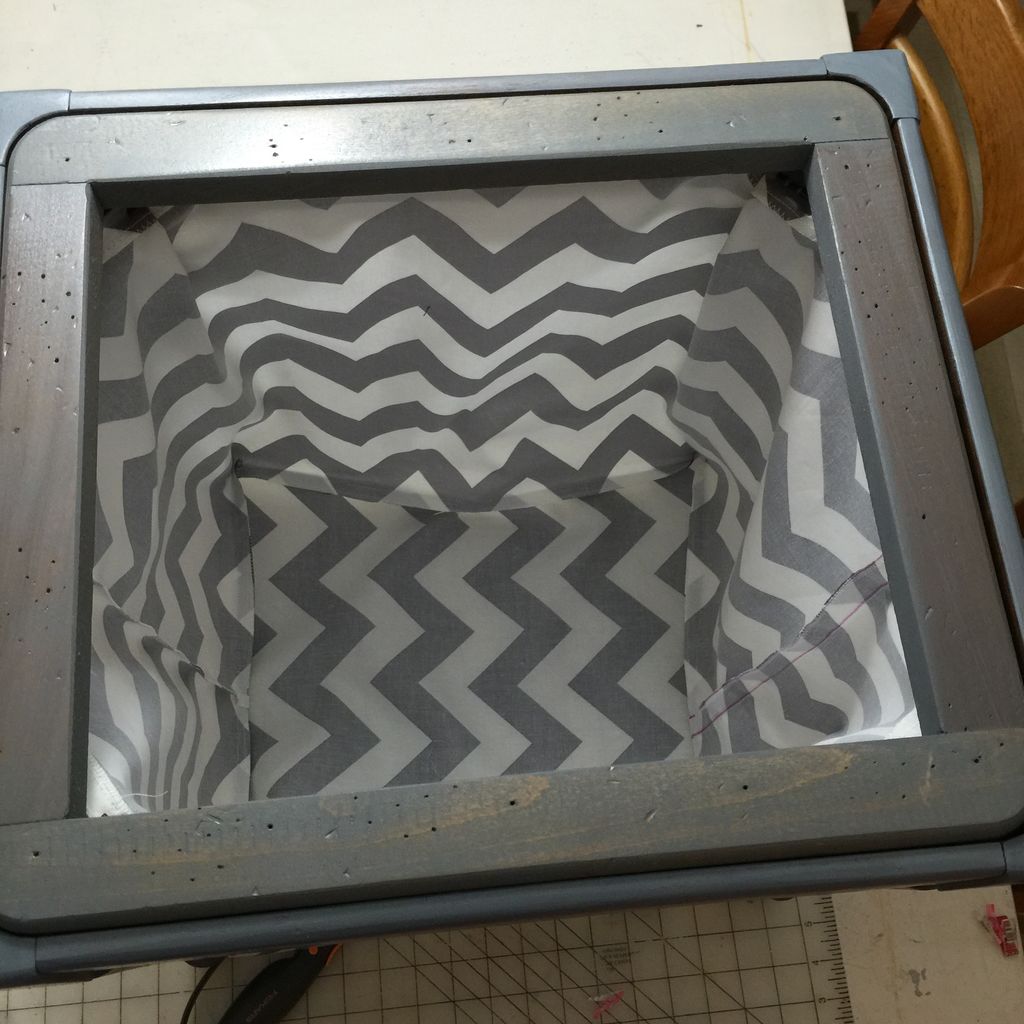
When the bag was attached, Vicki replaced the top of what had originally been the bench, creating a smooth, polished-looking finish.
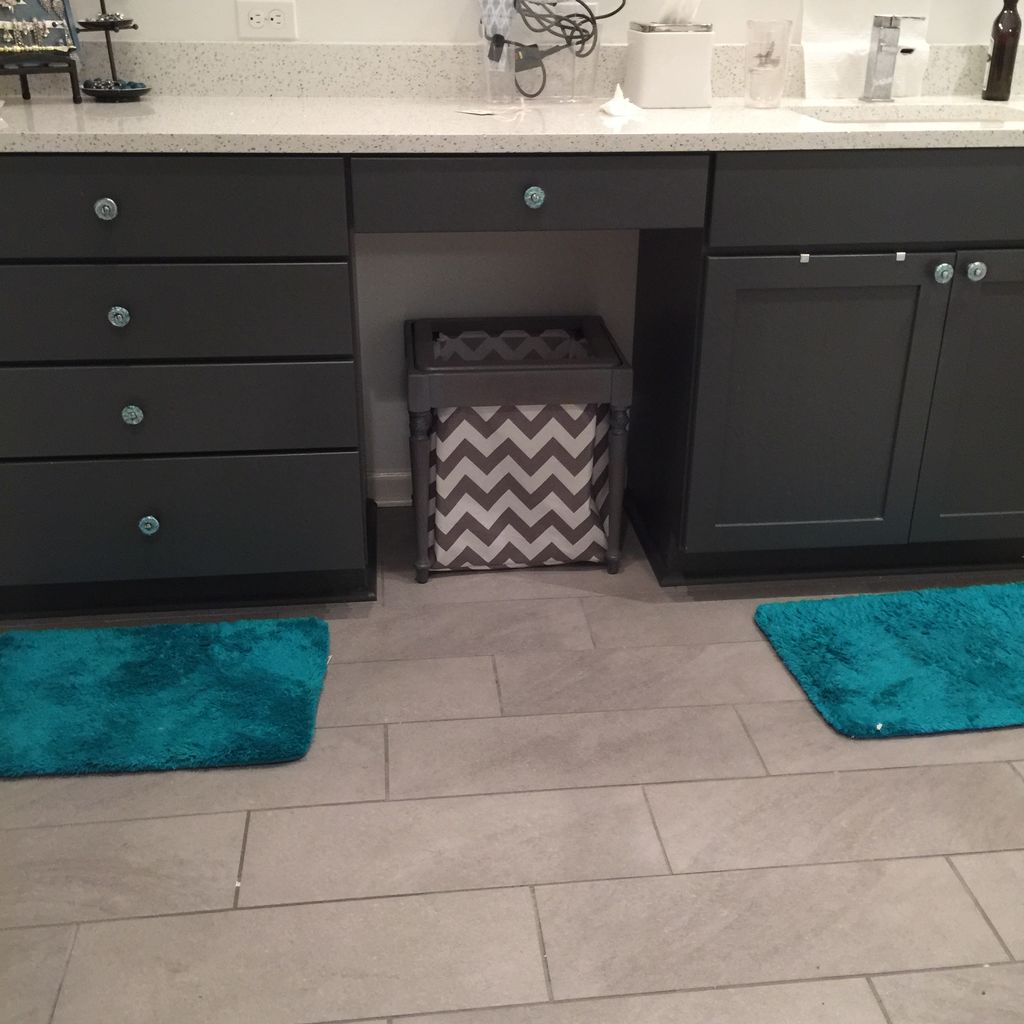
The hamper looks perfect under the bathroom counter. The chevron pattern makes it stylish, but it's not too overwhelming.
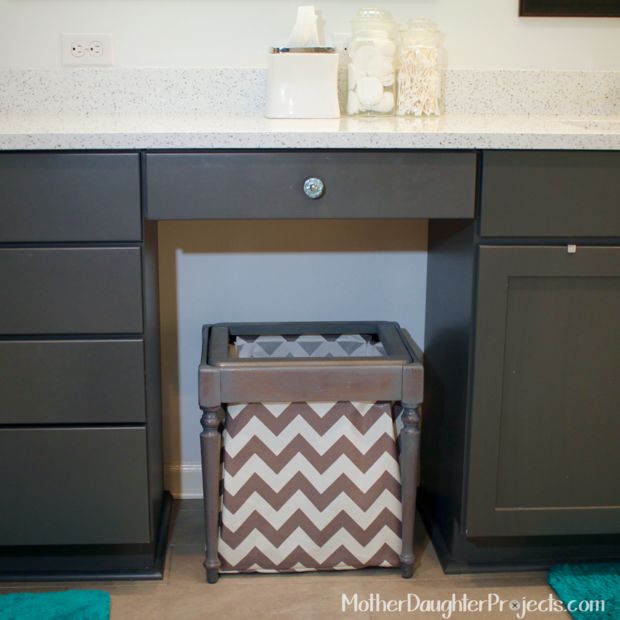
And it's not only cute, but a great functional addition to a bathroom, and a great way to breathe new life into an old piece of furniture.
You can see more of Vicki and Steph's projects on their website, and follow along with their latest projects on Facebook and Instagram.
If you know someone who loves giving discarded things a second chance, be sure to SHARE this project with them!


