Taking photographs is one of my favorite hobbies. I love capturing special memories on film and looking back on them fondly later.
That's why I'm always on the lookout for new ways to display my favorite photos in my house, like these DIY photo mason jars. So when I saw this creative DIY idea for a photo collage by upcycling an old frame, like these great frame upcycles, I knew I'd be trying it.
In fact, this idea got me so excited that I made it right here in the LittleThings office. Everyone gathered around to see what all the hammering was about — and when they saw the finished product? I'm pretty sure several of them will be trying this at home too.
Photo displays like this can cost $50 in a craft store. But by upcycling an old frame and using materials from around the office, I was able to make mine for under $10. And it couldn't have been easier – it took me less than 10 minutes from start to finish!
I love my unique family photo collage and can't wait to hang it up in my house. Will you be trying this yourself? Let us know in the comments.
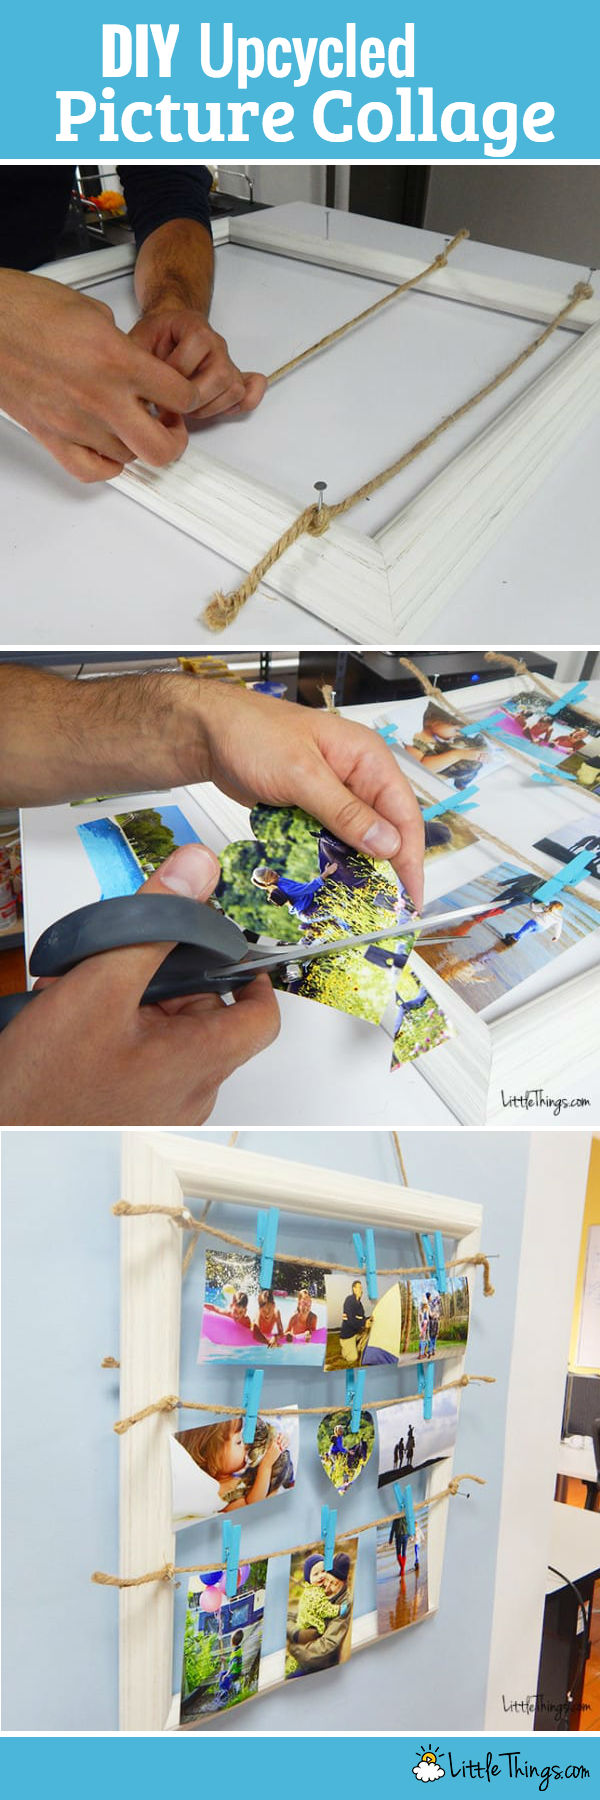
To make this DIY upcycle photo collage, all you'll need are a wooden frame, nails, a hammer, photographs, scissors, twine, and clothespins.
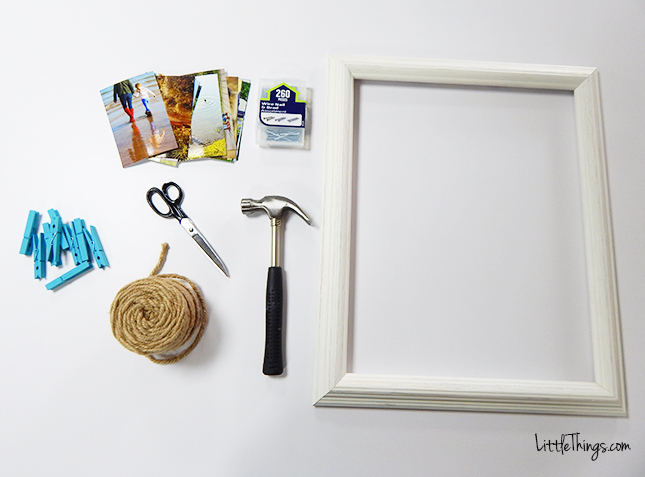
First, lay out the photos within the frame. Use the twine to measure exactly where you want each row of pictures to hang.
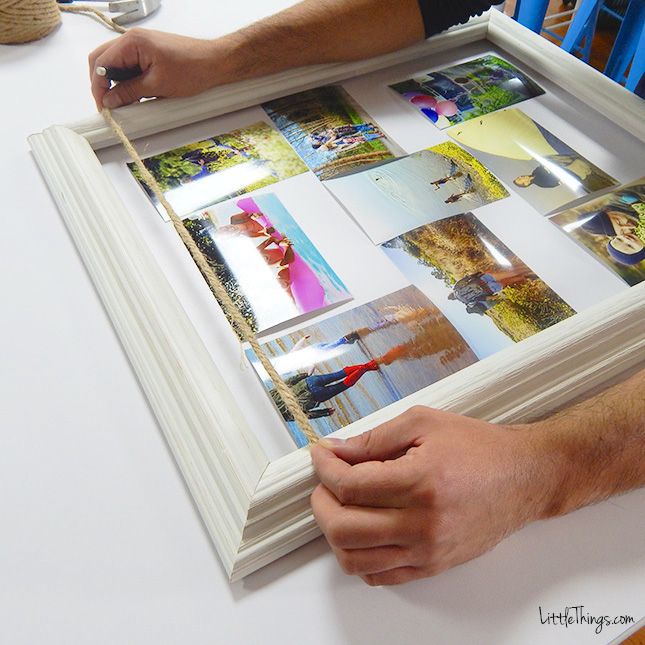
Use a pencil to mark the frame where you will attach each end of the twine.
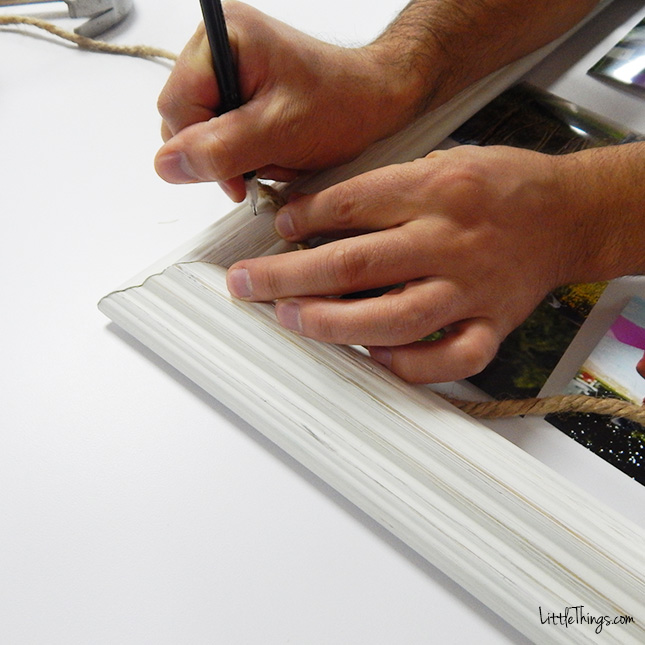
Hammer in nails on each side of the frame where you made your pencil marks.
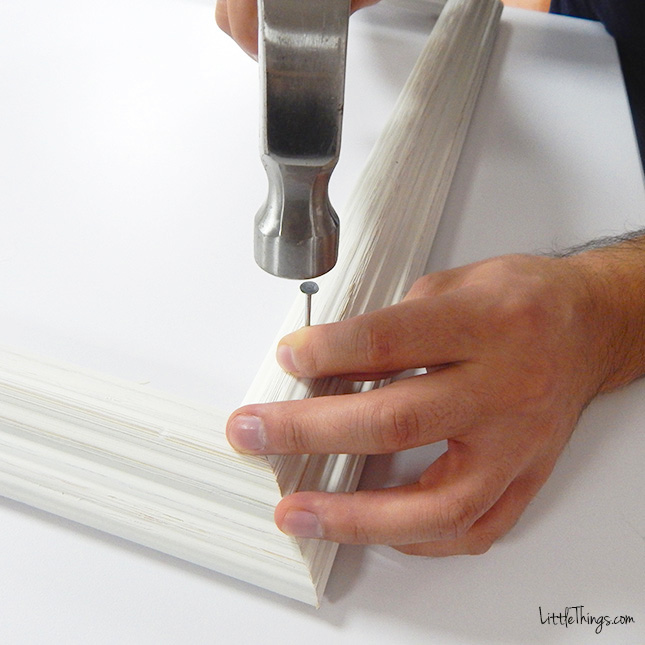
Don't hammer the nails in too far, as you want to leave room to tie the twine.
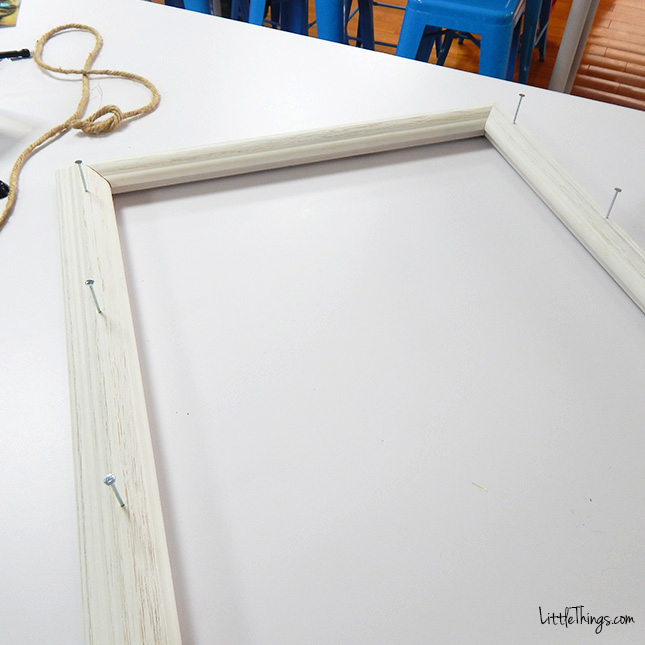
Tie twine to one nail and string it across to the other side of the frame.
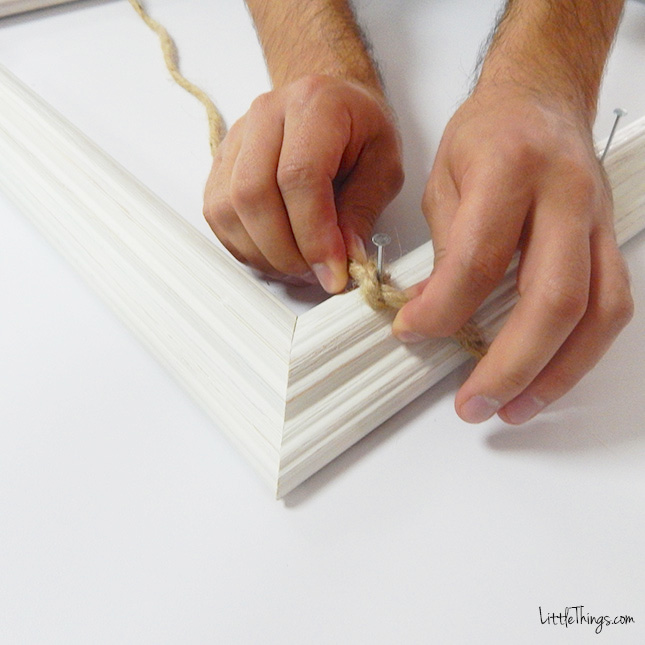
Cut the twine at the appropriate length and tie that end to the other nail.
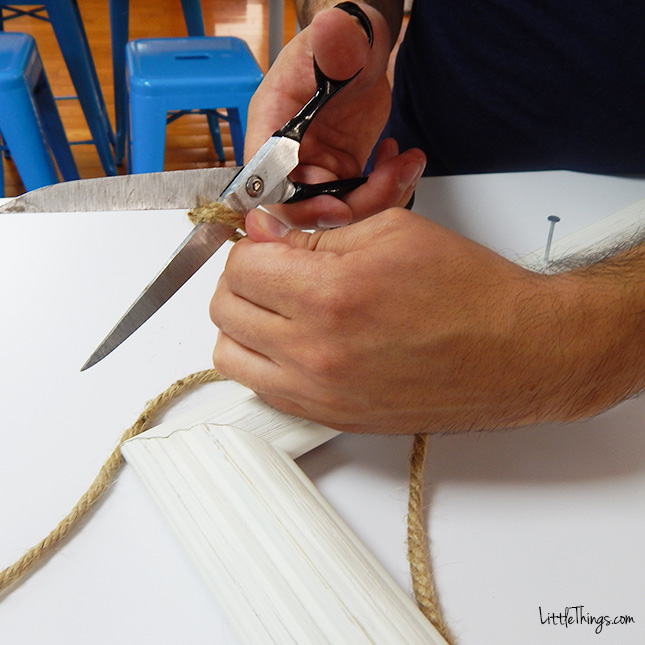
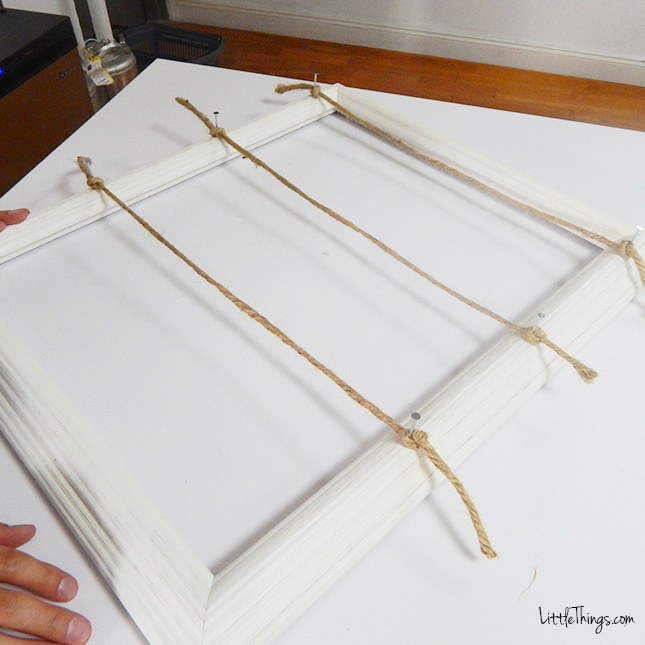
Repeat this for each pair of nails.
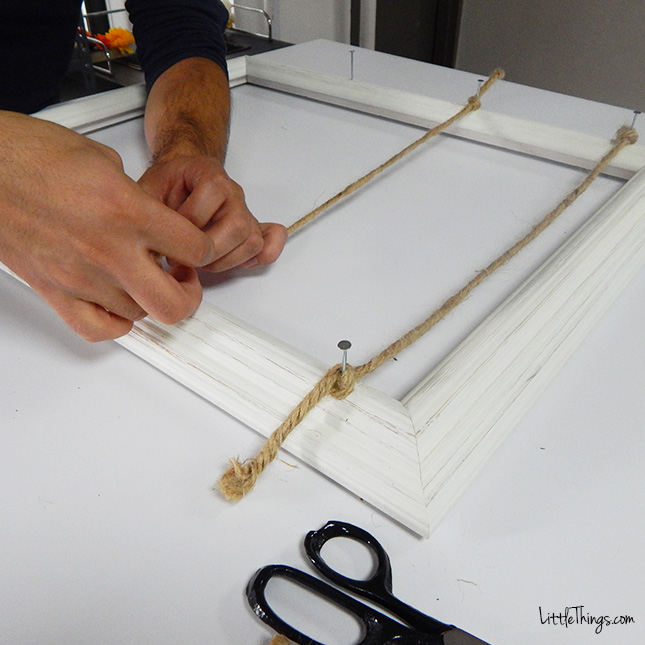
Once the three pieces of twine are attached, flip the frame over.
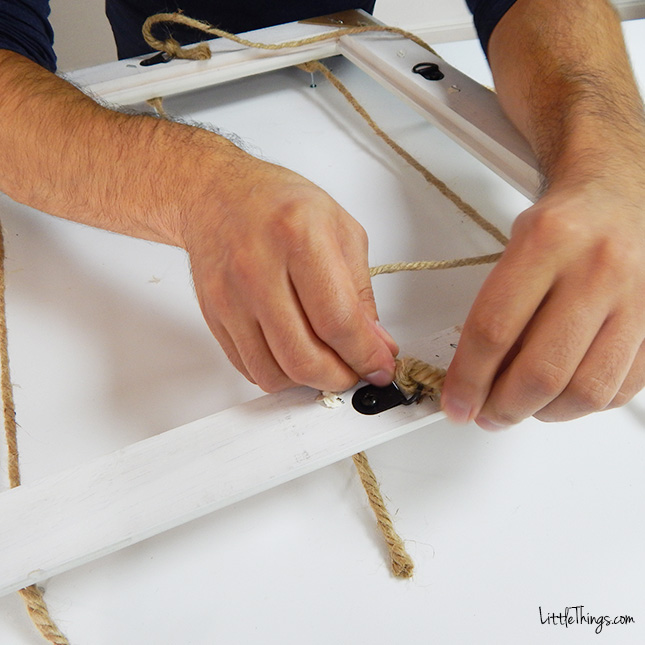
Our frame had pre-installed hooks, so we tied on a longer piece of twine for hanging.
Once the twine is attached to the back, your frame should hang like this.
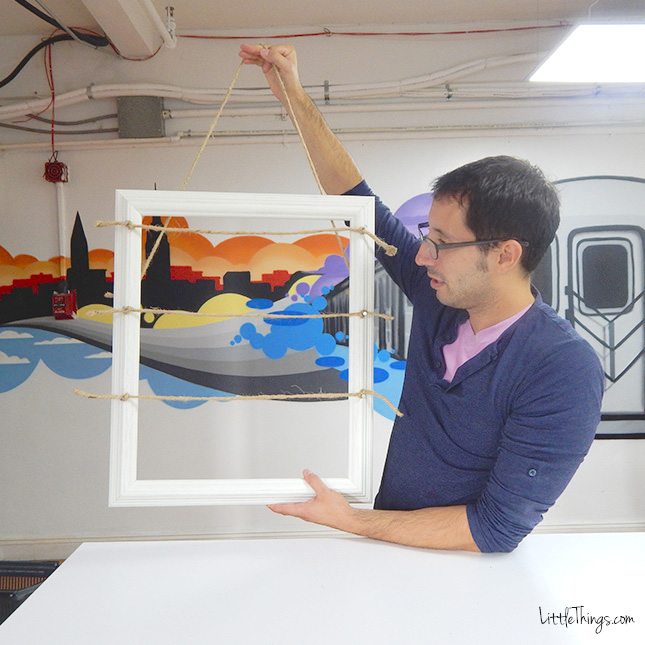
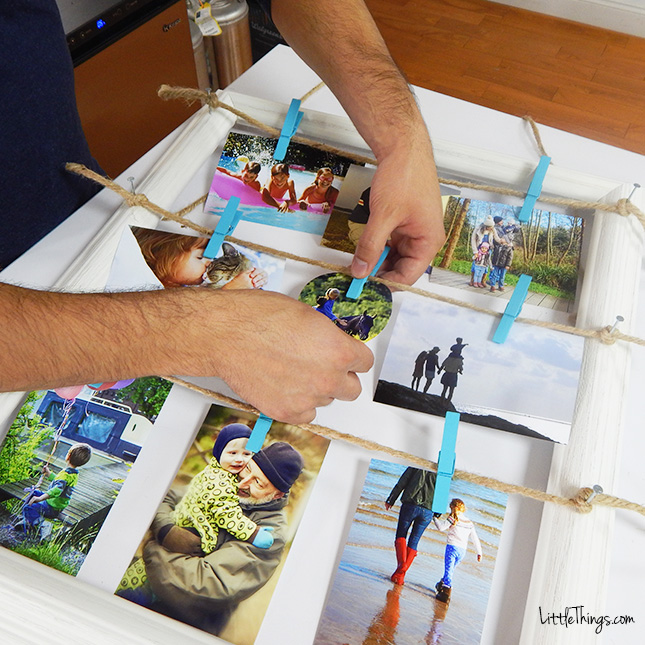
Next comes the fun and creative part. Use clothespins to hang photos from each row of twine.
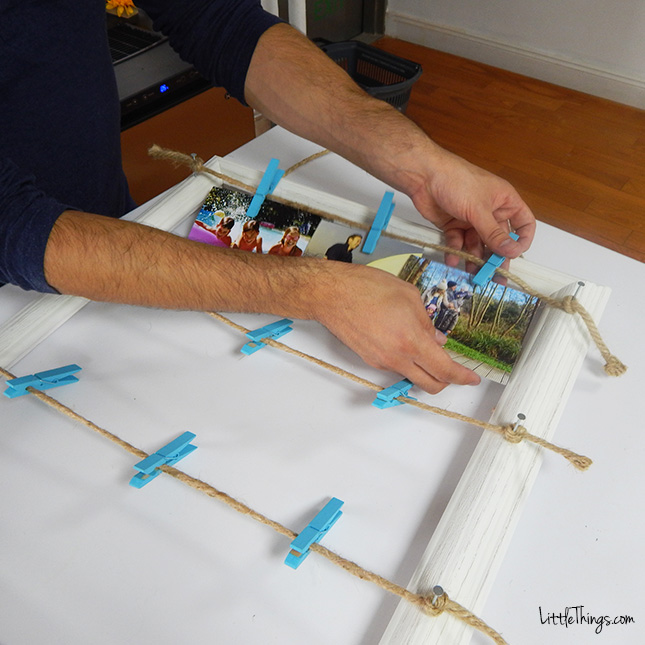
I even cut my center photo into a heart shape to give it more of a personal touch.
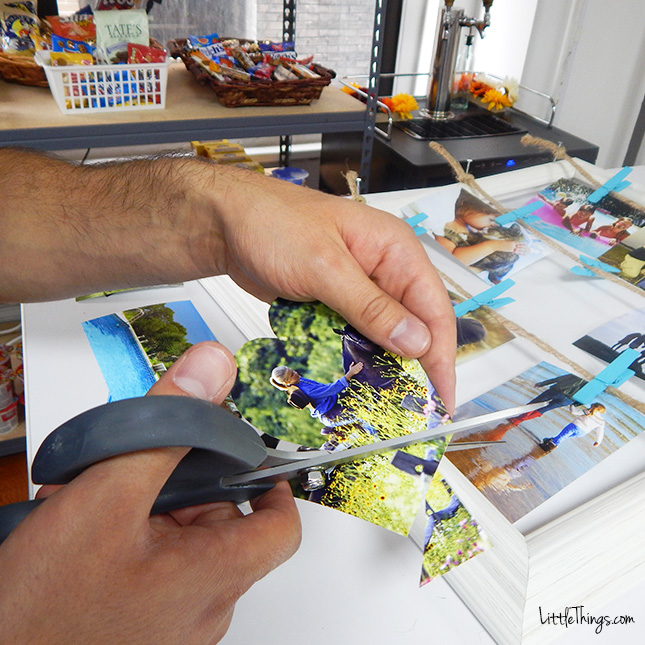
Arrange your photos however you'd like. And since you are just using clothespins, you can swap them out anytime you want!
Now your frame is ready to hang, so find a nice clean piece of wall where you want your photos on display.
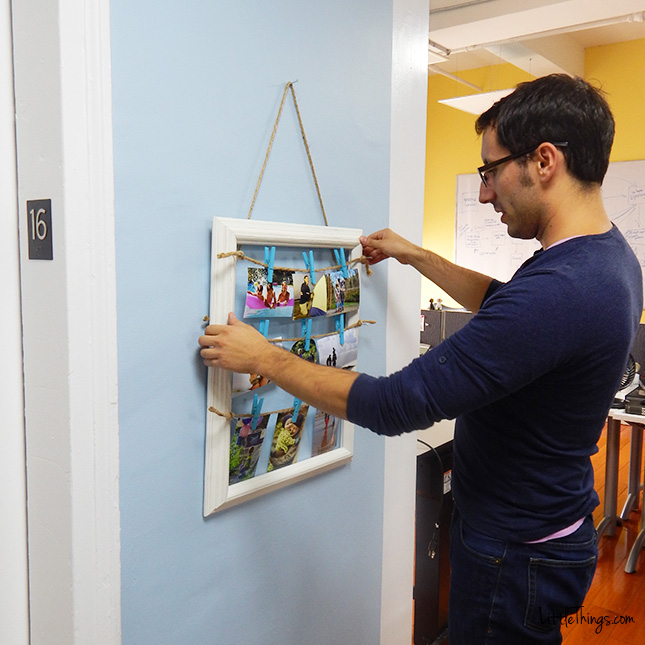
I temporarily hung mine up at the LittleThings office, but I can't wait to bring it home and put it on my wall there!
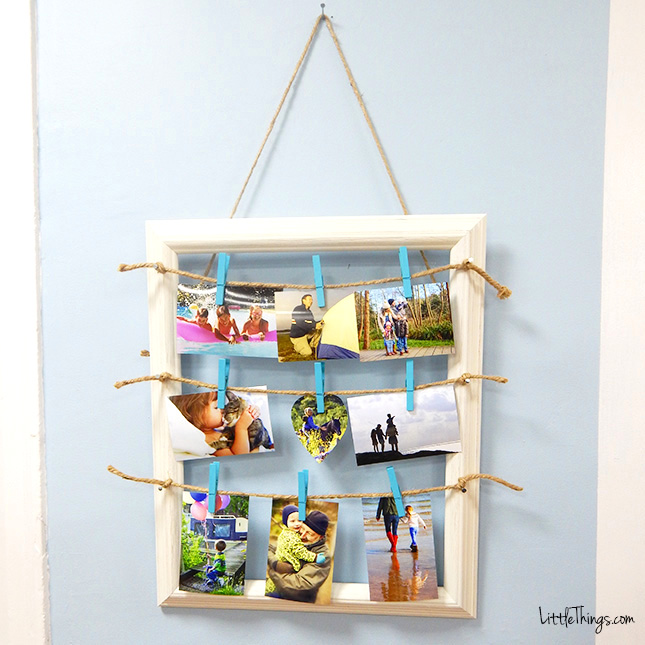
I couldn't be more pleased with how my photo collage turned out. This is by far one of the cheapest, easiest, and coolest DIY projects I've tried yet!
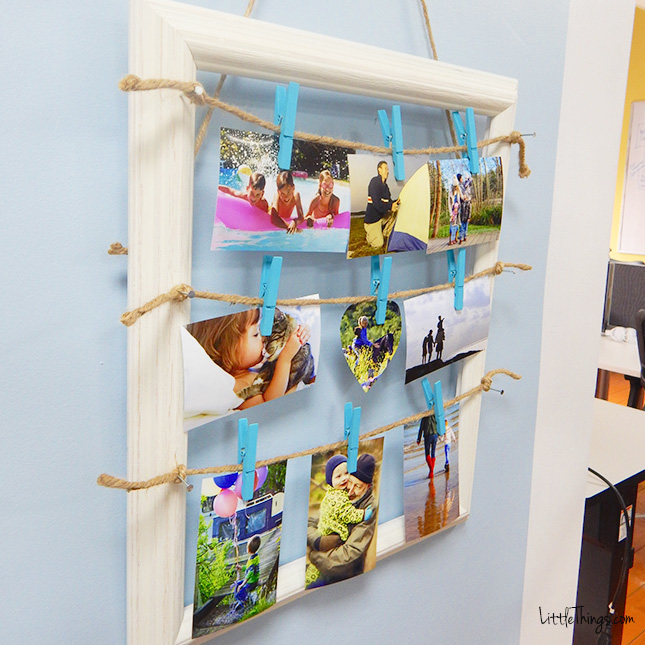
Please SHARE if you love unique DIY upcycle projects like this!


