Moving can be an extremely stressful process. And that stress can be magnified if the furniture and decorations from your old home don't quite fit in your new home.
Fortunately, there are quite a few simple DIY ideas that can make transferring to your new house easier, like these brilliant moving hacks.
And when I stumbled upon this DIY method for lengthening curtains, I knew I just had to share it.
I found this clever curtain hack on A Beautiful Mess, from DIY-er Katie Shelton. After moving to a new house, Katie posted, "New spaces can pose new problems, and now all of my existing curtains are too short!"
Luckily, Katie used a simple and creative method to lengthen her existing curtains, while making them more beautiful than ever.
Scroll through below to see just how easily you can save yourself from having to buy a whole new set of curtains.
Will you be giving this DIY hack a try yourself? Let us know in the comments.

When this DIY-er moved into her new home, she was thrilled to have large, beautiful windows. However, her old curtains were a standard length, causing them to come up quite a bit short.
Katie wrote, "I do not have the money to cover my home in all new panels (that would be SO expensive). So I got to planning my next DIY.
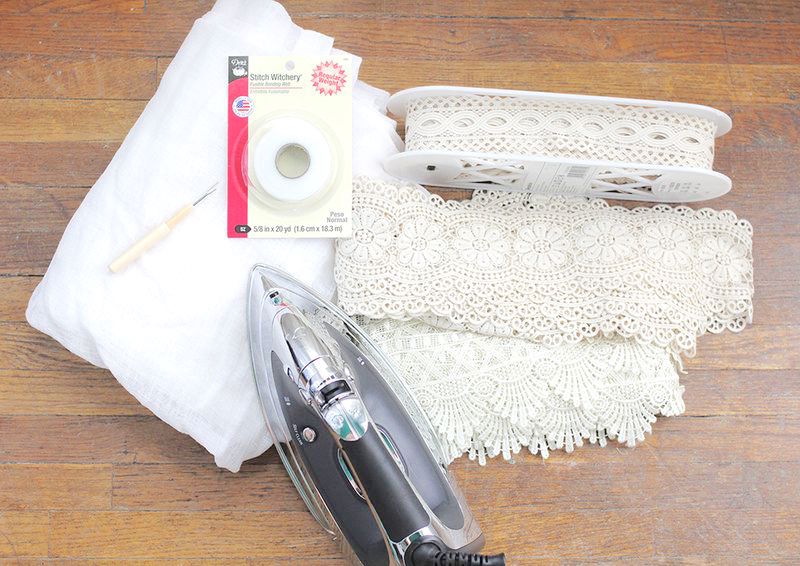
Katie started out her project with some lovely lace trim, a seam ripper, an iron, a damp cloth, and a roll of Stitch Witchery, which is an easy-to-use fusible bonding web.
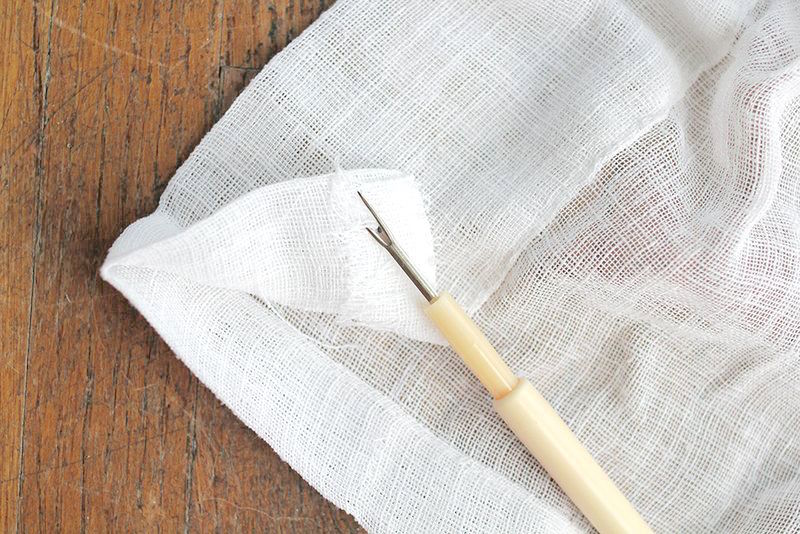
She carefully used the seam ripper to open up the bottom hem of her curtain panel.
Katie wrote, "As you can see, my curtains snag easily, so this was the most tedious part of the whole DIY for me."
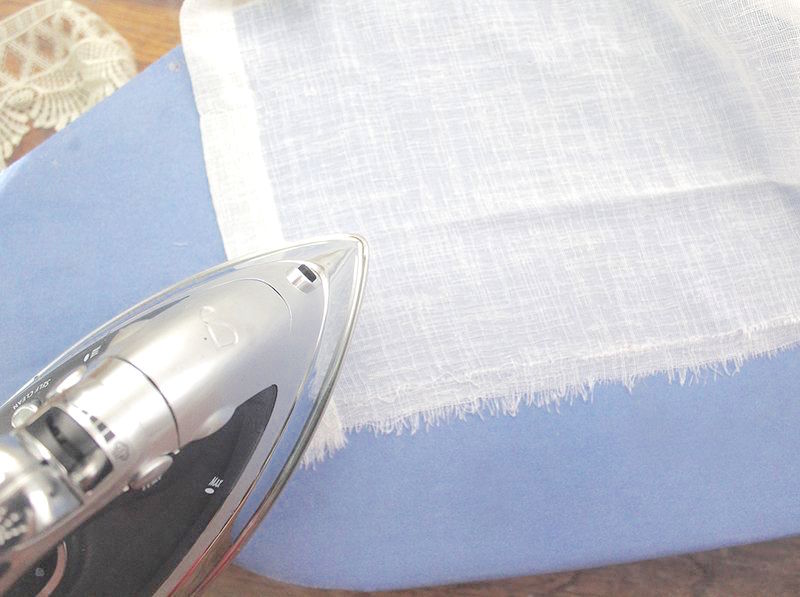
She then ironed the former-hem using the steam setting of her iron.
Once the hem was completely removed, Katie hung the curtain back up and measured exactly how much extra length would be necessary to reach the floor.
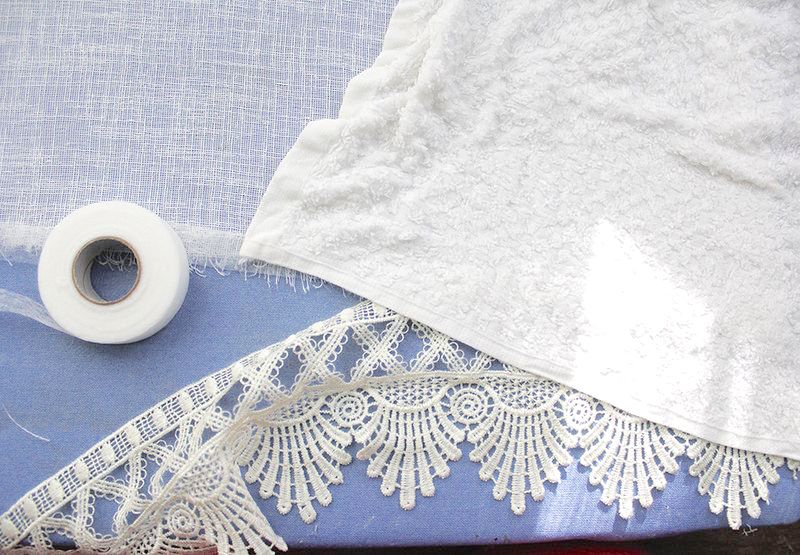
Katie made sure to choose specific sizes of lace that would fill the gap between the bottom of the curtain and the floor.
She wrote, "Now we're getting to the fun part! Take your Stitch Witchery and lay it on top of the raw edge of the curtain. Lay your trim on top of that. Take a damp cloth and carefully place it on top of the lace."
Carefully pressing the iron on top (using a steam setting again), Katie worked her way along the length of the curtain.
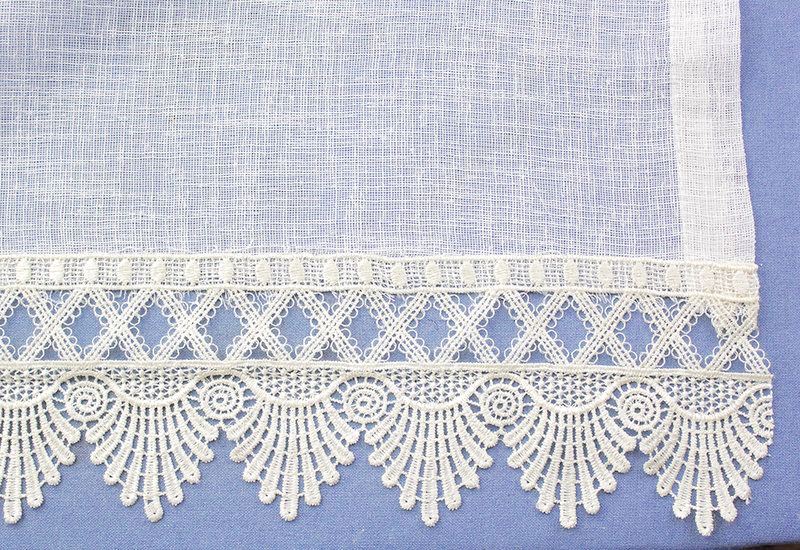
In Katie's case, three rows of lace were necessary to reach the perfect curtain length, so she repeated this ironing process two more times.
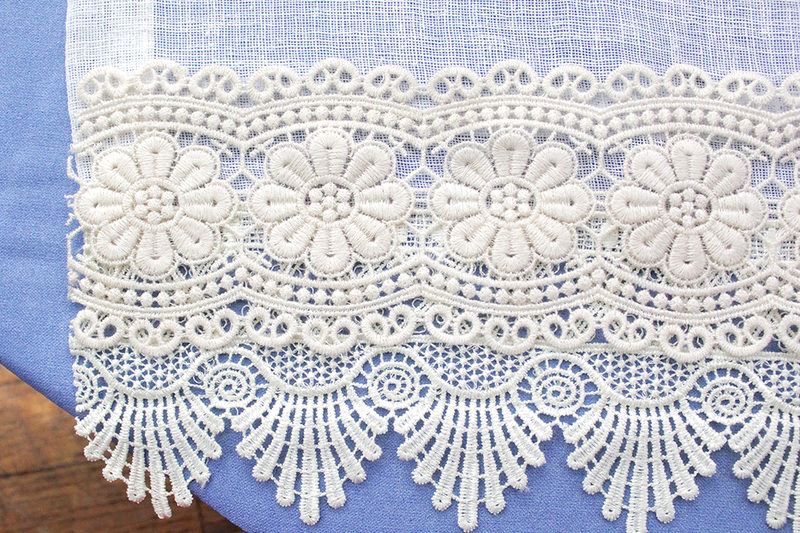
The result was a lovely, layered lace border that extend the curtains to just the right length.
Katie chose to leave the edge of the lace raw, but wrote, "If you like a more finished look, just wrap the edges all the way around and press exactly the same way."
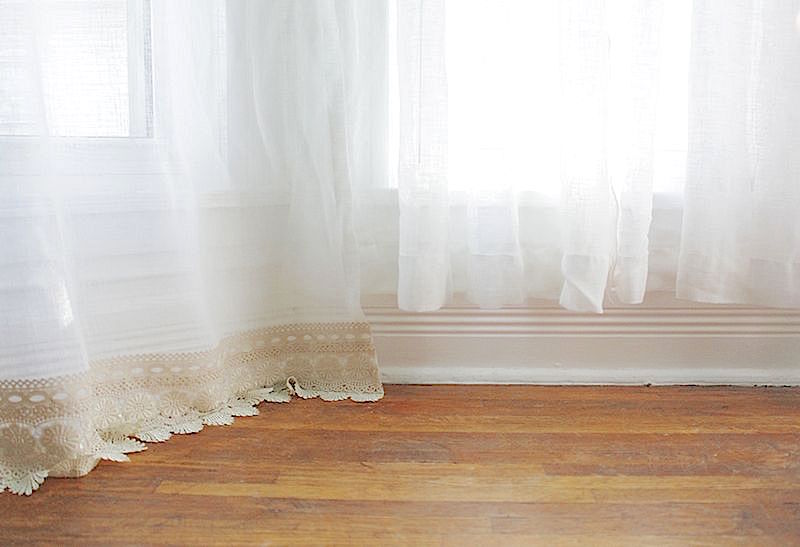
By placing the new, lengthened curtain next to the original, Katie was able to see just how successful her hack truly was!
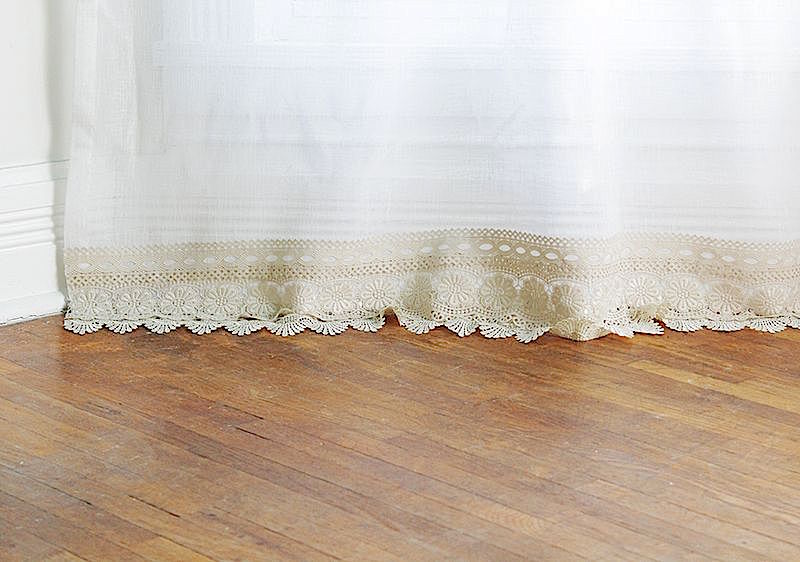
She was absolutely thrilled with the way her "new" curtains looked, writing, "I love how dramatic they feel now that they touch the floor, instead of hitting in a sorta awkward spot."

This brilliant curtain hack added a lovely lace element to Katie's home, and saved her from having to spend hundreds of dollars on expensive, new curtains!
Will you be giving this home hack a try? Let us know in the comments.
Please SHARE this easy and clever DIY idea with friends and family!


