How many times have you seen the perfect piece of furniture — great shape, perfect size, your favorite color — only to be heartbroken by its insanely steep price tag?
For me, it happens far too often. I'll be browsing online, looking to improve my humble home, only to realize that I can't afford a single piece of furniture. Because of this, I'm often forced to turn to thrift stores for all my furnishing needs.
But for some crafty people, hefty price tags are no match for their brilliant innovation — like the amazing chair you're about to see below! If I could make stunning pieces like this, I'd never have to go shopping again!
The second I saw this incredible final product, I fell in love. I could easily spend hours curled up here, a cup of coffee by my side, just reading the day away. Couldn't you?
Please SHARE if you'd love to have this in your home!
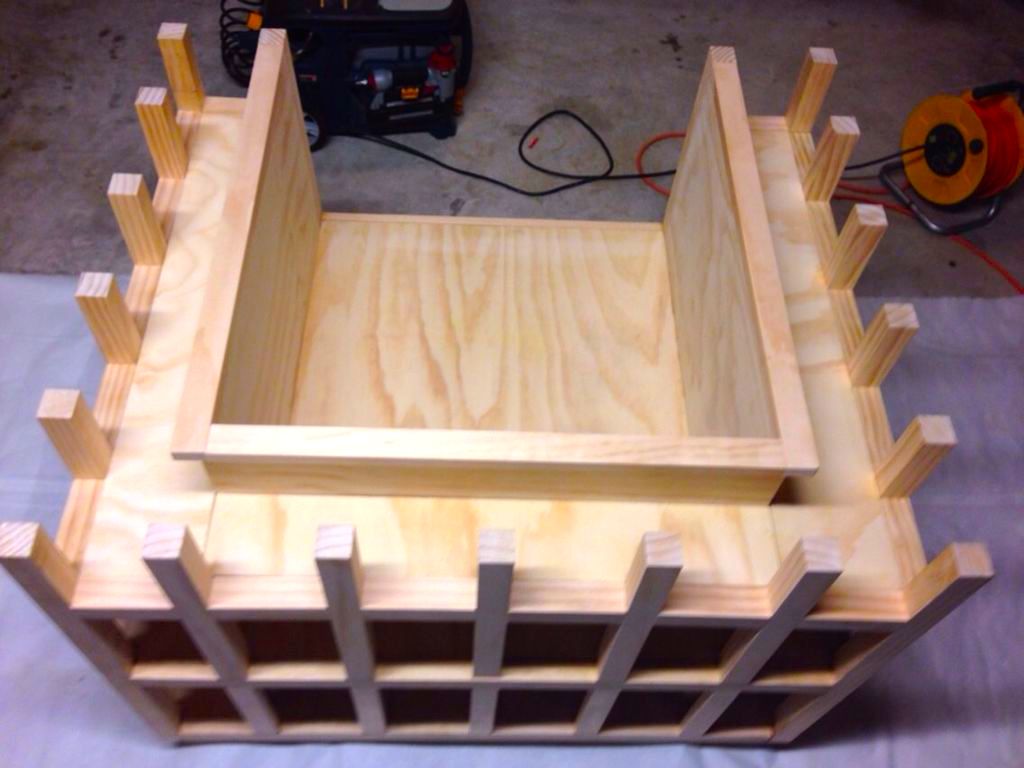
Refusing to spend $5,000 for a similar piece of furniture, craftsman Darko Kavazovic got to work in his garage. He started by building the base, which required a 4' x 8' sheet of plywood and 2" x 2" pieces of pine.
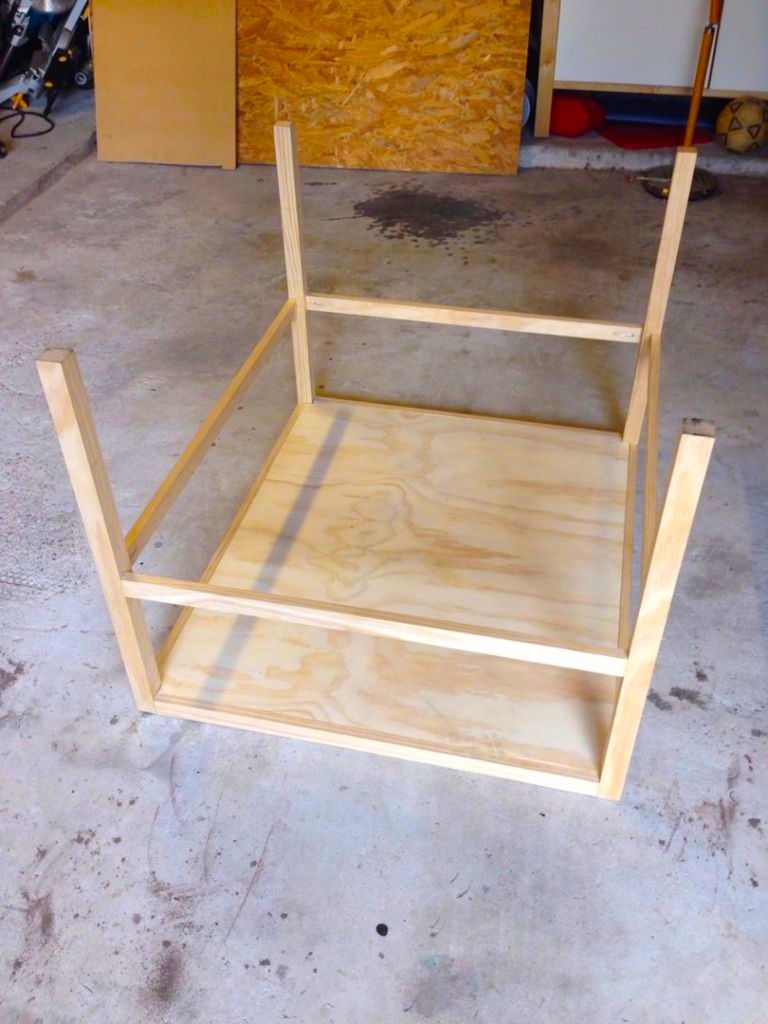
Next, he constructed the support pieces and adhered them with screws and wood glue.
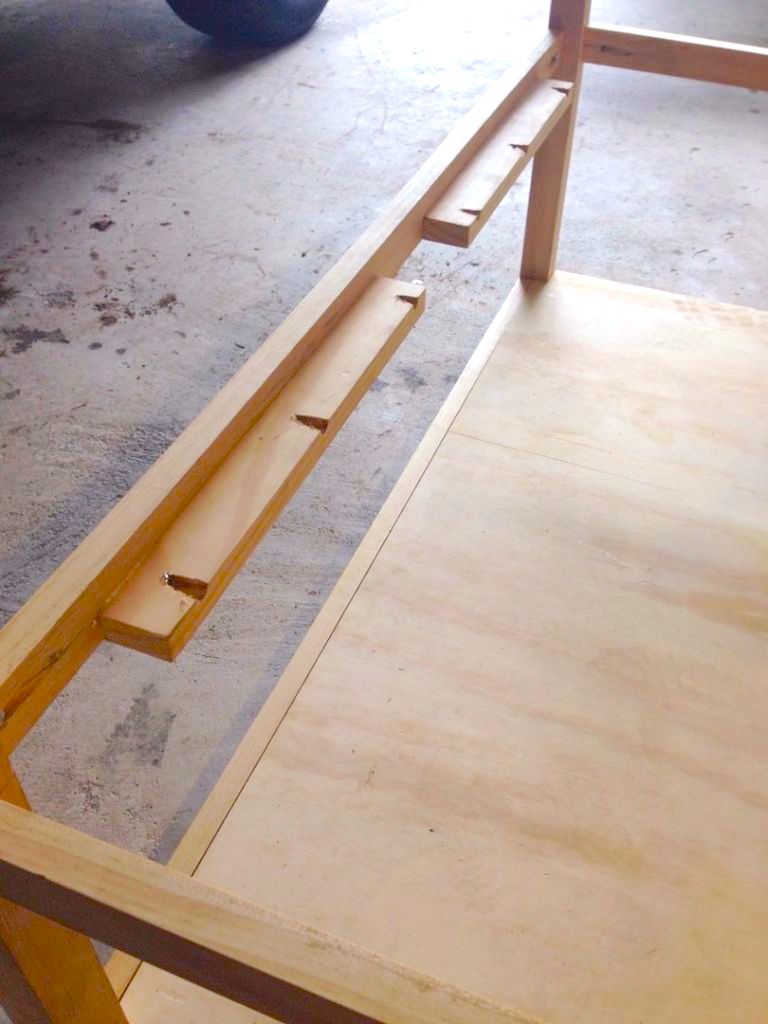
After that, it was time for the side slats.
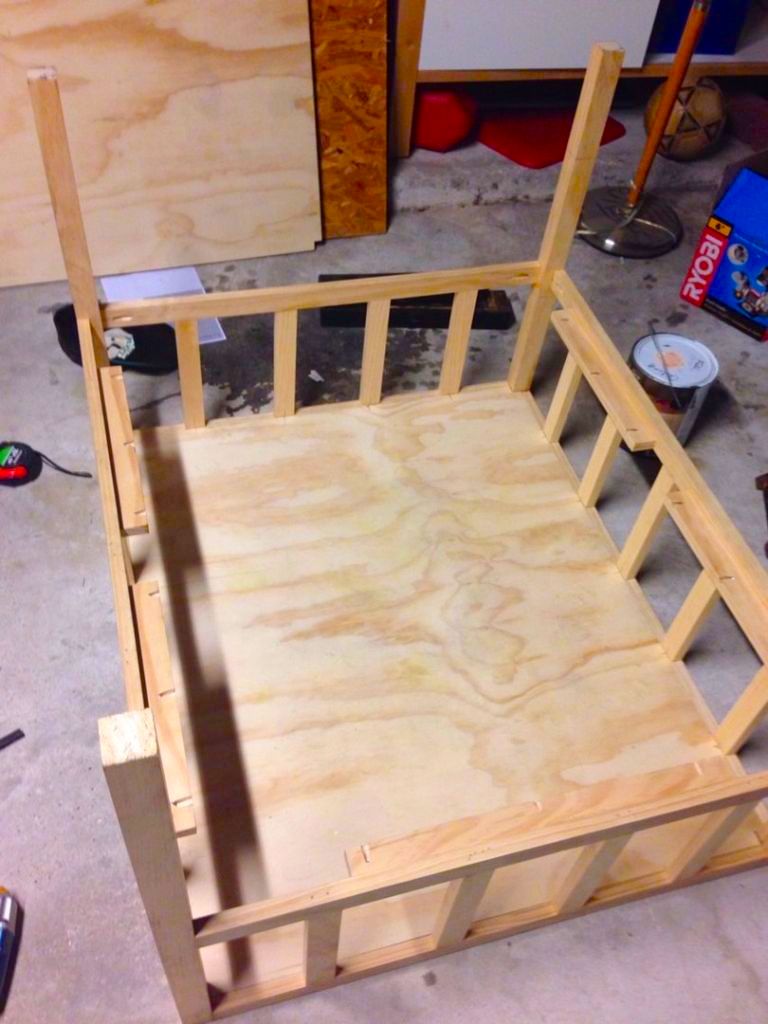
He used another 4' x 8' piece of plywood to create a second layer. (Any guesses as to what he's building?)
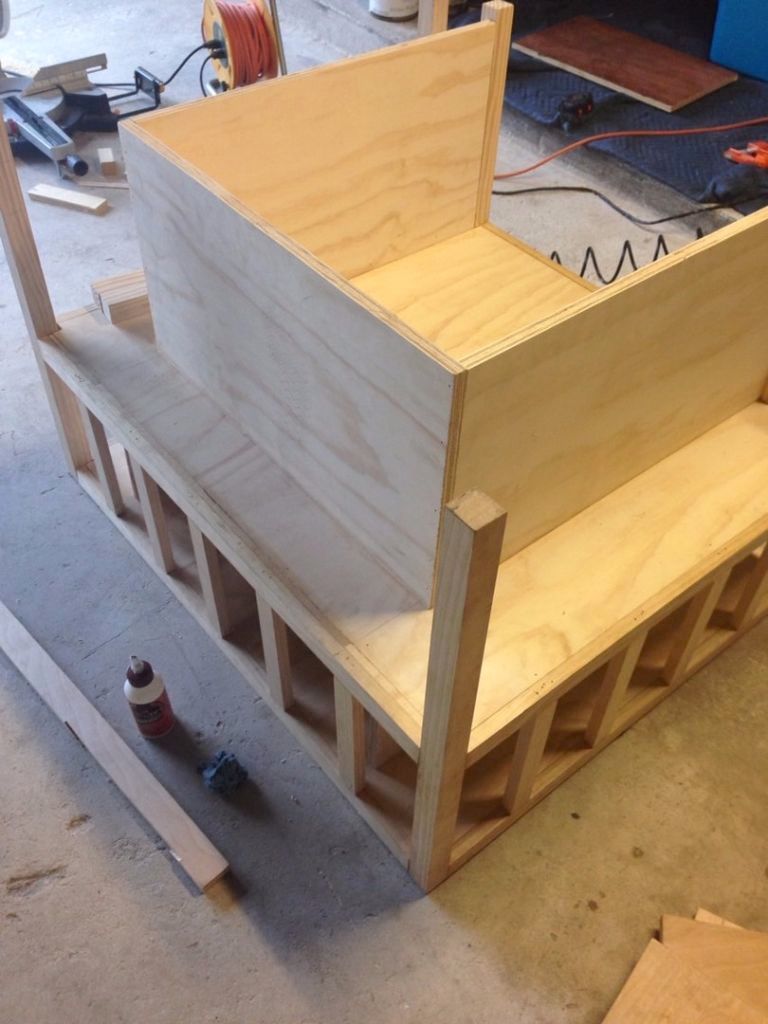
He then added more slats to this new second tier.
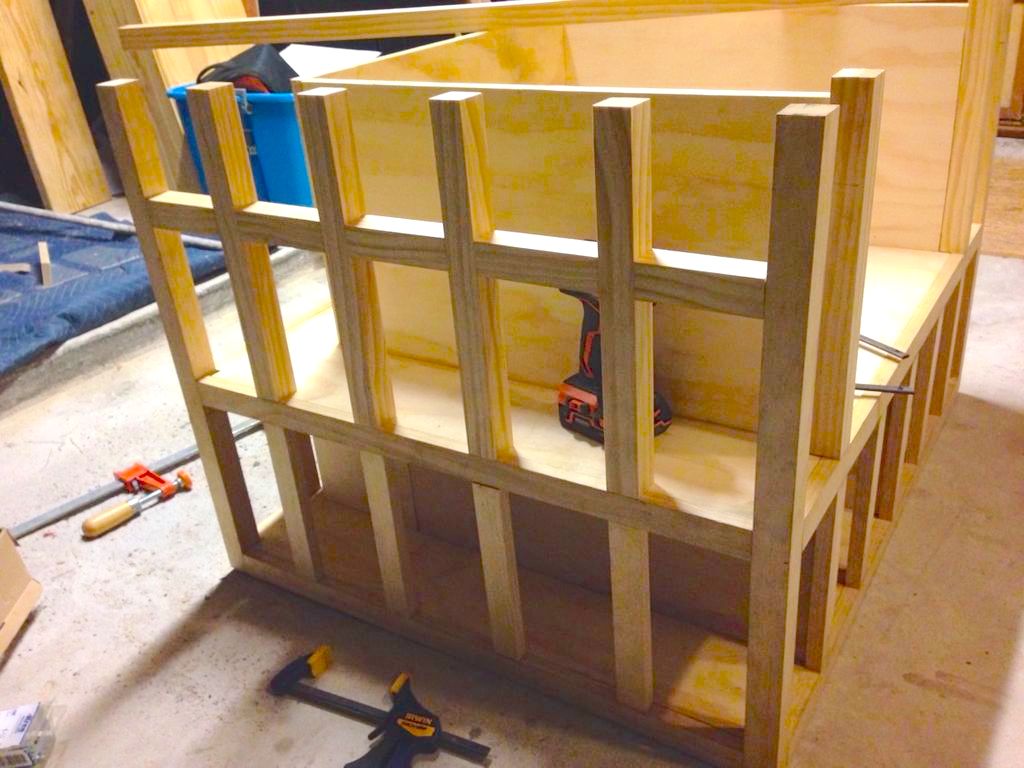
He used pocket screws to interlock each 2" x 2" piece of pine.
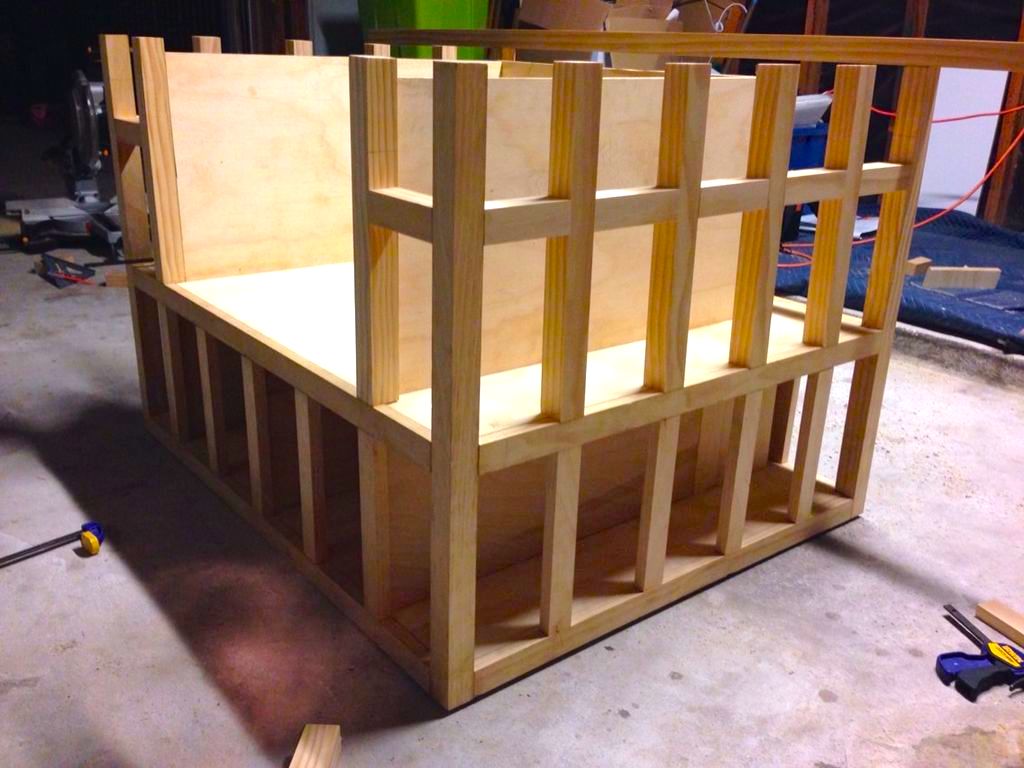
As he continued to build the sides, he also used wood glue to hold everything in place. He applied clamps for a tight grip.
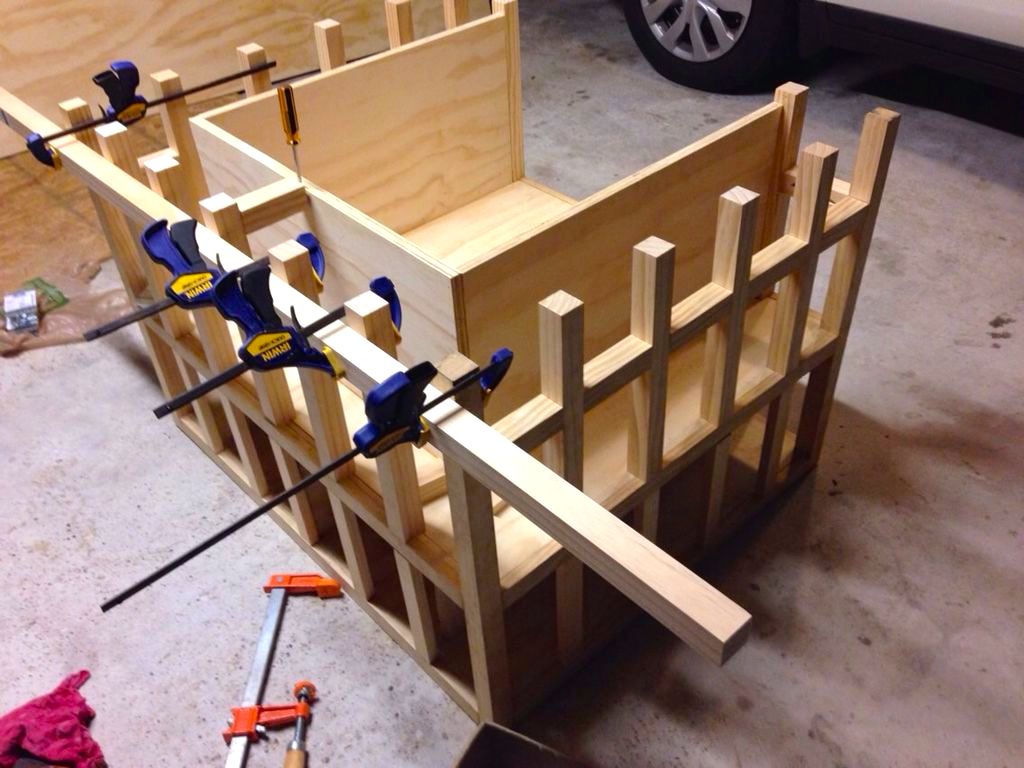
His new furniture piece is beginning to take shape!
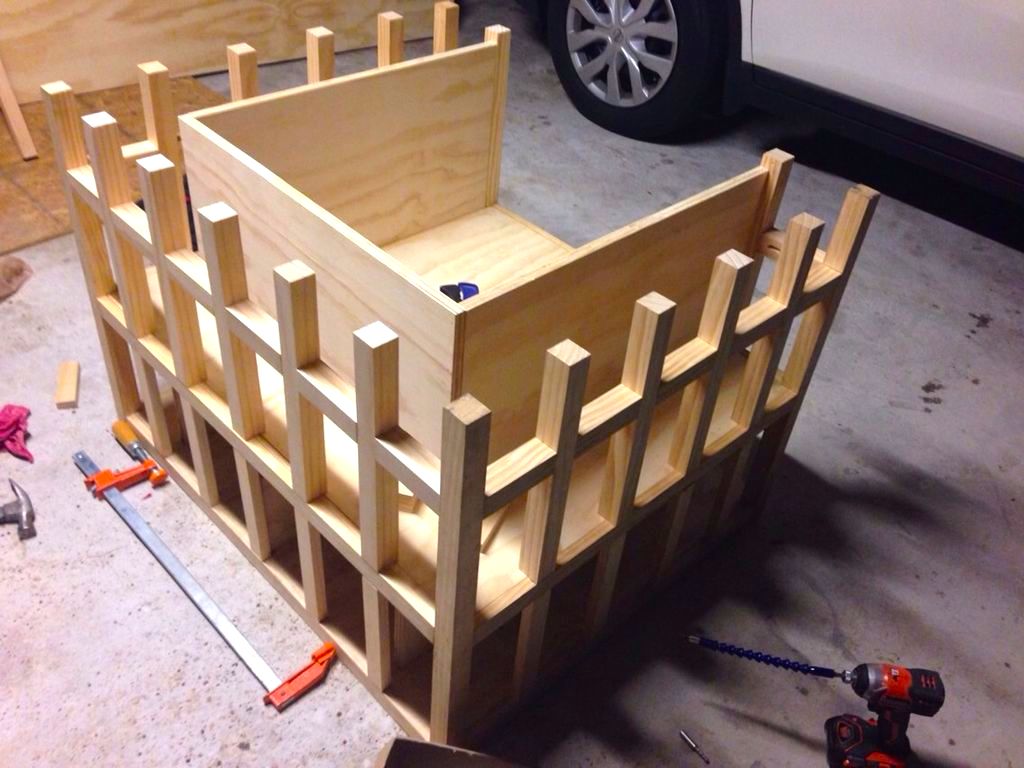
When everything was dried and ready, he used cut and inserted plywood to support the three sides.
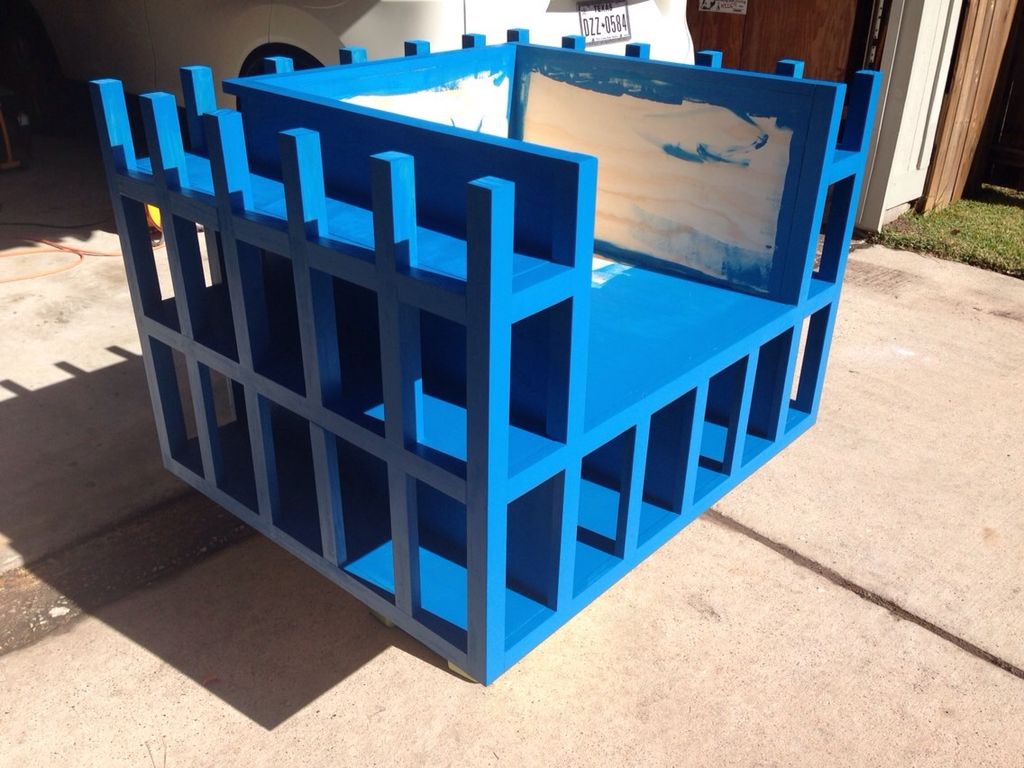
Next, he took his project outside to give it a bright blue coat of paint. Almost done!
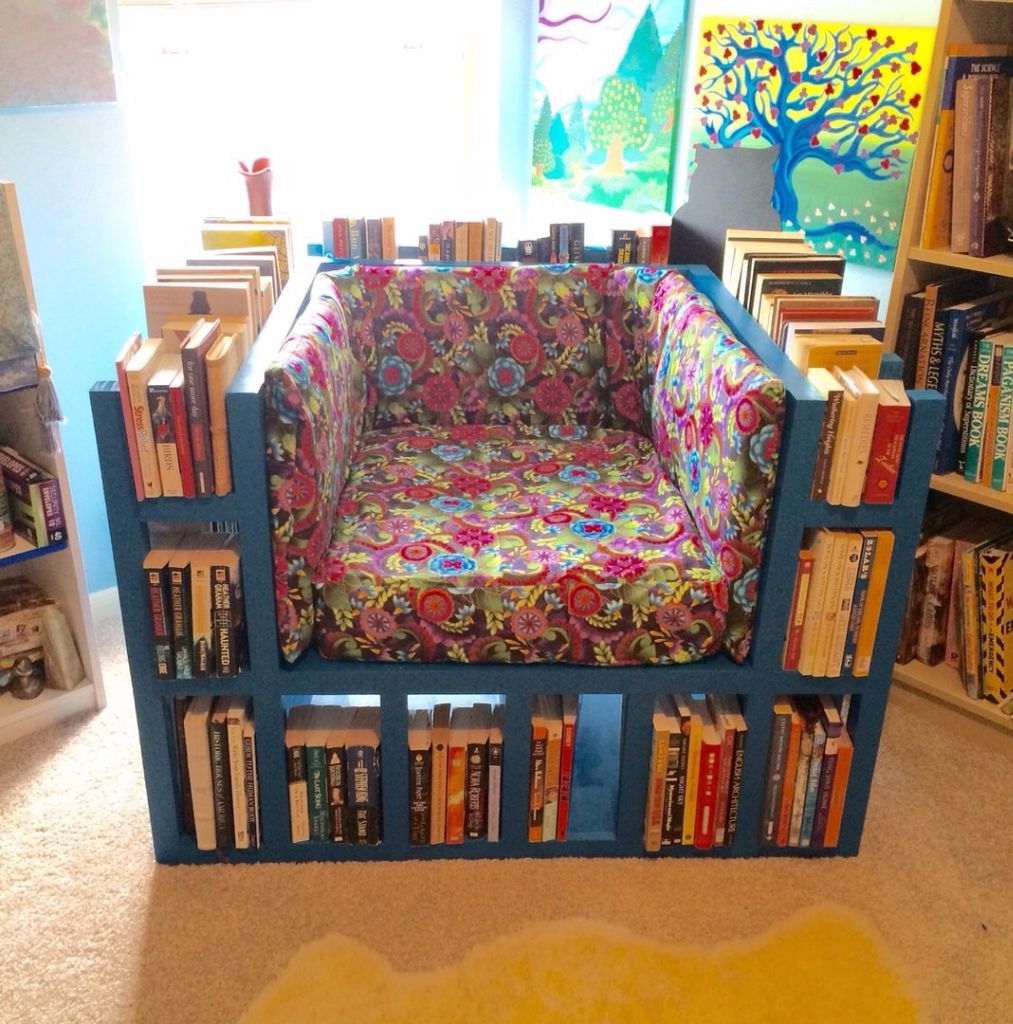
Finally, after adding some festive cushions and his favorite books, his new reading nook is complete! I could spend hours reading here, couldn't you?
Please SHARE if you'd love to curl up in this comfy chair!


