Something that my 12-year-old and I have in common is that we both aspire to be people who enjoy creating arts and crafts with our hands, but we are both people who … enjoy talking about maybe creating arts and crafts with our hands but don't actually get around to doing it that often. And while I definitely believe that it's perfectly OK to not have arts and crafts as a hobby, every so often I get it in my head that it would be fun for us to try anyway.
Enter: DIY plastic shrink pins and magnets, a craft that is super easy and requires next to nothing. In fact, you might be able to pull it off without even leaving your home!
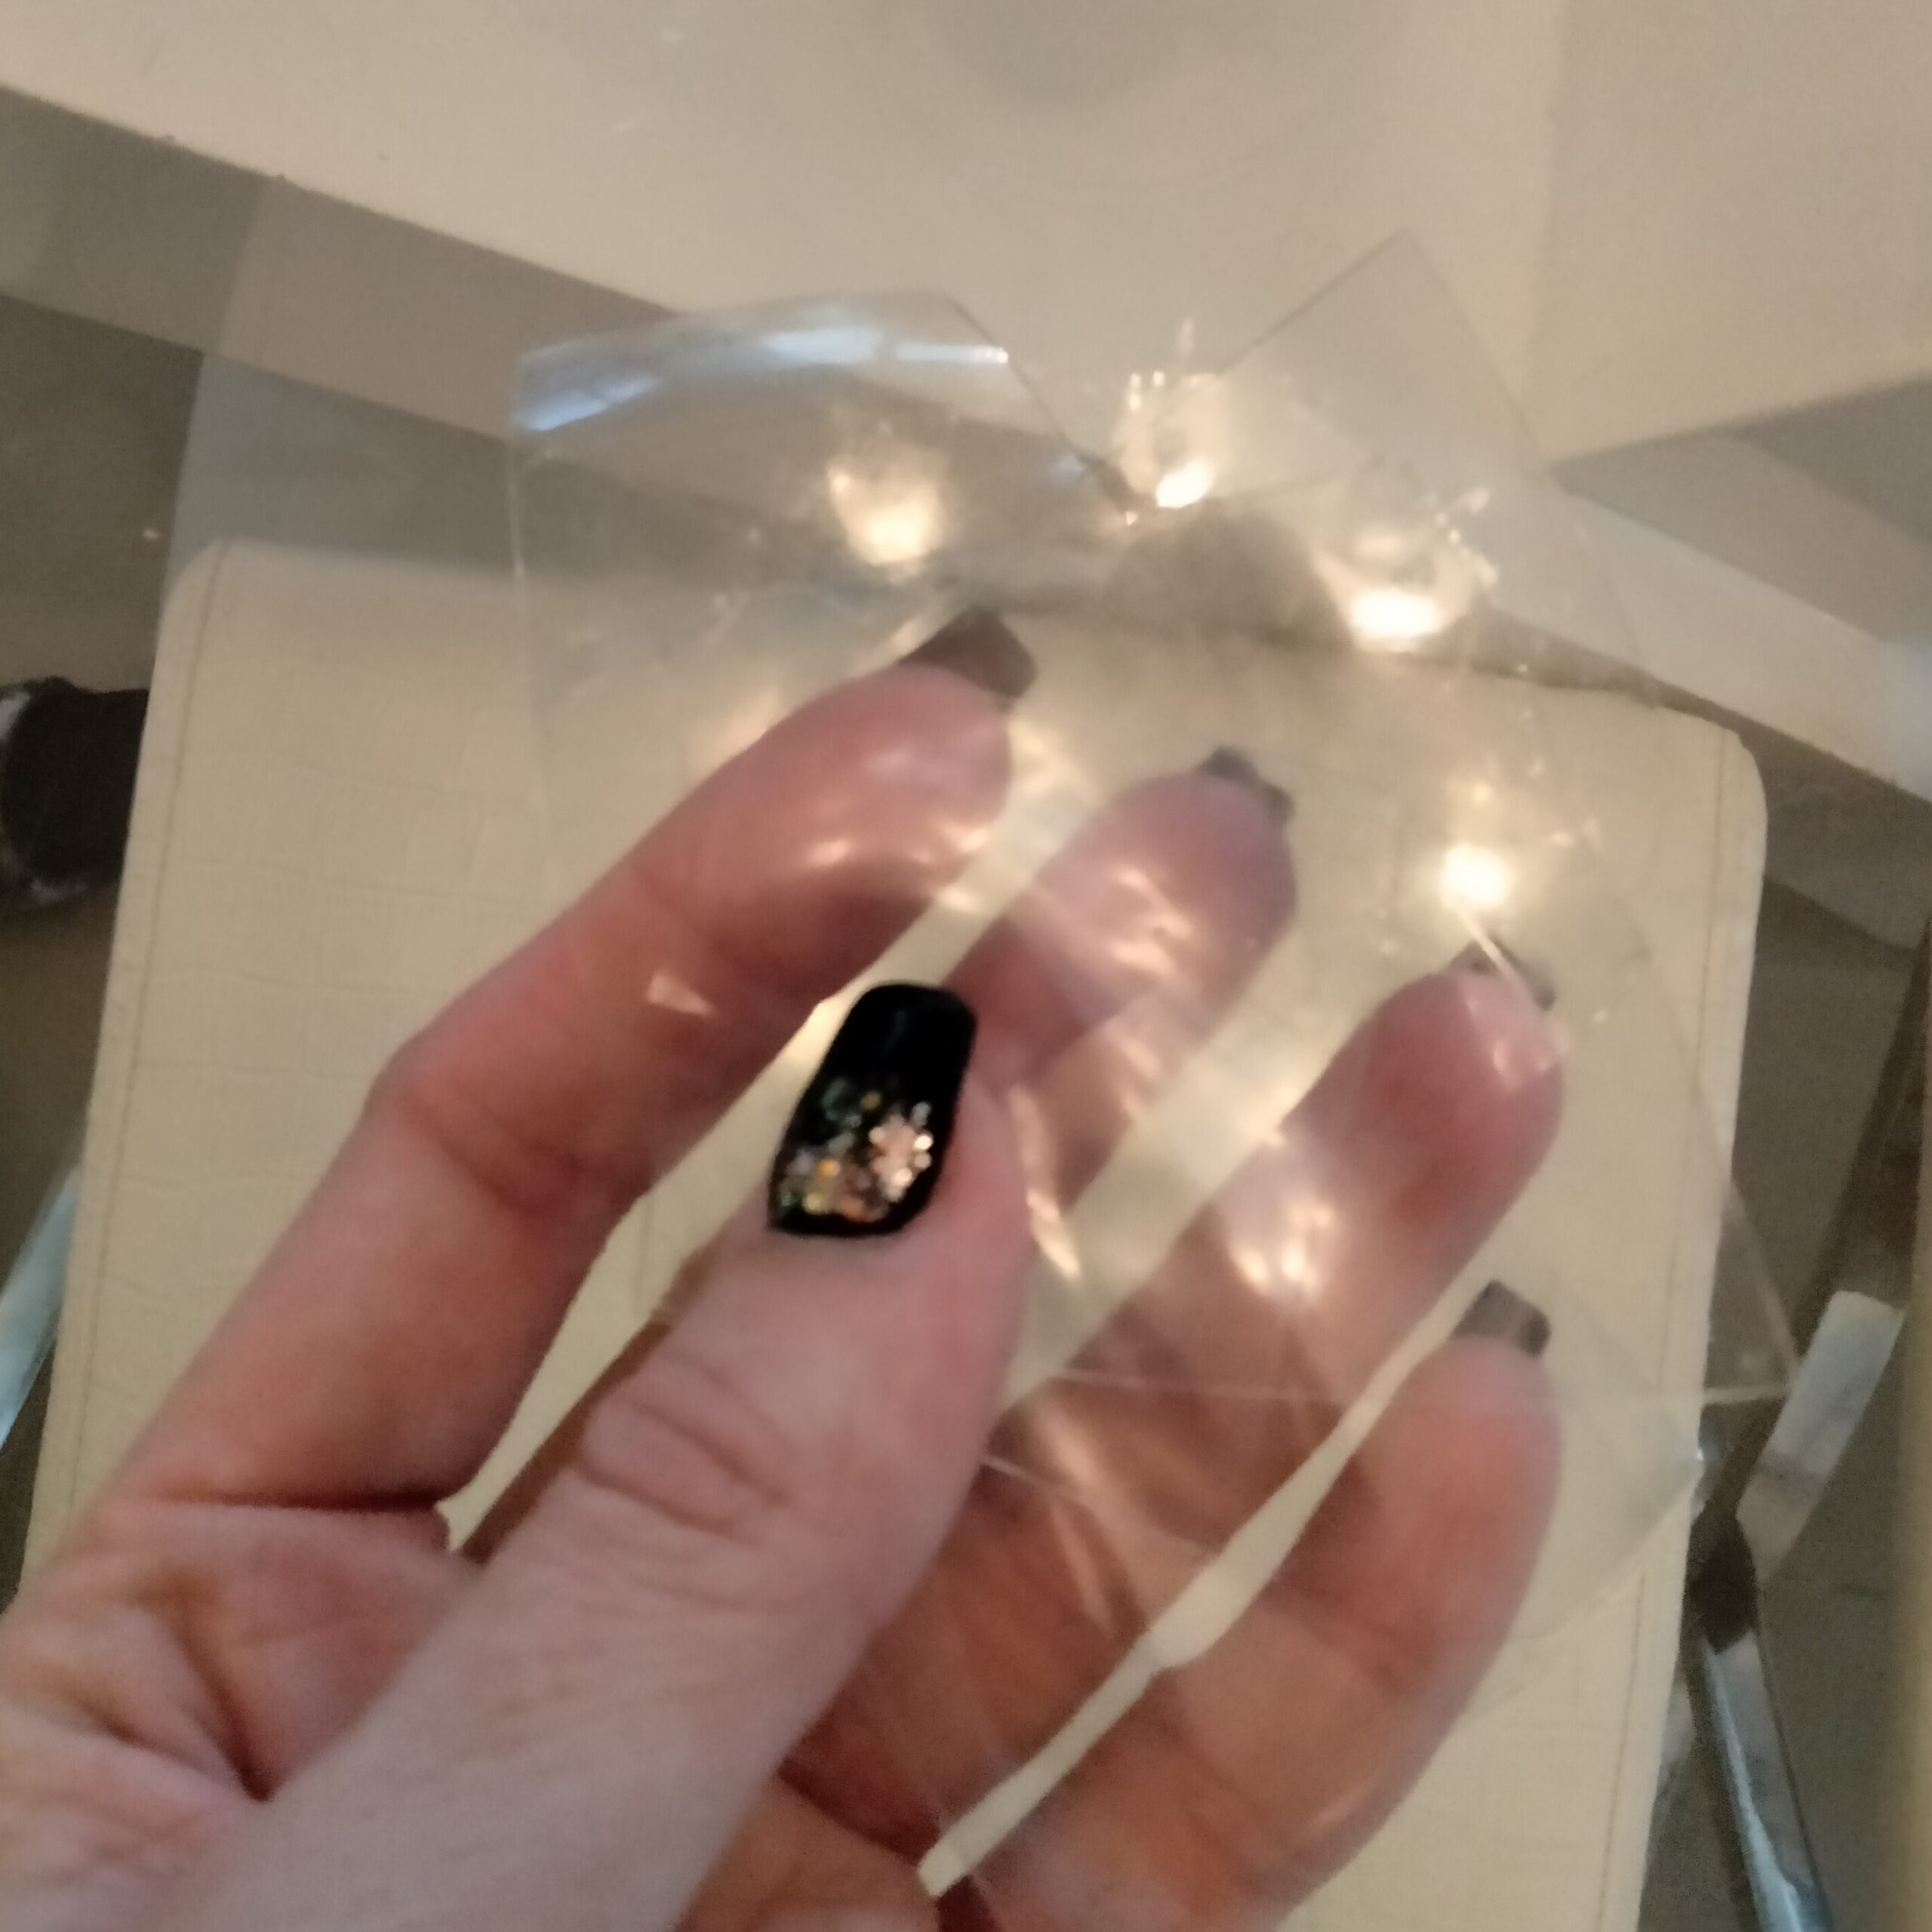
My personal favorite thing about this craft is that you don't actually need that much in the first place. Here's everything to get together:
- permanent markers
- scissors
- a cookie sheet
- your oven and an oven mitt
- glue (if attaching pin bags or magnets)
- No. 6 plastic container (more on that below!)
- pin backings and/or magnet backings
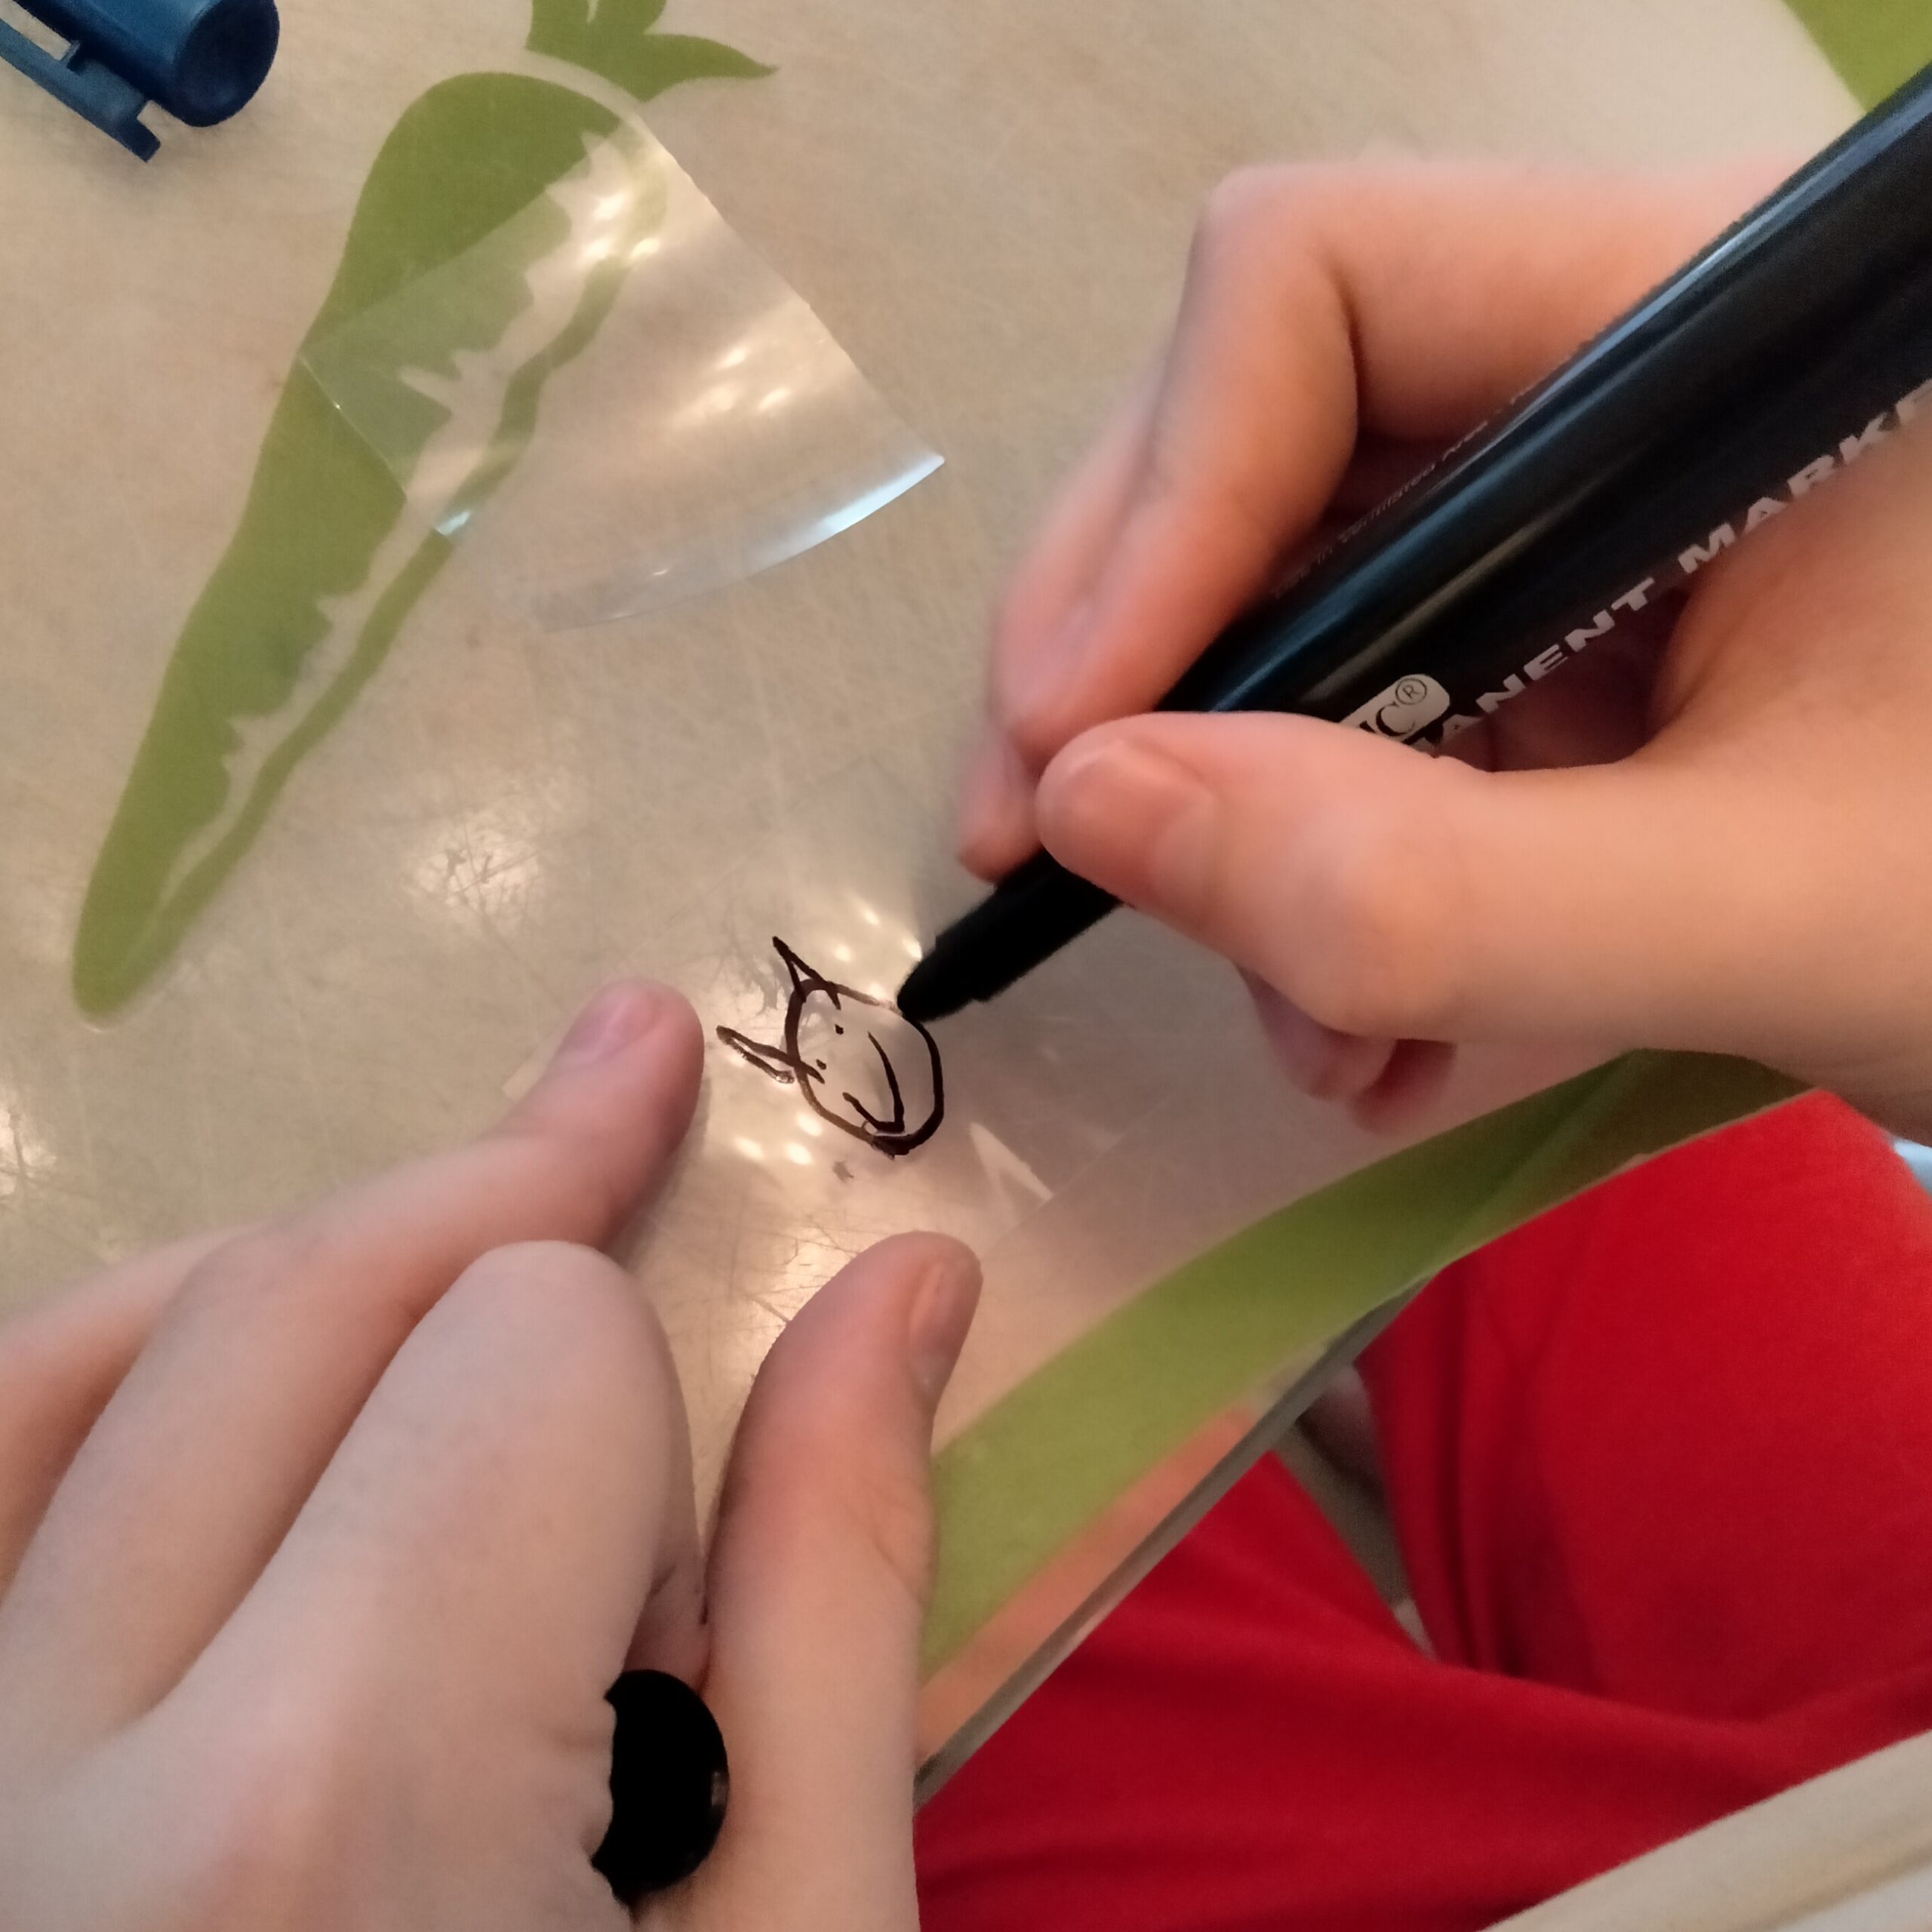
We ran into two snags pretty quickly: the colorful markers we believed were permanent markers were actually paint markers (which meant they were a little too runny for the plastic), and the delivery container I assumed was No. 6 plastic was actually No. 1. Luckily we had a Sharpie in a drawer, and we decided to use the No. 1 plastic and see what would happen.
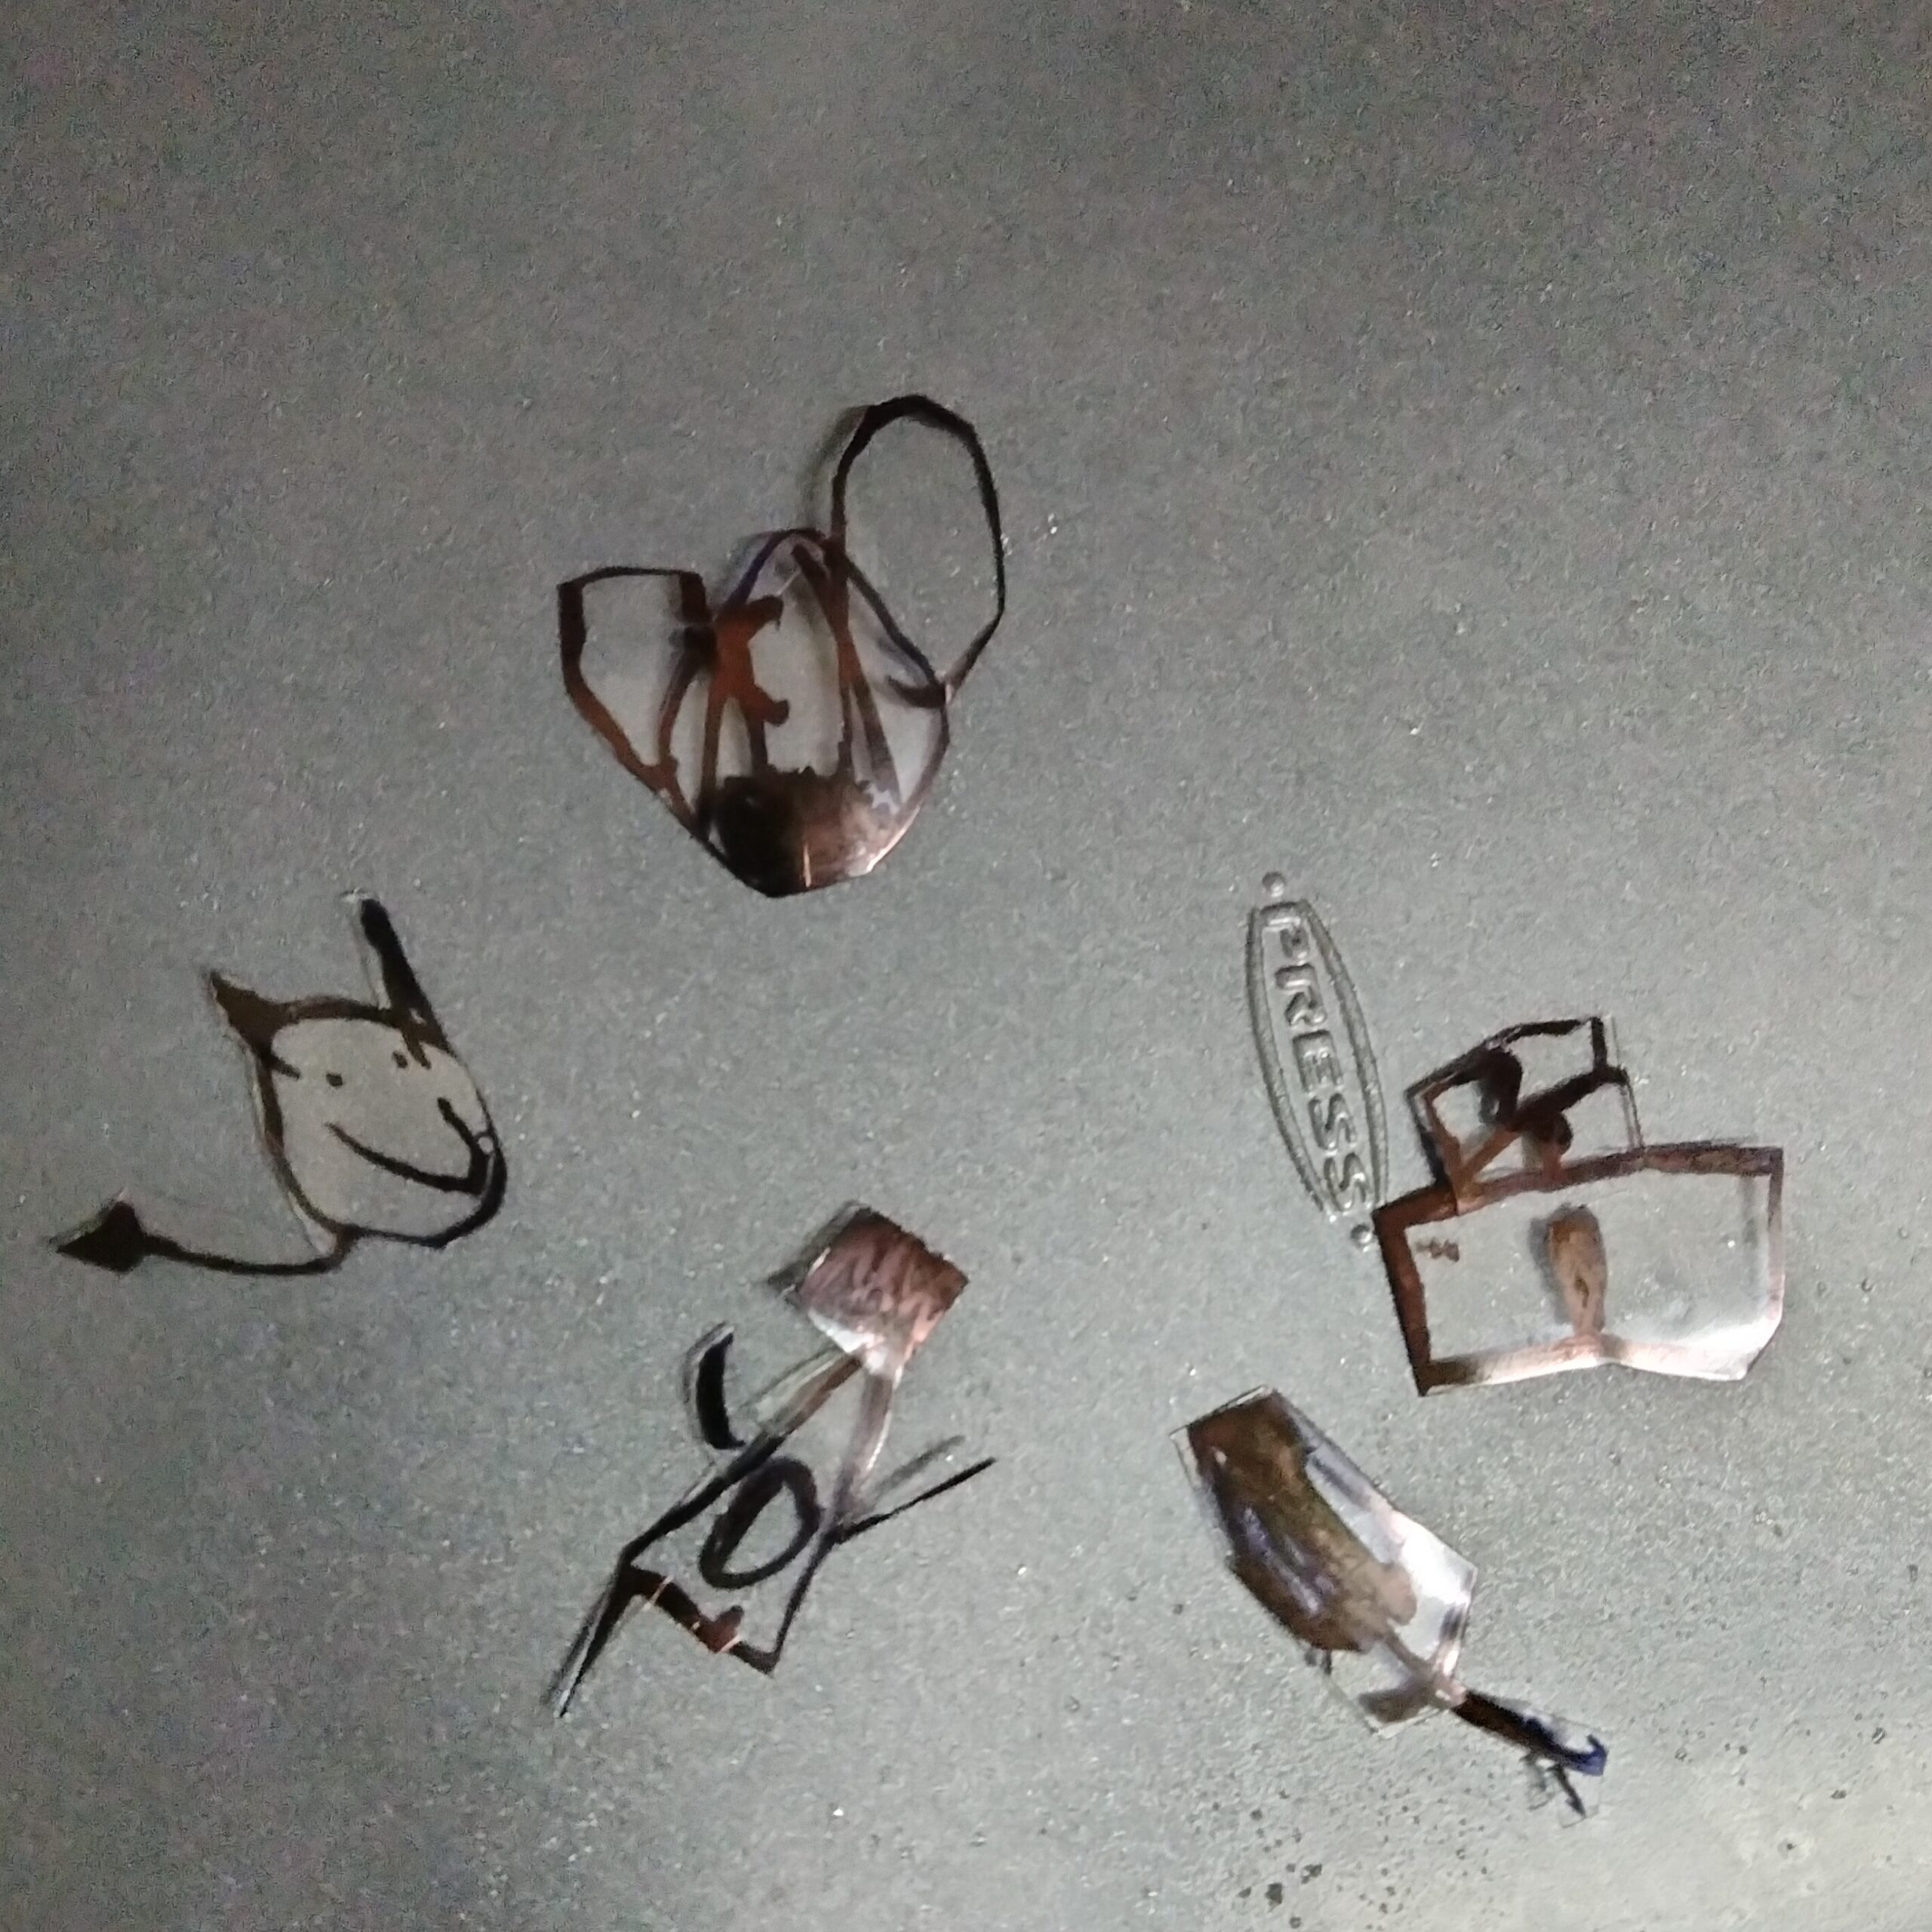
Here's what you do:
- Draw your design on a flat piece of plastic
- Cut around the edges of your finished design
- Heat your oven to 325F and place the plastic drawings on a cookie sheet
- Put the cookie sheet in the oven for about 1-2 minutes
- Let your art cool and decide what you want to do next!
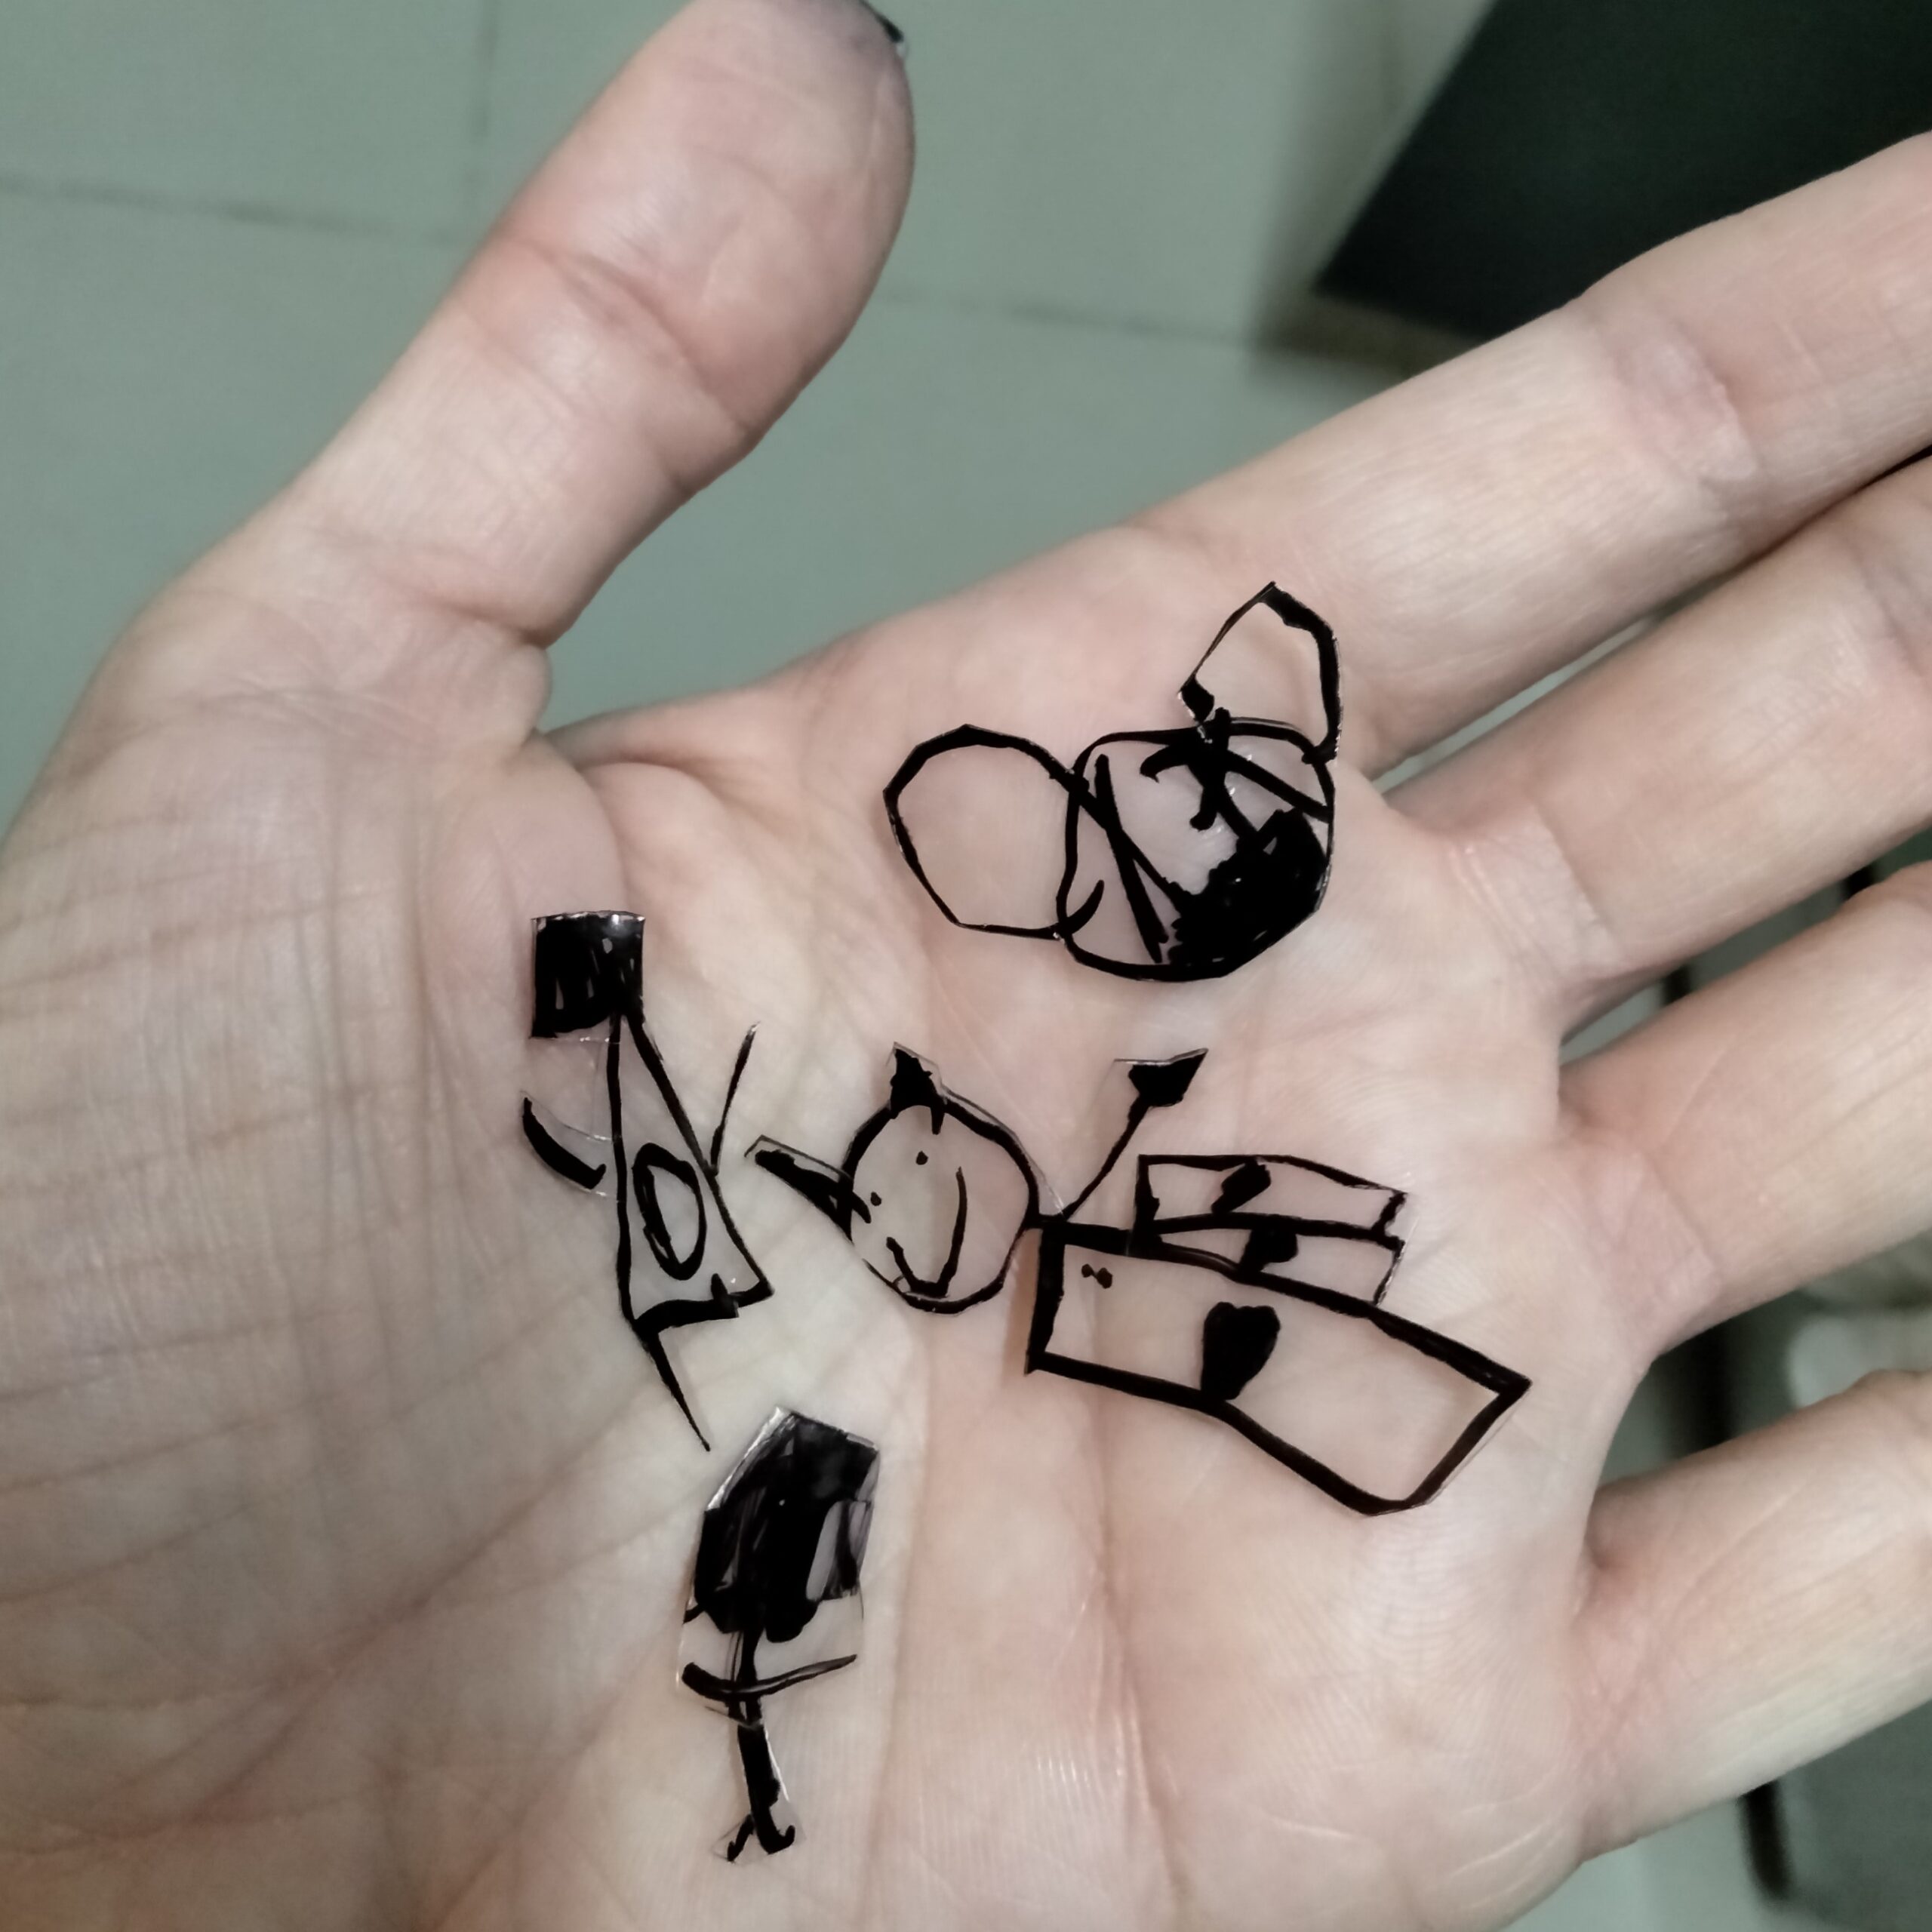
Sure, our pins could have been a little brighter (next time we'll have the right markers!), but the entire process of creating them was so simple that it's definitely the kind of craft we'll do anything. Next up? Turning our shrink art into magnets!


