You may think since you live in a small apartment or a house with a tiny yard that you can't show off your green thumb. But with a little bit of ingenuity and imagination, you can!
Even with limited space, you can still grow a surprising variety of plants or food. You just need the right tools.
We found a DIY sub-irrigation planter from ikewulf on Imgur that is perfect for anyone with a small backyard or deck. The planter only requires a few materials, and many of them you probably have laying around your house already.
You have to get creative when you're living in a small space, but that doesn't mean you have to give up doing the hobbies you love.
Check out the easy step-by-step sub-irrigation planter this clever DIY-er created in the gallery below, and let us know if you'll be doing any planting of your own this summer in the comments!

This simple DIY sub irrigation planter only requires a few things that you may already have in your home including four half-gallon milk jugs, a tall plastic bottle, and an 18 gallon storage tote.
The DIY-er starts this project by cutting small holes with a hobby knife as an entry point for the plant roots to reach the reservoirs.

Next, larger holes are cut out on the other side of the milk jugs.
This allows the jugs to be interlocked so they create one large reservoir.
You'll see exactly what we mean as the process goes on!

Next, a long and open slit is cut in to serve as an entry point for the water that's accumulated at the bottom of the plastic tote.
This side of the jug will be facing the bottom.

This is where the pieces of the project begin to fit together.
Here, you can see the mouth and the neck of one of the milk jugs is placed into the body of another.

One of the four milk jugs will act as the entry point of the reservoir.
This milk jug will need one additional hole for the tall skinny bottle you haven't used up until this point.

Now the rest of the puzzle can be pieced together.
All four milk jugs should be connected. There shouldn't be a need for a seal of any kind between them since the plastic is flexible and acts as a lock once pieces have been inserted together.
The soil also tends to block up any small gaps left over.

Next, this DIY-er uses a 1/2-inch drill bit to drill holes into the sides of the tote.
These are overflow holes in the instance that it rains and the whole mechanism starts holding too much water.
The placement of the overflow holes should be about level with the top of the reservoir you've created.

Now it's time to start putting in the soil and the reservoir. About an inch of potting soil at the bottom should do before placing the reservoir inside.
Make sure to use soil that is good for plotted plants instead of regular garden soil. This will allow for better drainage and better results!

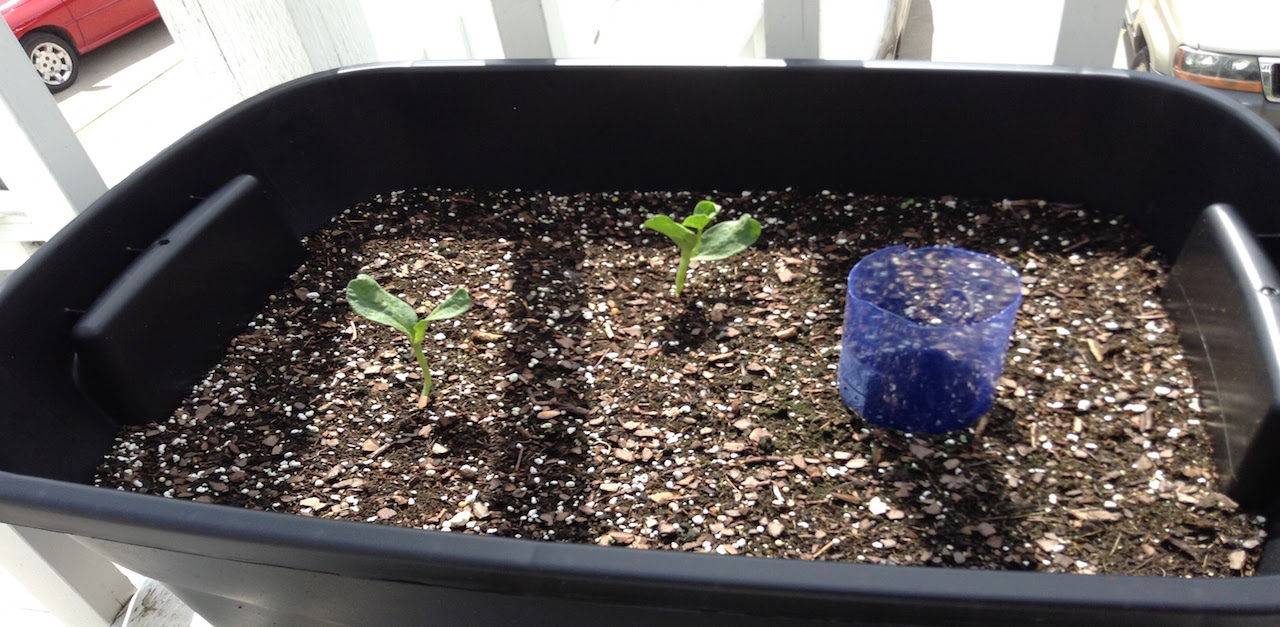
By the time you're done filling the planter, it should look something like this.
The plastic bottle should be sticking out enough that you can easily add water to the reservoir or you can peer in to see if it's full enough after a good rain.

The great thing about this planter? It's flexible! You can plant melons, peppers, or even tomatoes if you add a trellis.
Are you planning on giving this project a try?
Let us know in the comments, and don't forget to SHARE with anyone that's trying to garden in a small space this summer!