I love Christmas so much that I can't help feeling a little bit down when the holidays are over.
Lots of people are in the same boat. All of the build-up to the holiday season can leave you feeling a little morose when it's all over.
Fortunately, there's a great way to keep from feeling too much post-holiday sadness: crafting!
Wintertime is the perfect time to work on all your favorite projects, since it's too cold to bee outside and evening comes earlier. Besides, Santa may have delivered a few crafting supplies that you're just dying to try out.
Take it from us: we can't wait to try out all sorts of projects, from making paper snowflakes for the windows to "knitting: a cozy 30-minute scarf.
Even better, it's a great opportunity to give new life to some of the beautiful things that come with the season, like ribbon, wrapping paper, and of course, those super-popular Christmas cookie tins.
With that in mind, we've put together the cutest craft ever: turning an old cookie tin into a totally adorable tea organizer that you can use all winter long!
Photo Credit: Flickr / Arla Cherryoak
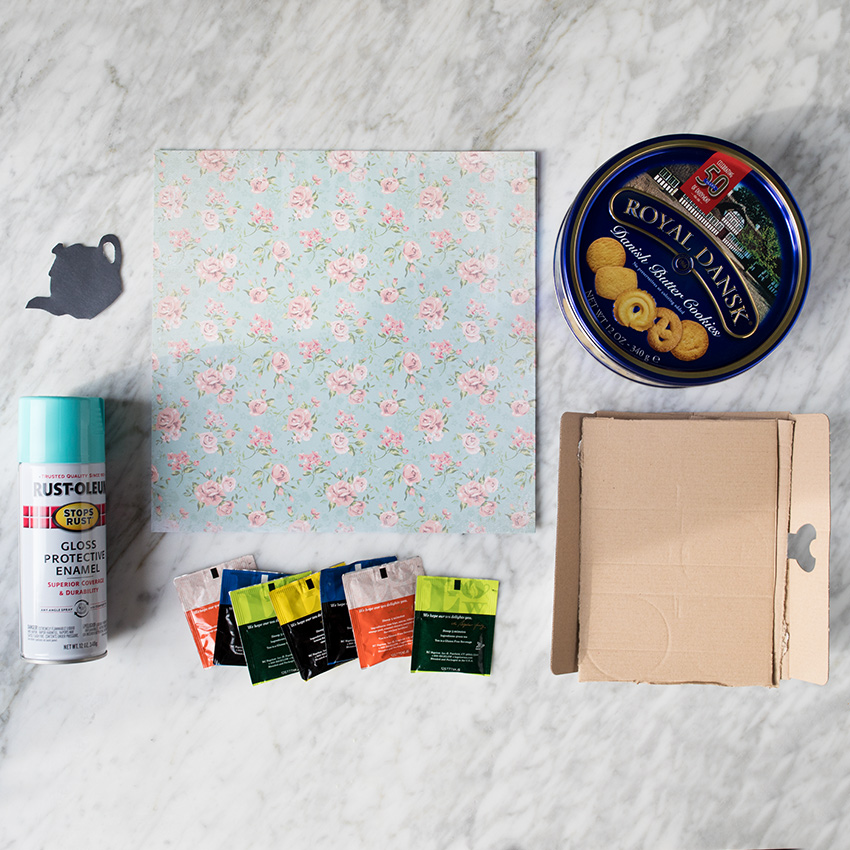
For this project, you'll need a few basic materials:
- Leftover cookie tin
- Spare pieces of cardboard
- Craft paper or wrapping paper
- Spray paint with primer
- Teapot decal (optional)
- And plenty of your favorite teas!
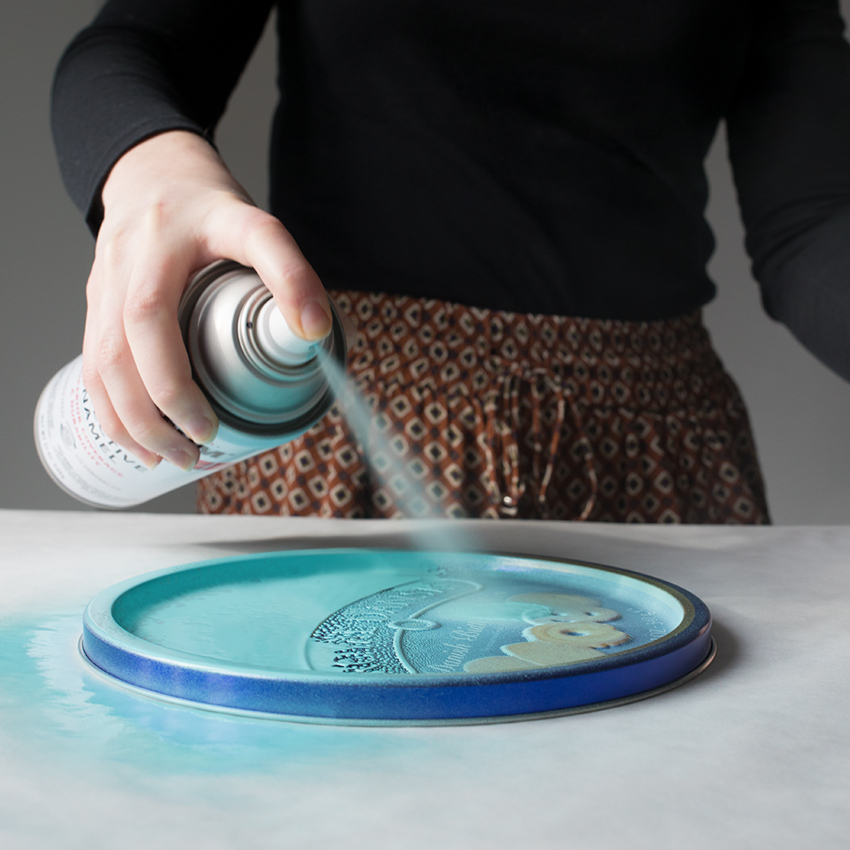
First things first: you'll want to set yourself up in a well-ventilated area. Also, cover your work surface with a painting tarp or old newspapers.
Then, lay out the lid and body of the cookie tin, and carefully spray-paint the outside — you may want to line the interior with plastic wrap and painter's tape if you don't want paint on the inside.
Add additional coats of paint if needed, and let the tin dry and off-gas for about 24 hours.
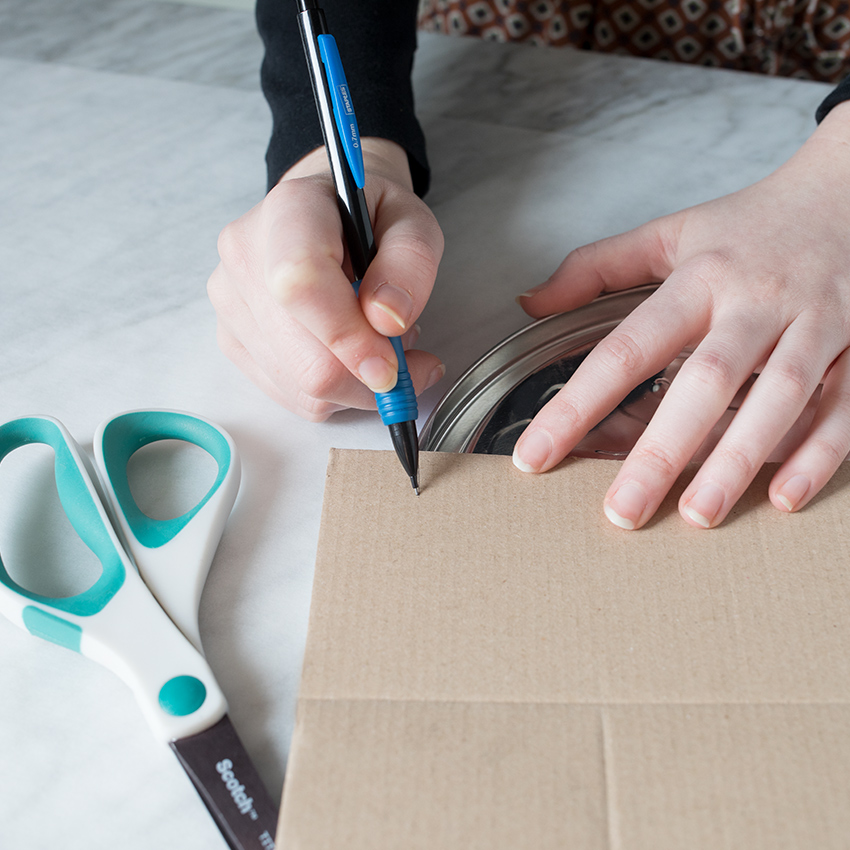
Meanwhile, get bits and pieces of extra cardboard (shipping boxes and cereal boxes work well) and cut them down to size.
You want two long rectangular piece of cardboard.
They should be about half an inch shorter than the height of the tin, and as long as the width of the tin at its widest point.
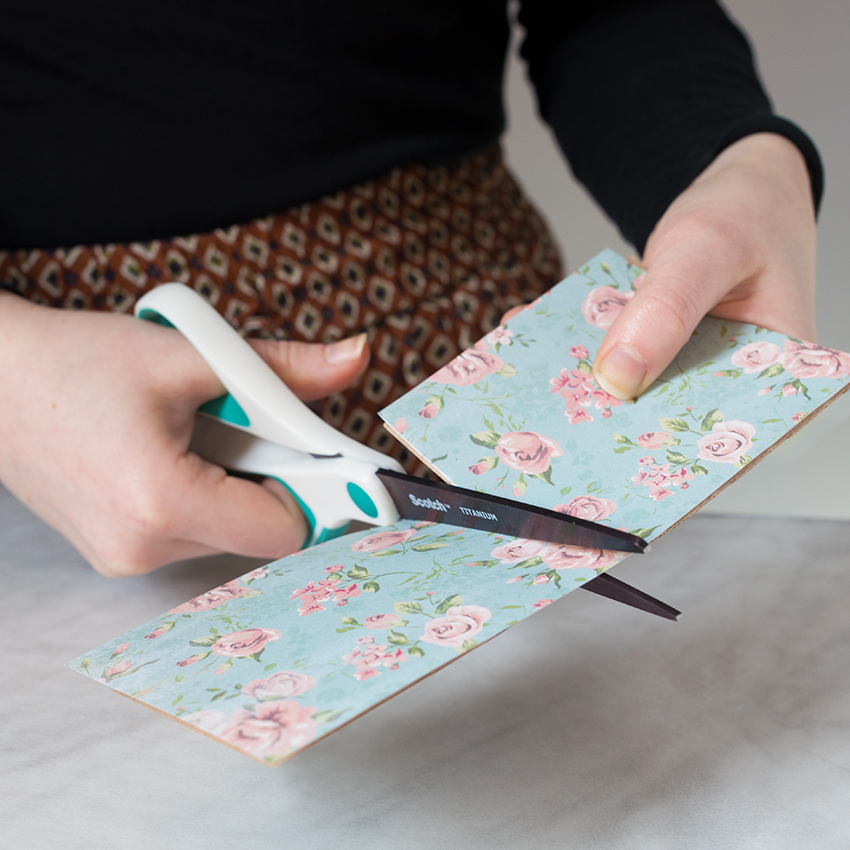
Next, cover your pieces of plain cardboard with decorative paper or even leftover wrapping paper.
You can either "wrap" your cardboard like a present and tape the paper into place, or you can glue the paper on so that it covers both sides of the cardboard.
Then, find the middle point of your two cardboard rectangles. Cut about halfway up.
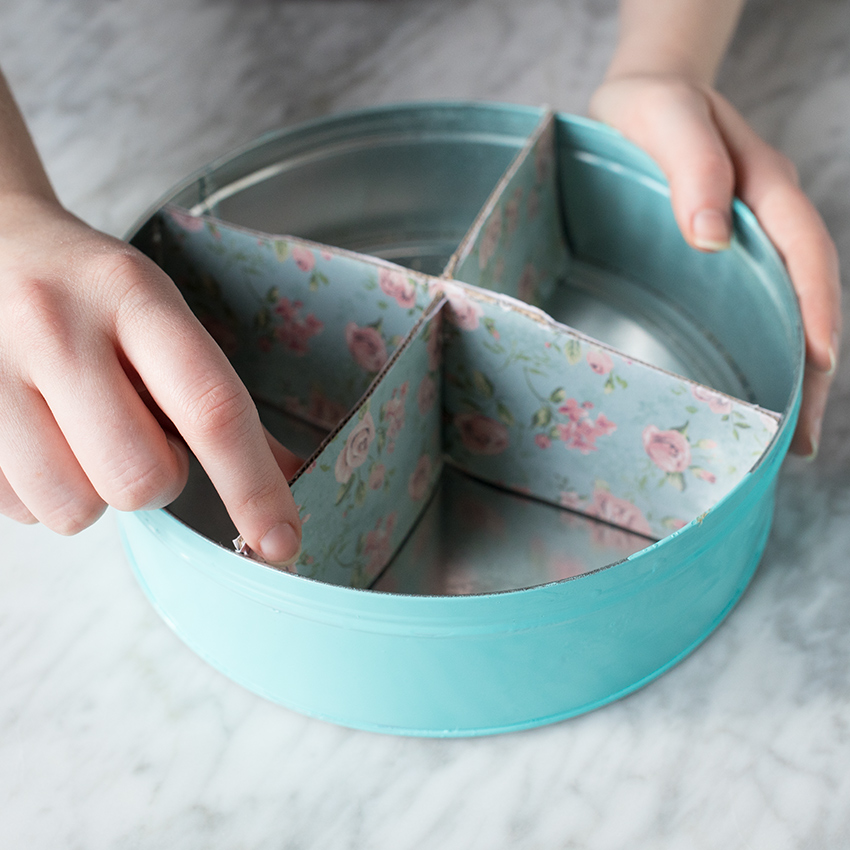
Take your two pieces of cardboard and line up the two slits you just cut into them. Push them together so that they mesh.
When you're done, the two pieces of cardboard should be flush together, so that they make an "X" shape.
Now, fit the X into the empty tin, adjusting it until you have four compartments to your liking.
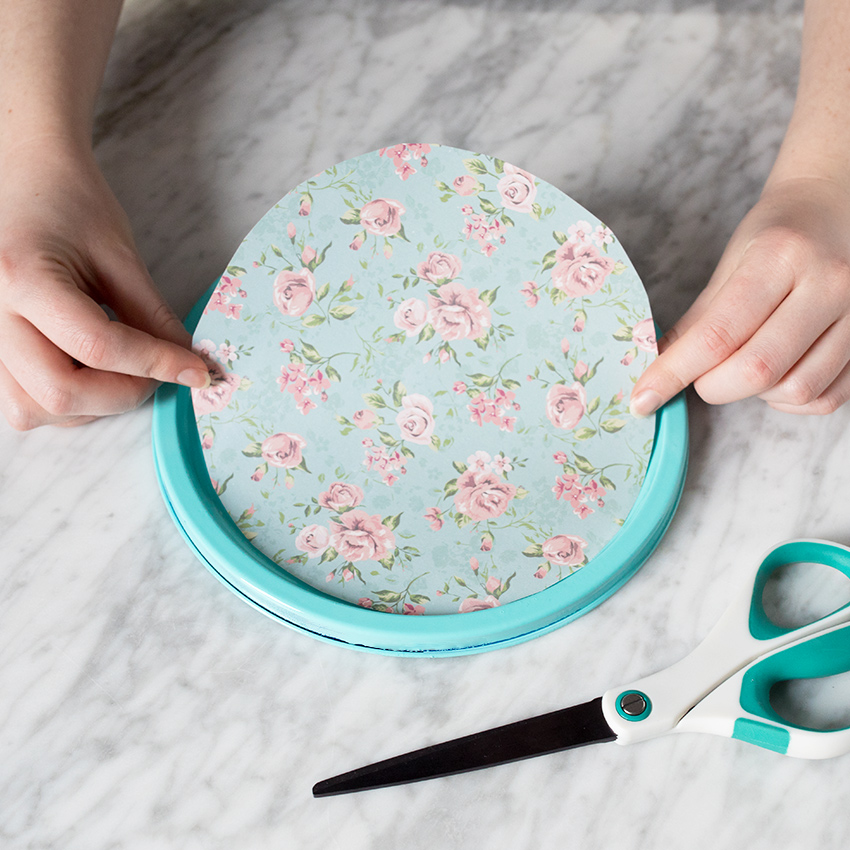
This step is optional, but very pretty!
The lid of your tin probably has a raised ridge at the rim. Cut a circle of craft paper that is the size of the space inside of the raised rim.
Glue the circle into place across the top of the lid, making sure it fits just inside the rim, then let it dry.
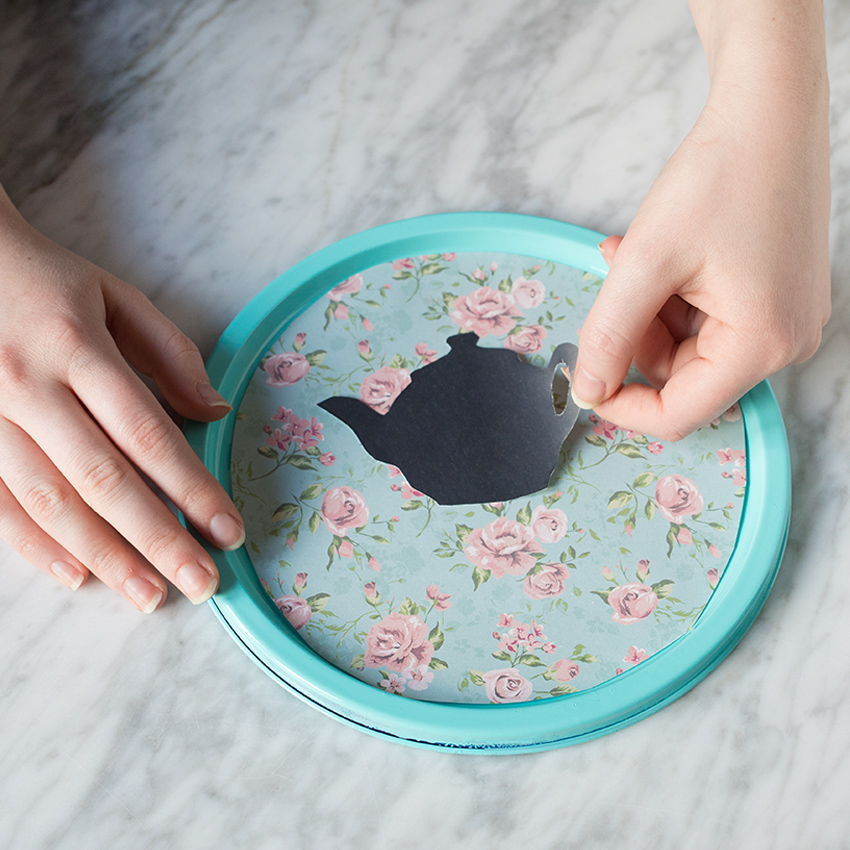
You can then add a small decorative touch to make the tin all your own!
We added a teapot sticker decal to the top of the lid, but you could also add all sorts of different decorations, like a teacup or the name of your favorite tea.
You could also put this touch on the base of the tin, running around the edge.
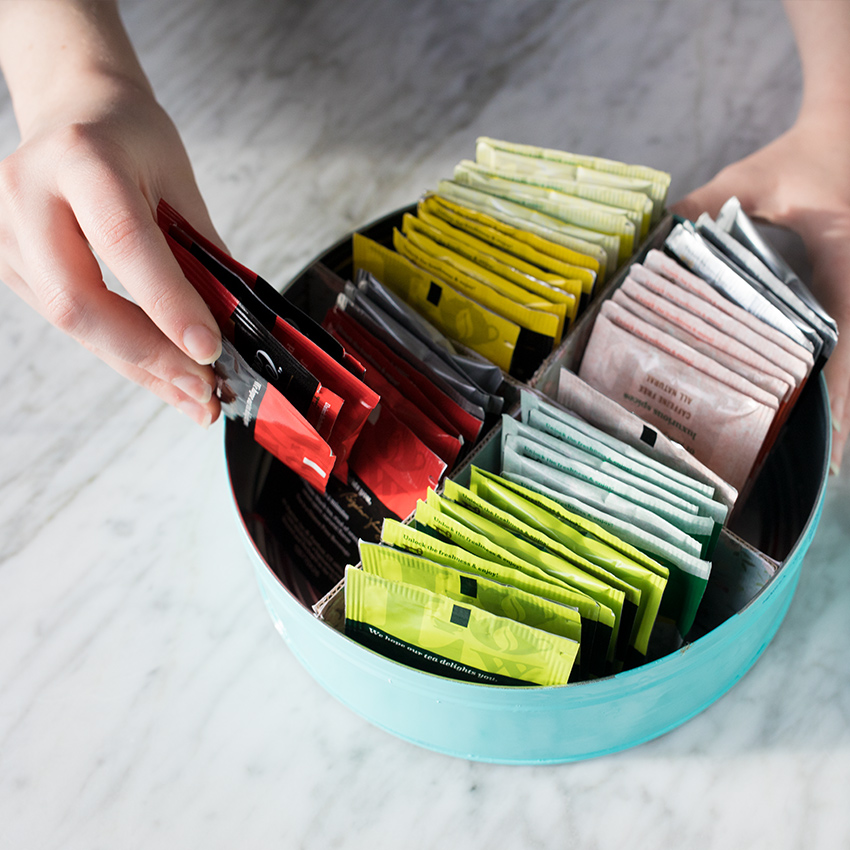
Once your tea tin is just about done, continue on to the ultimate finishing touch: filling it with tea!
Stock each of the four sections with a different variety of your favorite tea bags. Depending on the size of your tin, each quarter should hold about the same as one box of tea.
Kick back and enjoy your very favorite, beautifully organized teas all winter long.
And don't forget to SHARE this cute idea with the tea lovers in your life!


