Having kids is a challenging and wonderful experience, but many parents quickly realize how expensive it is to have children.
Most parents want to give their children the world — they want them to have experiences and opportunities they didn't have as kids — but often those things come with a high price tag.
Instead of spending money on toys and games for kids, many parents choose to make their own.
With DIY ideas everywhere, it's easy for moms and dads to hop on Pinterest and get some quick activity ideas for their kids.
Some parents take it even further, building entire furniture sets just for their kids. Not everyone has the time or patience to do these kinds of projects, but for crafty parents, these DIY items can be a great option.
One nifty mom, Kelsey, loves refurbishing old furniture, as you can see on her website Tattered And Inked.
So when she realized her daughter could use a new sand and water activity table, she decided to buy an old metal sink and make it herself.
[H/T Tattered And Inked]
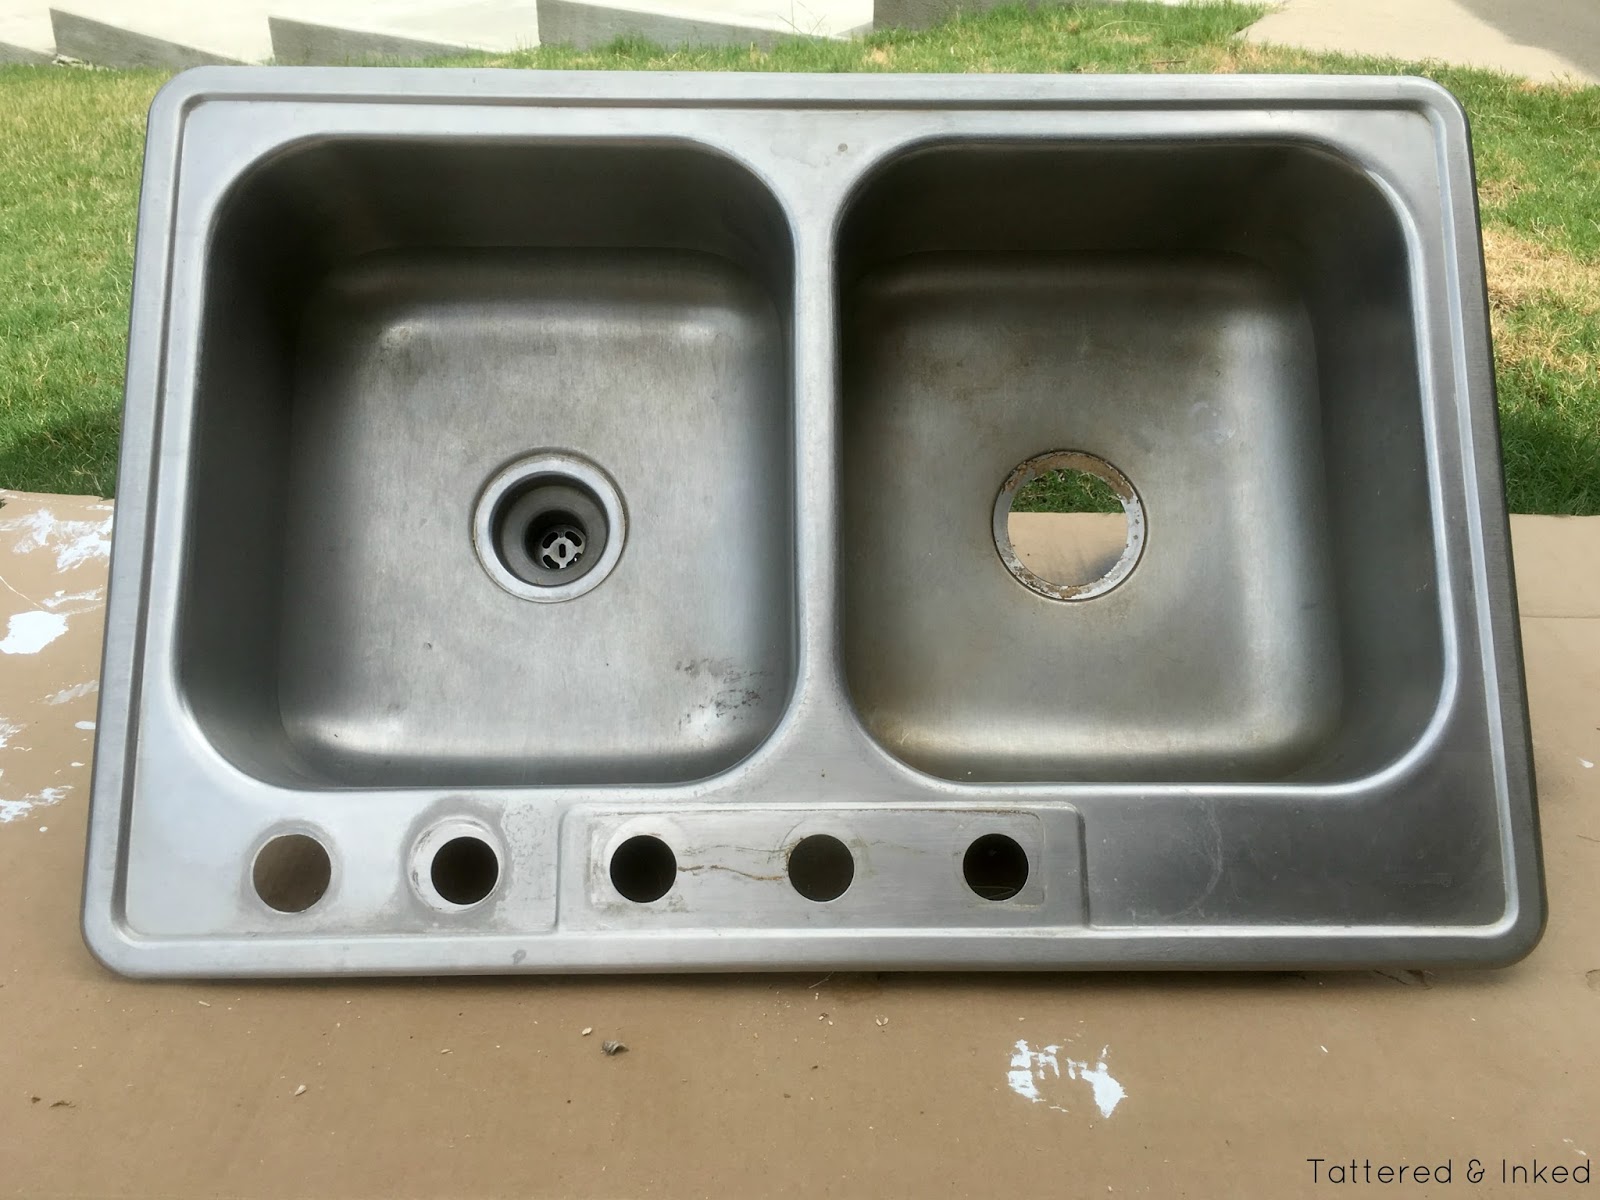
Kelsey explained on her blog that she used to have a plastic water table for her son, but it got gross and they decided never to replace it.
When her husband noticed a DIY water table on Facebook, Kelsey knew it was exactly the kind of project she wanted to take on.
For $30, she bought an old double-basin metal sink from a secondhand store.
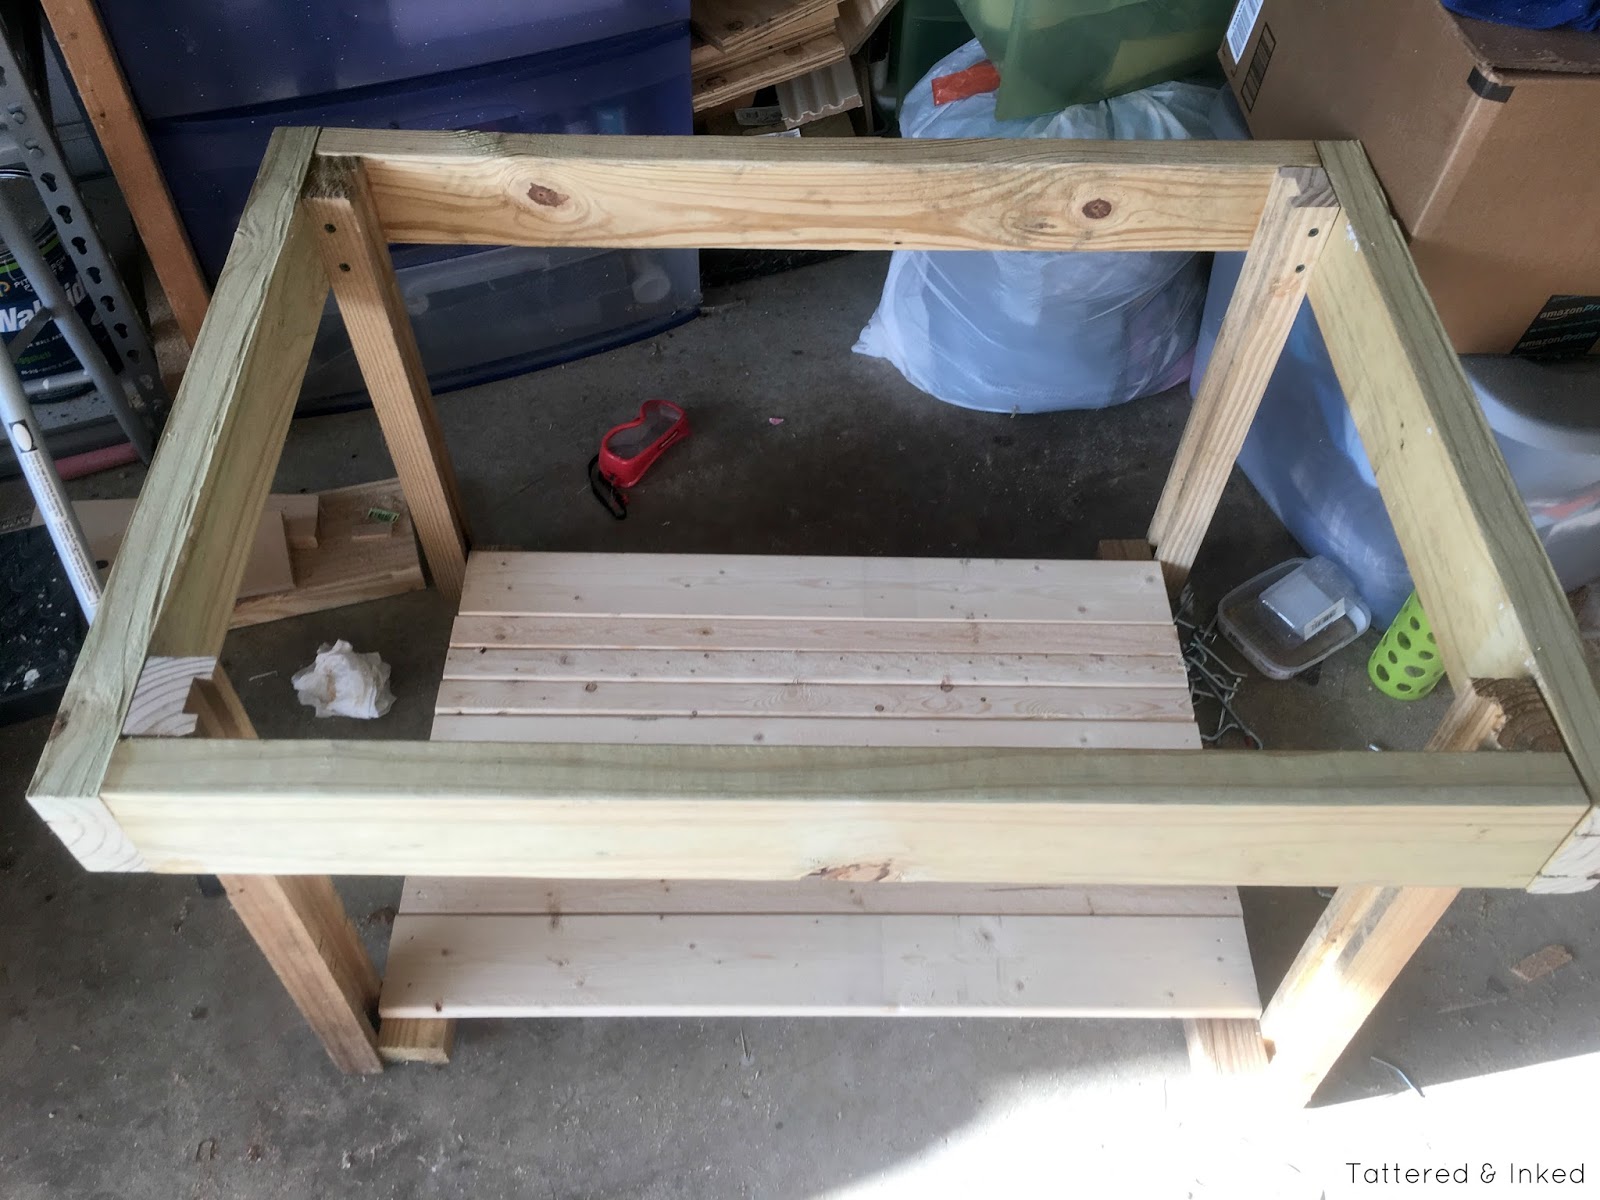
After buying the sink, Kelsey and her husband got started.
Kelsey gathered all the supplies and began work on the sink itself, while her husband built the base for the water table.
After building the structure that the sink would sit in, he built a shelf underneath for toy buckets.
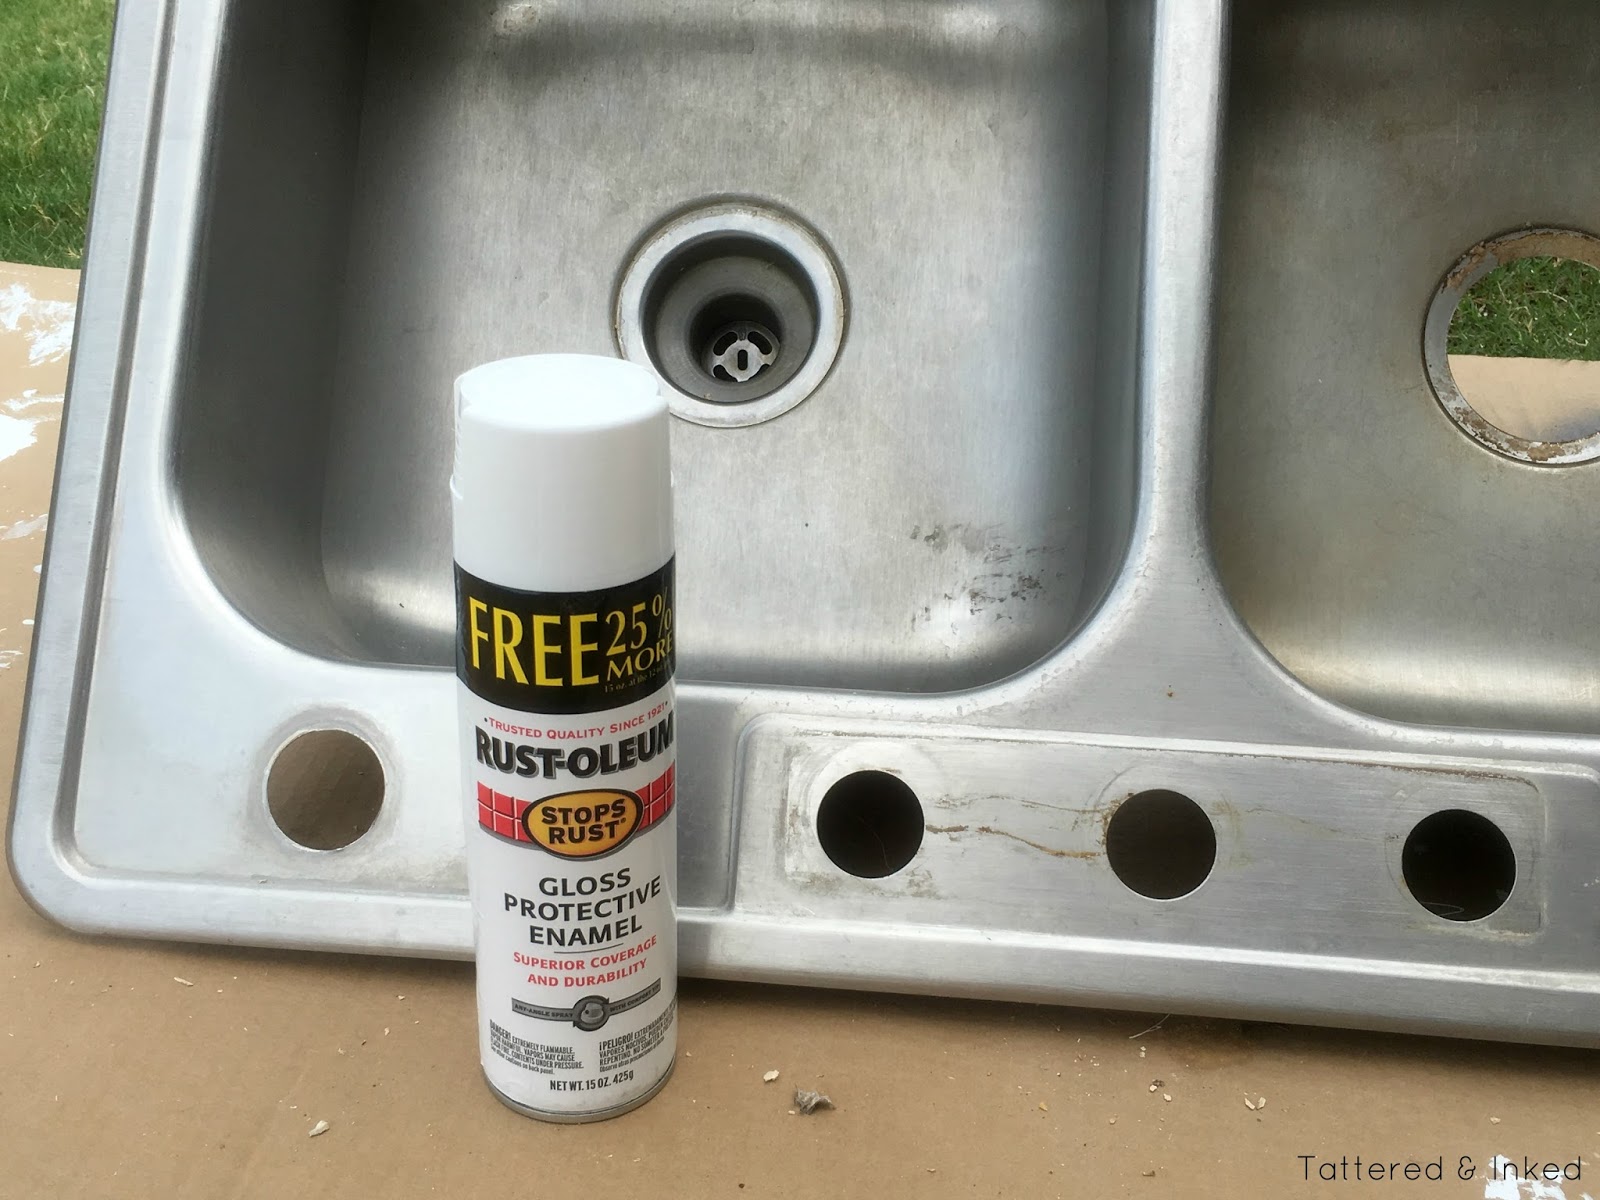
While her hubby did the woodwork, Kelsey cleaned the stainless steel sink.
Although it was in good condition, Kelsey didn't love the look of the sink, so she decided to paint it white using Rustoleum enamel spray paint.
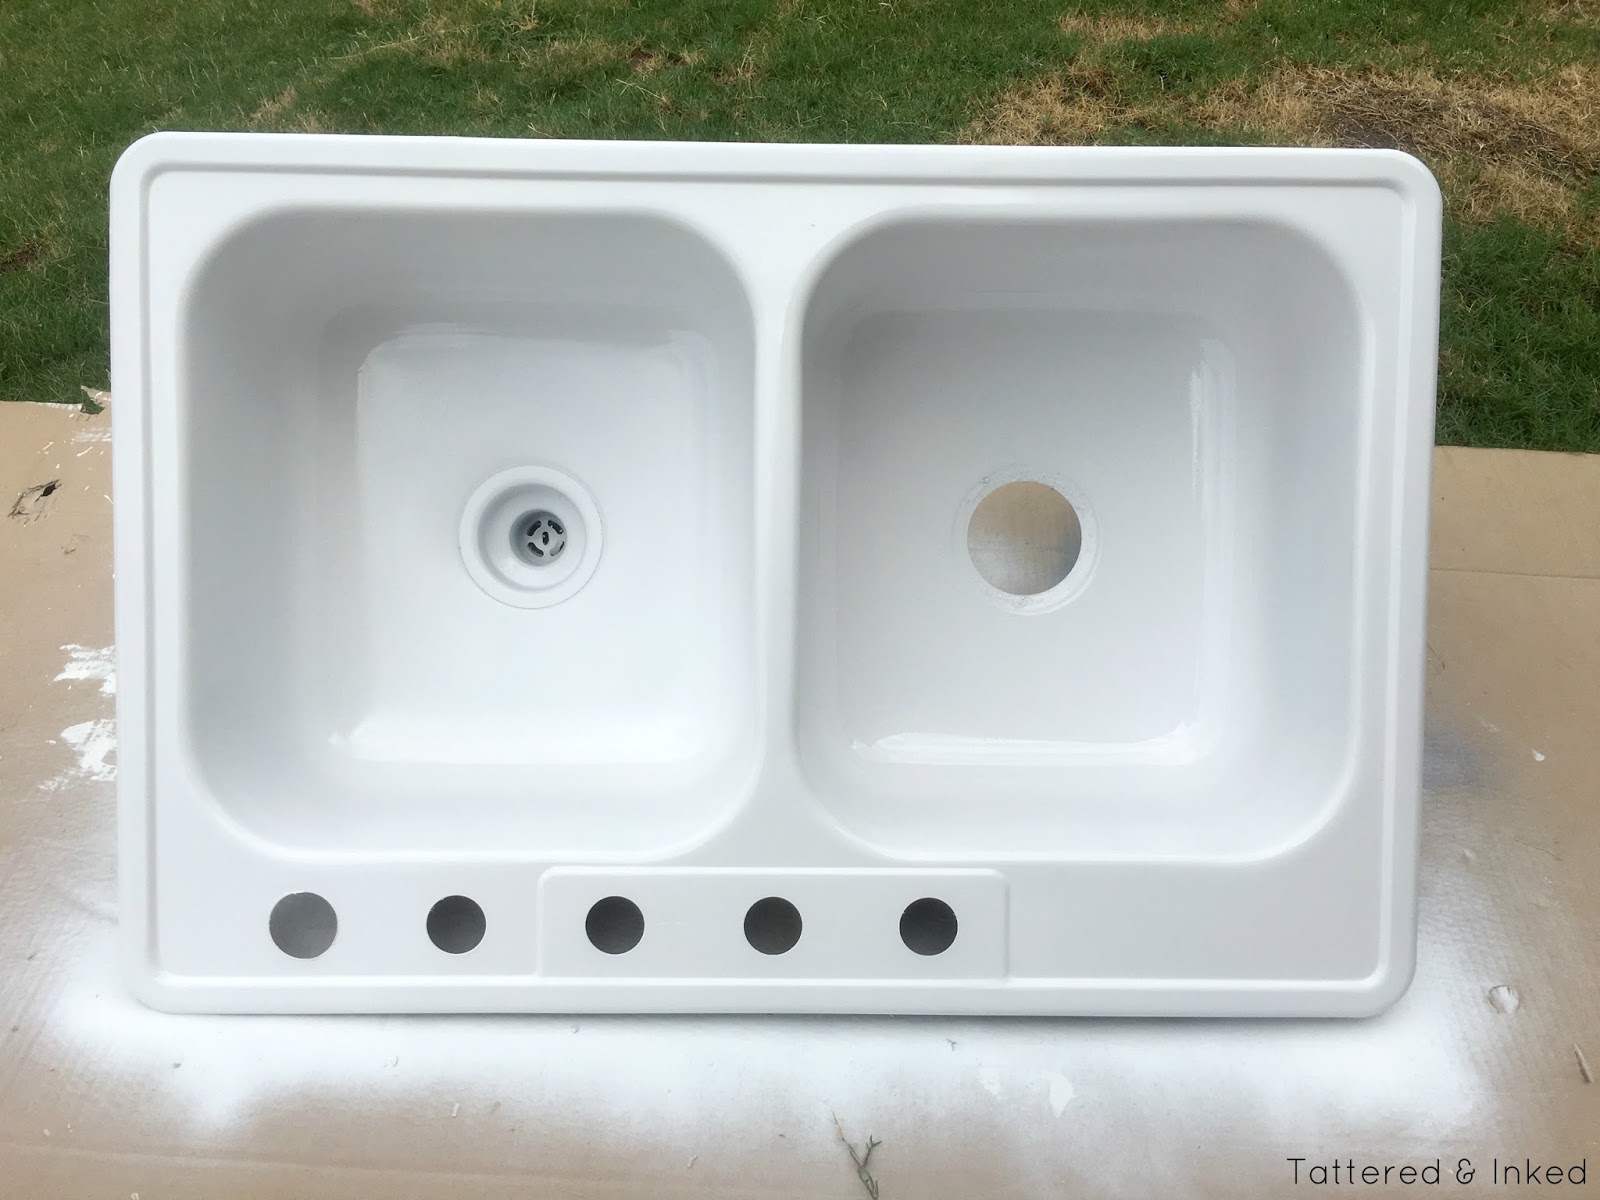
Kelsey applied a few thin coats before she was happy with the opacity of the white paint.
Once the paint was dry, Kelsey went back in and added a clear protective coat to make sure the sink would withstand the wear and tear of water, sand, and a toddler.
After finishing the sink, Kelsey moved onto the wooden base that her husband had finished.
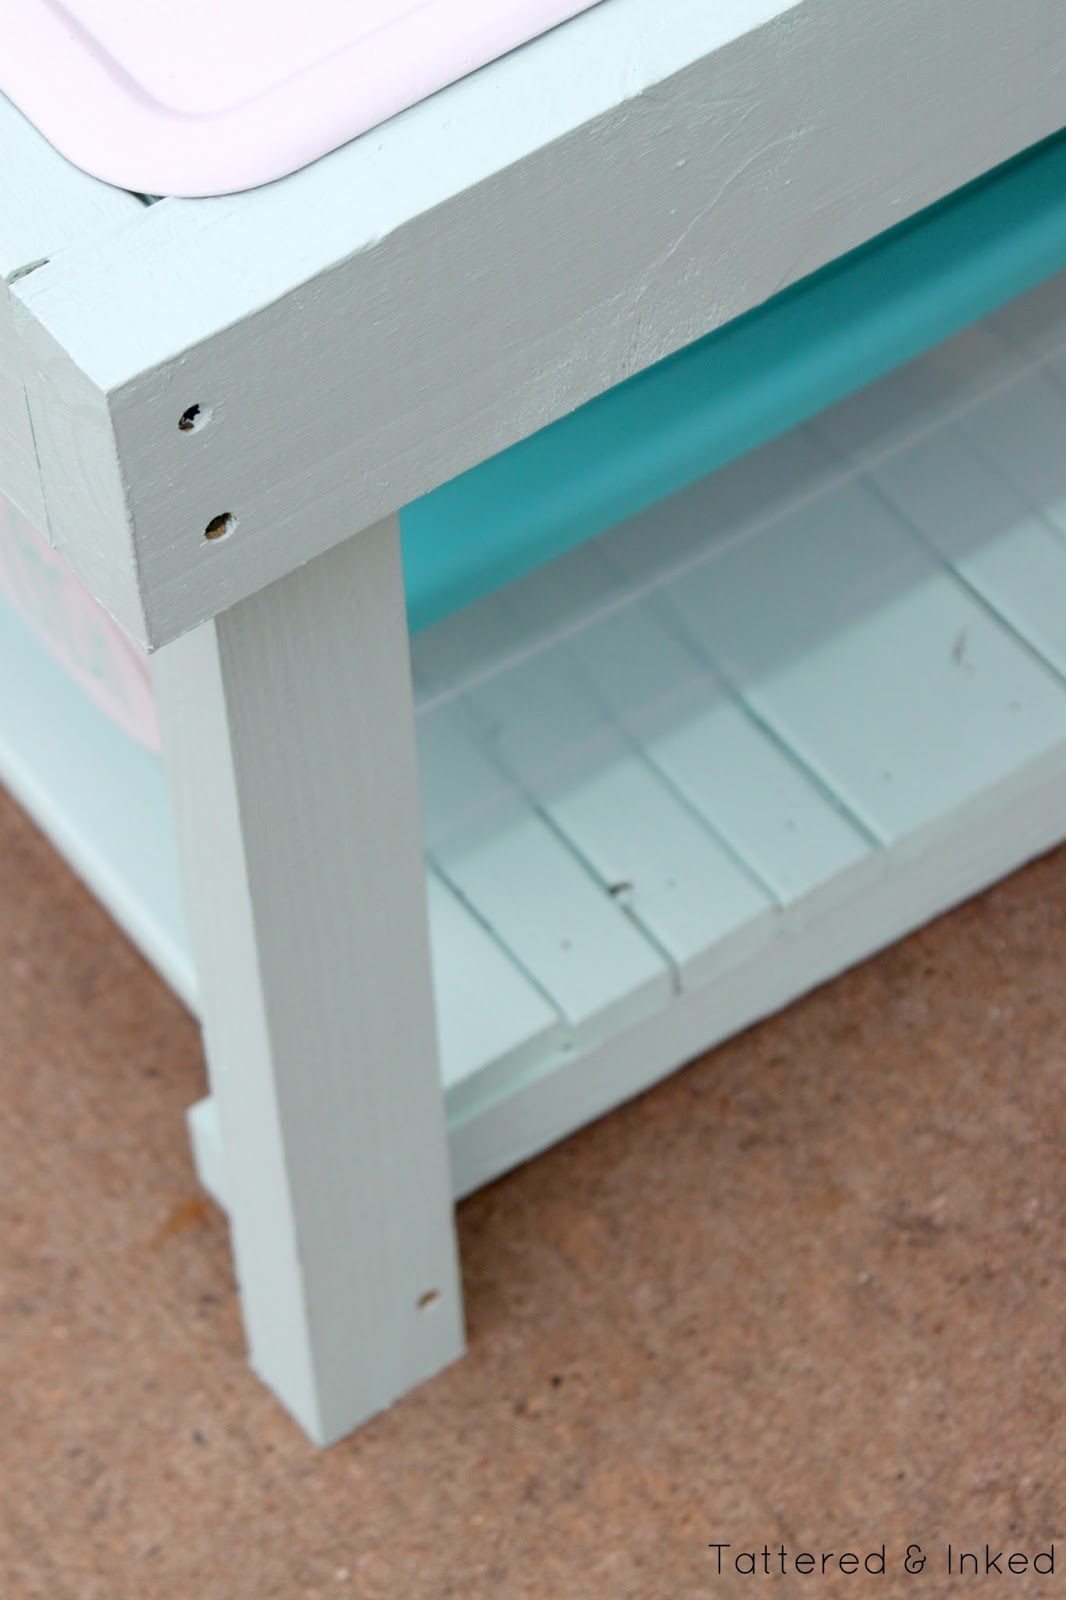
Using some leftover paint she had from another project, she painted the wooden base a beautiful light blue.
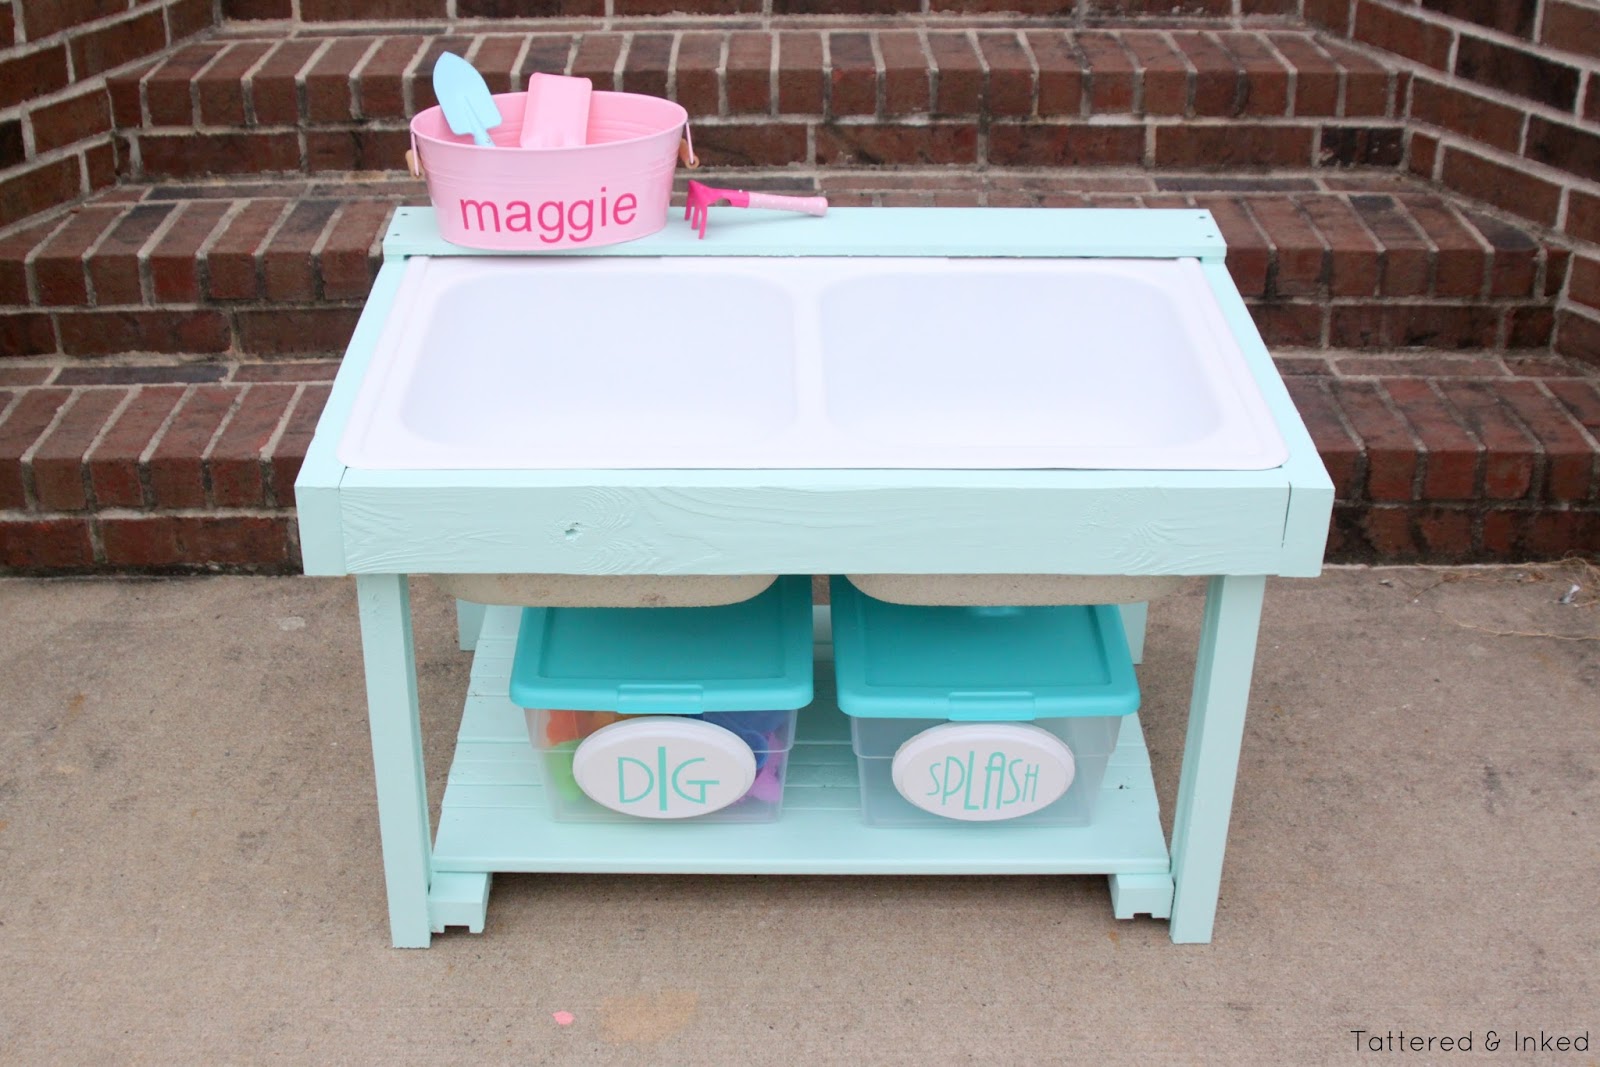
Once the many coats of minty paint were dry, they put the final product together!
Kelsey added some bins on the shelf for toys, as well as a small basket on top of the sink with her daughter's name on it.
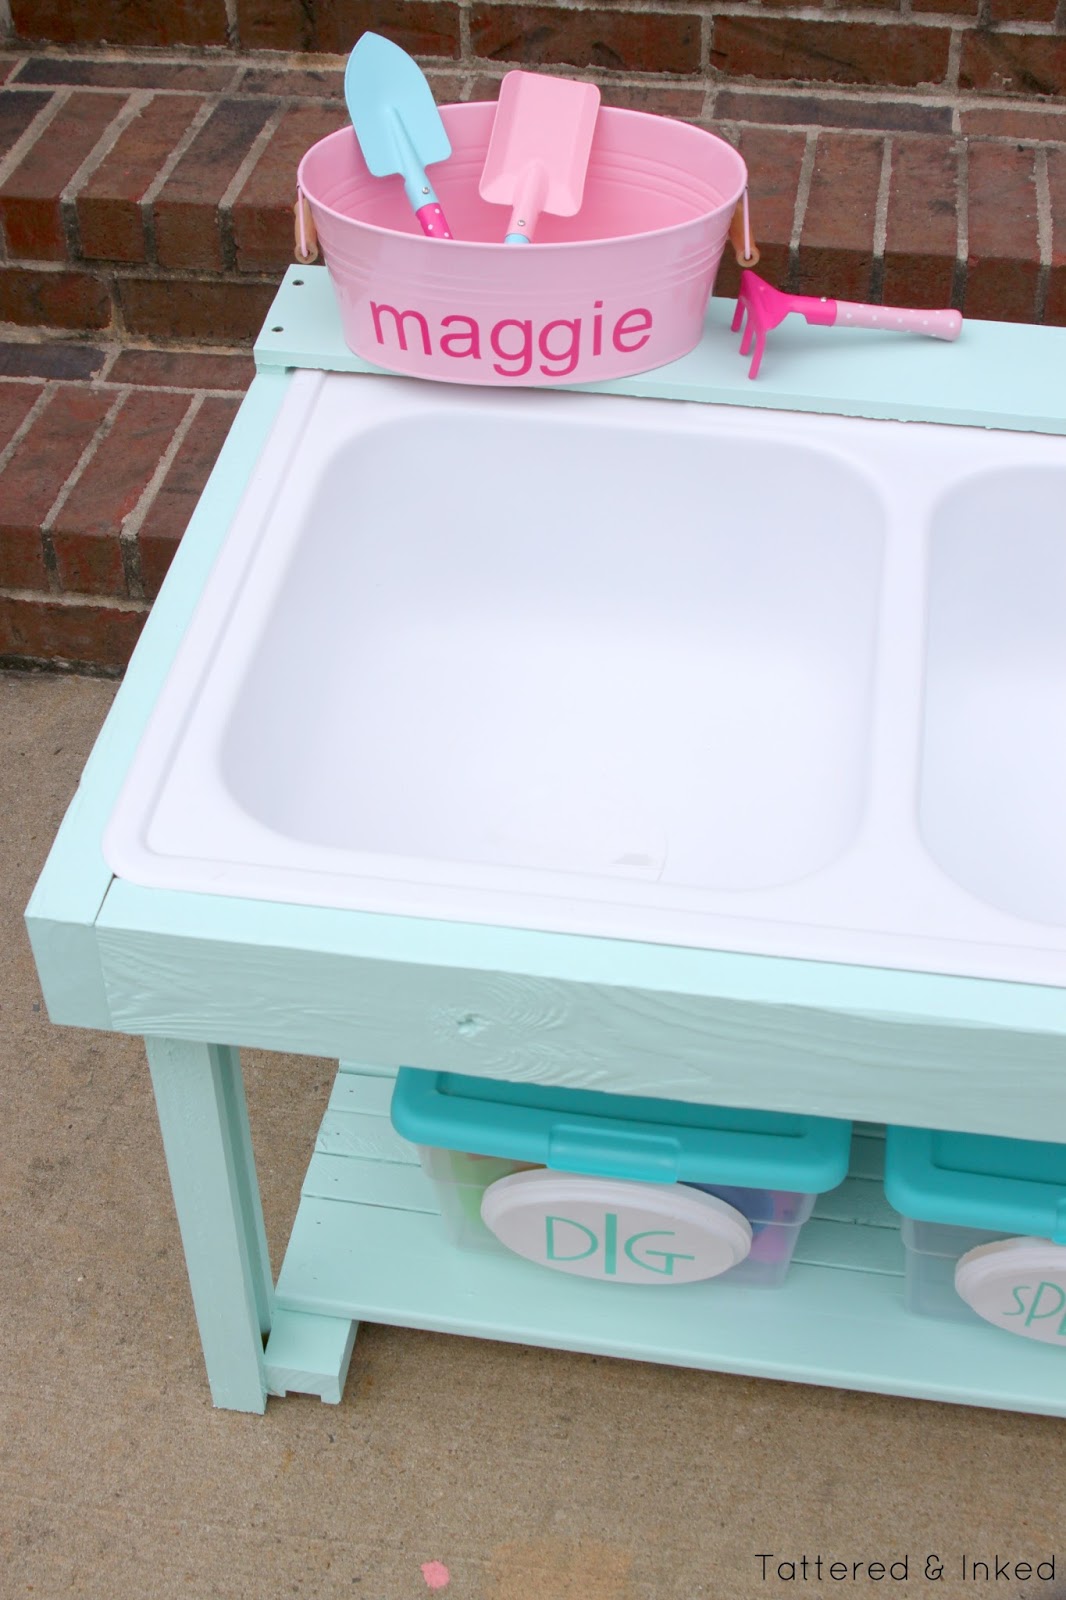
Kelsey loved the way the table turned out and couldn't wait to show it to her daughter, Maggie.
The final step before revealing the project was adding sand!
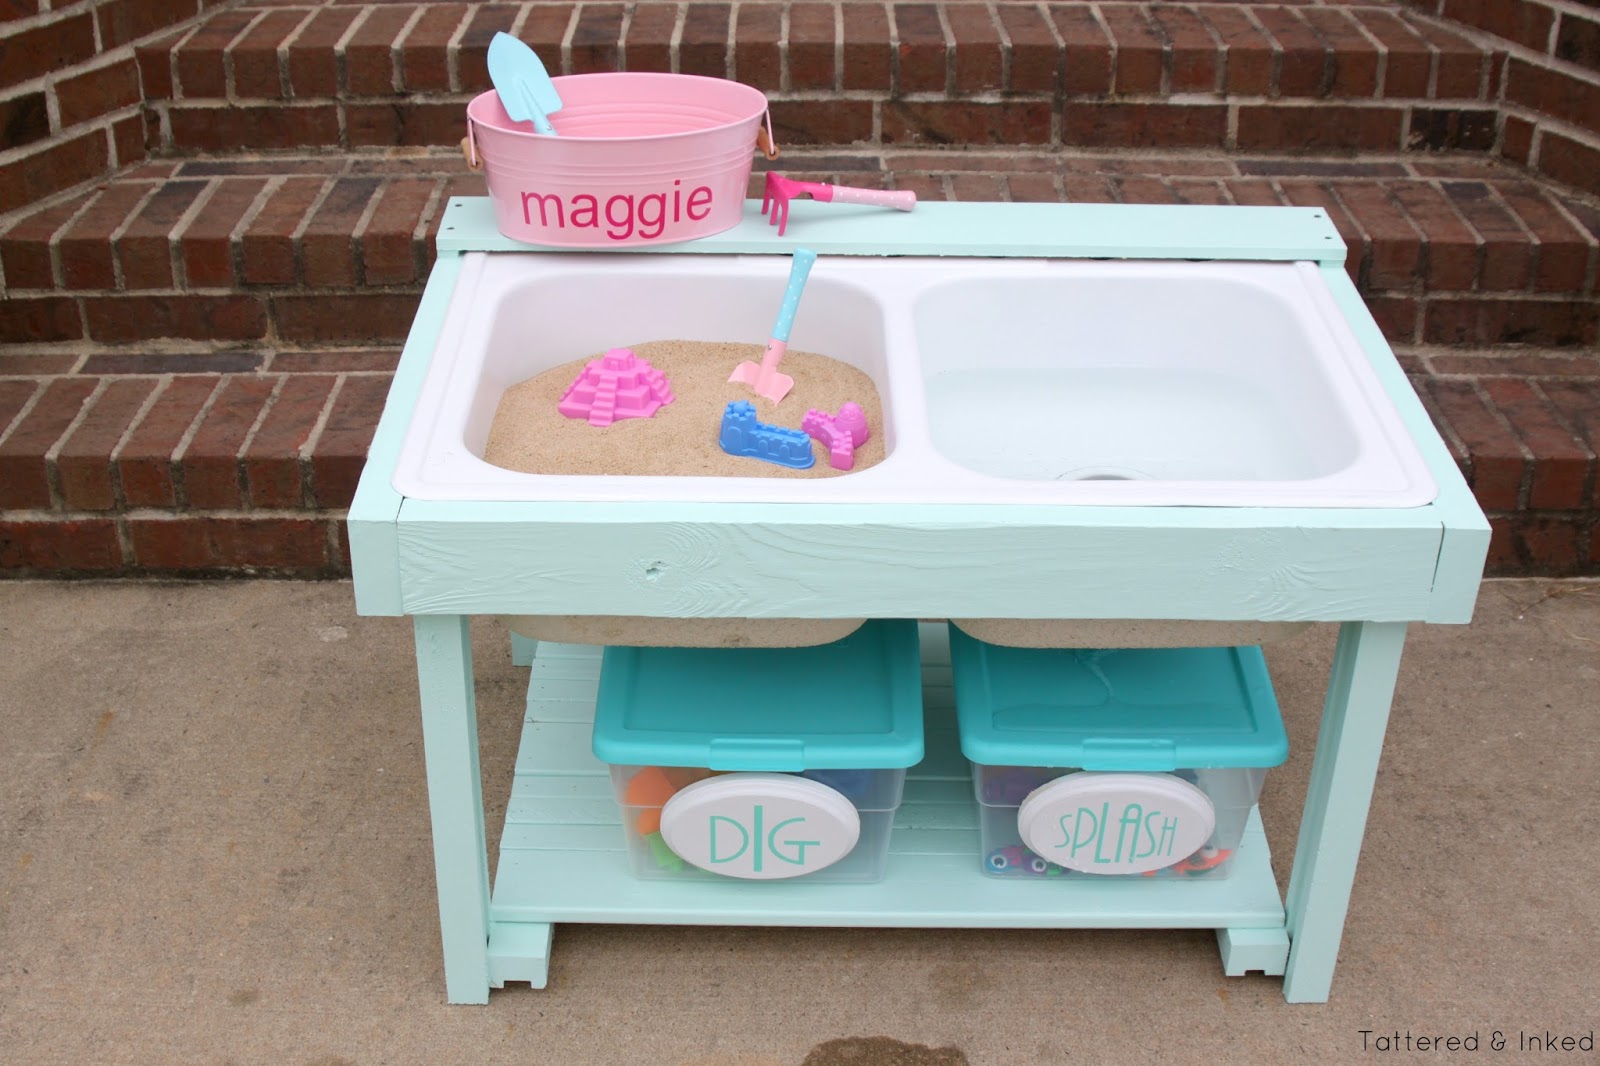
One 50 pound bag of sand was the perfect amount for the bin.
After adding water to the other side, it was finally time for the big reveal…
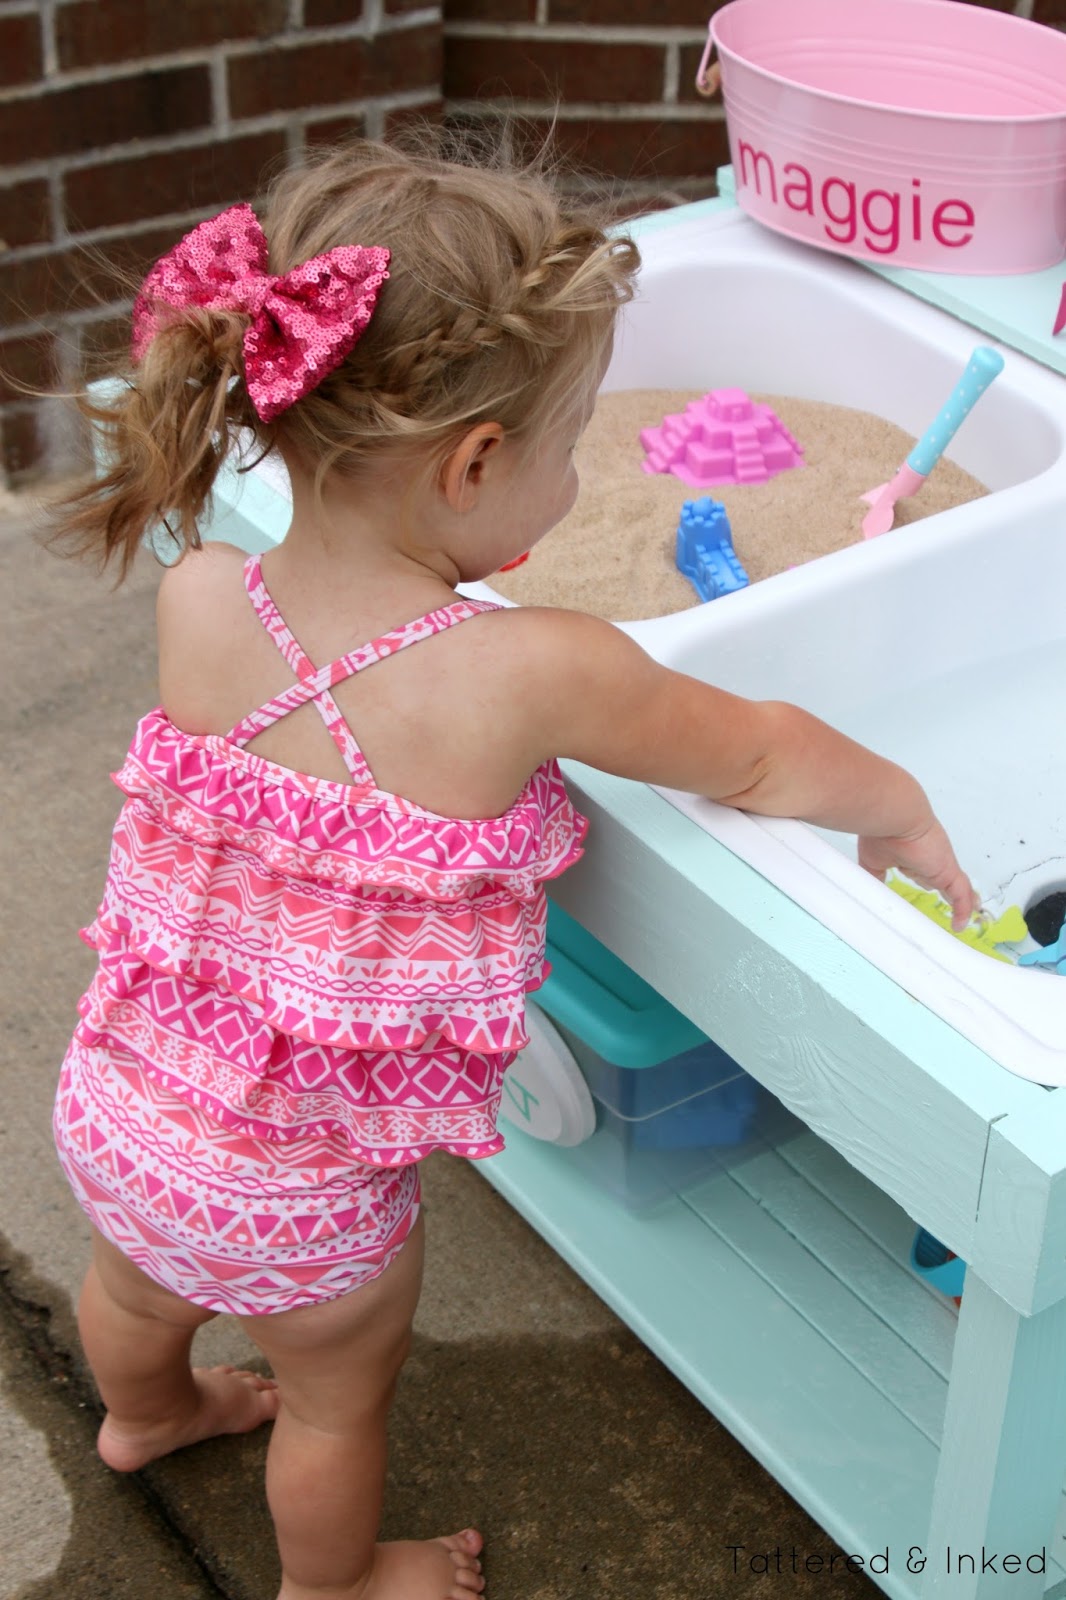
Maggie loved it! She couldn't get enough of it. And Kelsey even has a plan to fill the sink with beans when it's not nice enough outside for water!
For more information and step-by-step instructions, please visit Kelsey's blog, Tattered and Inked.
If you love clever DIY projects, be sure to SHARE this mom's sink transformation on Facebook!


