Spring is finally here, which means it's time to start getting your backyard ready and prepped for gardening, cookouts, and outdoor fun.
And what better way to kick things off than with a DIY project that will upgrade any backyard or patio?
I found this incredible fire pit project from Imgur user dalewithac. There weren't a lot of materials involved so this backyard transformation was surprisingly easy.
Imagine having your friends or family over for a nice evening sitting around a fire pit that you made yourself! This pit and accompanying seating area would be an incredible conversation starter, just like these wood burners that have been turned into pieces of art.
Scroll through below to see if a fire pit project like this is something you'd want to try yourself. You could be enjoying your cozy new space for a warm, romantic evening or a fun night of entertaining friends in no time.
What do you think of this incredible DIY undertaking? Let us know in the comments!
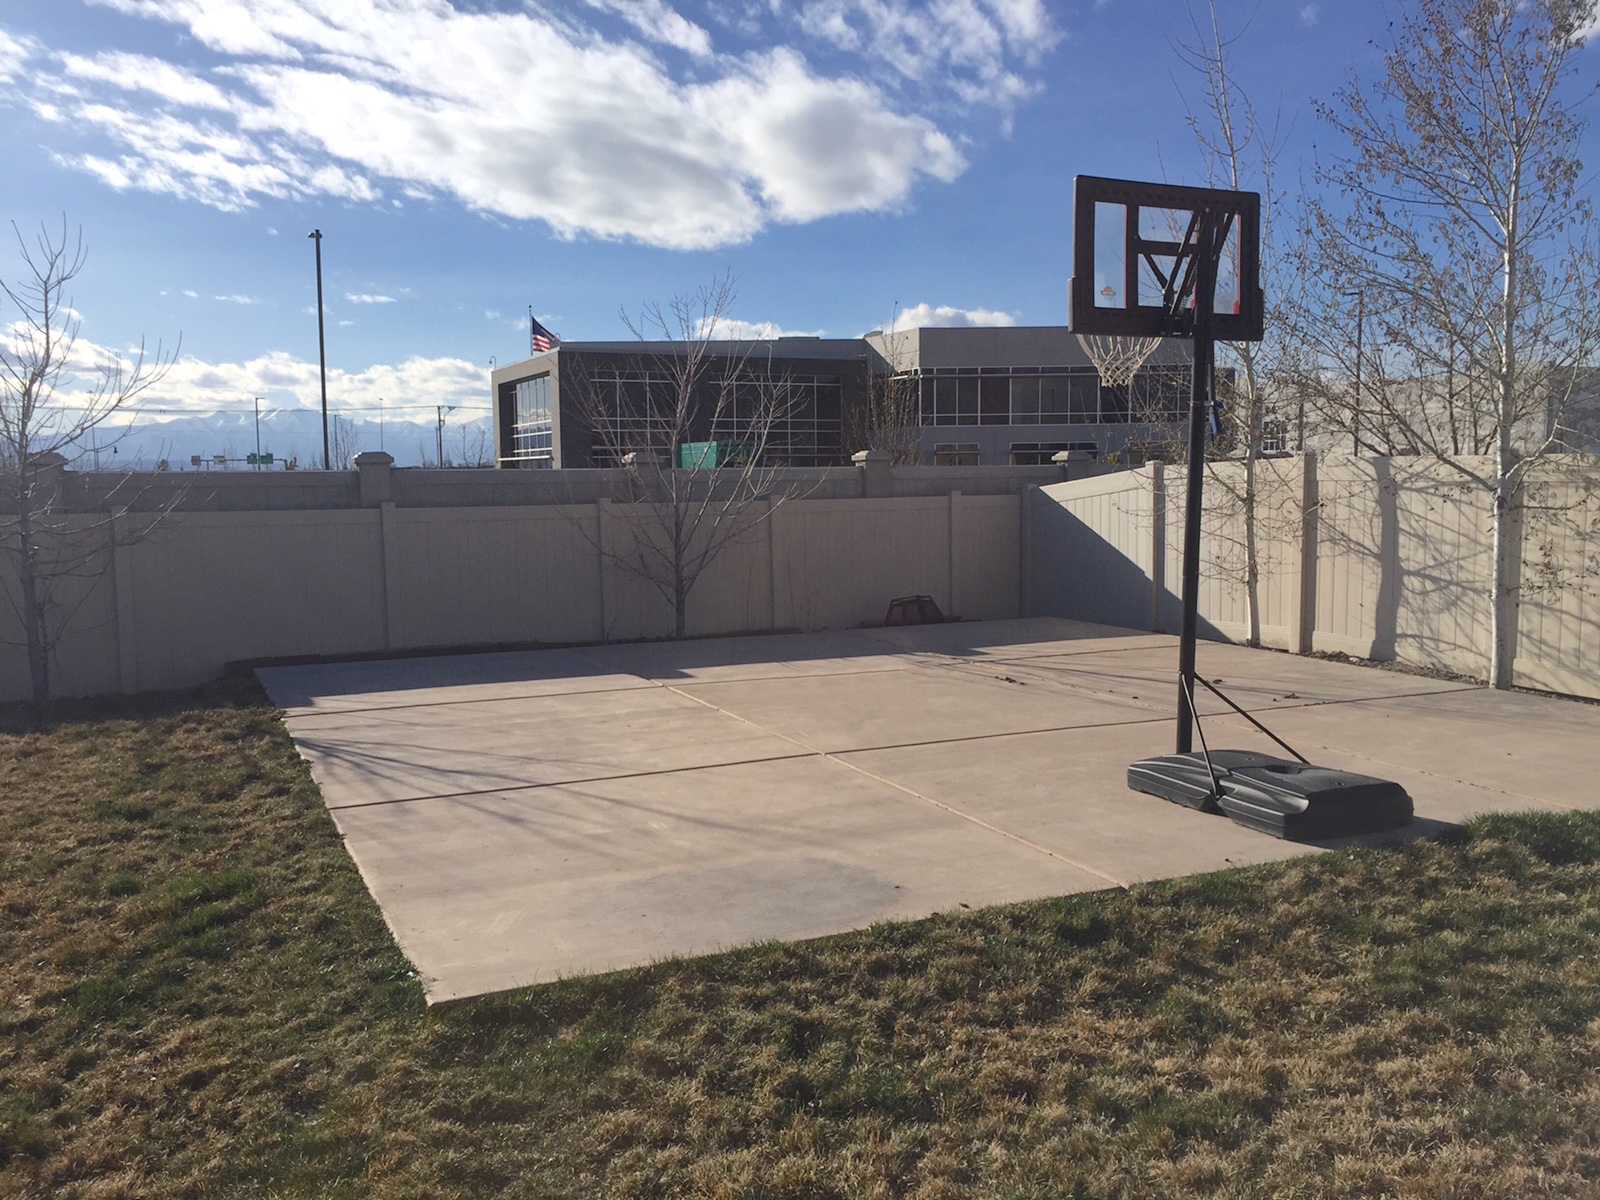
This backyard transformation is one of the most manageable — and impressive — projects I've seen in some time.
To begin, you can use any form of stone or brick. As long as your materials can be stacked evenly, they'll work.
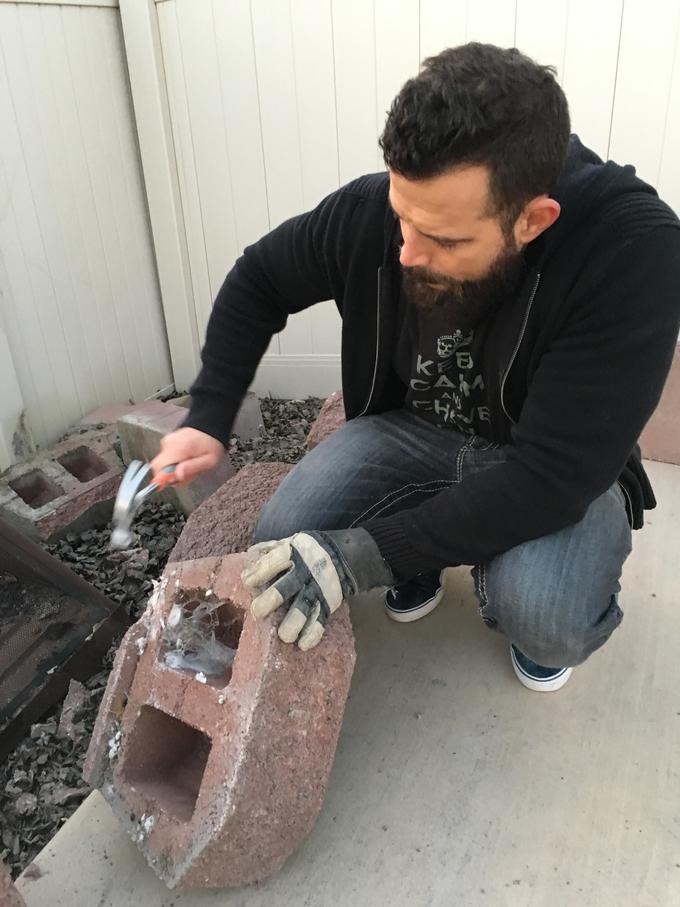
If you're using recycled materials, such as brick from an old project, make sure that they're level.
Chip off any excess with a hammer to make sure that your individual bricks or materials stack easily.

Stack your materials in the space where you'd like to keep your fire pit. It's not moving around after this, so have a little fun with your layering technique.

Next, fill the bottom of your fire pit with gravel to keep the fire from scorching the ground below. If you'd like, top the fire pit off with a grill, like this clever DIY-er did.
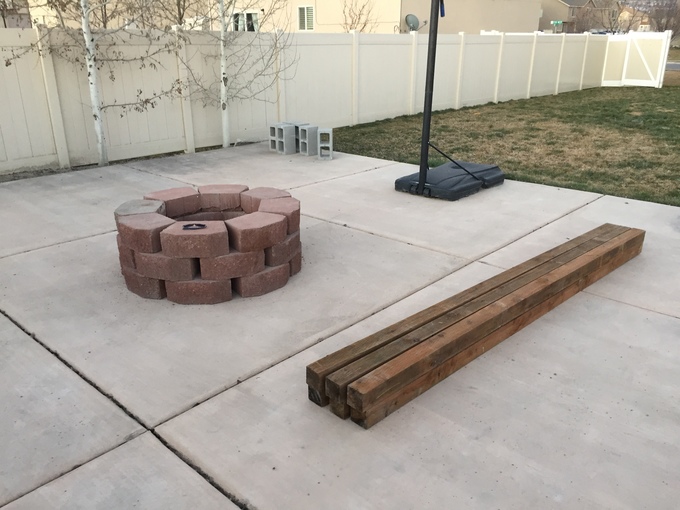
With the fire pit complete, you just need to create a cozy seating area to go with it.
For this part of the project, you're going to need timber and cinder blocks. This DIY-er used 28 blocks that he found for only $2 apiece.
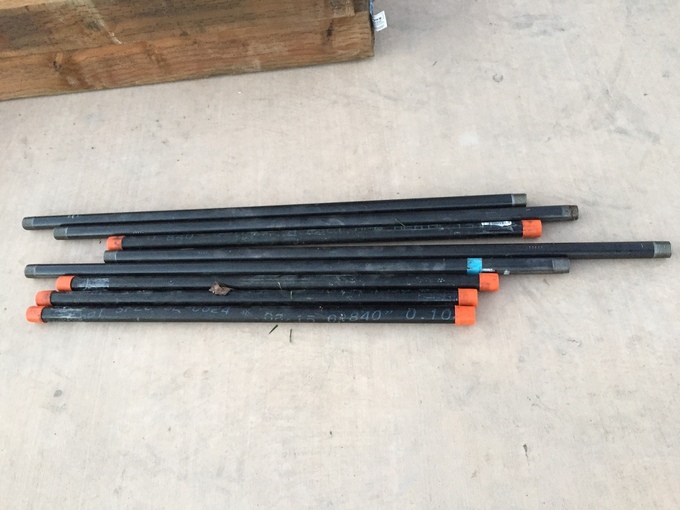
You'll also need some piping of various sizes.

And lastly, you'll need connectors for the piping, caps for the ends of the pipes, and plenty of outdoor Liquid Nails.
The total cost for all of these materials is only about $40 at Home Depot.

Use the Liquid Nails to stack your cinder blocks and create the base of the bench.

After a few cinder blocks are stacked together, they will be quite heavy. This DIY-er suggests that you start by aligning them in the space you'd like your benches to end up.
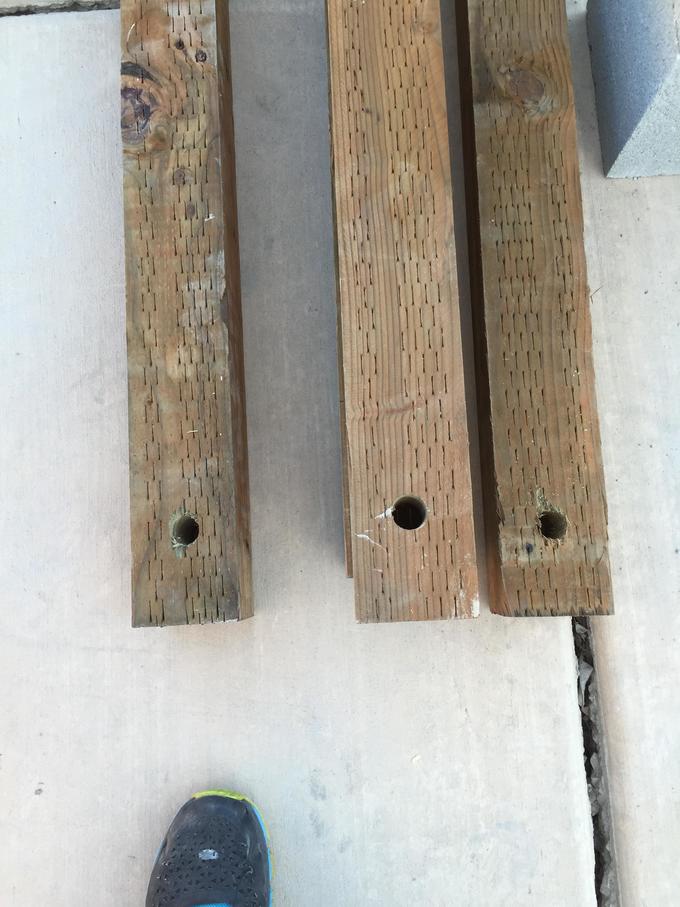
While your cinder blocks begin to dry, you can start drilling holes into your 4x4s to make room for piping.
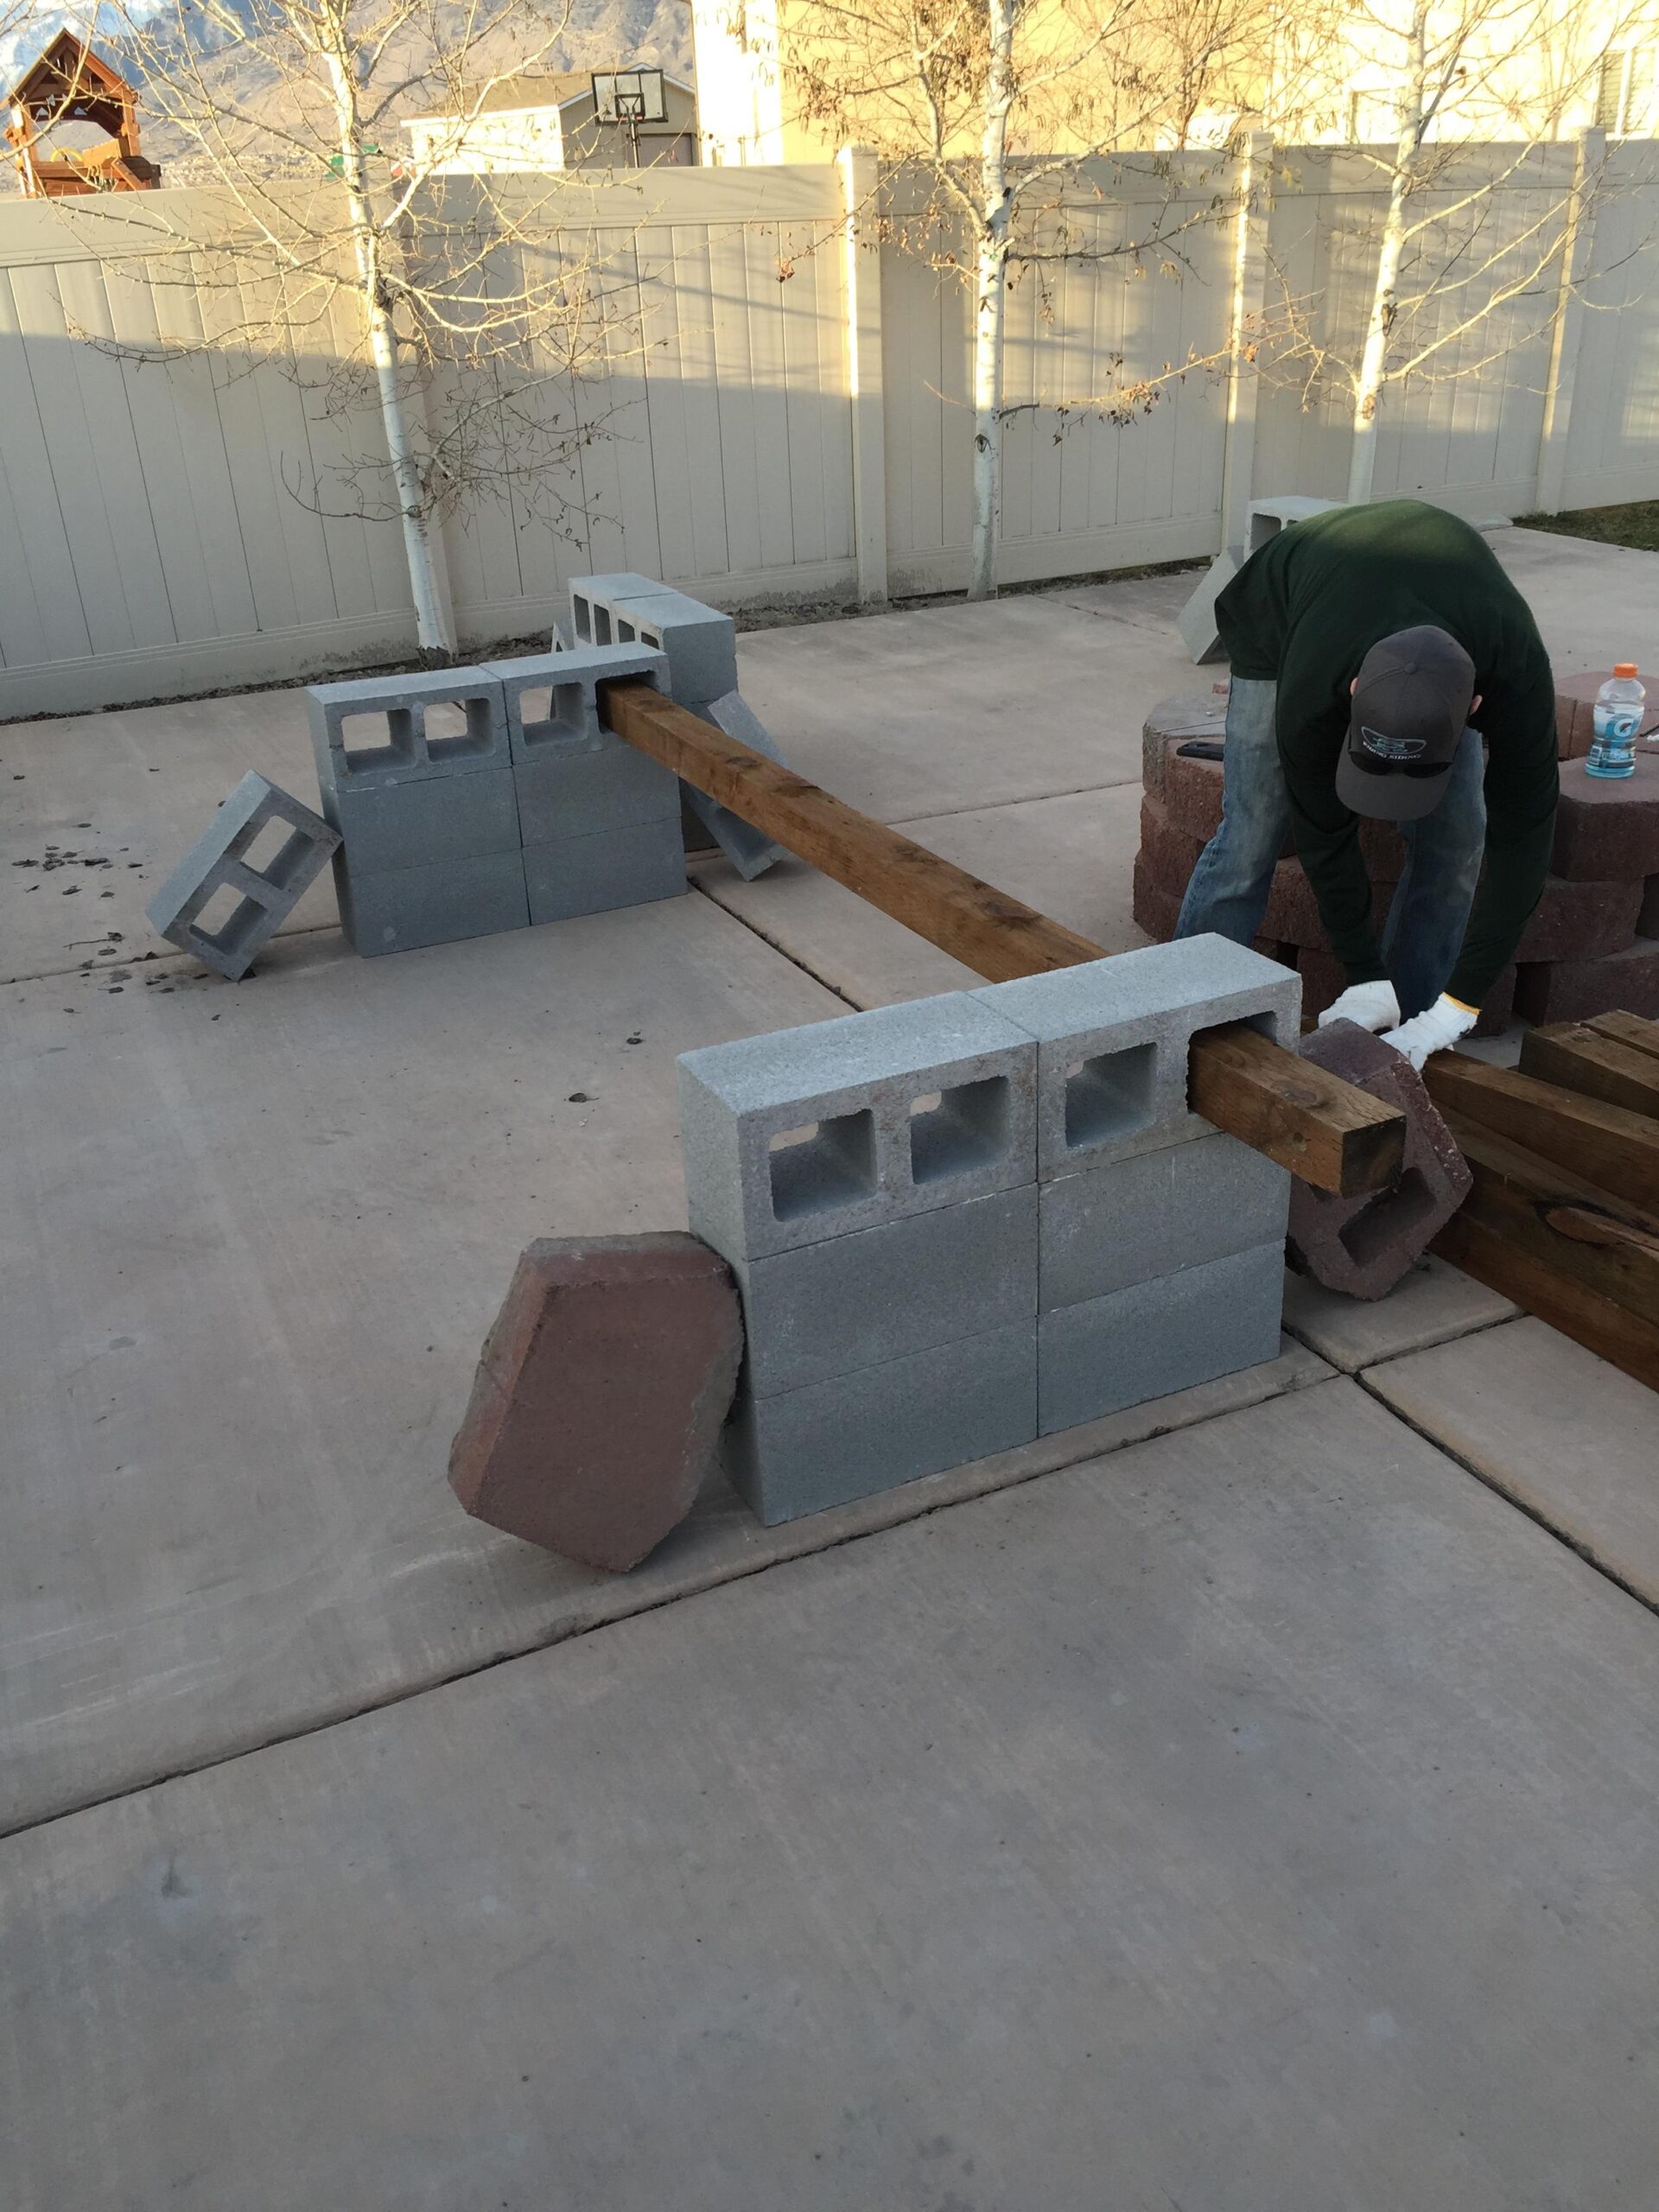
Use the Liquid Nails to firmly glue the stacks of cinder blocks together side by side. As you can see in the photo above, this clever DIY-er propped extra cinder blocks against the stacks for added pressure as the glue dried in the middle.
As the cinder blocks dry together, begin feeding your 4x4s through the open spaces in your cinder block base.

Your project will really begin to take shape at this point!
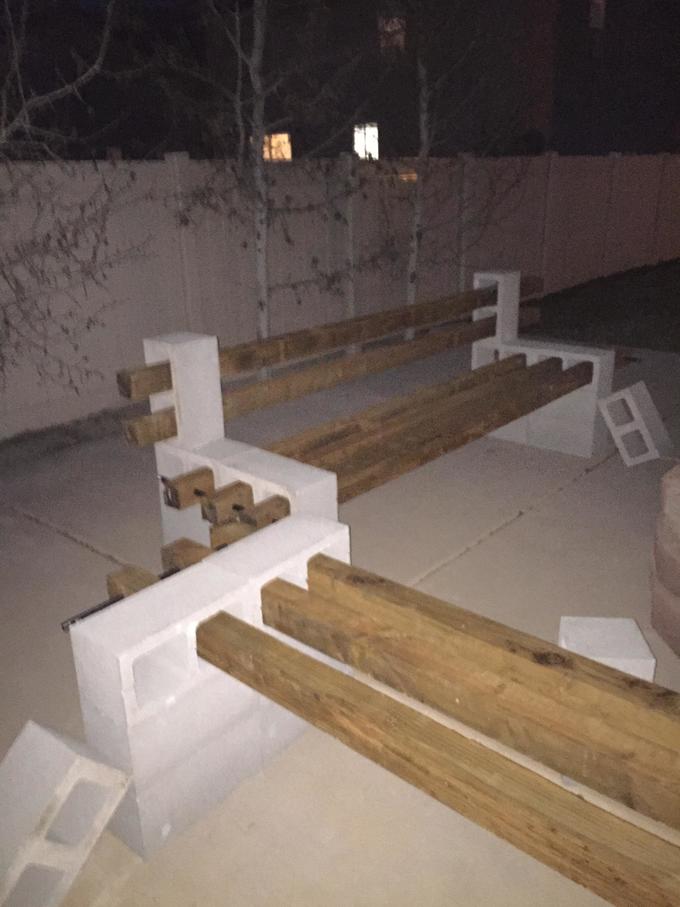
To create the back of your bench, glue two cinder blocks on both sides of your base. Double up on the adhesive — people will be leaning against the back of the bench so you'll want extra support for your cinder blocks.
After the blocks are dry, feed your 4x4s through the cinder blocks to create your bench back.
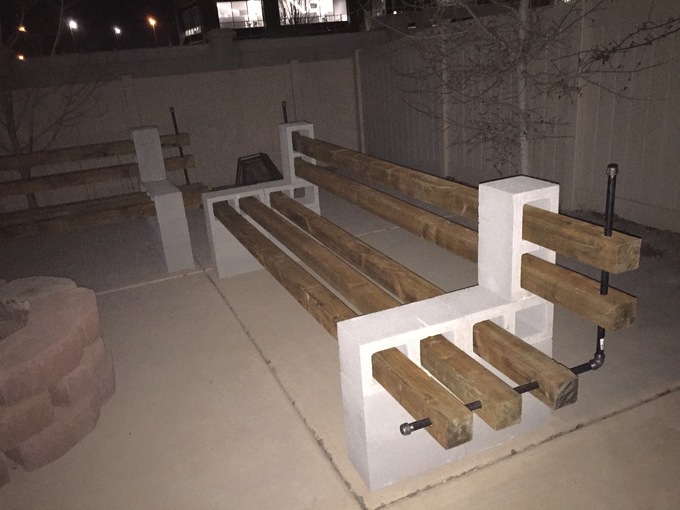
Next, you'll feed the piping through your 4x4s, and cap off the ends of each pipe. Fortunately, the hard parts are all over.

Your project is now almost done. All you need to do is add a bit of personal flair to your benches.
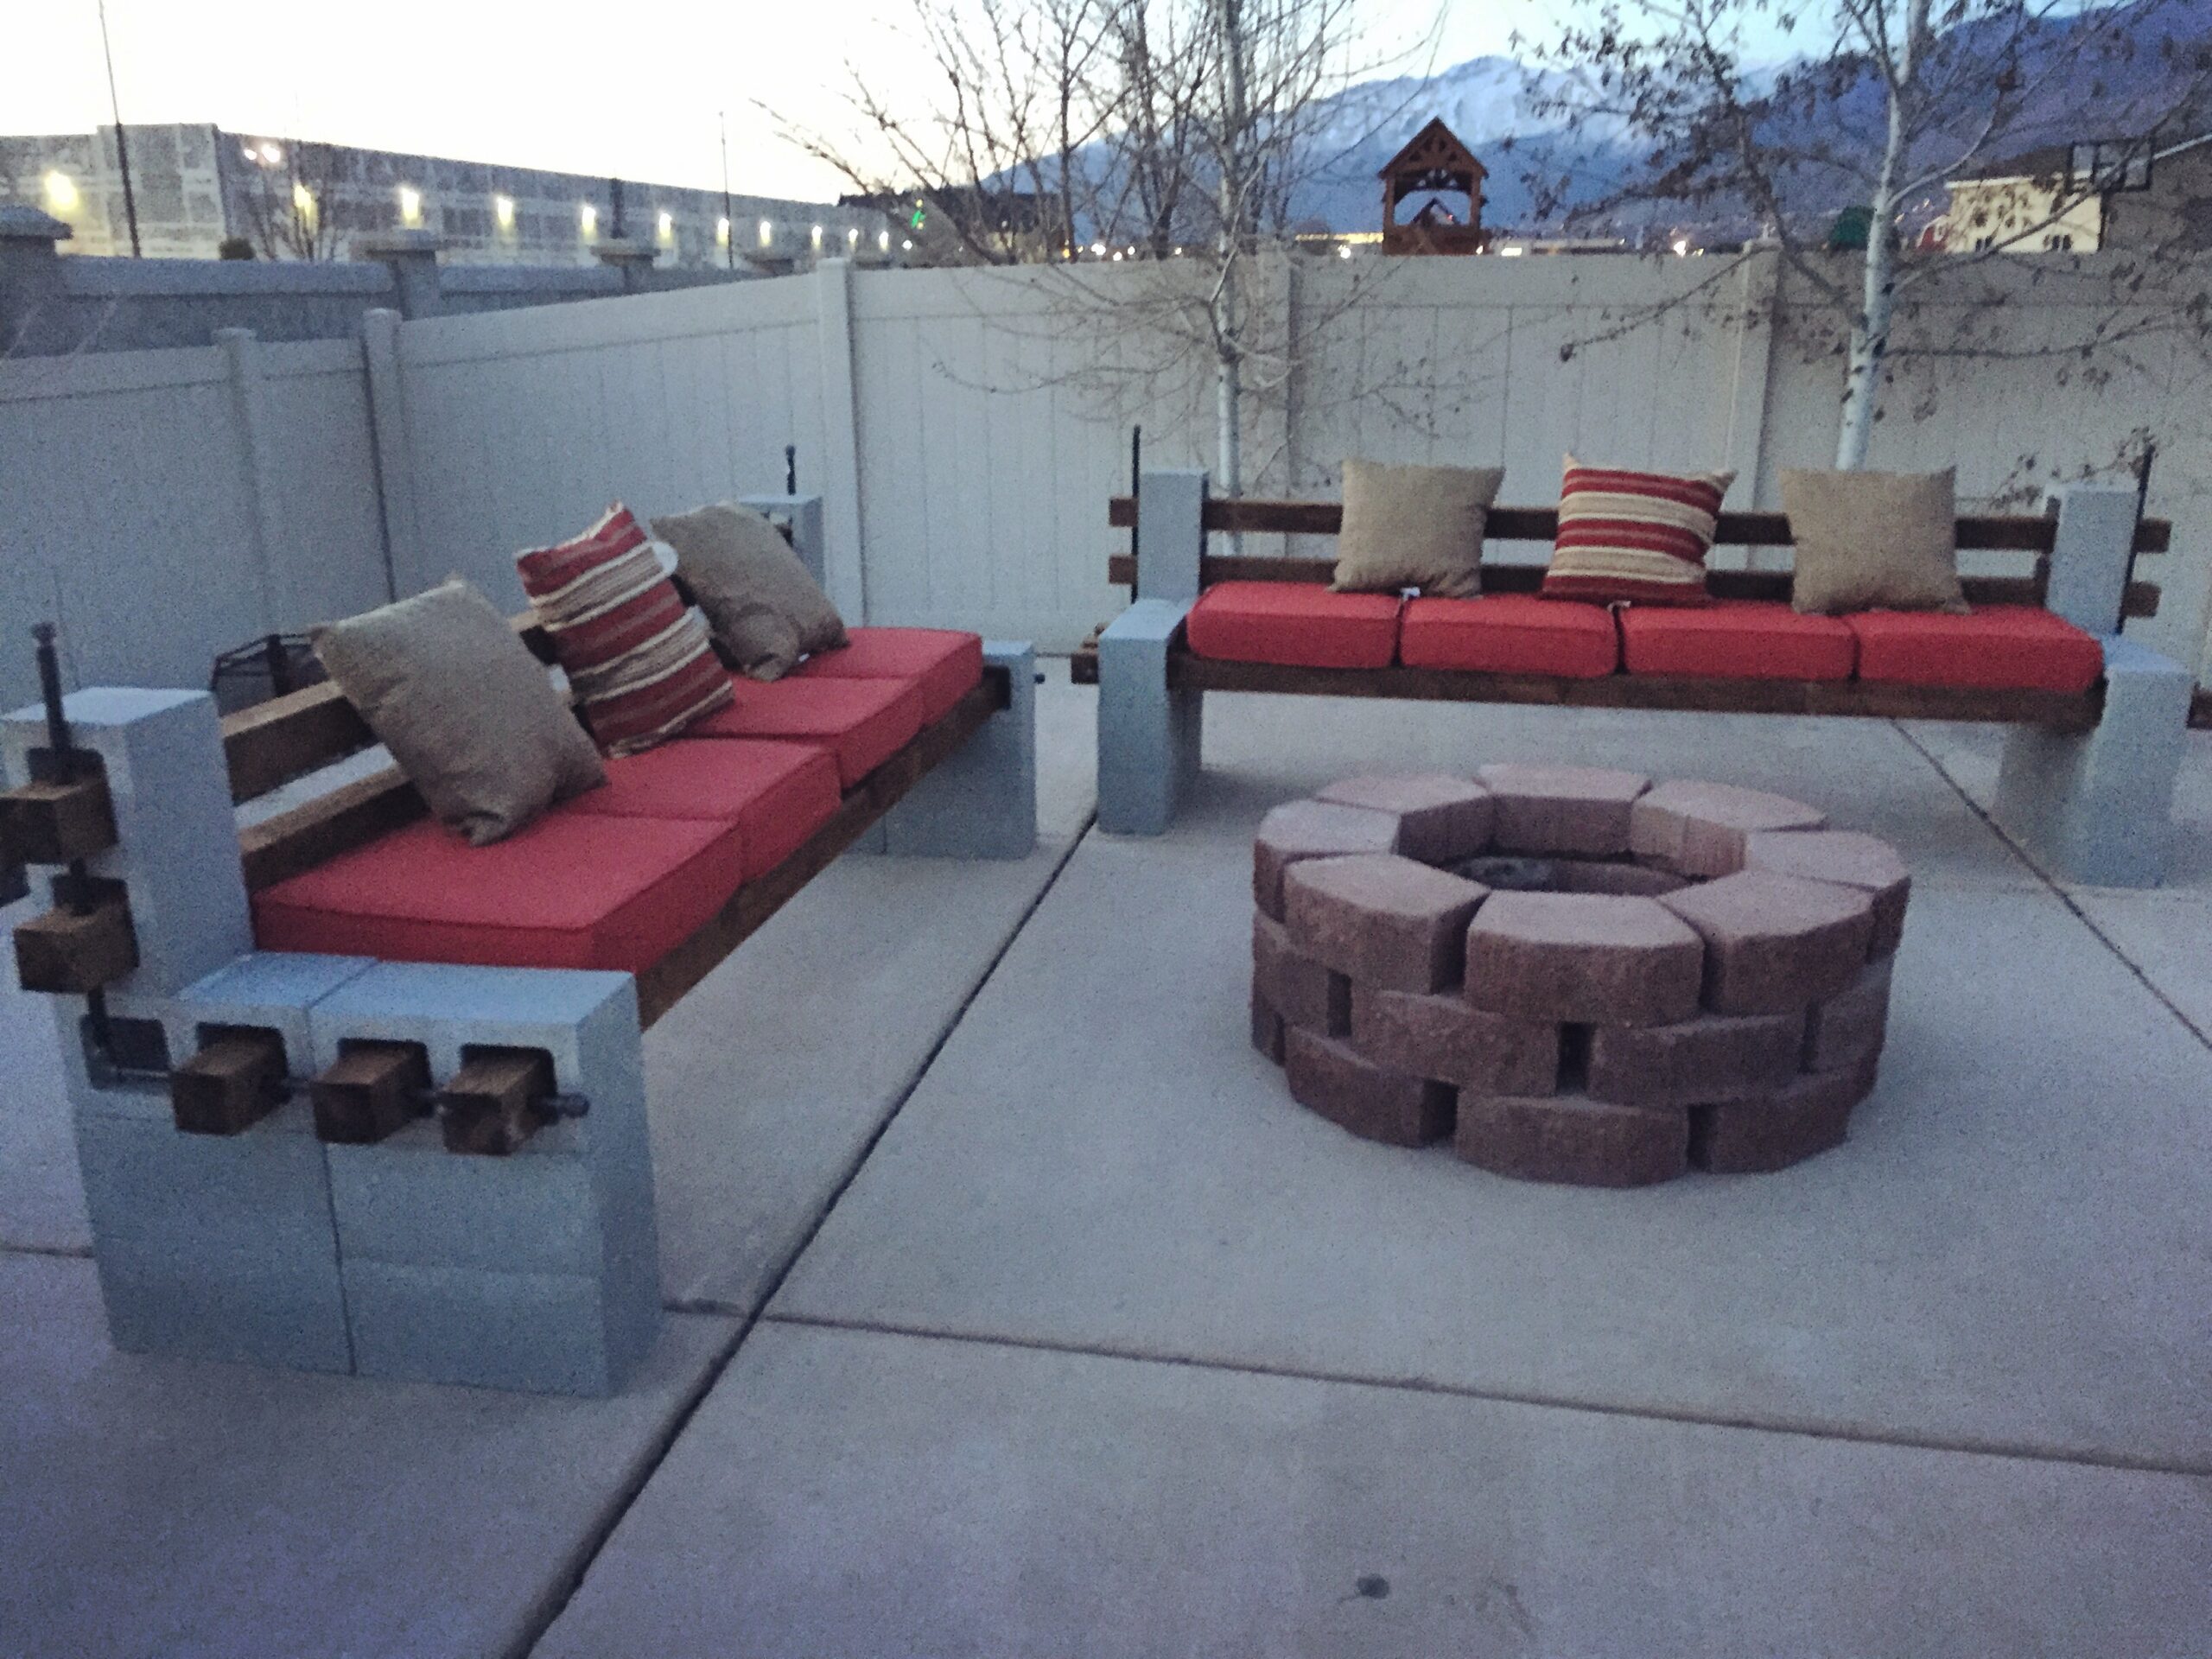
Dress up your outdoor seating area with weather-proof cushions and pillows to really make it your own!
Just like this brilliant DIY-er, you too can have a beautiful seating area in time for summer.
Would you want something like this in your backyard? Let us know in the comments.
Please SHARE this simple way to transform your yard with friends and family!


