Sometimes, the best crafts come from combining two materials you might never think would go together.
That's what crafter and blogger Kat, who hails from Medicine Hat, Alberta, found when she wanted to create something using a big, beautiful rhubarb leaf from her garden.
Rhubarb is not only a wonderfully tangy addition to a strawberry pie, it also grows some very impressive leaves. (Only eat rhubarb stems, though! The leaves are poisonous if ingested.)
Charmed by their giant size, Kat decided to turn them into permanent decorations for her garden. But how do you make something fragile, like a leaf, last forever?
Well, you get crafty, of course! With enough creativity, you can turn even the weirdest things into something beautiful, like these discarded doll heads that became clever little planters.
Kat realized she could capture the beauty of the leaf's veins by creating another, significantly sturdier version of it using regular cement and a bit of shiny paint. And they look really great!
Read on to see how she did it. You can try this with smaller leaves and clay to make a smaller version, too!
[H/T: Kat From The Hat]
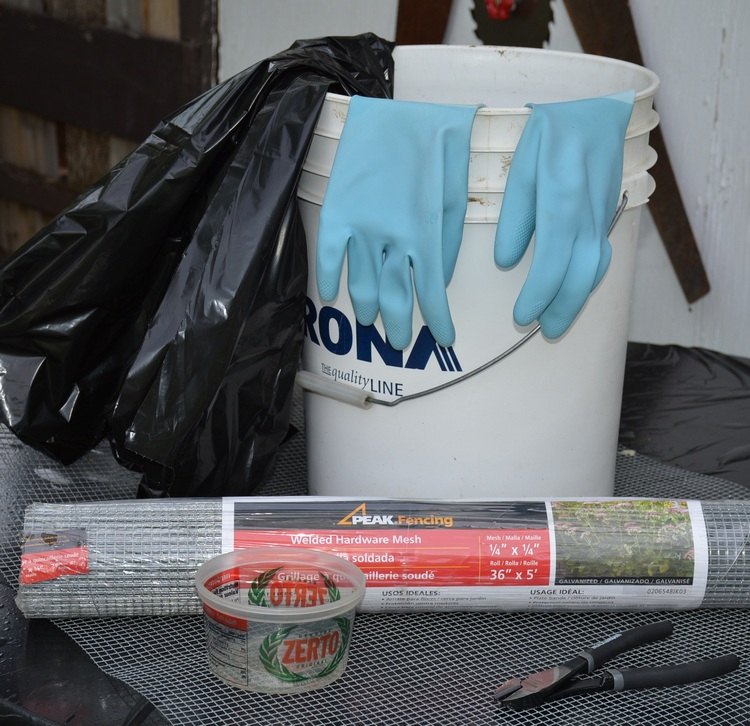
To make her rhubarb leaf ornament, Kat first gathered up her materials, which included cement, sand, plastic wrap, and wire mesh. And of course, gloves!
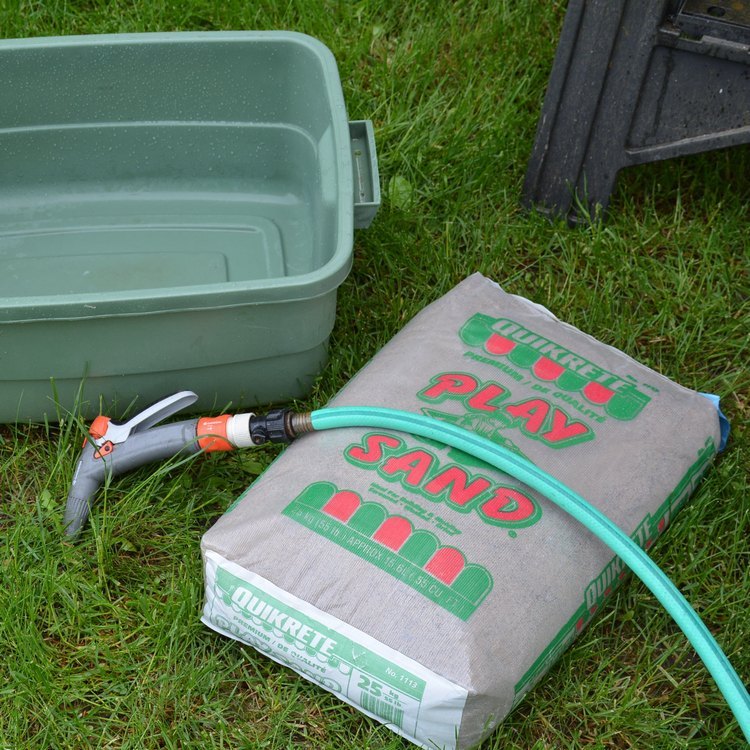
The sand was wetted slightly so that it would hold its shape for the initial mold.
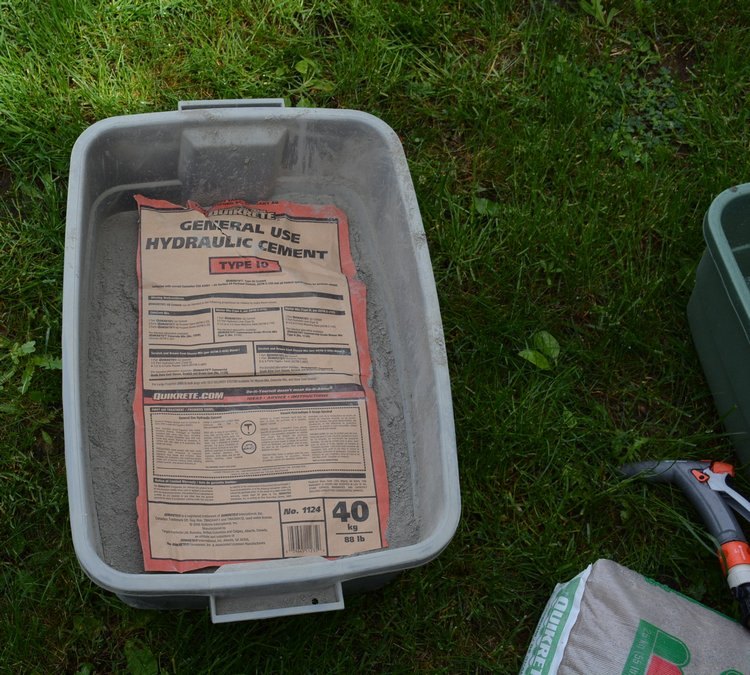
Next, the cement was prepared.
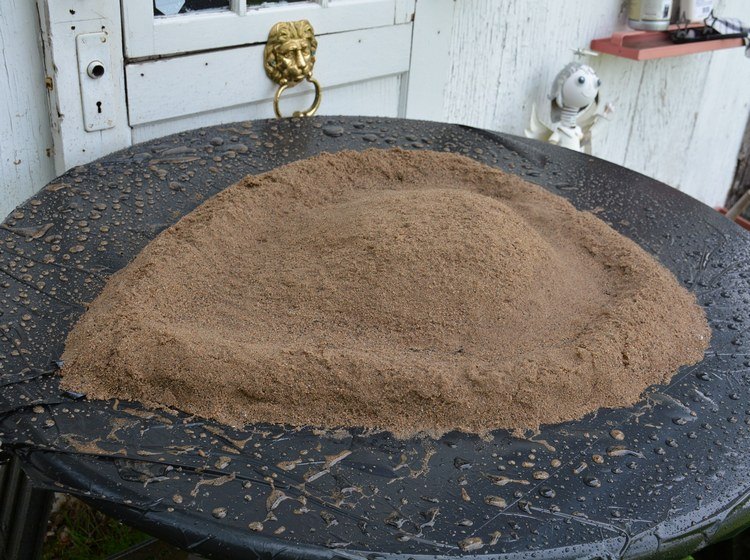
Kat wanted the leaf to have a natural, curved shape, the way you might find a leaf on a plant. Using the sand, she molded this base to form the shape.
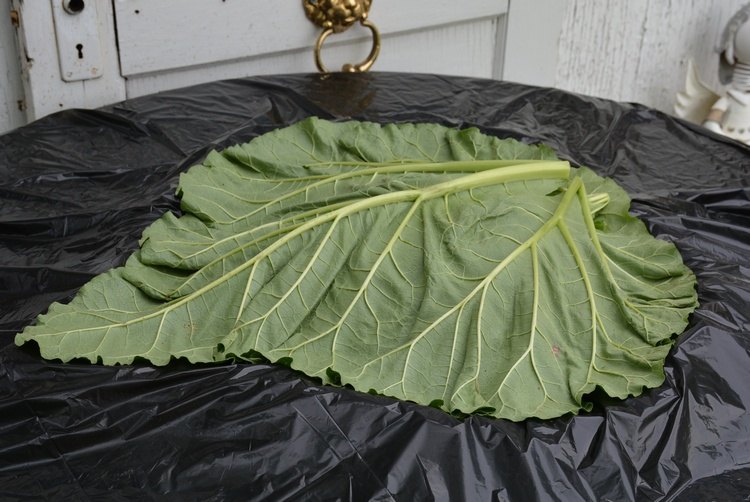
She laid some plastic over the sand to prevent the sand from getting into the cement, which would mess up the texture and the leaf print.
She then laid the leaf out over the sand base, with the underside facing up so that the more prominent veins would stand out.
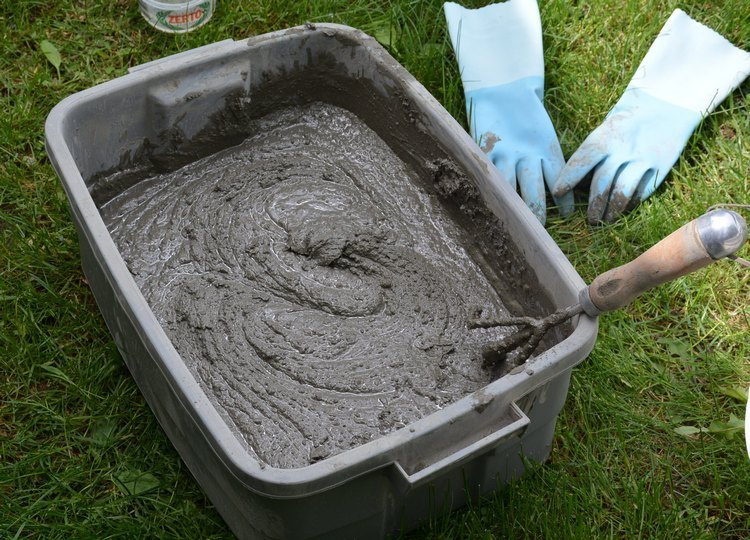
Then, it was time to get mixing!
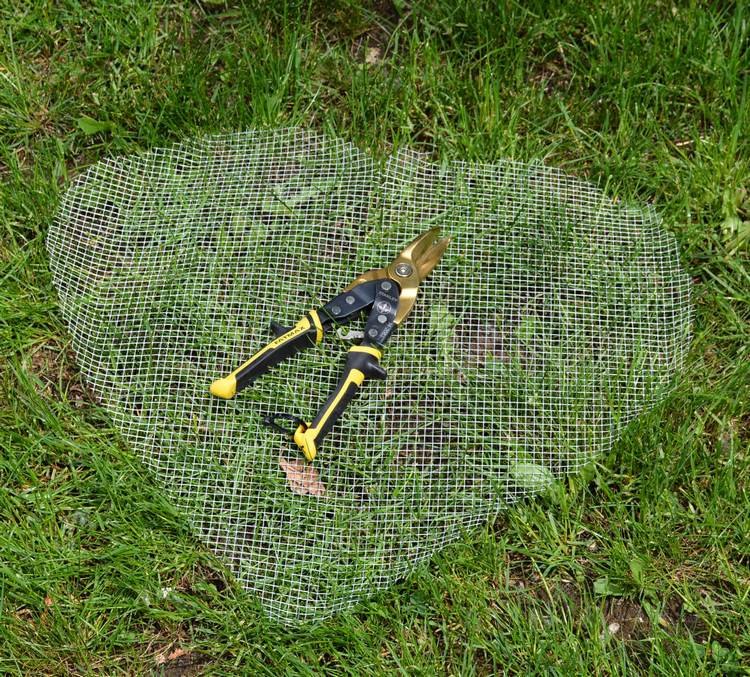
Some wire mesh cut to fit the leaf would help the cement be more sturdy and prevent breakage.
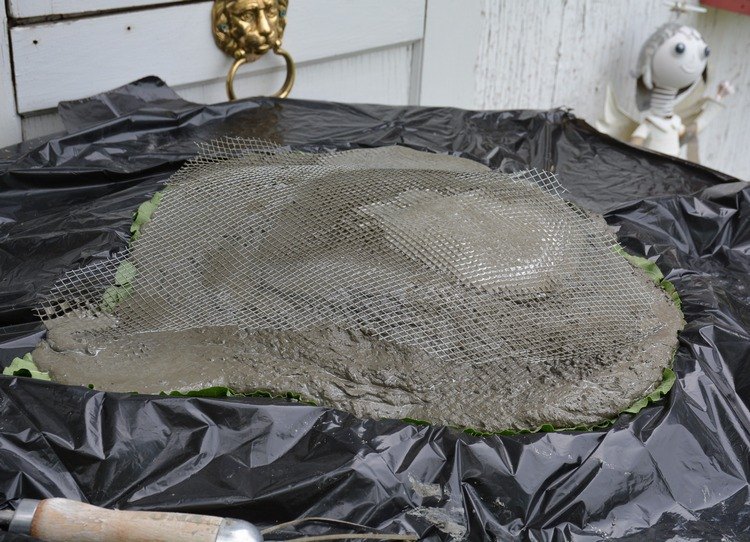
Kat poured on some cement, laid down the mesh, and poured more cement on top so everything was covered.
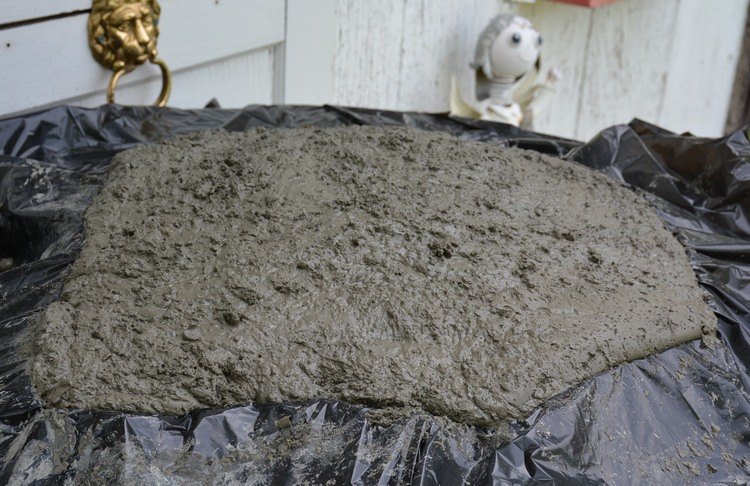
OK, this doesn't look like much, but just wait for it to dry!
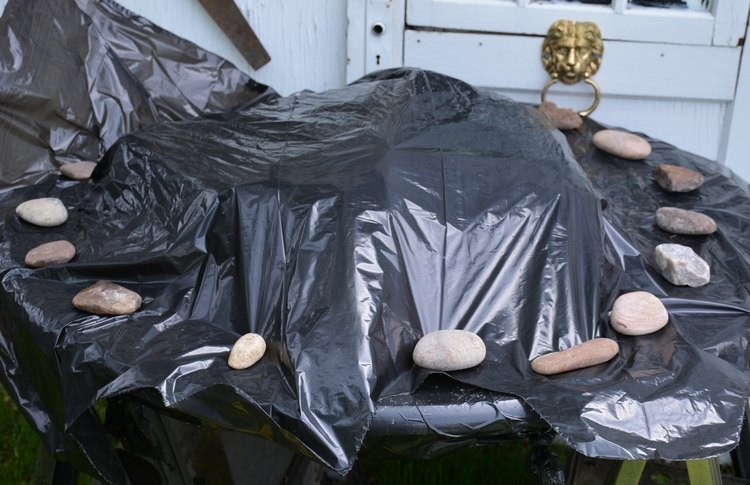
She covered the whole thing with plastic during the drying time, which took about three days.
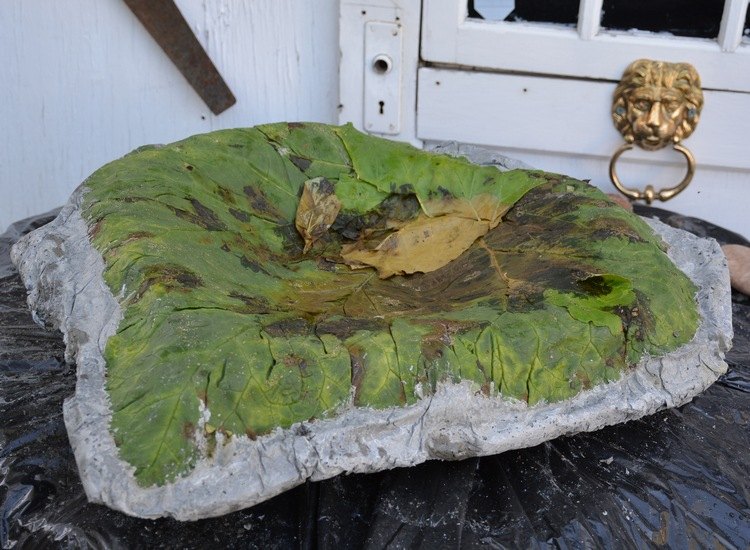
When it was dry, she flipped it over. Yes, it was very heavy!
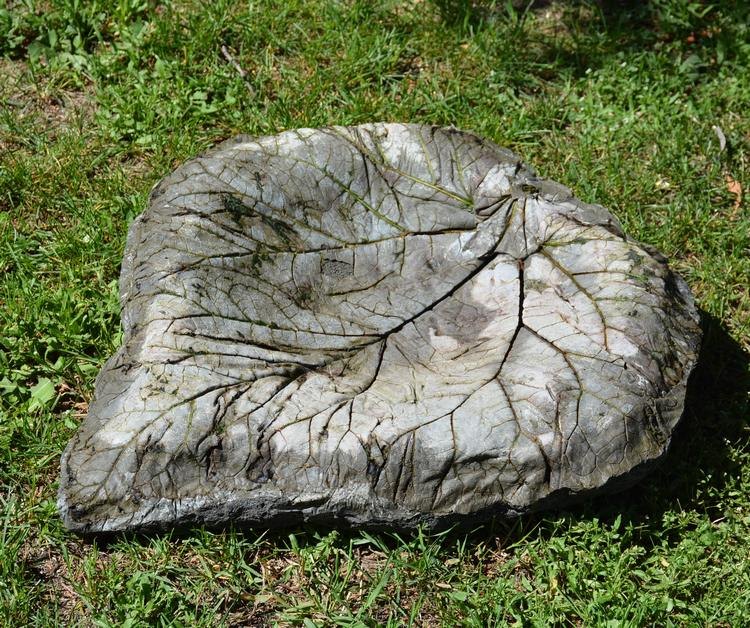
After peeling away the leaf and washing away the excess cement, this was the result. She would have to do a few minor touch-ups, but it's got great detail.
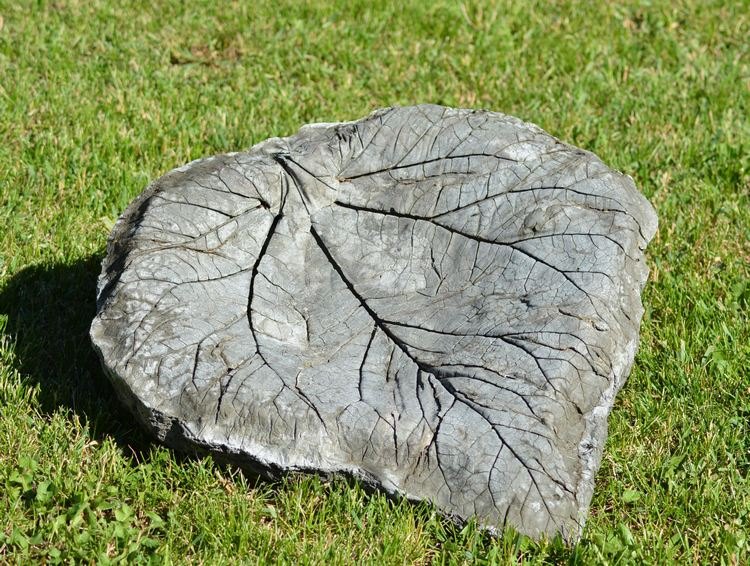
After letting the cement cure in the sun for a few days, she was also able to brush out the last remnants of the leaf, which had dried.
Now, it was ready to decorate!
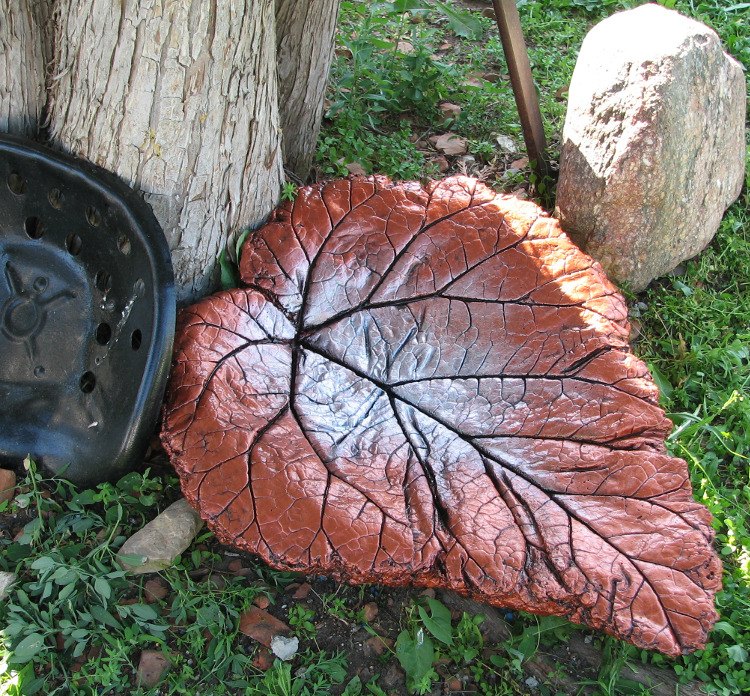
Some metallic paint created this ombre effect, and Kat also used black paint to make the veins stand out even more.
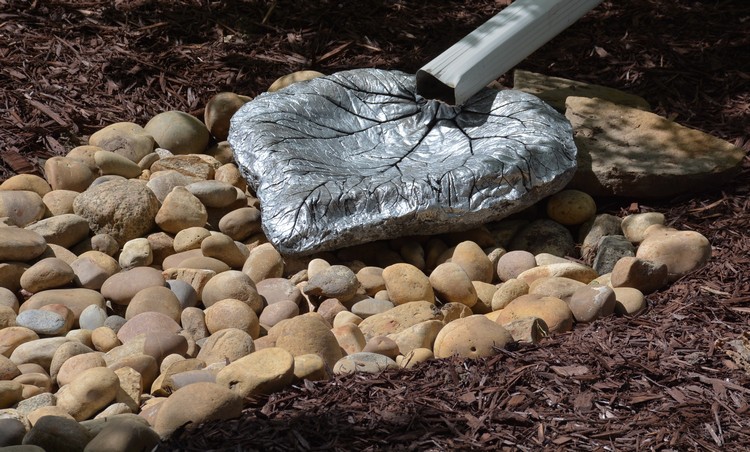
And while they can be used simply as decoration, this one found a function catching rainwater and helping funnel it away.
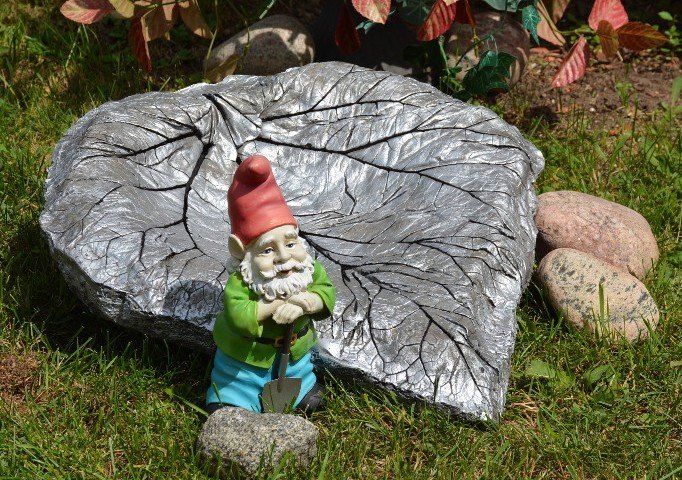
When she was finished, her garden had a charming new addition that captured the fleeting and delicate beauty of her rhubarb leaf.
To see the rest of Kat's clever creations, be sure to check out her other projects on her website.
If you love creative, all-natural garden ideas, please SHARE this leaf DIY!


