Have you ever used a sugar scrub? If you have, then you know how delightful the sweet treatment can be. If you haven’t taken advantage of the natural skin care option that feels just as wonderful as you imagine it would taste, this is your chance to find out what you’ve been missing.
Ideal for exfoliating your skin, sugar scrubs are a gentle alternative to more abrasive scrubs that can irritate and even hurt. Along with removing dirt and dead skin, sugar scrubs are often mixed with oils to provide your skin with nourishing moisture.
With this in mind — and thanks to the fact that winter isn’t terribly kind to my skin — I decided it was time to indulge in a much-needed sugar scrub. And while they’re often offered in spas as an alternative to salt scrubs for those who have sensitive skin or just prefer a more comfortable version, I wanted to try making my own DIY mixture. I had previously come across a few seemingly simple online recipes in the past and liked the idea of fine-tuning the mixture so that I would get something that perfectly suited me.
Since it was getting close to the holidays, I based my mixture This N’ That With Olivia's Christmas Cookie Sugar Scrub recipe, putting my own twist on the scrub based on my personal preference. This recipe is a great base for any sort of variation you prefer. Make your changes along ongoing seasonal themes to create amazing scrubs not only for the end-of-the-year holiday but also for Valentine’s Day, summertime, and even birthdays.
Ideal to make for a DIY gift or for yourself to indulge in a little seasonal self-care, you definitely need to try this Christmas cookie sugar body scrub.
Ingredients
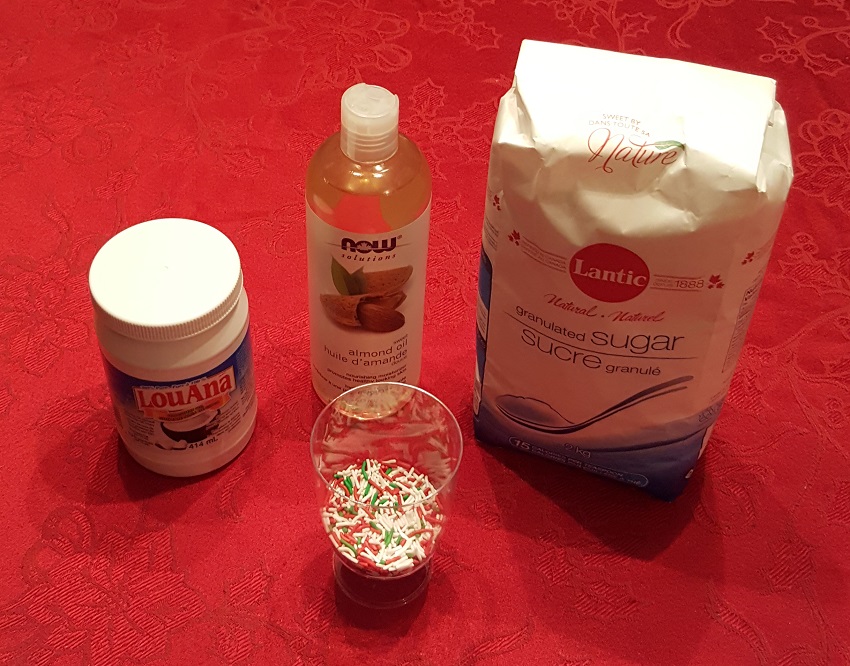
For your DIY Christmas cookie sugar scrub, you’ll need:
- 1 cup granulated sugar
- 1/4 cup organic coconut oil
- 1 tbsp. red, green, and white nonpareil sprinkles
- 6 drops moisturizing oil
Other Items
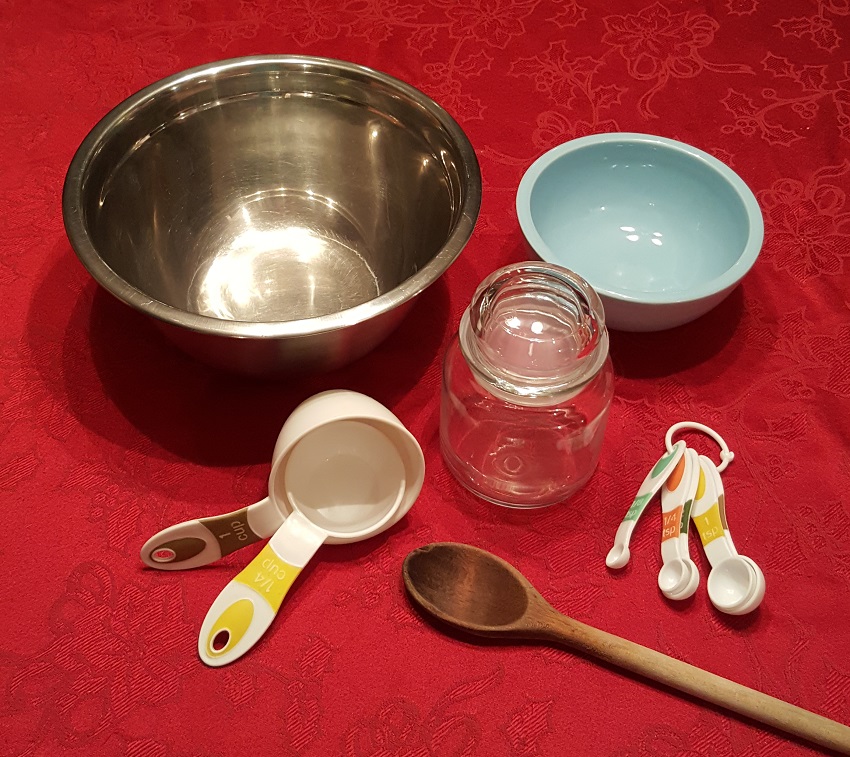
Other items you'll need include:
- Large mixing bowl
- Small microwave-safe mixing bowl
- Stirring spoon
- Measuring spoons
- Measuring cup
- Jar
Step 1: Melt the Coconut Oil

First, I measured out 1/4 cup of coconut oil. Since it was rather warm in my kitchen while I was making the sugar scrub, the oil, which is usually solid, had already partially melted. However, there were still a few chunky bits, so I popped it in the microwave for 30 seconds. The oil came out quite hot, so be careful if you use the microwave, and use oven mitts to protect yourself.
Step 2: Add Moisturizing Oil
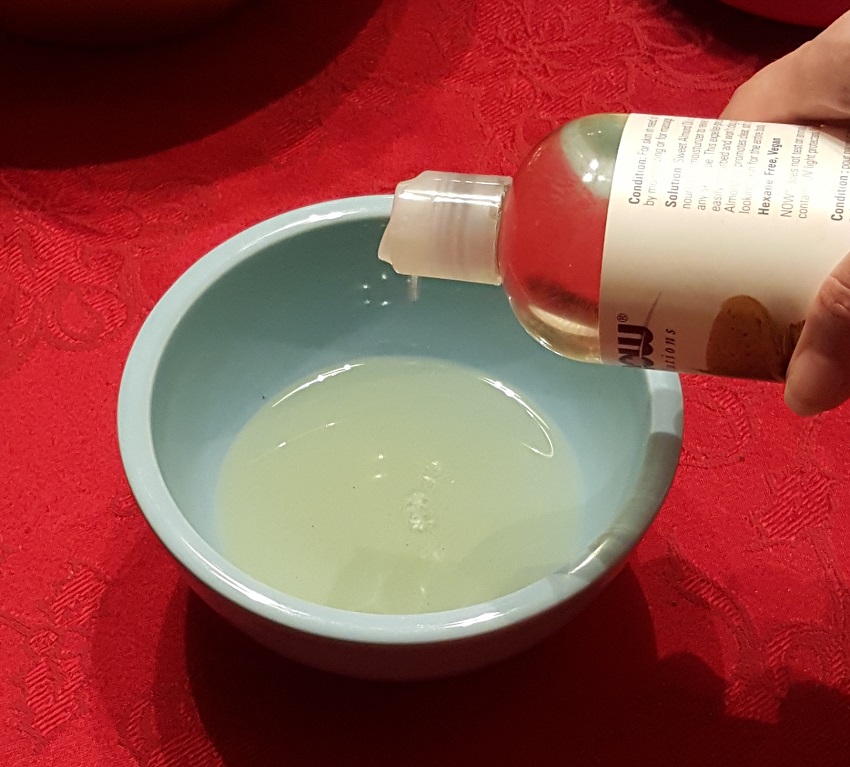
I then added a few drops of the moisturizing oil. I went with six little squeezes of the bottle, but how much you add really depends on your preference. If you want a sugar scrub that has only a little extra moisturizing boost or a tiny bit of added fragrance on top of the coconut oil, then use just a couple of drops. Or you could go heavy on the moisturizing oil to get as much out of the scrub as possible. Just don't go too wild with the oil, or you might end up with a sludgy paste when you add the sugar.
Step 3: Combine the Sugar and Oils

I then measured out 1 cup of sugar and poured it into my large mixing bowl before adding the oil mixture. I was initially worried that I had too much sugar and not enough oil, but when I blended them together, they evened out nicely.
Step 4: Add the Sprinkles
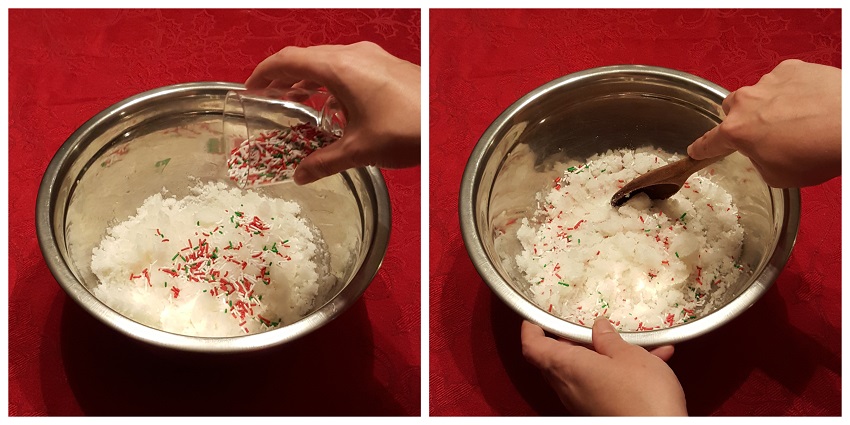
In the same way you would top your Christmas cookies with sprinkles, I added sprinkles to my sugar scrub. After blending everything together once again, I was thrilled with how festive it was looking. The little pops of color really added a bright touch to a mixture that might otherwise appear to be bland.
Step 5: Do a Quick Test
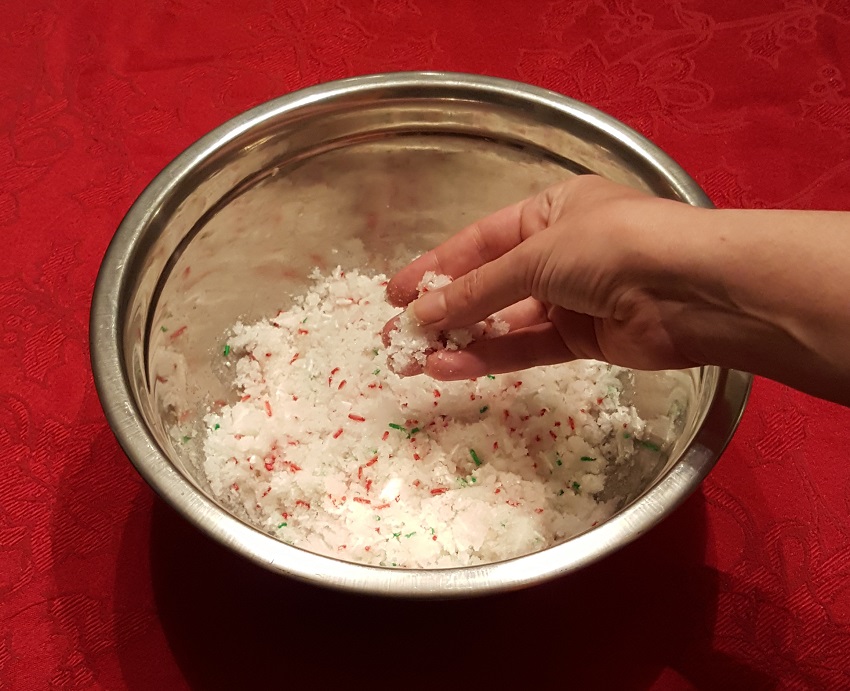
I then took a tiny bit of the sugar scrub between my fingers to test the consistency. I didn’t want it to be too dry or too wet, and I certainly didn’t want it to be slimy in any way. I was immediately happy with the outcome. The sugar had remained just gritty enough to do its scrubby thing, but there was the perfect amount of oil to make it smooth enough to apply to the skin when used, adding a nice moisturizing layer.
Step 6: Scoop the Scrub Into the Jar
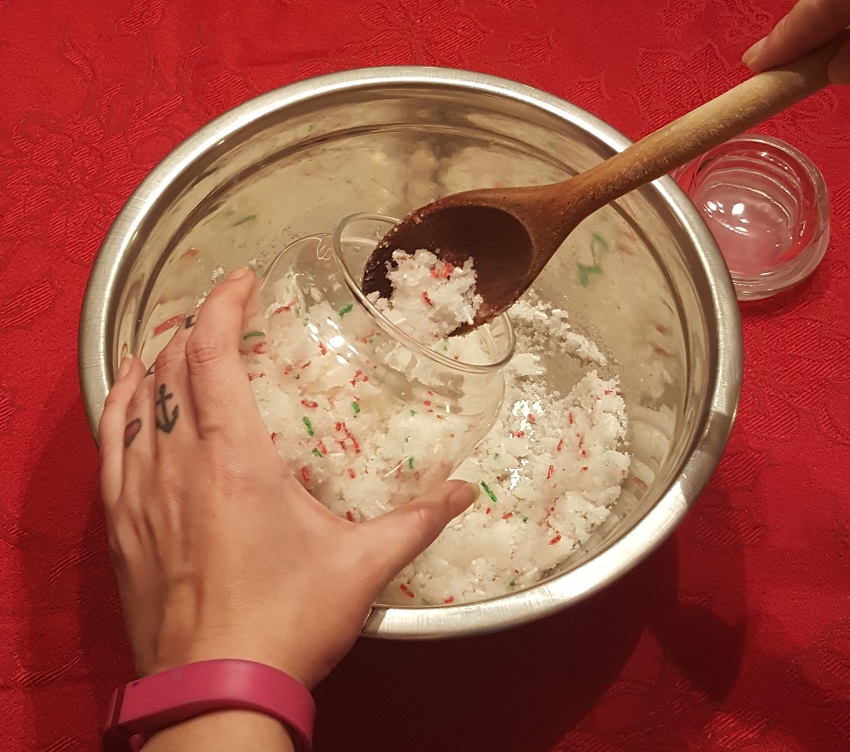
Since I didn’t feel like the mixture needed any adjustments, I carefully scooped it into the jar. I made sure not to let the slightly oily sugar smudge the sides of the glass, and I also didn’t want to pack it in too tightly, although I definitely wanted to fill the jar right up to the top.
Step 7: Finishing Touch
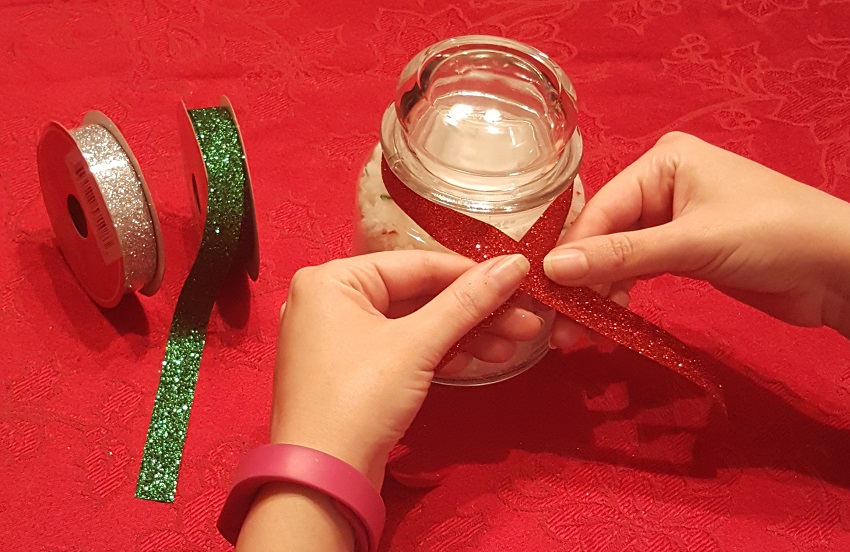
If you intend to give away your Christmas cookie sugar scrub as a holiday gift for friends and family, add a ribbon to your jar for a festive touch that makes this offering truly special. I had some nice sparkly red, green, and silver ribbon and chose the first option for this particular present.
Final Product
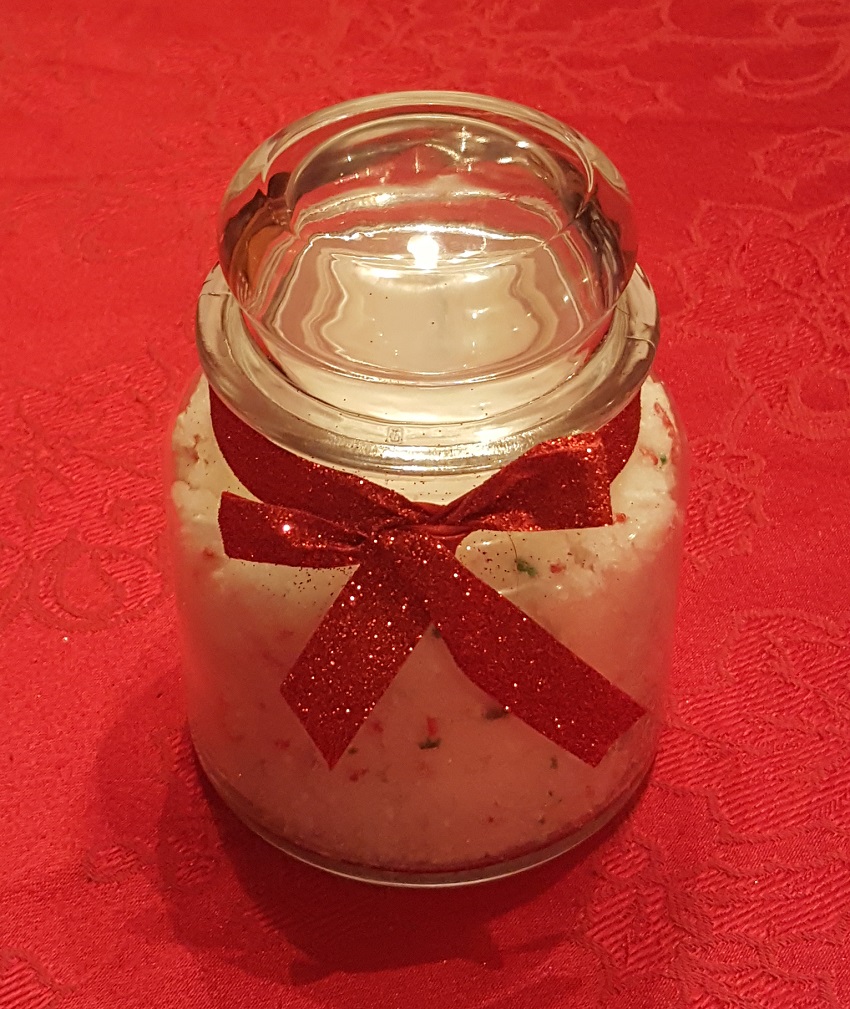
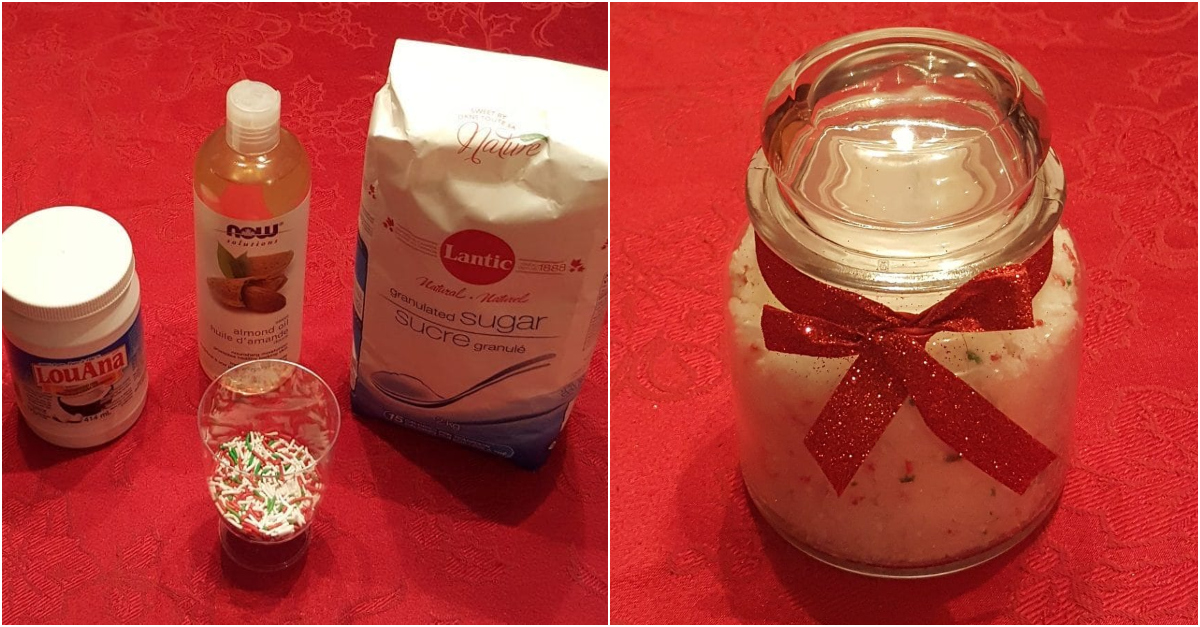
The finished result was just as wonderfully festive as I had hoped. The sprinkles weren’t as visible as I was aiming for, but that could easily be fixed by adding a few more the next time around. My husband also commented on the fact that the sugar now looked a bit like snow, and although that wasn’t intentional, I thought it was rather adorable.
Initial Thoughts
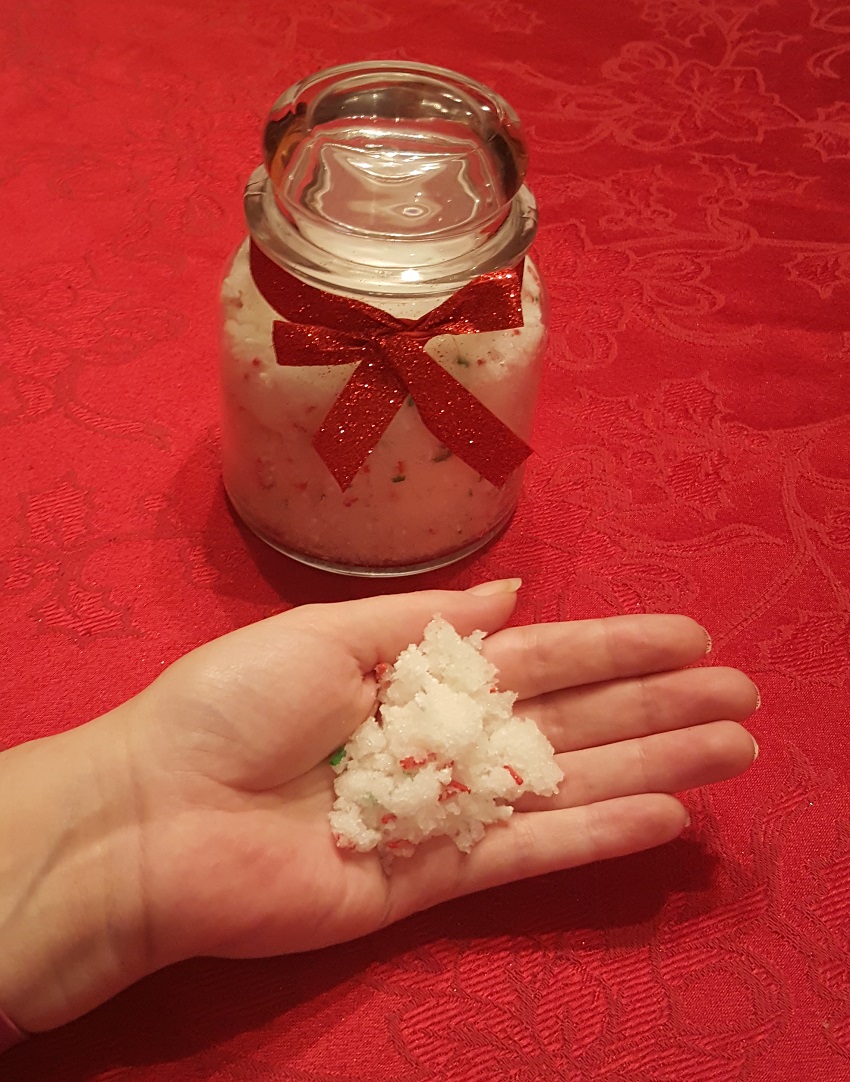
Before I even tried out the Christmas cookie sugar scrub on my skin, I was already happy with how it had turned out. The sugar still had enough grit to effectively exfoliate the skin, but the oils added a nice smoothing and soothing factor. The moisturizing oil I used didn’t have any artificial fragrances, so the smell wasn’t overwhelming, but the scrub still had nice sweet hints thanks to the sugar and coconut oil.
My Review
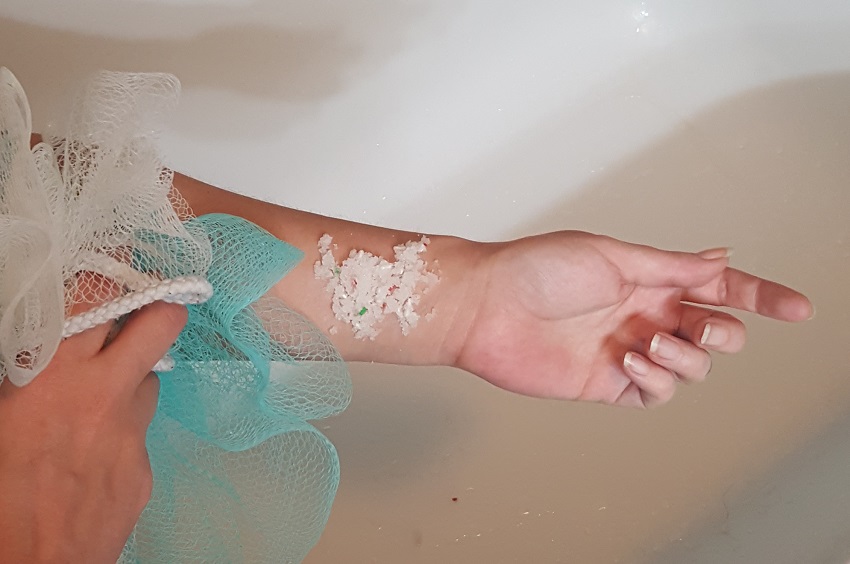
I was not only pleased with how the sugar scrub turned out, I LOVED IT! I have sensitive skin, so it’s hard for me to find something that is gentle enough while also providing hard-core exfoliating action. Thanks to the perfect mix of sugar and oil, I got just what I wanted.
I used a loofah to rub the scrub on my arm, and I felt like it was removing any ickiness from my skin, but when I rinsed it away, I was left with a nice light layer of oil that made my skin feel incredibly soft.
A Second Opinion
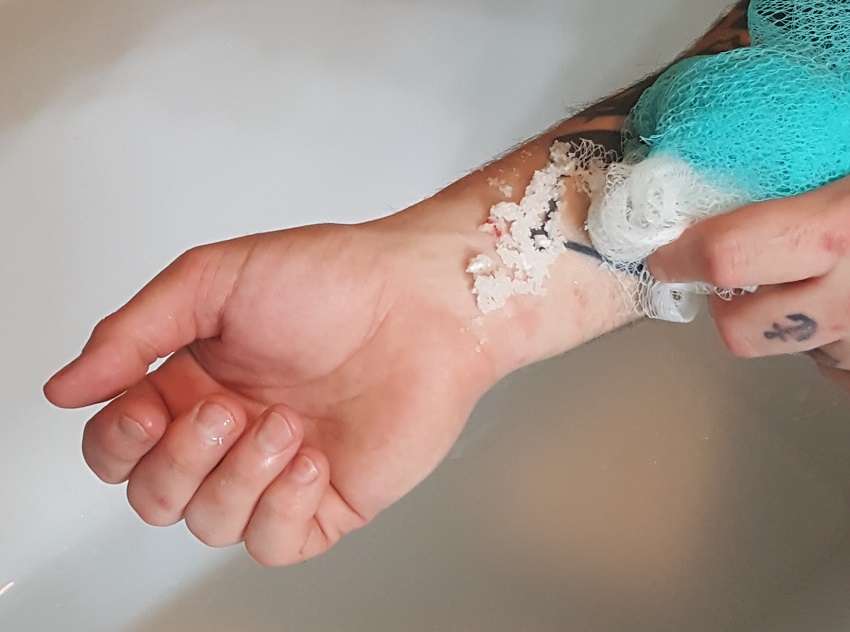
I asked my husband to try out the Christmas cookie sugar scrub and give me his honest opinion. He seemed to have been expecting more of a scent but wasn’t put off by the fact that it wasn’t highly fragranced. He was pretty surprised by how effective the scrub was at exfoliating, especially when I told him the few ingredients I had used to make it. As he rinsed the scrub away, he commented on the fact that it felt a bit like “a nice lotion.” All in all, he definitely approved.
Variations
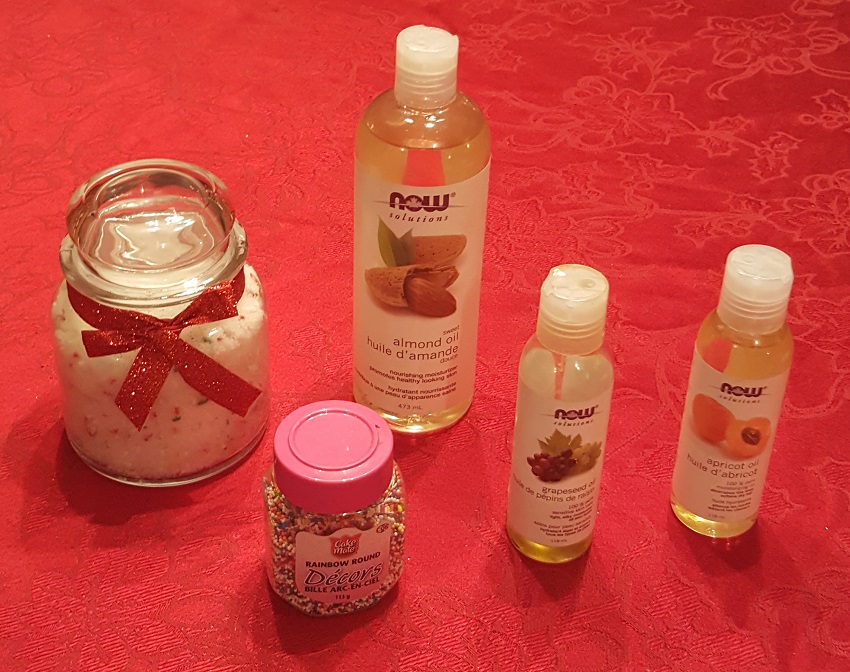
While I certainly feel like my Christmas cookie sugar scrub was a success, there are plenty of ways that you could switch things up to suit your preferences. For instance, I used an almond-based moisturizing oil for my mixture, but I also have grapeseed oil and apricot-based oils, so I might try those in the future to see if there’s any difference. If you have a favorite type or brand of oil, you may want to opt for that. You can also make any additions to the scrub based on what makes you happy, the level of exfoliating and/or moisturizing benefits you want, or even to go along with seasonal holidays and celebrations like birthdays or Valentine’s Day. And it’s so simple to make, you can try out a bunch of different options until you find a scrub that’s just right for you.


