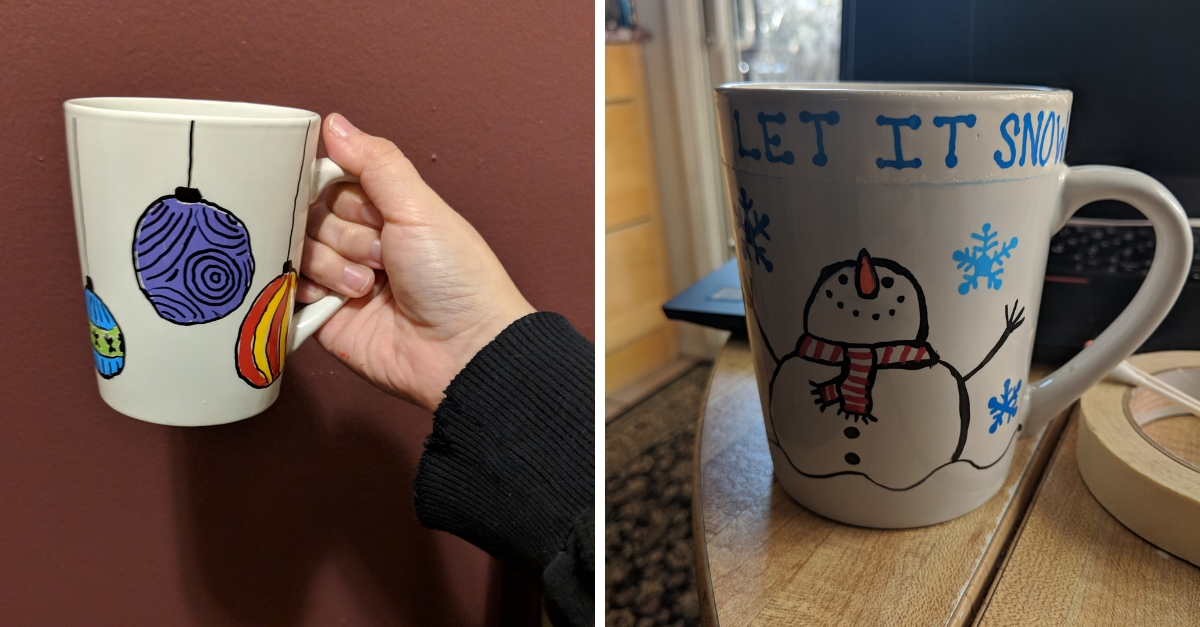
The holiday season is almost upon us. There's a chill in the air as we come closer to the end of the year. Before you know it, everyone will be gathered around the tree, exchanging gifts. If you have a big family, you know that can mean lots of gifts for everyone. It's hard to find just the right thing for each person, where it feels like there's been some thought and consideration for the recipient. One way to get around that is to come up with something you can get for everyone that will appeal to them in one way or another — like mugs!
People of all ages use mugs for their favorite beverages, soups, and more. The recent surge of mug recipes makes them an awesome and useful gift for just about everyone.
With a little bit of time and effort, you can take a plain mug and design it so that it feels personalized for the recipient while still being easy and inexpensive for you to create. I, for one, have a big family to buy gifts for. Between both sides of my family, I'll see more than 30 close relatives whom I get presents for annually.
A stocking-stuffer-style gift is perfect for taking care of everyone's gifts at once, so I decided to make simple themed mugs that I could gift everyone. Christmas crafts are a great way to allow your family and friends to feel the love without you having to break the bank (or hurt your wallet). I chose five different Christmas-themed designs and used plain white mugs for my holiday gift project, but of course you can get as creative as you want with it.
Scroll through to see the DIY Christmas mugs I created. Overall, I think they make great stocking stuffers or simple gifts, and they were super simple to create!
The Supplies
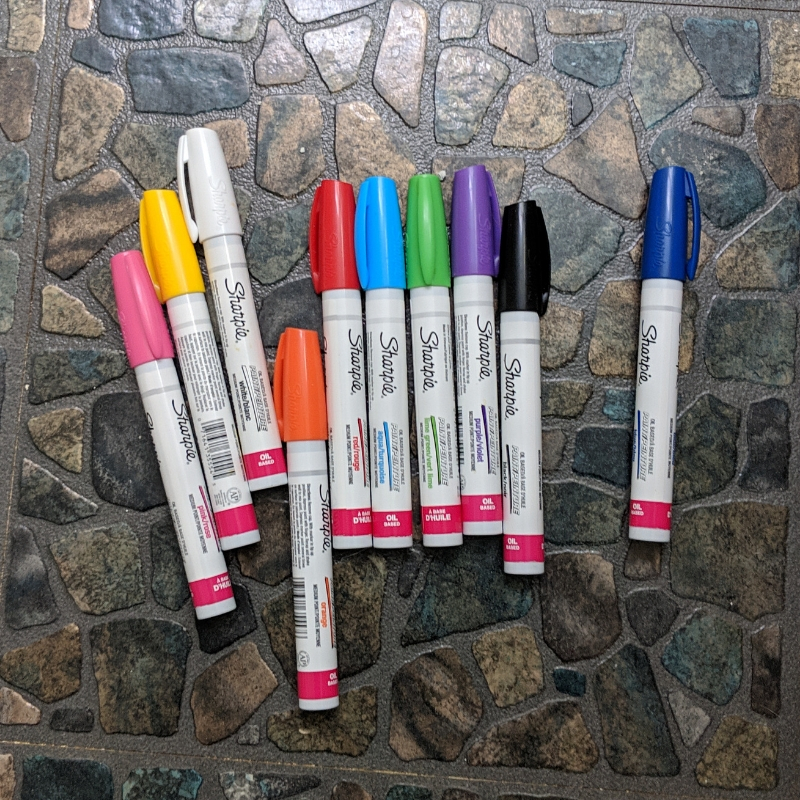
First thing's first: You'll need supplies. I picked up mugs at my local dollar store that worked perfectly. I went with all white ones, but with the correct markers, you can create lasting designs on any color mug.
If you want those designs to withstand handwashing and dishwashers, you'll need to get oil-based paint markers. I went with Sharpie Oil-Based Paint Markers because they were on sale at Michaels. It was fate, obviously.
Before you start drawing on the mugs, wipe them down with rubbing alcohol to make sure you have a nice, clean surface your work will adhere to properly.
Design 1: Simple, Colorful Trees
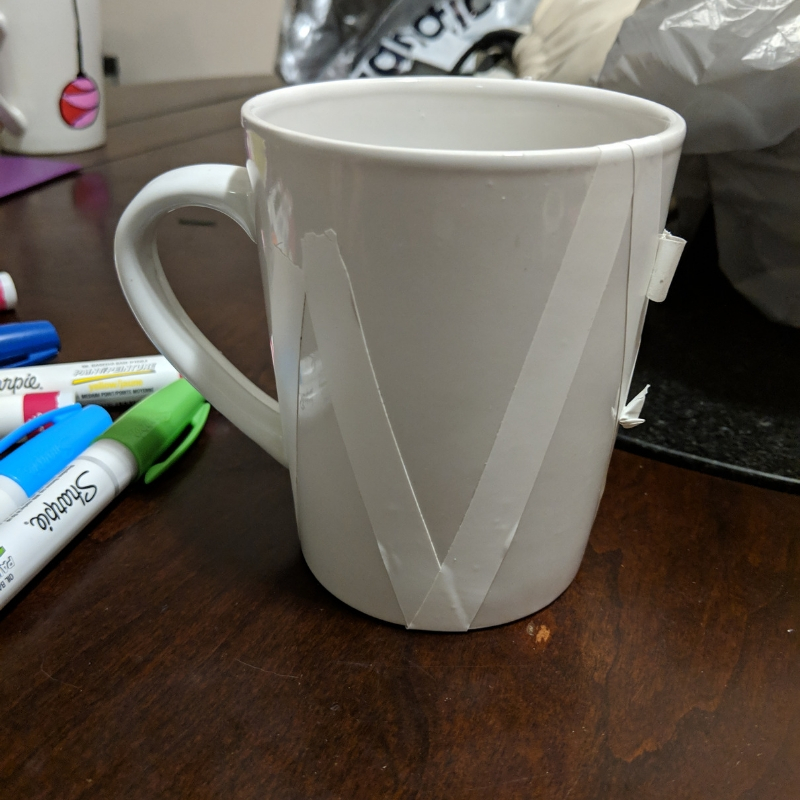
Inspired by Yahoo Makers, I was excited to make these neat little trees out of simple colored triangles. Although the instructions for this particular DIY call for Martha Stewart Multi-Surface Craft Paint, I'm using the oil-based Sharpies for all five mugs.
Pick three colors you'd like to make trees out of. I used neon green, neon pink, and sky blue. The easiest way to make perfect triangles is by taping triangle shapes onto the mug with masking or painter's tape. Then you can just color inside.
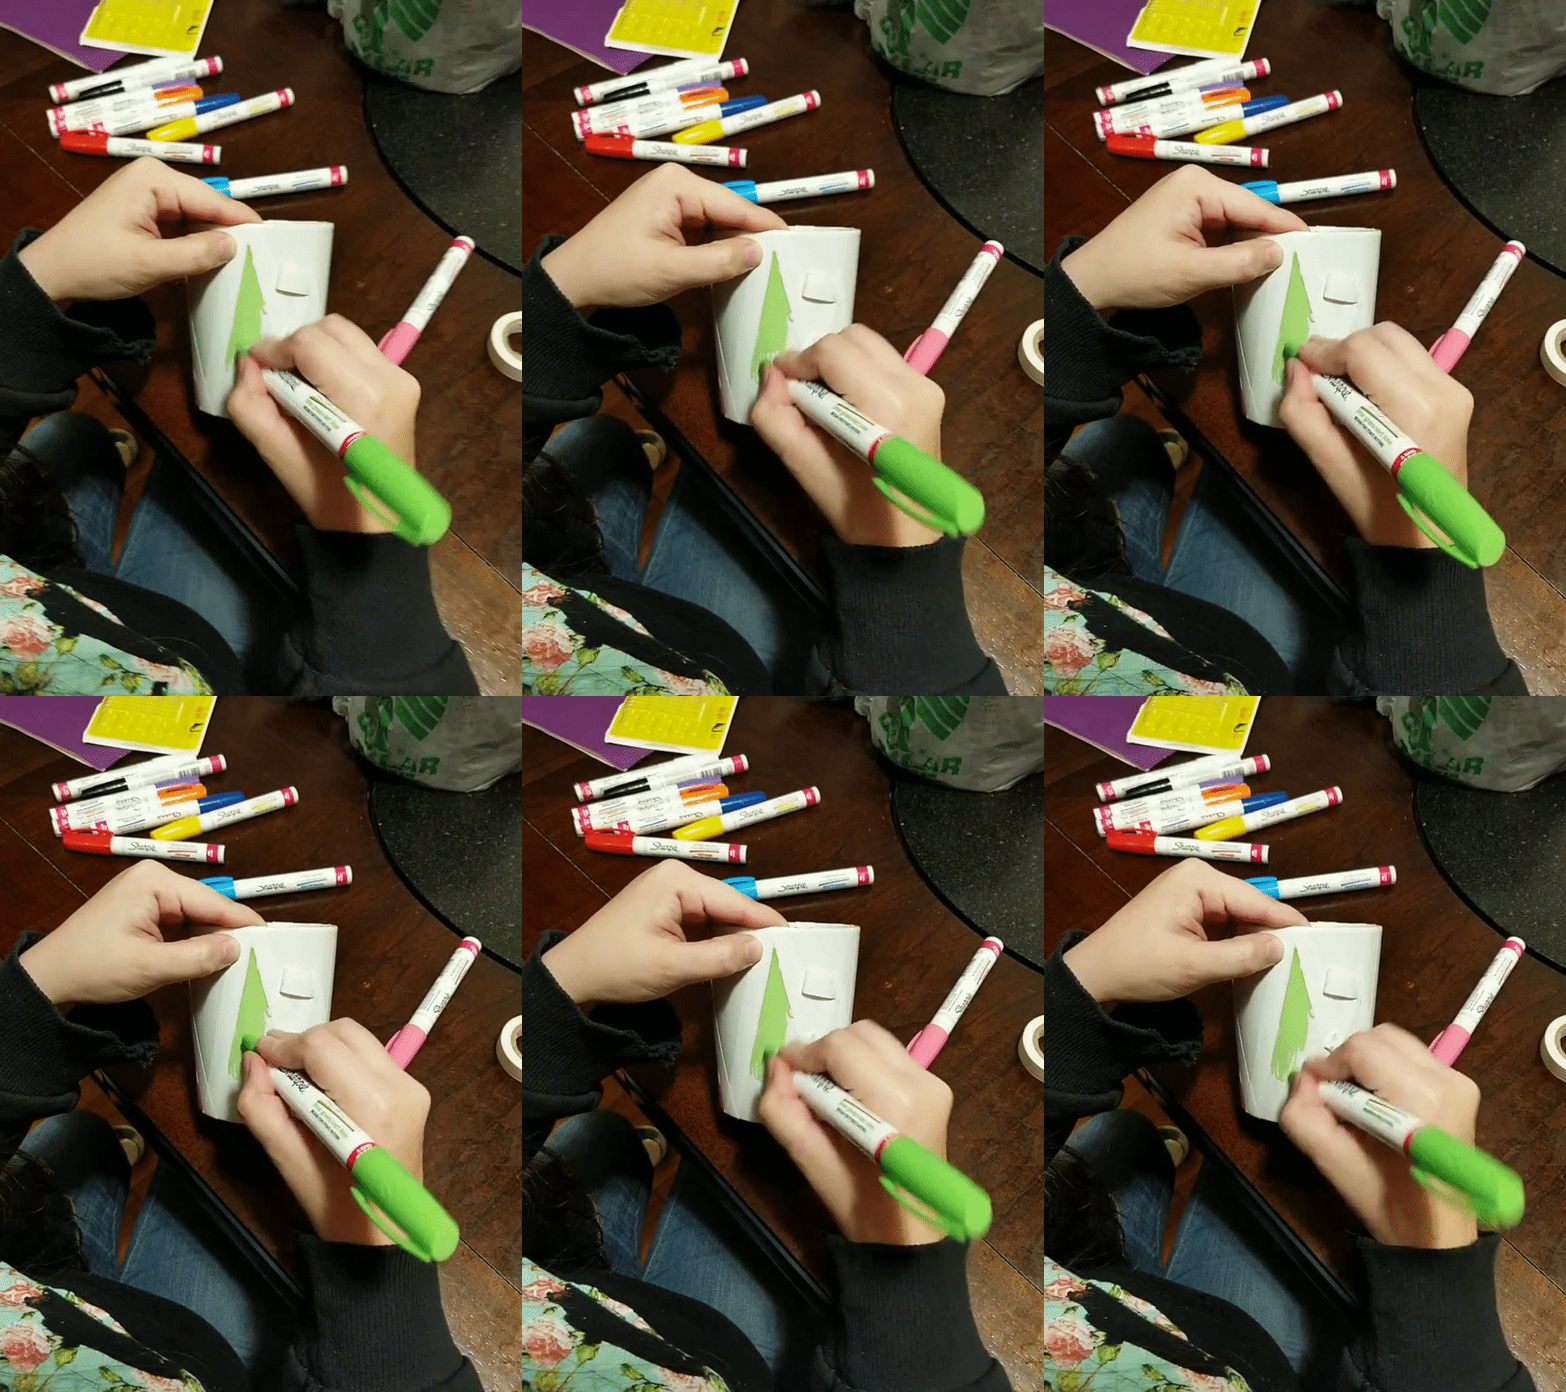
Once you're satisfied with the shape of your trees, carefully color them in. If your color starts to fade or look streaky, stop and cap the marker, shake, then uncap and get back to it.
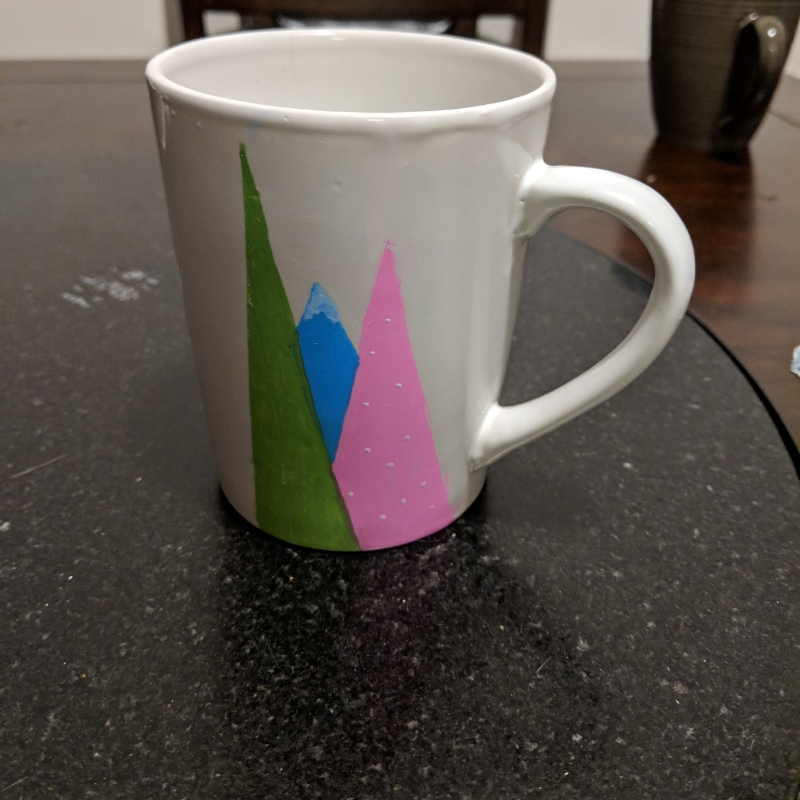
Feel free to add little embellishments, like snowflakes or lights, as you see fit. You can even add some background trees if you're careful!
Design 2: Hanging Ornaments
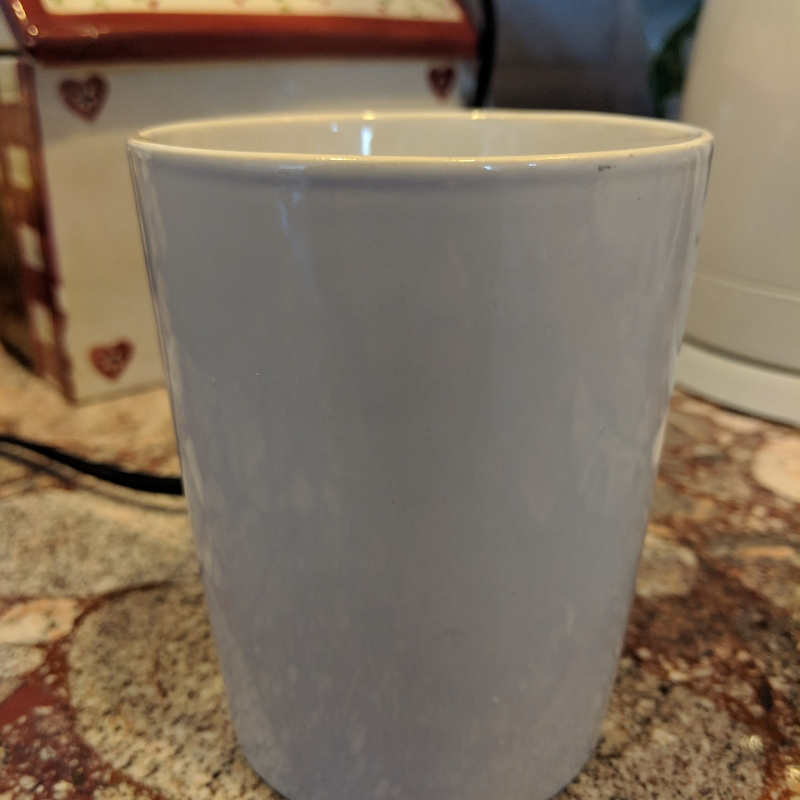
This one is inspired by a pin of a long-gone Etsy item.
Take a blank mug. Once it's wiped down, space out some long, straight lines where your ornaments will hang from.
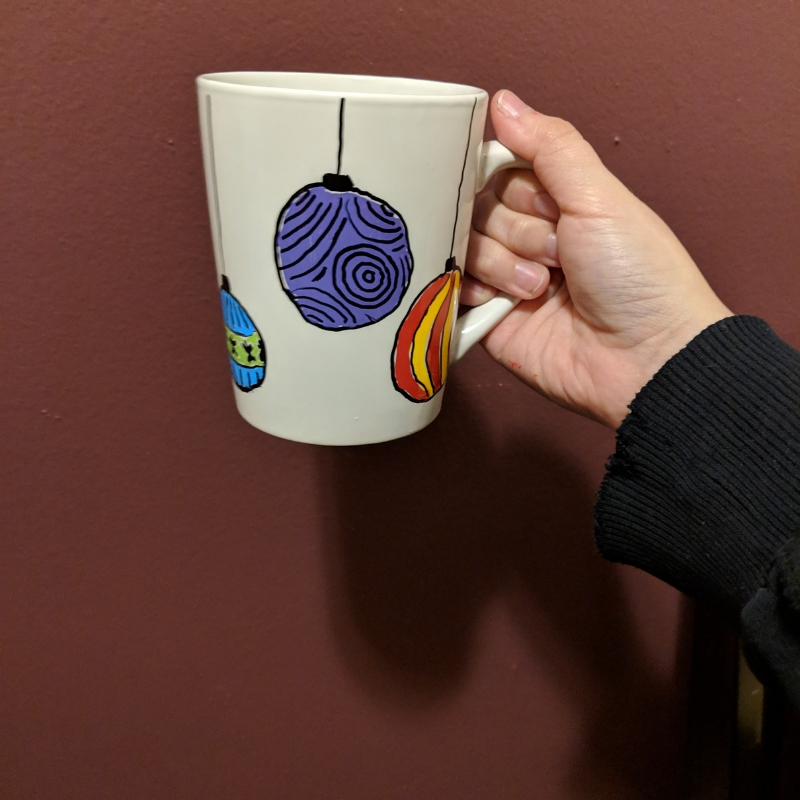
Once you're done with the lines, draw different-sized round ornaments. Then design and color each one as you see fit!
Design 3: Reindeer Faces
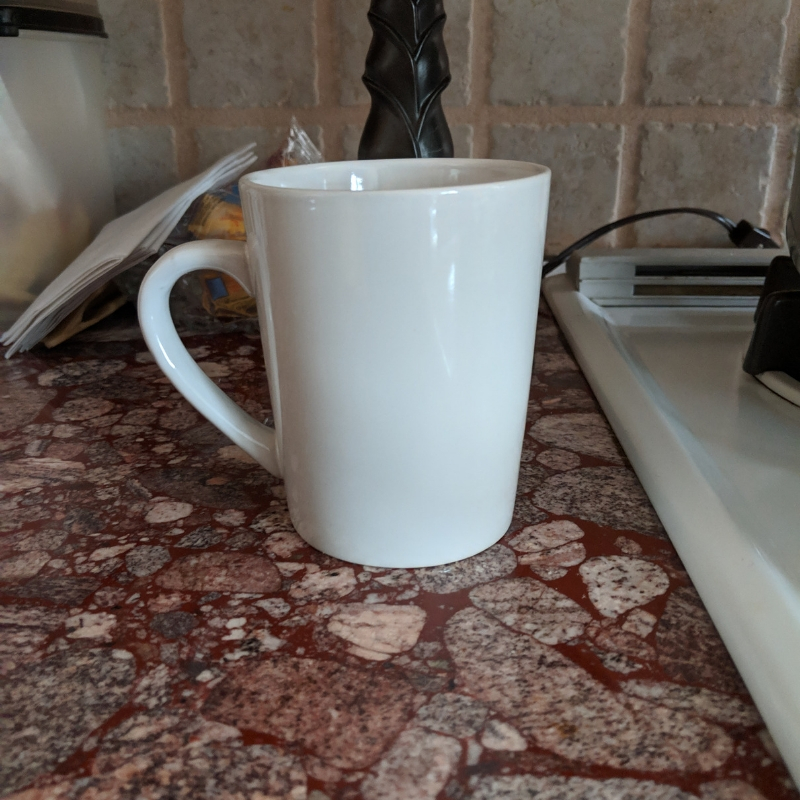
I was inspired by cute little reindeer face mugs I found eHow, which offers some excellent resources on how to draw the image first and then transfer it onto the mug to trace.
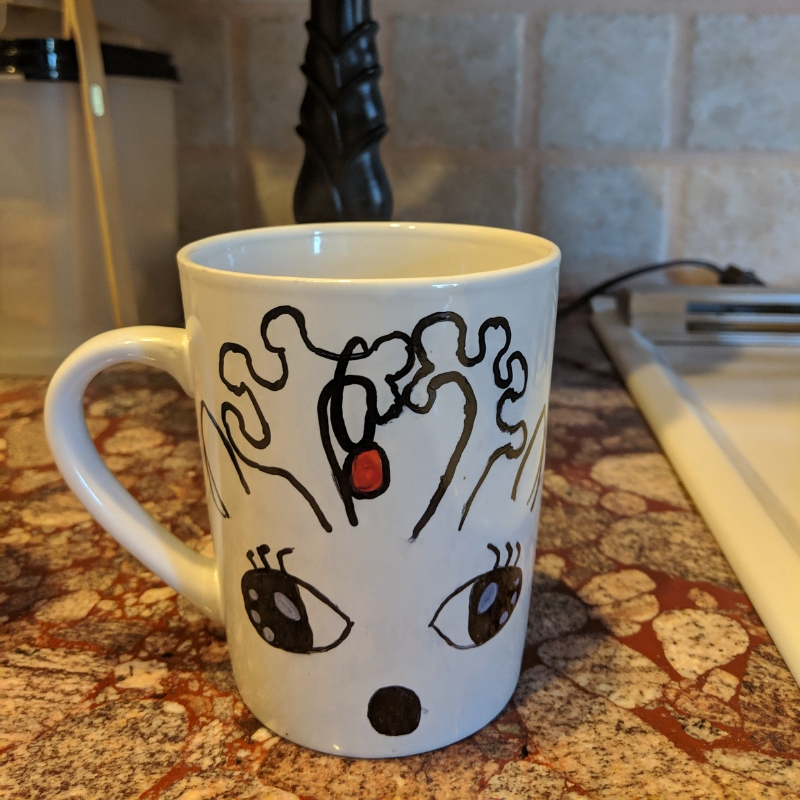
I admittedly lacked the patience to do the transfer process and decided to just draw mine freehand.
Voilà! I think it came out OK, if I do say so myself.
Design 4: String Lights
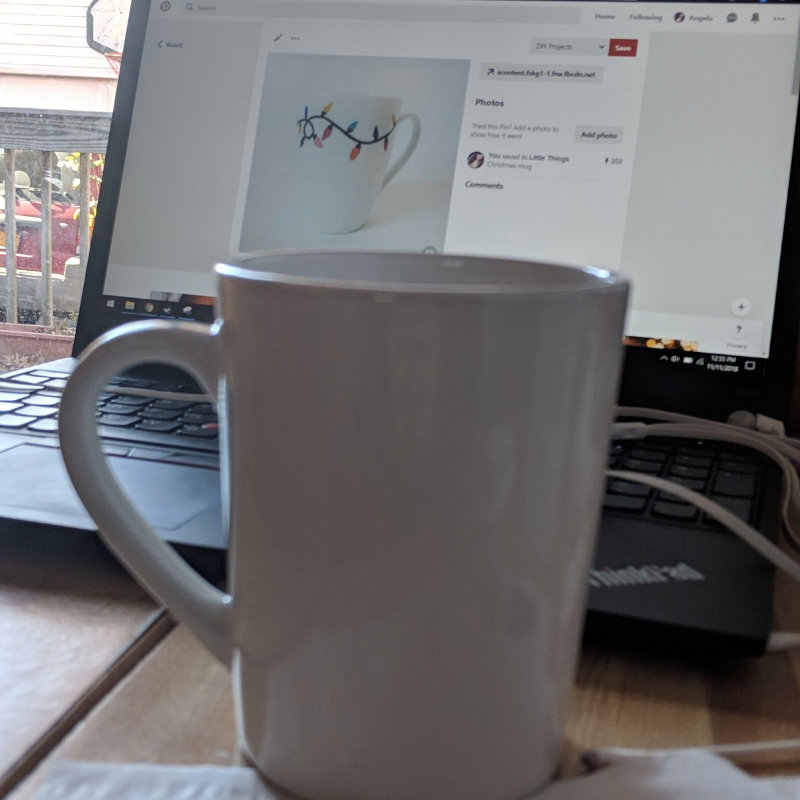
Another of the Etsy by way of Pinterest finds, these string lights are super simple and an adorable way to light up anyone's Christmas morning cup of coffee.
First, draw a loopy line, taking up as much or as little space on the mug as you desire. Then add the sockets that hold the lights.
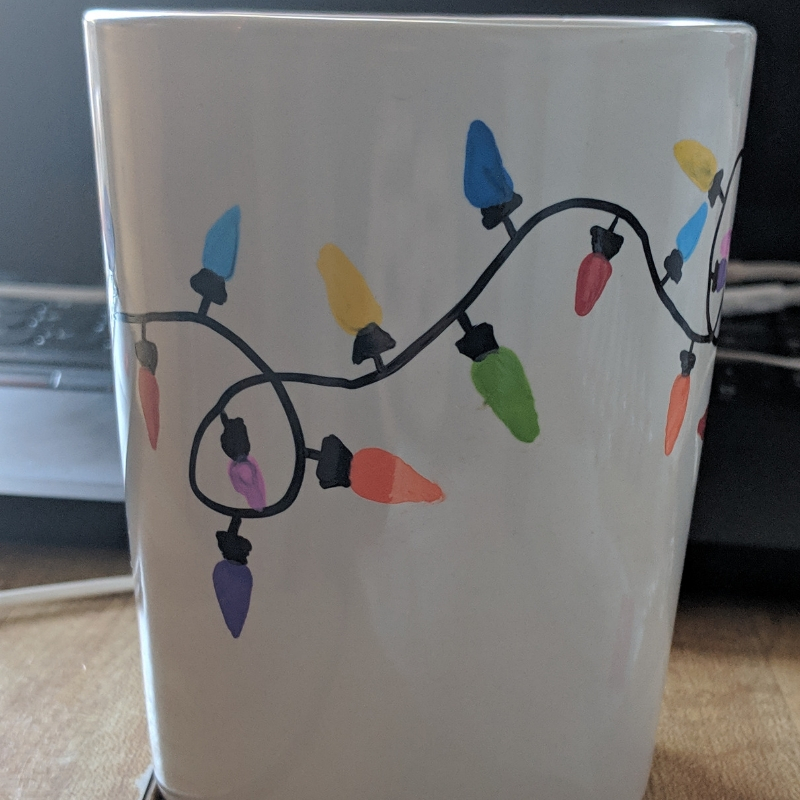
The lights are tear-shaped and easy to freehand. Mix up your colors to make them look unique! You can also add the year or a name to personalize this even more.
Design 5: Snowman Scene
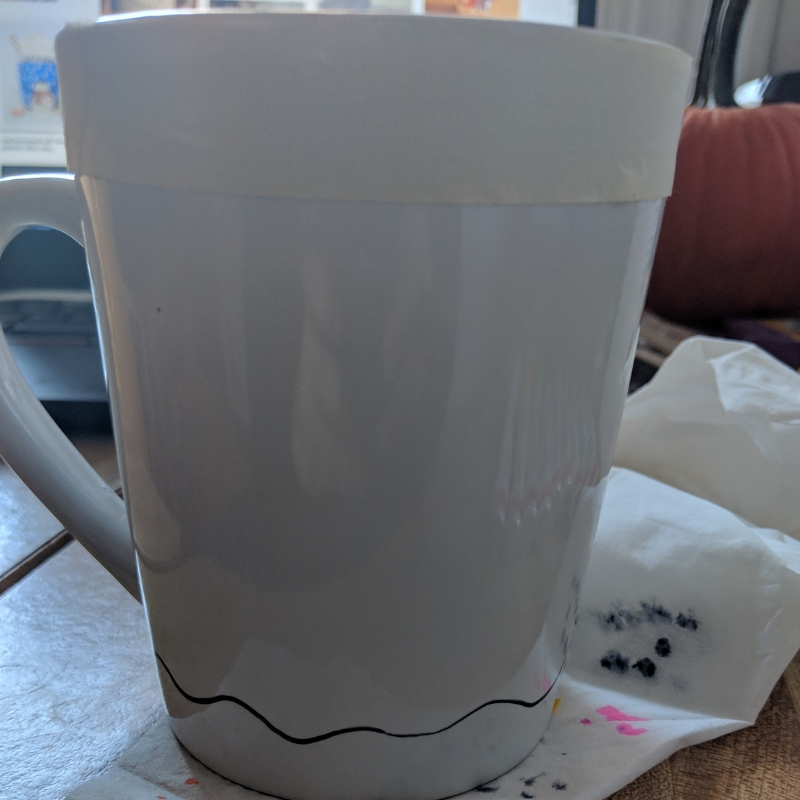
Place a strip of tape along the top of the mug. This saves the space for the words you will add later.
Start your scene with the snow on the ground, making a nice, wavy baseline.
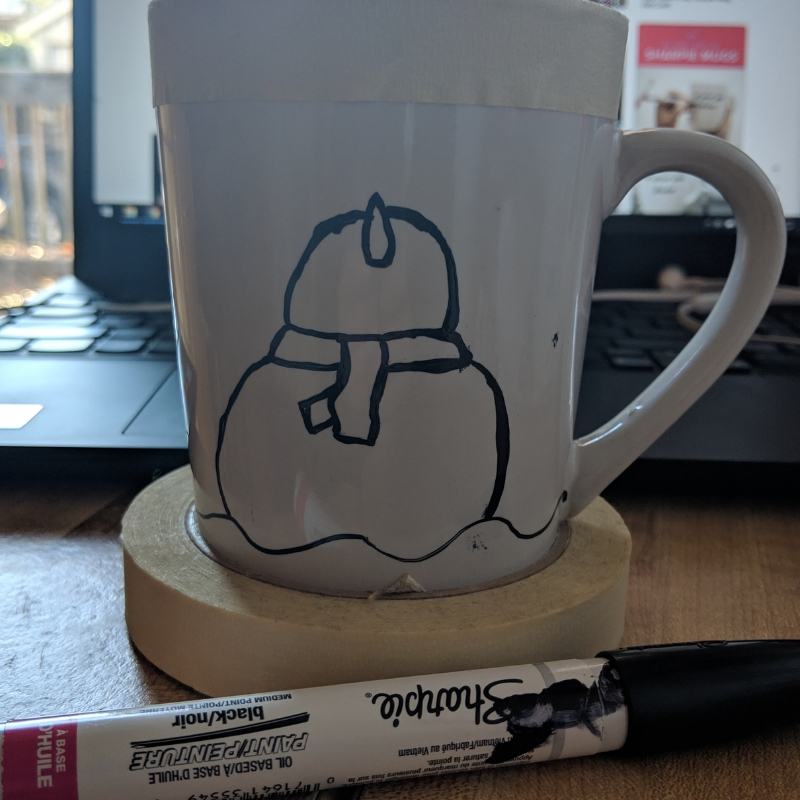
I recommend starting from the bottom and drawing your way up. It will help you keep the proportions in check.
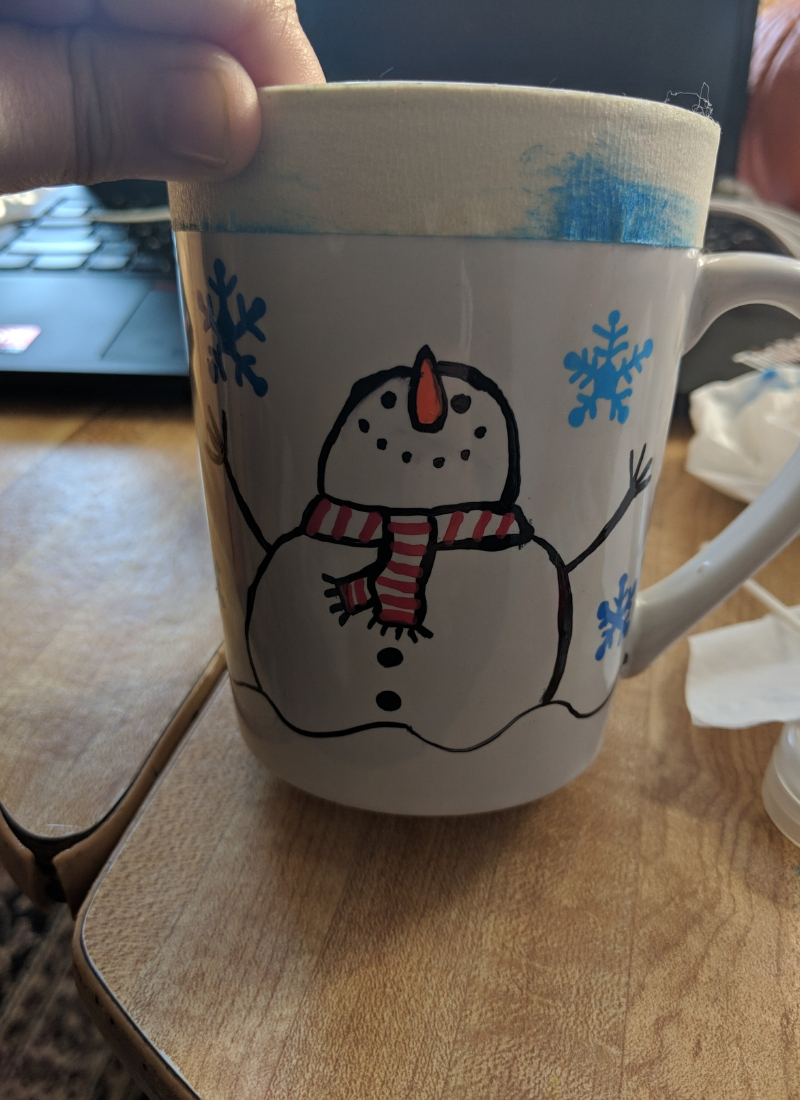
Dress up your snowman! Then add some snowflakes around him. I used two types of blue to offset each other and was happy with the result.
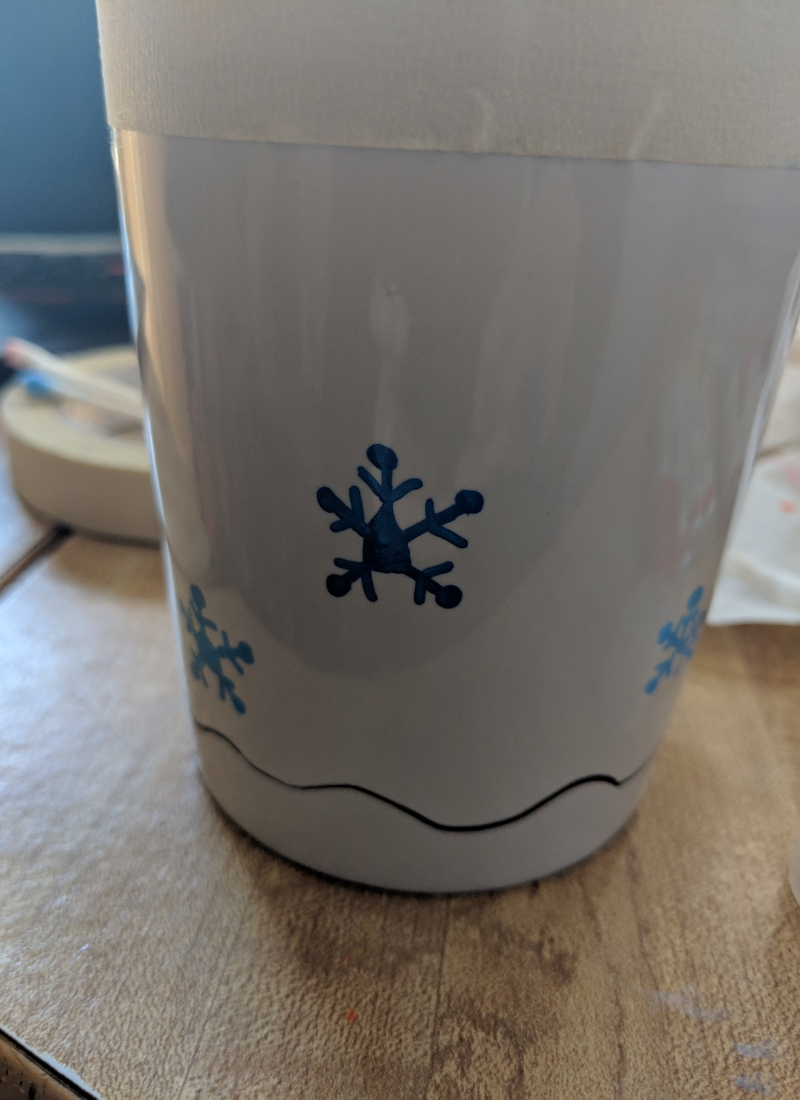
Here's a quick tip: If you're looking for a shortcut for drawing your snowflakes, try making small pentagons, then drawing a line from each corner. Dot the ends and place a V in the middle of each line.
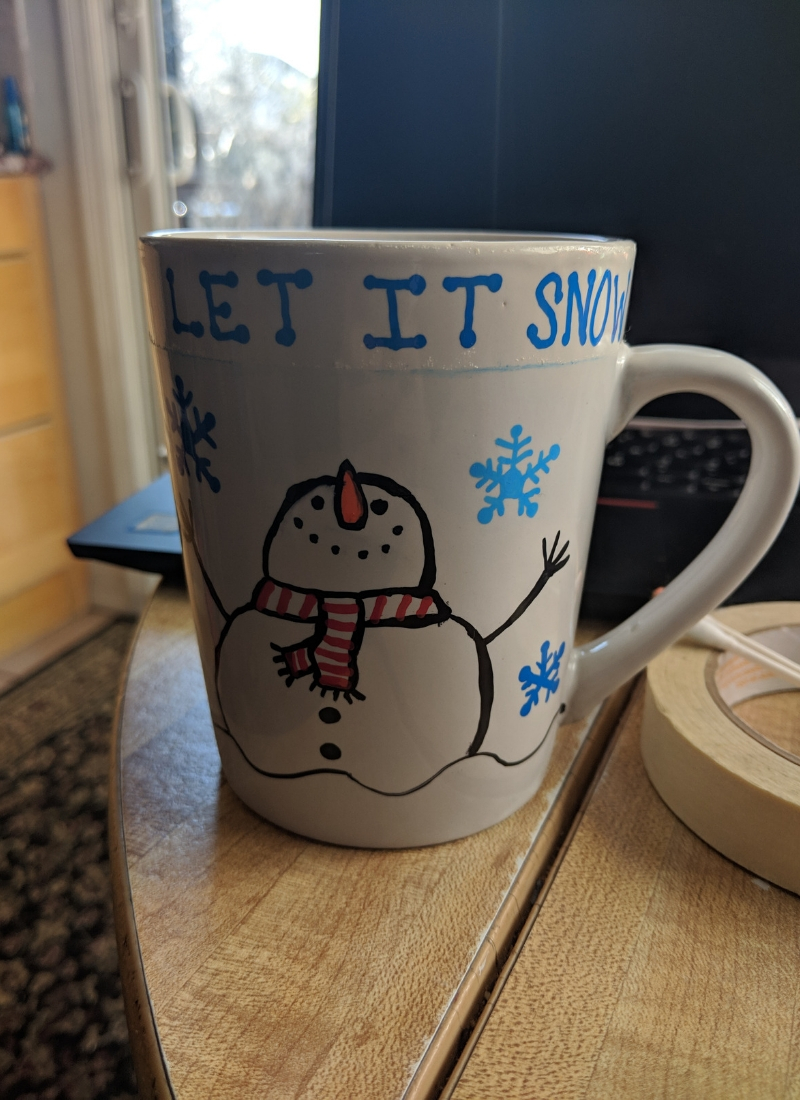
Remove the tape and add some words up top! You can personalize it with a name or a saying, dotting the ends of your letters for a decorative effect.
Setting the Designs
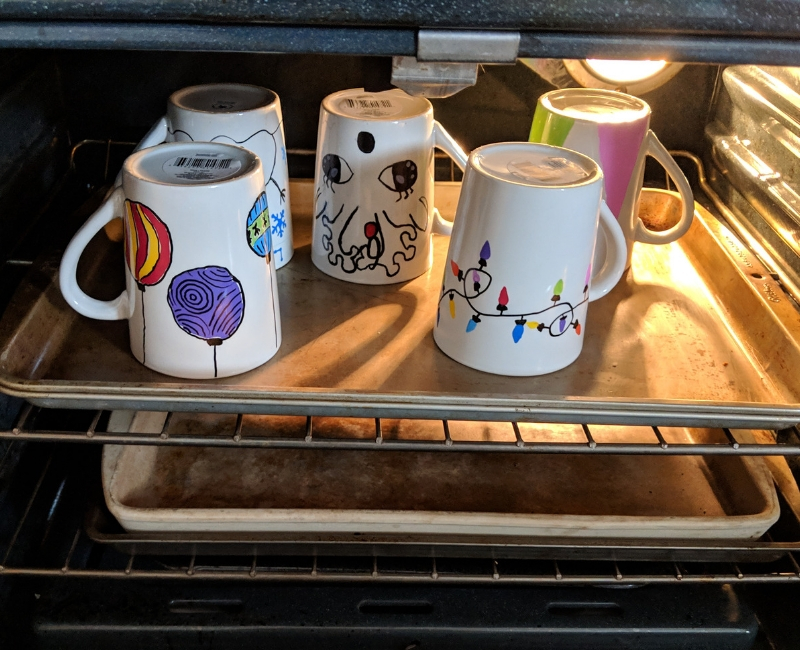
When you're done with all of your mugs, let them rest for 24 hours. Next, place them in a cool oven, and then bake them at 250 degrees F for two hours. Destination Decoration has done its homework and determined that's the best temperature to preserve the designs without distorting the color.
When the mugs are done baking, remove them from the oven and let them cool. And there you have it! These mugs are a perfect, easy gift for just about anyone in your life.


