In the past few months, parents and grandparents everywhere have been inundated with one request from their kids and grandkids: Can I have a fidget spinner?
Fidget spinners, which only cost a few dollars, are all the rage among school-aged kids. Even teens and adults have gotten in on the craze, buying these funky, colorful spinners.
Many people say that fidget spinners are helpful for both children and adults with anxiety and ADHD — and kids have become completely obsessed with them.
Fidget spinners typically have two or three wings, with a circular disc in the middle that allows the toy to spin on its axis.
The small, lightweight toys fit right in your pocket, and some of them even have lights, metallic coatings, and funky silicone parts.
Although you can find fidget spinners online, you can also make them yourself with a few simple supplies!
Follow the instructions below to learn how to make your own DIY fidget spinners.
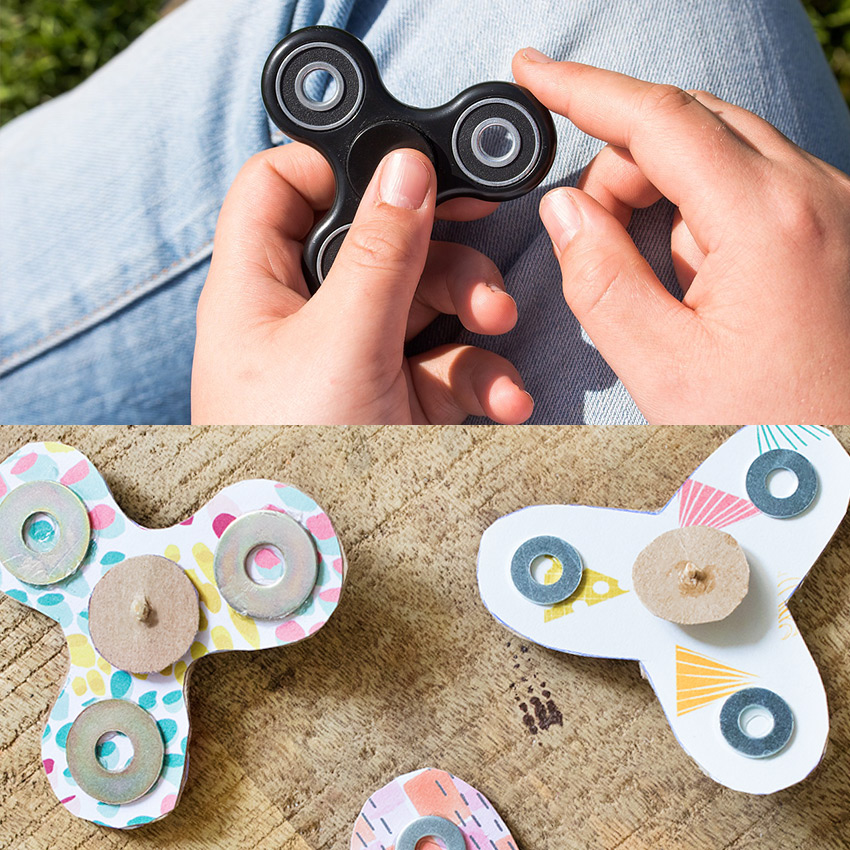
Although there are plenty of fun fidget spinners that you can buy online, you can also make them on your own!
This activity is fun and kid-friendly, so any child in your life who has been begging you for a fidget spinner will love it.
All you need are a few materials, so gather them up and start making your spinners!
Step #1: Gather Supplies
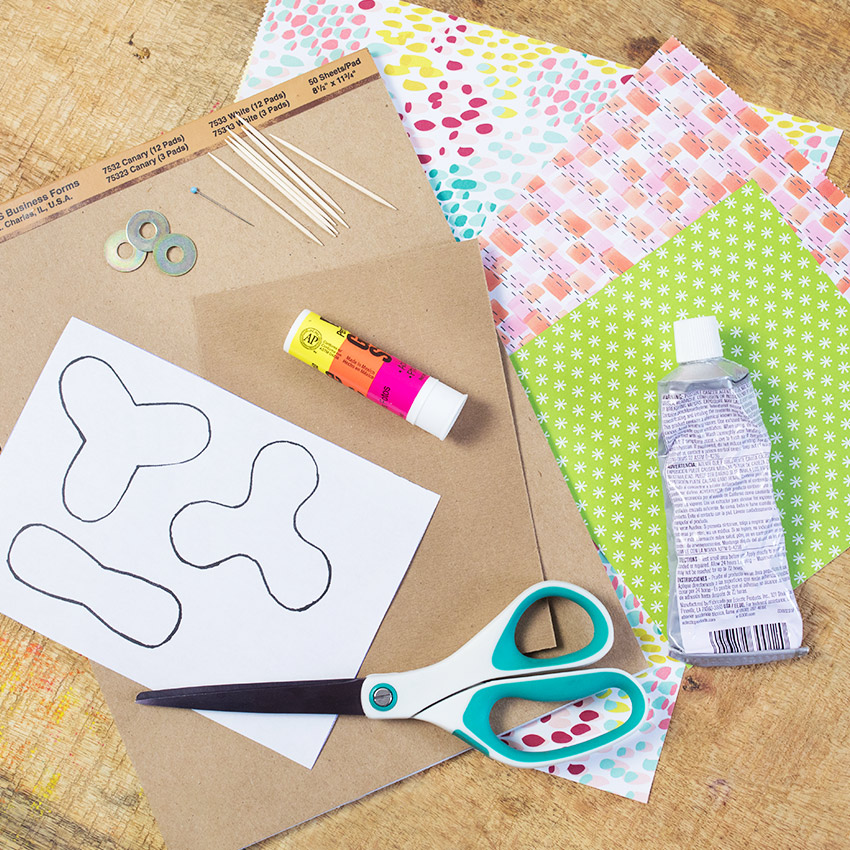
The supplies you will need for your DIY fidget spinners include:
- stiff cardboard
- thin cardboard
- toothpicks
- glue stick
- pins
- scissors
- industrial strength glue
- metal washers
- colored paper/stickers/other decorations
- Mason jar or cup
- fidget spinner template (below)
Step #2: Print Out The Template
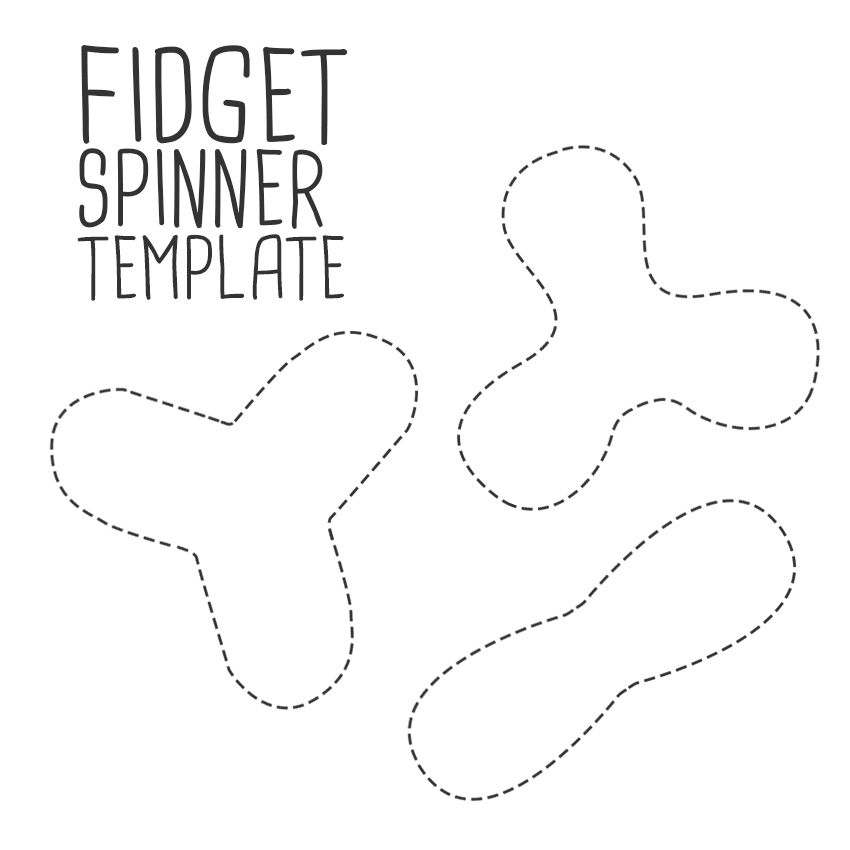
To make your own fidget spinner, just print the image above and continue on with the following steps.
Choose whichever shape suits your fancy, or make one of each!
Step #3: Trace Template Onto Stiff Cardboard
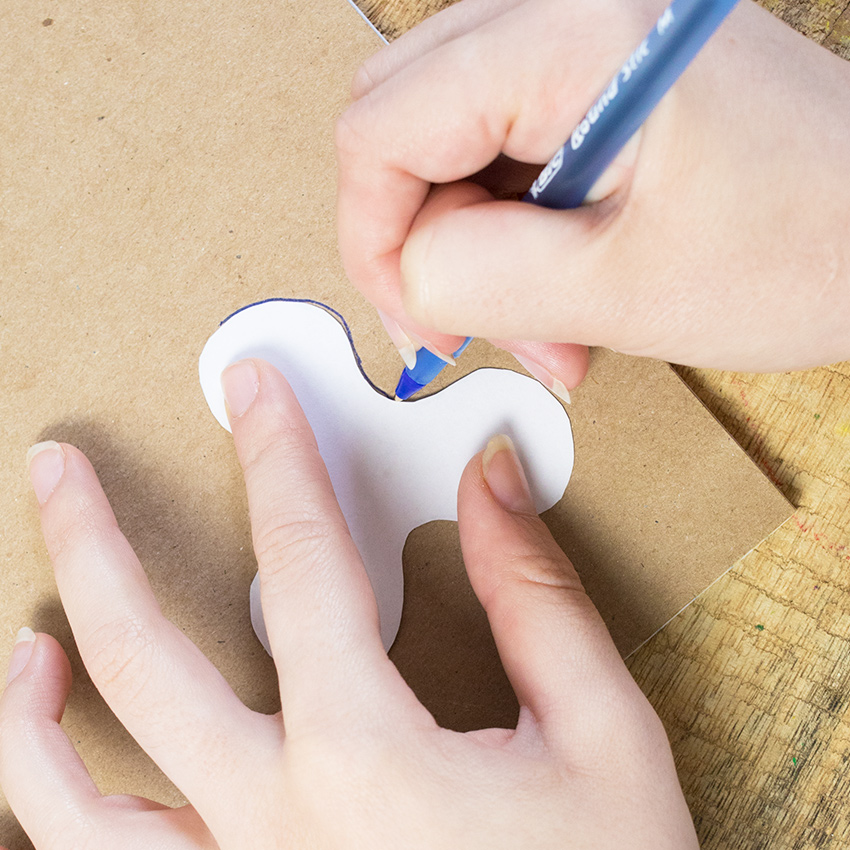
Once you've gathered all the necessary supplies, cut out the fidget spinner template and place it flat on the stiff cardboard (like the back of a pad of paper).
Next, using a pen or pencil, trace around the outside of the template, then put the template to the side.
Step #4: Cut Out Cardboard
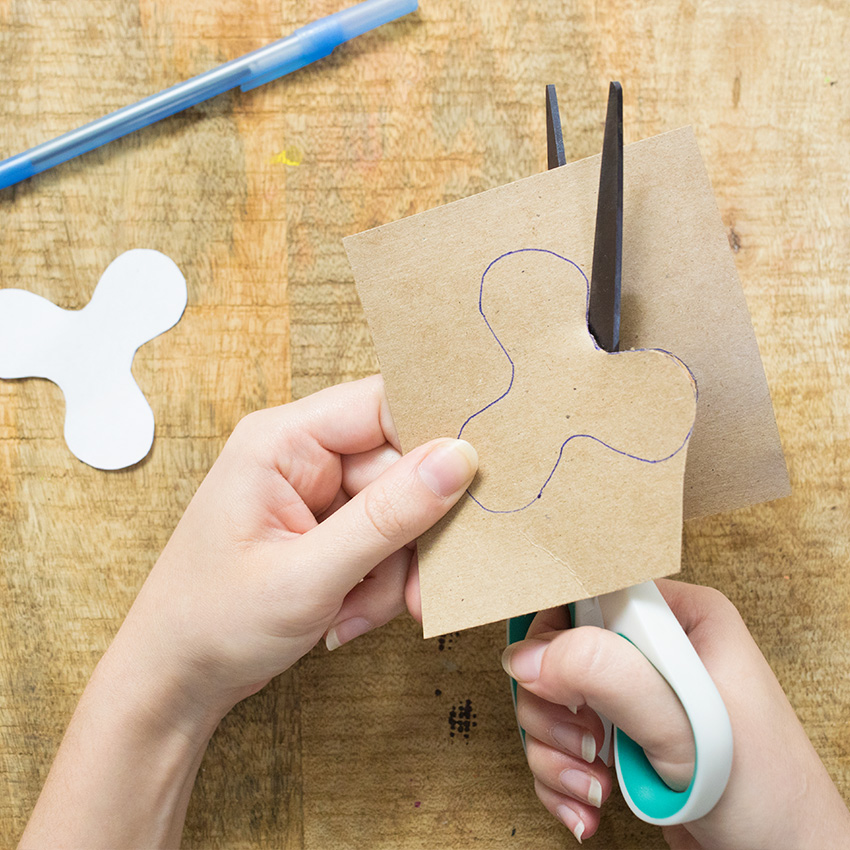
After you've traced the fidget spinner template, cut out the cardboard along the traced line.
If you're doing this activity with a child, make sure you do the cutting part — you'll need to use sharp scissors since the cardboard is thick, so keep little fingers away from this step.
Step #5: Decorate Cardboard
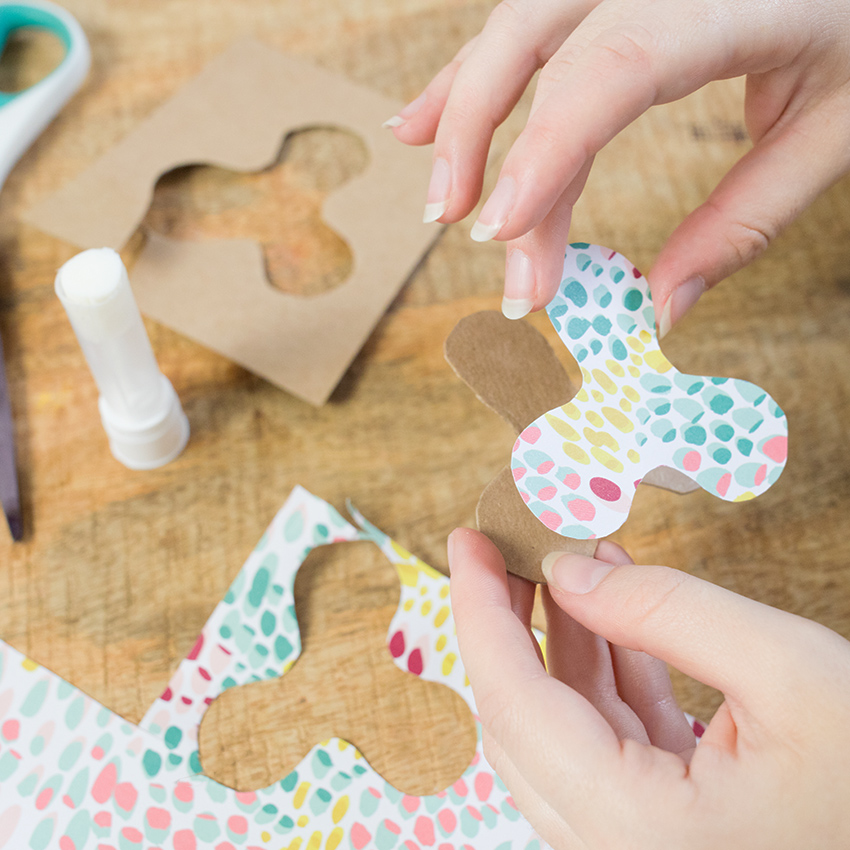
Next up is the fun part — decorating the fidget spinner!
Use colorful paper, stickers, markers, and pens — whatever you'd like.
If you glue any paper to the cardboard, use a glue stick instead of liquid glue because it will dry flat.
Step #6: Glue Washers To One Side
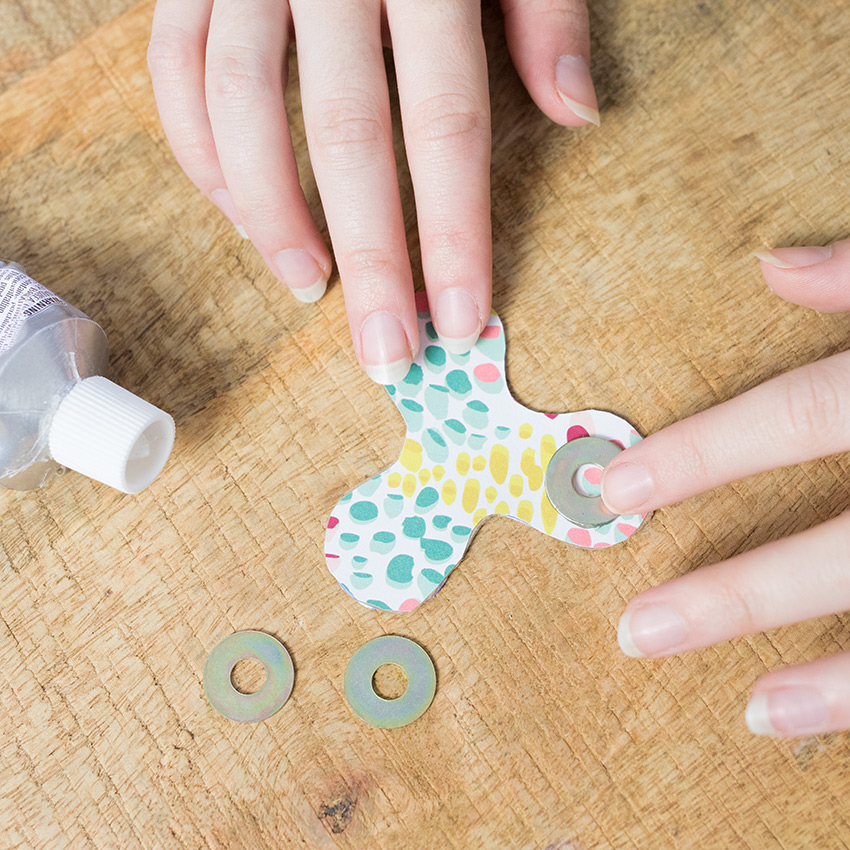
Pick one side of the fidget spinner, and place one washer onto each of the wings.
Using industrial glue, adhere each of the washers to the fidget spinner.
Try to place them each in the center of the wing — this will help the device spin more easily.
Step #7: Cut Two Circles From Thin Cardboard
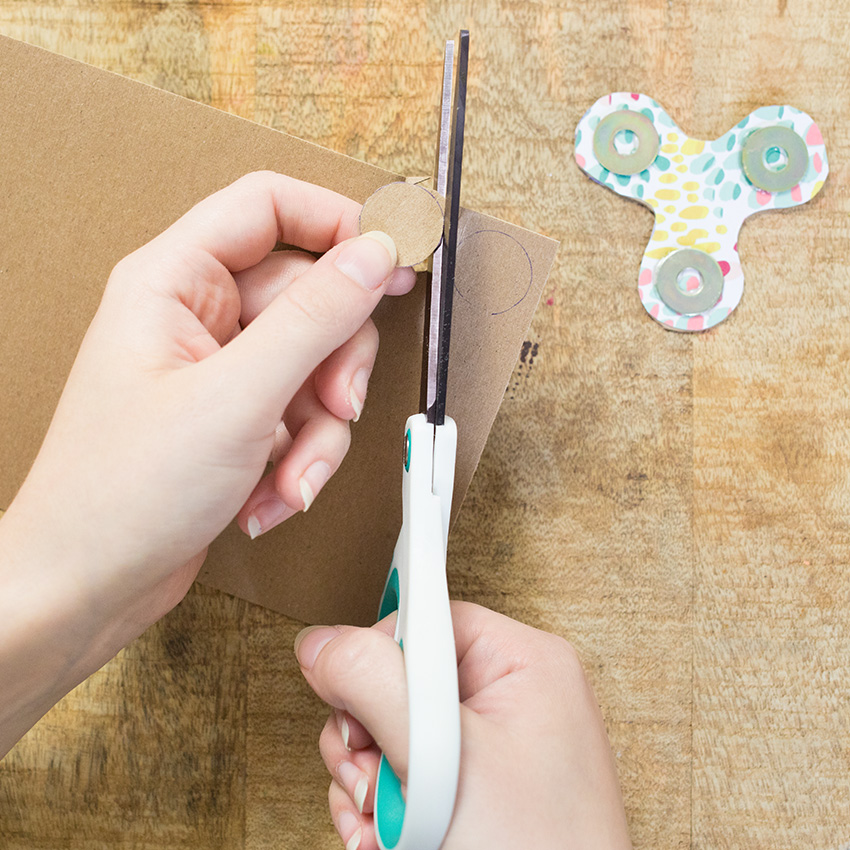
Next, cut two circles out of your thin cardboard (a cereal box works well for this).
If you want to trace something to make the circle, use one of the washers as a guide.
Step #8: Fold Template Both Ways To Find Center
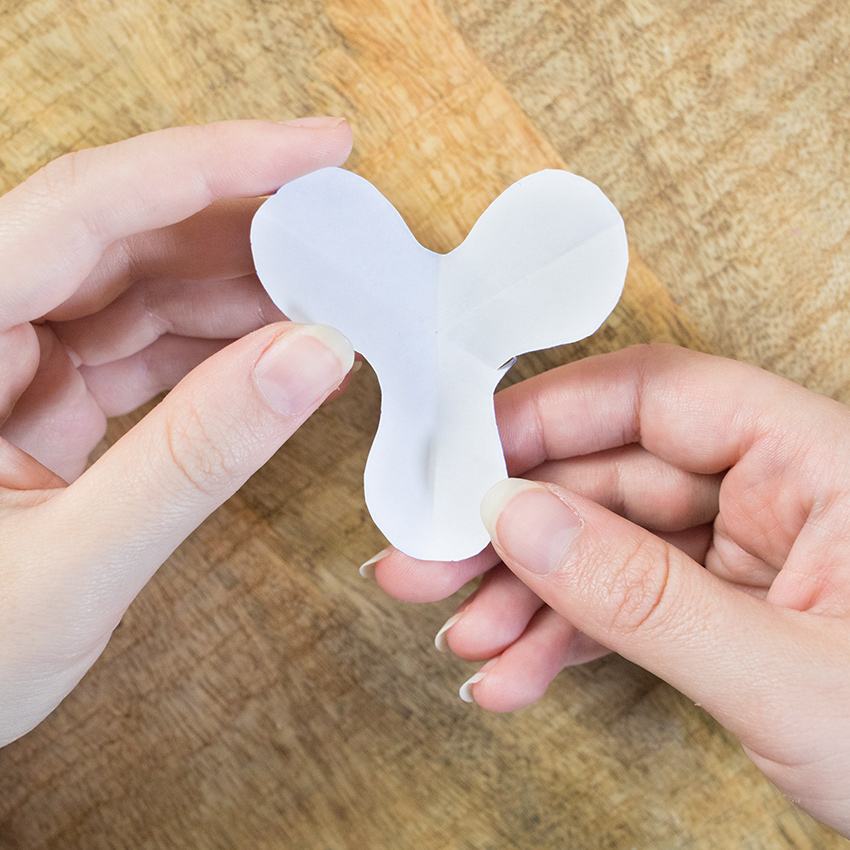
Find the paper template that you set aside before, then fold it in half both ways to find the center.
Once you've found the center, mark it with a pen, then place the template over the cardboard spinner.
Step #9: Poke Hole Through Template And Cardboard
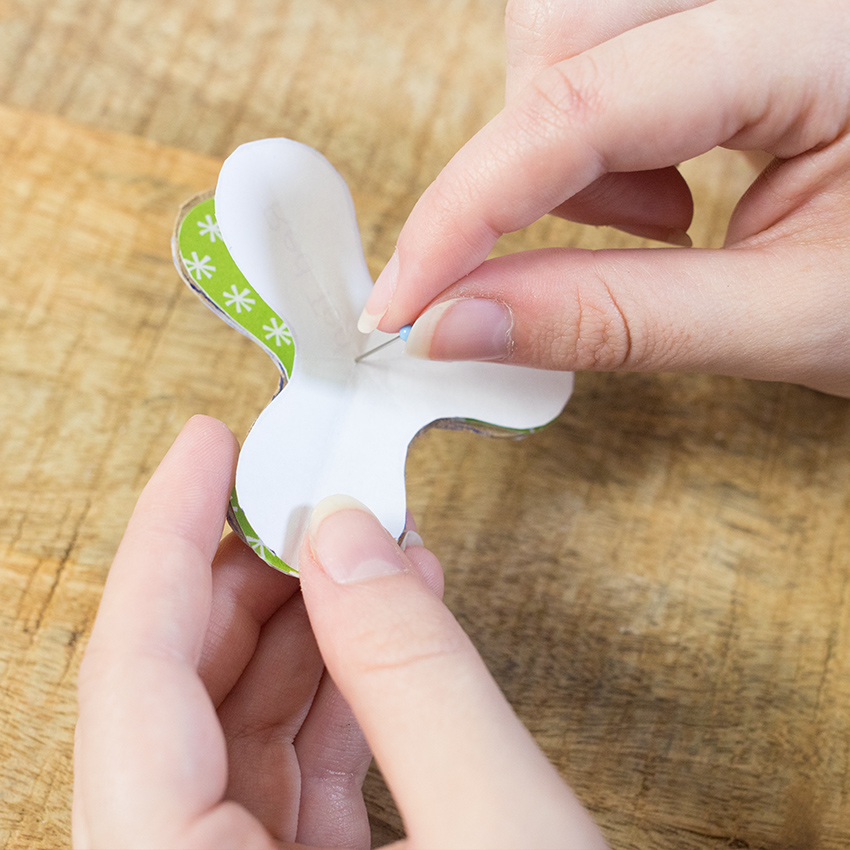
Using a pin, poke a hole through the center of the template.
Continue poking through the cardboard fidget spinner.
Once the pin is through, make sure there is a big enough hole, then remove the pin and set the template aside.
Step #10: Poke Holes Through Thin Cardboard Circles
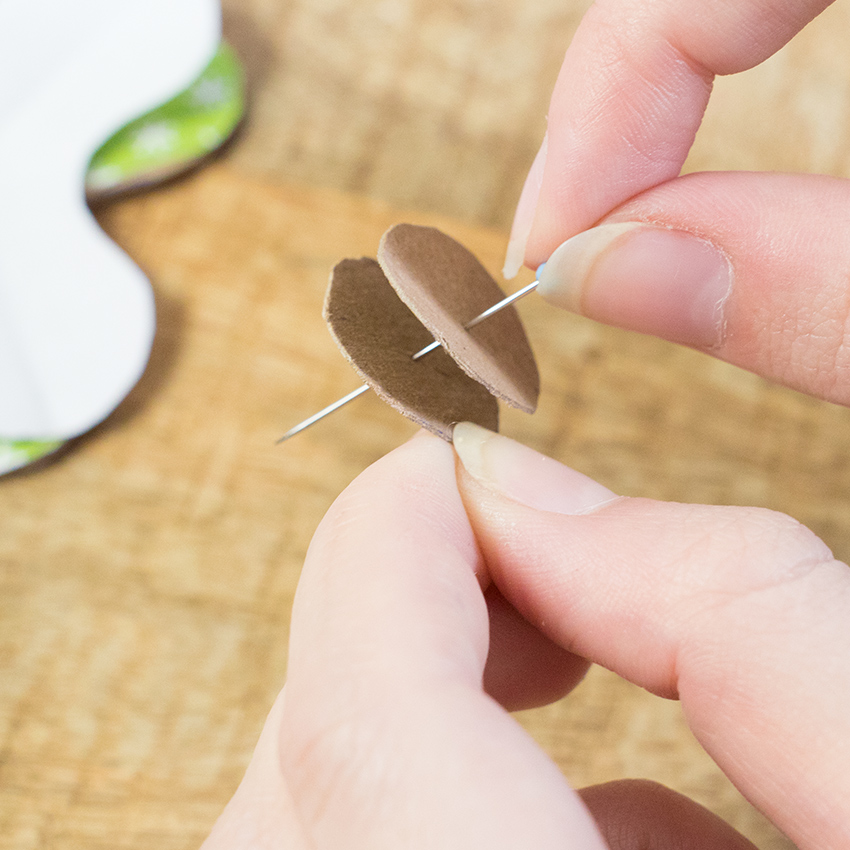
Find the center of each of the cardboard circles, then poke the pin through those as well.
Once the hold is complete, remove the pin and put it away — you won't need it again for the rest of the project.
Step #11: Insert Toothpick Through Cardboard Pieces
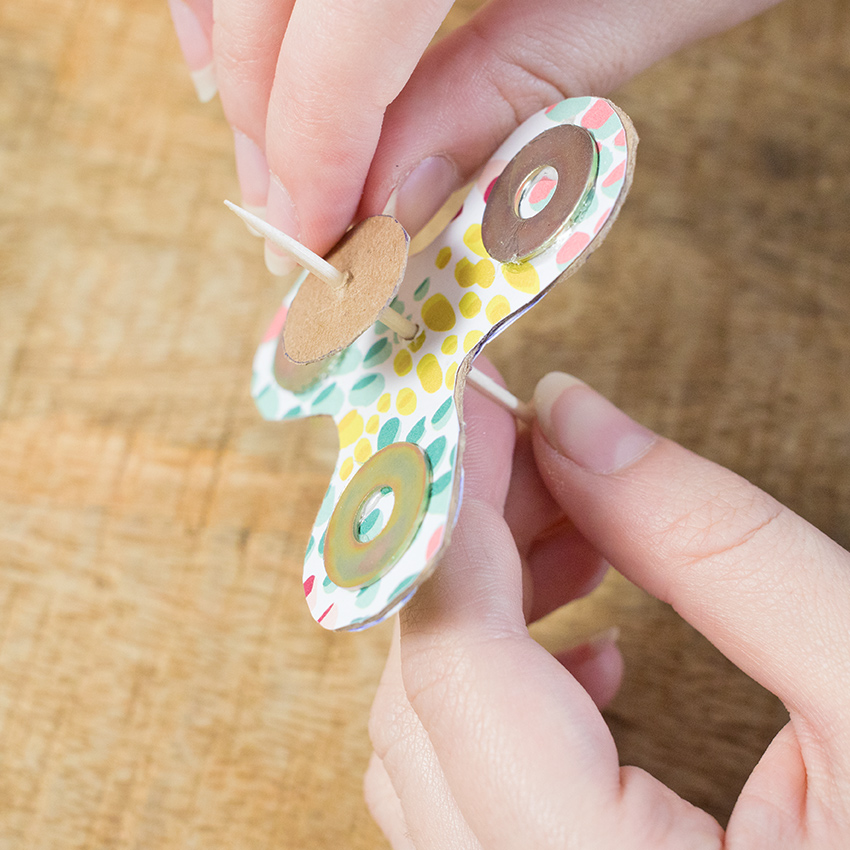
Next, insert the toothpick through the hole in the cardboard spinner.
Once the toothpick is in, you'll notice that the small hole is very tight — loosen the hold by spinning the toothpick and wiggling it slightly side to side.
Once there's enough room around the toothpick for the device to spin easily, put one circle on each end of the toothpick, sliding it down until it's very close to the spinner.
Step #12: Glue Toothpick In Place
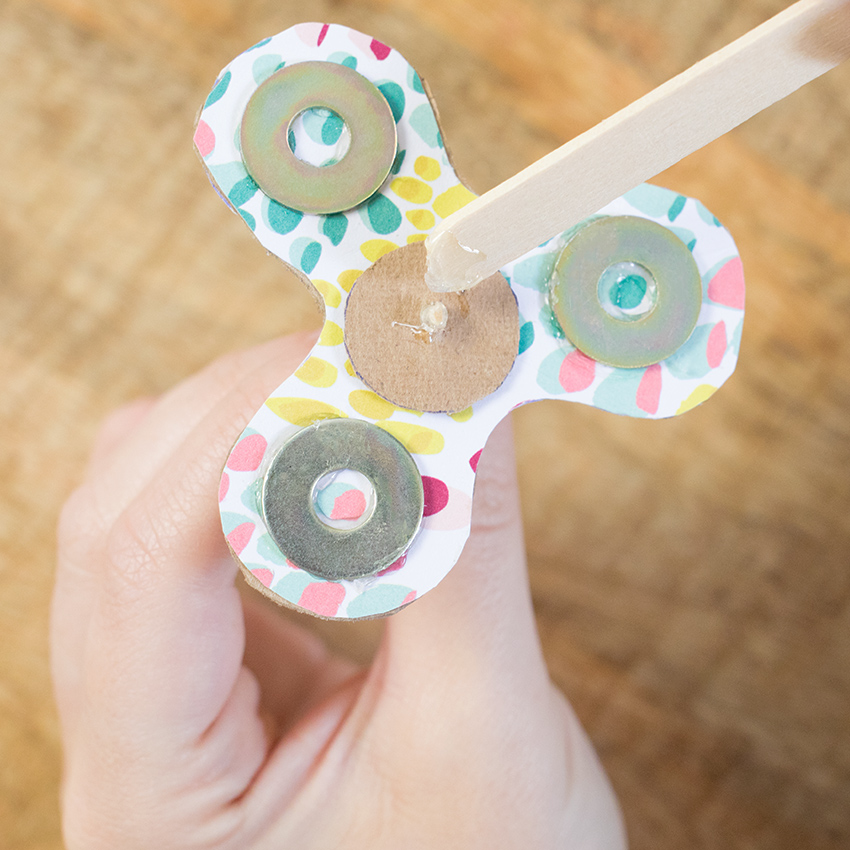
Once the toothpick is inserted into each cardboard piece, you'll glue it in place.
Using a popsicle stick, dab a glob of glue onto the spot where the toothpick meets the cardboard, gluing them to the cardboard circles.
Step #13: Let Glue Dry
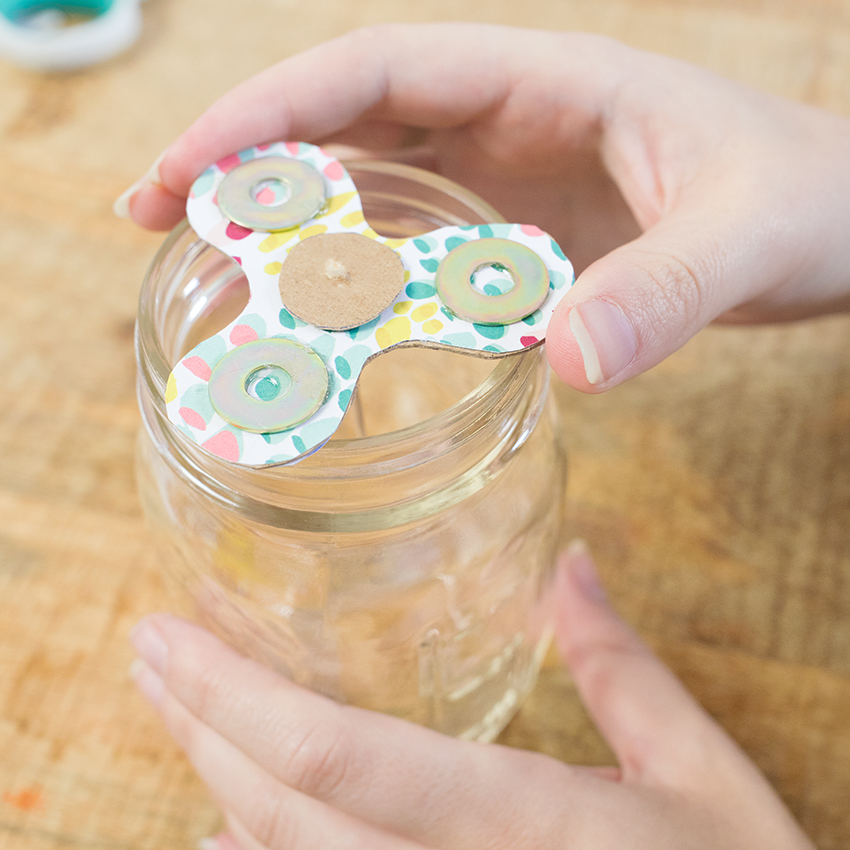
Balance the fidget spinner on the top of a Mason jar or cup to let both ends of the glue dry.
Let it sit until all the glue is dry to the touch.
Step #14: Cut Ends Off Toothpick
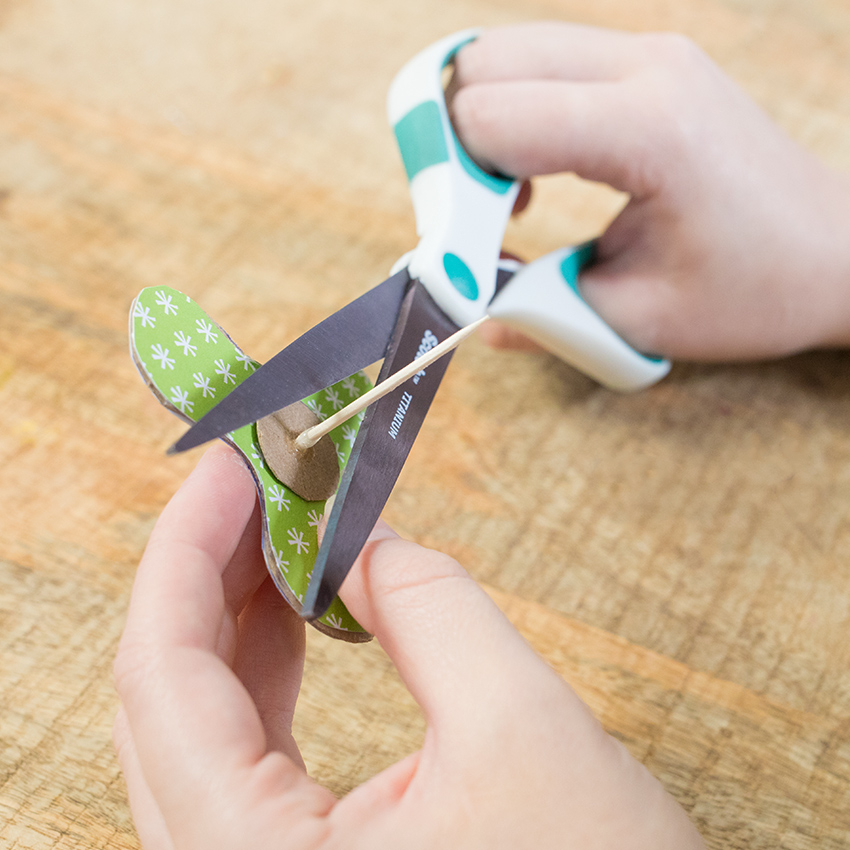
Once the glue is completely dry, cut the ends off the toothpick.
If any toothpick is still poking out, you can file it down or cover it with a little more industrial glue.
Step #15: Spin!
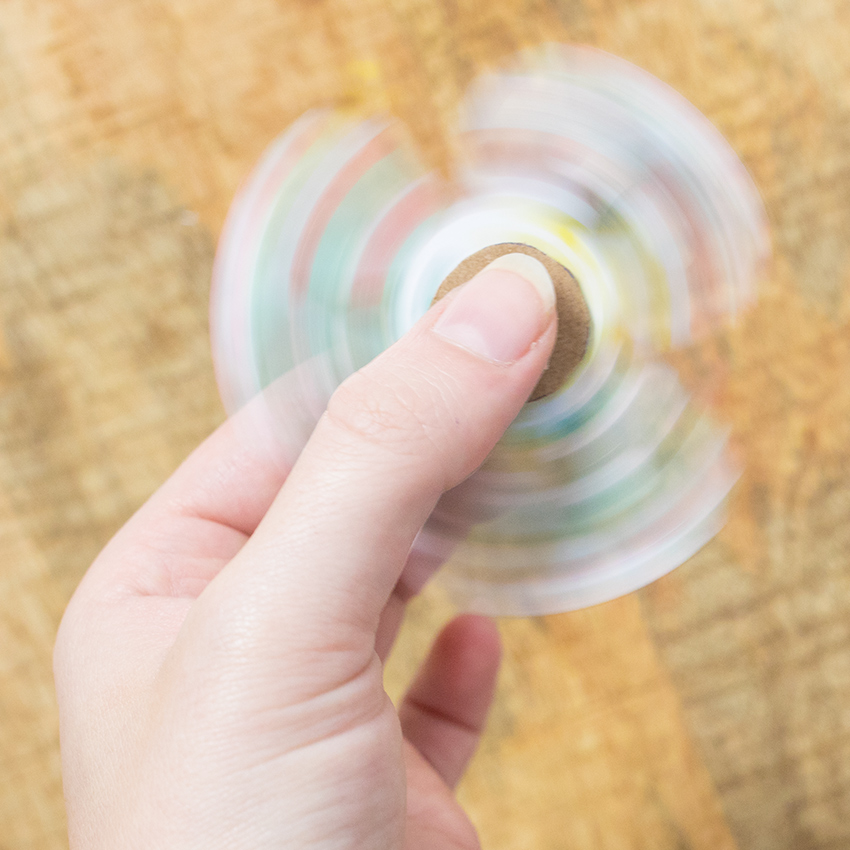
And that's it! All that's left to do is spin your new fidget spinner.
Once you realize how easy it is to make it, you'll immediately want to make more.
If you're excited to try making these DIY fidget spinners, please SHARE this article with your friends and family!


