When the weather outside is frightful, one thing you can do to pass the time is make some fun and easy crafts with the family. Crafting is an activity that family members of all ages will love, and the best part is that you can proudly display the final products as handmade holiday decorations.
There are so many crafts you can make to show your holiday spirit, but if you're looking for something that's easy and mess-free, then you'll love this winter ice luminary.
Ice luminaries are a beautiful way to light up winter walkways and outdoor spaces.
You only need a few basic materials to make your own ice luminary, and you can customize it with any embellishments you desire. Personally, we used holly to give our luminary a holiday feel, but feel free to use whatever you think will look best — like orange slices or pine needles.
Check out the instructions below to learn how to make your own ice luminary, and don't forget to SHARE this easy craft on Facebook.
Supplies

- duct tape
- flameless tea light candle
- pliers
- rocks
- small tin can
- large tin can
- garland of holly
Instructions
Step #1: Tape Tin Cans
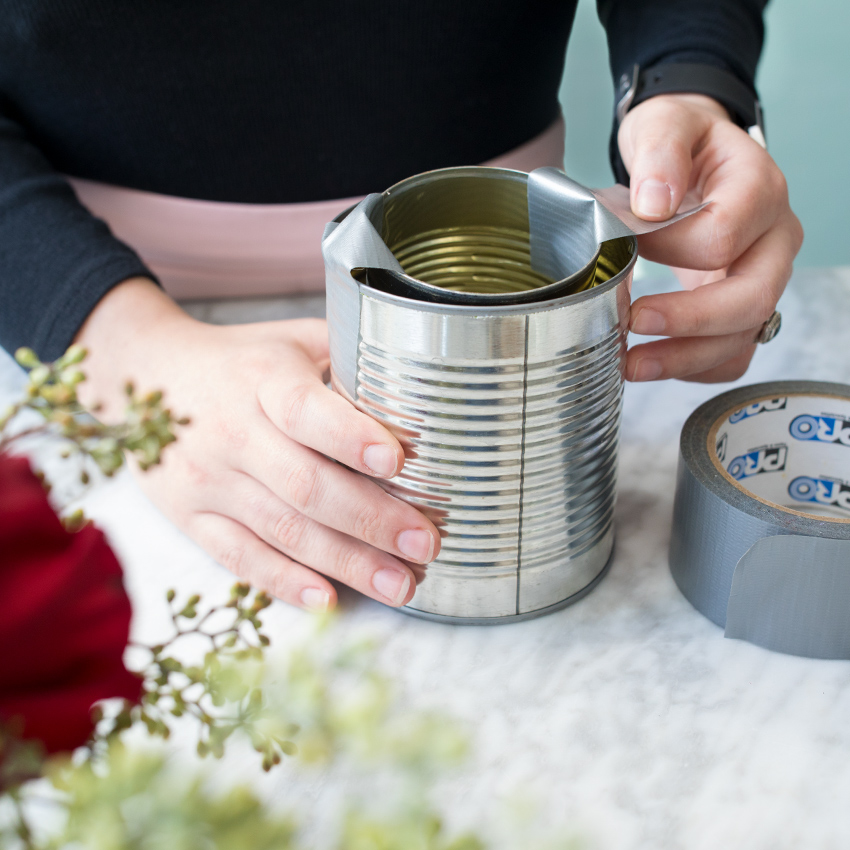
Tape the smaller tin can inside the larger tin can with duct tape. Try to tape the can as evenly as possible.
Step #2: Weigh Down With Rocks

Weigh down the small tin can with rocks. The rocks will keep the tin can in place when the water is freezing.
Step #3: Cut Holly

Cut the holly into six or seven pieces of varying sizes. Make sure that no piece is longer than about 2 inches.
Step #4: Stick Holly In Can

Strategically stick the pieces of holly into the space between the big and small can. Remove the pieces of tape as you go so the holly doesn't get stuck in one area— just make sure to put the tape back when you're done.
Step #5: Pour Water And Freeze

Fill the space between the large can and the small can to the brim with water, and freeze for 4 to 5 hours.
Step #6: Remove Luminary From Can

Place the now-frozen luminary in a bowl of hot water to help loosen it from the tin cans.
After a few minutes in the hot water bath, twist the smaller tin can out first. Then, gently remove the ice luminary from the larger can.
If the ice luminary is still firmly attached to the tin cans, put it back in the hot water bath for a few more minutes and try again.
Step #7: Add Candle
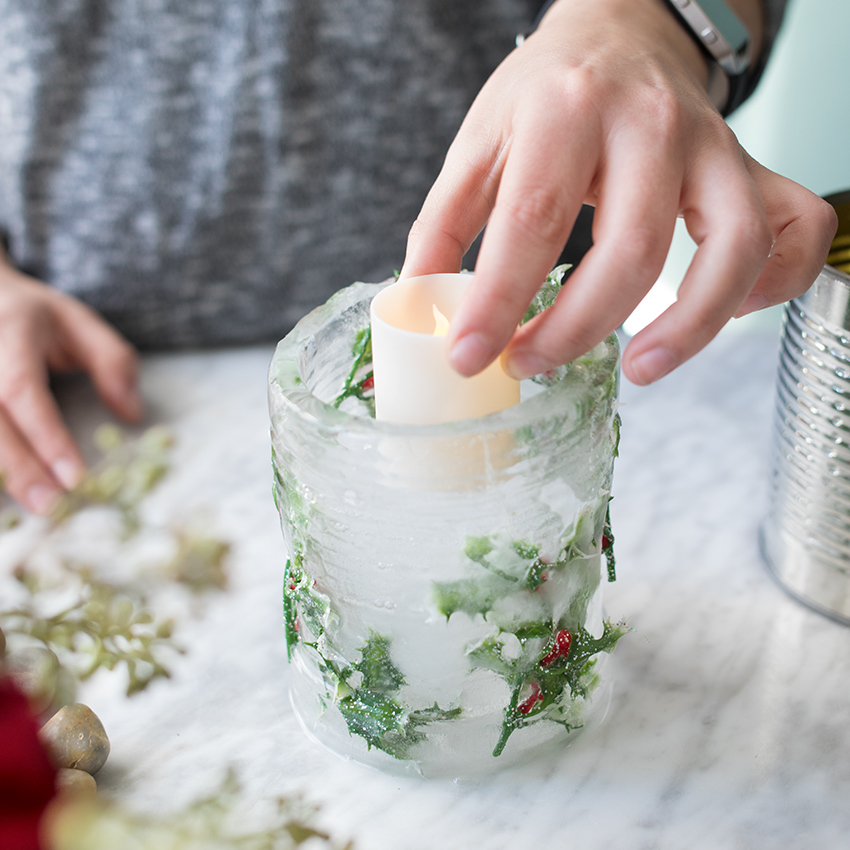
Turn the flameless tea candle on, and place it in the center of the ice luminary.
Step #8: Put Outside

As soon as your ice luminary is ready, put it outside to prevent it from melting. Set it on the outdoor windowsill or patio. Or light up your whole walkway by making several at one time.
Lit with a tea light on those cold winter evenings, these DIY luminaries look so magical.
Do you know someone who would love to do this DIY craft? Make sure to SHARE this how-to with them on Facebook.


