
If you have trouble falling asleep or are looking for a way to get a better night’s rest, you’re not alone. According to Sleep Advisor, 35% of adults don’t get enough sleep partially due to the fact that 30% of adults in the US suffer from insomnia. And considering Sleep Advisor also tells us that sleeping 60 to 90 minutes more per night can make you both happier and healthier, there’s definitely a good reason for you to do what you can to get a nice deep sleep each and every night.
But if you’re like me, not only does it take you a good amount of time to wind down every evening, it also takes you forever to fall asleep. While most people drift off within 10 to 15 minutes of heading to bed, it consistently takes me an hour or more. That obviously cuts out a serious chunk of time that I could be catching some much-needed z's.
That’s why I was thrilled to come across a DIY sleep salve via PopSugar.
"Tired of lying awake all night stressing over this or that?" author Sarah Lipoff asked.
Um, YES!
"Fall asleep with ease thanks to this DIY calming salve that also leaves your feet so soft — you can't beat that!" she continued. "Made with a soothing combination of essential oils, the recipe creates more than enough for yourself, so gift the rest to your favorite people. You'll love how this wonderfully smelling helper makes nighttime blissful."
That sounded fantastic! A DIY salve that would not only help me fall asleep more easily but was also great for my skin?! Double win. I was in. After jotting down the few ingredients that I would need but didn’t already have on hand, I was off to make my own DIY sleep salve. Take a peek below to see how I did and find out what I think about the end result.
What You'll Need
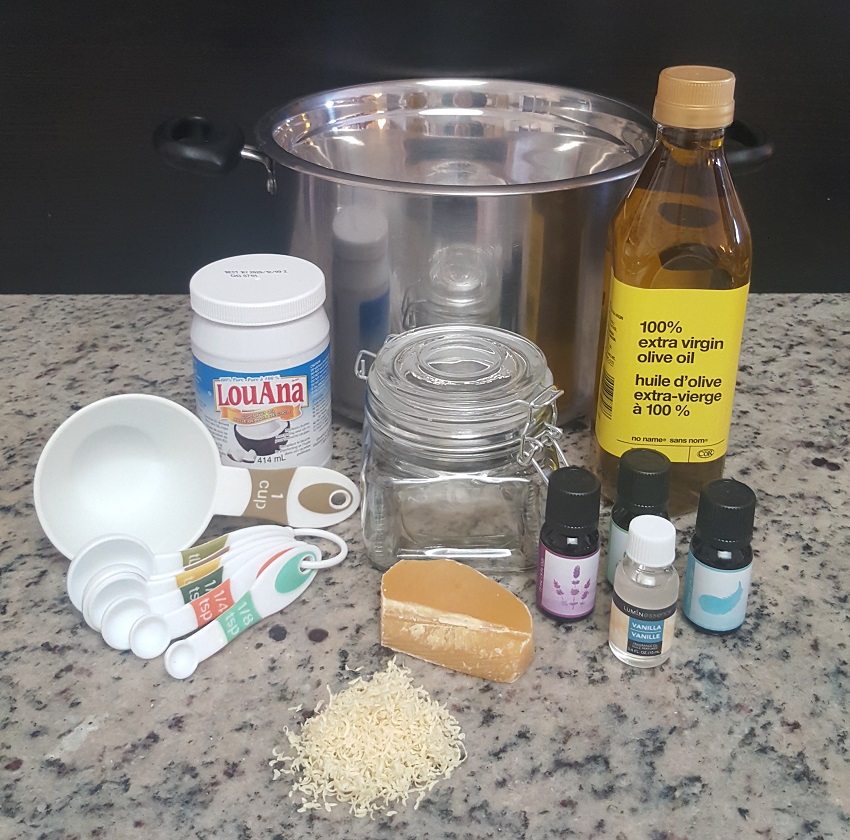
- 1 cup coconut oil
- 1 cup olive oil
- 4 tbsps. grated beeswax
- Essential oils
- Measuring spoons/cup
- Jar
- Pot
- Mixing bowls (optional)
Step 1: Mix the Oil Base
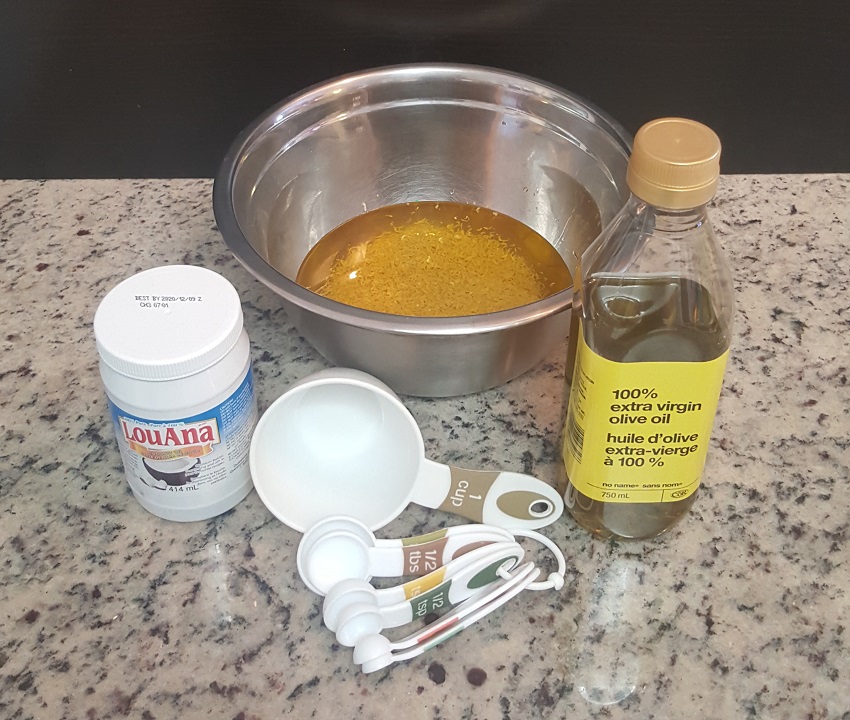
To get things started, I measured 1 cup of coconut oil, 1 cup of olive oil, and 4 tbsps. of grated beeswax. I put them all in my metal bowl and got it ready for double boiling (more on that in the next step).
Step 2: Melt Over Boiling Water
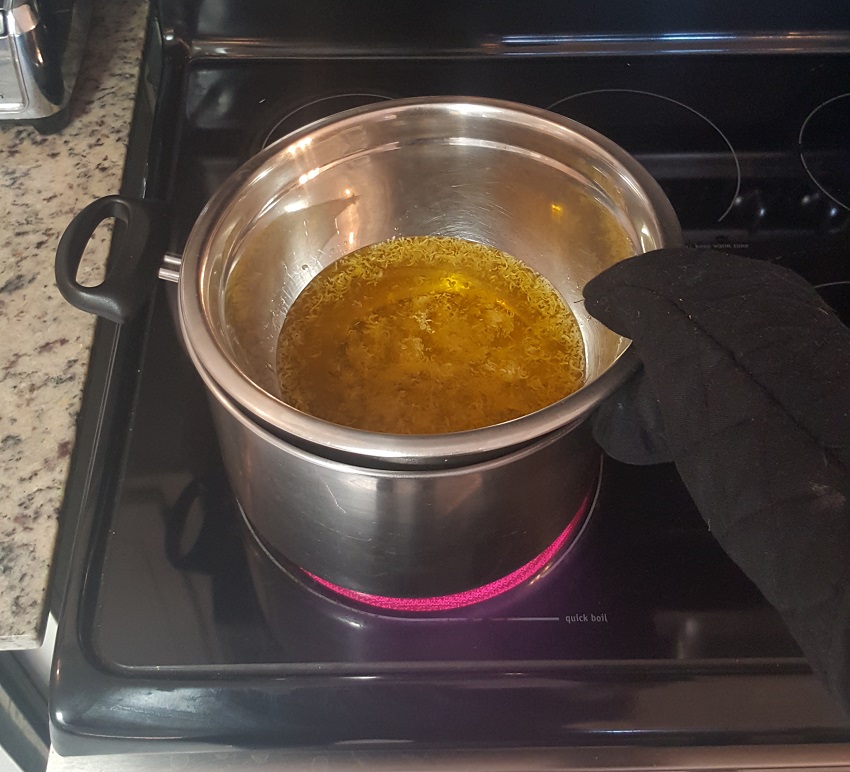
I brought a pot of water to a boil and placed my metal bowl filled with the ingredients on top (aka double boiling). I made sure not to put too much water in the pot to prevent any spillage. You could also put the ingredients into a microwave-safe glass bowl and warm the mixture in the microwave in short 15-second bursts so you don’t burn the oils.
Step 3: Stir
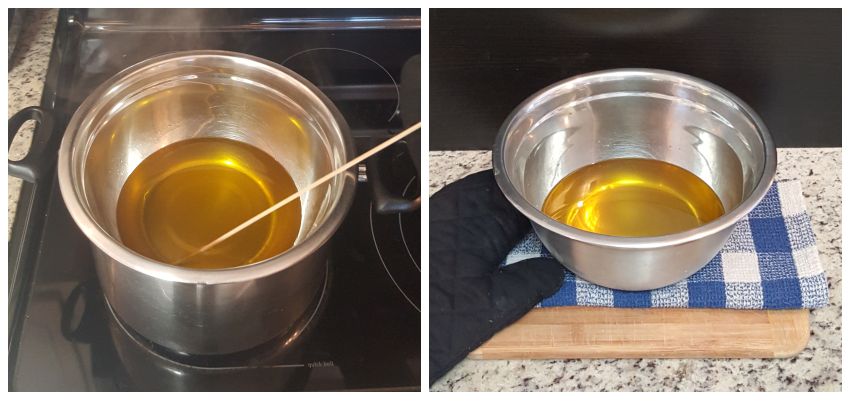
Once the ingredients had melted, I gave it a stir using a wooden skewer because I didn’t want any beeswax to stick to my utensils. I then removed the bowl from the heat using oven mitts and placed it on a cloth.
Step 4: Mix Your Scents
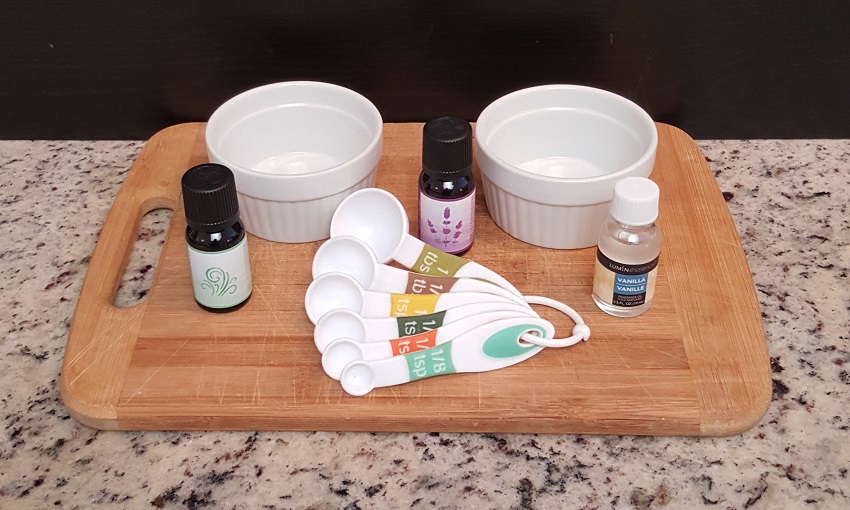
In a separate bowl, I mixed together some essential oils. Lavender adds a nice soothing aroma, so that’s a must in any relaxing sleep salve. I also had some peppermint on hand, which can help ease muscle pain. But I wasn’t too sure how the scents would mix together. I took a little to the side to try a test sample and found it smelled really pleasant but was a little too strong. I added some vanilla oil to mellow out the scents and give the mix a nice vibe.
Step 5: Combine Base and Essentil Oils
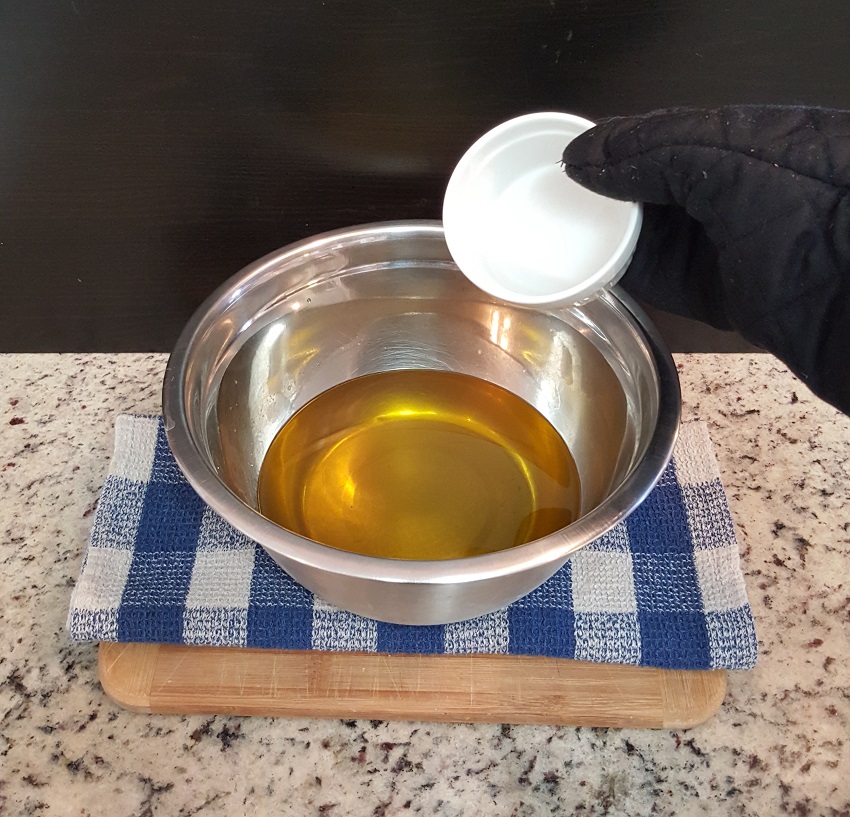
When the essential oils were mixed together and I was happy with the fragrance, I added it to the coconut oil mixture. The smell of the oils exploded, and right away I was getting giddy to go to bed.
Step 6: Transfer to Storage Container
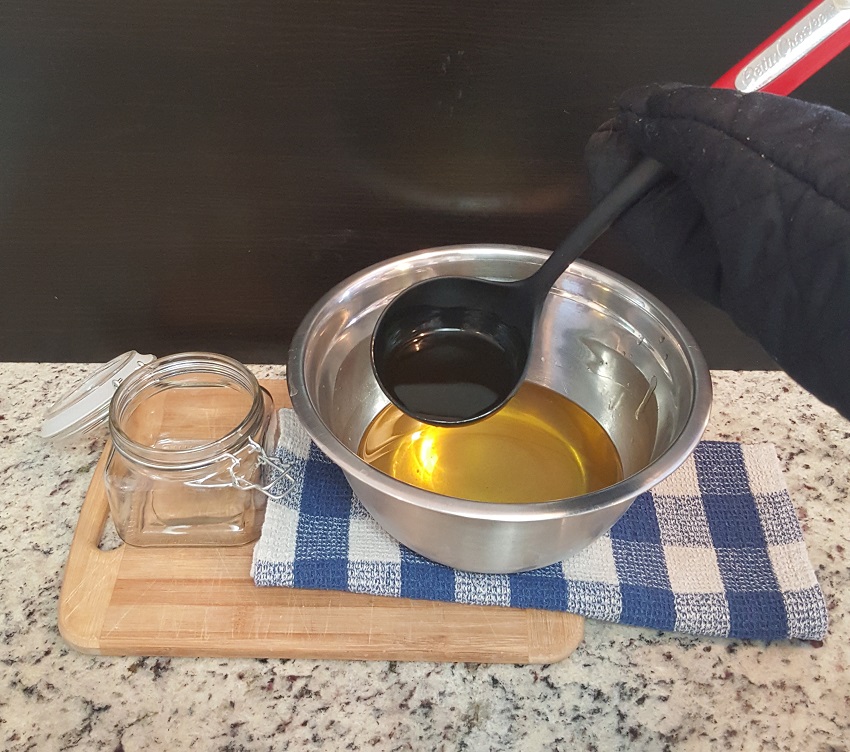
It was then time to transfer the mixture to the container. I carefully ladled the mixture into a clean jar and had just enough salve to fill it up.
Step 7: Allow to Cool
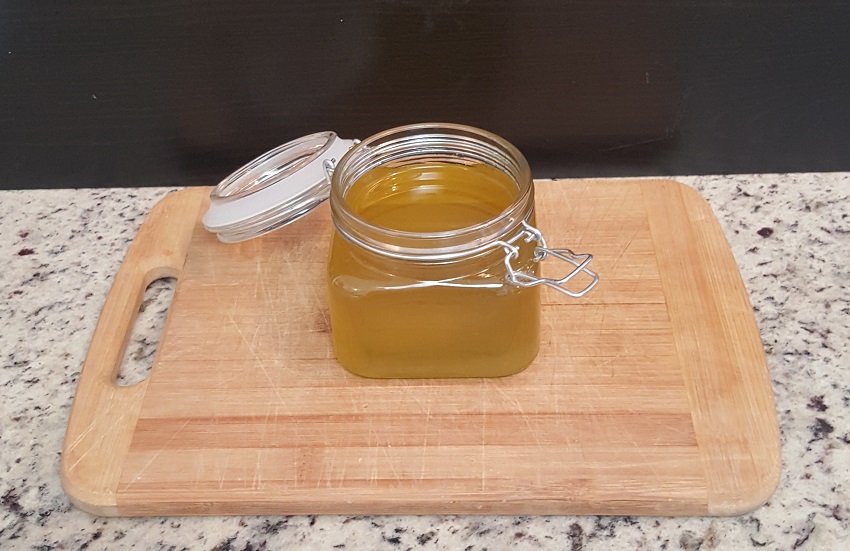
I set the jar full of amazing-smelling sleep salve aside to cool until it was room temperature. It was fun to watch the mixture slowly transition from clear to foggy to opaque as it cooled. I closed the lid and left the salve to thicken and settle.
Step 8: The Finished Product!
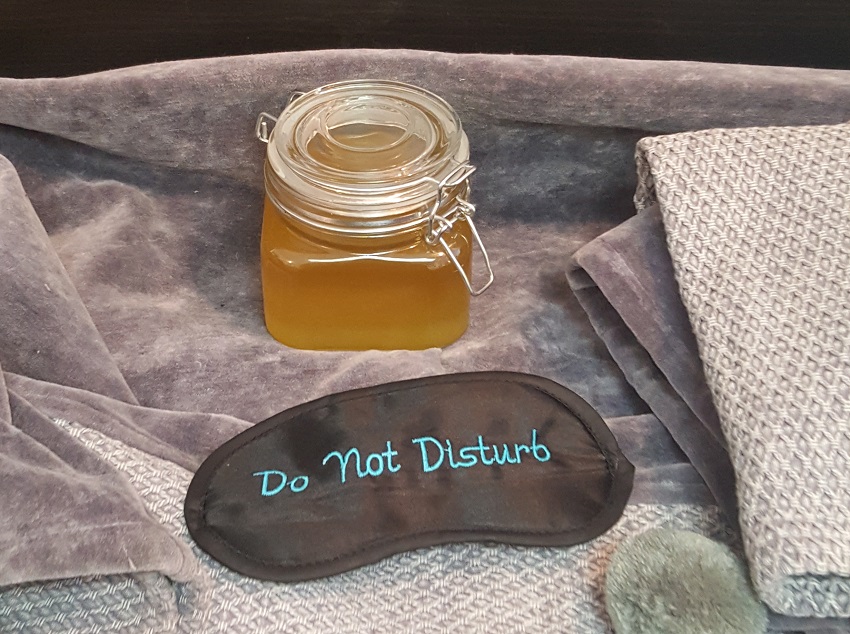
And just like that, the sleep salve was ready to go! I was so thrilled with the smell when I first opened the jar. The mix of lavender and peppermint was perfectly balanced with the smooth hint of vanilla.
What You’ll End Up With
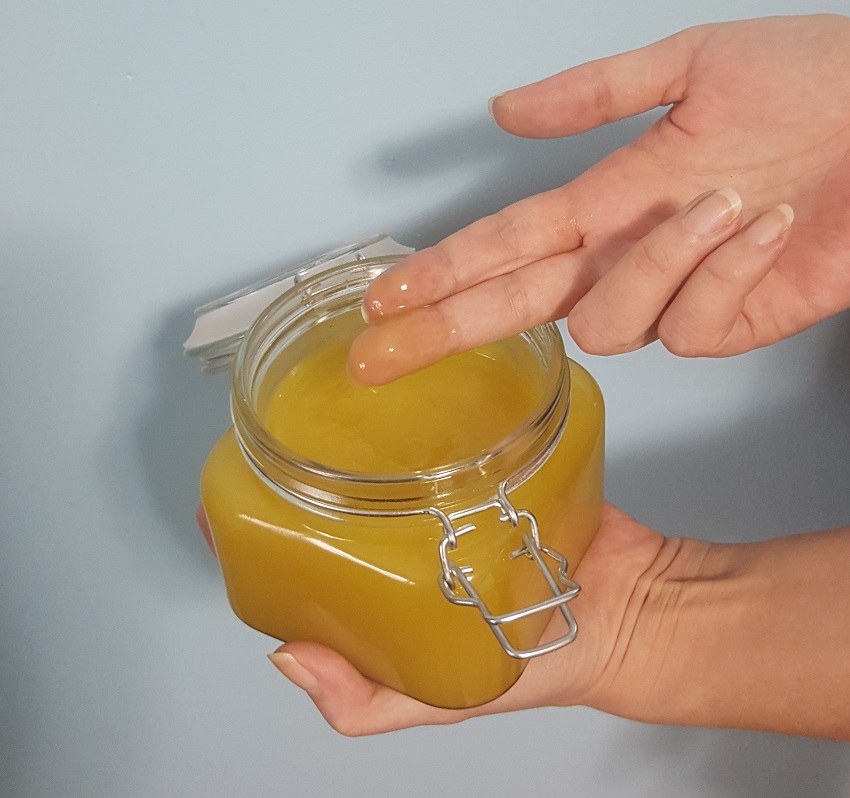
This will make about 16 oz. of sleep salve (which is quite a lot and will likely last a long time). The texture of the salve was smooth, almost buttery, and it was the color of golden honey.
Use No. 1: Apply on Feet
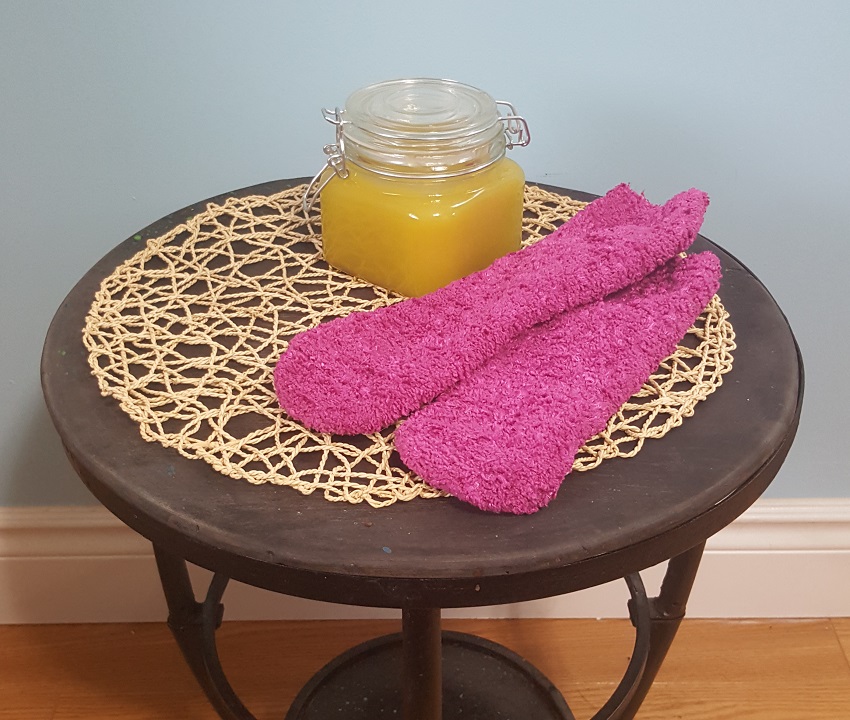
One way to use this soothing salve is to rub some onto the top and bottom of your feet and cover them with comfortable socks. Because the pores on your feet are a bit larger than on other areas of your body, they’re apparently a great spot for absorption.
Use No. 2: Massage and Moisturize
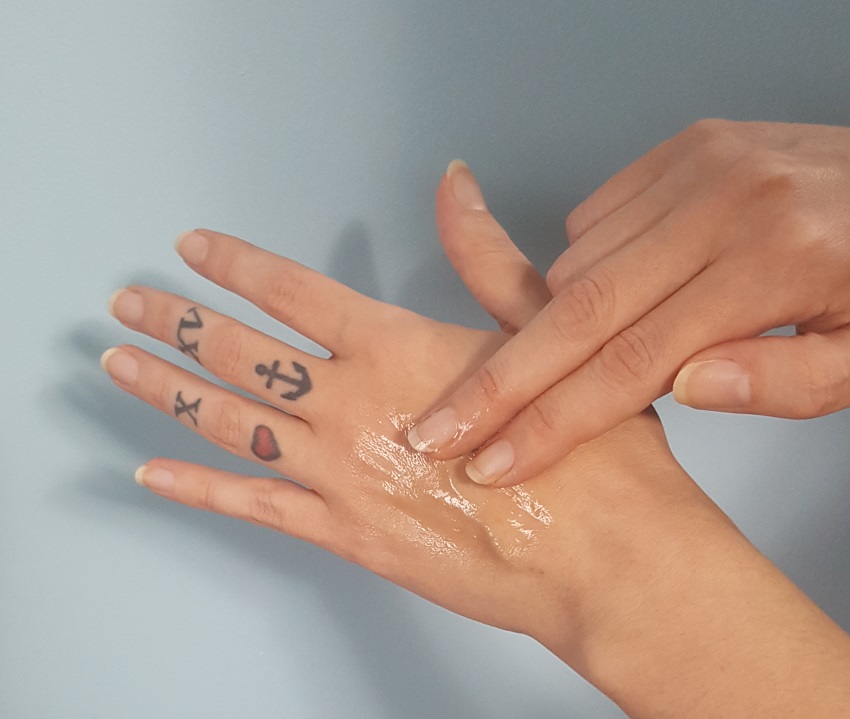
Another great way to use your homemade sleep salve is to massage it into your hands, sore muscles, or temples for quick relaxation. But if you like the way it works as a moisturizer, you can use it wherever your skin is a little dry.
Trying It Out
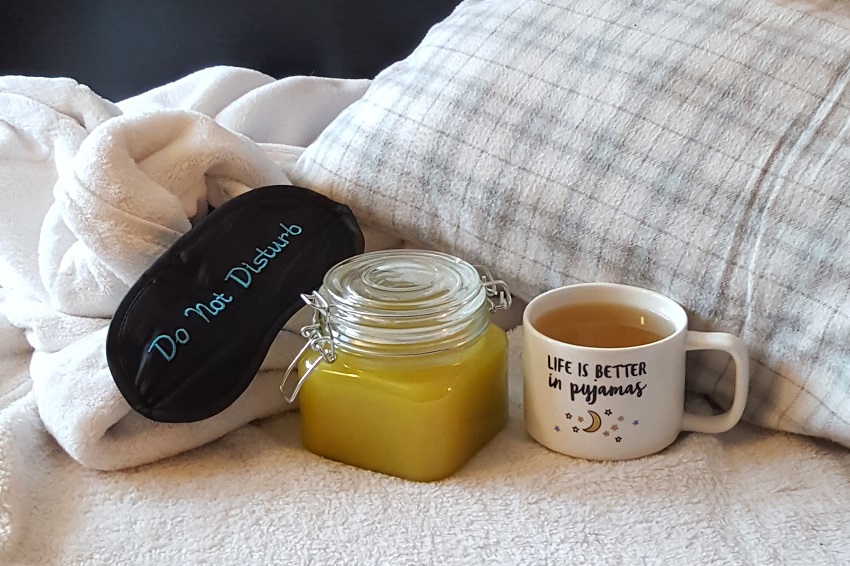
I gave the salve a try on my hands and feet as well as on my temples and found that a little goes a long way. Just a small dab on my finger was enough to nicely cover both of my hands. I used a little bit more of the mixture to really give my feet a good layer. It left my skin feeling smooth, not oily. The fragrance was nicely balanced, with the lavender and mint being mellowed by the vanilla.
Final Thoughts
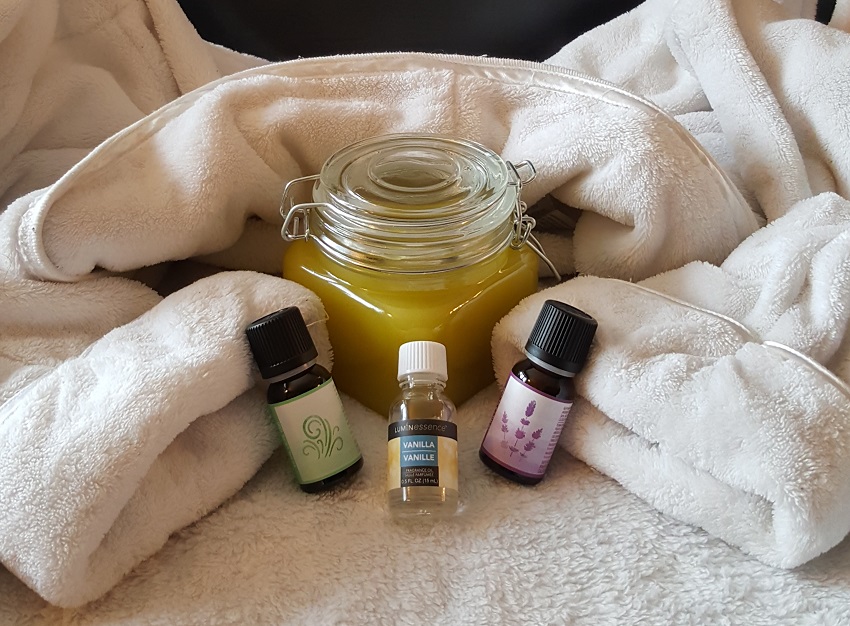
Overall, the process of making my very own homemade soothing sleep salve was easy and enjoyable. It was fun to play around with the different mixtures of essential oils to find the smell that hit the senses just right. Don’t feel like you need to limit yourself when it comes to using essential oils. Orange and cinnamon can be used to calm the nerves, while sandalwood and eucalyptus can add more earthy tones to the mixture. The ingredients were all easy to find and affordable.
I really liked how the salve left my skin feeling and smelling, and both the scent and feel was so soothing that it had me blissfully drifting off in no time.


