November is in full swing, and that means one of the coziest holidays is right around the corner: Thanksgiving. Whether you’ve already decorated for fall, or you’re more of a minimalist, there’s no doubt good Thanksgiving centerpieces can really capture the spirit of the holiday dinner.
Store-bought centerpieces are fabulous, but nothing compares to a homemade, family-crafted piece that you can pass down to future generations. Other than being thankful, Thanksgiving is first and foremost about family, so spending the time and love to create a personal centerpiece is one of the most rewarding activities you can do this fall.
So grab some artificial flowers, pumpkins, glue, and paint, and let’s make that dinner table shine!
More from LittleThings: 7 Family Activities For Thanksgiving That Aren’t About Food
Family Tree
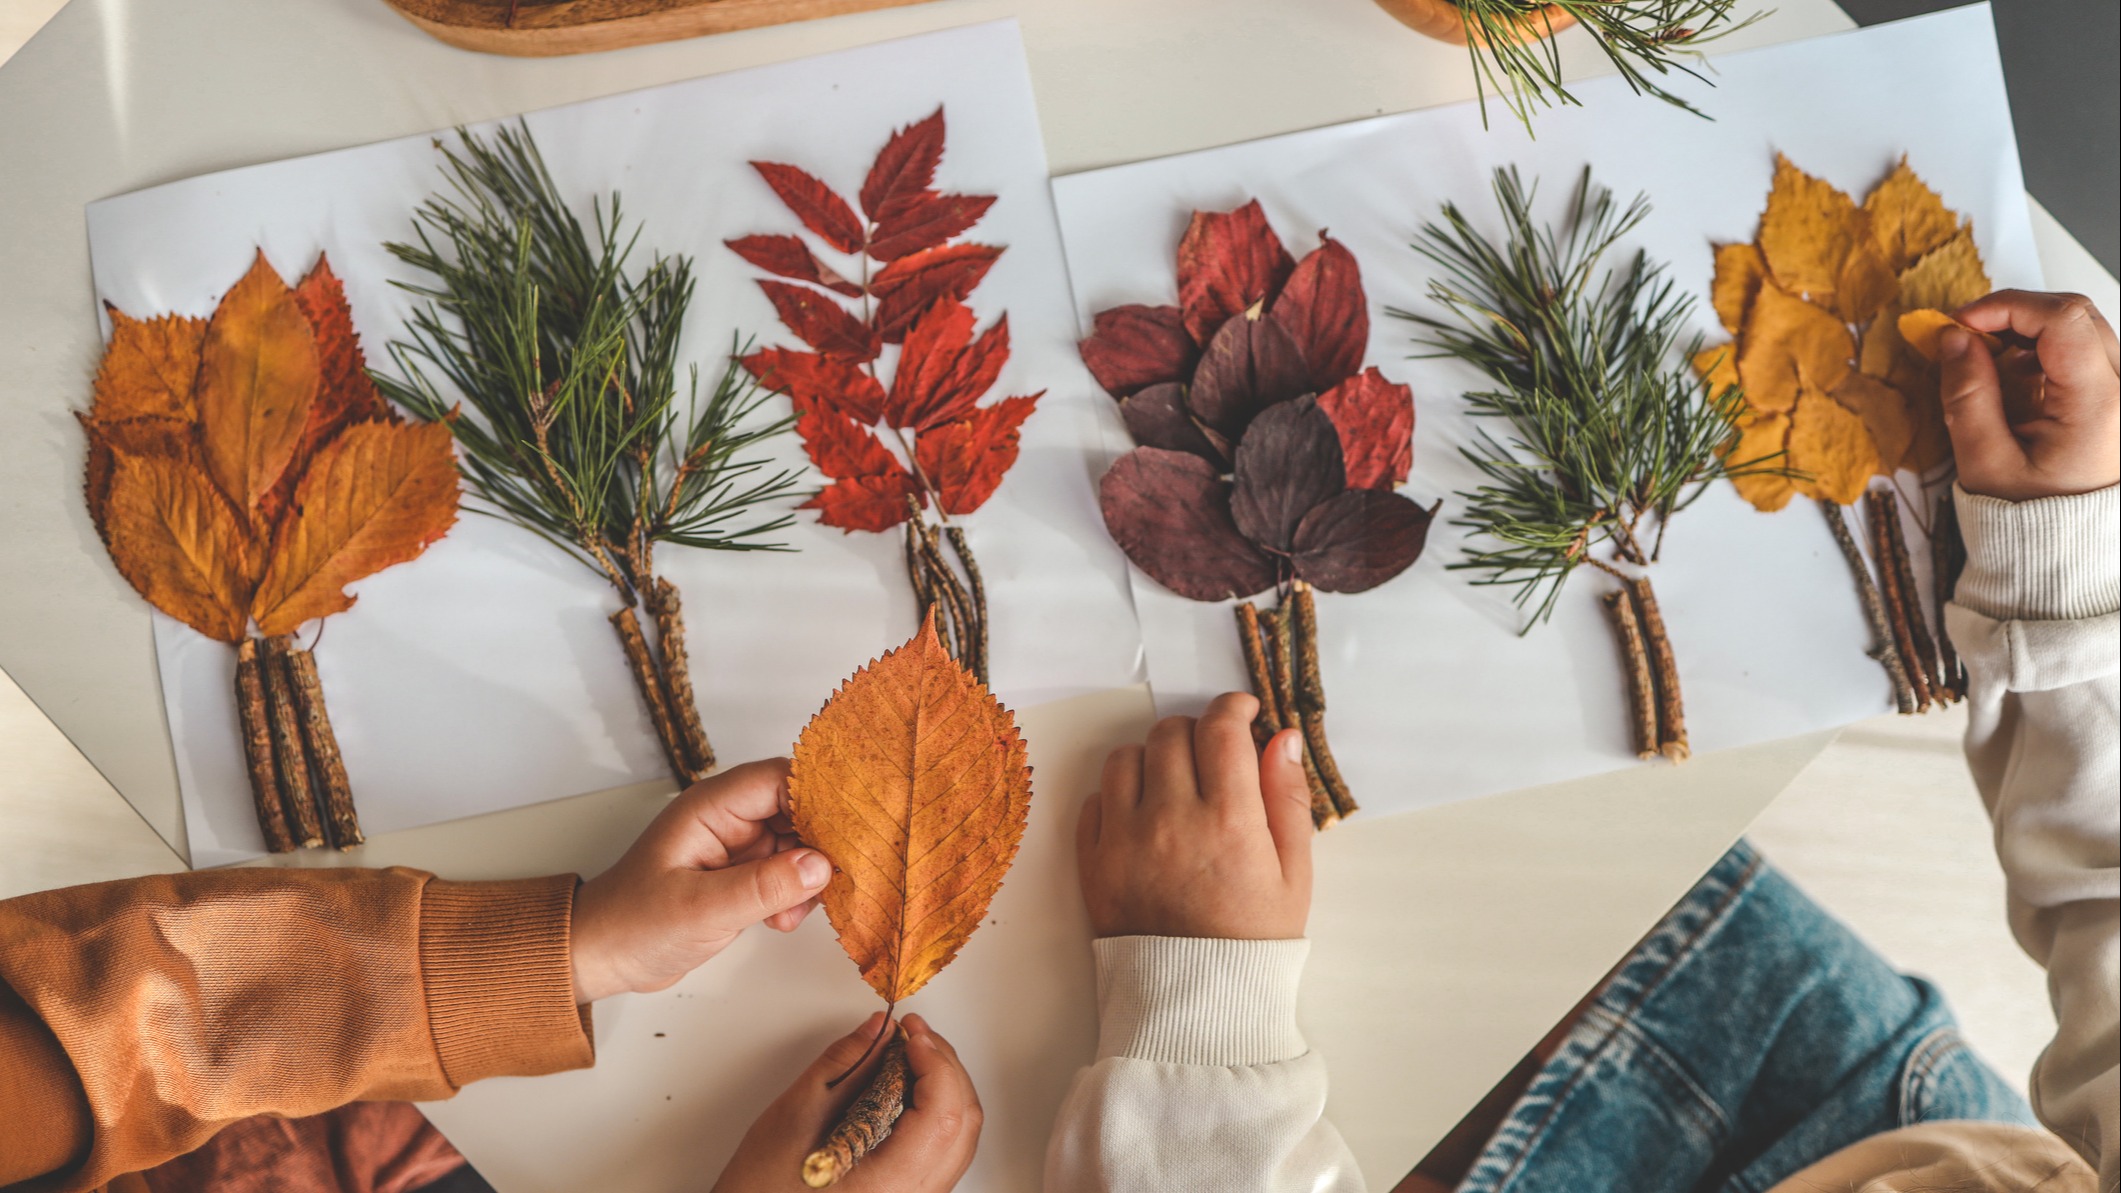
This one is a more personalized centerpiece that shows thanks to the family unit. As the name suggests, the family tree is a homemade tree with leaves that represent each member of the family. The craft is simple, pretty quick, and fun for the whole family. Everyday Dishes offers a free printable for the design, though you can free-hand the tree and its leaves to fit the shape you’d like. The leaves make lovely place cards for marking everyone’s seat at the table, which is especially useful if you’ve invited a large number of extended family to dinner. Then once seated, each member of the family can pin their leaf onto the tree. It can also serve as a living piece of art, where you can add names to it over time, as new partners join the family, and new babies are born.
Steps:
- Take some cardboard or cardstock, and cut to the shape of a tree. Cut out as many leaves as you have family members.
- Paint the tree in any way you’d like — cartoonish or realistic, knotty or smooth, with hidden squirrels or birds. Move onto the leaves and paint them in all the colors of fall: maple leaves, oak leaves, or simple tear-shape leaves. Adorn the tree with blank leaves if you want the tree to look more lush and full.
- If you have each family member close at hand, ask them to sign their own leaf. Add a passport-sized photo, if you wish.
- Glue each leaf down on a branch if you’re not doing the place card idea. If you are, glue a small square of Velcro onto the back of the leaf and onto each branch, so you can remove them time and time again.
Pumpkin Flower Vase
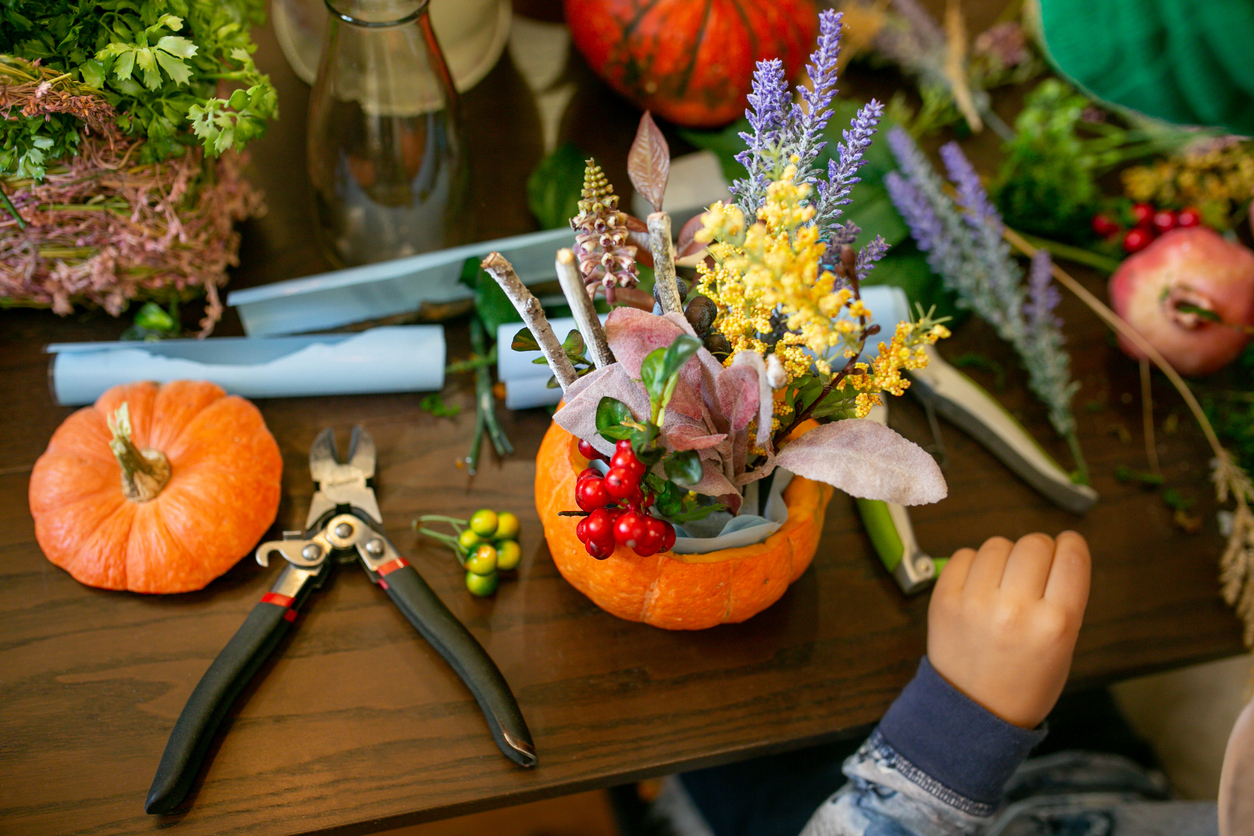
A great solution for what to do with leftover Halloween pumpkins that haven’t gone bad yet: a pumpkin flower vase. While you’re prepping to make a pumpkin pie, or some pumpkin soup entrées, be sure to keep the hollowed out pumpkin for your festive centerpiece. There are tons of cool templates for carved Thanksgiving pumpkins, so feel free to mix the jack-o’-lantern vibe with the following…
Steps:
- Using a pumpkin carving kit, or a sharp knife — parents only — cut the top off of your pumpkin. You can draw a line around a quarter of the way down to guide you. Throw away the stem — or “peduncle” — or save it to grow your own pumpkin.
- Scoop out the fibrous strands and seeds — the guts — and save for some good home cooking.
- You can leave the “vase” as is, but let’s get the kids involved with some festive painting. From classic turkey hand prints, potato leaf stamps, a family portrait, or an all encompassing “Happy Thanksgiving” message.
- Grab some autumnal flowers that suit the color scheme of your decor, and the holiday. Add some berry stems and twigs for some texture, and voilà!
Autumnal Basket
A craft that’s more on the foraging side of things is an autumnal basket full of everything you love about fall. For busier moms, you could grab everything you need at the grocery store — including mini pumpkins and gourds — or online. But for a fun fall activity, the whole family could partake in a little scavenger hunt. Pine cones, leaves, nuts, twigs with berries, interesting stones, acorns, anything that’s safe to pick up with your bare hands. An edible version of this is the vegetable cornucopia.
Steps:
- Grab a wicker basket with a handle. Line it with warm-toned tissue paper, paper worms, or an old but clean piece of fabric to pad the base.
- Add your chosen autumnal pieces after cleaning them, arranging them in a way where each one is visible but looks natural. Try to space out the items so the colors spread across the basket, rather than lumping them in one corner.
- Add a ribbon to the handle, and little additions here and there to really jazz up the basket. Gold accents tend to look best with yellows, browns, and reds. Berry stems wrapped around the handle and individual pieces of wicker weave will add some nice texture, and mini bursts of color.
The Mayflower
An iconic symbol of Thanksgiving is the Mayflower ship, which arrived at Cape Cod on November 11, 1620. The ship has a fascinating history and makes for an oceanic centerpiece if you enjoy maritime decor. Building the Mayflower is not a huge architectural feat (that is, unless you’re a stickler for exact replication and detail), as all you and the kids need to do is create a paper box with sails attached.
Steps:
- Craft the Mayflower with cardstock or a brown paper bag, from any of the useful templates online. Paint or draw details on the ship — such as wood grain, the ship’s name, or windows — before gluing any edges together.
- After gluing each edge of the ship together, and making it three-dimensional, it’s time to create some sails with white paper. Cut three squares with rounded edges: one small, one medium, one large.
- Take the sails, and attach them to your “mast,” by skewering the top and bottom of each sail. Curve the sails a little to give the idea of wind blowing the ship along. For your masts, you can use skewers, chopsticks, or straws. For the straws, you’ll need to cut holes in the sails in advance.
- Attach the mast, or masts if you have multiple, to some air-dry clay or poster tack at the bottom of the inside of the ship. Hide the clay with some brown tissue paper, or paper worms, and fill the boat with messages of thanks.
Gourds & Lights
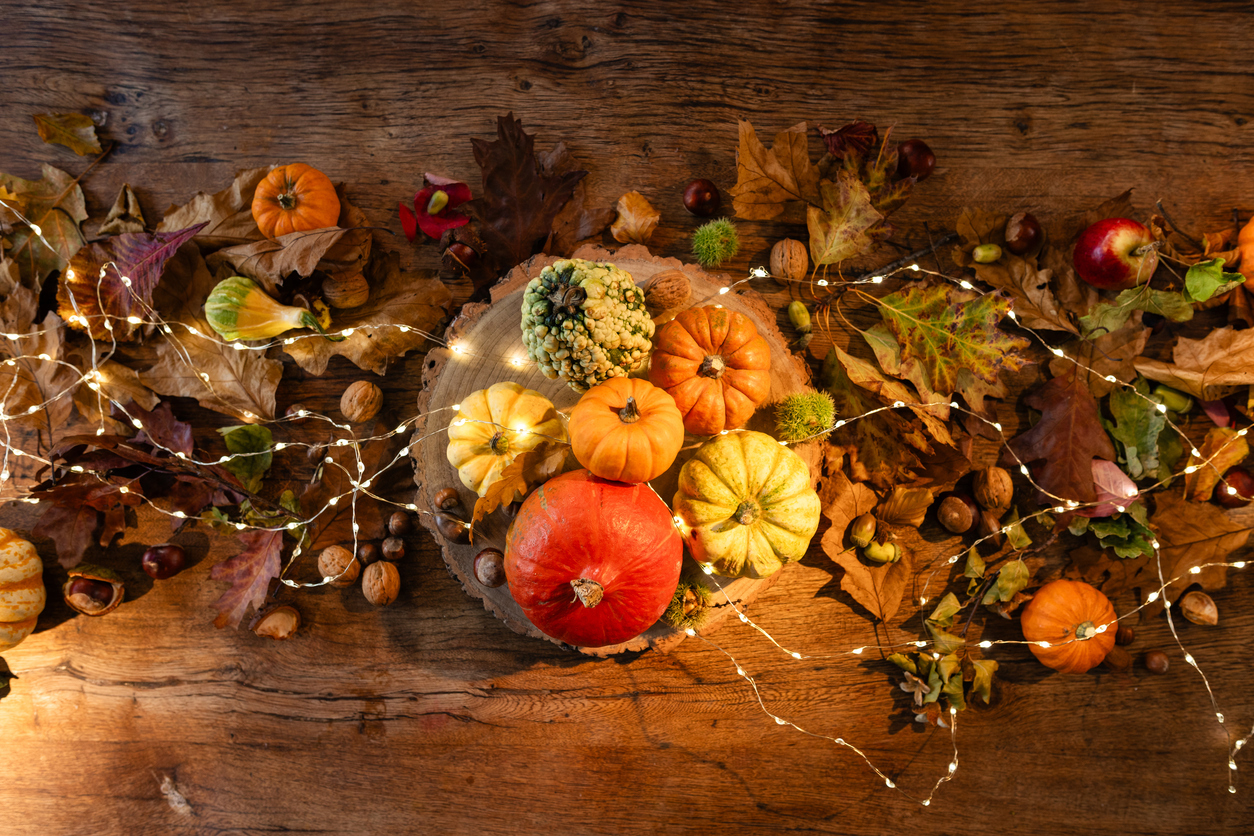
Sometimes keeping things simple is the best way to go — it’s beautiful and elegant, but not stressful to put together! We all know the holidays can be overwhelming, so make your table centerpiece an easy family activity with leaves, gourds, and fairy lights.
Steps:
- Clean off your table and decide whether you’re going to use a tablecloth.
- Scatter fallen leaves (either from outside or purchased from a craft store) across the table. Try to keep them mostly toward the center, like a table runner.
- Put a handful of small gourds in the middle of the table (if you don’t have mini pumpkins, you can also use apples, pomegranates, and clementines to get the same look).
- Drape fairy lights across the leaves and pumpkins.

