Spring has sprung in the Northeast, at least some of the time.
We've come to that tricky time of year where you can experience spring, fall, and winter in any given week. It's exciting because you can tell the warm weather is so close, but frustrating because you can still find yourself stuck inside from time to time.
If you're looking for a STEM project you can do indoors to get you ready for more time outdoors, making wildflower seed bombs with the kiddos can be a fun one. Chances are you have many of the supplies needed in your home already, especially if you have a green thumb. Make these seed bombs ahead of time and help kids fashion their own launchers so that you can take them to an area where you can launch them and watch the wildflowers grow.
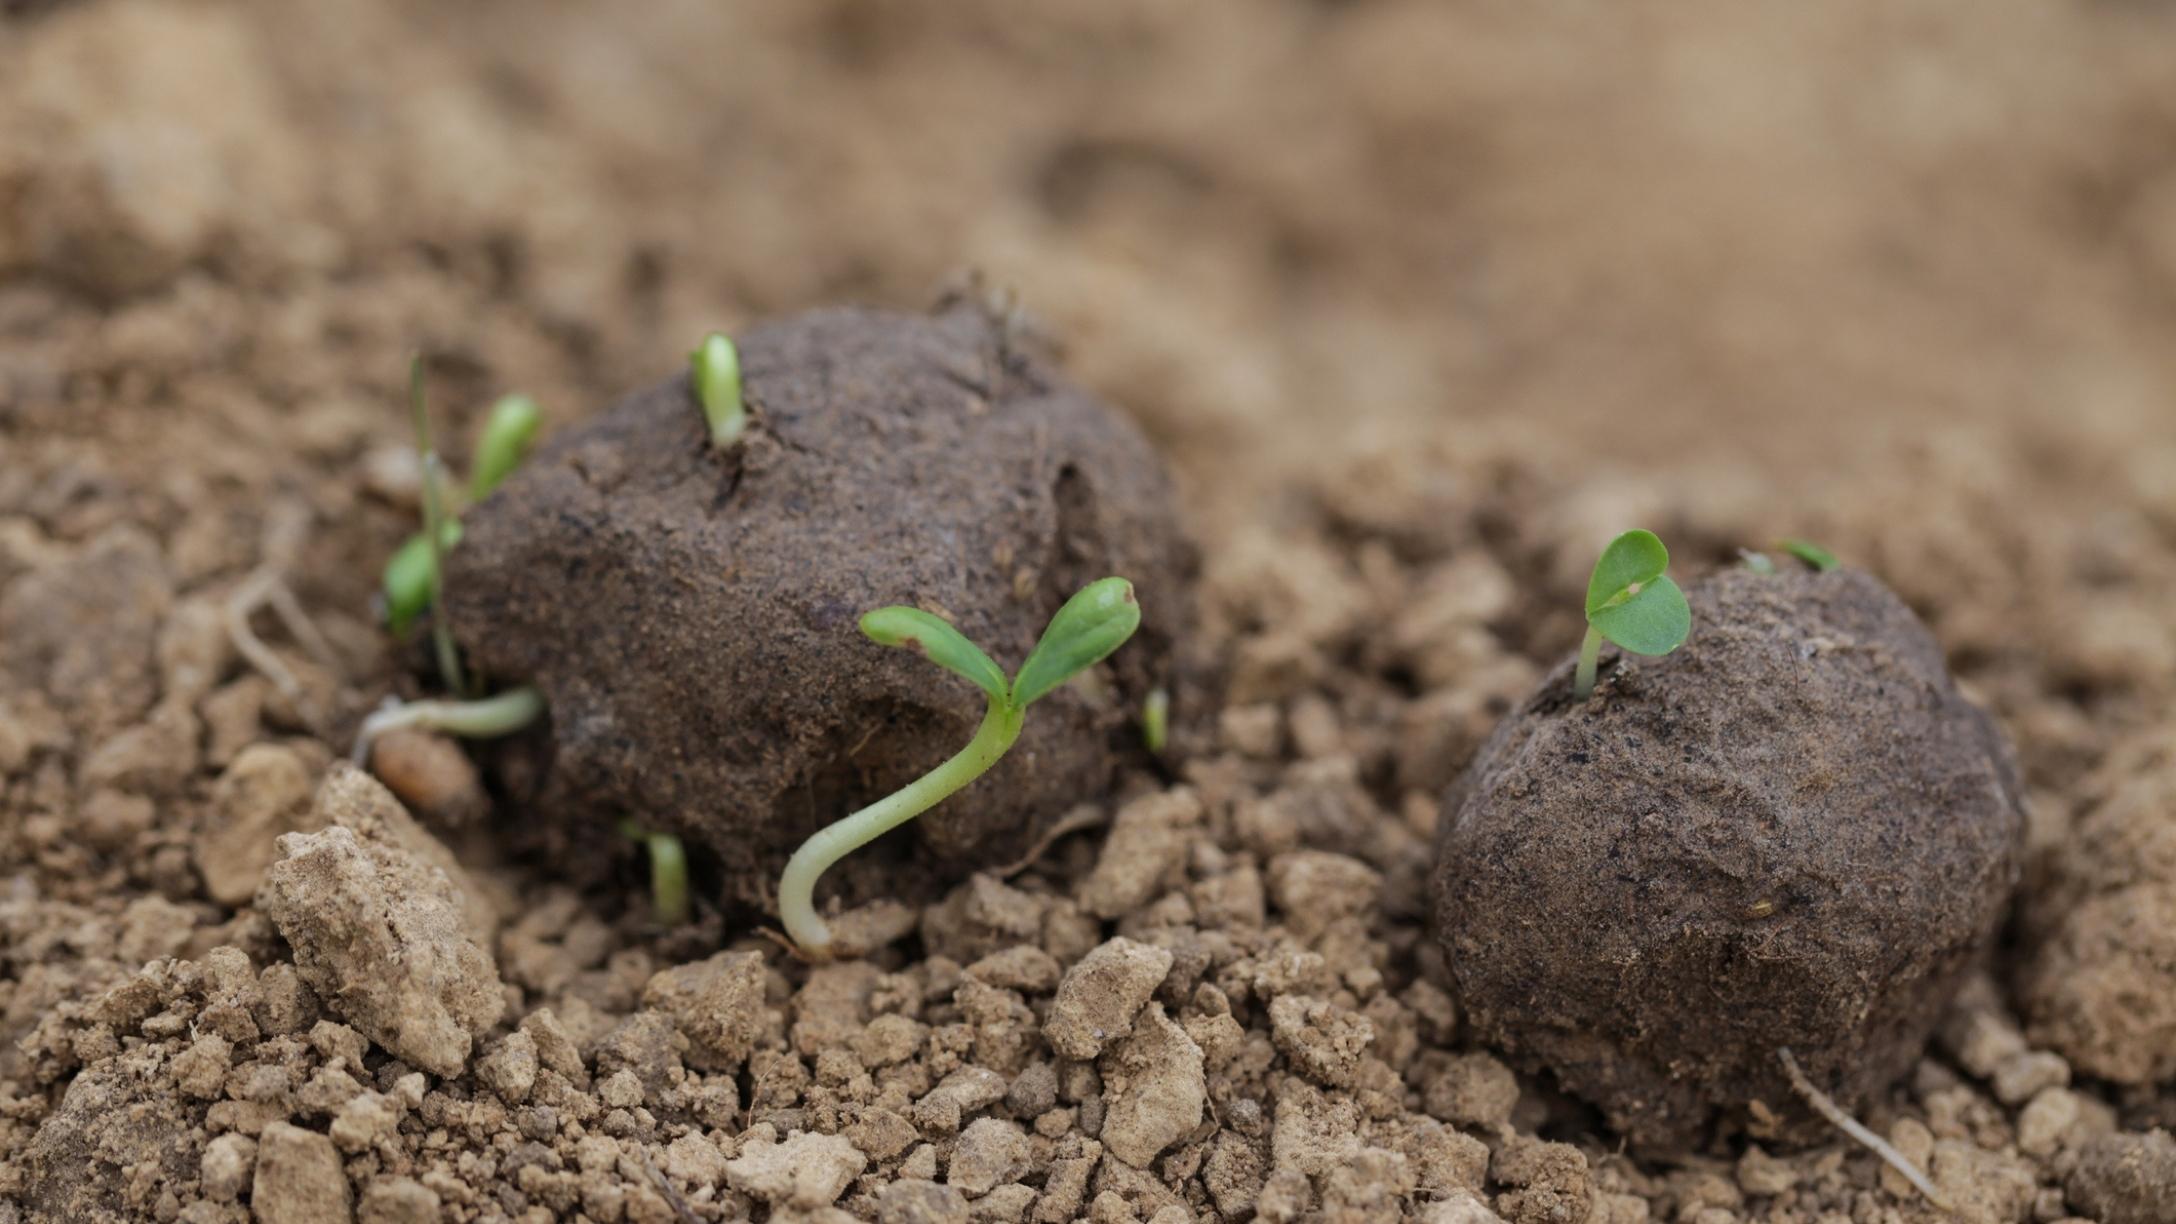
Seed bombs are perfect for areas that are hard to reach.

For families that have some land surrounding their home, or for families living in neighborhoods that contain areas that wouldn't necessarily work for traditional gardening, seed bombs can be a great way to provide some natural beauty and help the environment. The idea was perfected and revolutionized by a Japanese microbiologist and farmer, Masanobu Fukuoka, according to STEAM-Powered Family, which provides a great tutorial on how to make your seed bombs.
Here are the supplies you'll need to get started.

- Bowl or a small bucket
- Water
- Air-dry clay
- Potting soil or compost
- Wildflower seeds
It's important to make sure that the wildflower species are rated for your USDA plant hardiness zone so that the plants work with your area's ecosystem. Using the wrong variety can result in introducing damaging invasive species.
Begin by mixing soil and clay.

Start by mixing the soil and clay in a 5:3 ratio. Mix, adding water as necessary, until the combination has the consistency of cookie dough.
Once you get the consistency right, it's time to add some seeds.

Add a handful of wildflower seed mix. Make sure it's the right mix for your area! Be careful with younger kids when mixing the seeds in, as some pieces can be a little sharp, depending on which mix you get.
It was at this point that I realized it would have been cooler with colored clay.

As I watched the clay/dirt/seed mix settle into a rock-like gray, I wished I'd thought ahead and used colored clay to add a little something to it. Regardless, the mix was ready to start balling up.
Mold the mix into ping-pong-sized balls.

This was probably the most fun for the kids in the first stage of creating the wildflower bombs themselves. Of course, some of the balls ended up bigger and smaller than the intended size, but we decided to just go with it, because science.

Once you've got the balls made, you need to roll them in dirt. You want to create an outer layer of dirt or compost to protect the balls from birds and insects.
Repeat the dirt dip three times.

The balls should be pretty well covered in dirt when you're through. A bit is going to fall off as you later pick them up and move them, so keep that in mind in whatever space you're working in (if it isn't already covered in mud).
Next, it's time to make the launchers.

To make the launchers, you'll need the following:
- Cardboard tube
- Large balloon
- Duct tape
- Scissors
Cut the tip off the balloon.

Cut a small piece off the closed end of the balloon. You'll need this opening to stretch over your tube.
Stretch and secure the balloon to the tube.

Stretch the opening of the balloon over one end of the tube. Then take duct tape and tape over the seam so that it's totally sealed. Tie off the other end of the balloon in a knot so that you're able to pinch it and pull back.
Our first test drive wasn't quite a success.

Maybe our seed bombs were too heavy. Maybe our balloon wasn't stretchy enough. Whatever the reason, the first attempt at launching was a little bit of a dud, with the seed bomb landing about 2 feet away from where it started.
This is where the creative thinking kicked in.

The kids began brainstorming ideas to get the seed bombs to launch farther. After some different schemes were attempted, we found a design that involved a shorter tube and pulling the balloon back through the tube to launch. We decided to try it out.
Launch take two went much better.

We went outside to launch again, and this time, things went much better. The good news? The seed bombs launched farther and, after a few attempts, almost cleared the yard. The bad news? It started hailing, so we had to wait for a sunnier day to launch our seed bombs in areas where they could actually grow. We're all looking forward to those sunnier days ahead!