It feels like summer just started yesterday yet, somehow, the best season of the year is almost over.
It seems crazy to say, but it's actually almost time for kids and teachers to go back to school.
Many parents are grateful to be able to get back to the regular routine of the school year — and they know they owe some of their sanity to the true school-year heroes: teachers.
Most teachers know that they can expect some cute gifts at the end of the year, but we should really reward them at the beginning of the year as well.
Teachers are so dedicated — like this teacher who worked on lesson plans while she was in labor — and they deserve to be recognized for their hard work, even before the school year begins.
This year, give your child's teacher one of these adorable candy-filled DIY Mason jar apples. Learn how to make these Mason jar apples below!
Supplies
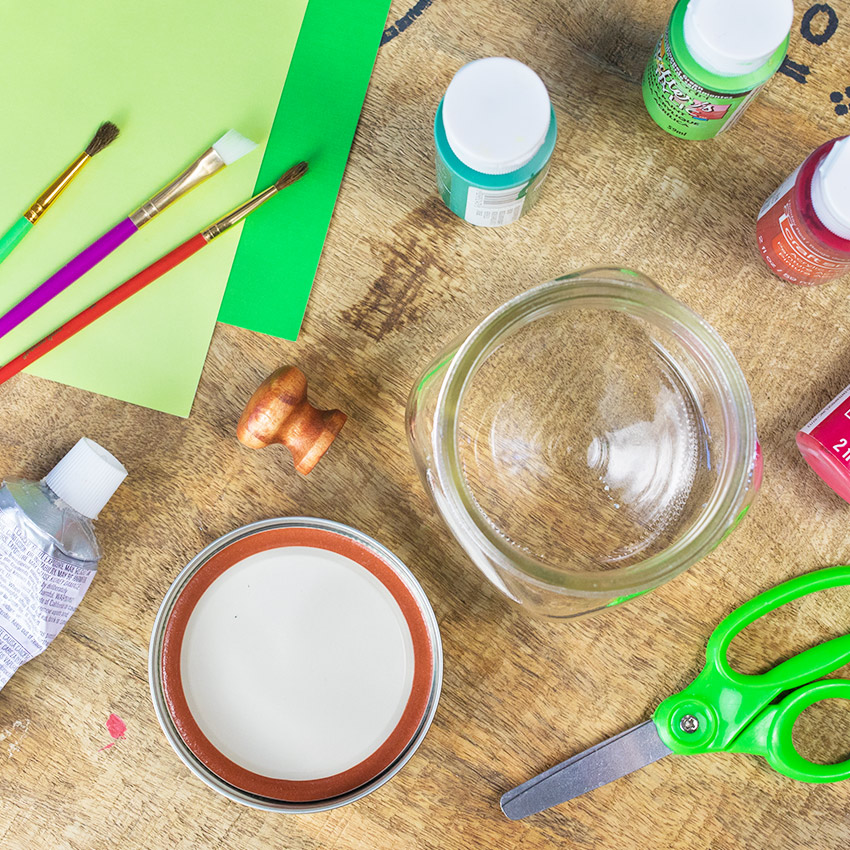
- short Mason jar
- red paint
- paintbrushes
- green paint
- green paper
- scissors
- wrapped candies
- industrial strength glue
- brown wooden knob
Instructions Step #1: Paint Mason Jar Red
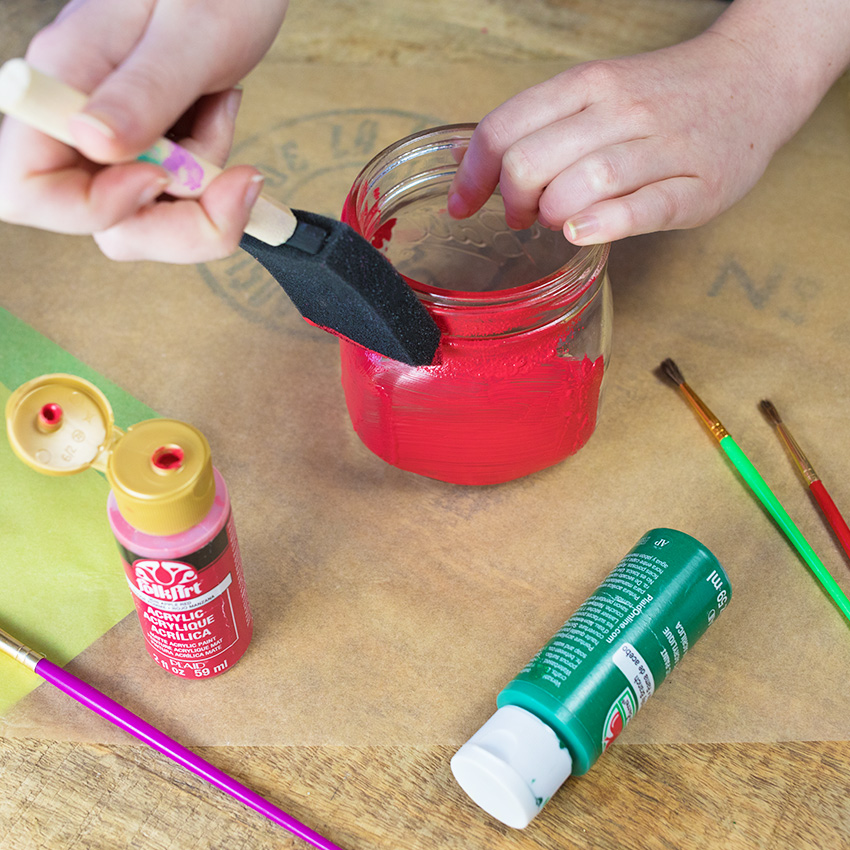
To begin, paint the glass part of the Mason jar red.
You can use a paintbrush for this step, but we've found that a sponge brush may work even more effectively.
Step #2: Paint Lid Green
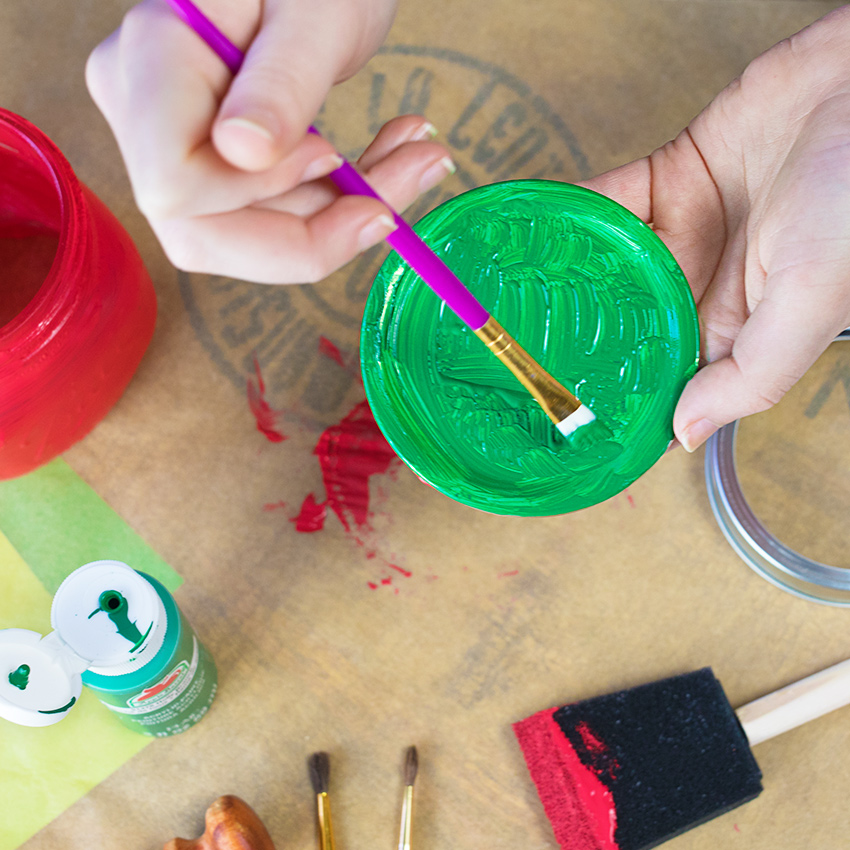
Next, paint both parts of the Mason jar lid green.
The lid is meant to look like the stem and leaves of the apple.
Wait for both the jar and the lid to dry before moving on to the next step.
Step #3: Cut Green Paper Into Leaf Shapes
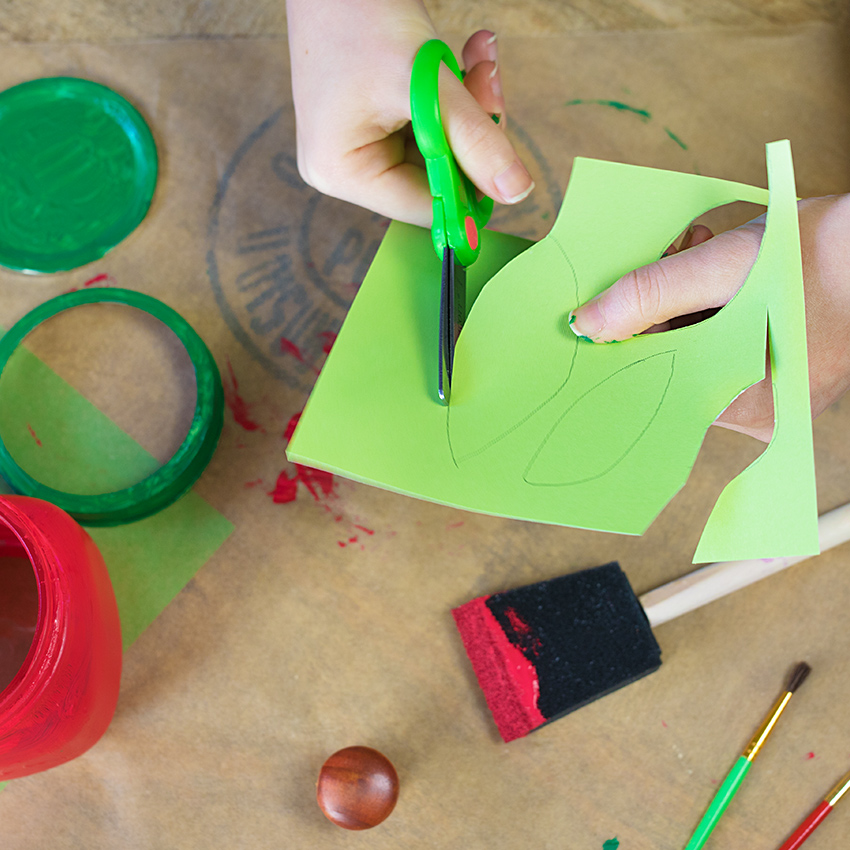
After all the paint has dried, cut out some pieces of green paper in leaf shapes.
You can cut these out freehand or print some templates.
Step #4: Glue Leaves And Knob To Lid
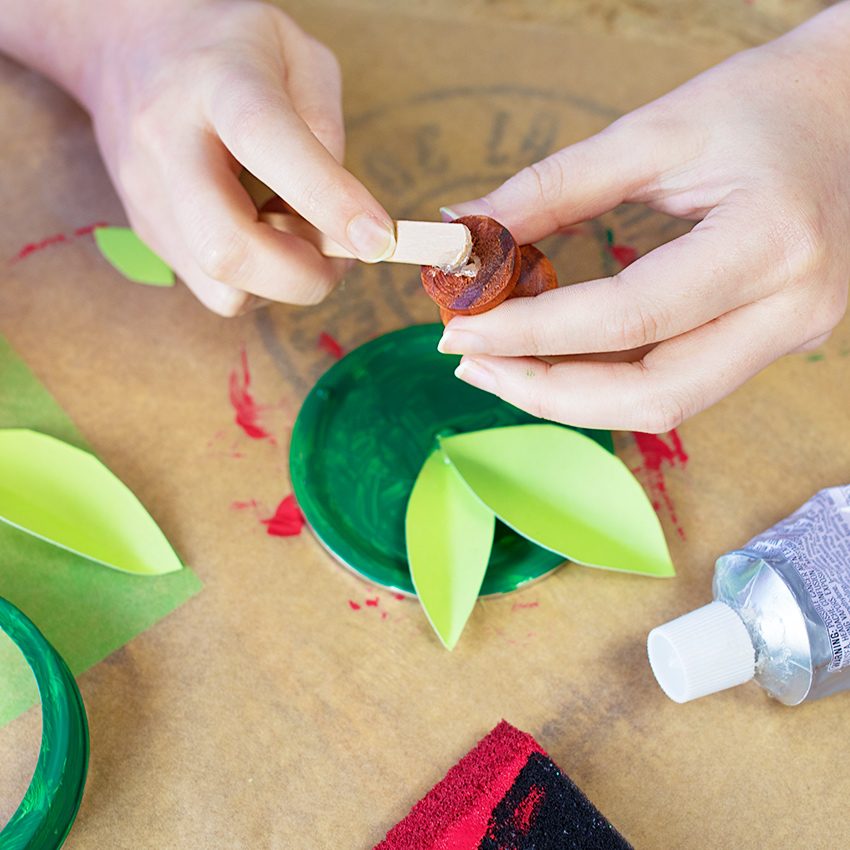
Next, use industrial strength glue to attach the leaves to the lid of the Mason jar.
On top of the leaves, attach your small, wooden knob, using the same industrial strength glue.
Step #5: Fill Jar With Candy
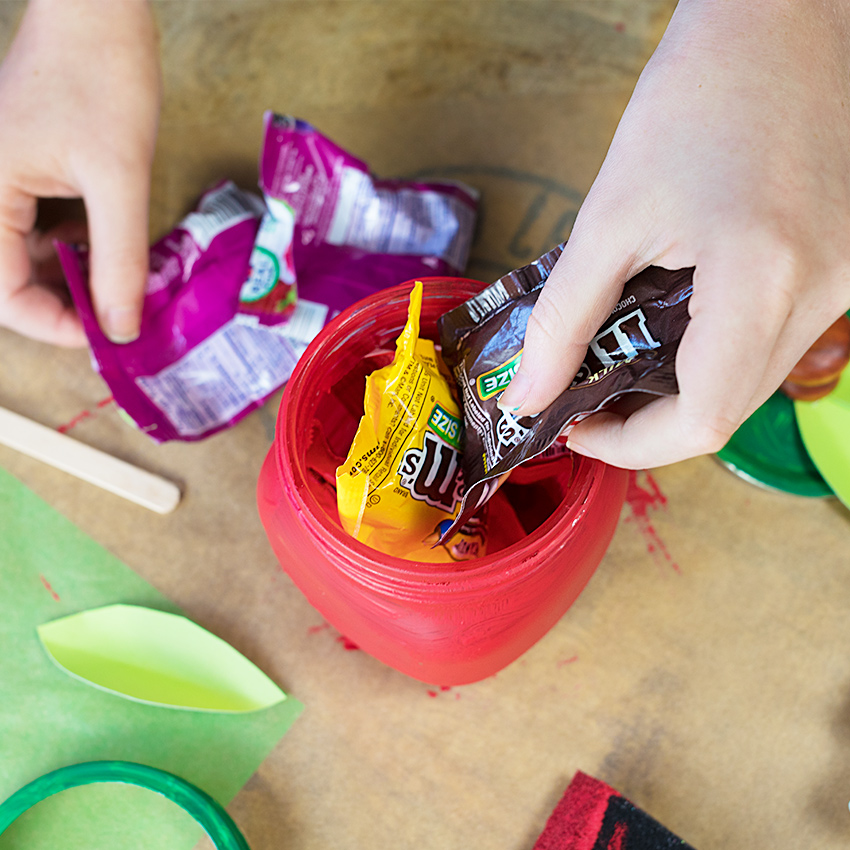
Once the glue has dried, fill the jar with candy.
For this step, you can use any type of candy you want (whatever you think the teacher will like best)!
Step #6: Screw Lid Onto Jar
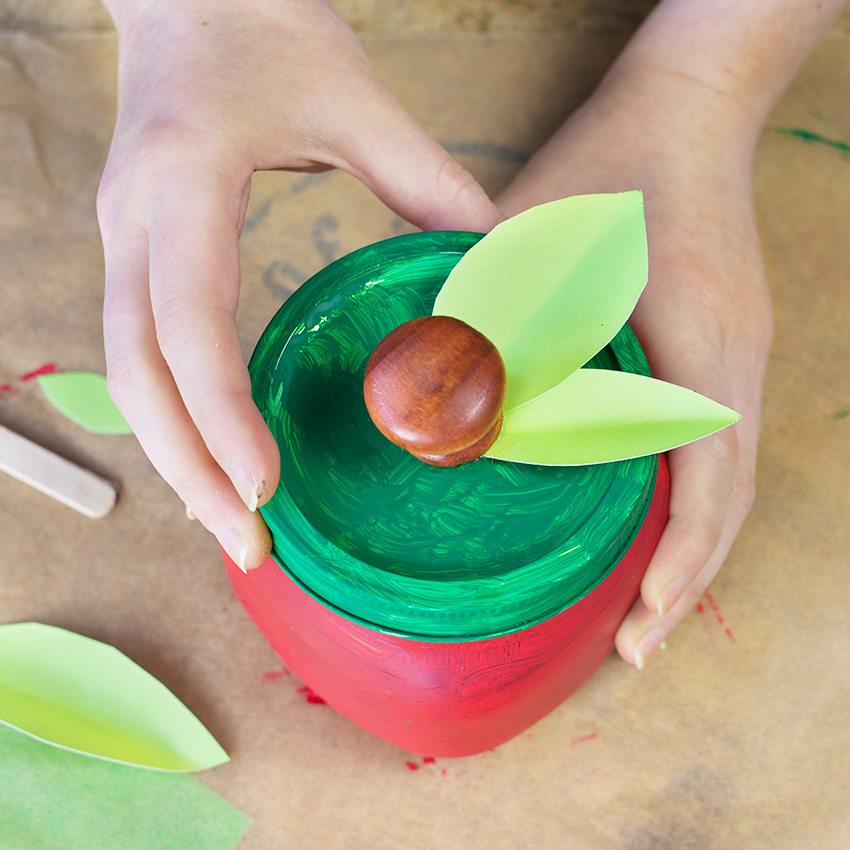
Finally, screw the lid onto the jar — now your Mason jar apple is complete!
Next, pack it into your child's backpack for the first day of school.
Step #7: Give Completed “Apple” To Teacher!
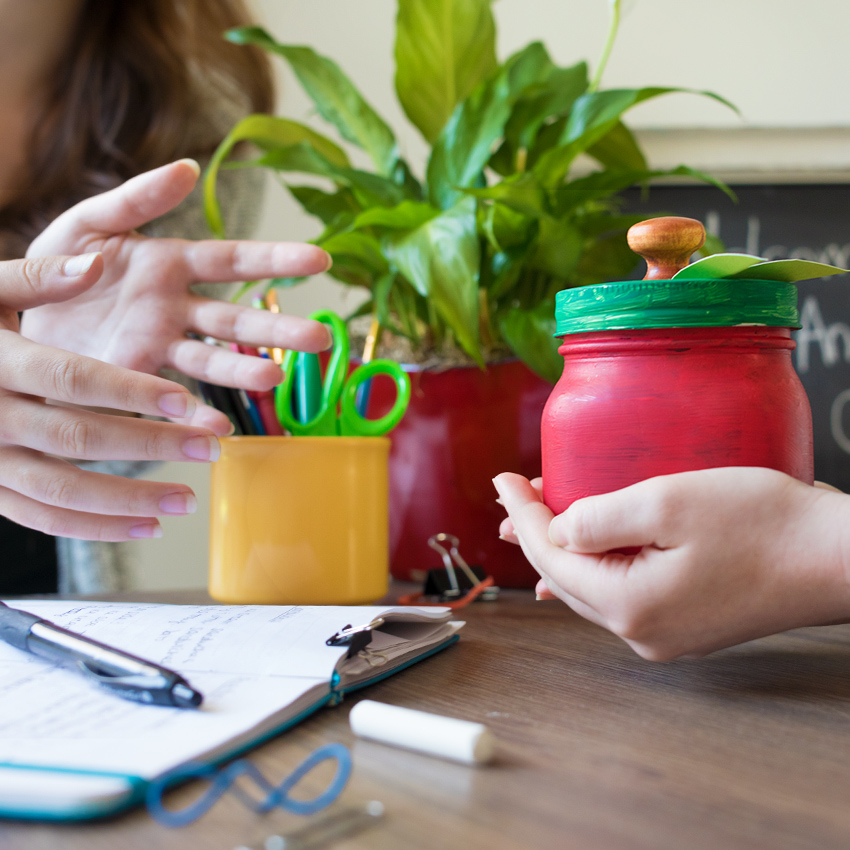
When your child heads to school on the first day, remind them to give the "apple" to their new teacher!
If you love this cute teacher gift, please SHARE this article with your friends and family!


