Ever since I started working for LittleThings, I always think twice before tossing out my trash. I used to throw away anything that had become rusted or worn down just because I wasn't sure what to do with it.
But now I have come to discover the amazing ways that I can "upcycle." Upcycling involves taking pieces of trash or discarded junk and turning them into something even more incredible than what they were before.
For example, I've seen people take their old ice chests and coolers and refurbish them into amazing decorative coolers, and I learned how to take my old coffee cans and turn them into an awesome wine rack.
Susan Mathison of the Country Design Home blog is a master of creating beautiful, rustic-looking pieces of art and furniture from any variety of raw materials. If you're a fan of country-inspired DIY projects, you'll want to check it out.
This craft below is a particular favorite of mine.
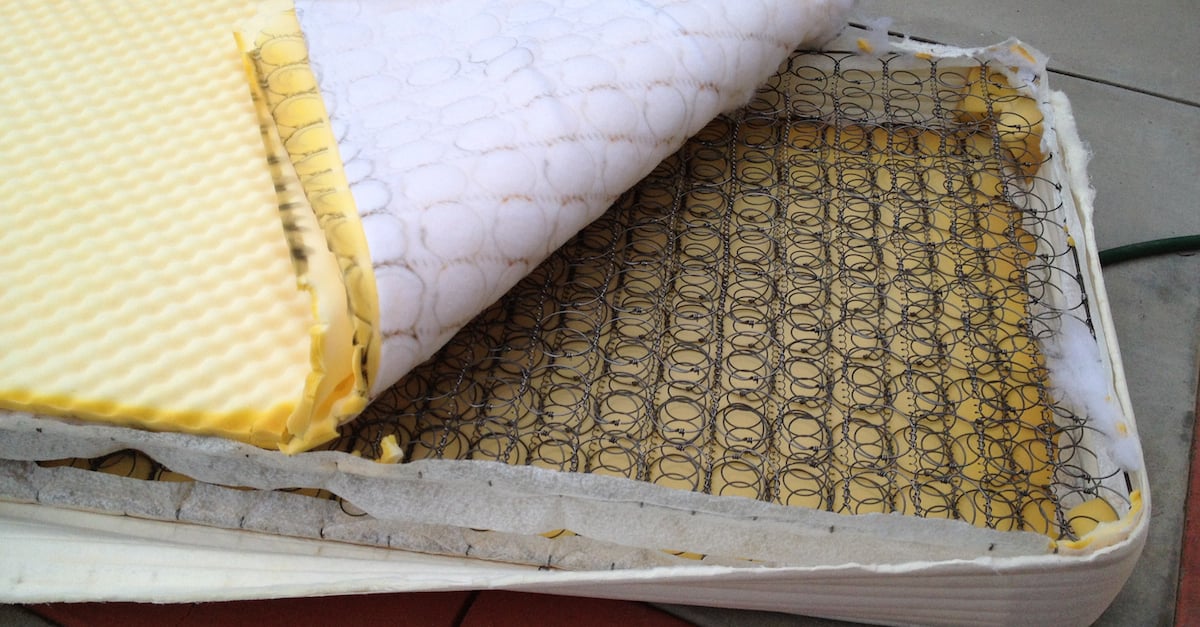
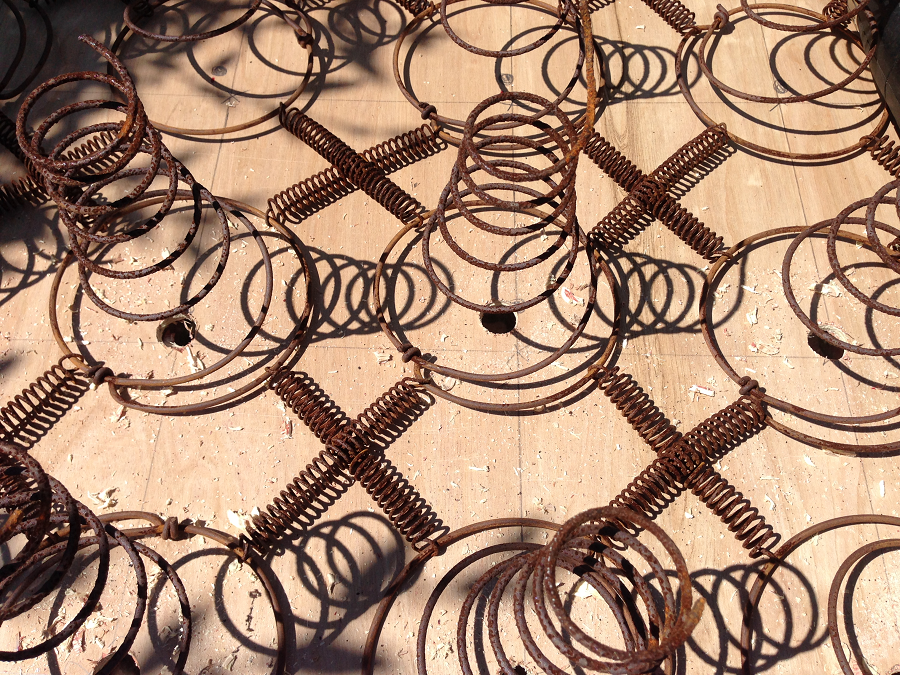
Next time you need to discard your old set of box springs — don't. Salvage those springs, because this craft is stunning.
Don't forget to SHARE if you love this amazing craft!
Bedsprings may not seem that appealing, but with a little DIY passion, they can create something incredible. Just do what Susan did.
First, she went to Home Depot to get a 4x8 lightweight piece of plywood. They'll even cut it for you in the store.
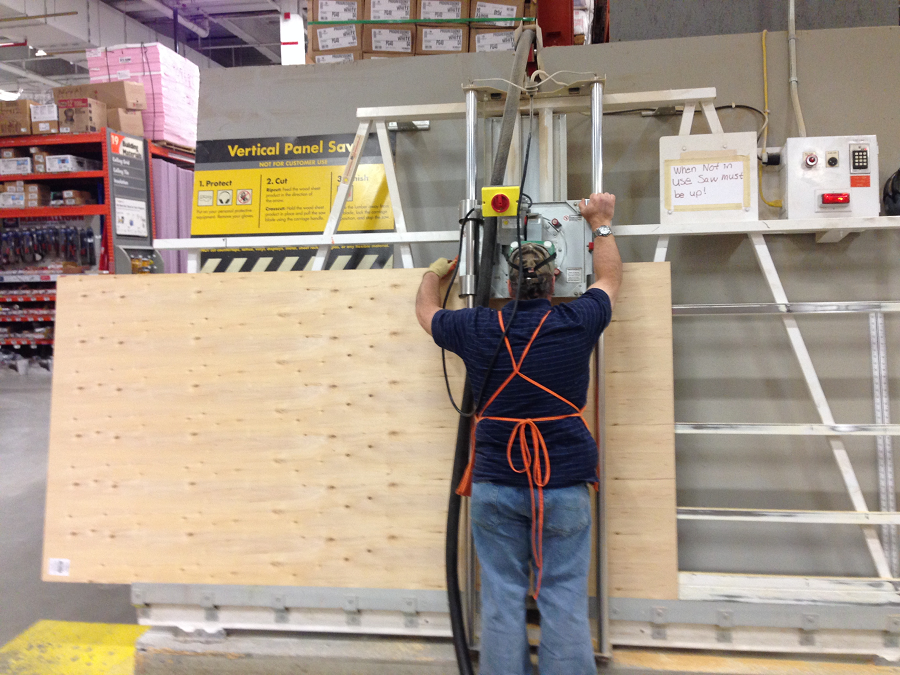
She had the plywood cut to fit the box springs. She also left a two-inch border to frame them.
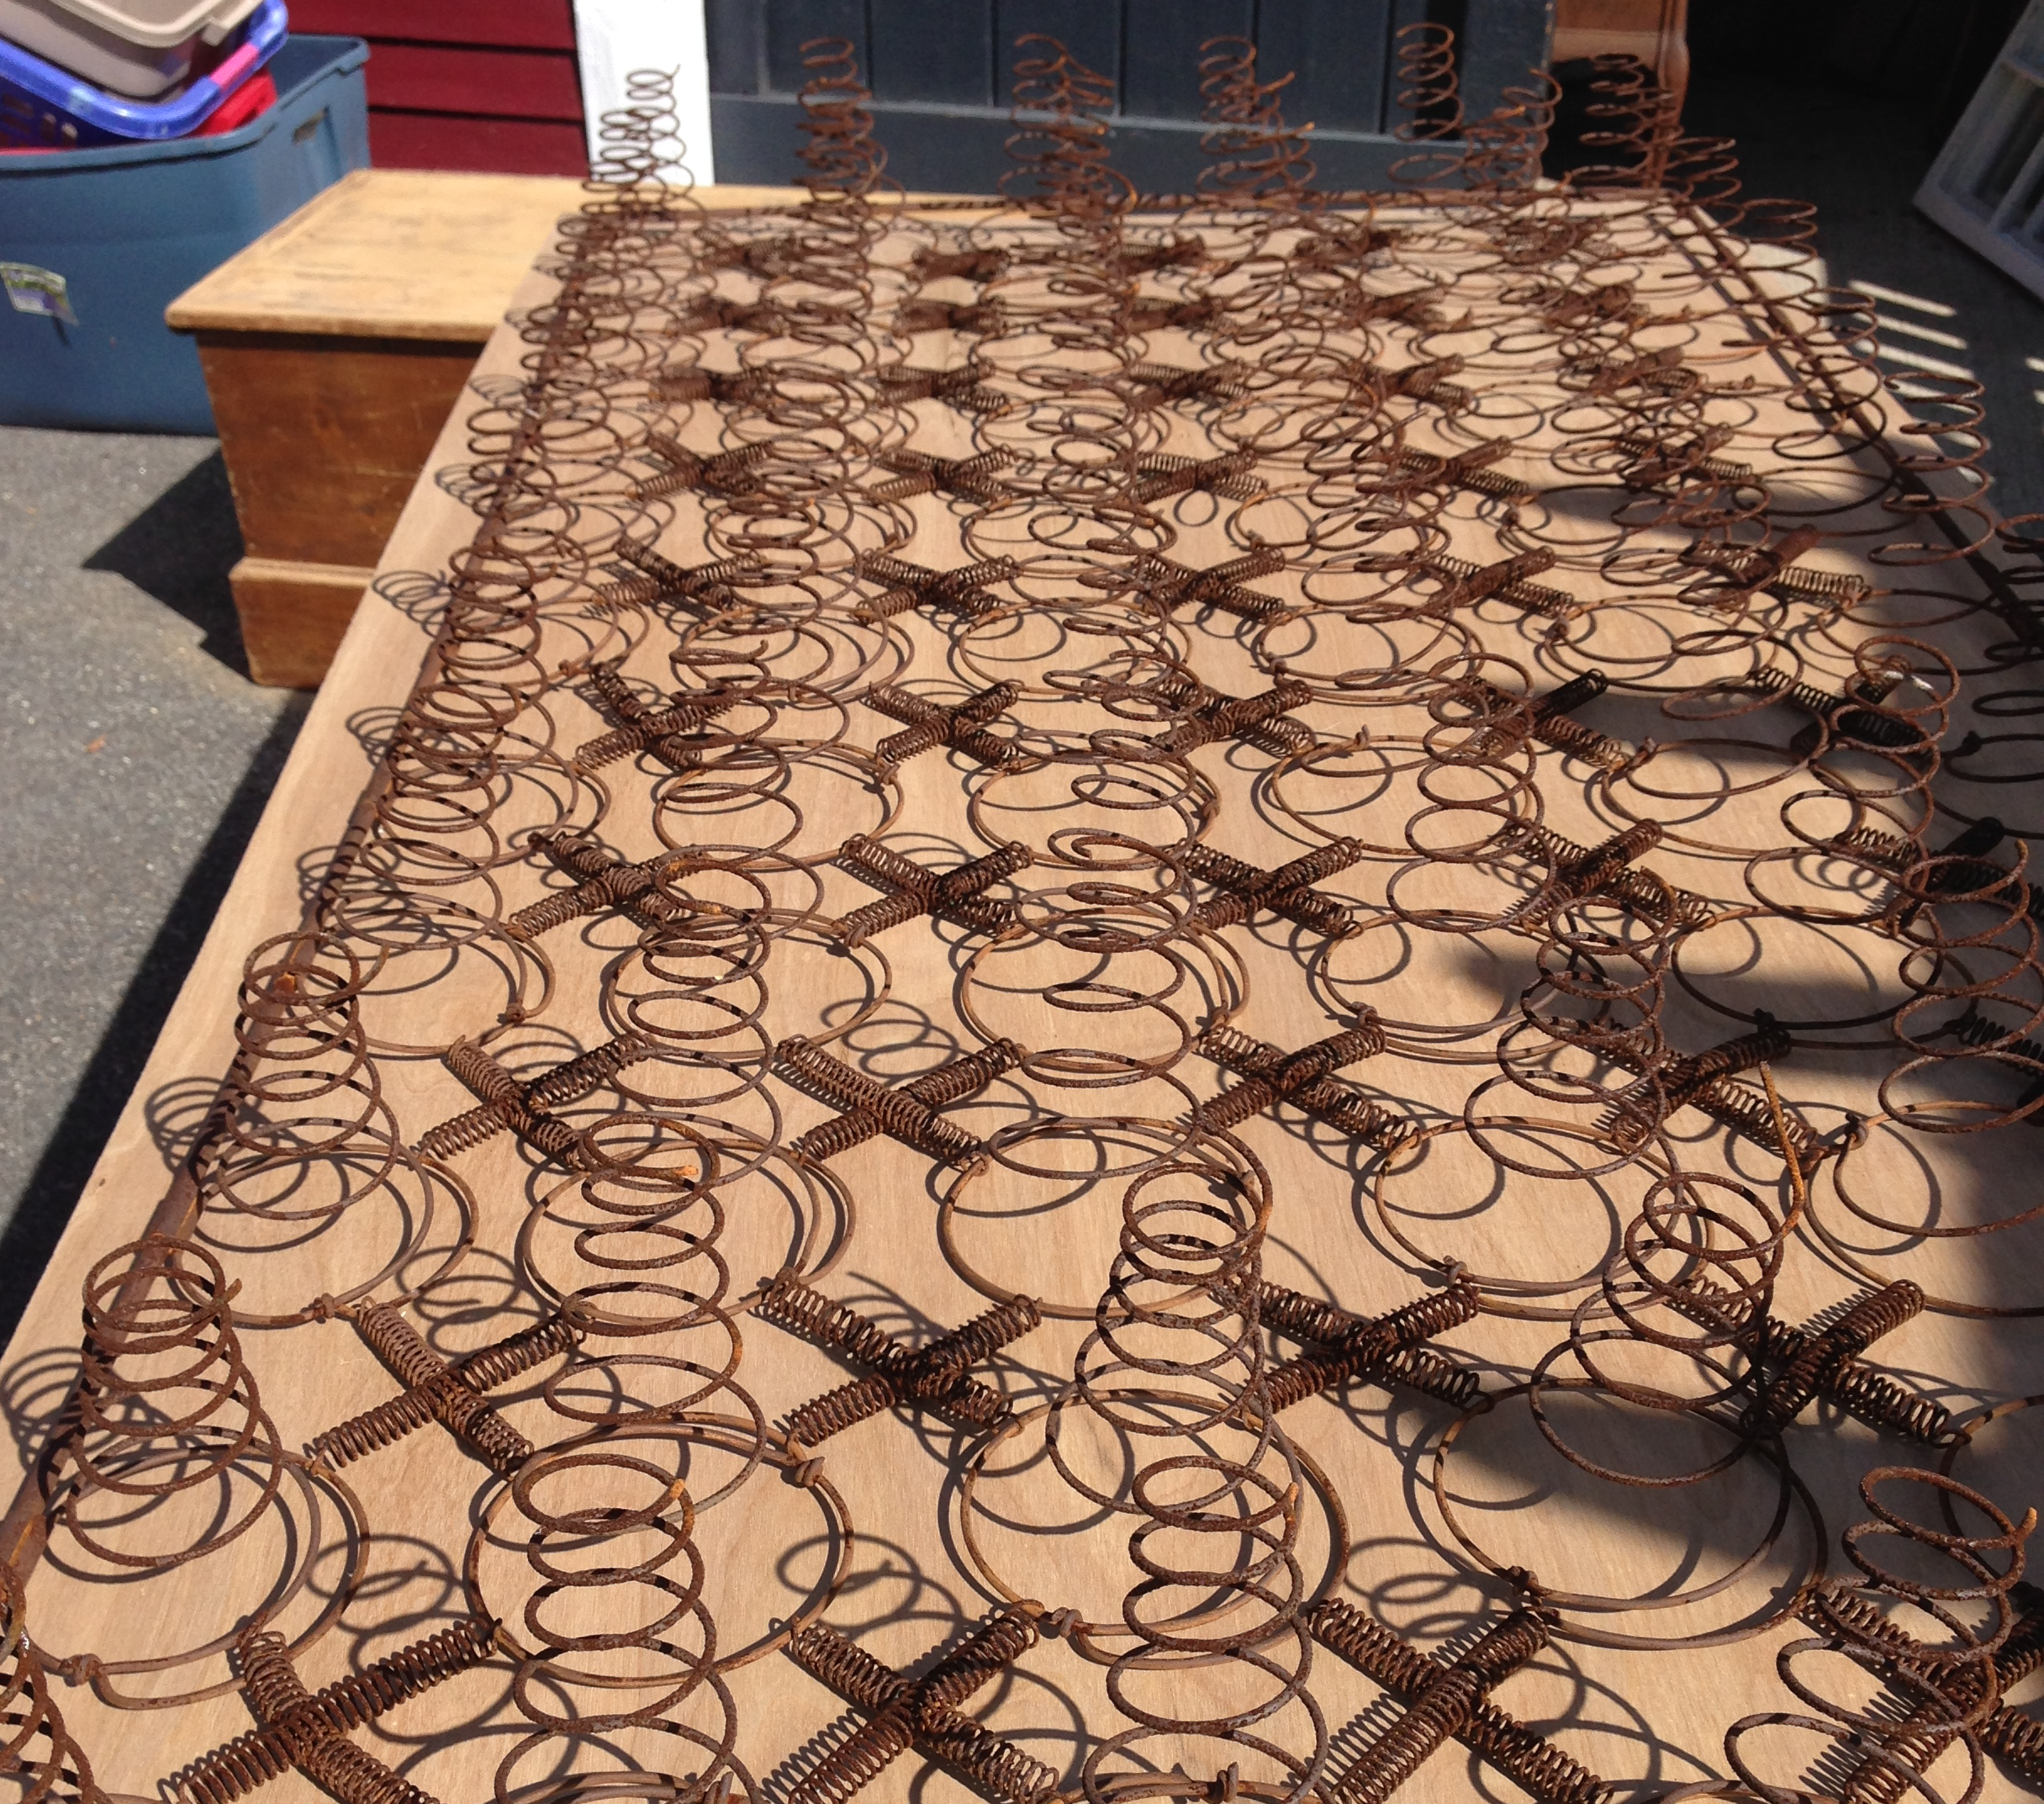
She measured and drilled holes behind the springs. Keep reading to find out what she'll put in there.
After measuring and drilling the holes, she decided to paint the board gray. You can choose any color you want, but she warns against white, as the finished product will seem too bright.
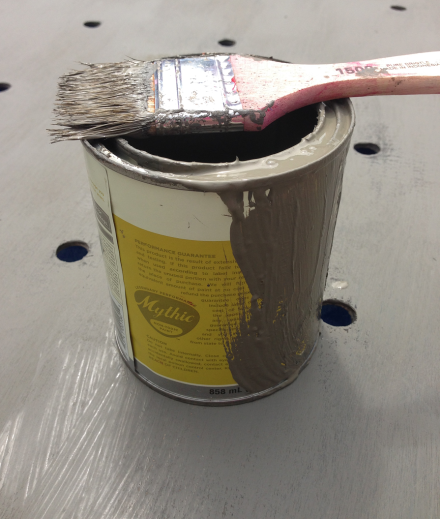
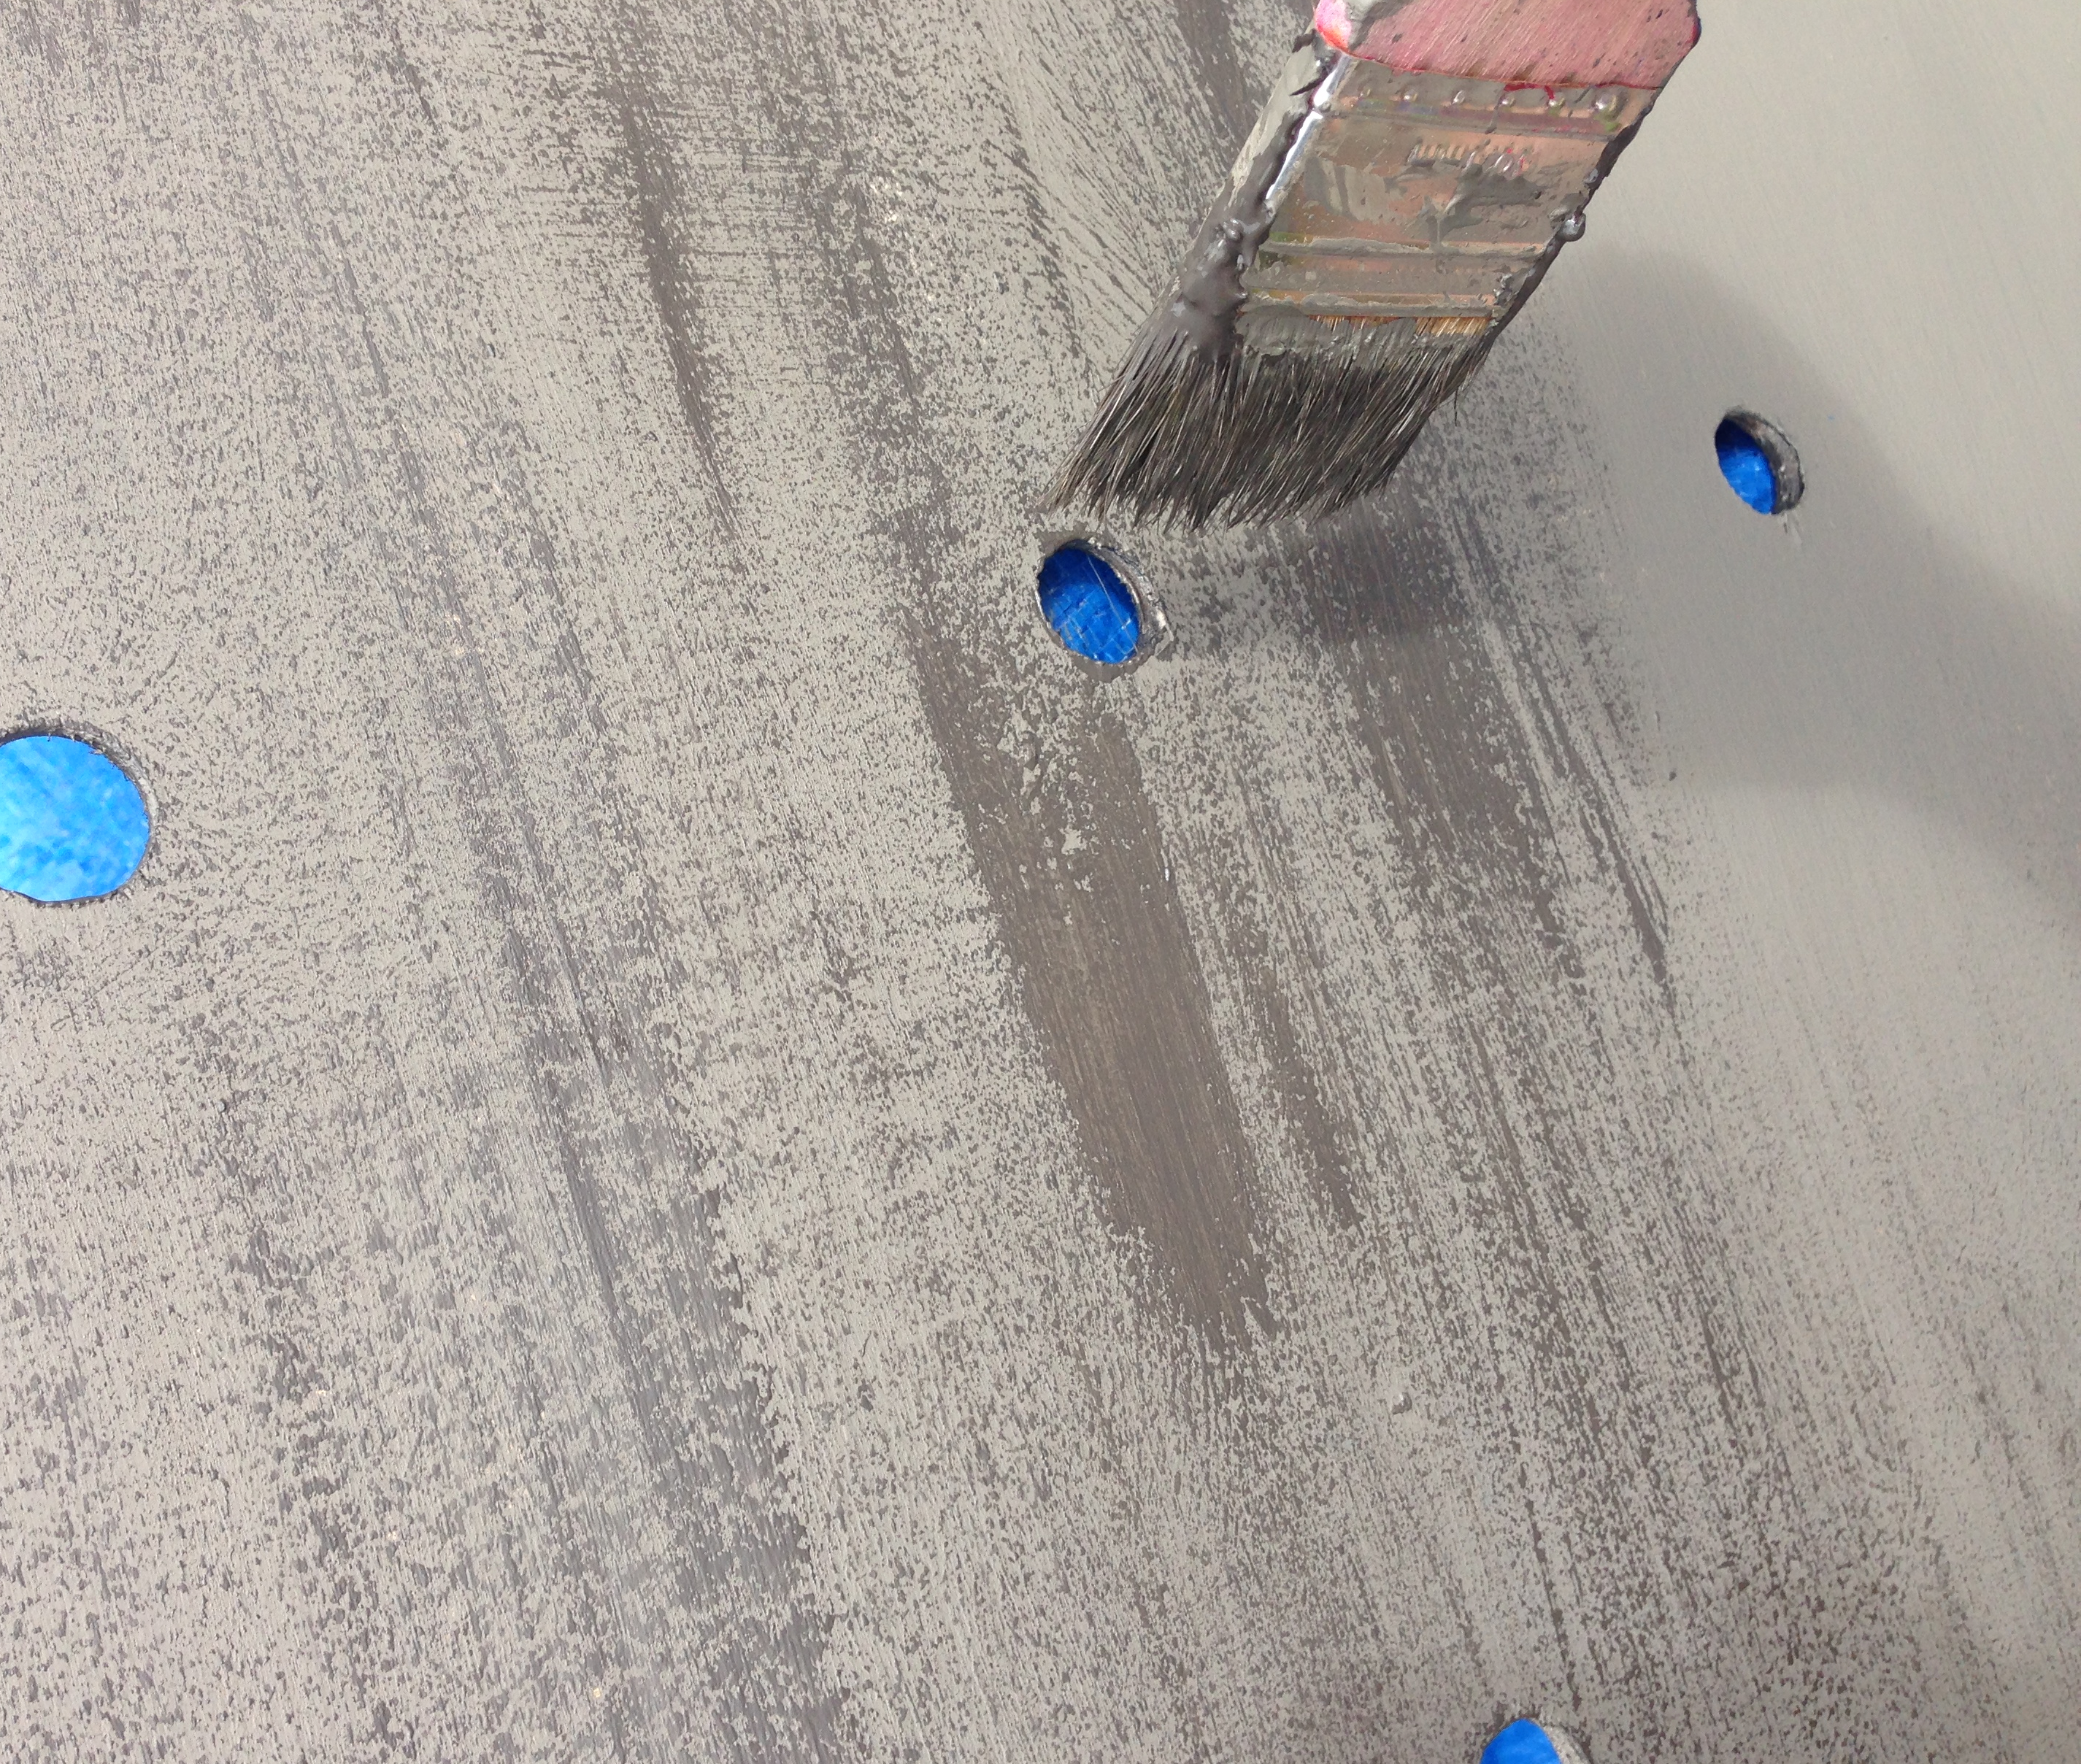
Being the master of making things seem more vintage, she also went over the gray with a darker shade of gray to give the color a more rustic feel.
She used metal clamps to attach the bedsprings to the board, but first she had to paint them.
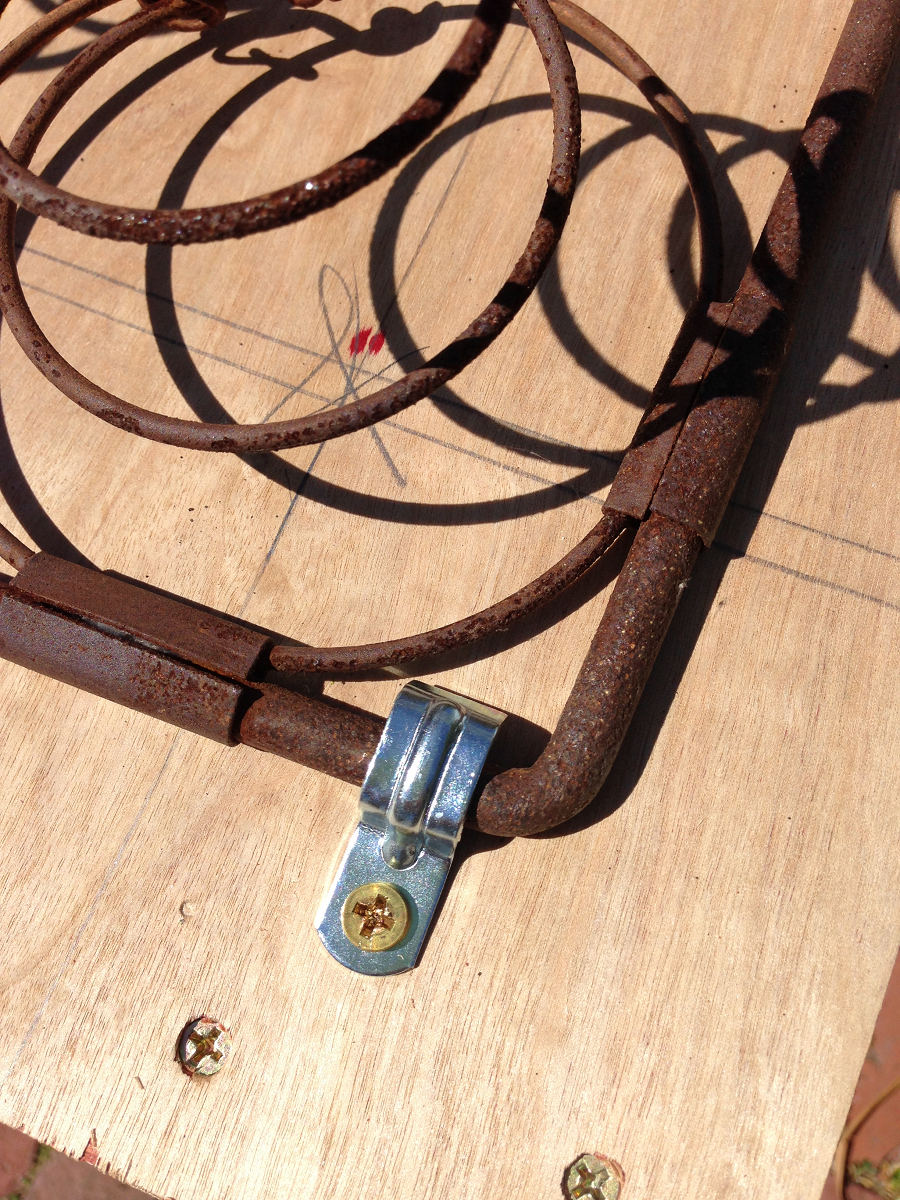
Using copper-colored spray paint, she made sure the clamps matched the rusty bedsprings.
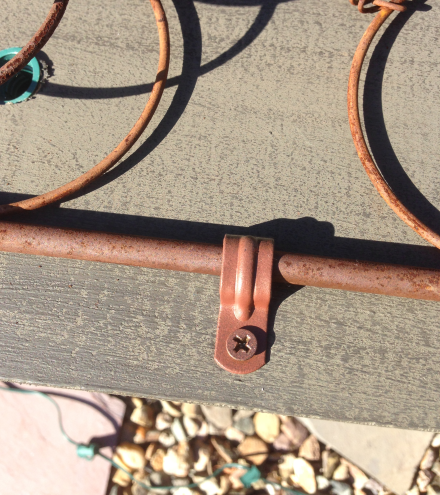
With the bedsprings attached to the board, she was ready to add the part that really makes it pop.
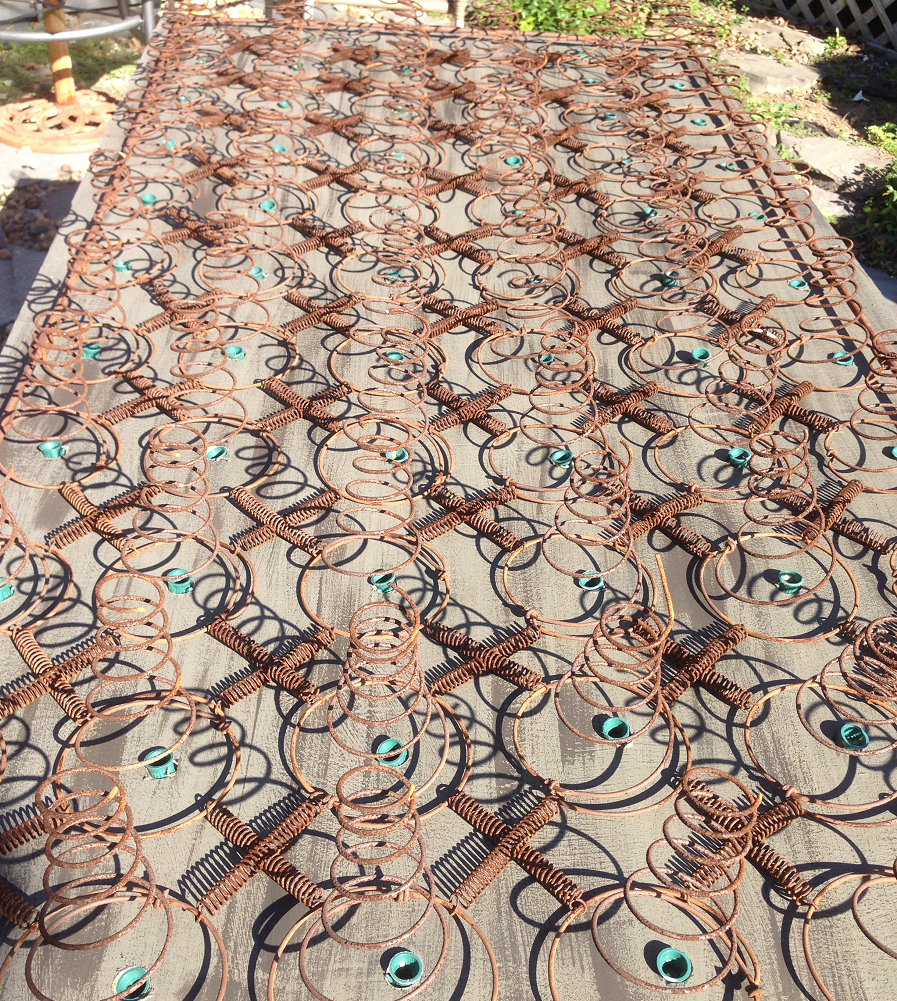
She screwed a string of lights into the holes of the board. Why?
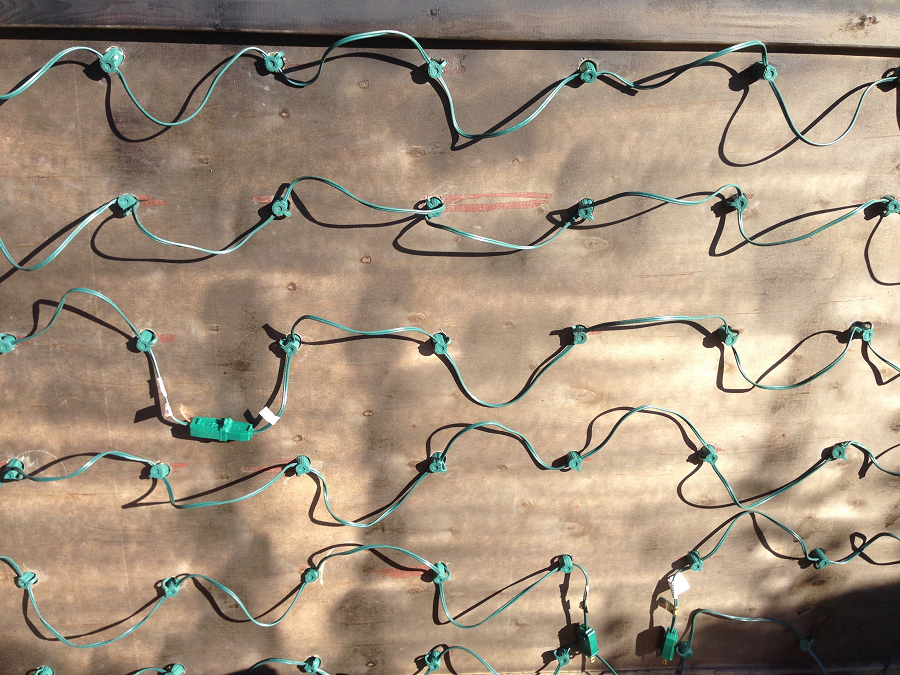
With the springs and lights, she has made her own light up marquee!
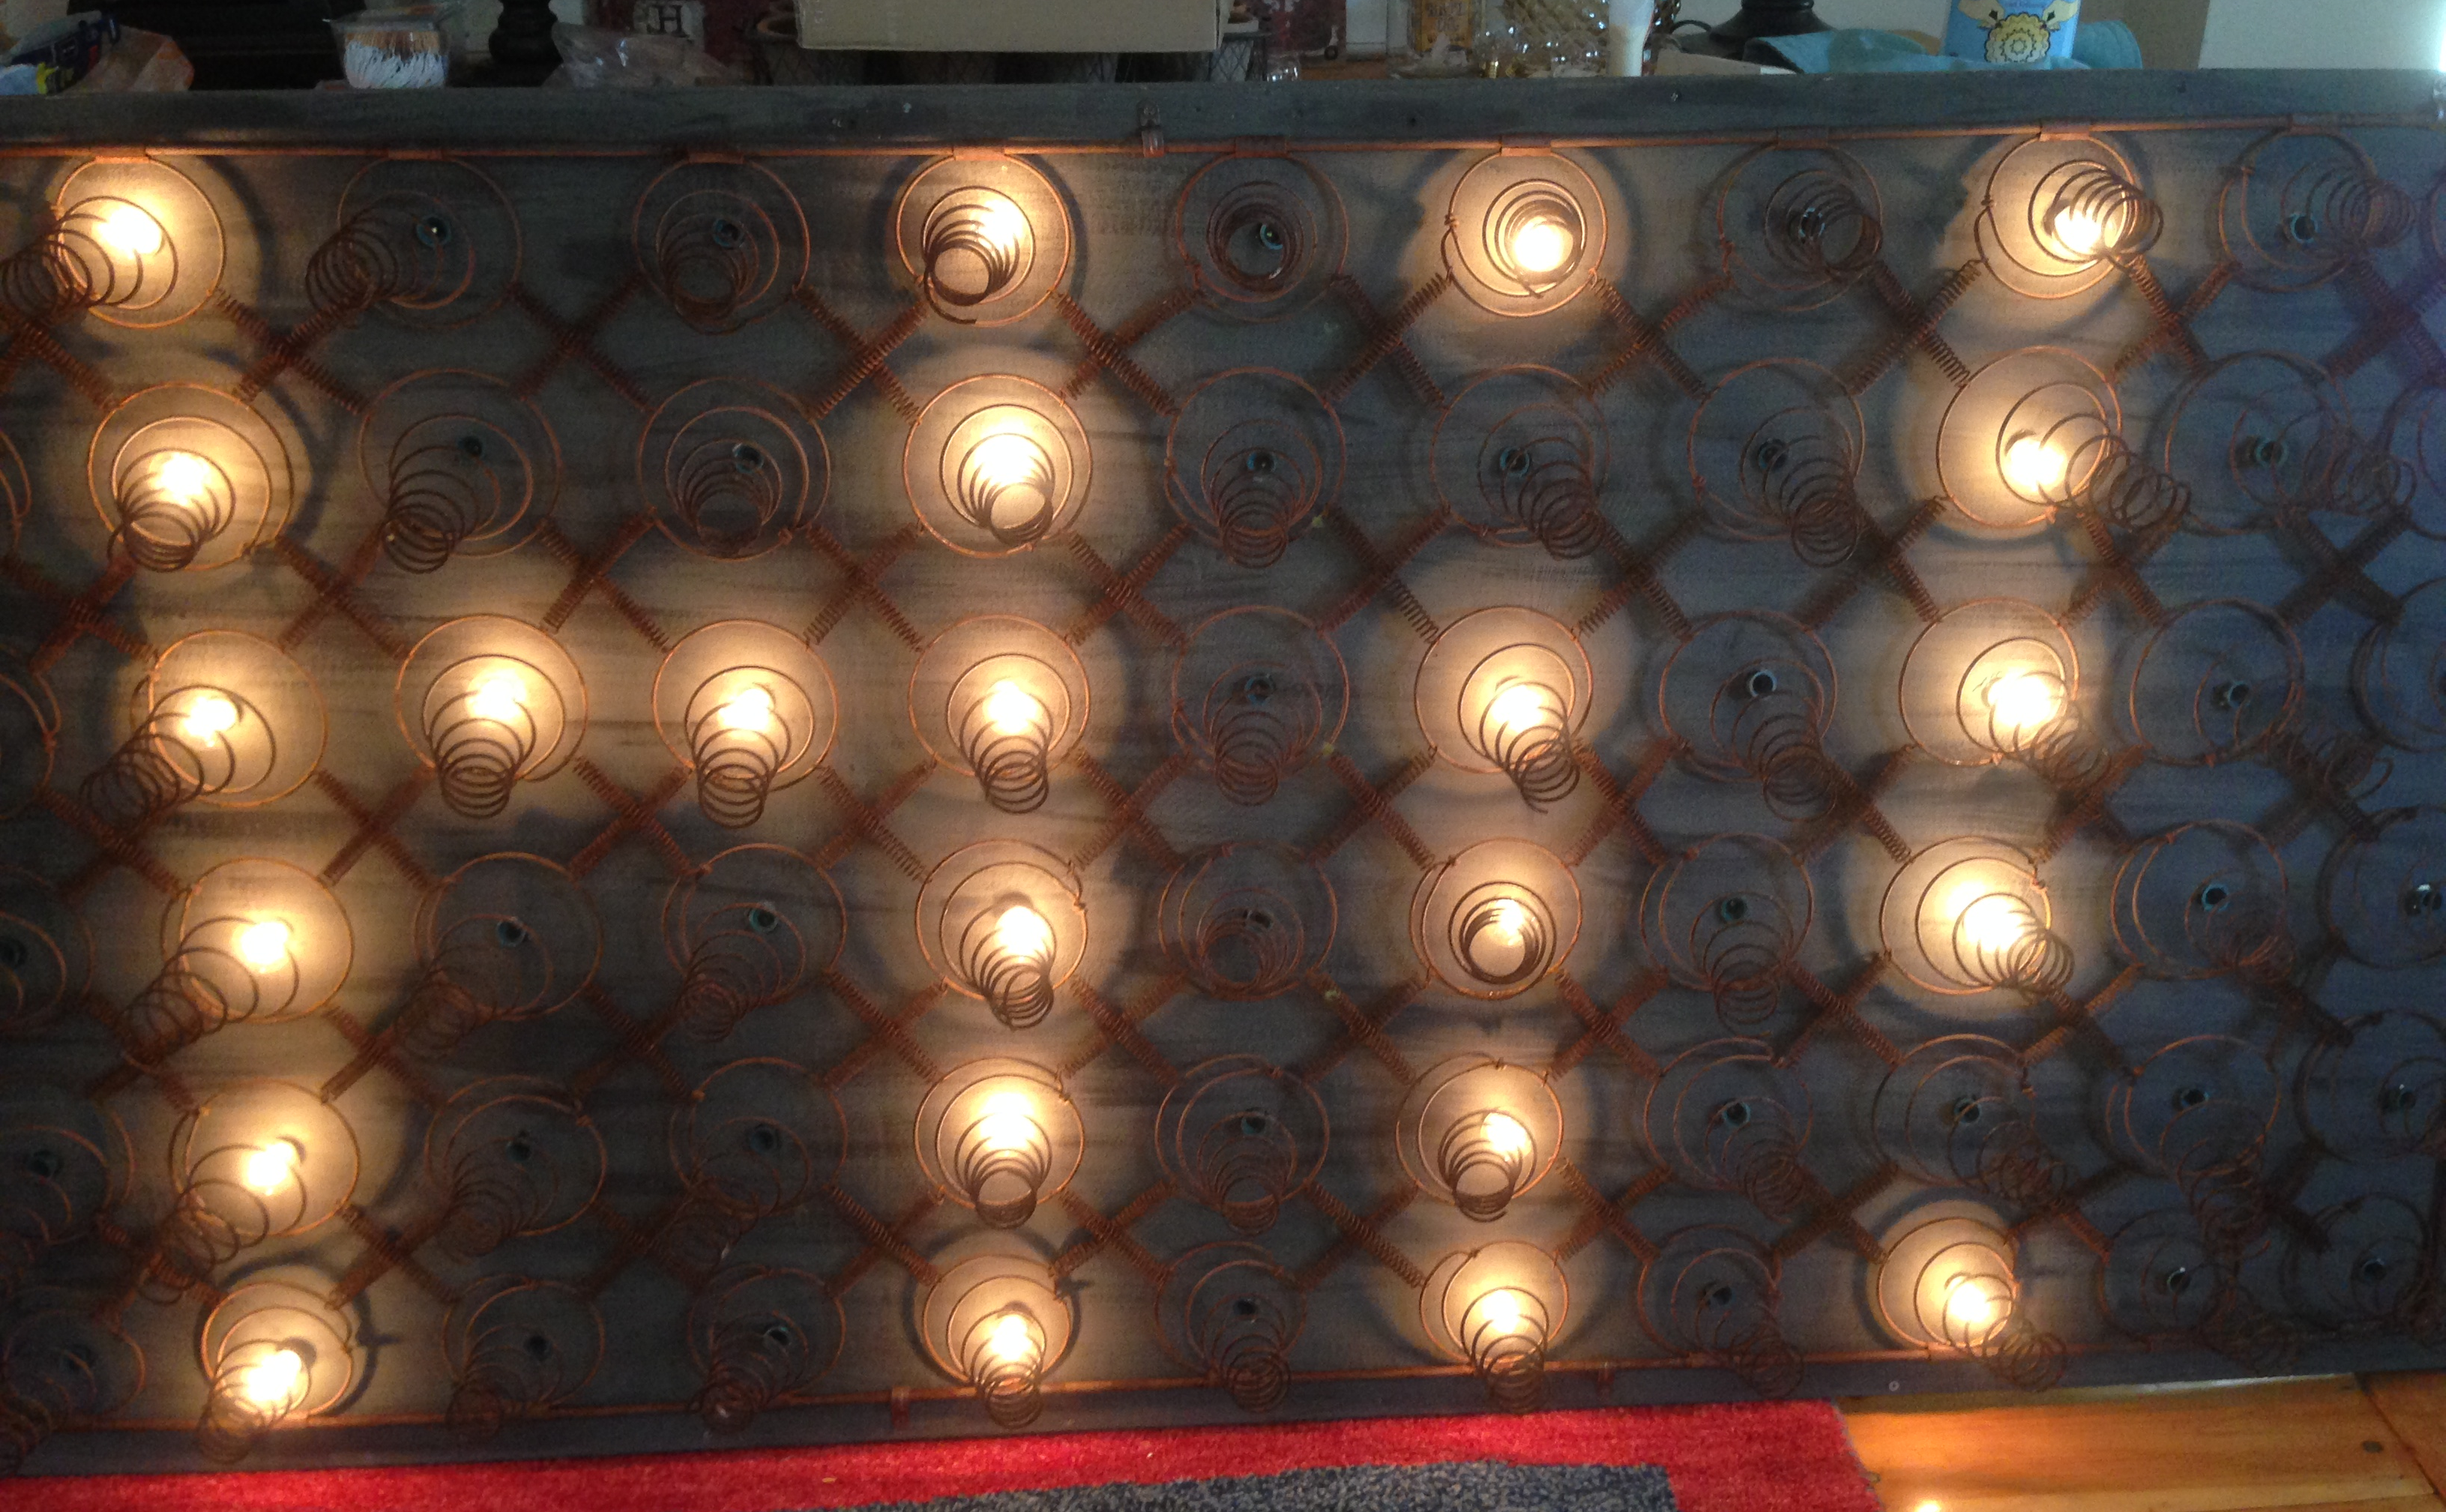
Of course, you can use this trick to spell any message you want, but it will have to be something spelled with block letters.
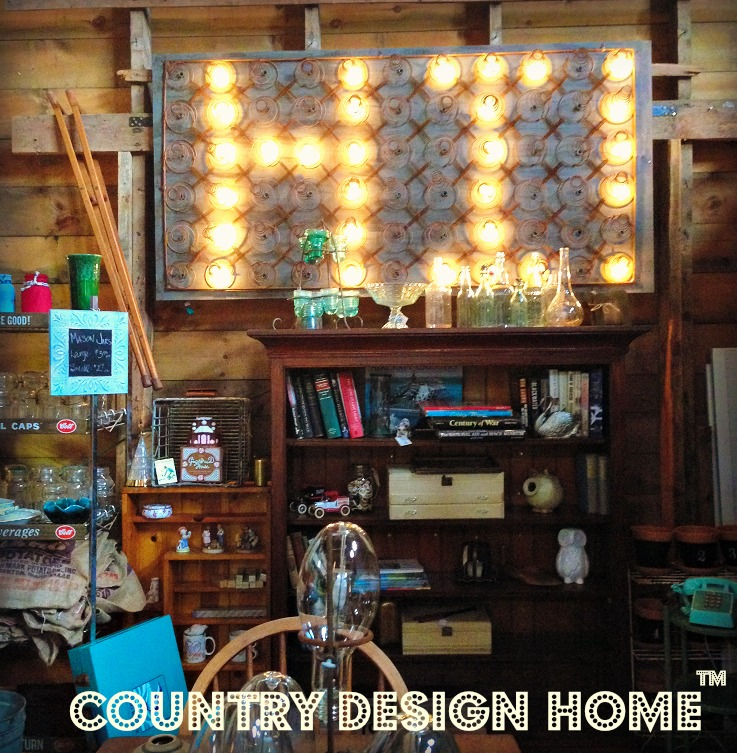
I love this idea. Much better than just throwing away your old box springs, don't you agree?

Please SHARE this amazing DIY project if you think it's as cool as we do!

