Plenty of women have facial hair, and that's completely normal.
Some choose to get rid of said facial hair, which is a perfectly valid thing to do. Others simply don't care about it — to which I say, more power to you!
I was never really bothered by my facial hair. That's largely due to the fact that the hair on my face (like the hair on my arms) is extremely light and fine. It's not extremely noticeable, even to me, unless I'm pressed right up against the mirror with my nose practically on the glass.
But when I heard about dermaplaning, I was intrigued. It's a cosmetic procedure that involves women shaving their face. Some quick research into the subject uncovered that dermaplaning at home is an extremely inexpensive and simple thing to do — and there are a surprising number of benefits to shaving your face.
Earlier this week, I picked up an adorable little pink blade and got to work attacking my peach fuzz.
Scroll through below to see how dermaplaning worked for me!
What Is Dermaplaning?
According to Charlotte's Book, dermaplaning is "a method of exfoliation that consists of using a 10 gauge scalpel to gently scrape off the top layer of dulling dead skin cells in order to reveal a smoother, brighter complexion."
This, of course, is the professional version of the procedure. A 10 gauge scalpel is an extremely sharp tool used by medical and cosmetic professionals, as well as dermatologists.
I was not about to approach my own face wielding something that sharp, so I went with the DIY version of dermaplaning, using a far-less-terrifying facial razor.
Benefits Of Dermaplaning
Dermaplaning is said to be extremely popular in the entertainment industry, particularly among actresses and models who are often photographed.
It helps to eliminate peach fuzz, which causes heavy makeup to appear cakey and extremely noticeable.
Removing this fine hair and simultaneously removing the outermost layer of dead skin cells leaves a better (and smoother) "blank canvas" for skin-care products and moisturizers to sink in as well.
Dermaplaning is also good for most skin types, except for those with cystic acne. It is also virtually pain-free (assuming you get it done by a professional or are confident in your ability to not slice yourself the same way you might shaving your legs).
Dermaplaning Side Effects
Proffer Surgical Associates lists several potential side effects of both professional and DIY dermaplaning, all of which are minor and temporary.
The procedure is considered low-risk and is non-invasive. Redness immediately following and some dryness of the areas treated might occur. Moisturizing and applying sunscreen to protect the new baby skin beneath the scraped-off layer is recommended.
How To Dermaplane At Home
Dermaplaning at home is something that can cost a lot or a little, depending on the equipment you want to use. Once you have your blade of choice, it doesn't require additional products or special purchases.
There are pricey blade kits, like the Dermaflash facial exfoliating device set for $189, or the Stacked Skincare Dermaplaning Tool available for $75.
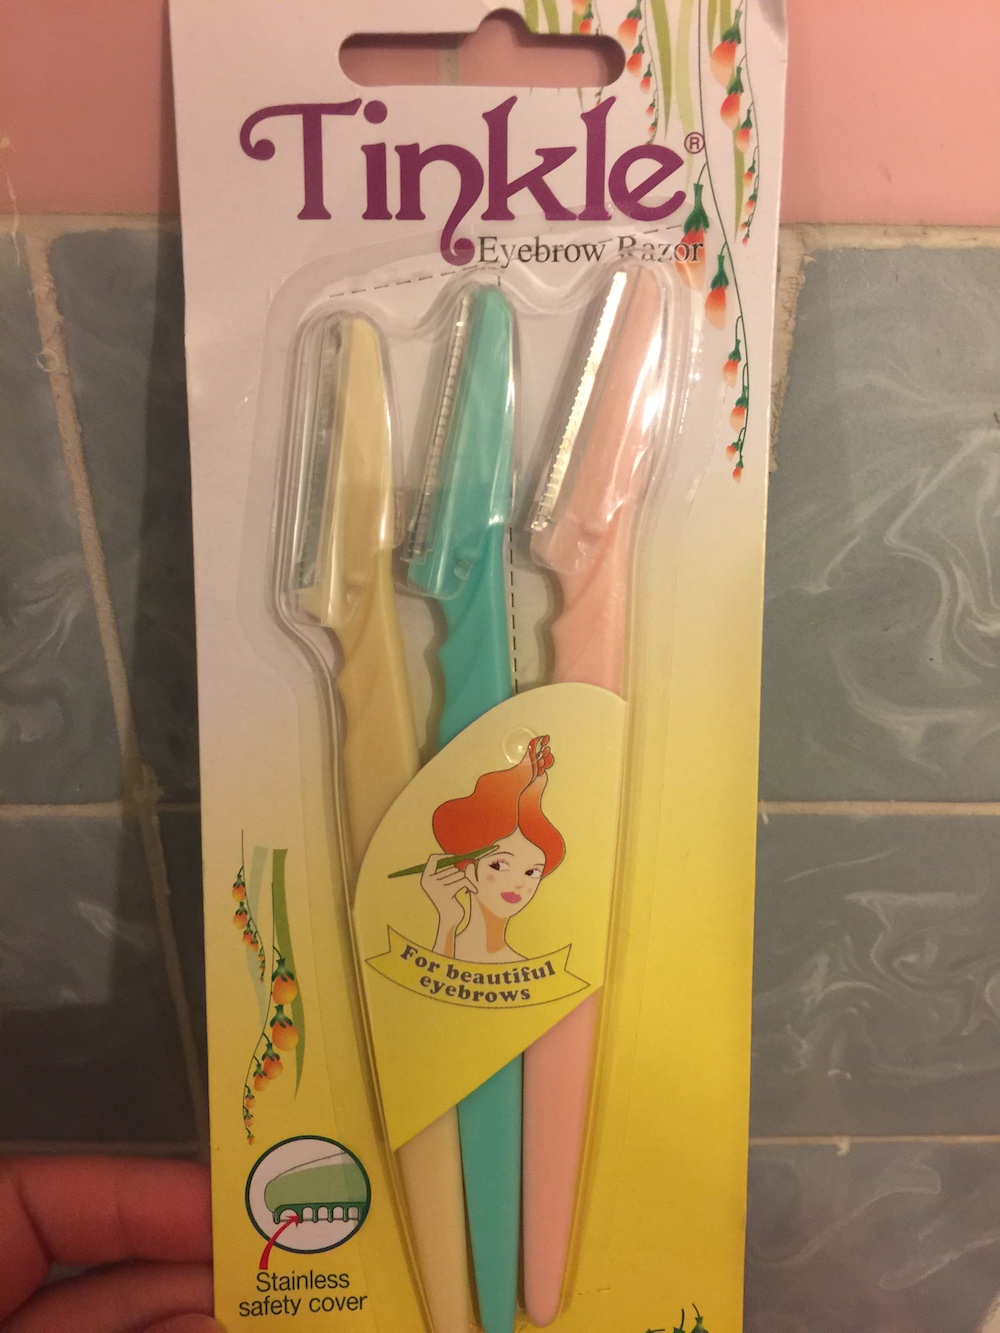
On the other end of the spectrum, there are simple blades sold in many stores and marketed as "Eyebrow Shapers." Technically, these blades are meant for hair removal only around the brows, but plenty of people use them for DIY dermaplaning at home as well.
It's recommended to thoroughly cleanse your skin and dry it prior to dermaplaning. It's very important for your skin to be dry, in order for the blade to catch it properly. Some people apply toner before as well. But since toner is typically drying for me, I opted against that and just went bare-faced.
My Skin Before Dermaplaning
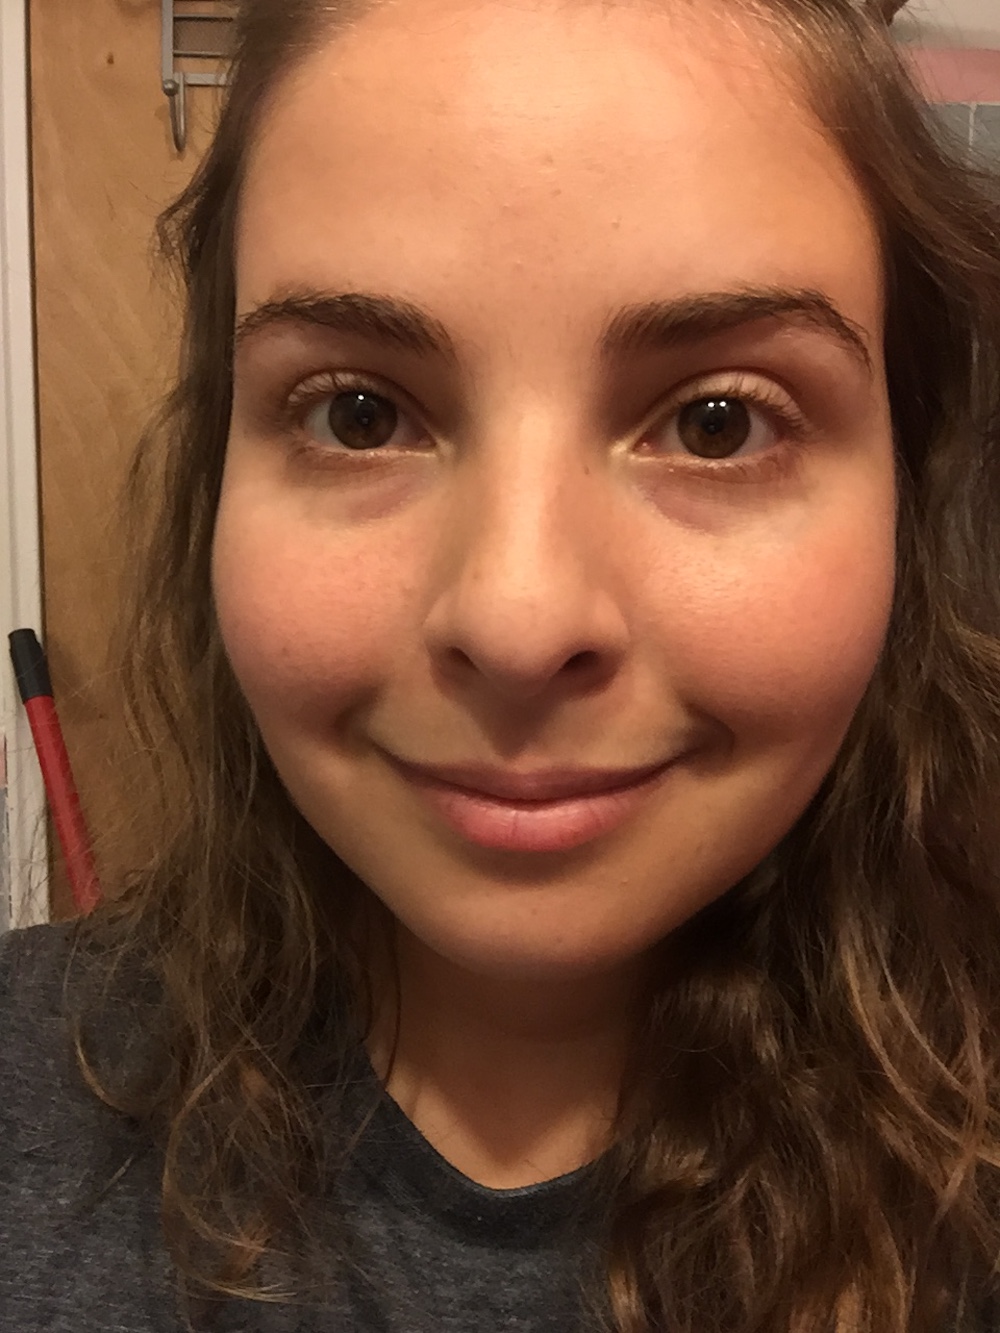
My skin doesn't require a ton of upkeep (see also: my experience with the "Caveman Regimen"), and there are some days I go completely makeup-free. But when I did wear makeup, I was running into a problem.
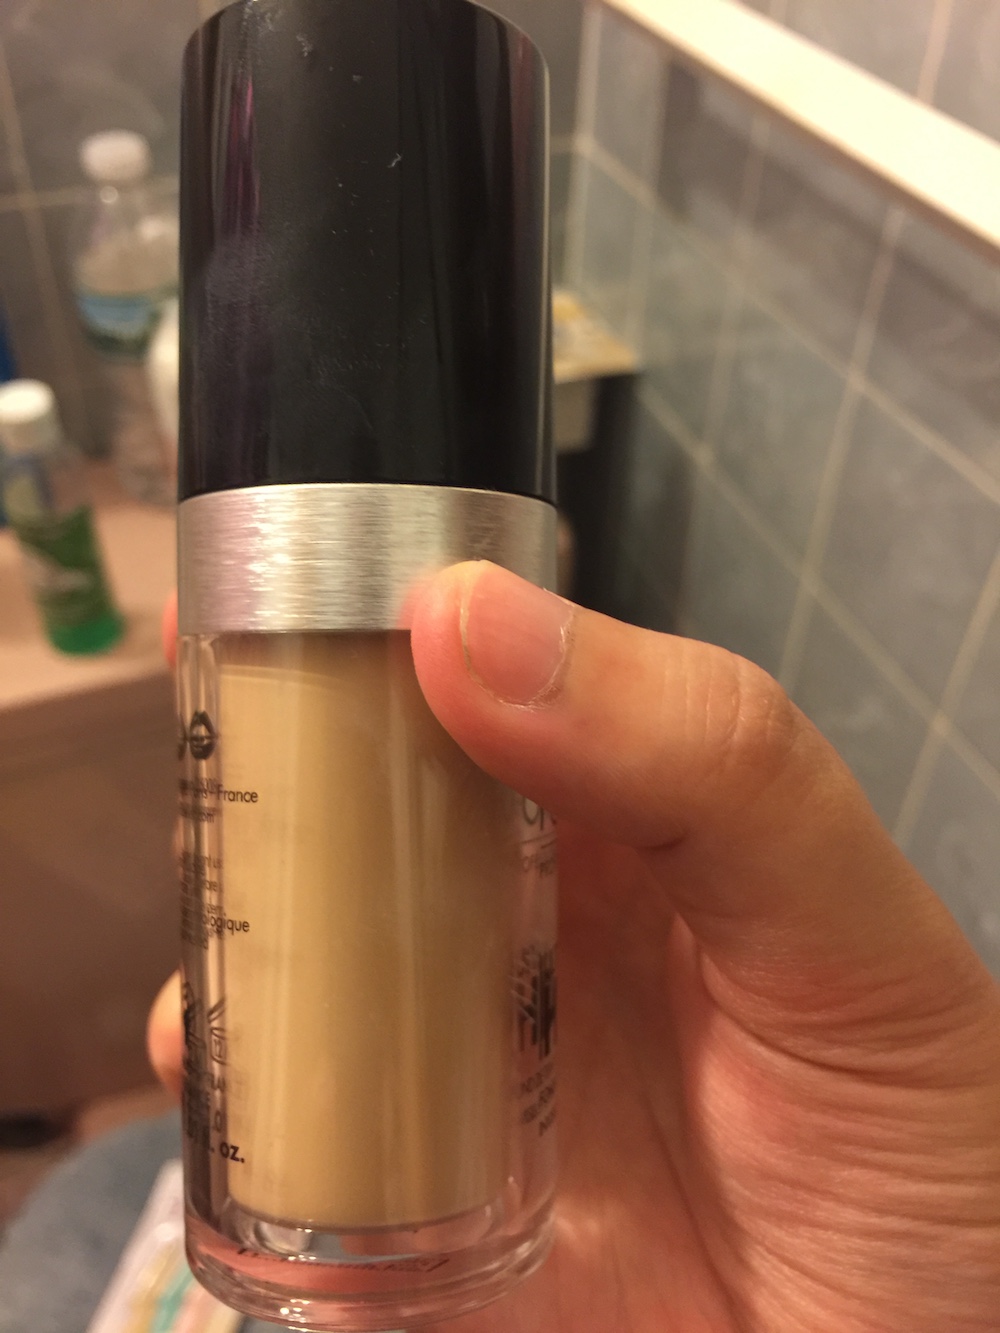
No matter what foundations I tried, I looked cakey as heck — particularly around my peach fuzz mustache area.
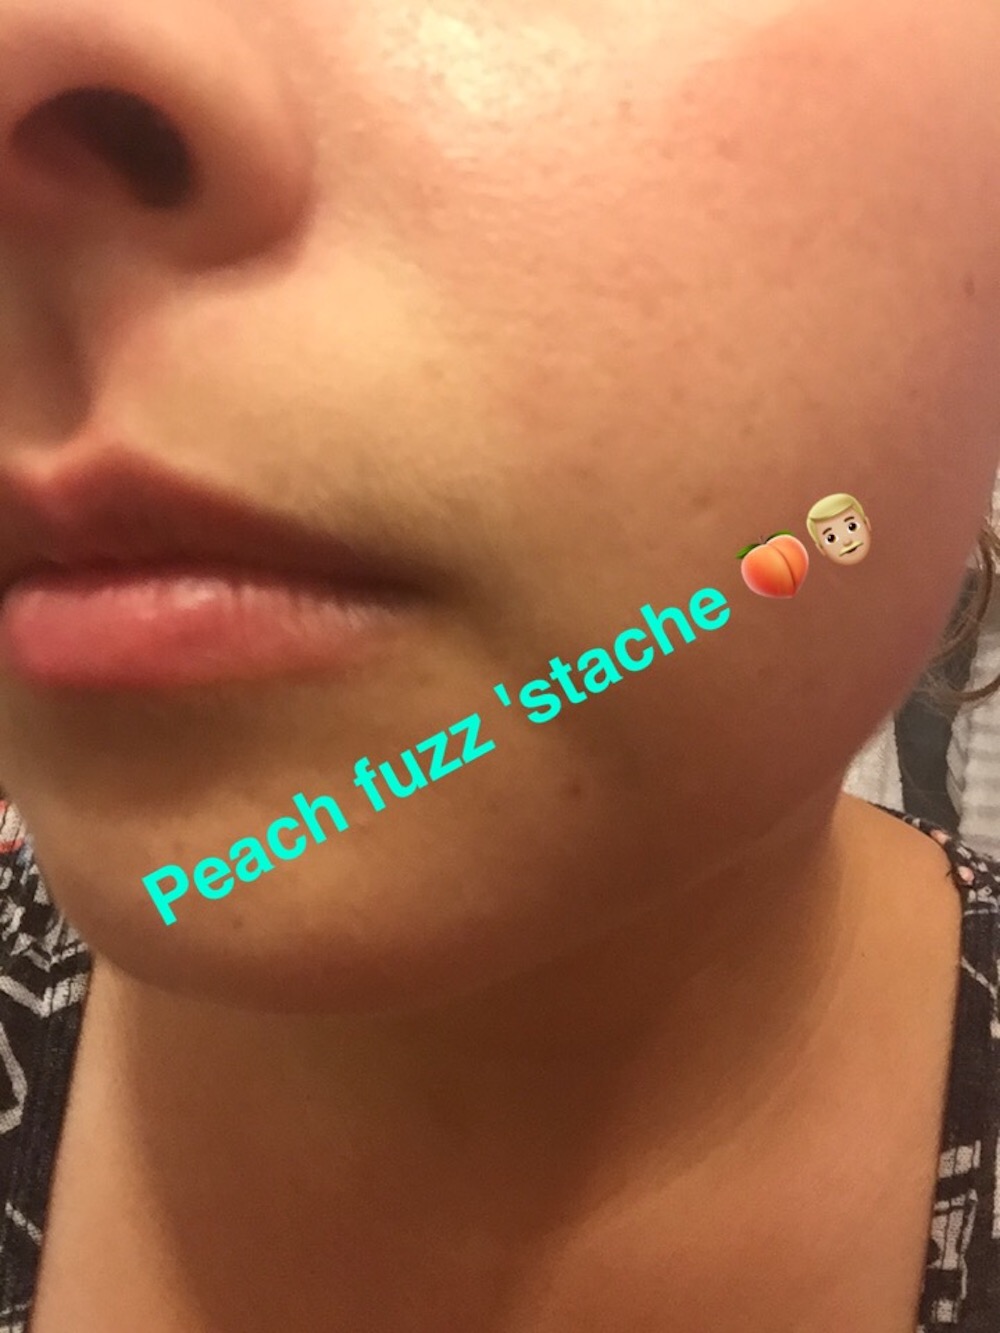
Liquid, powder, even prepping either option with primer — nothing seemed to help.
Any products I tried seemed to surround each individual peach fuzz hair, emphasizing them and making them (and the fact that I'm wearing makeup) extremely noticeable.
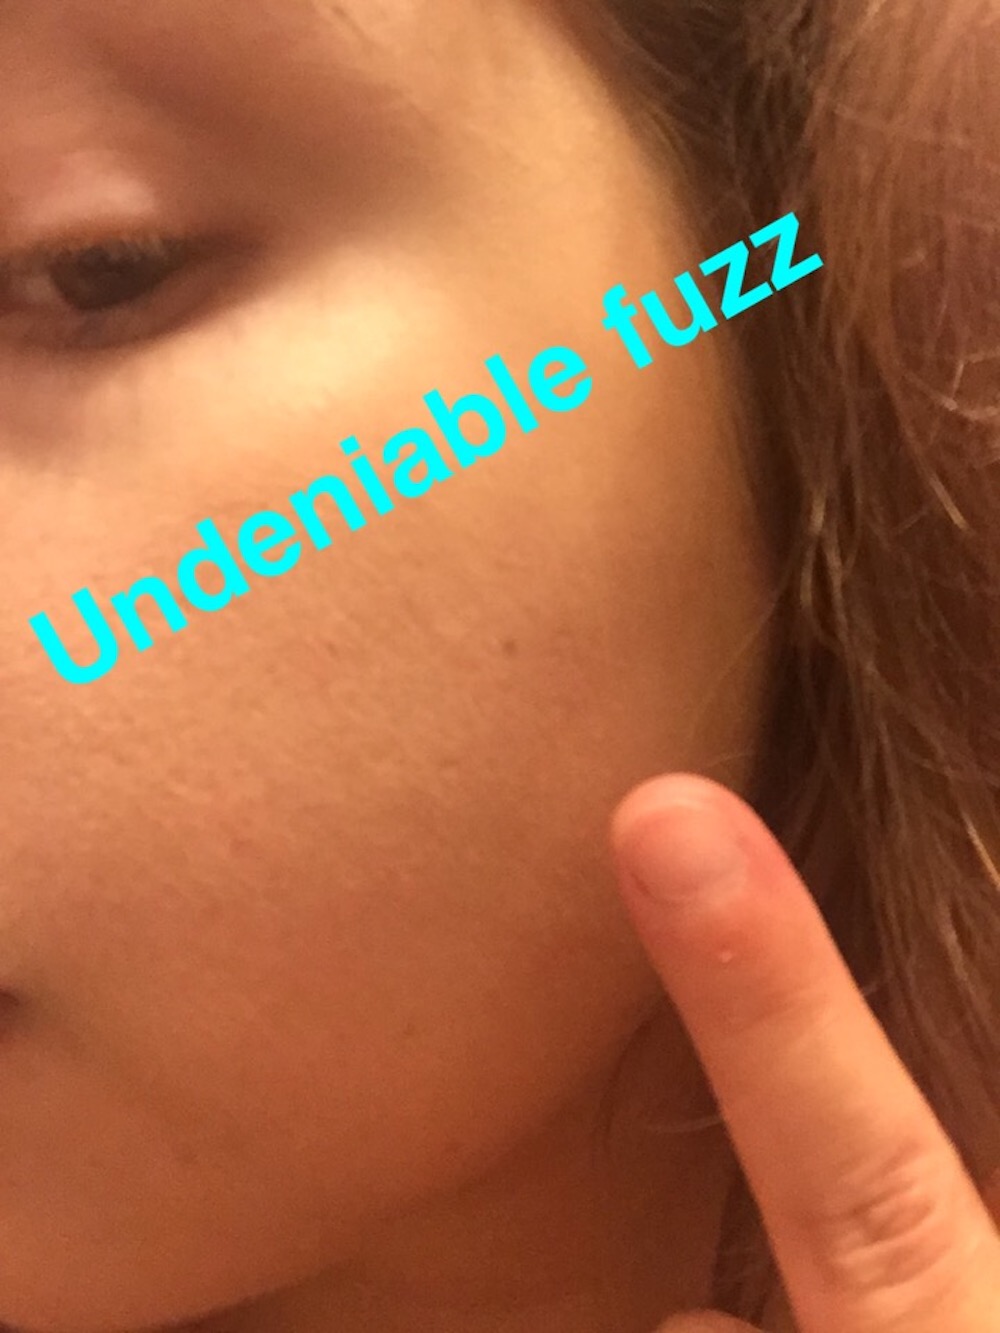
And trust me — it's not for lack of proper blending!
I've tried applying with my fingers, with a beauty blender (both dry and damp), and with a makeup brush. The foundation would inevitably catch and coat my hairs, making it look fuzzy and obvious.
I once went into a professional makeup store where a sales associate loudly pointed out my peach fuzz/foundation incompatibility, which was definitely a less-than-pleasant experience. I walked out of there with a brand-new primer — which, of course, didn't actually help with the foundation application.
That's why I thought I hit the jackpot when I read about dermaplaning. A beauty procedure geared directly towards the one major skin problem I have? Sold.
First Impressions Of Dermaplaning
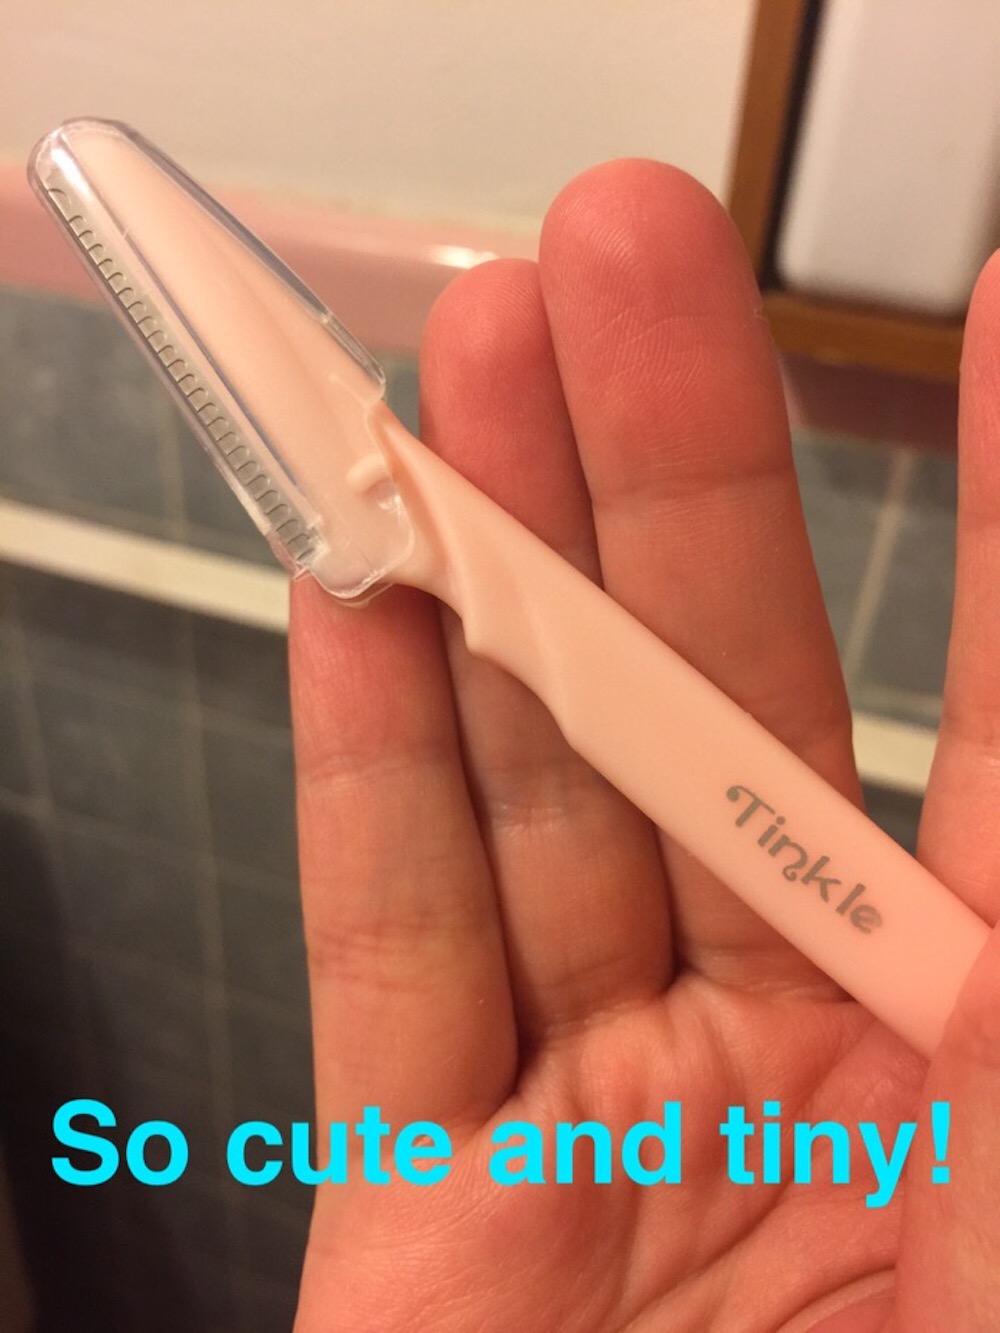
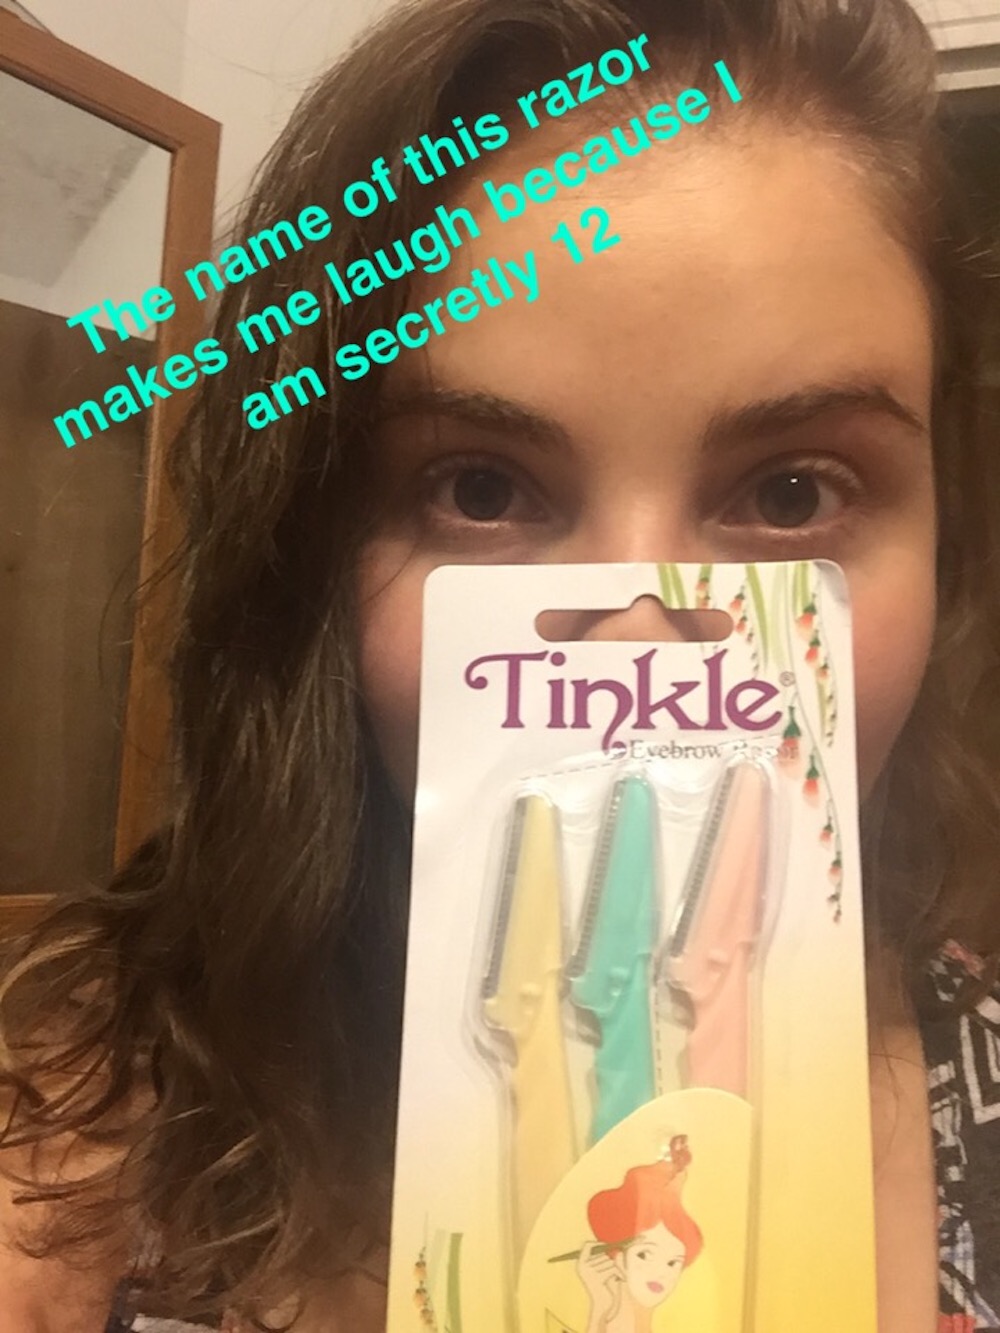
The package of razors I received, from a brand called "Tinkle," came with three blades. Each was a different pastel color with a short blade and a long handle for easy holding. The pack of three razors was less than $5 on Amazon.
There was also a blade protector, which was a little bit difficult to remove.
I chose the pink razor for my first dermaplaning experience.
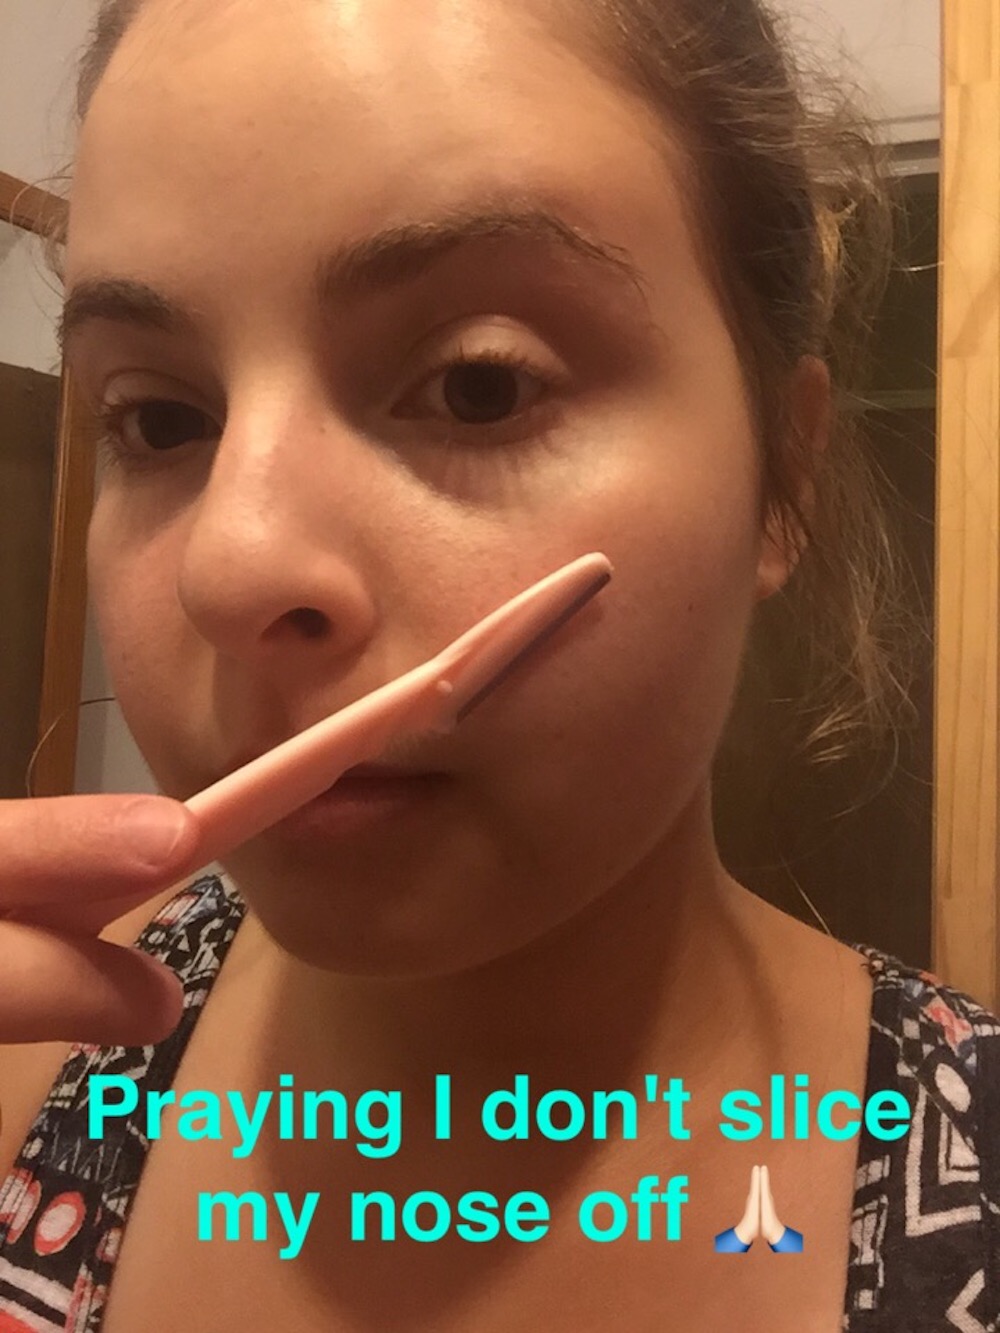
I was a little bit wary about dragging the blade across my face. It did feel like I was manually scraping off skin.
I would compare it to shaving my legs, but this actually felt rougher — probably because my facial skin was bone dry. In retrospect, I would try this again with a layer moisturizer or a creamy face wash before shaving.
But one thing I can't deny is that this thing actually worked — it removed more hair than I thought could possibly have been on my face.
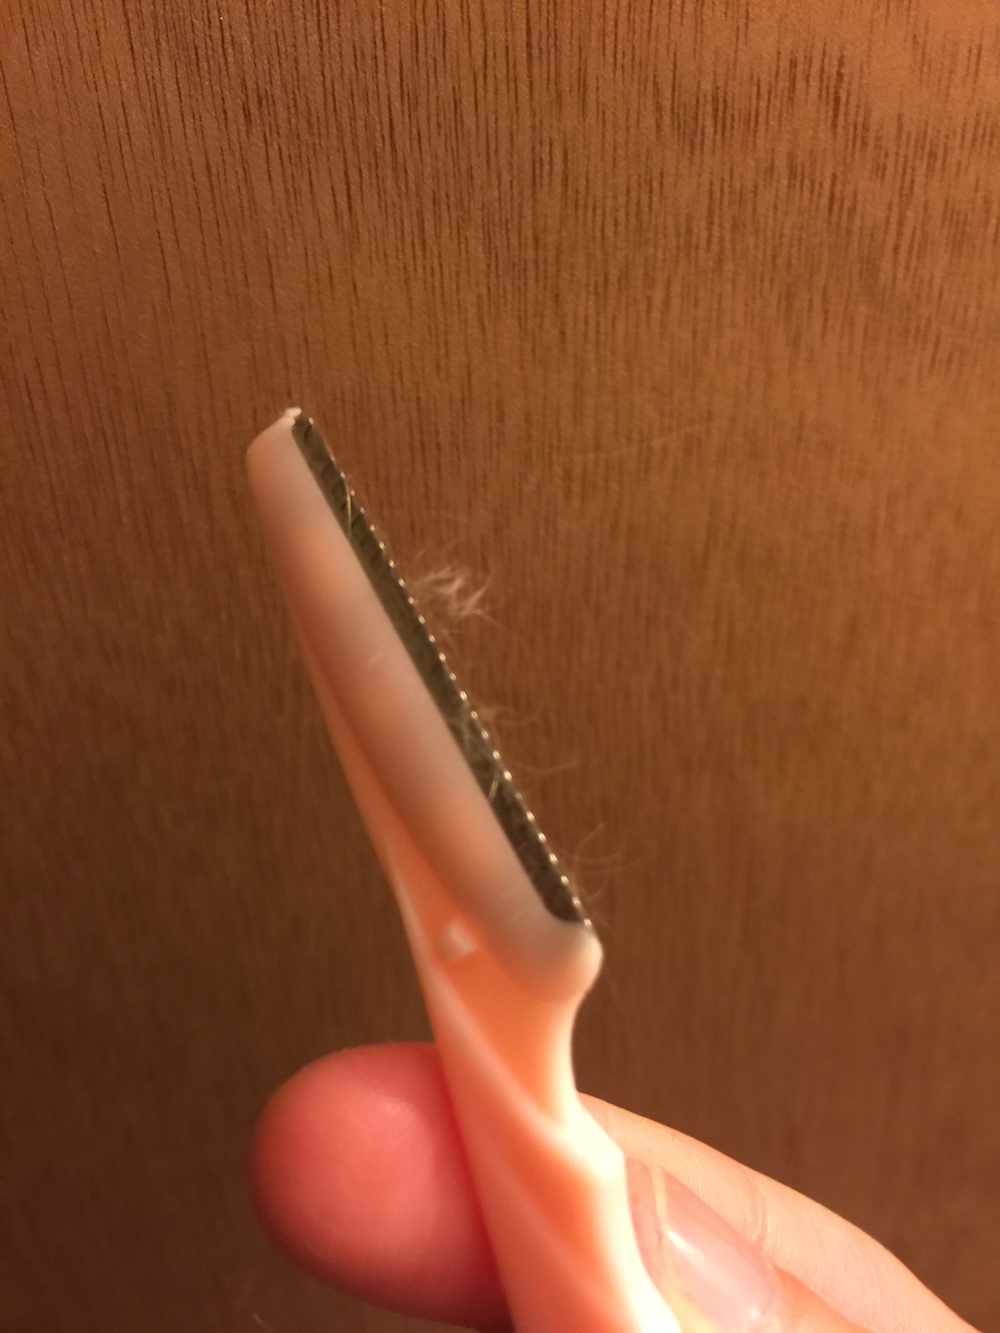
Seriously — so much peach fuzz came off with just a few strokes of that tiny blade. It was extremely simple, and I didn't slice myself or come close to it once.
Ironically, the only issue I had was with my eyebrows. My brows are naturally pretty thick and don't have much of a natural arch. The blade didn't feel precise enough to try any actual brow shaping, so I just cleaned up the between-brows area and the sides a bit.
Dermaplaning "Before" And "After"
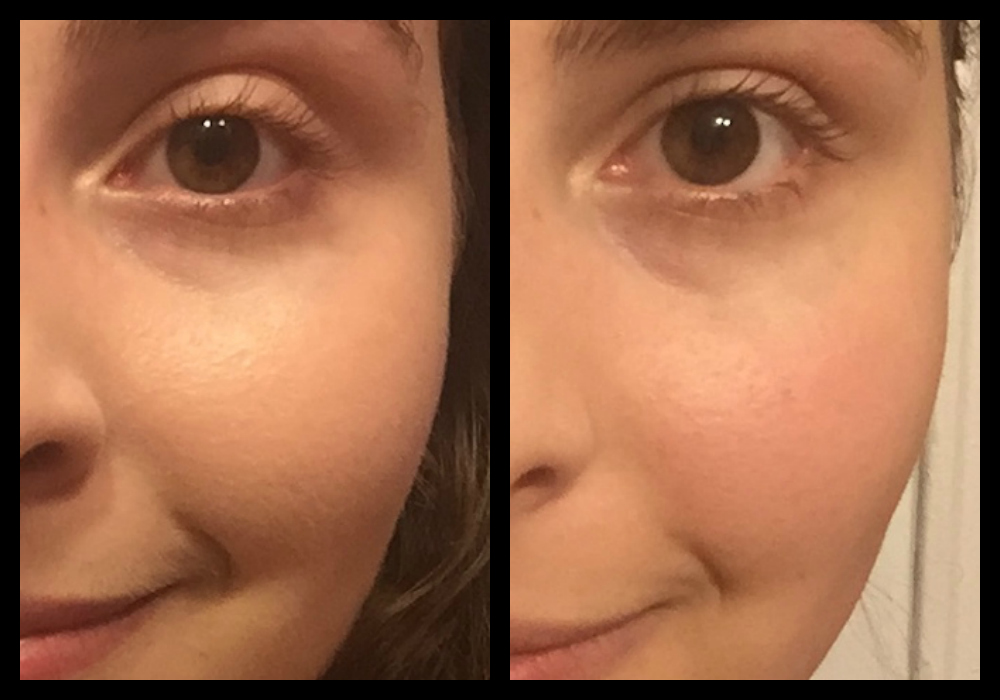
Because I specifically tried dermaplaning to improve the look of my foundation, I decided to use how my foundation looked before and after the procedure to determine whether it was a success or a failure.
As you can see in the "before" and "after" photos above, my foundation went on much smoother post-dermaplaning.
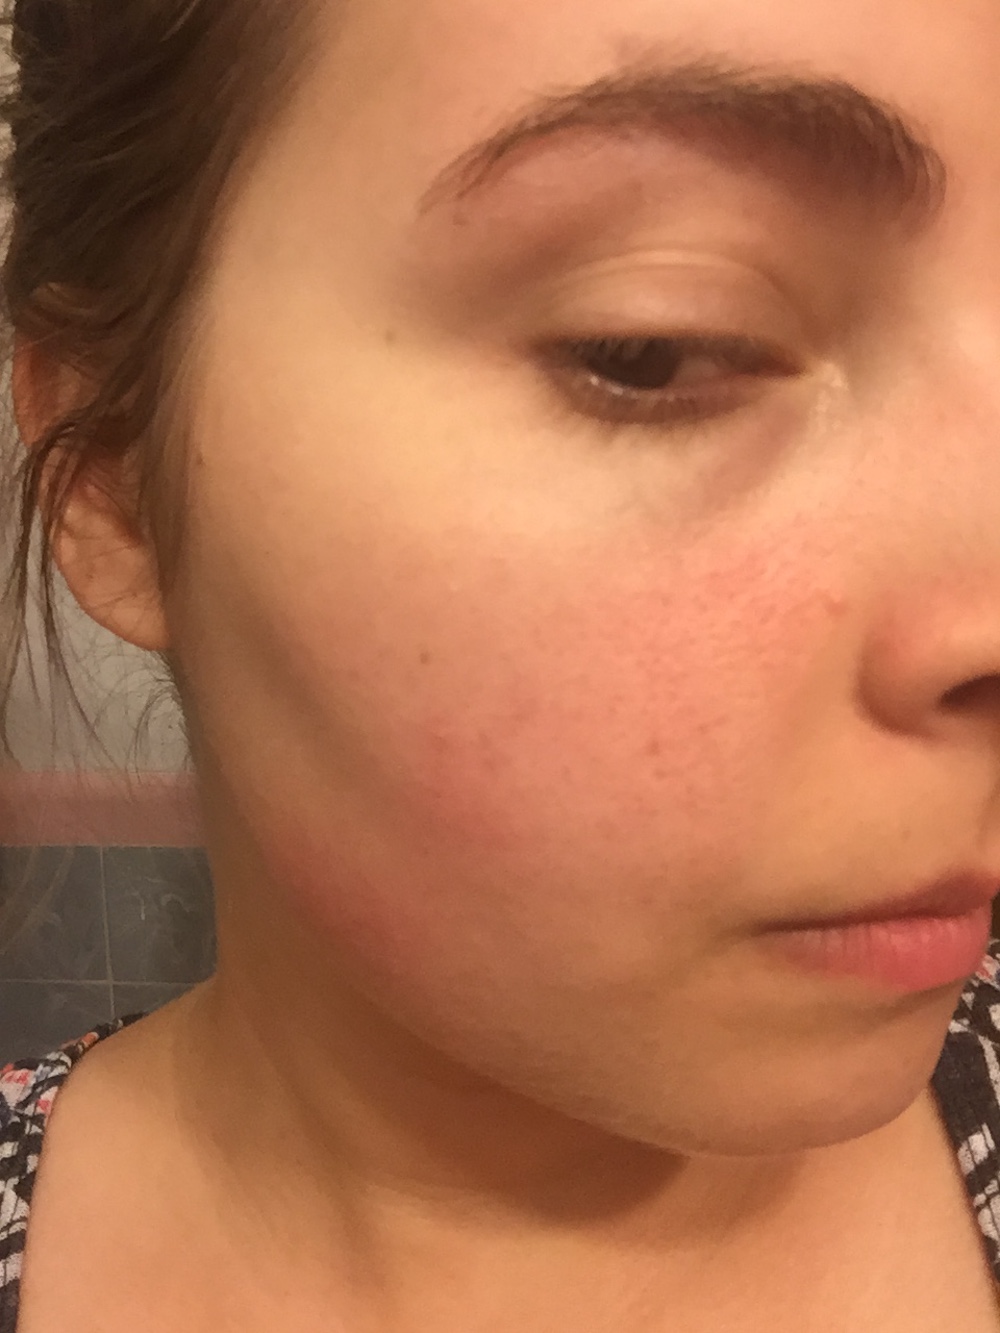
There's still a bit of fuzziness in the "after" version, but it's significantly lessened. I did have a bit of residual redness (as the side effects warned might happen), but my liquid foundation glided on incredibly smoothly and took far less time to blend in.
Final Dermaplaning Review
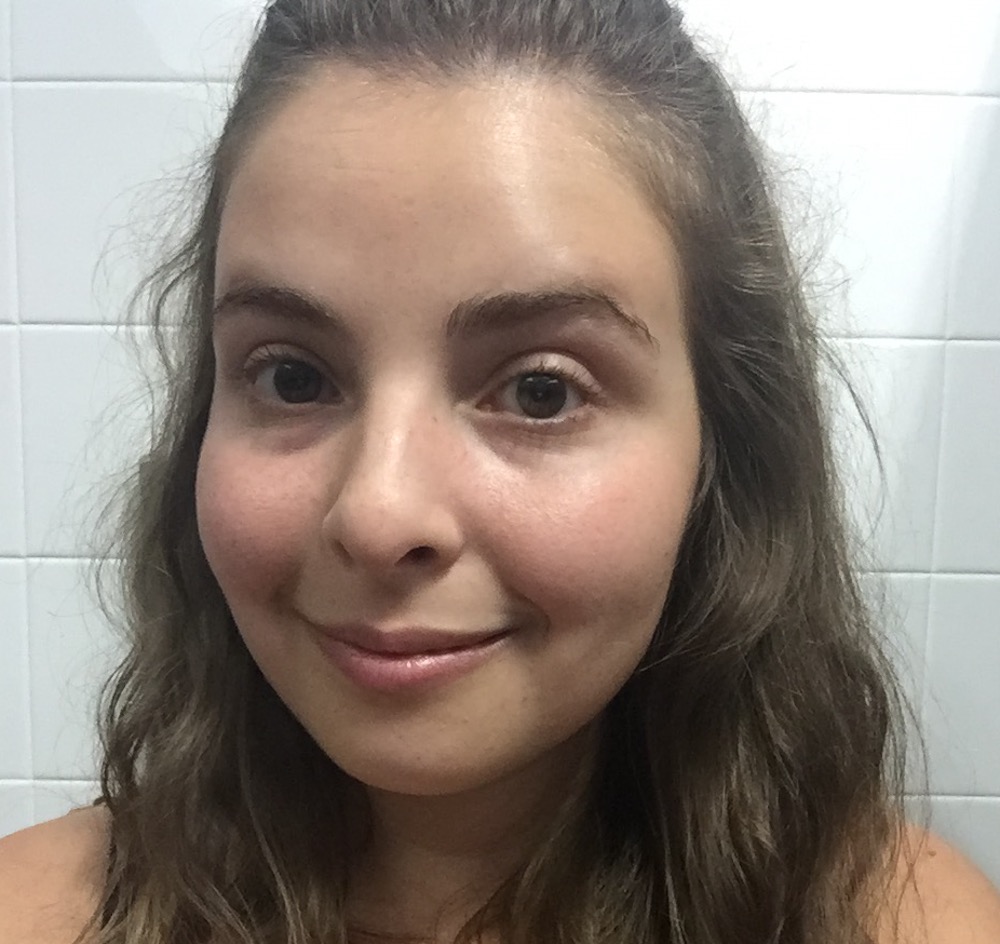
Overall, I really liked dermaplaning. Since it was my first effort, I didn't pull it off flawlessly. But even with my half-baked attempt, it made a significant difference in the look and feel of my skin — both with my foundation and (as in the picture above) without it.
Even the next day, I have to force myself to stop touching my face — it's super smooth, almost like a baby's skin. My moisturizer soaked in better than ever. I was even OK dealing with the slight residual redness (which faded pretty quickly), and the fact that some of my pores were more noticeable than usual.
Would I recommend dermaplaning to a friend? Absolutely, particularly for my pals with a lot of the peach-fuzziness!
Would I try dermaplaning again? I plan to try it again and to hopefully get better at it. I would think that a bi-weekly full-face shave would be adequate for the amount and type of facial fuzz I have.
If you plan on trying dermaplaning yourself, please SHARE this story on Facebook!


