I love to cook dinner – it's cheaper, it's usually more nutritious, and I get the satisfaction of knowing I made it with my own two hands.
However, by the time it's all over and a (hopefully) edible meal — like this stuffed acorn squash — is ready to be devoured, the last thing I want to do is dirty something else.
Many casserole dishes, Dutch ovens, and soup pots can double as their own serving dish, as long as you've got a trivet on which to put them down. These small, plate-like gadgets can be placed under any hot serving dish to protect the table, and they're really easy to make yourself.
Dream a Little Bigger blogger Allison Murray was inspired to make these colorful DIY trivets by watching her husband cook.
"He's a big fan of skillet meals so he often brings the cast iron skillet over to the table, and we can get more as needed, and it stays hot," Allison writes. "Rather than spend a good $40 to $60 on trivets, I decided to use something I always have on hand anyway and repurpose them."
Scroll through below for a look at the brilliant way Allison was able to transform old clothespins into beautiful DIY trivets.
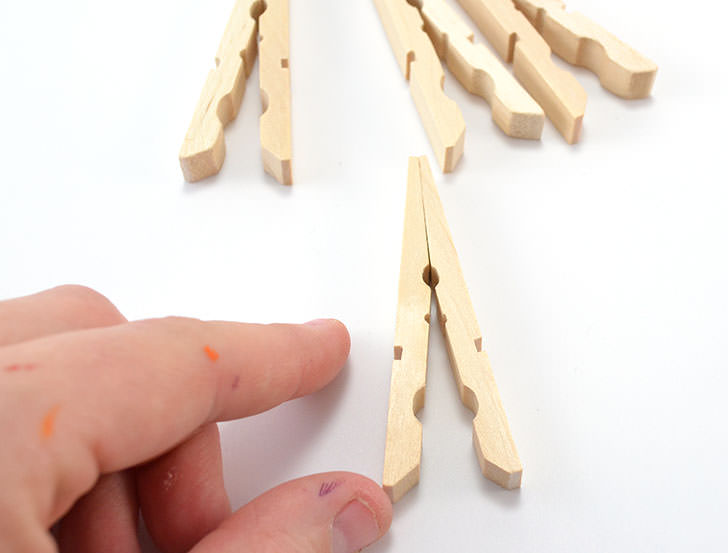
Step 1: Dismantle The Clothespins

For this project, Allison suggests you start out with:
- Clothespins (roughly 24 per trivet)
- Paint/stain
- Super-strong glue
- Paint sealer
Carefully remove the metal hinge that holds the two sides of the clothespin together.
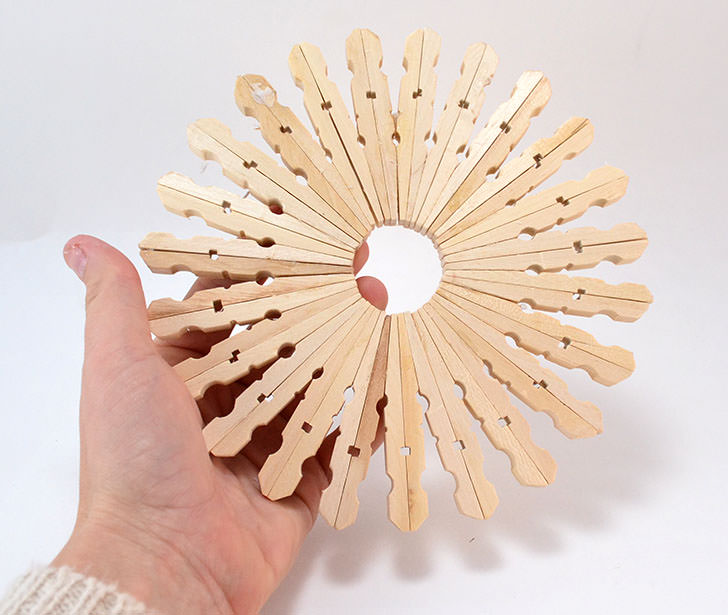
Step 2: Arrange Them Into A Circle
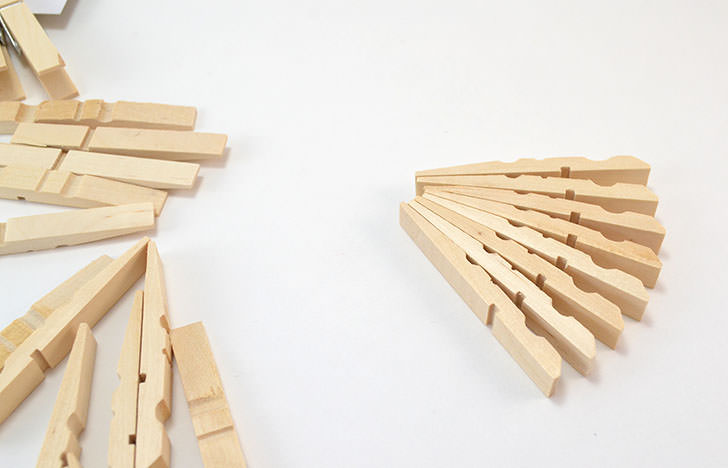
Form a circle with the clothespin halves.
Don't be afraid to experiment with the clothespins during this step to achieve the unique shape and pattern you want. You might be surprised by how many different ways they can fit together!
There is also the optional step of staining here.
Allison writes, "Painting can be done after [the trivet is glued together] but staining of the pins should be done before moving on."
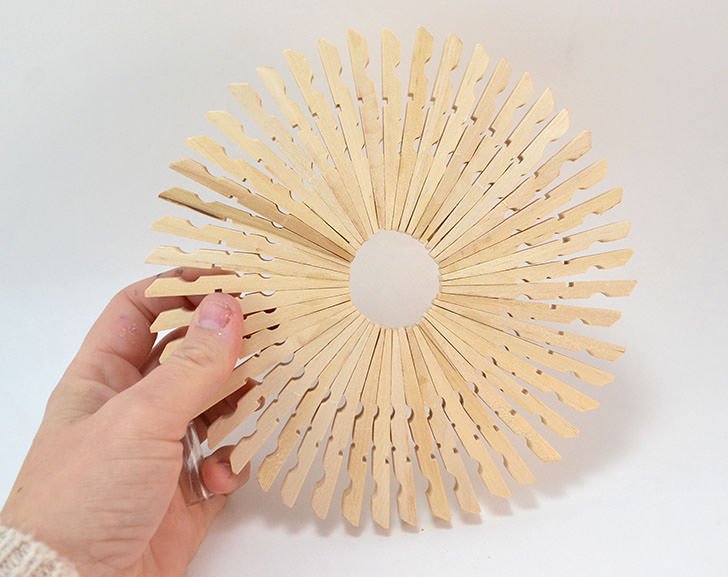
Step 3: Glue The Pins Together
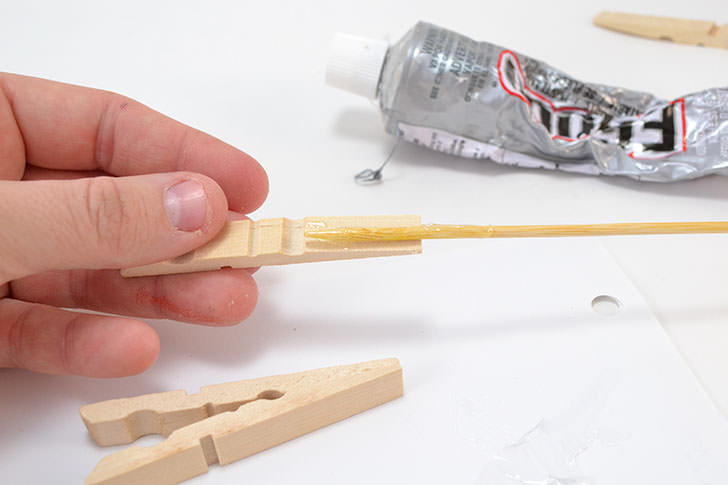
Once you glue, you can't go back! That's why it's so important to work out the final shape of your trivet before you start glueing things together.
Use a small brush or wooden dowel to apply the adhesive so it doesn't get on your hands.
If you've chosen a shape that requires building sets of pins, Allison suggests making the sets first.
Then, once they're dry, glue the sets together into a larger circular shape!
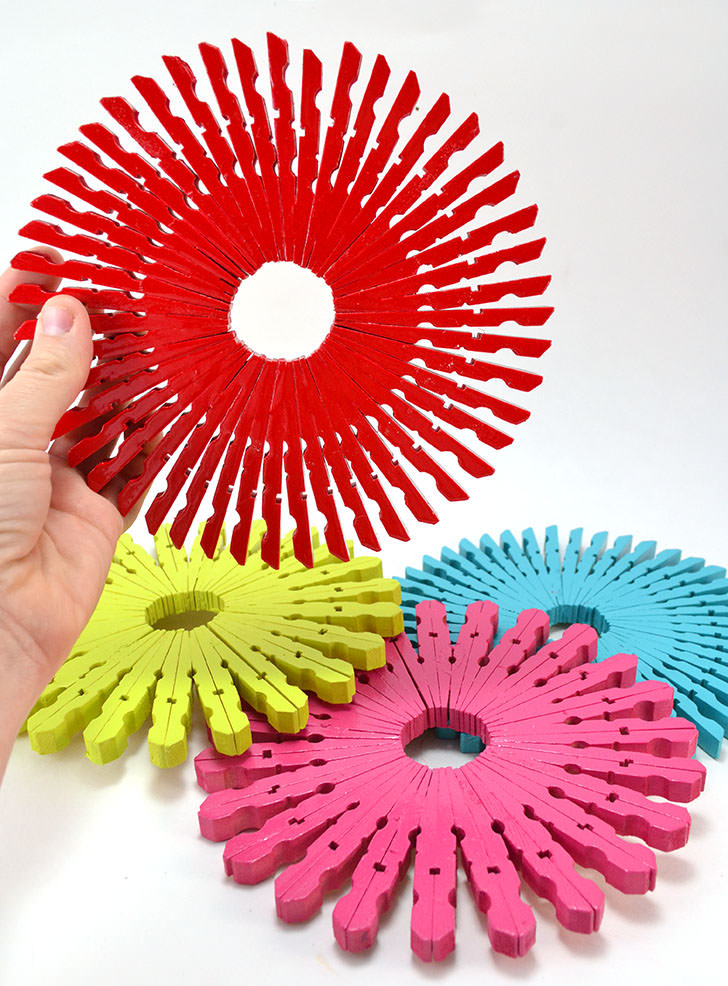
Step 4: Paint The Circle
Once everything has completely dried solid, it's time to add the color.
You can paint them all one solid primary color, like Allison did, or combine multiple colors for a trivet that really matches your decor.
Allison cautions: "I never put my pans straight from the fire onto trivets so they have a bit of cooling time and I'm not worried about the heat. A pot right off of the burner would surely be bad news for the bottom of your pans.
"You can use a good quality sealer to help keep the paint off of your pans or you can use a high-heat spray paint, but it seems those only come in white, black or red. Wood can always be stained and then sealed, also."
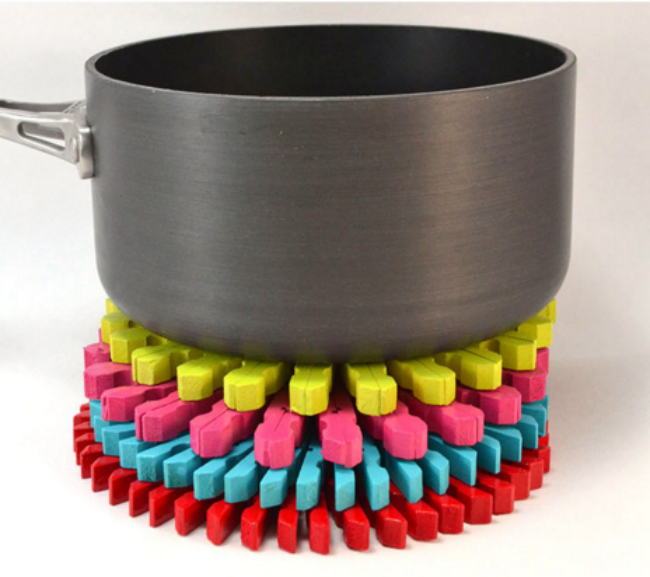
Allison concludes, "In the end, these guys are pretty fab and I’m excited about them, and Rob likes that they look like colorful snowflakes. So I guess we’re all happy."
For more of Allison's projects, visit her blog here.
What do you think of Allison's unique upcycle? Let us know in the comments.
Please SHARE if you'd like to try making your own DIY trivets!